Destiny 2 Grasp of Avarice dungeon guide, walkthrough and secret chest locations
How to complete the Bungie 30th Anniversary dungeon.

Grasp of Avarice is a dungeon introduced to Destiny 2 alongside the Bungie 30th Anniversary update.
Set in the Cosmodrome, it has players delve into the secrets of the once infamous loot cave and find Bungie-themed loot.
The dungeon is also tied to the return of the Gjallarhorn - which has its own quest to complete.
On this page:

How to unlock the Grasp of Avarice dungeon
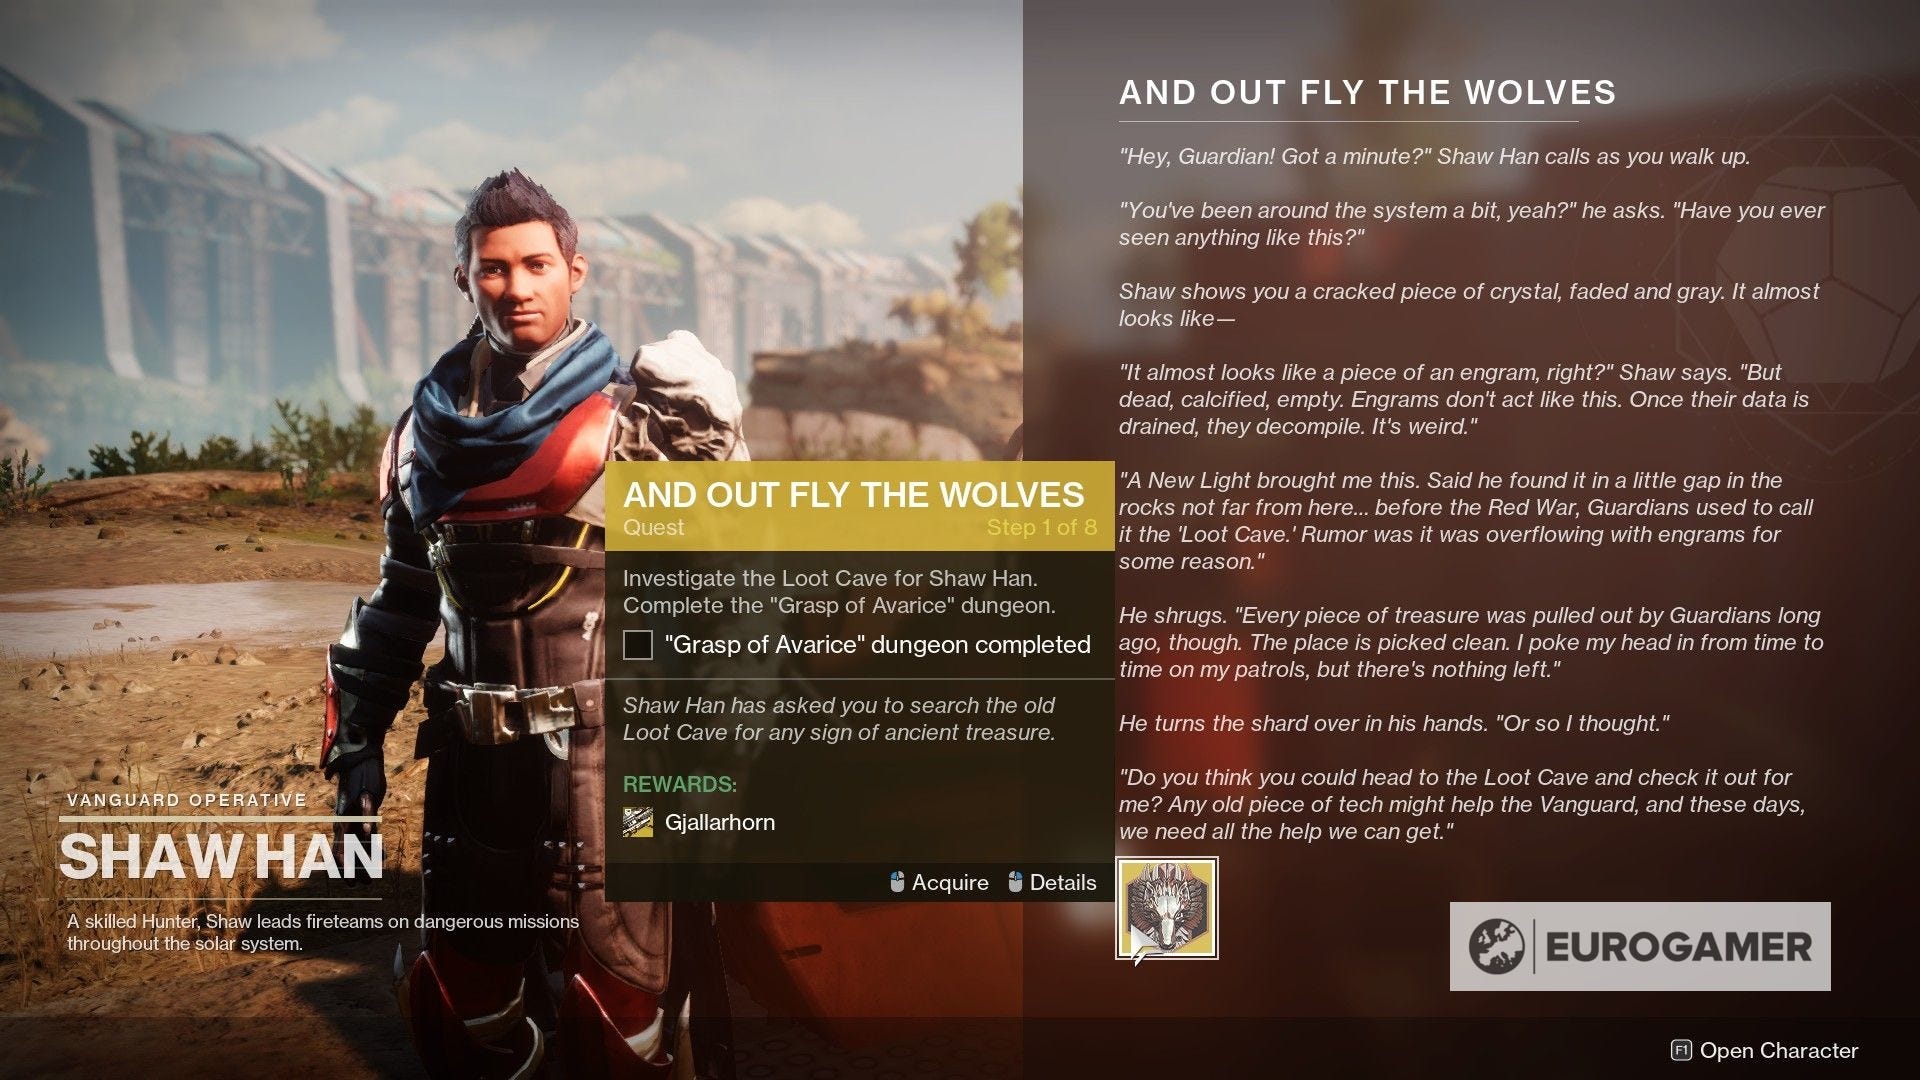
To play the Grasp of Avarice, you need to have purchased the Bungie 30th Anniversary DLC.
From there, you must start the Gjallarhorn quest And Out Fly The Wolves. To do this, you must complete a round of the Dares of the Eternity event (which will begin the first time you start the game after purchasing the DLC), then talking to Xur, where you can pick up the quest on the second page.
Once you have spoken to Shaw Han in the Cosmodrome, you can access the dungeon, either from the Cosmodrome's map or your directory.
The dungeon has a recommendation of 1310 Power Level to play.

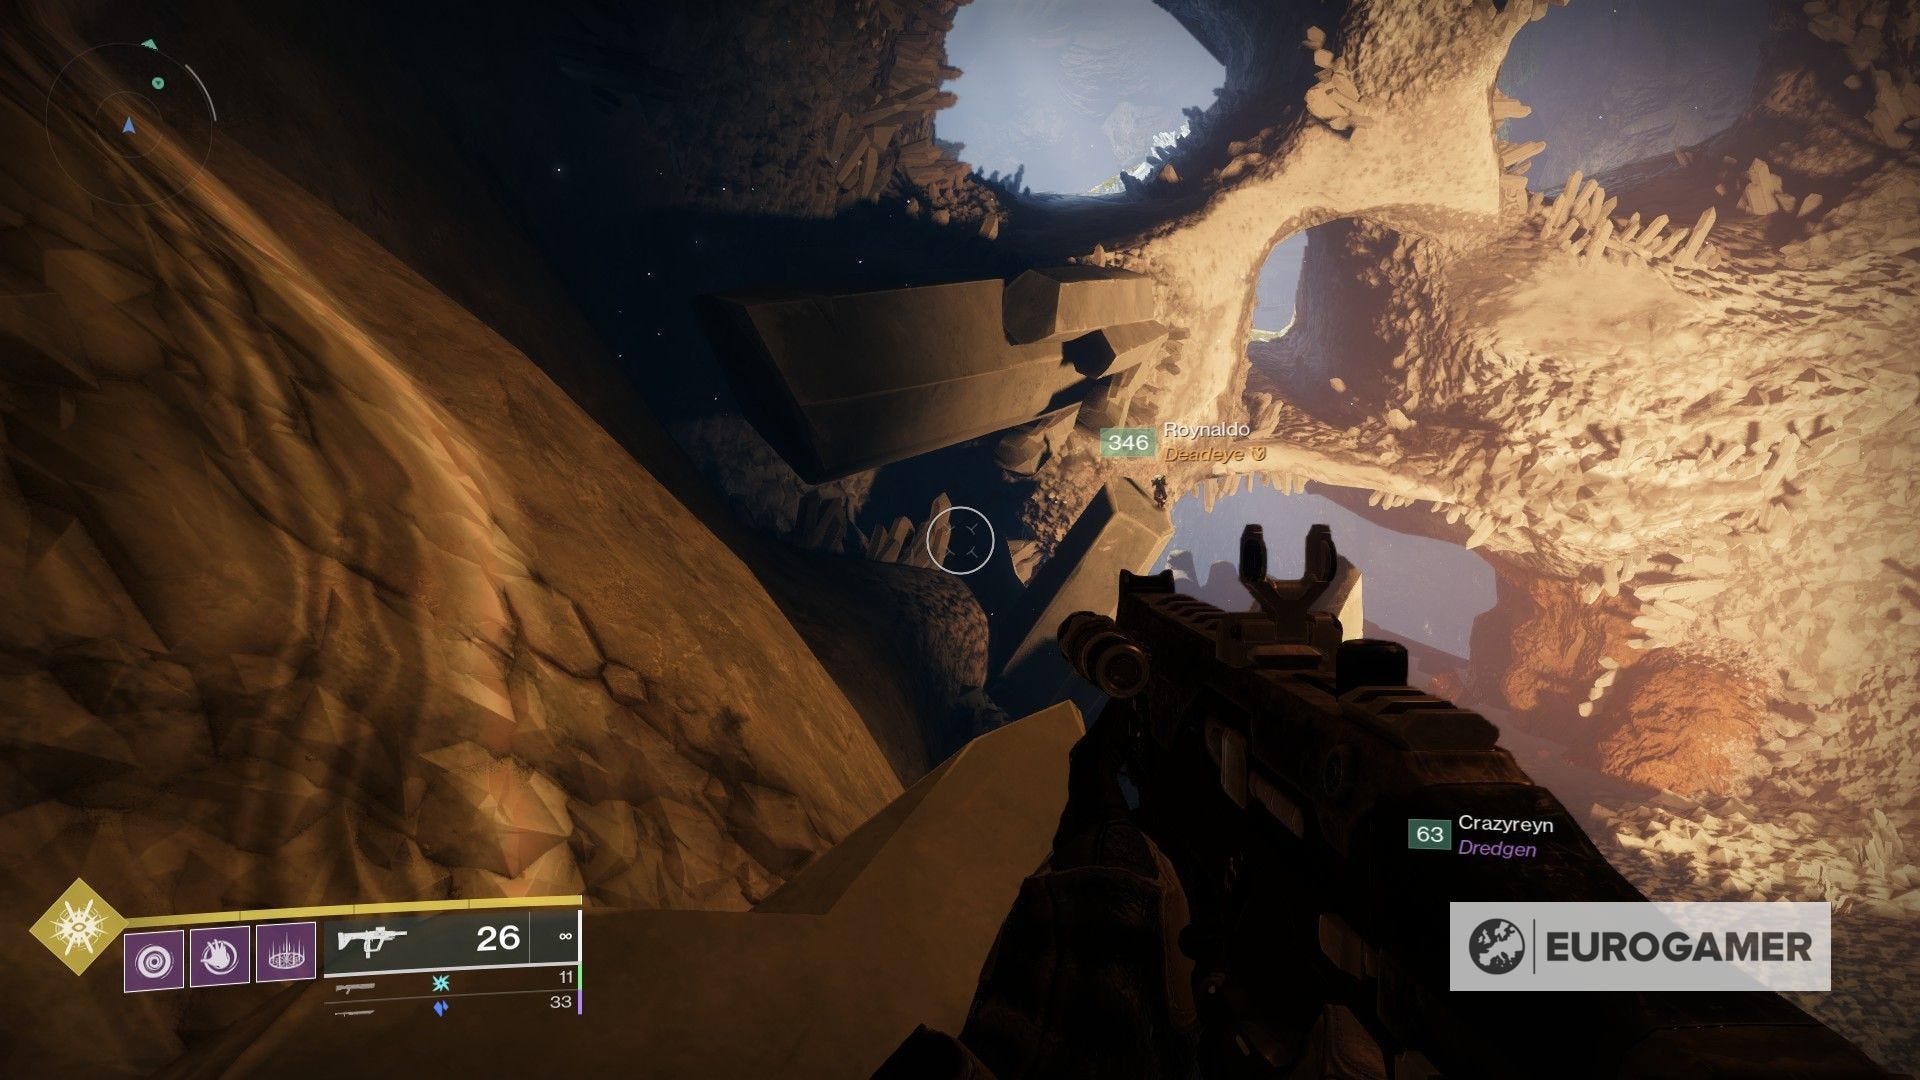
Destiny 2 Grasp of Avarice walkthrough
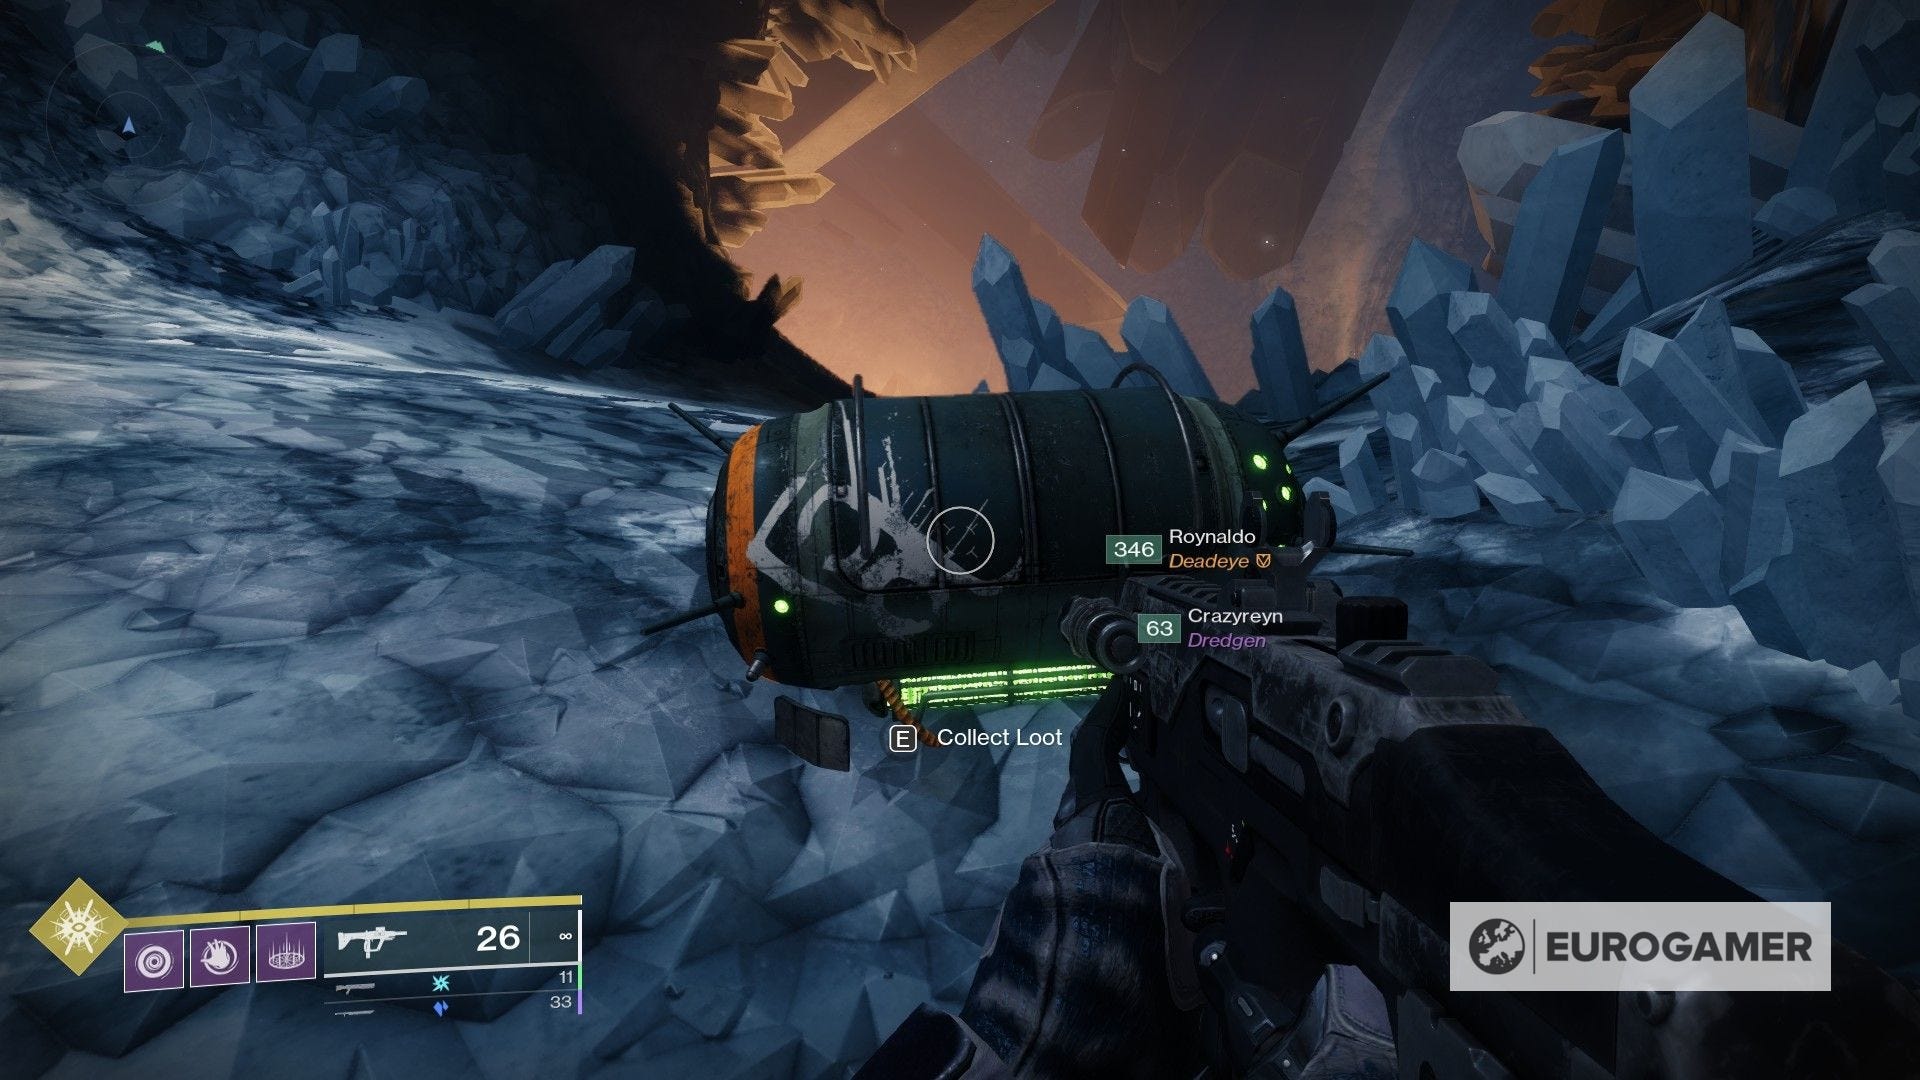
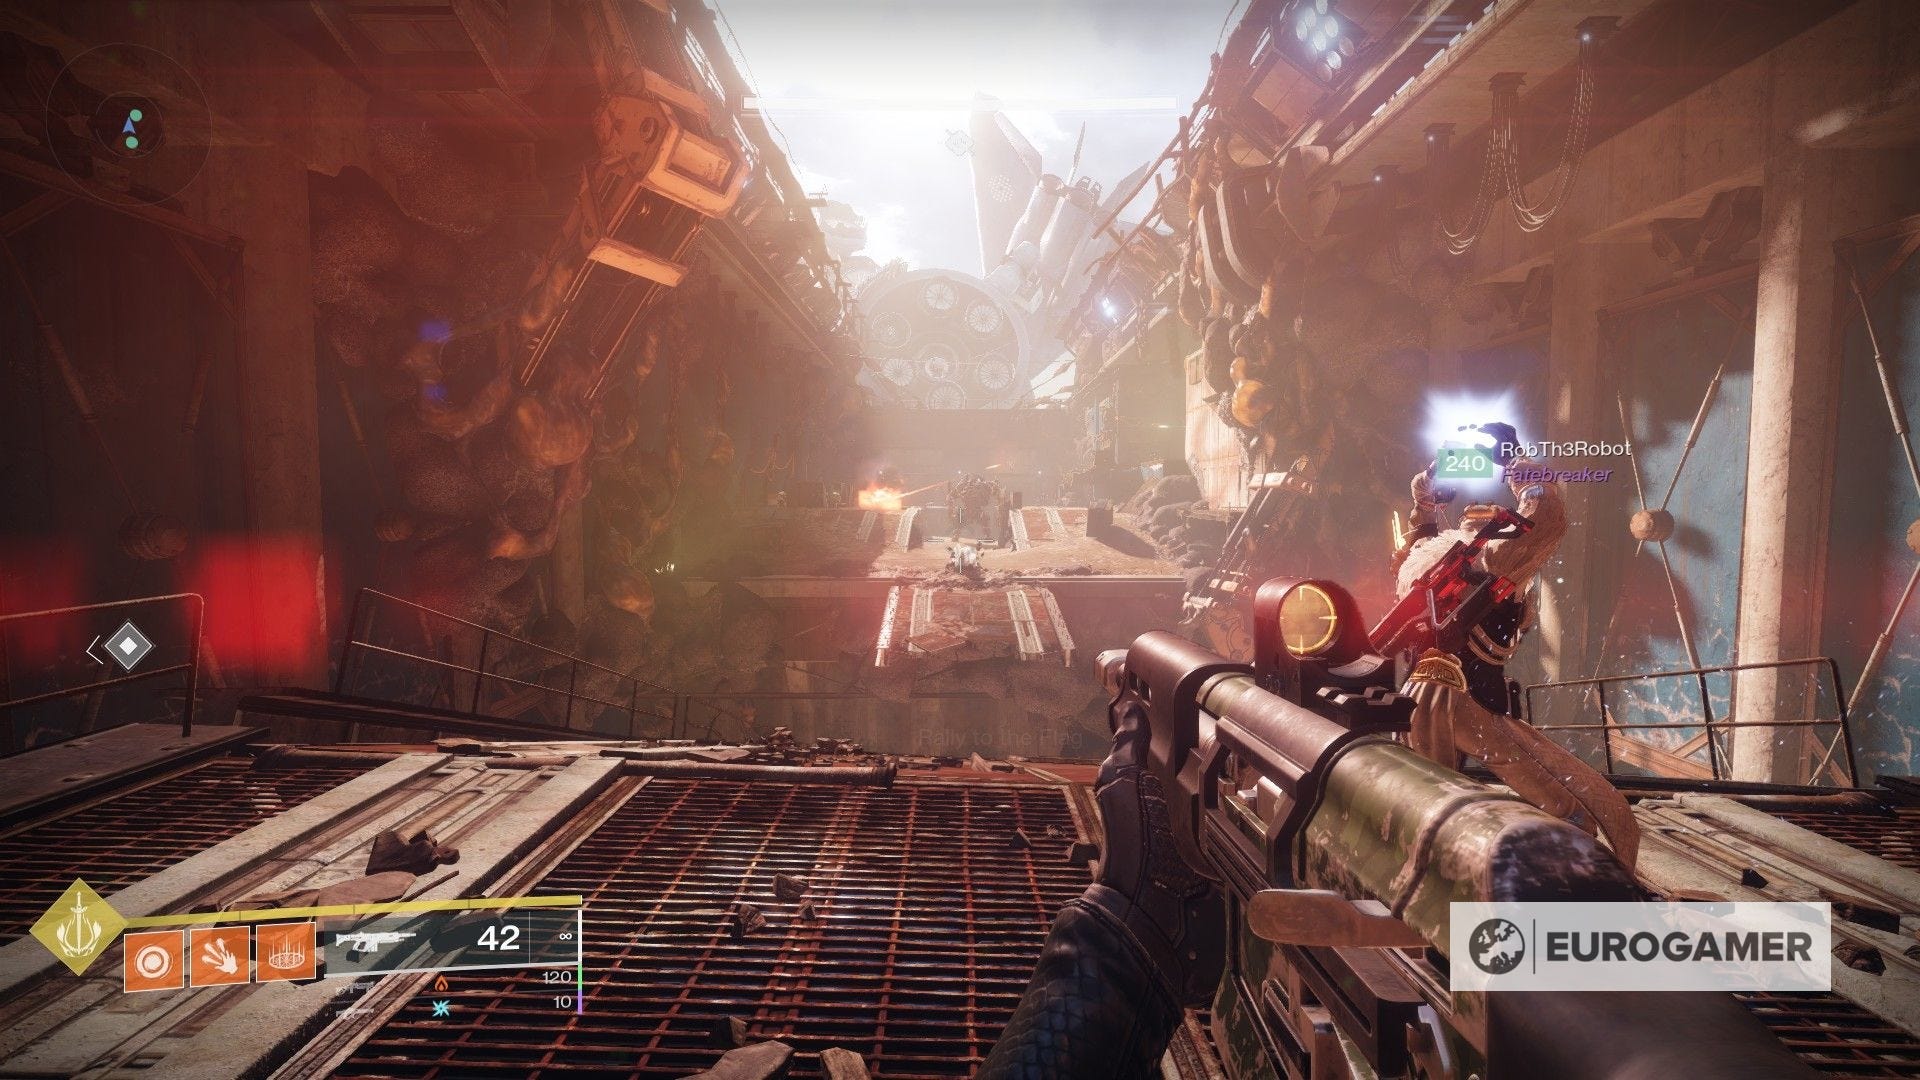
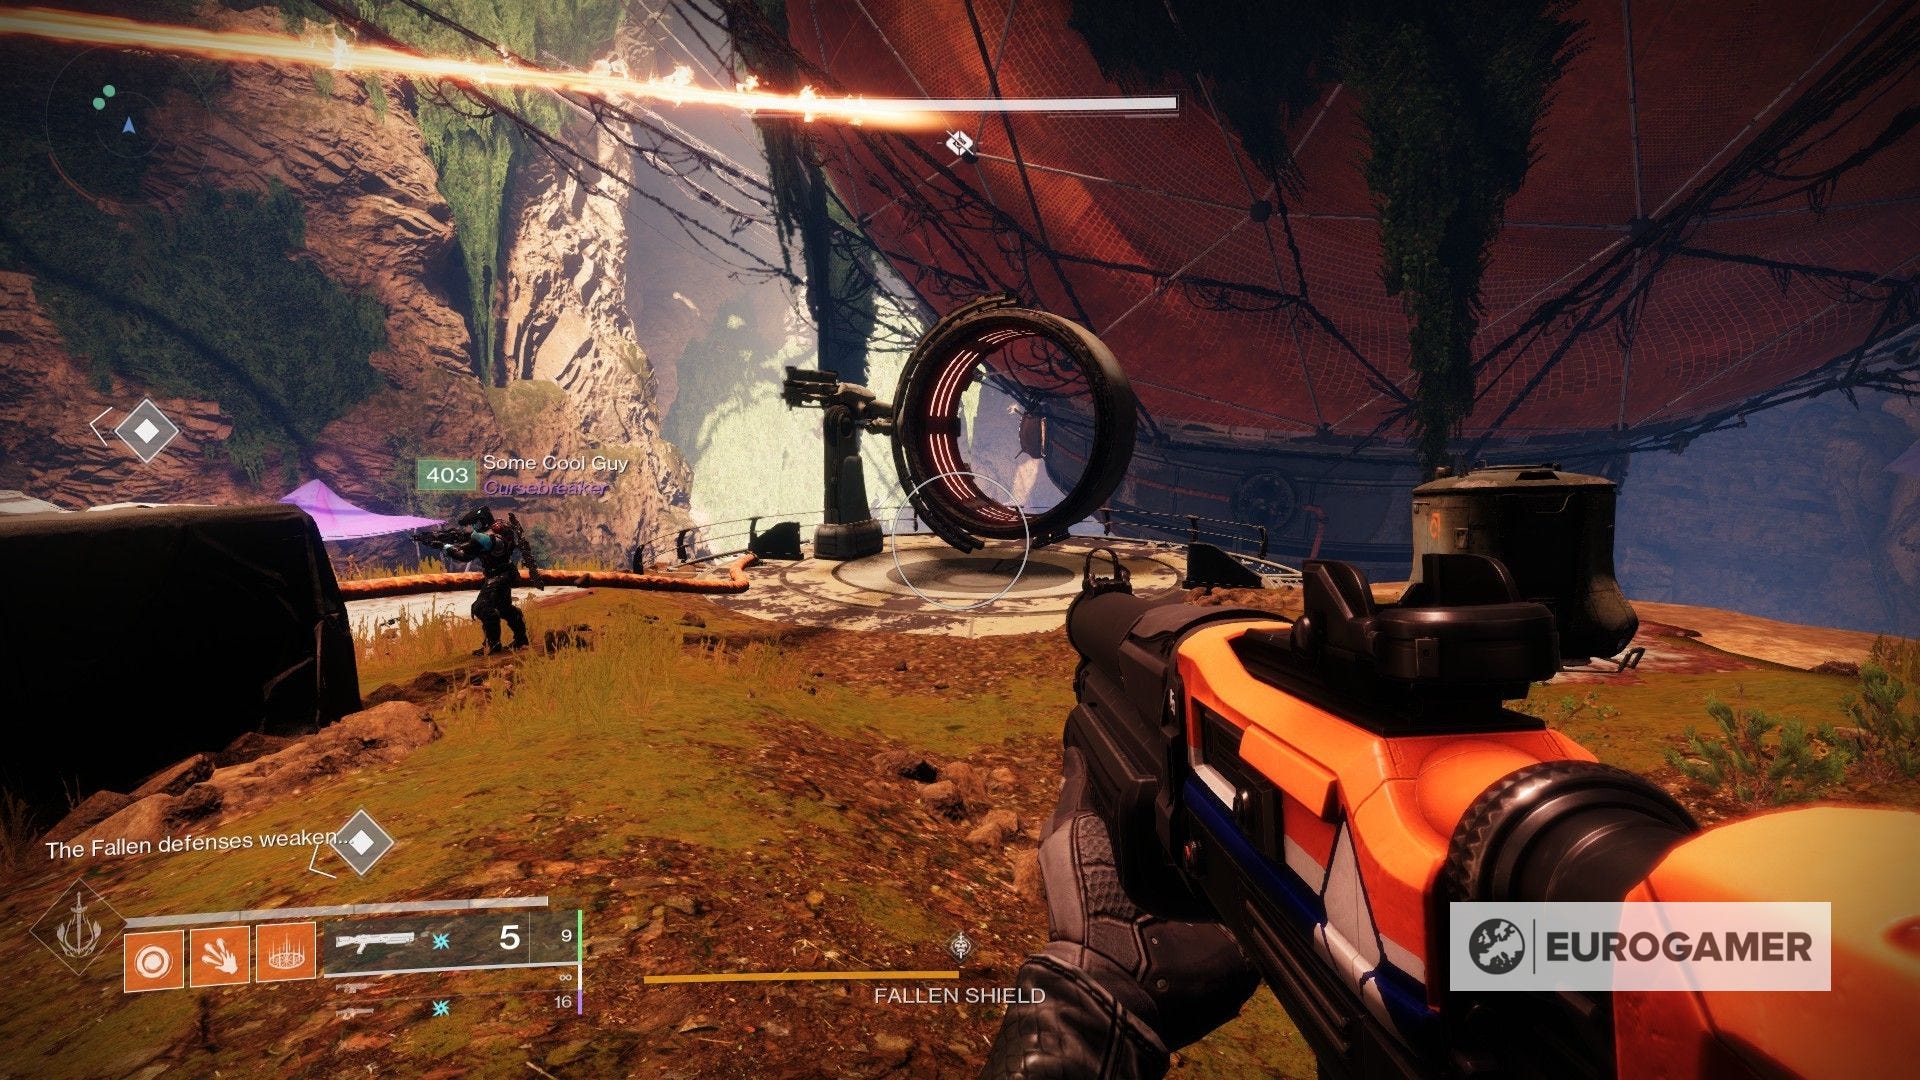
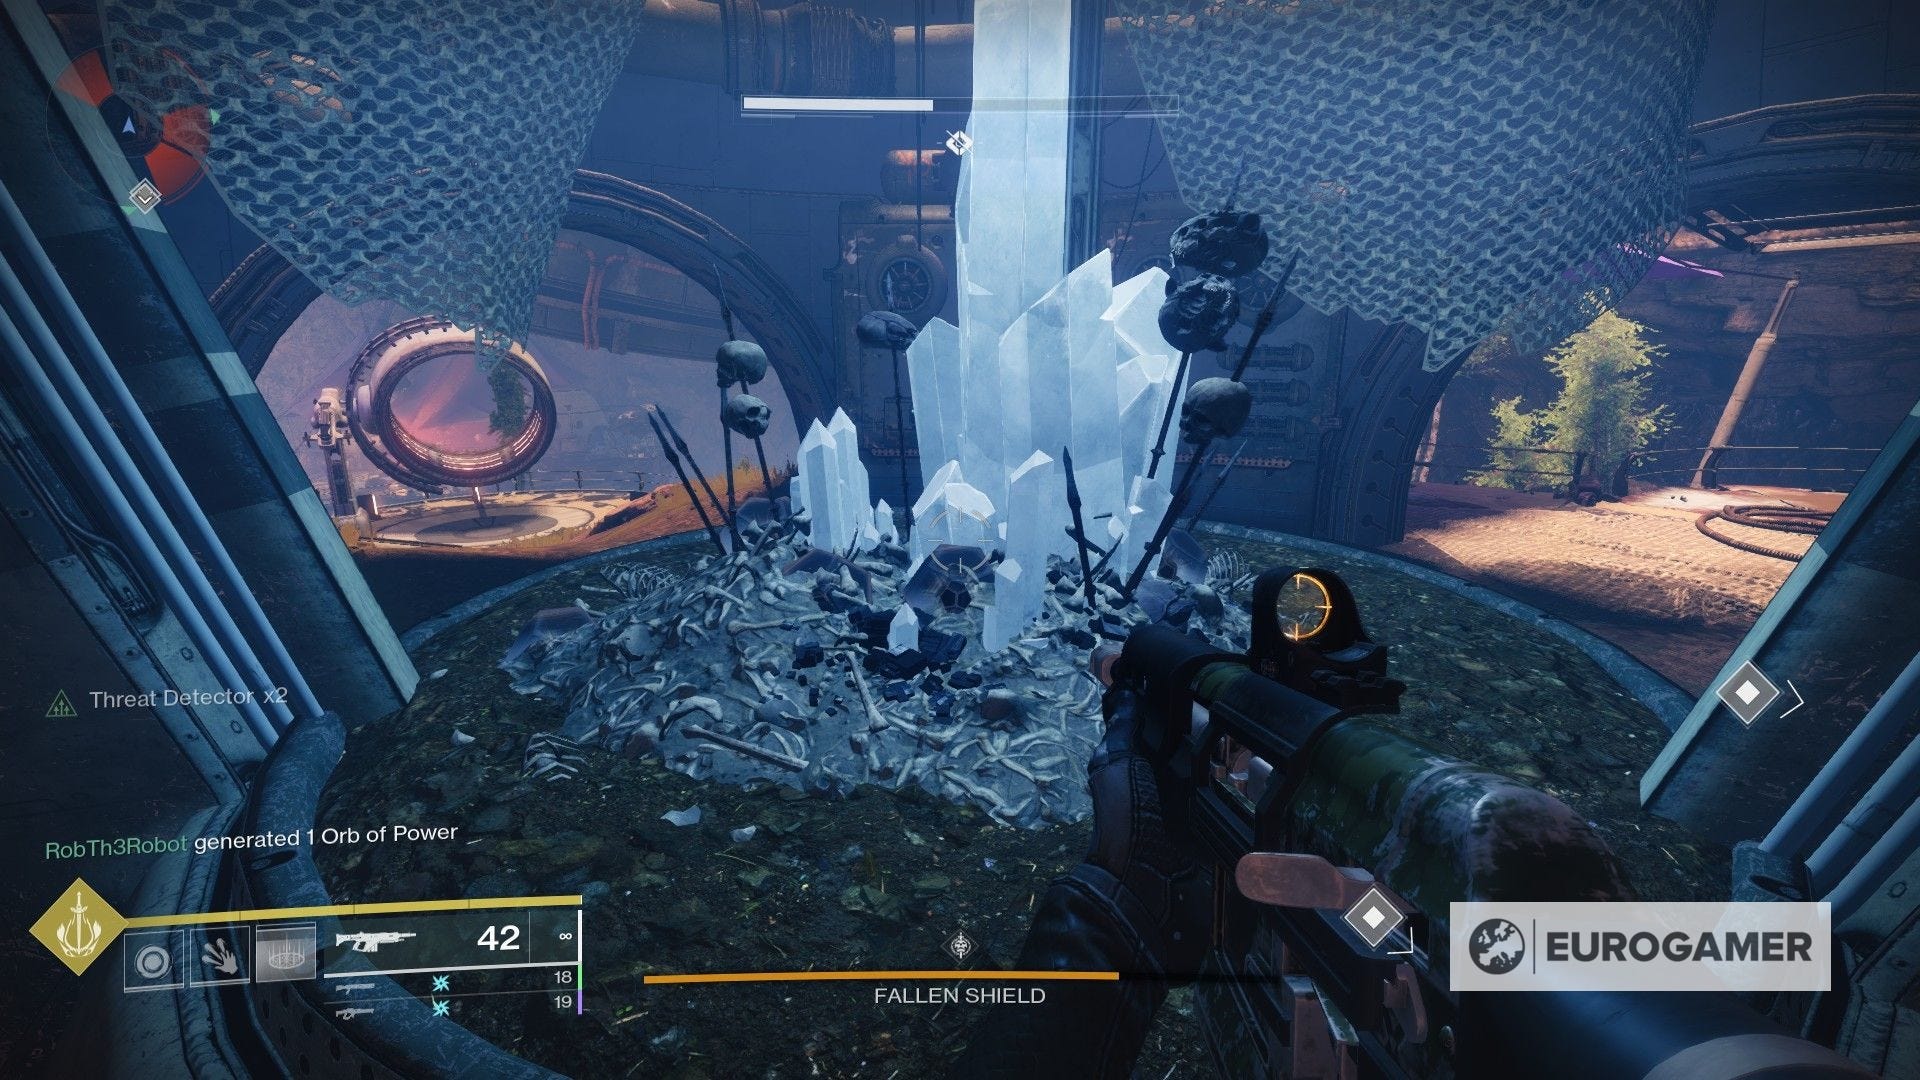
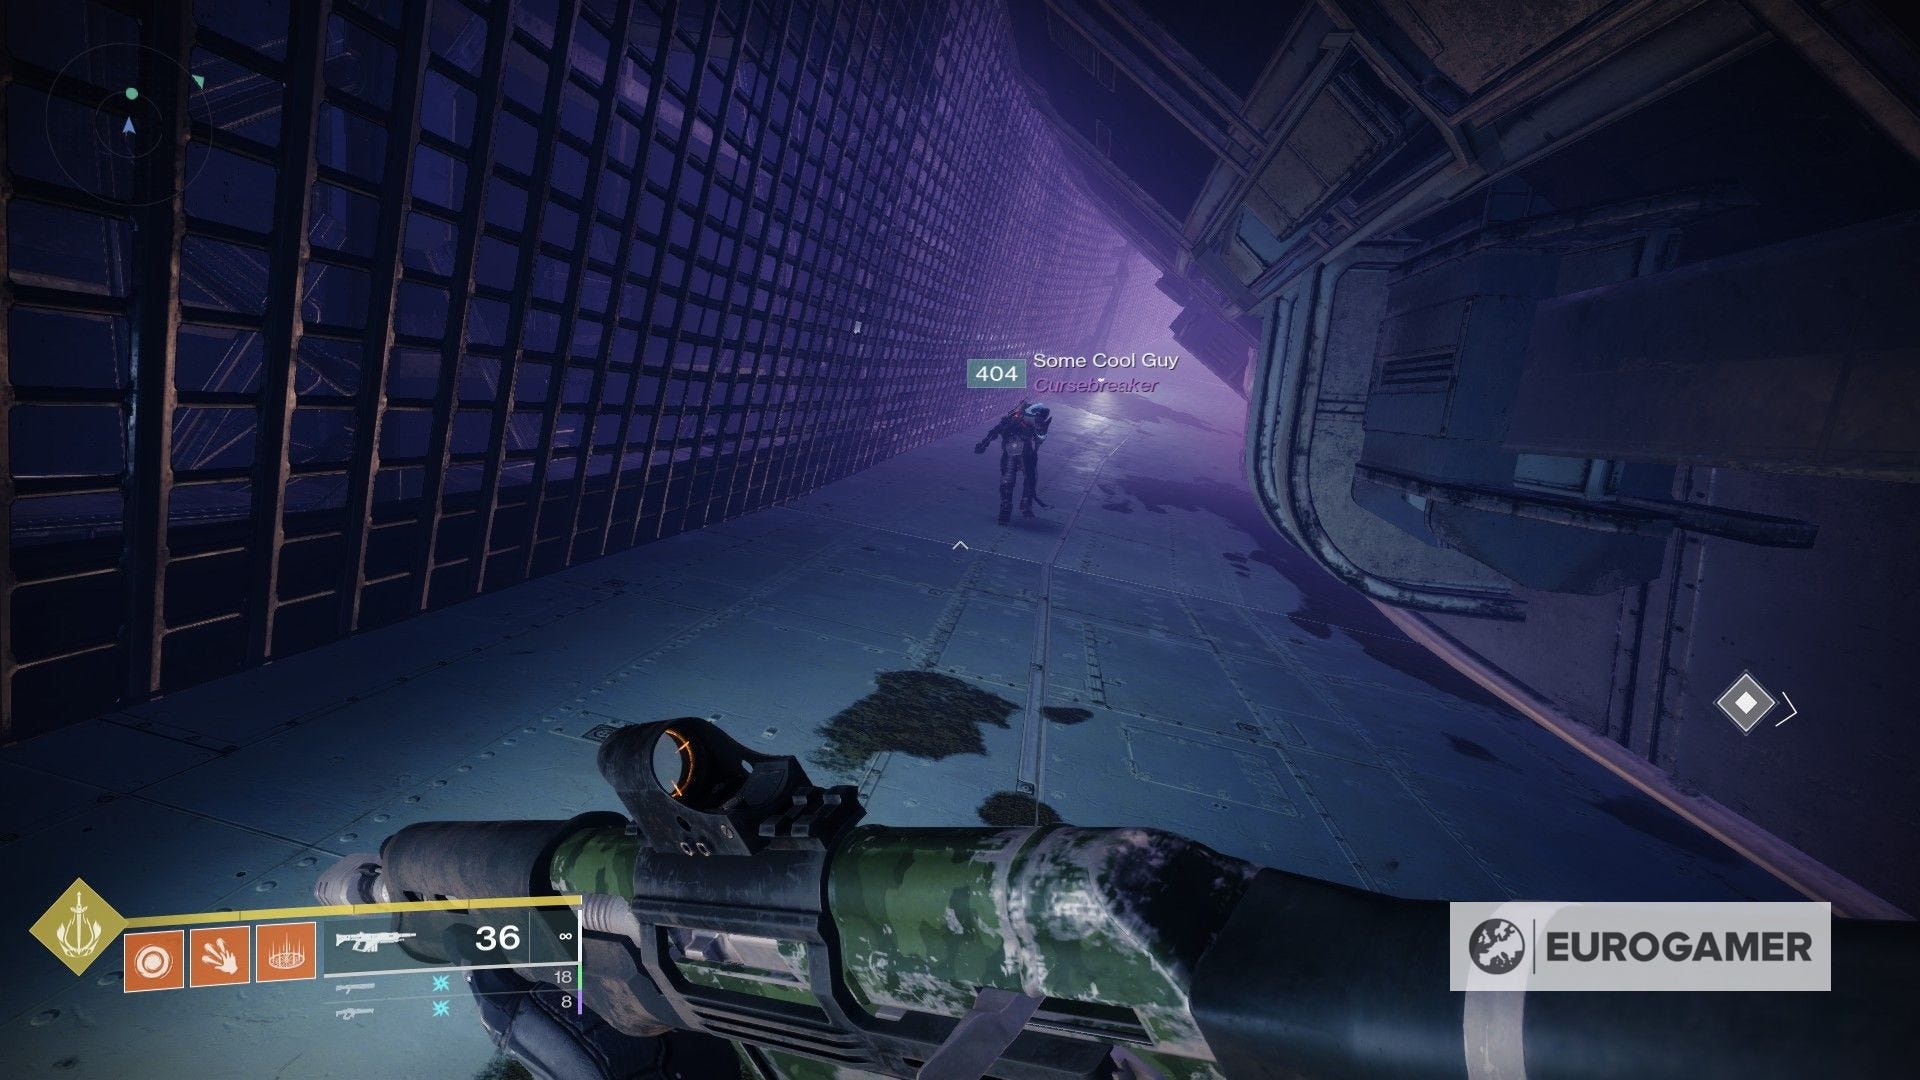
The dungeon will take you between one and two hours, so we recommend looking for friends or other players online to form a full squad. During the initial phase, you have to kill enemies until they start dropping orbs that look like loot.
Once you've gotten at least one, you'll be granted a status with a timer. The task here is to collect as many of them as possible and then enter the 'loot cave' from where enemies spawn. You'll find a crystal inside - get near it to deposit the orbs.

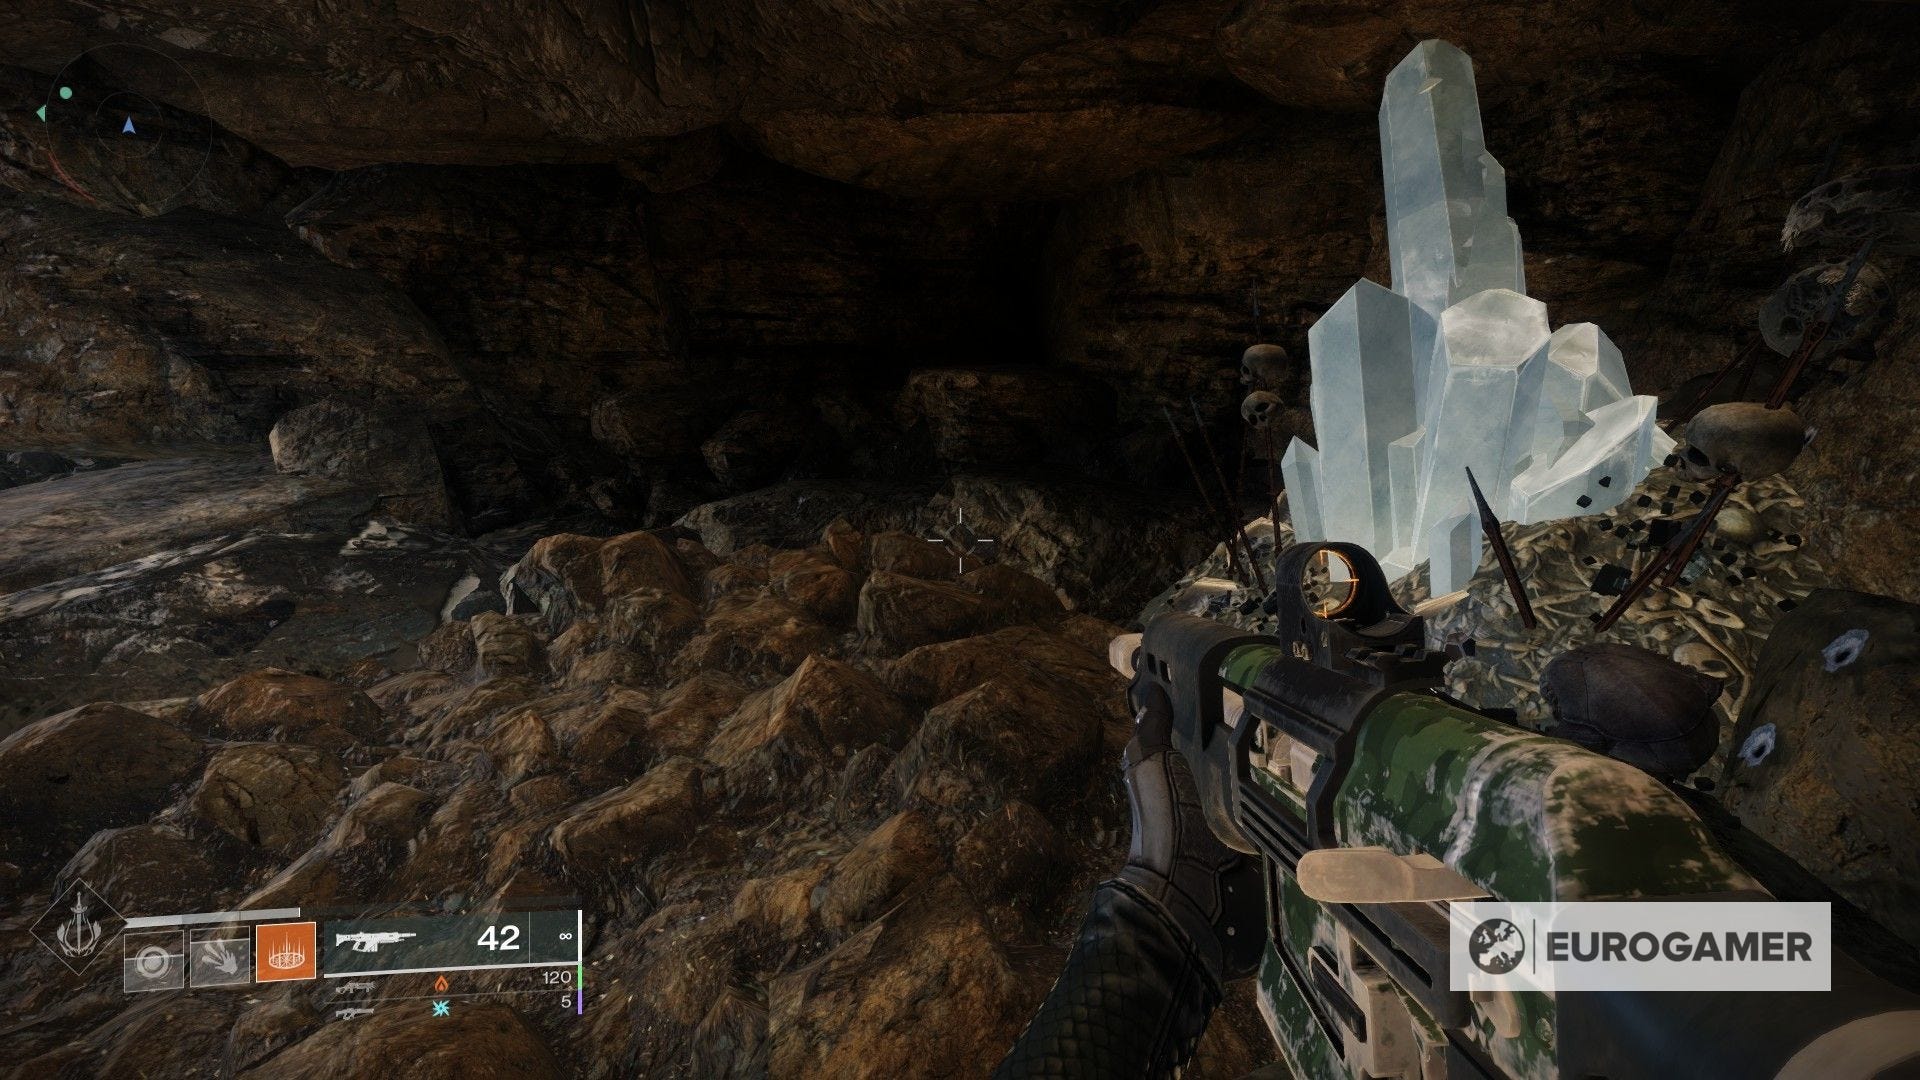
Repeat this a couple more times until enemies cease to spawn. Then, the floor inside the cave will crumble and you'll be able to descend to the dungeon.
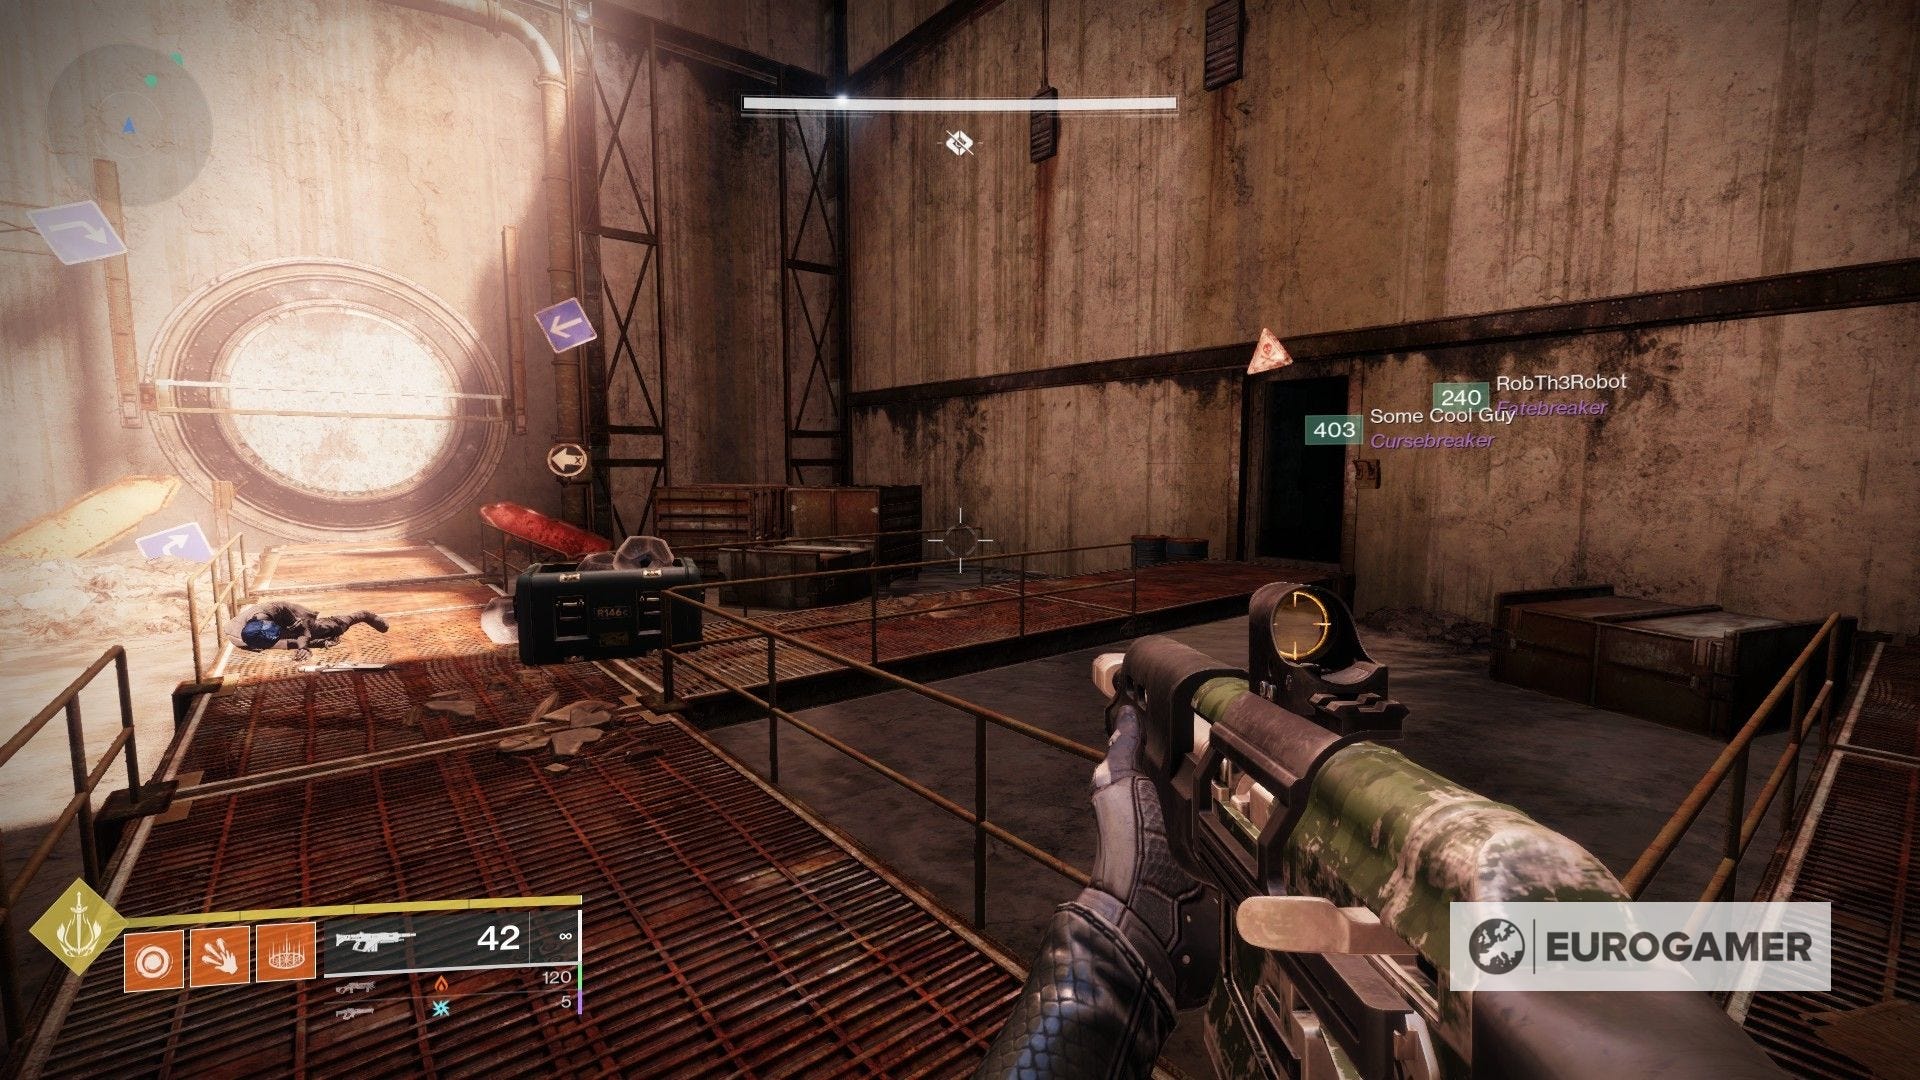
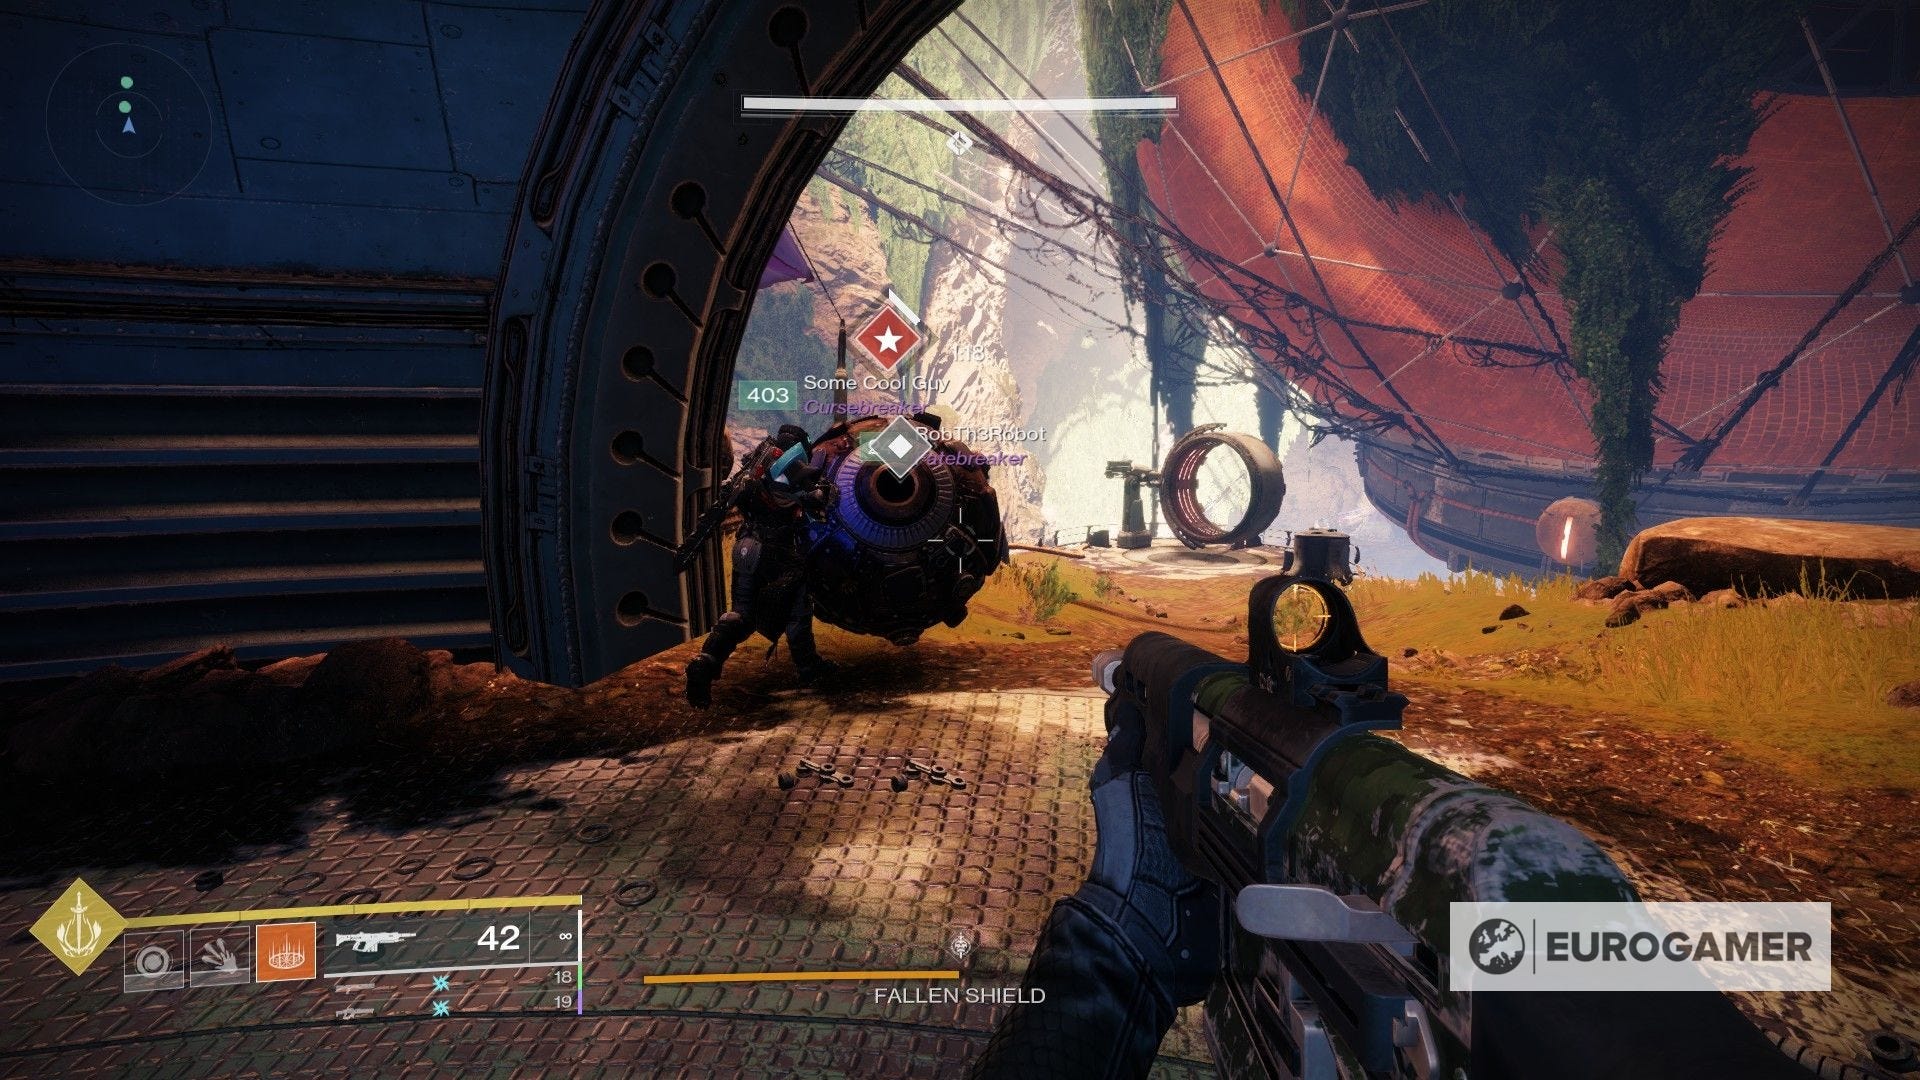
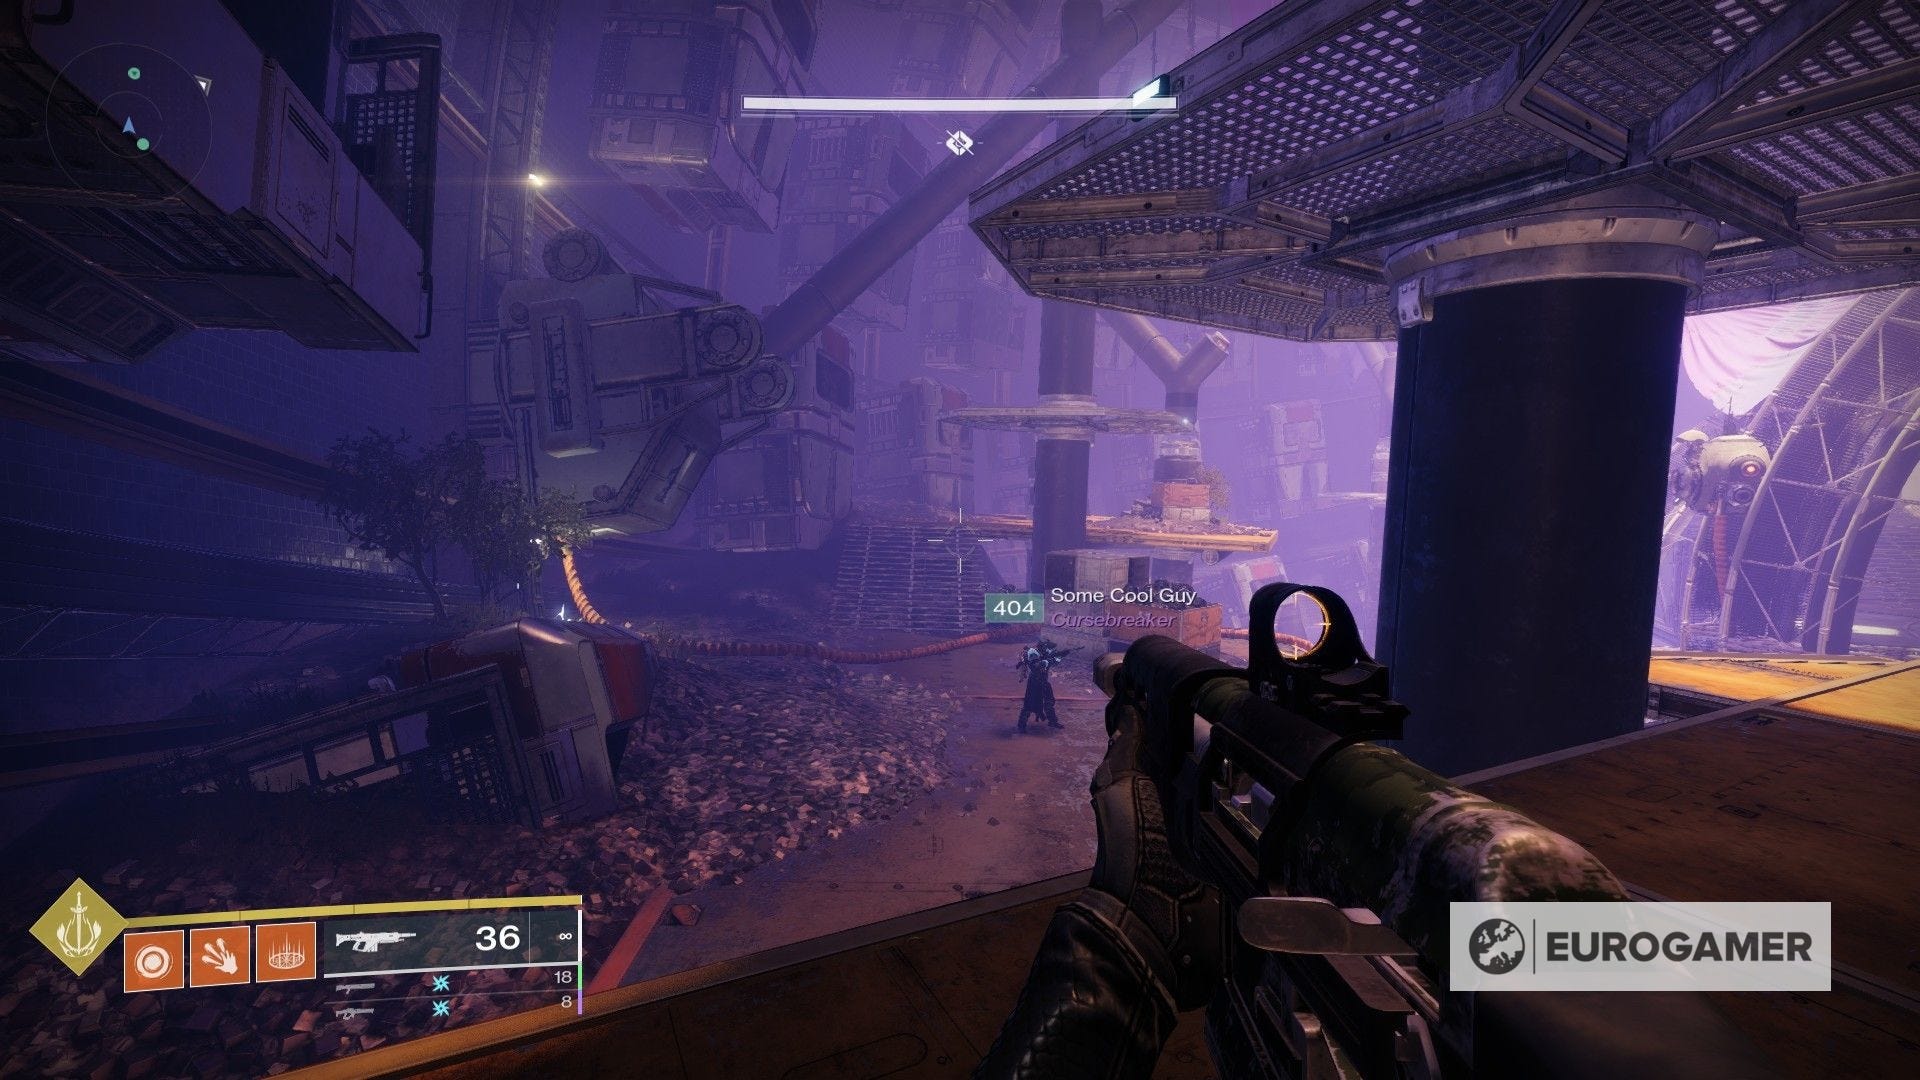
Prepare for some platforming as well as an army of enemies waiting for you. In addition, keep an eye on pressure plates located on the floor, since these will trigger traps.
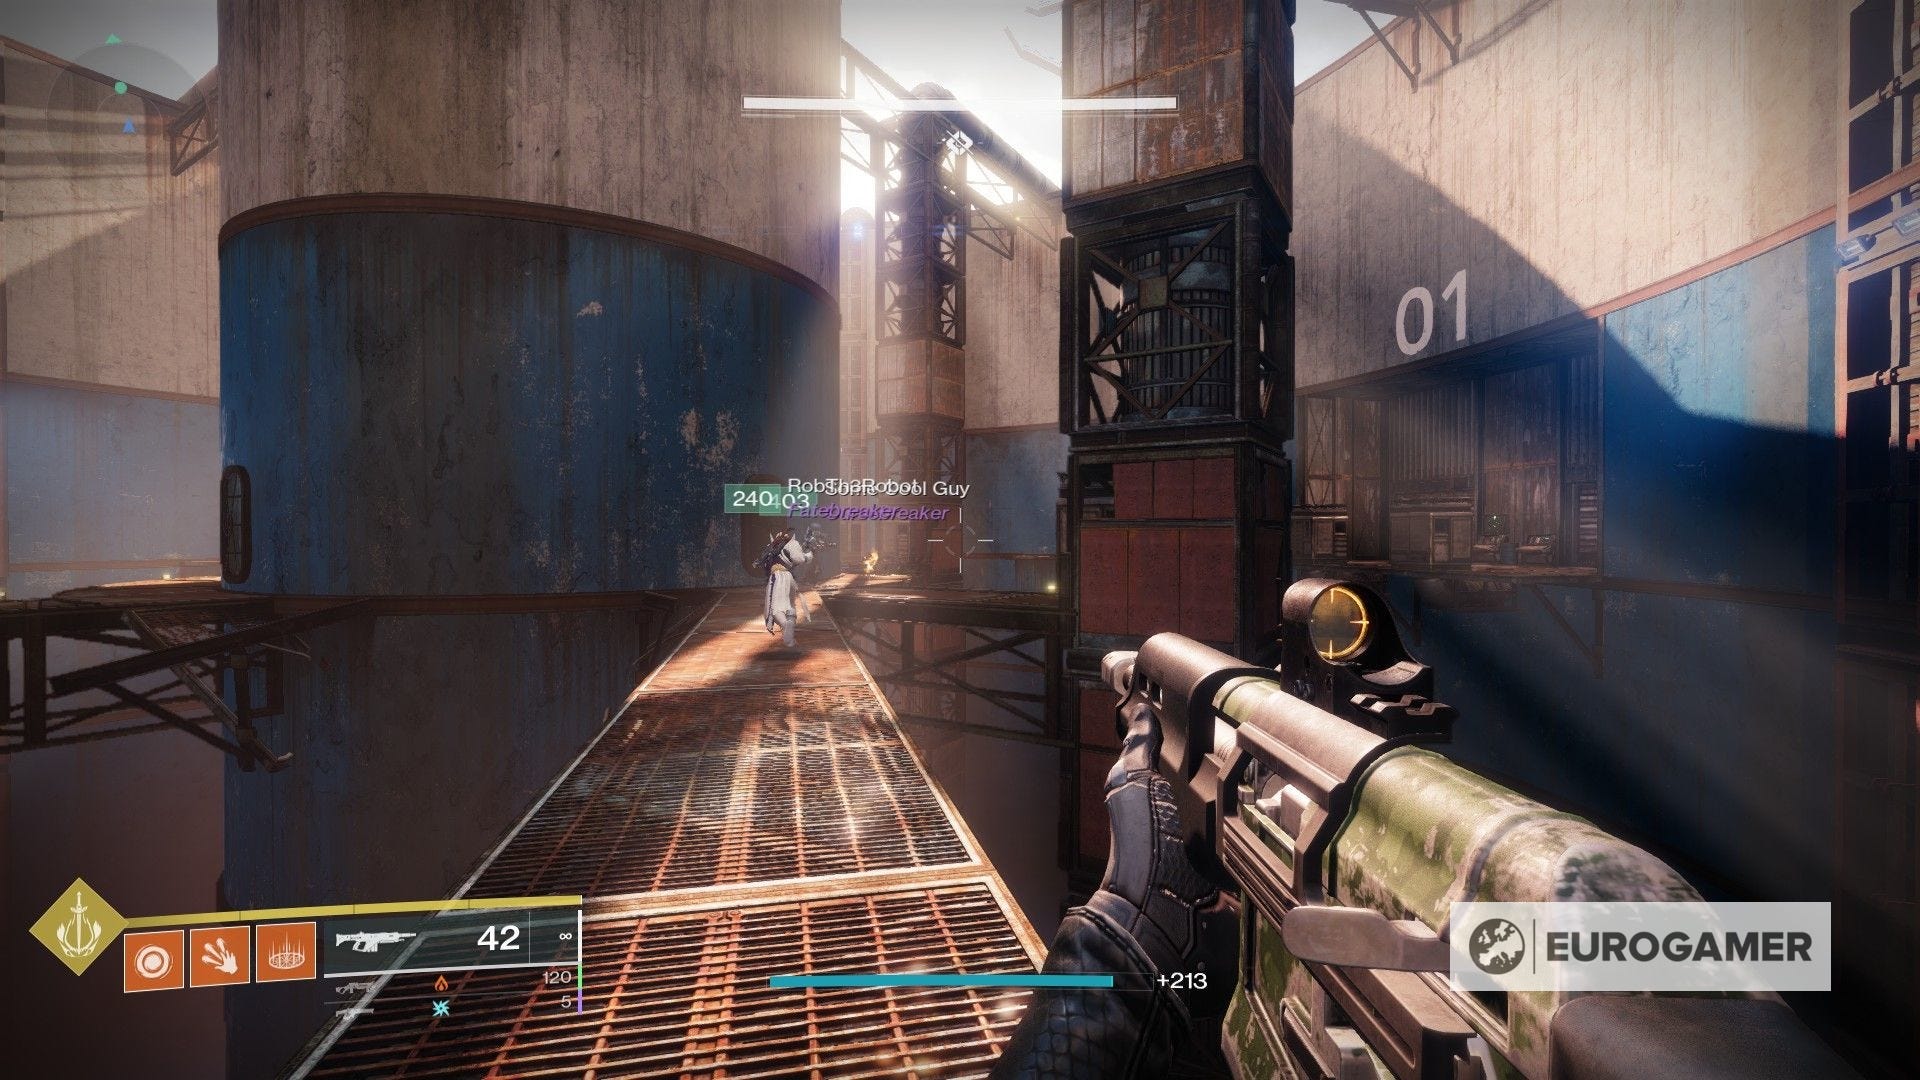
There are two particular areas that stand out from the rest before you reach to the first boss, both involving the use of switches. The first will have you activating switches inside rooms in order to open specific ones to follow through. It involves a bit of trial and error, but you can see a walkthrough below if you fancy the extra help (jump to the 10:07 time mark):

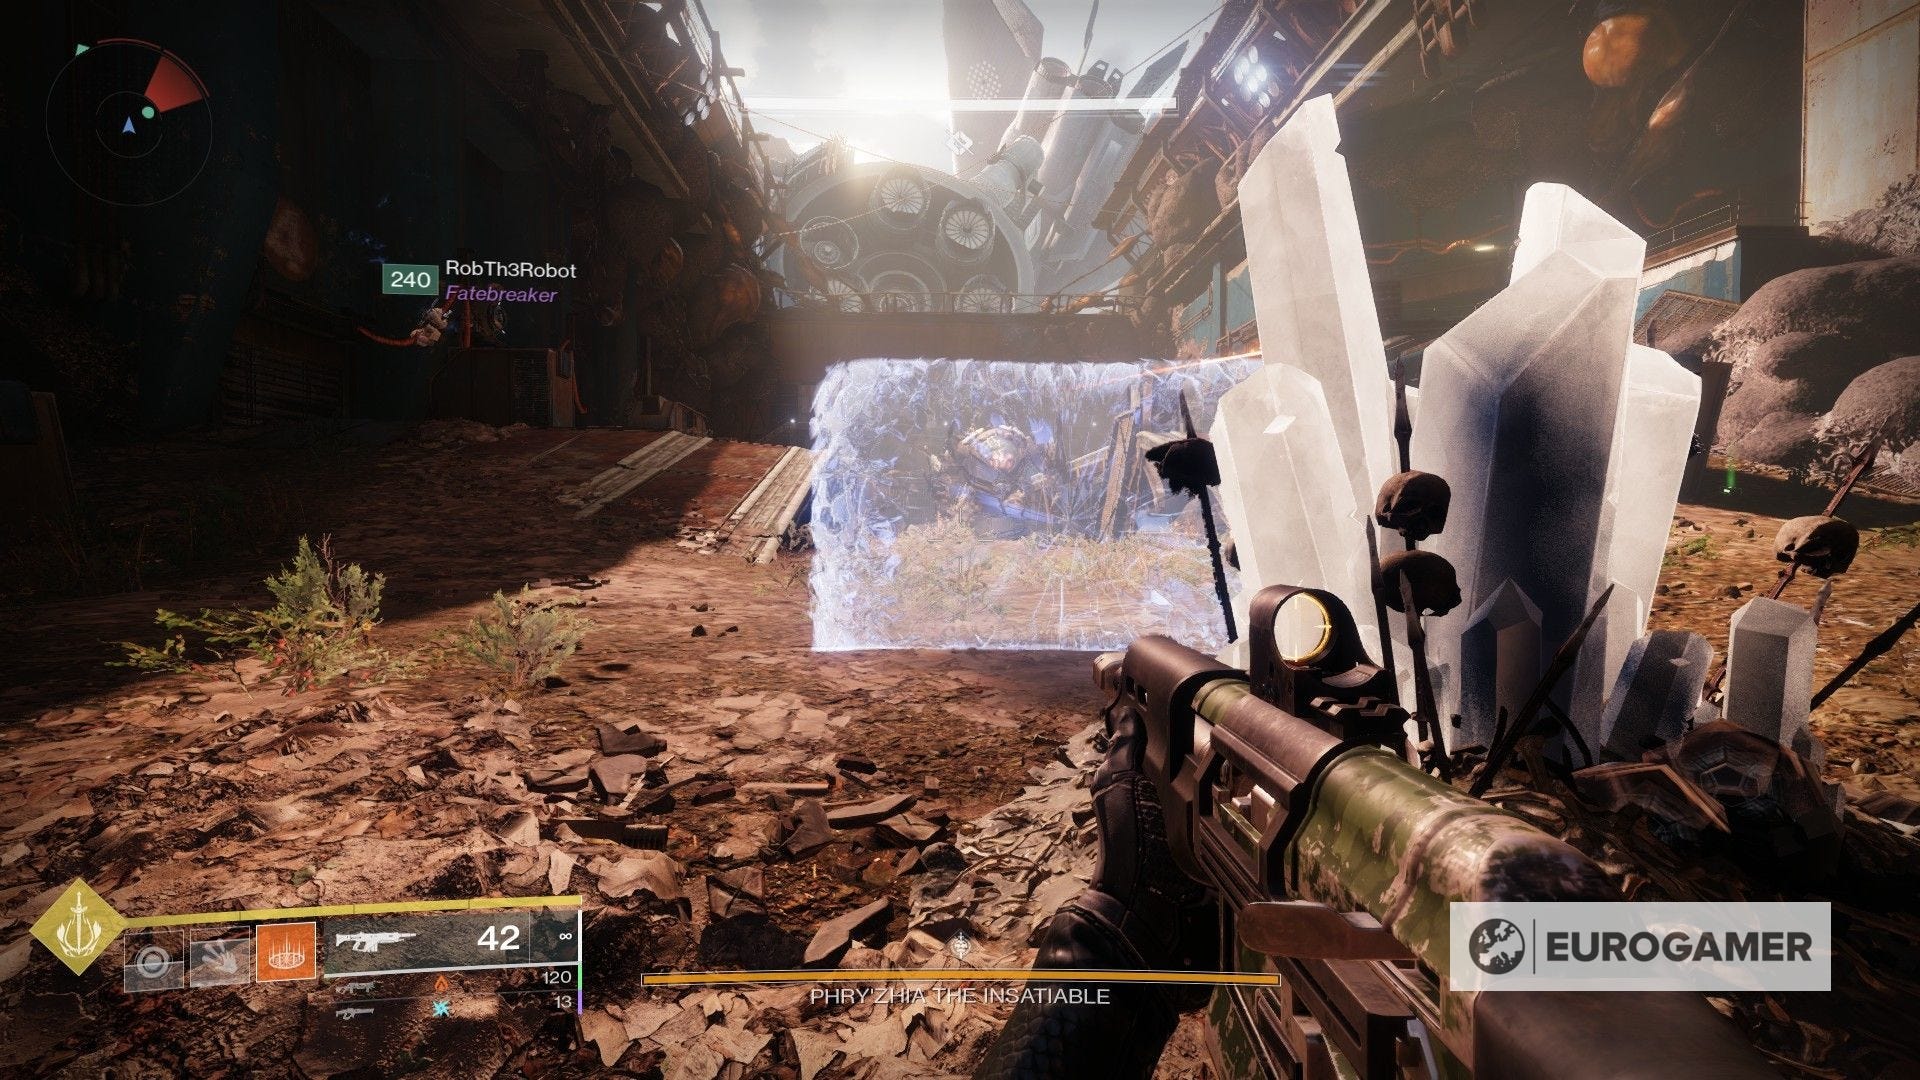
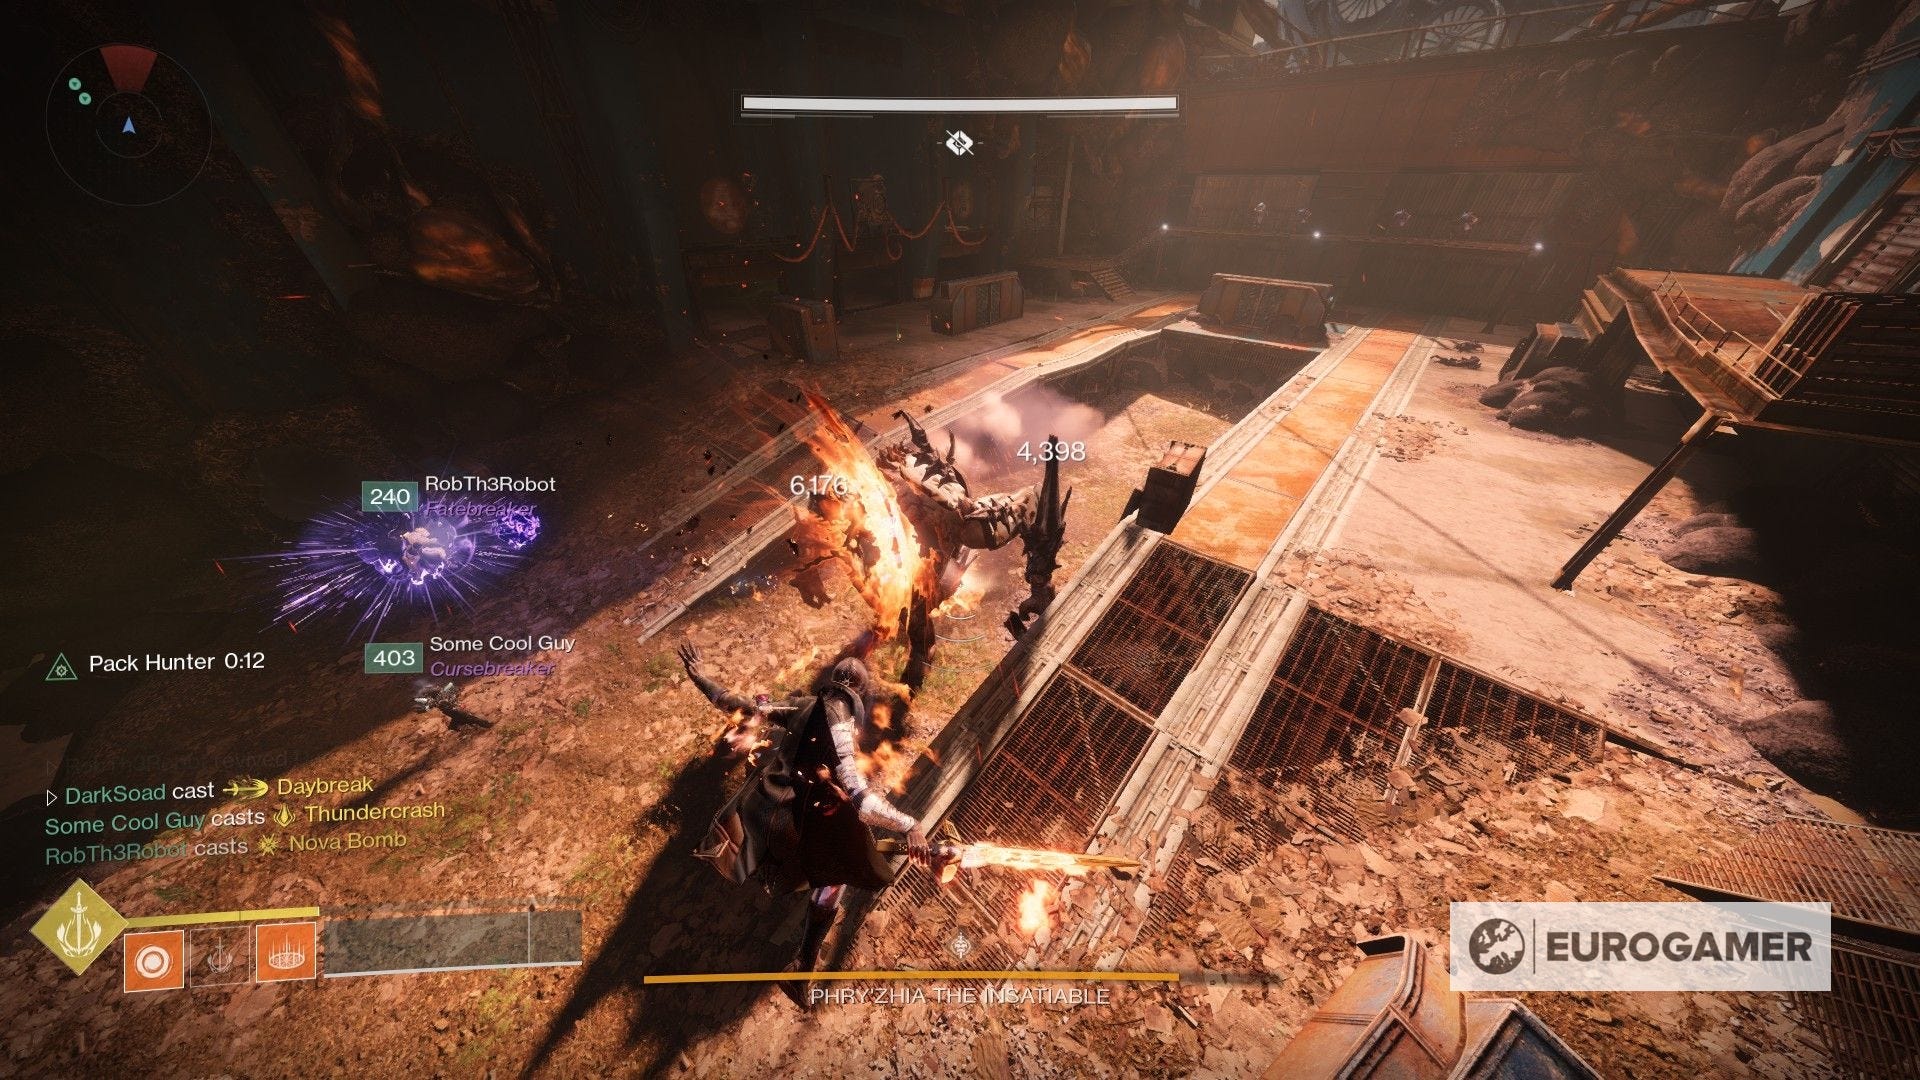
The second section is far more straightforward, as you only need to activate all switches without an specific order. After a few more minutes you will encounter the first boss. This will be reminiscent of the initial phase of the dungeon, as you'll once again have to collect orbs and take them to the crystal. Once done, you'll be able to inflict damage. Rinse and repeat until you take the boss down.
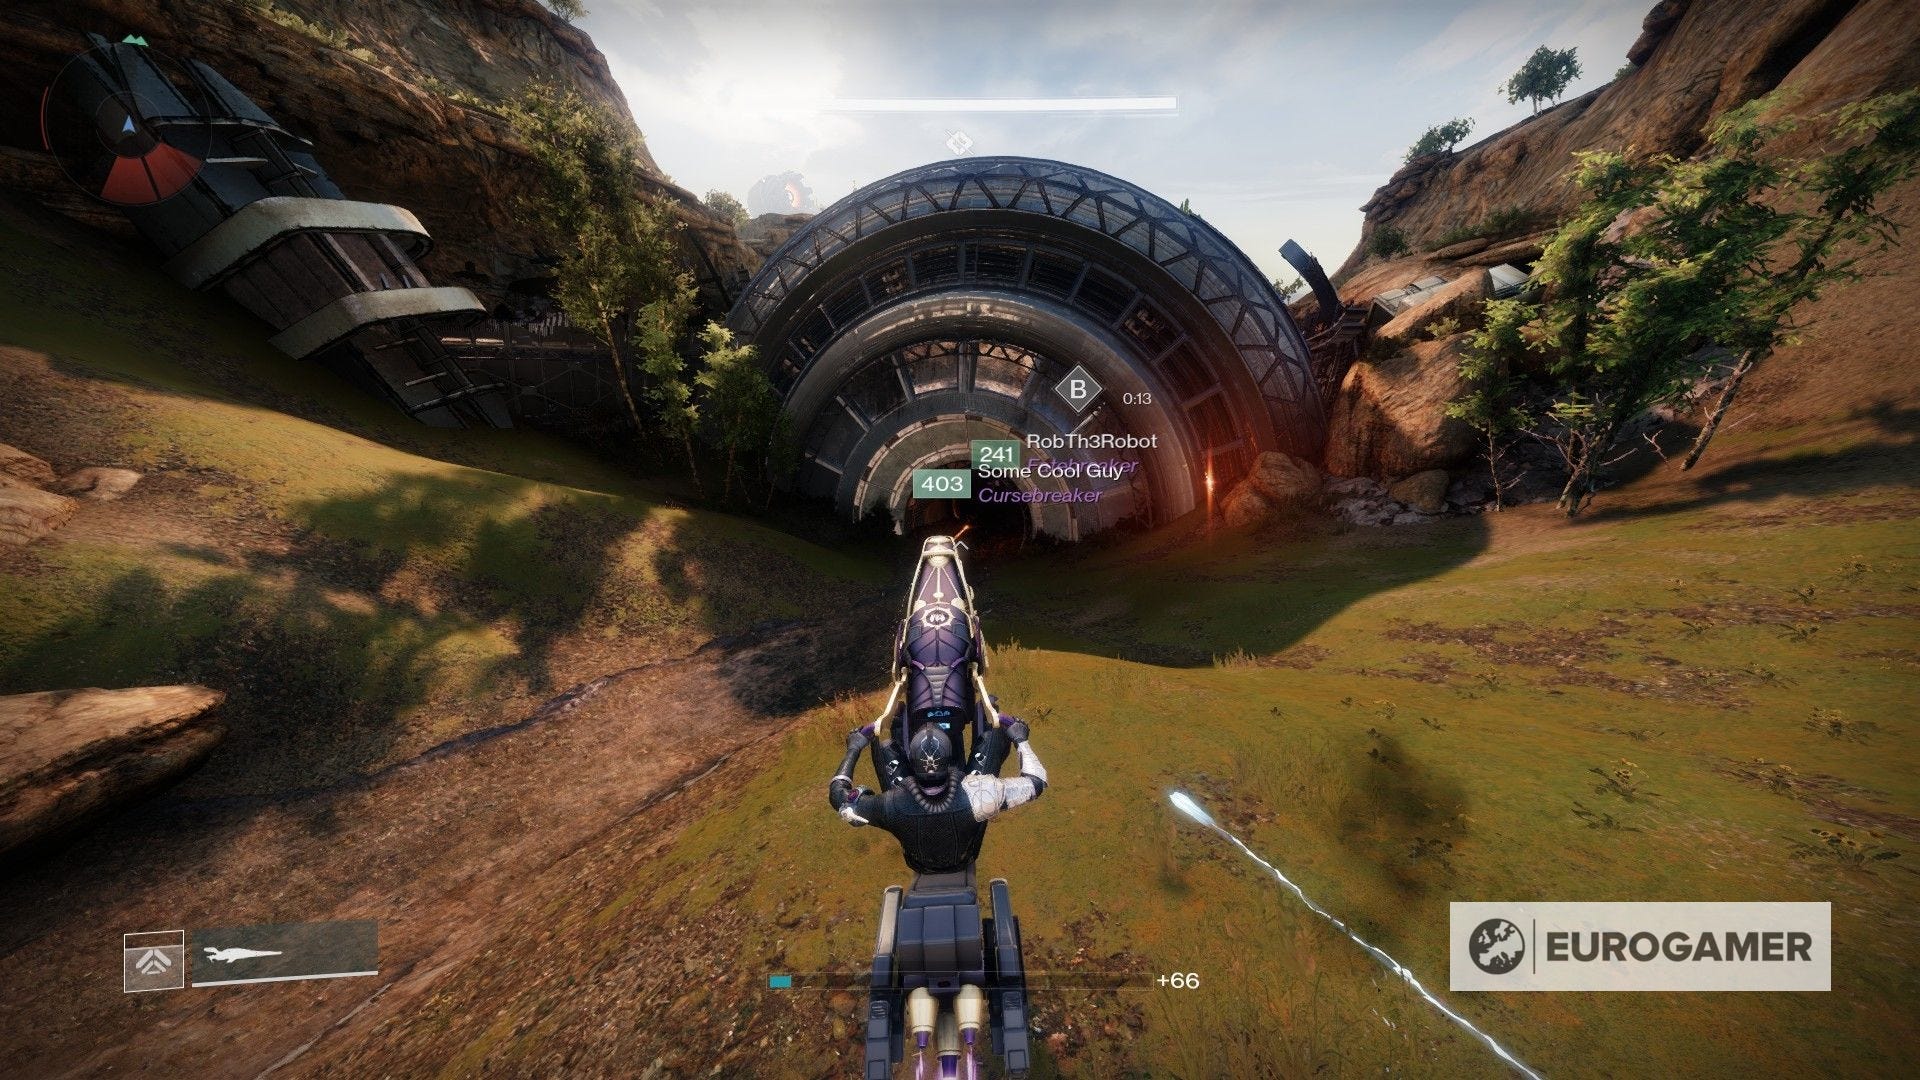
Hope you have your Sparrow ready for the next section (make sure to have one with at least 160 speed!). For this, you'll have to make a quick escapade while you activate a couple nodes along the way. It can be a bit tough as it demands a swift response on your end, so be mindful of not hitting any obstacles to avoid losing time.
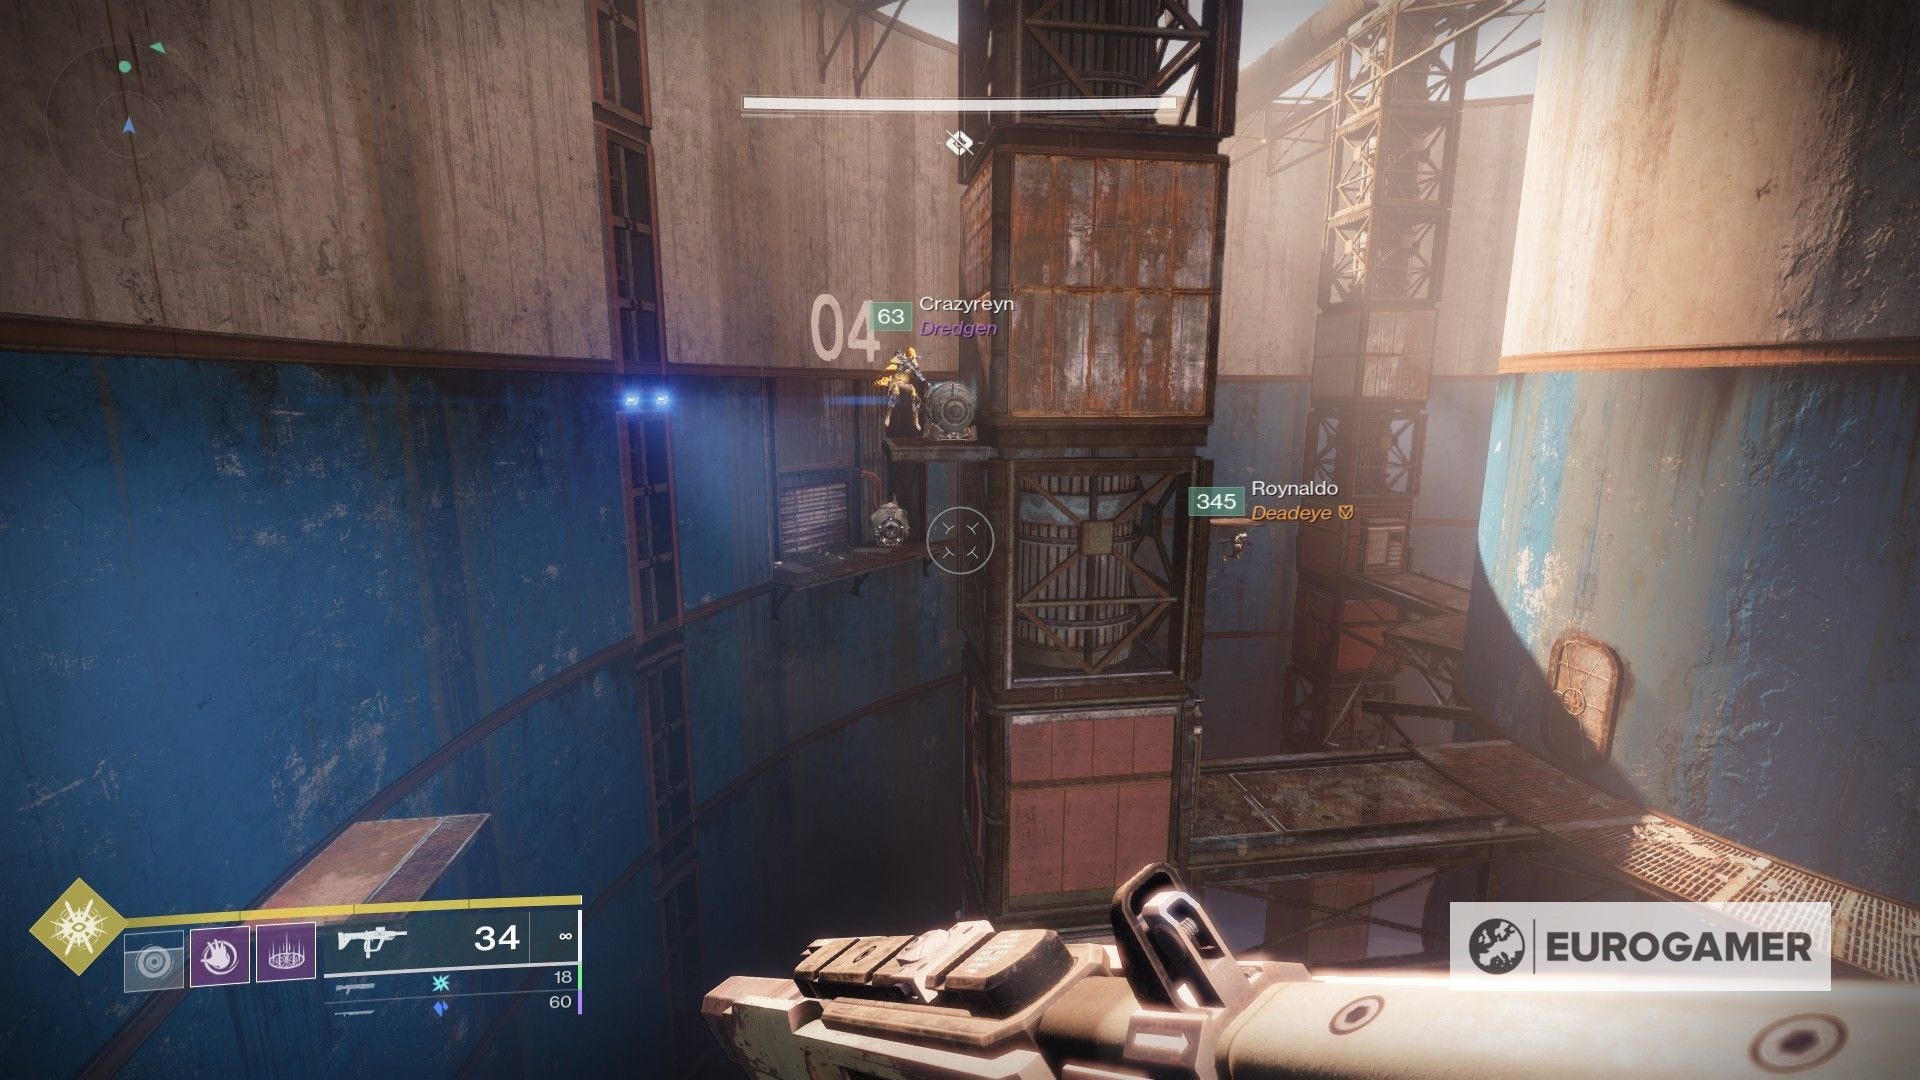
The following section involves the second boss of the dungeon. In here, the process is always the same: head to one of the islands of the area that has a Servitor floating around, kill enemies to collect orbs and deposit them at the crystal, and then destroy the Servitor once you have enough of them.
After this happens, you'll have a set timer in which you'll have manually roll the massive ball to one of the launchers. Once it's positioned, you'll have to grab a Scorch Cannon from one of the Scorch vandals. This is used to fire up terminals that are always close to the launchers. After a few seconds they will explode and activate said launcher. The ball will then fly towards the boss and hit its weakpoints.
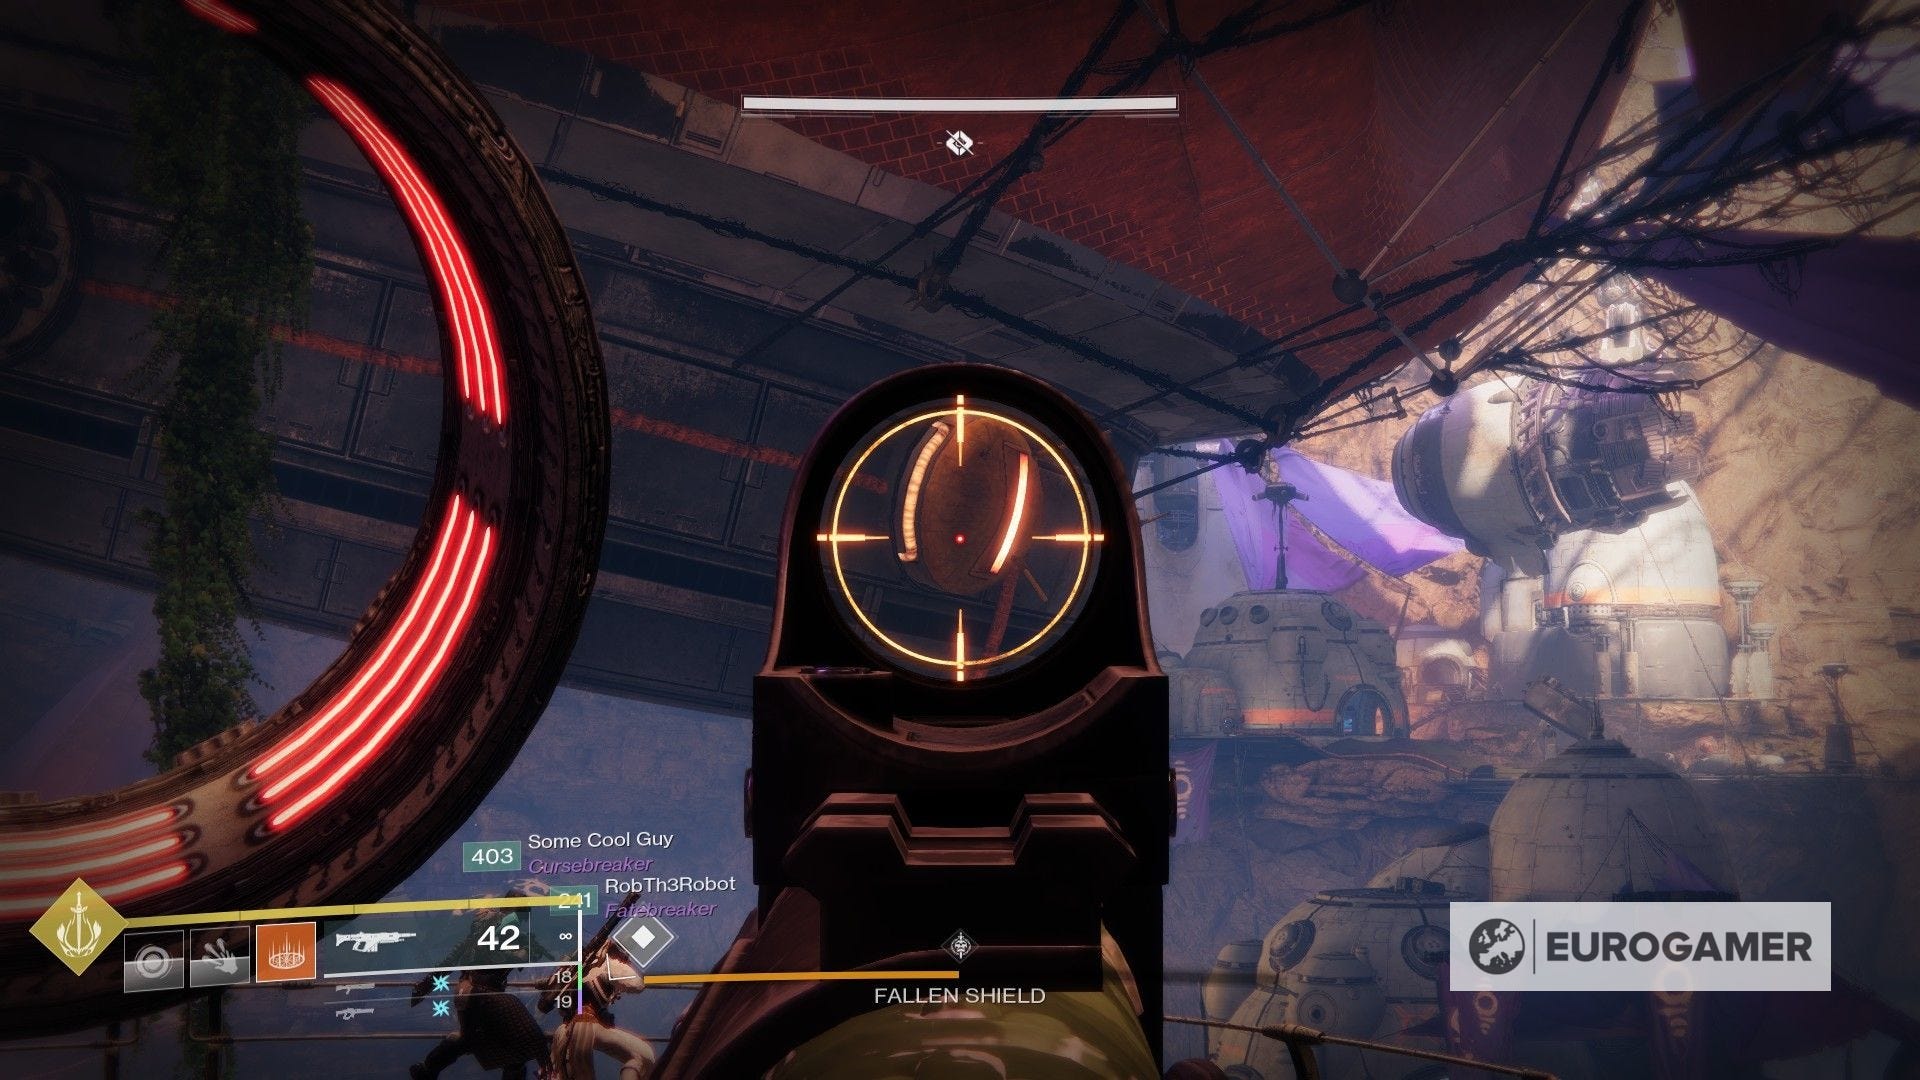
It's more time demanding than it is complicated in the mechanical sense. The hurdle comes with the fact that you also have to launch yourself and your squad to move around the area. Luckily, there is no specific order to follow - just make sure to look for islands that have a Servitor, as that will serve as an indicator of a place you haven't visited yet, from where you can strike at the boss (the orange 'orbs' around it indicate whether or not you've damage that side of it yet).
If you found this tiresome, surprise, the last boss involves a similar process - although it is thankfully much more streamlined. You'll have to use the Scorch Cannons again to destroy pillars on each side of the area, which will drop the orbs you've grown so close to during the dungeon.
Once you have them, you know what to do - deposit them at the crystal until the boss loses its shield (you'll notice this when the boss teleports itself to the centre of the arena again) and attack with all your might.
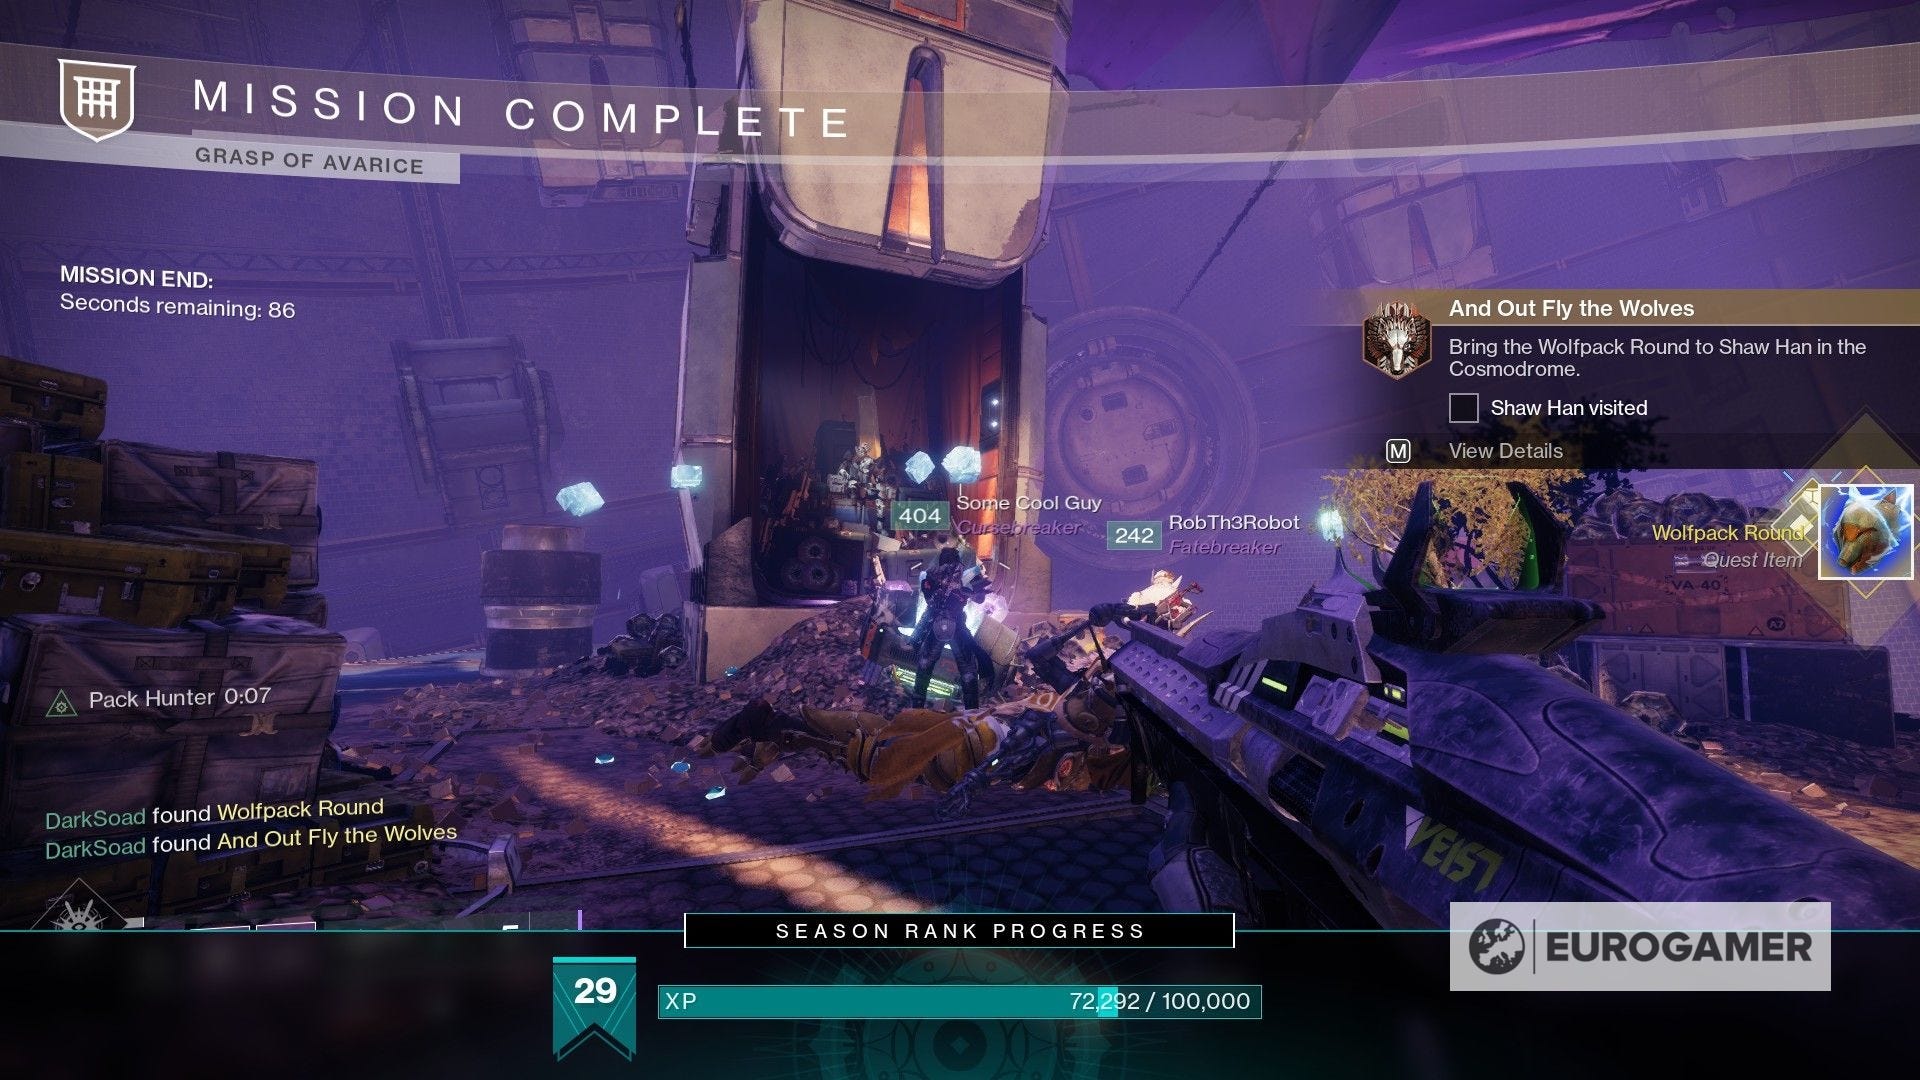
That's all for the dungeon! The next steps are fairly back and forth, but while they're easy to follow, you can speed things up a bit during one of the tasks.
Once done, you can then continue the Gjallarhorn quest. Of course, you are then welcome to complete the dungeon again for more loot...
The Season of the Deep is here alongside the Into the Depths quest. You can know go fishing too! Don't forget to keep an eye on the Lost Sector and King's Fall challenge rotation schedule!
Grasp of Avarice secret chest locations
There are two secret chests to find within the Grasp of Avarice dungeon. Both of these will give you bonus rolls of gear you have already unlocked, similar to how secret chests work in raids. (This means if you have yet to complete the first encounter, you won't receive any gear.)
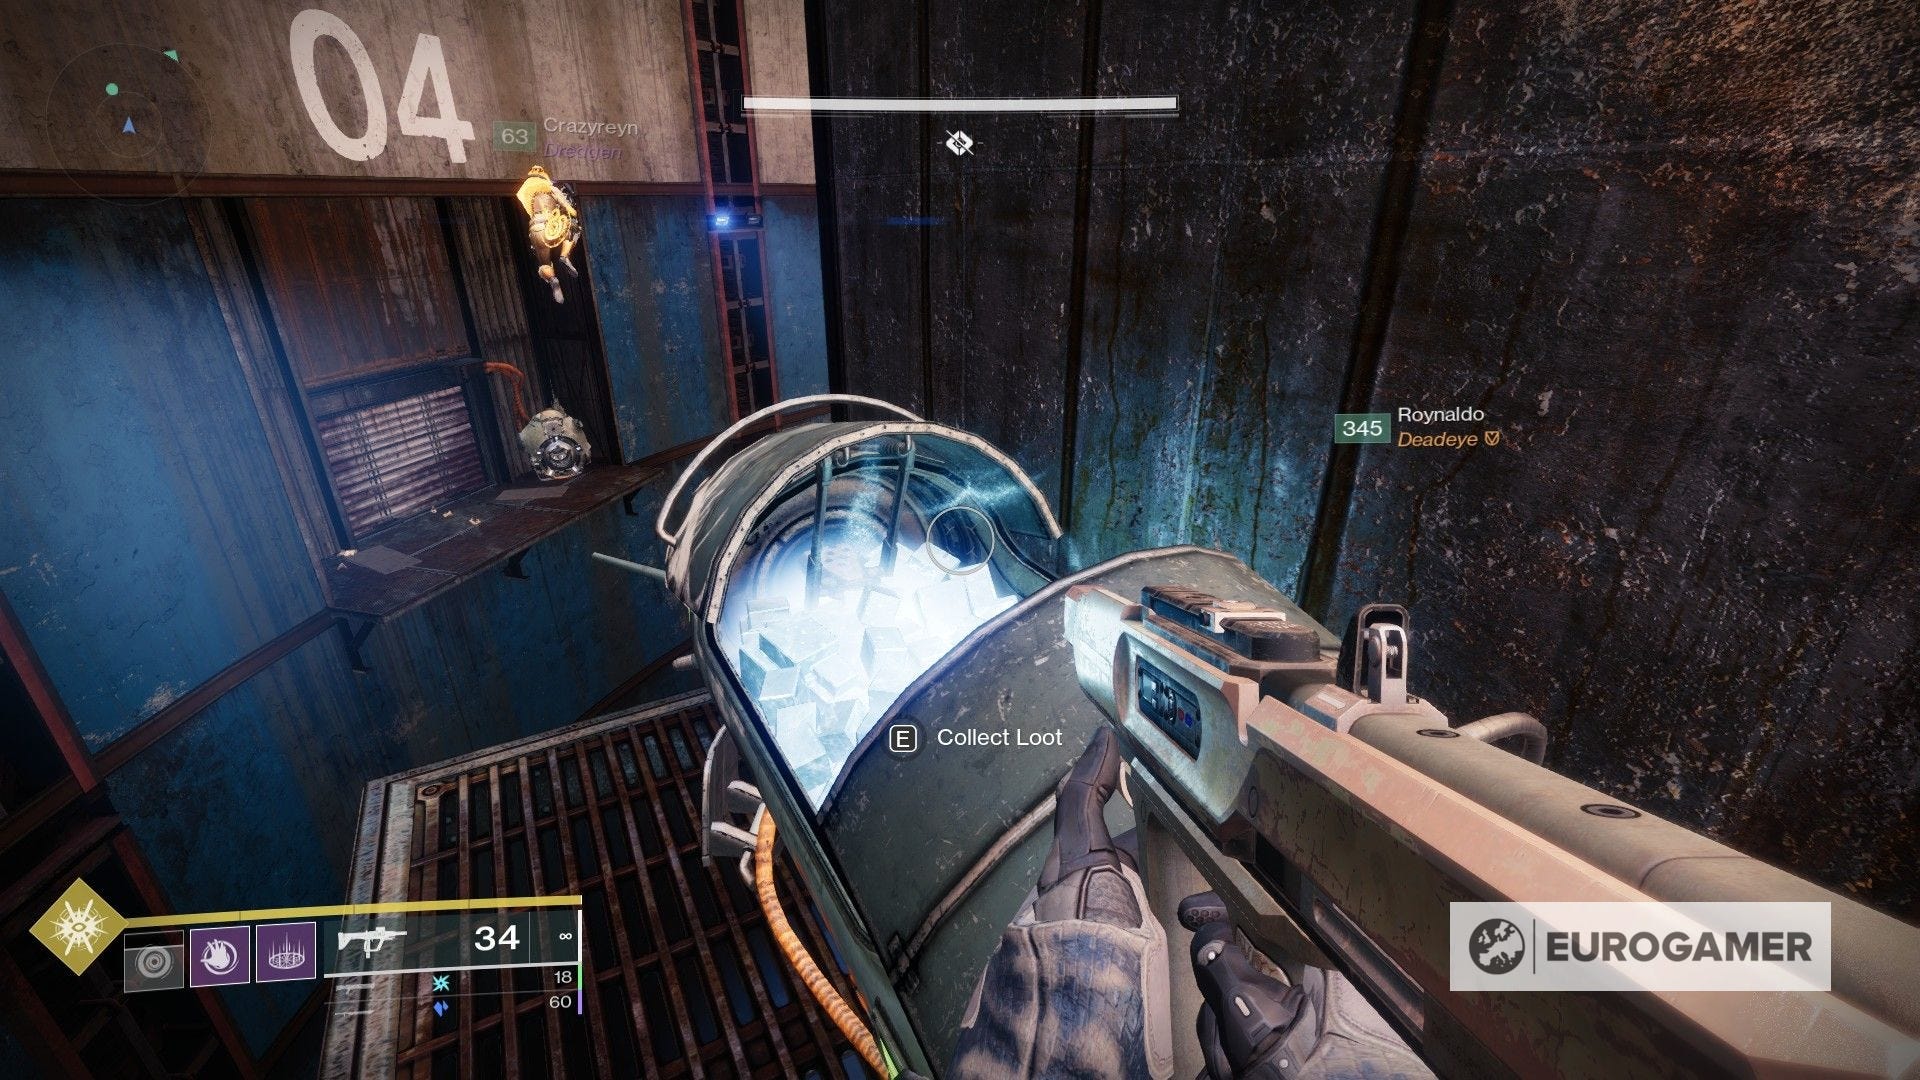
First secret chest location
When you are first introduced to the Scorch Cannon mechanic, you'll be in a cylindrical room with numbers on the walls. Just past number four will be a column between the inner and outer areas.
Here, on the outer side, is a chest up on a ledge against the column.
Second secret chest location
Once you have completed the Sparrow section, and have defused the final 'D' mine, you'll be in the hollowed out skull. Don't progress further into the dungeon yet. You'll want to climb up to the left 'eye' of the skull where you'll find the chest. Use the crystal ledges on the left to help you reach up.