Destiny 2 Expunge missions: Locations and how to start Expunge: Delphi explained
Hope you enjoy platforming!

Destiny 2's Expunge is a series of missions for Season of the Splicer season pass holders.
Expunge is set in the Vex Network and has introduced new missions - or at least changes to existing ones - rolled on a weekly basis throughout the season.
First introduced on the weekly reset for May 25th, 2021, this page explains how to start Expunge: Labyrinth, Expunge: Styx, Expunge: Tartarus, Expunge: Corrupted Labyrinth, Expunge: Corrupted Styx, Expunge: Corrupted Tartarus and Expunge: Delphi, as well as what the missions entail and the rewards on offer.
On this page:
- Expunge mission locations: How to start the Expunge missions in Destiny 2
- How the Expunge: Labyrinth quest works in Destiny 2
- How the Expunge: Styx quest works in Destiny 2
- How the Expunge: Tartarus quest works in Destiny 2
- How the Expunge: Corrupted Labyrinth quest works in Destiny 2
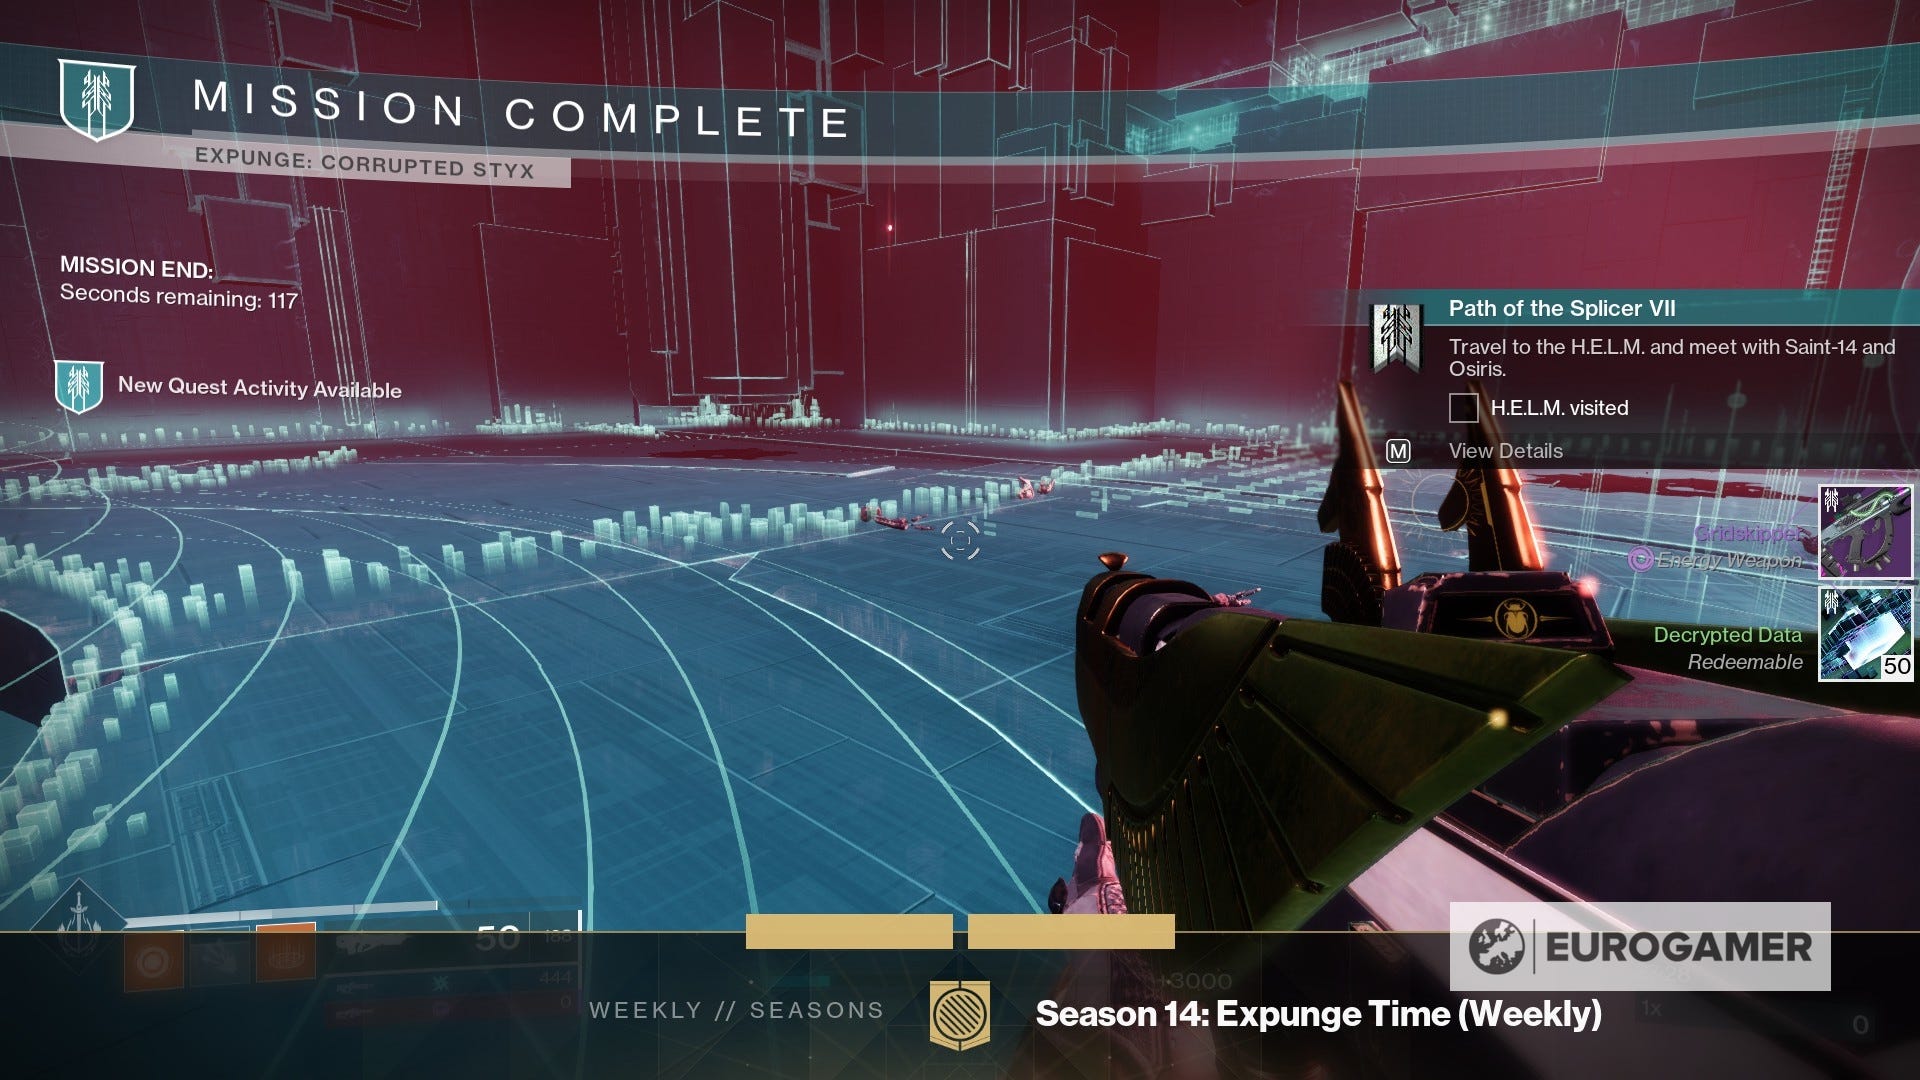
- How the Expunge: Corrupted Styx quest works in Destiny 2
- How the Expunge: Corrupted Tartarus quest works in Destiny 2
- How the Expunge: Delphi quest works in Destiny 2
- Expunge rewards and what we know of future Expunge missions in Destiny 2

Expunge mission locations: How to start the Expunge missions in Destiny 2
Each Expunge mission is part of the ongoing Path of the Splicer questline, which each week debuting a new mission.
The Expunge missions roll out as part of the following quest steps, and can be found at the respective destination screens:
- Path of the Splicer 3: Labyrinth (Tangled Shore)
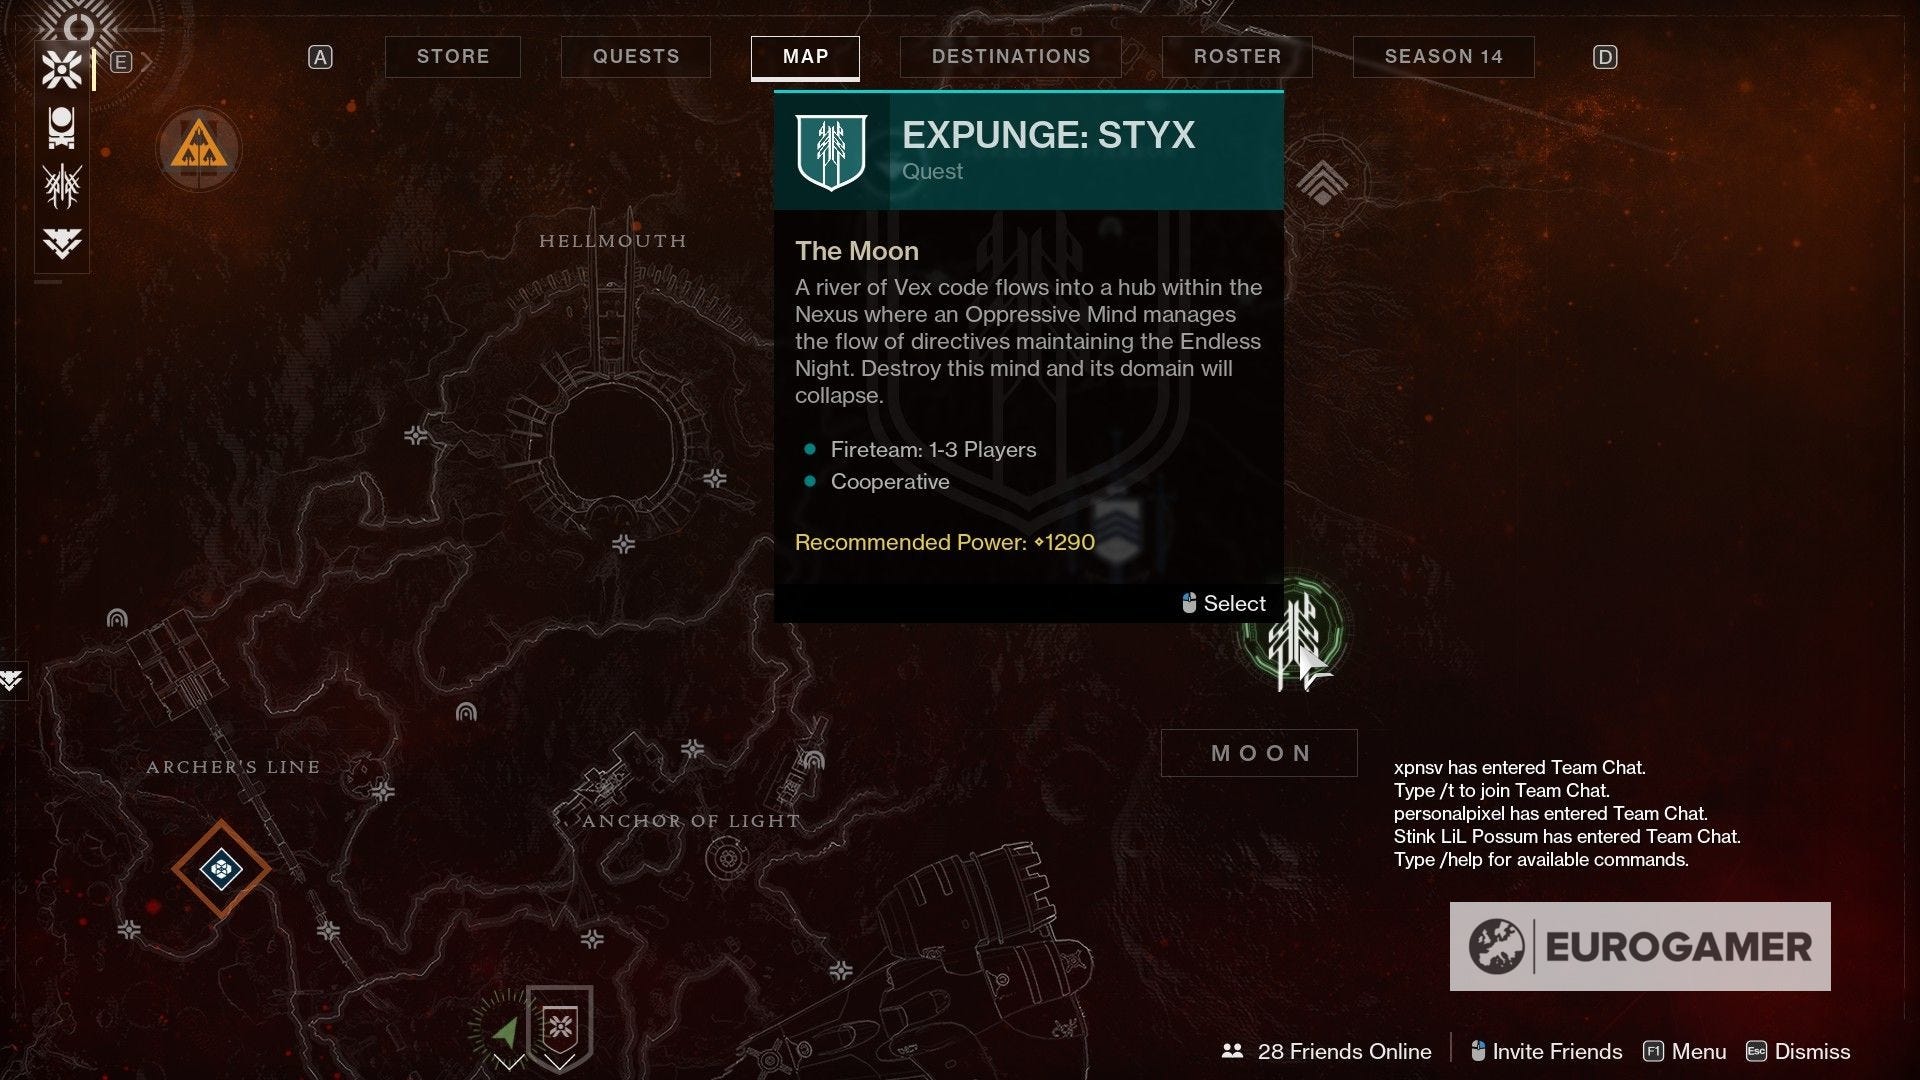
- Path of the Splicer 4: Styx (Moon)
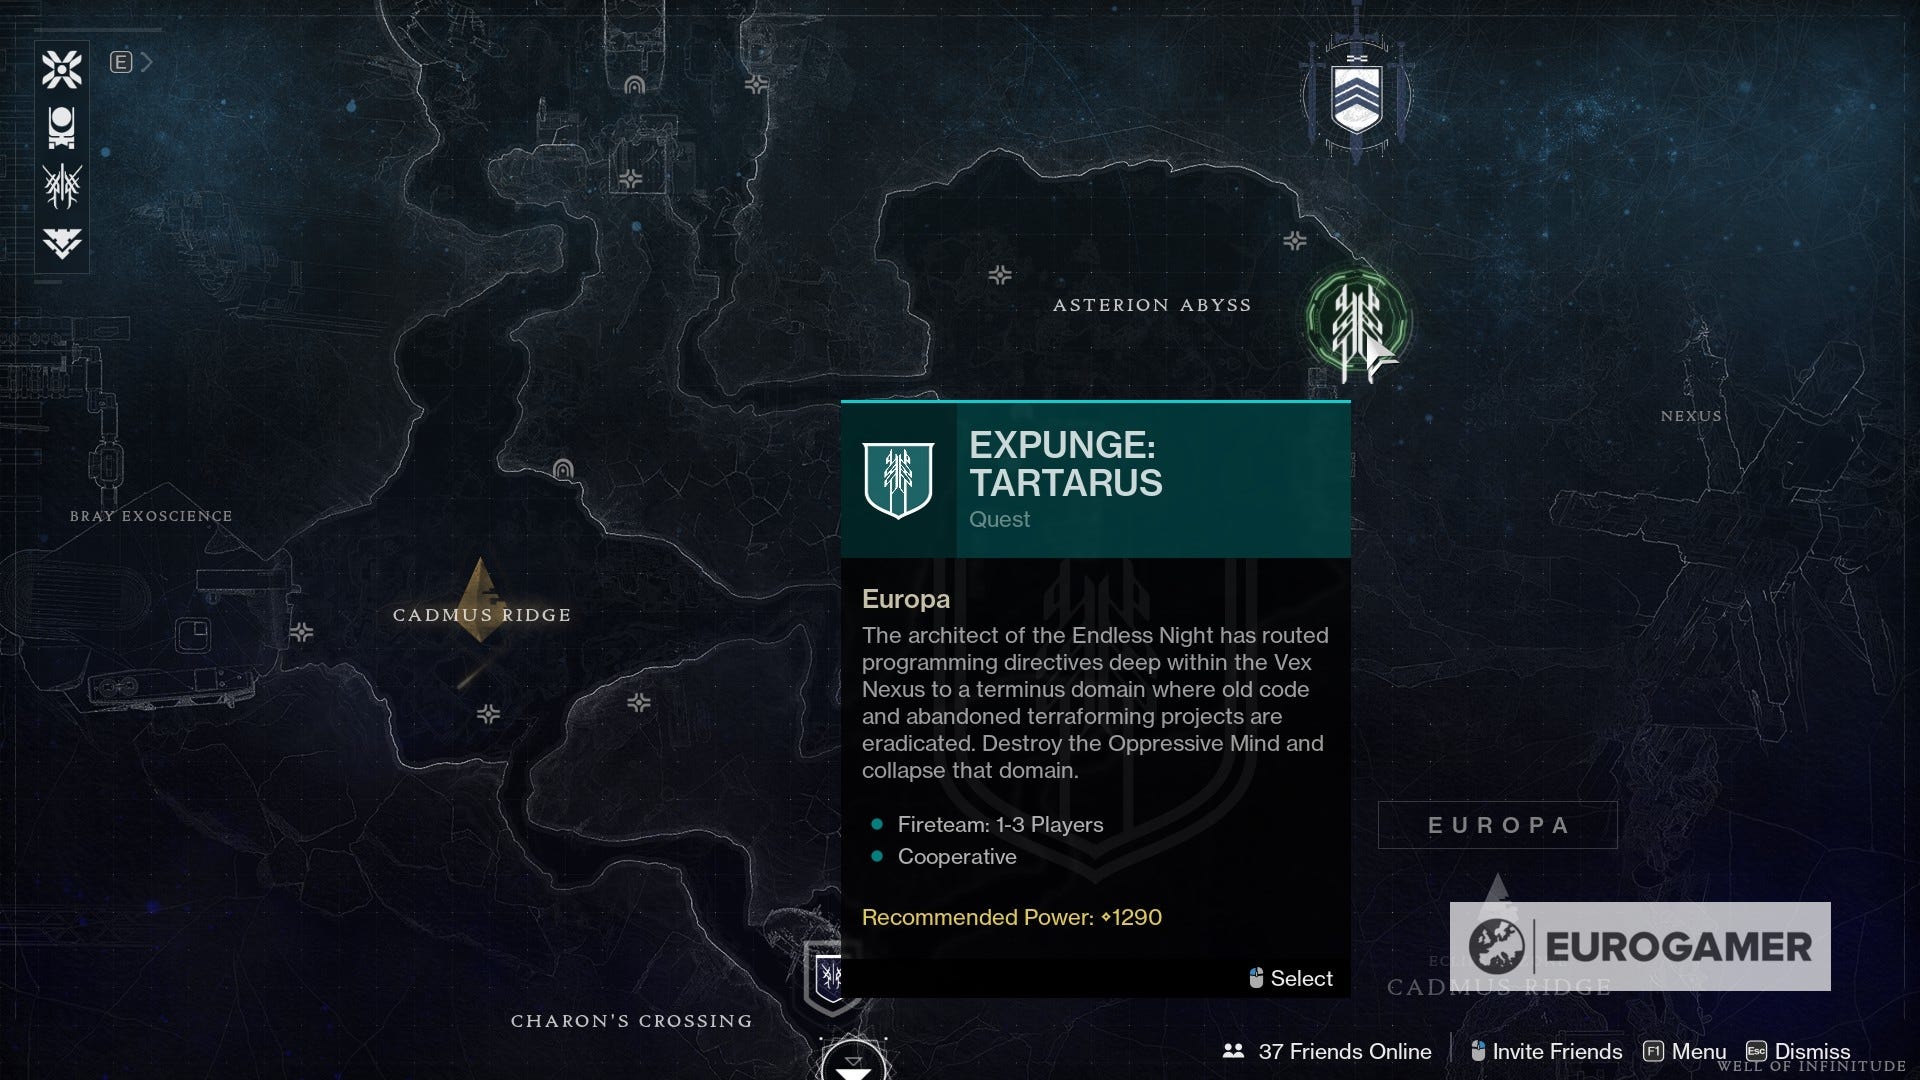
- Path of the Splicer 5: Tartarus (Europa)
- Path of the Splicer 6: Corrupted Labyrinth (Tangled Shore)
- Path of the Splicer 7: Corrupted Styx (Moon)
- Path of the Splicer 8: Corrupted Tartarus and Delphi (Europa)
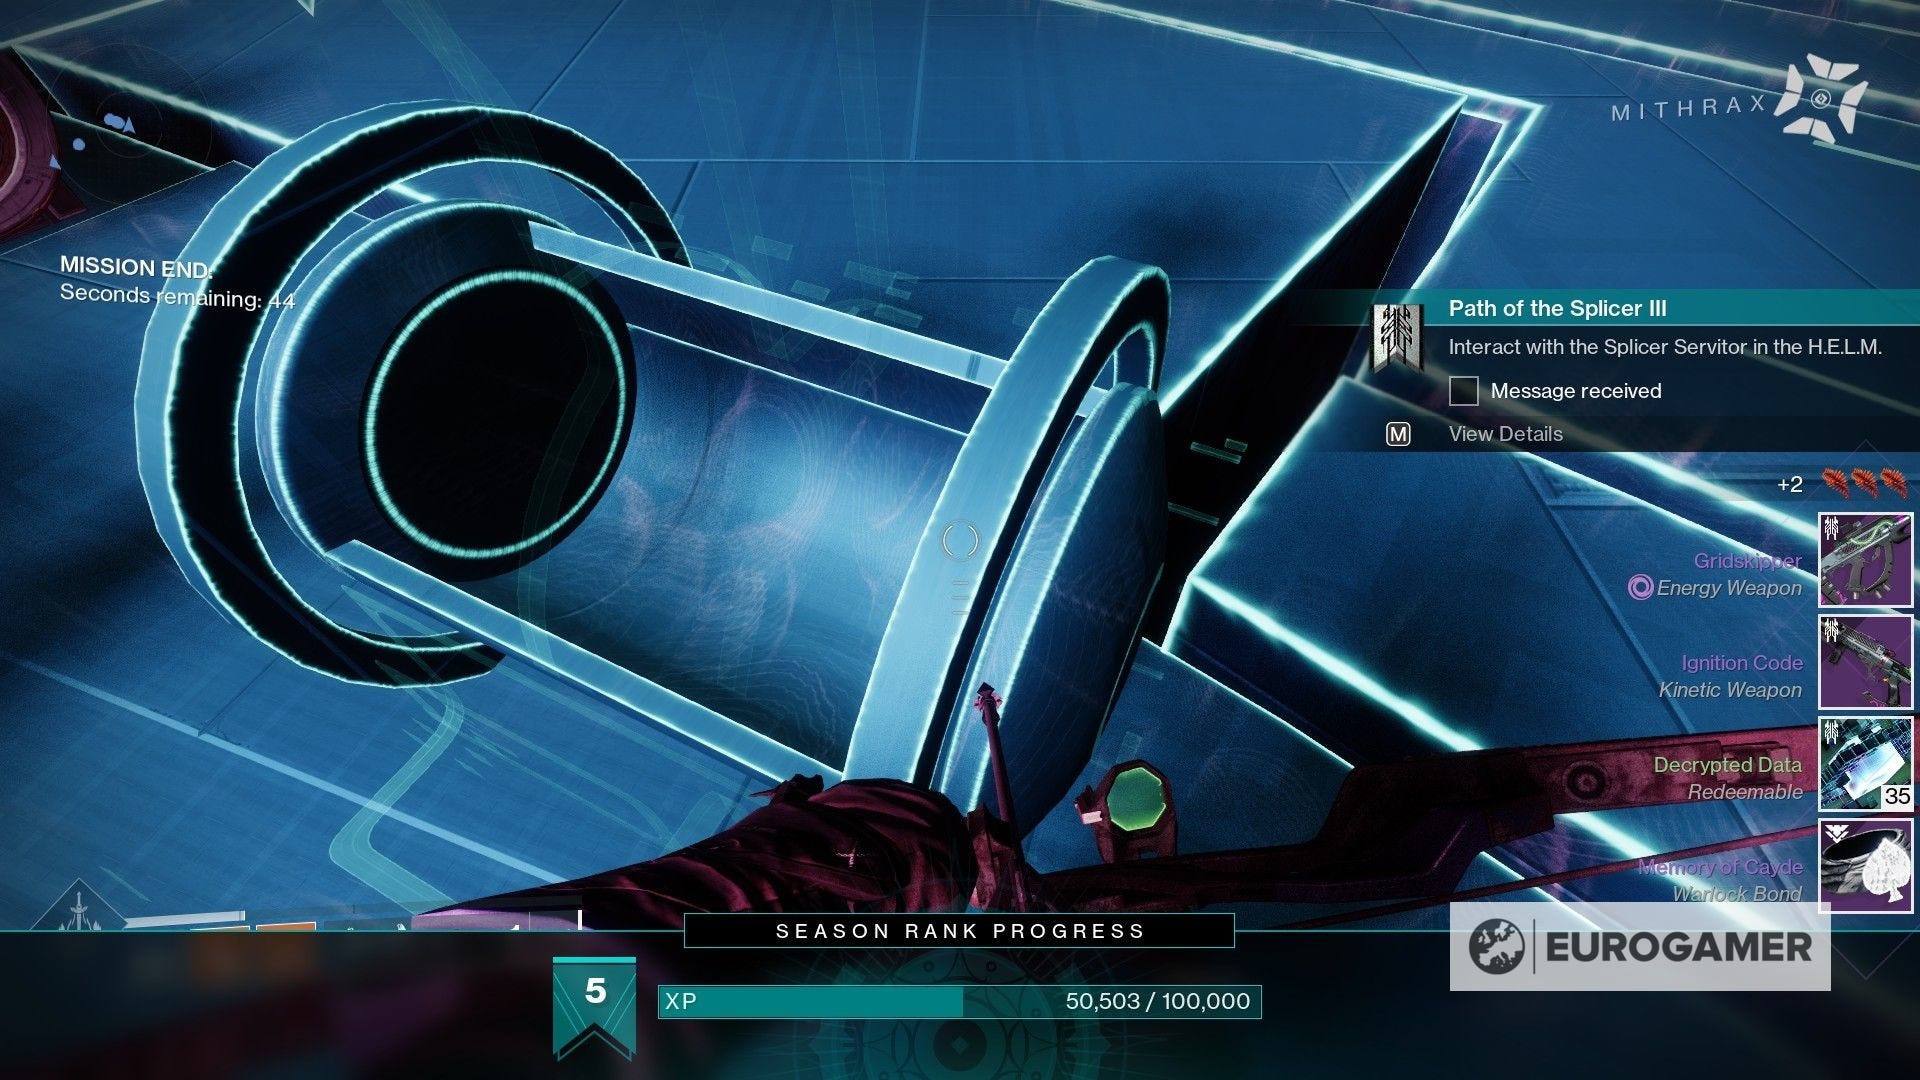
Unlocking the missions works the same each time; after talking to the Splicer Servitor, you must complete the weekly Override mission (accessed from the H.E.L.M. destination tab).

Before jumping into matchmaking, make sure to have at least one Key Code crafted beforehand. Along with completing Override, you're tasked with opening a Conflux Chest at the end using said item.
When you open the Conflux Chest - it's located to the side of the regular boss chest (if another player has already 'opened' it, don't worry, interact with it all the same with the prompt on screen), either the next quest step, or the one after that, will unlock the Expunge mission.
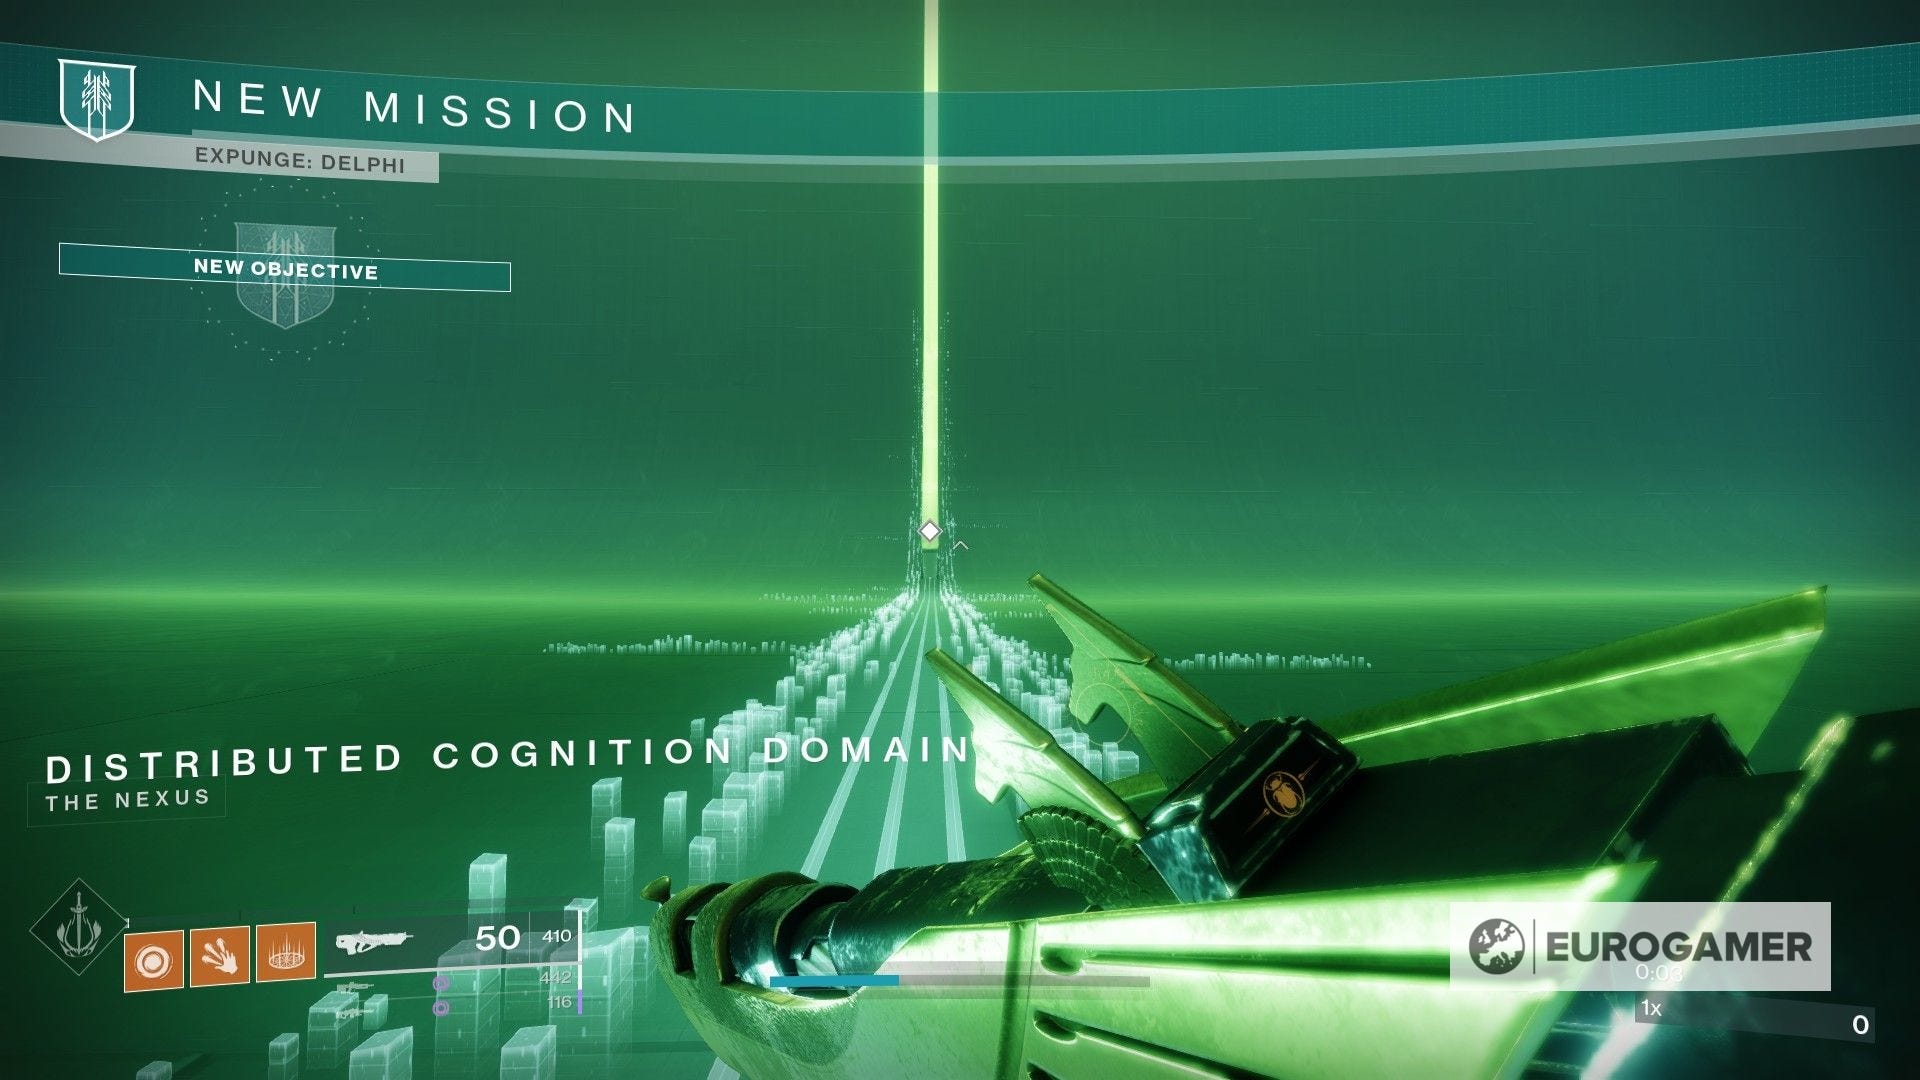
You can then find each respective mission on the director screen when they unlock, as shown in the gallery below:
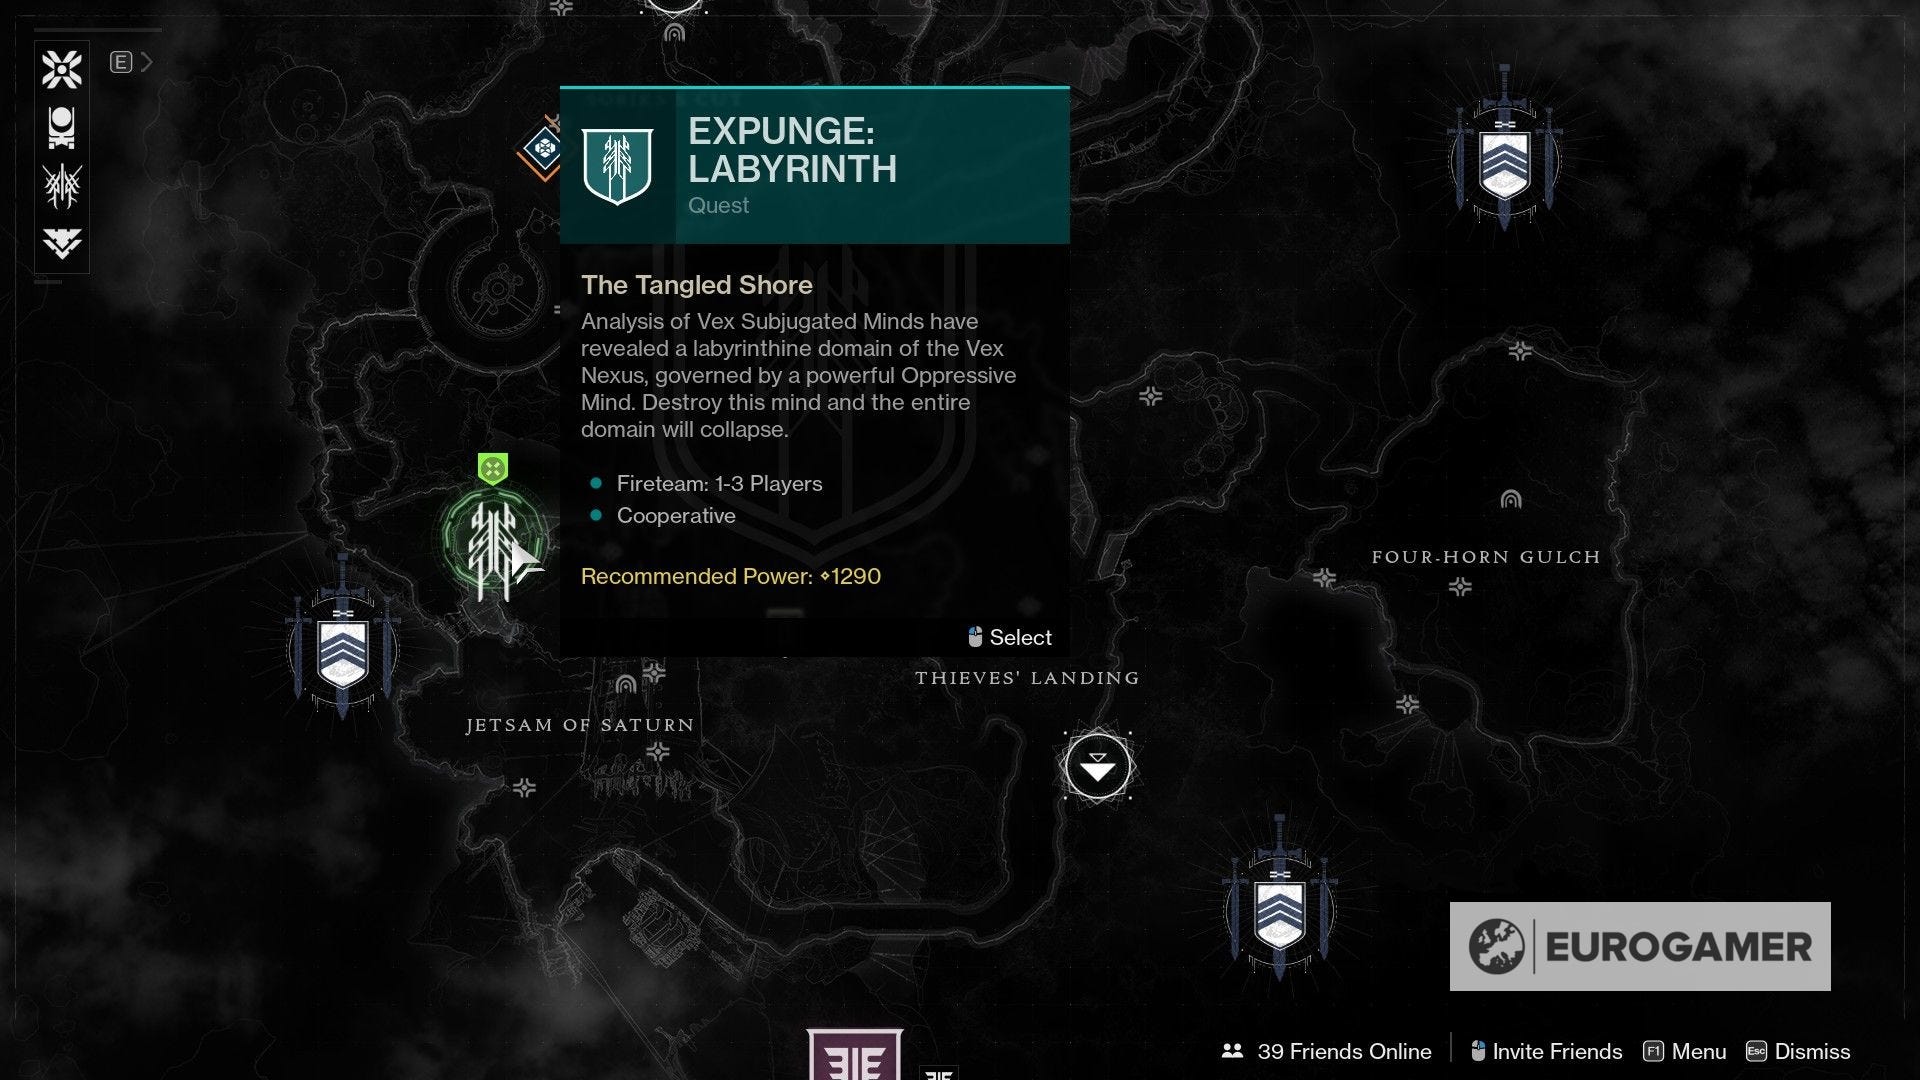
How the Expunge: Labyrinth quest works in Destiny 2
The Expunge: Labyrinth mission is closer to Beyond Light's Exo Challenges or the Interference missions from 2020's Season of Arrivals than recent Harbinger and Season of the Chosen's Presage quests, in that it's part of a wider questline and doesn't result in an Exotic at the end of the Vex tunnel.
The mission itself, however, does offer some similarities with those recent quests - in that you can expect some light puzzle solving, plenty of platforming and, of course, several combat encounters.
The first mission, Expunge: Labyrinth, has you exploring a different side of the Vex Network, presented as a rather maze-like set of corridors and floating platforms. Objectives vary from moving through the labyrinth, facing Barrier Champions, and depositing Data Spikes as you rush through the levels to get to the deposit stations.

We hope you have been practicing your acrobatic skills in past Override missions, as this one will certainly test them in new ways.
Expunge: Labyrinth is a short and straightforward enough mission that a walkthrough isn't required, but some tips from us include:
- If you've been ignoring Splicer Gauntlet upgrades up to this point, then this is the time to pay attention to them. Upgrades like Codestrider and Codebreaker (the one you obtain when accepting the mission) will prove immensely helpful when navigating the puzzles.
- Make sure to time your mid air jumps correctly - give yourself some time beforehand, especially when you're falling down to what seems like small surfaces at first, as they will most likely be long corridors that are being blocked by another structure.
- Keep an eye opened for floating orbs that you can shoot at, since they will make surfaces appear after being destroyed.
- If you meet the recommended power level (1290) it's likely that you'll be able to withstand the attack from regular enemies. If that's the case, once you have the Data Spike on your hands, make a run for it and deposit the data as soon as possible. You can take down the Vex later.
In terms of requirement, the mission has a 1290 power level recommendation. You can either group up or do it solo, as it won't present a massive challenge. We recommend doing a regular run exploring the labyrinth before attempting to do it on your own. If you're looking to add an extra difficulty layer, the seasonal challenge 'Expedited Expunge' tasks you with completing the mission in 10 minutes or less.
You can see how to do this as part of a significant (and tricky to pull off) shortcut from Esoterickk on YouTube, as well as the start and end of the mission performed solo:

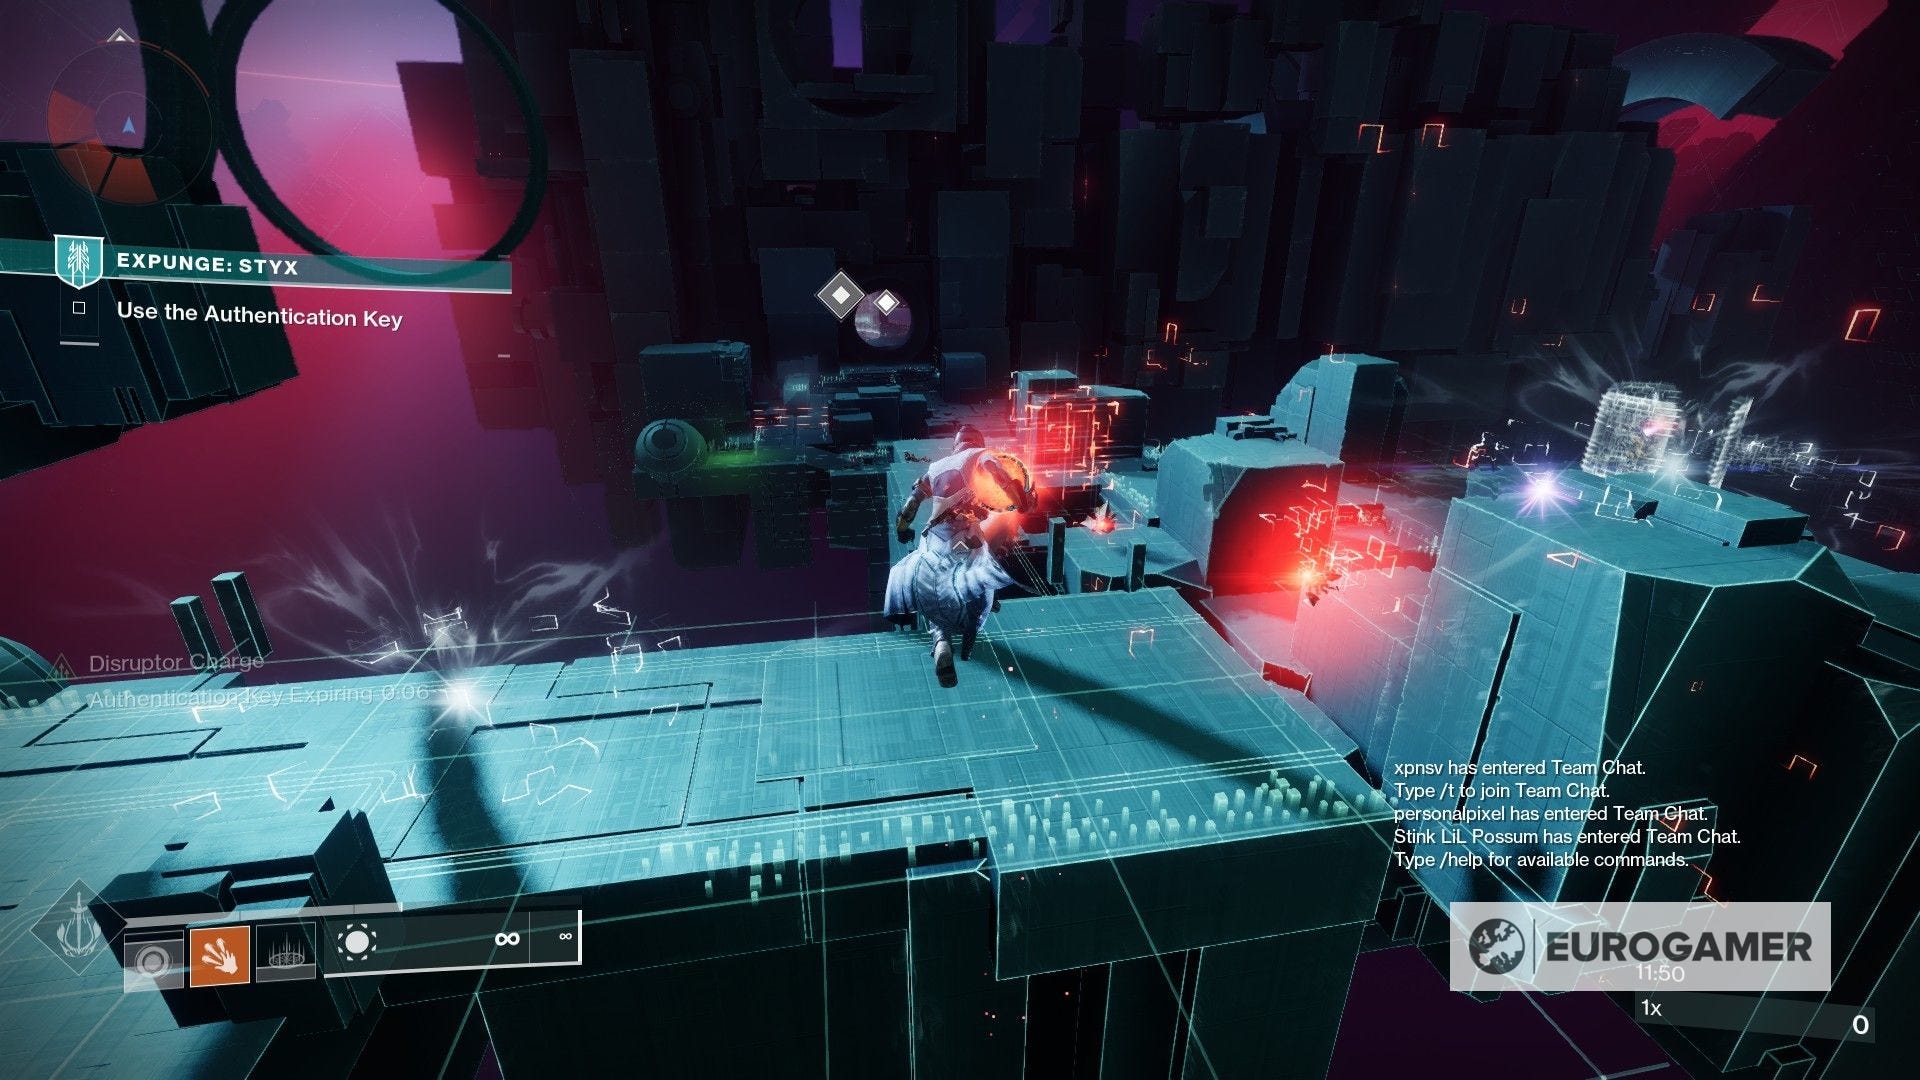
How the Expunge: Styx quest works in Destiny 2
The Expunge: Styx mission is closer to Beyond Light's Exo Challenges or the Interference missions from 2020's Season of Arrivals than recent Harbinger and Season of the Chosen's Presage quests, in that it's part of a wider questline and doesn't result in an Exotic at the end of the Vex tunnel.
If you'd like a closer comparison, Expunge: Labyrinth serves as a good example. There are variations here and there, but it retains much of its familiarity. While the former had you traversing through a maze-like set of corridors and platforms, this one is all about powering and using a total of three keys.
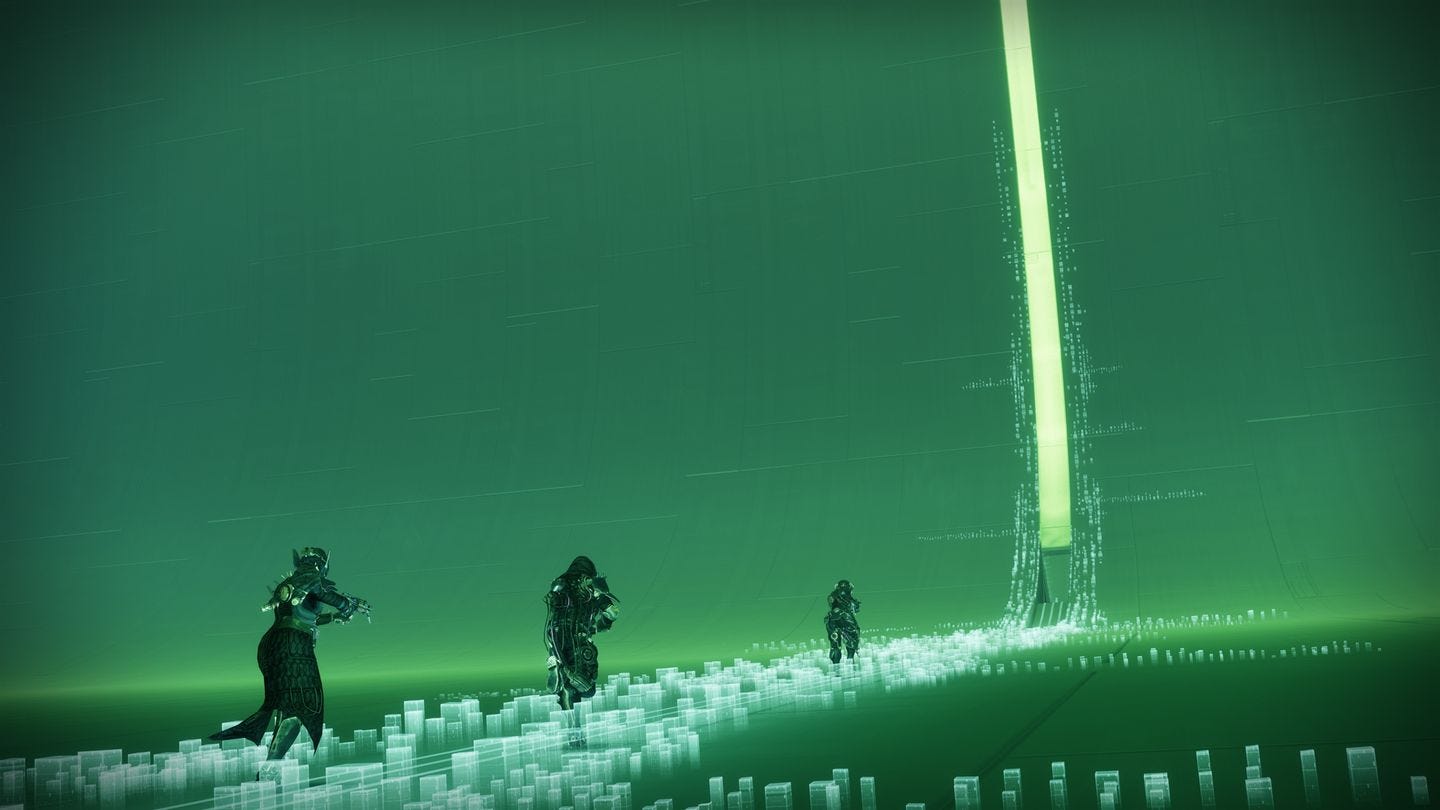
For starters, the first part of the mission is identical to Labyrinth, in which you'll have to make your way through moving gaps in the level. From there, you'll recognize the long corridor with the moving lasers. Exit the area and you'll begin to see the new Styx side of Expunge.
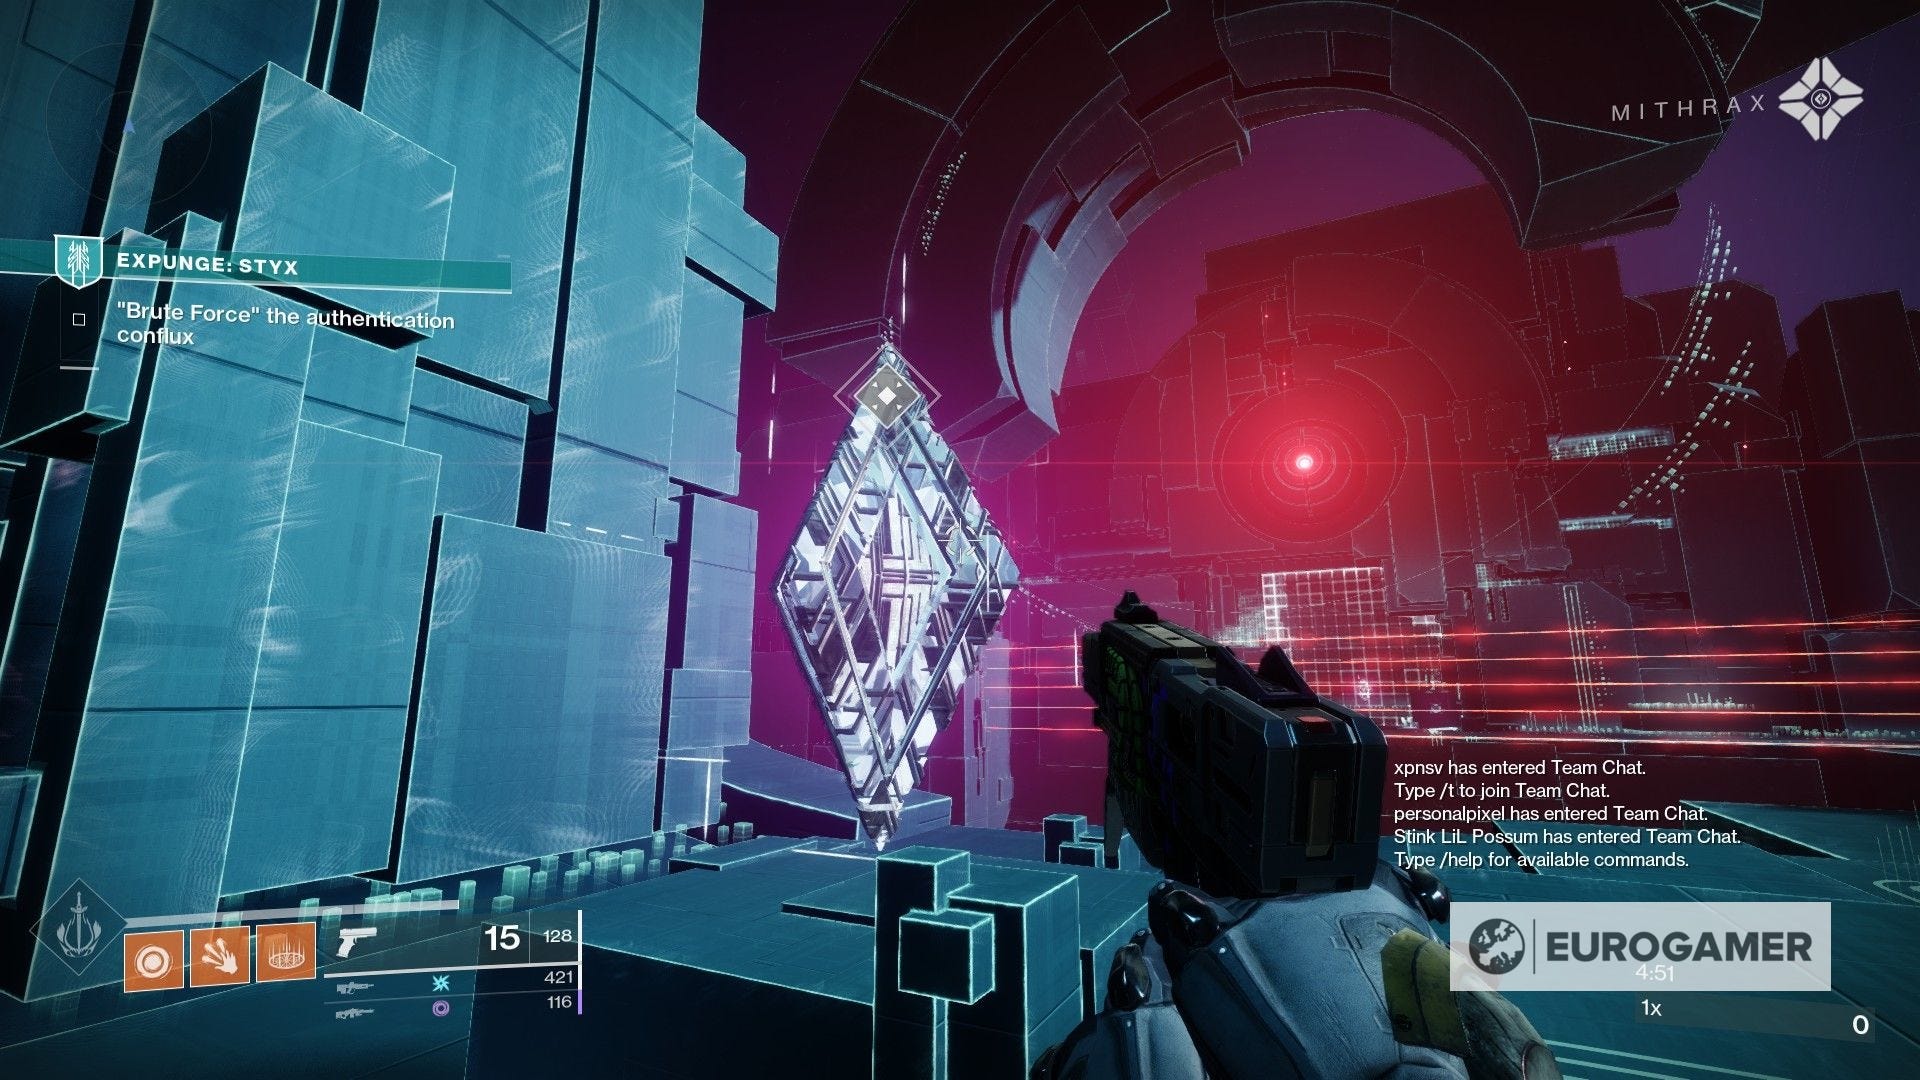
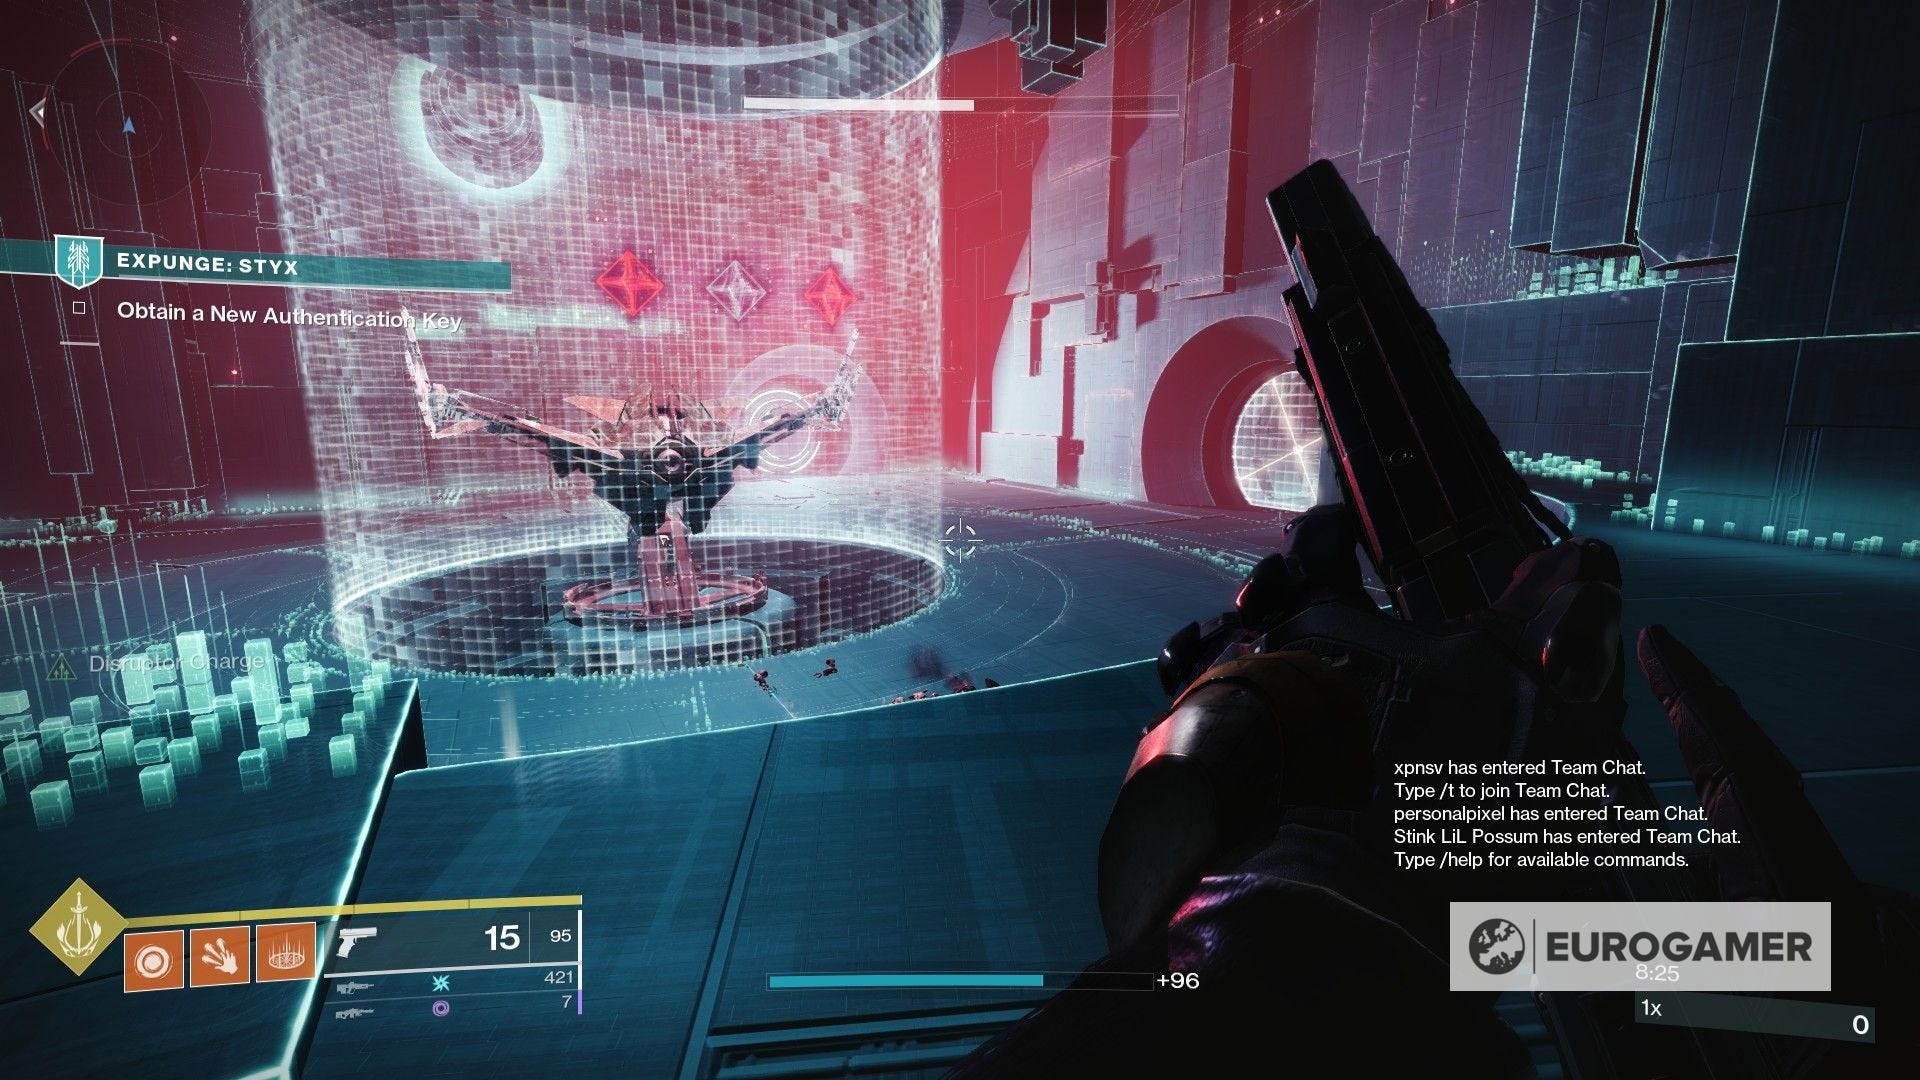
It's rather straightforward from here. You'll have to damage a pair of floating fragments until they become a key. Then, you'll have to take that key with you towards a data terminal.
There are floating light blue cubes that act as checkpoints - you only need to move across them to activate them. If you die, the key will now respawn there, so you can pick right where you left off. You'll have to repeat this a total of three times to unlock the final encounter.
Expunge: Styx might be kinder than we were expecting, but some tips from us include:
- Once more, if you've been ignoring Splicer Gauntlet upgrades up to this point, this is the time to change that. Upgrades like Codestrider and Codebreaker will prove immensely helpful when navigating Expunge.
- The long corridor with the moving laser is daunting, but you should take it step by step. As soon as you're able to move out of the main way and hide behind a wall, stay there even if the lasers aren't coming and just hold in place. You'll make it across in no time!
- We recommend for either you or another person in the squad to carry a sniper rifle, as there are many enemies who will pester you from a long distance and can be rather annoying.

- In a similar fashion our advice for Labyrinth, we recommend you to just make quick escapades instead of trying to take down all enemies to make a safe route to traverse with the key. Reinforcements will appear shortly either way, so it's best to just get to the nearest checkpoint instead.
- The key will expire after a few seconds, but passing through the floating orbs to create a checkpoint will reset that timer - we even managed to get one key from point A to B without dying, but don't worry if you are taken down as the checkpoints will help to shorten the distance.
- You can easily double jump to get past the laser walls, but if not possible, you'll see platforms around them every time, which are a good alternative.
- The final encounter might be tough, but it's possible to use a upper location that is just across the boss' location, which has a pillar on the left that can be used for cover in case you need a breather.
- Lastly, keep in mind that once the boss is at half health, you will have to power a fragment and create a key to deposit across the room. Lasers will appear, but if you follow our tips above, you'll be back into the fight in the blink of an eye.


Aside from some lasers and the odd platform here and there, you shouldn't have any problem doing this either with a group or solo, even if you're below the 1290 Power Level requirement. Sadly, there is no Expedited challenge this time around, where you would previously be tasked with completing the Expunge in 10 minutes or less.
How the Expunge: Tartarus quest works in Destiny 2
Tartarus is similar to previous Expunge missions; there are variations here and there, but it retains much of its familiarity. In fact, this one is even more straightforward, leading you to shoot at objects in the levels to unlock firewalls.

The first part of the mission is identical to both Labyrinth and Styx, in which you'll have to make your way through moving gaps in the level. If you were already getting used to dodging the laser wall and carefully planning your jumps, then it should be easy enough. After you exit the area, you'll begin to see the new Tartarus section of Expunge.
The main element here involved hacking spots and floating objects that you'll have to destroy in order to unlock firewalls to proceed. In simpler words, all you have to do is approach the big white structures of Vex code, hack them, and the spot will now be lightened. Stay there for a couple seconds and you'll gain the Stability Security Access status.
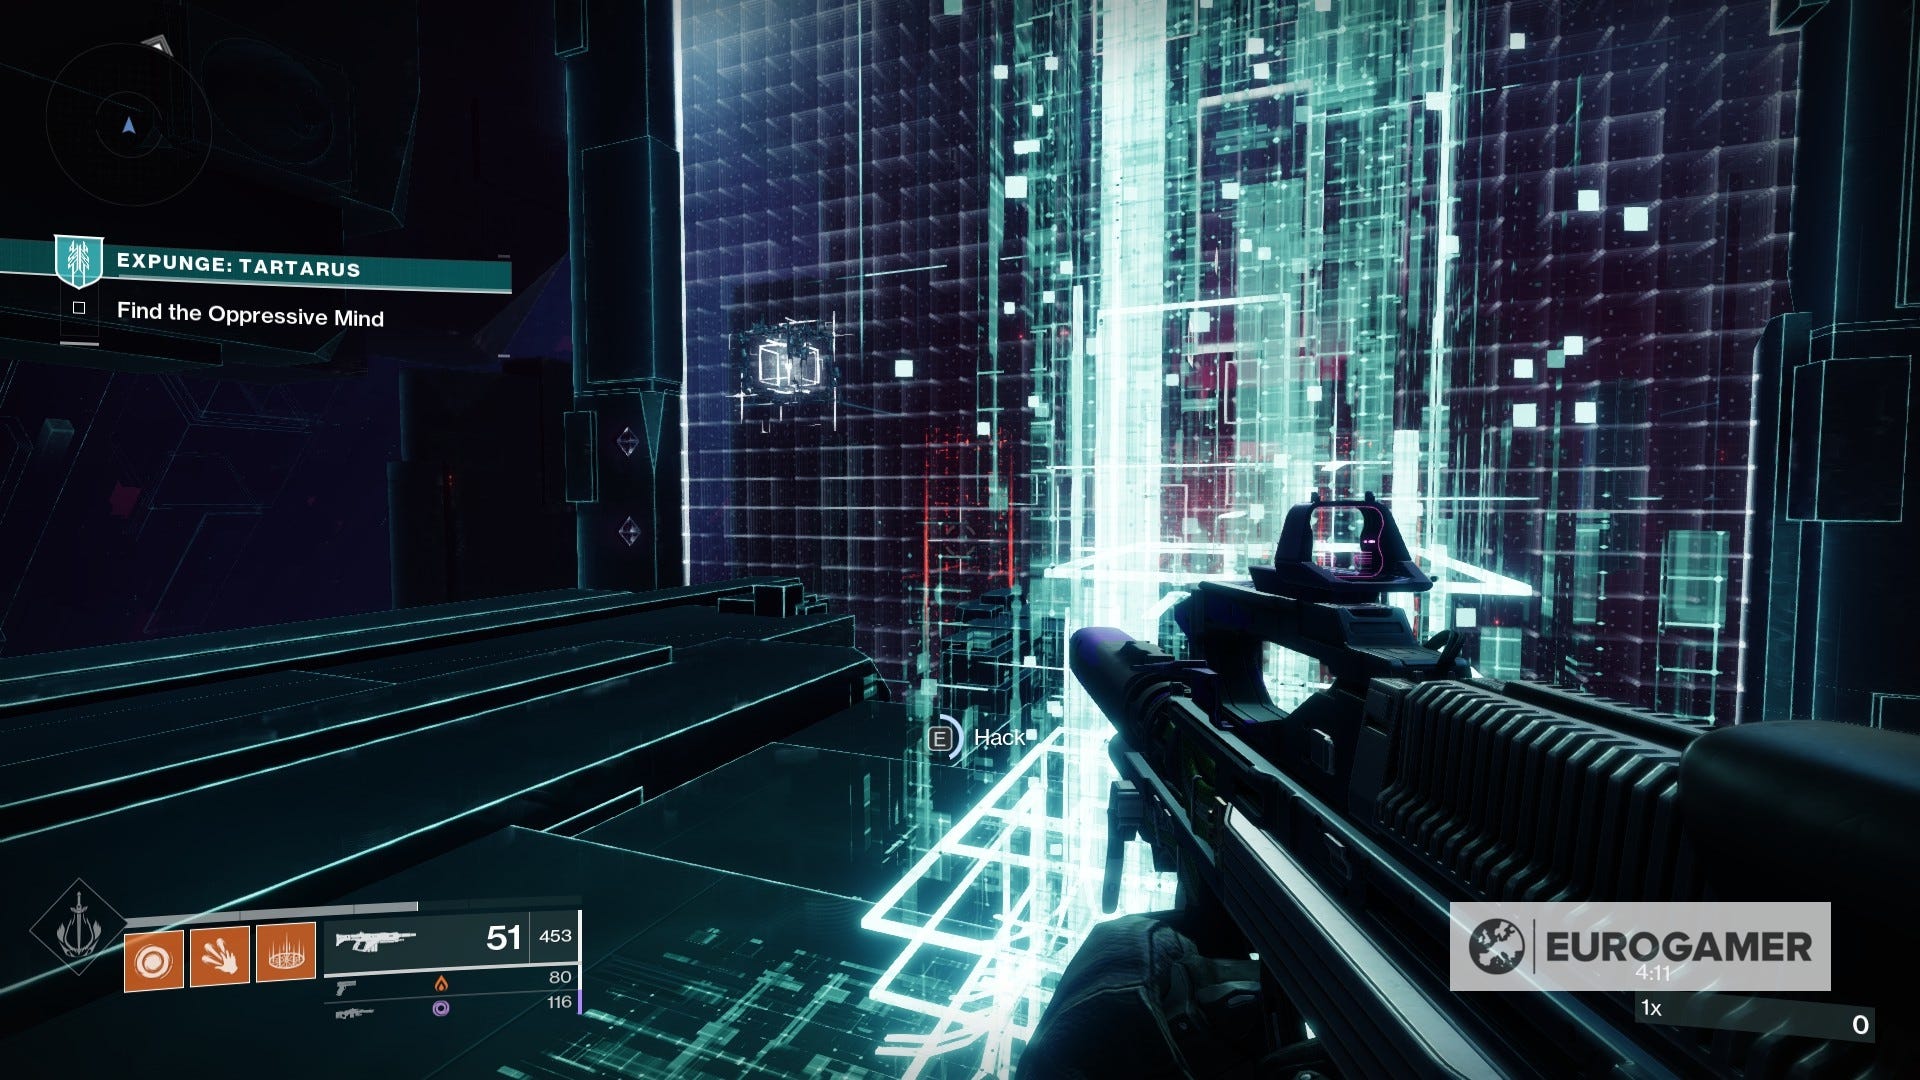

Once in this state, look for the white squares that are floating around the area. Stability Security Access allows you to do damage to them for a limited time. After you shoot all of them down (the number is indicated on the firewall by orbs that lighten up once destroyed), the defense wall will disappear and you can proceed.
Expunge: Tartarus might sound simple enough, but there are some tips to keep in mind:
- First of all, if you've been ignoring Splicer Gauntlet upgrades up to this point, we cannot recommend them enough. Upgrades like Codestrider and Codebreaker will prove immensely helpful when navigating Expunge, and just save you time overall.
- As you're collecting the Stability Security Access status, you will notice the number will go up if you stay for a couple seconds. We recommend doing so as you'll gain as much time as possible without the need to return and recharge often (up to a total of 32 seconds in our experience).


- To make things more interesting, Expunge: Tartarus will chase you with laser walls coming rapidly at your way as you're searching for the white squares. Take your time and look at their routes, as there is always a blind spot where you'll be safe from impact. Then, wait until the right window and make haste.
- Some of the white squares are easy to spot, while others are a bit more tricky. When in doubt, look for lines of green dots in the level, which will lead you to them. As a rule of thumb, some of them are found on the opposite side of the firewall, or just around pillars.
- You will reach the boss in no time, but bear in mind that the fight will stop and you'll have to repeat the puzzle. Don't fret though as the arena isn't big, which means that you will find the floating objects in no time.
Aside from the often annoying lasers, you shouldn't have any problem doing this either with a group or solo, even if you're below the 1290 Power Level requirement. This time around there is an Expedited challenge to complete, but unlike Expunge: Labyrinth, you will have the task to complete Tartarus in 6 minutes or less, instead of 10. Considering the steps to get to the boss are fairly easy, the time decrease makes for an interesting but doable challenge with a full squad.
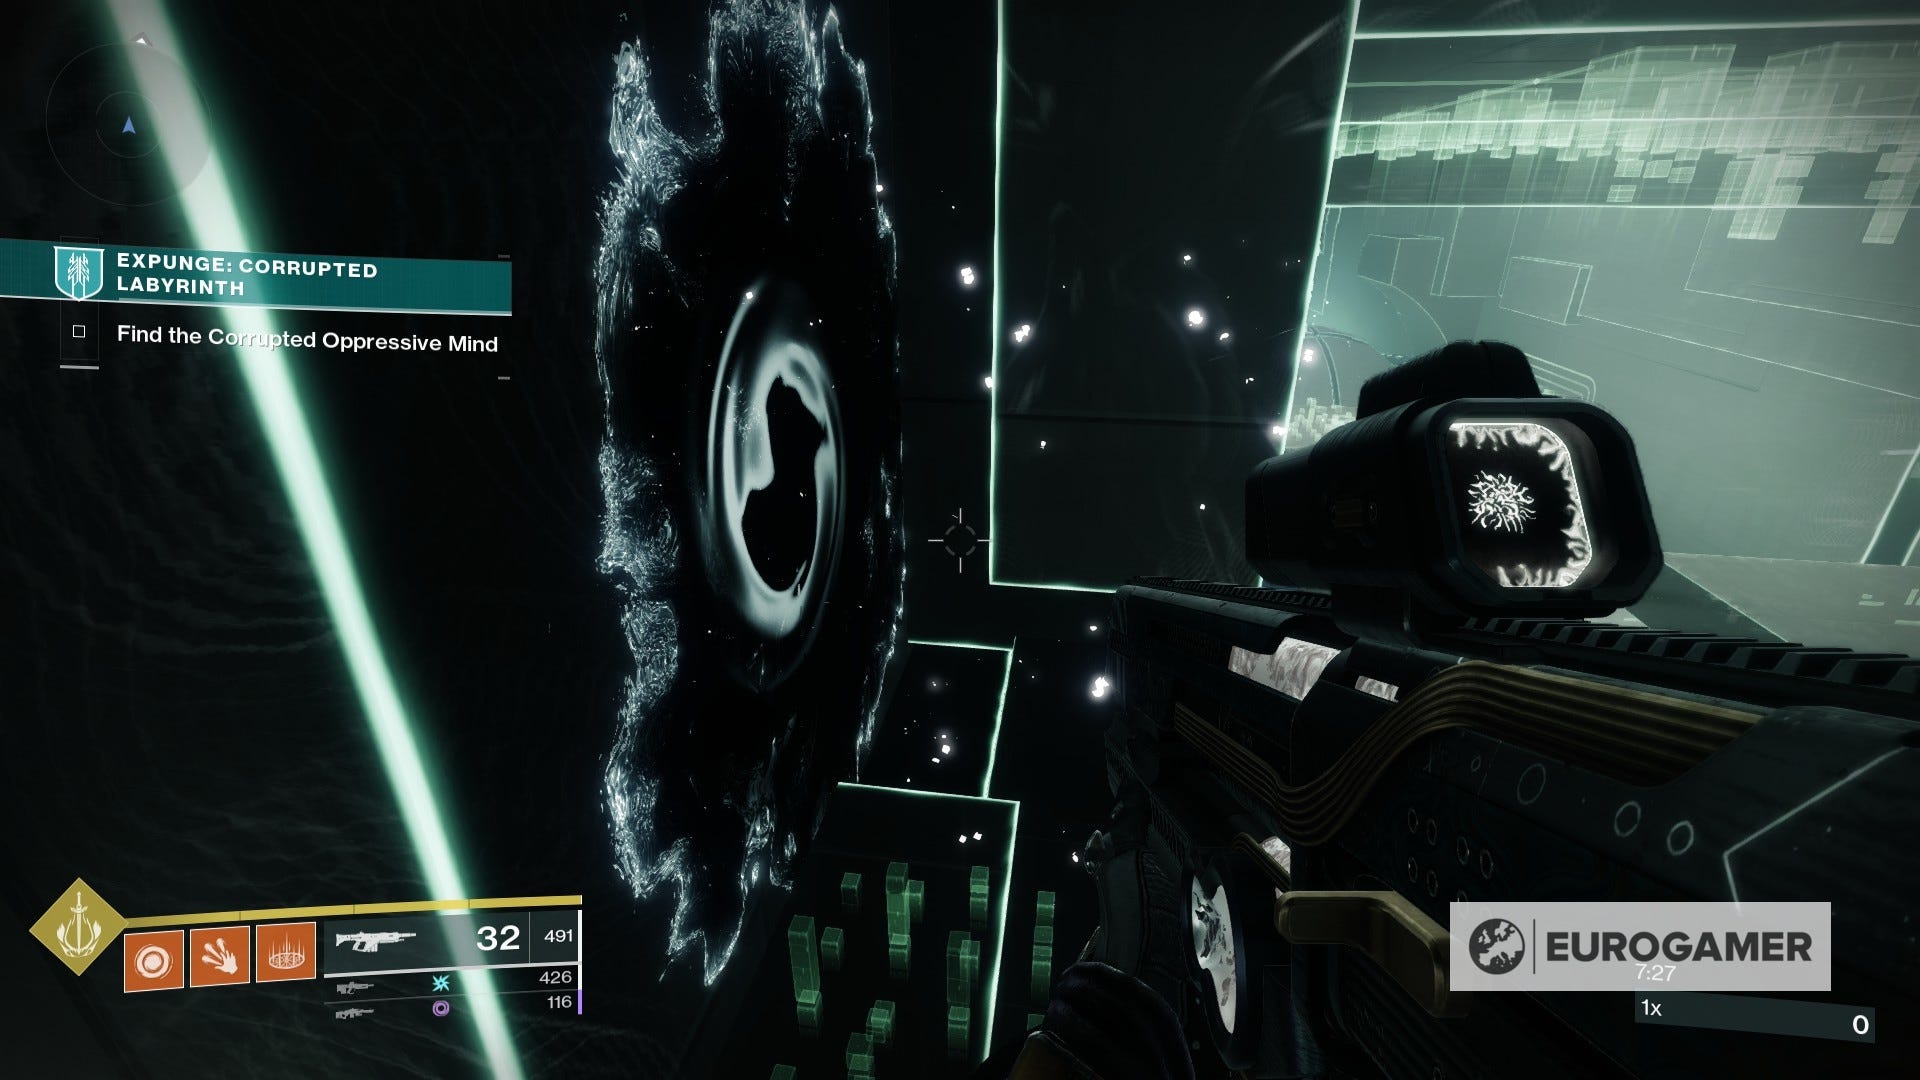
How the Expunge: Corrupted Labyrinth quest works in Destiny 2
Labyrinth is back on rotation and can be found at the Tangled Shore, but with a twist: this is a corrupted variant that brings some interesting surprises to the table.

First of all, the structure of the mission remains identical. You'll still have to go through the unique Expunge phase during the first half that is present in all previous missions. Once on the other side, you'll notice a slight change in the environment, with a much darker look and the presence of the Taken.
This presence impacts on the enemy variants you will encounter, which will be tougher all around (including Unstoppable Champions, which require an Unstoppable mod to be taken down). In addition, there are exploding traps that can be quite the bother as you're jumping the rather platformer nature of this Expunge.

While Labyrinth remains identical to its original iteration, there are a couple tips regarding the new corrupted nature of it that may prove helpful and allow you to prevent any unfortunate surprises:
- Once more, if you haven't been paying attention to Splicer Gauntlet upgrades up to this point, we cannot recommend them enough. Upgrades like Codestrider and Codebreaker will prove immensely helpful when navigating Expunge, and just save you time overall.
- While you will see a few regular Goblins here and there, most of the enemies will be Taken variants, so make sure to equip yourself properly for the occasion.
- Keep an eye on flashing platforms as they will disappear without much notice.

- The first new object you'll notice are flying orbs which will damage you on impact. They always follow the same pattern, 'blinking' three times, and exploding on the third. They won't deal tonnes of damage, but just to be sure, try and stay away from them once they activate the countdown.
- The second object is a trap of sorts that's usually placed on walls. This will also perform a countdown for a couple seconds (although with a softer effect) and, instead of exploding, will push you back - and most likely off the nearest edge in the process.

- If you can't find a Data Spike, make sure you haven't missed a Nexus Guardian, as they'll drop it as loot when killed.
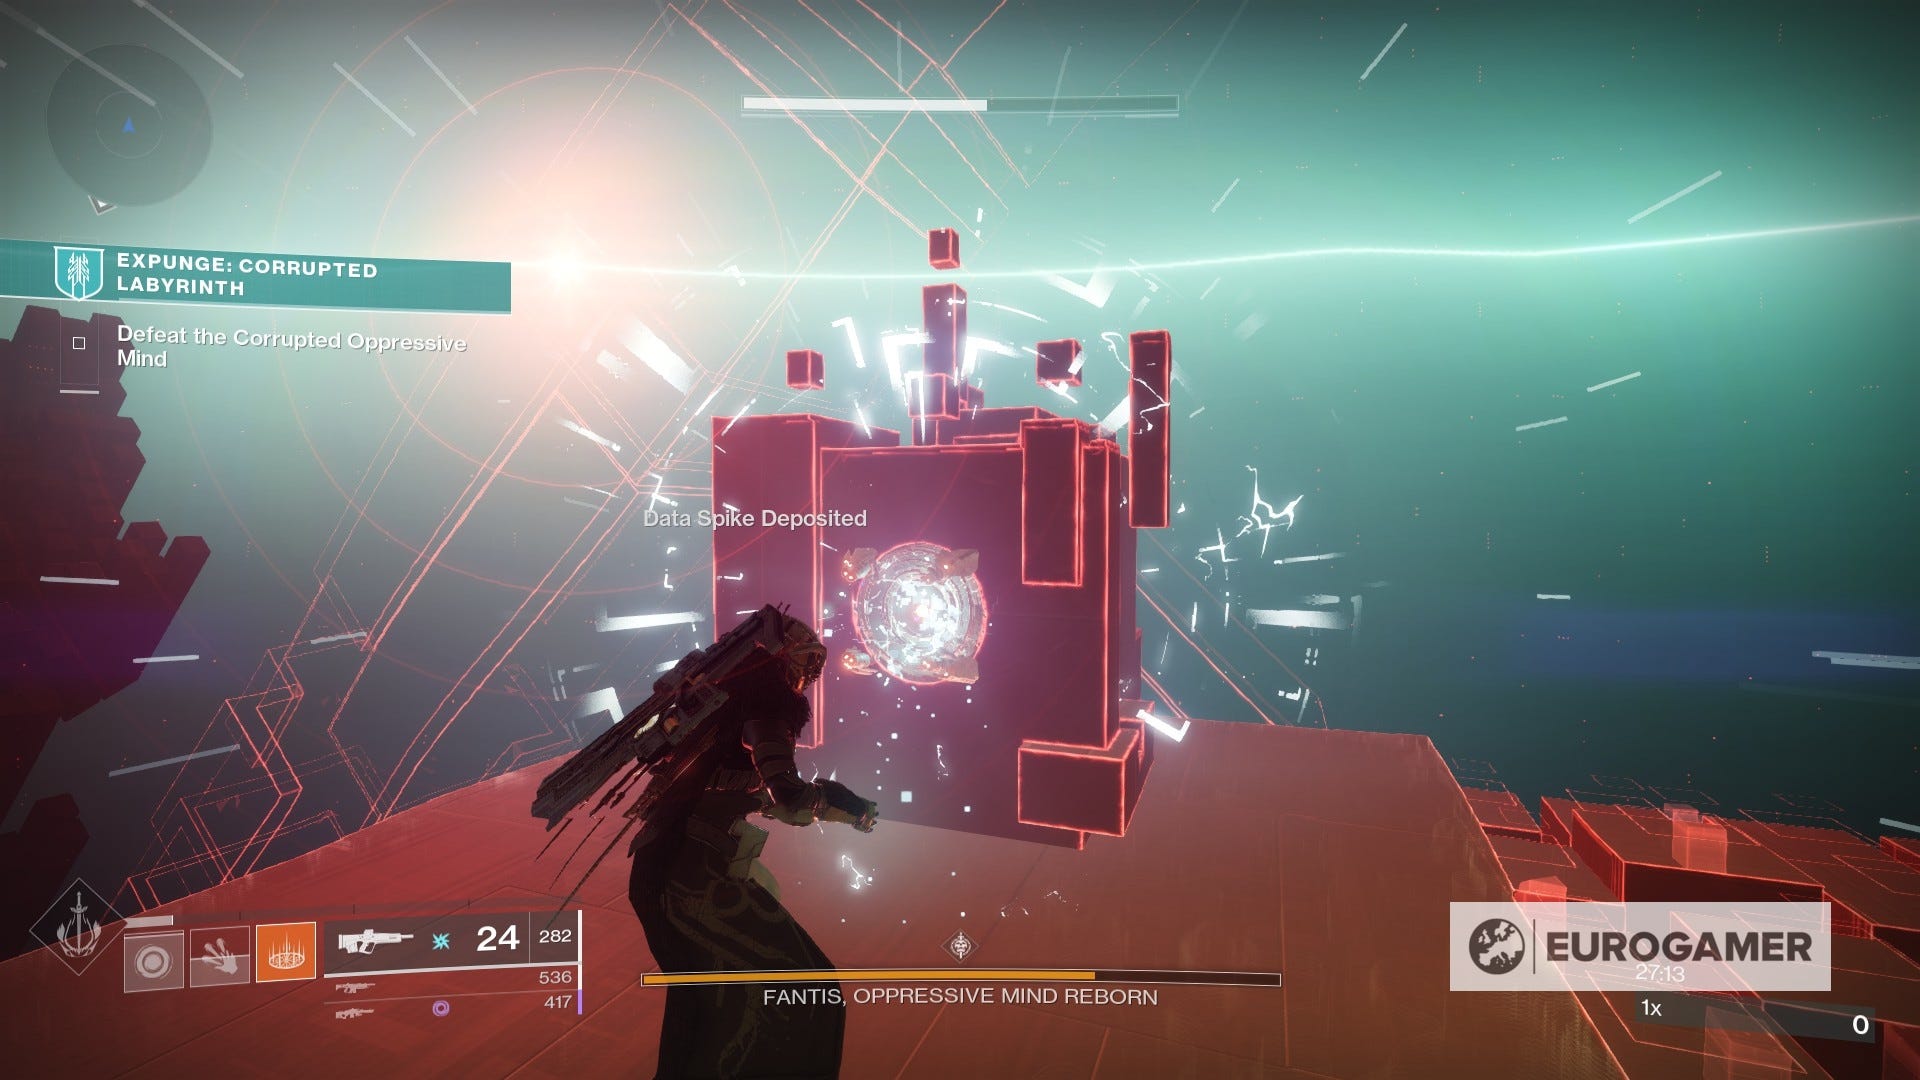
- Speaking of which, if you don't get to deposit the first Data Spike during the boss fight, go for the second one, deposit it, and the first will reappear on the arena.
- Make sure to either equip one or tell one of your squadmates to carry a sniper rifle with them, as enemy snipers (especially during the boss fight) can be a hassle to deal with.
- There is a Corrupted Key Code Chest at the end of the Expunge mission, but you won't be able to open it the first time around. Instead, as you follow Path of the Splicer 6, Mithrax will grant you access to Corrupted Key Codes, which drop from enemies during Corrupted Expunge missions.
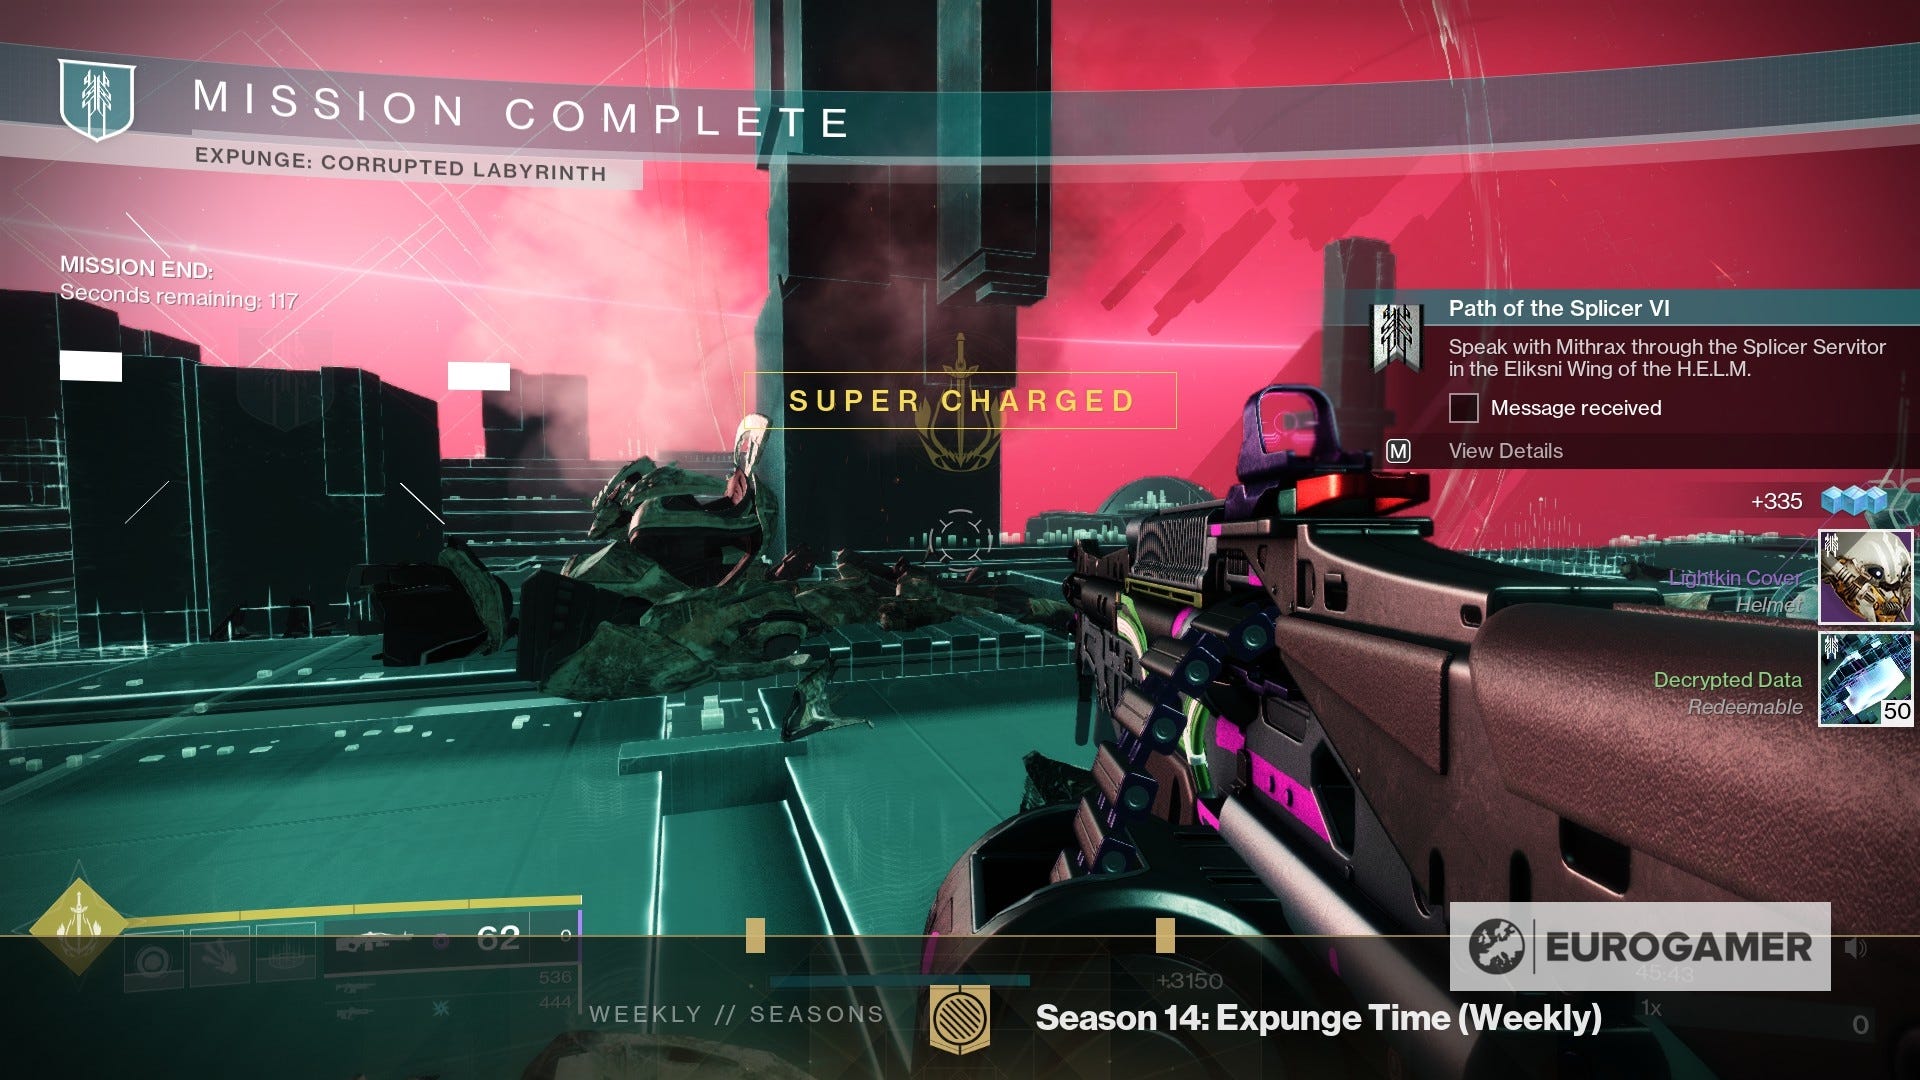
Aside from the often annoying traps, you shouldn't have any problem doing this either with a group or solo. Keep in mind that the corrupted variant has a 1300 Power Level requirement instead of the previous 1290. There is no Expedited challenge this time around, so no reward for completing Expunge: Corrupted Labyrinth under a certain time.
How the Expunge: Corrupted Styx quest works in Destiny 2
Styx is back on rotation and can be found on the Moon. Following last week's rotation, there's now a corrupted variant of this mission.
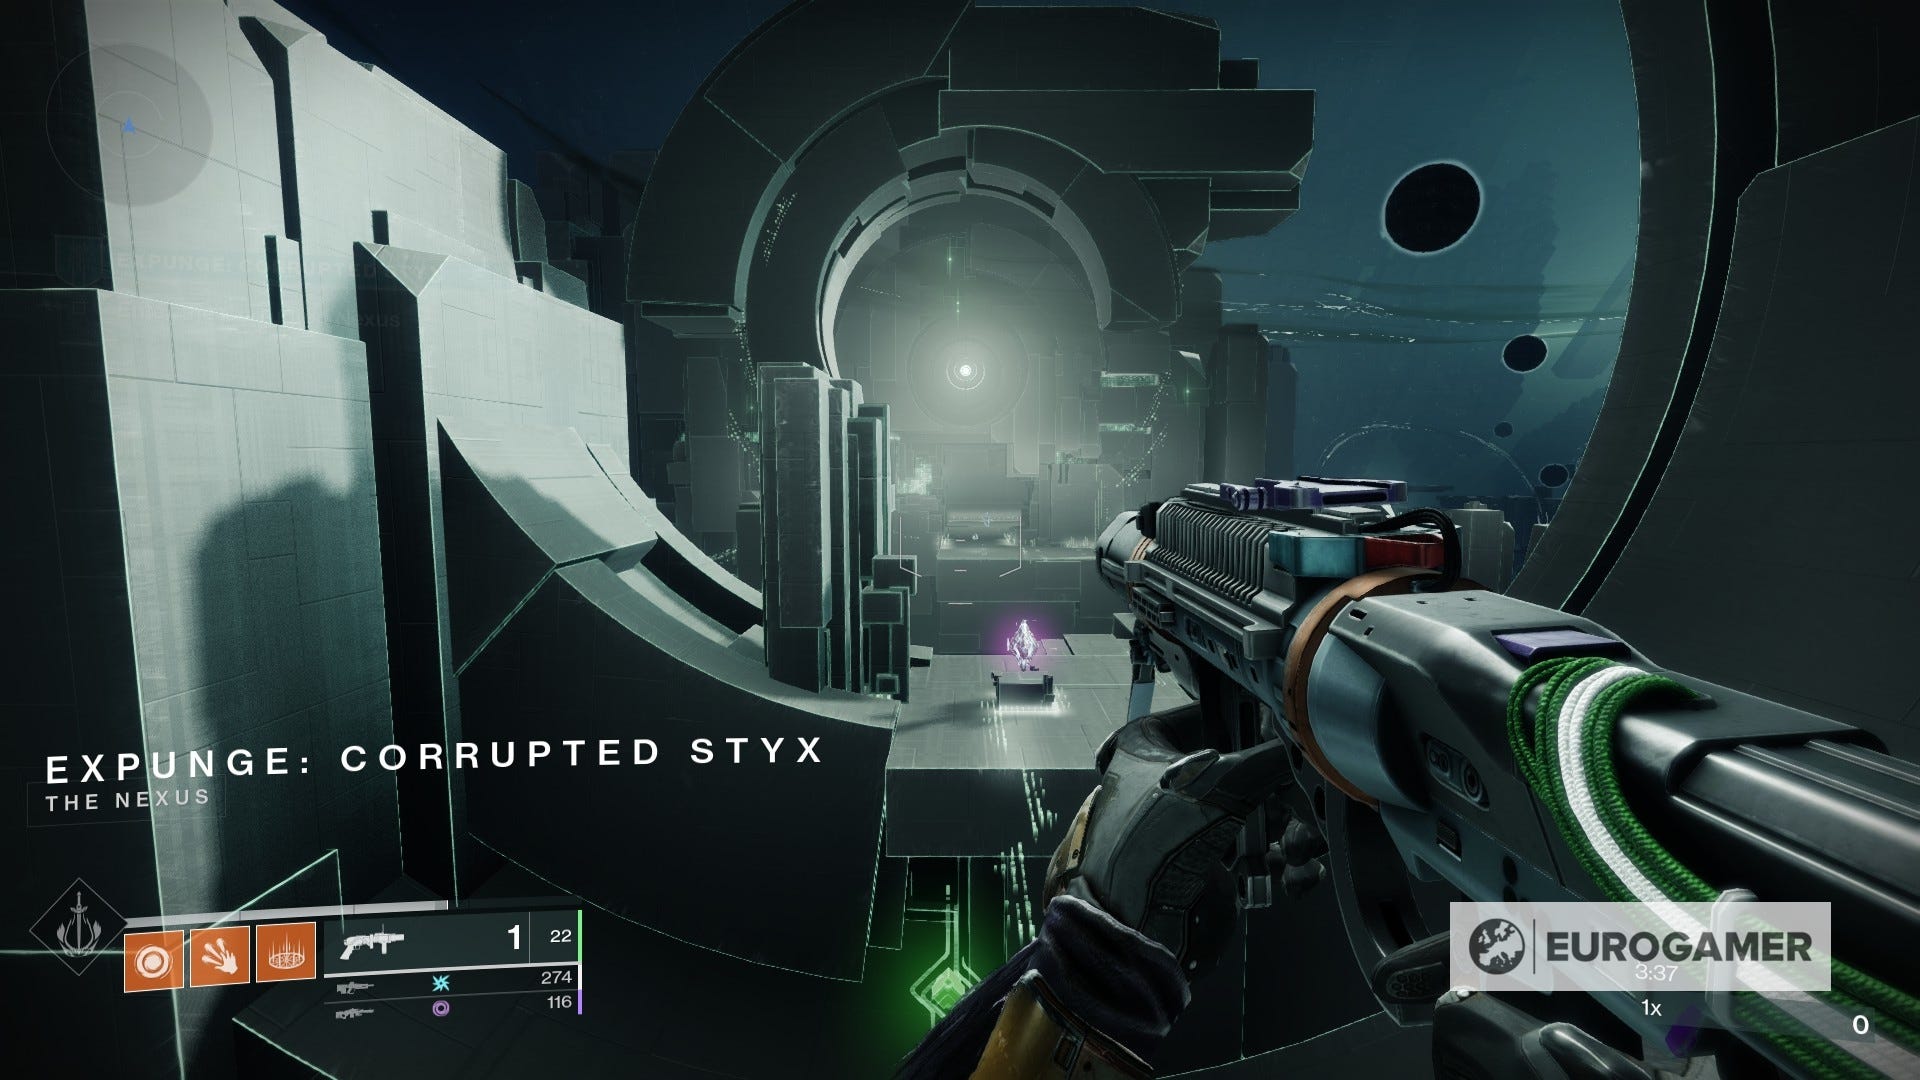
Thankfully, the structure of the mission remains identical. You'll still have to go through the unique Expunge phase during the first half that is present in all previous missions. Once on the other side, you'll notice the environment has become darker than usual for Styx.
You'll encounter enemy variants which will be tougher all around, in addition to the usual foes. Moreover, those annoying traps from Labyrinth Corrupted are present once more, but don't preset that big of a threat here as there is much less platforming to worry about.

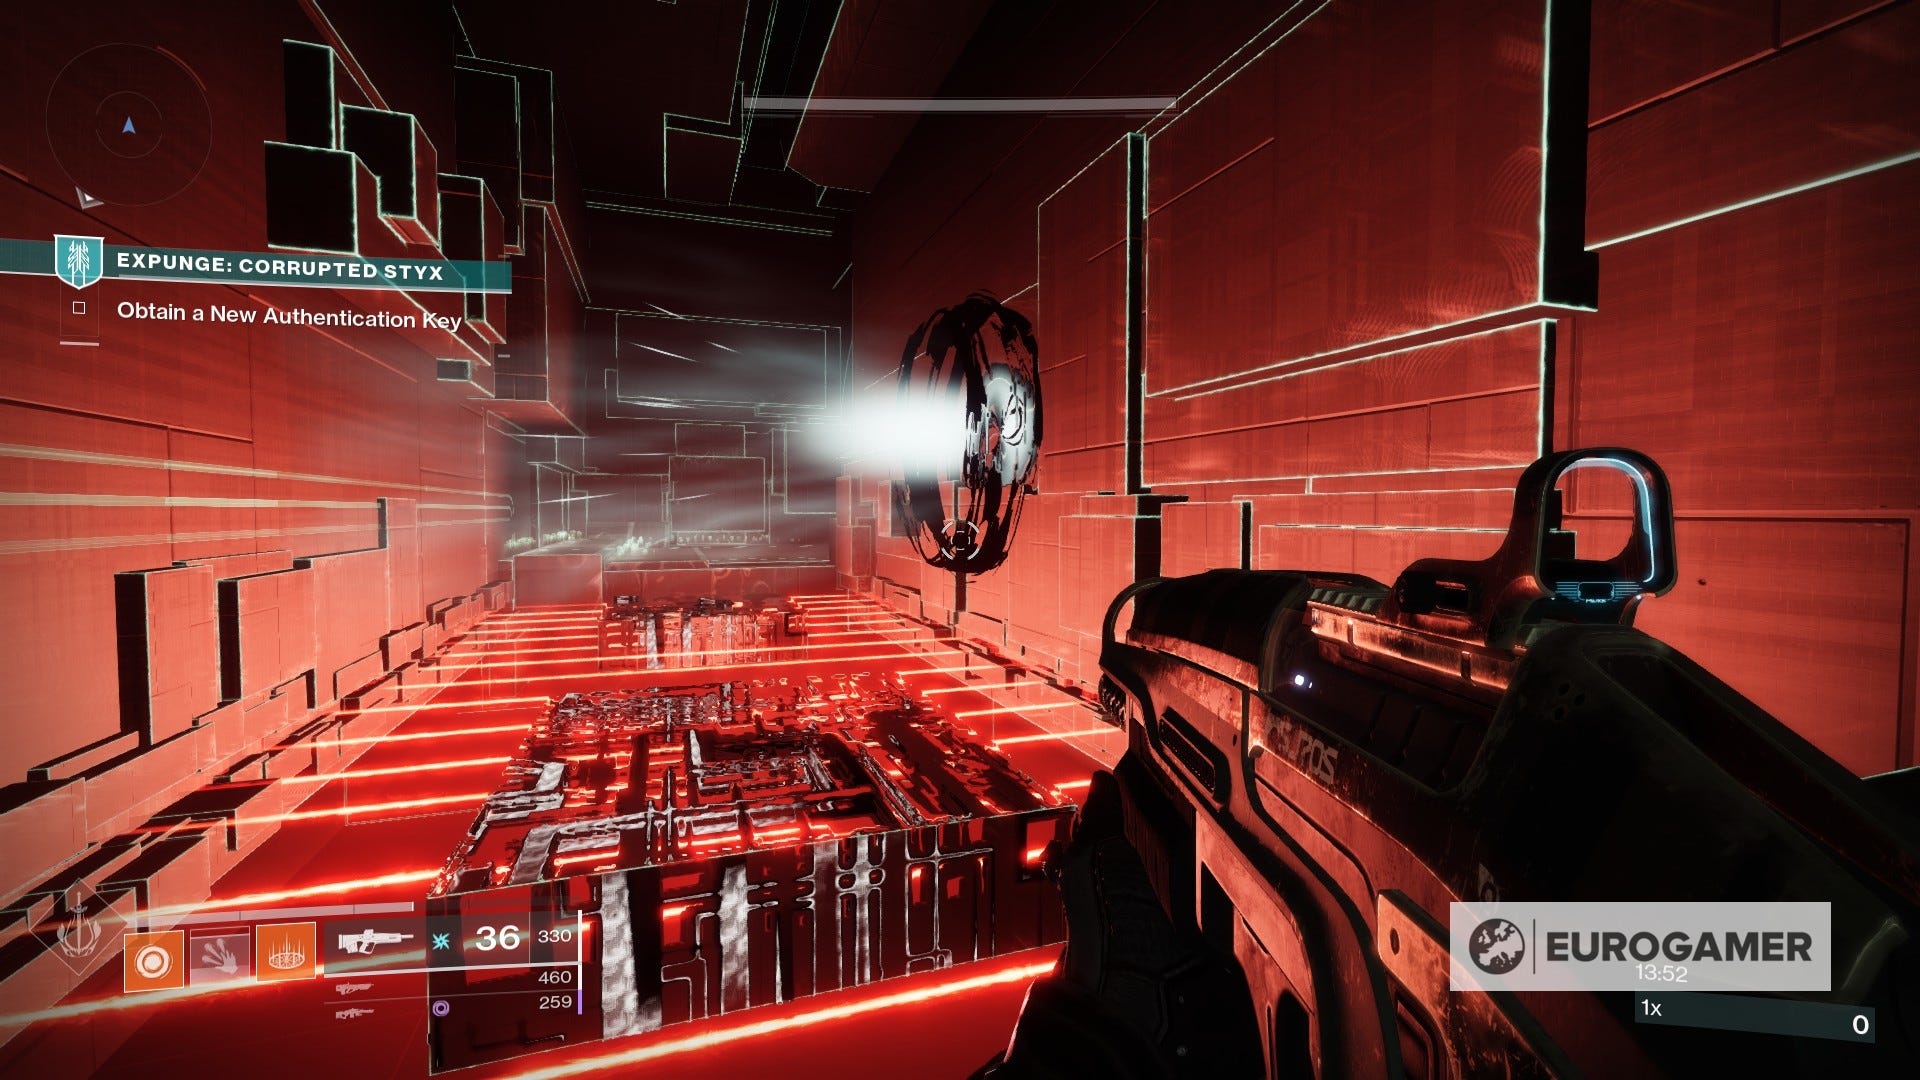
If you need a refresher, Styx is all about carrying keys and depositing them into data terminals. The corrupted side of things implements a couple traps and stops here and there, but all in all, most situations can be bypassed by making a run for it. Just remember to use the checkpoints (the floating light-blue orbs) so you can pick the key up from there if you happen get killed on the way to the terminal.
As usual, you can find a couple tips below to tackle this as efficiently and quickly as possible:
- It may sound repetitive, but if you haven't been paying attention to Splicer Gauntlet upgrades up to this point, you should! Upgrades like Codestrider and Codebreaker will prove immensely helpful when navigating Expunge, and just save you time overall.
- Once more, while you will see a few regular Goblins here and there, most of the enemies will be Taken variants, so make sure to equip yourself properly for the occasion.
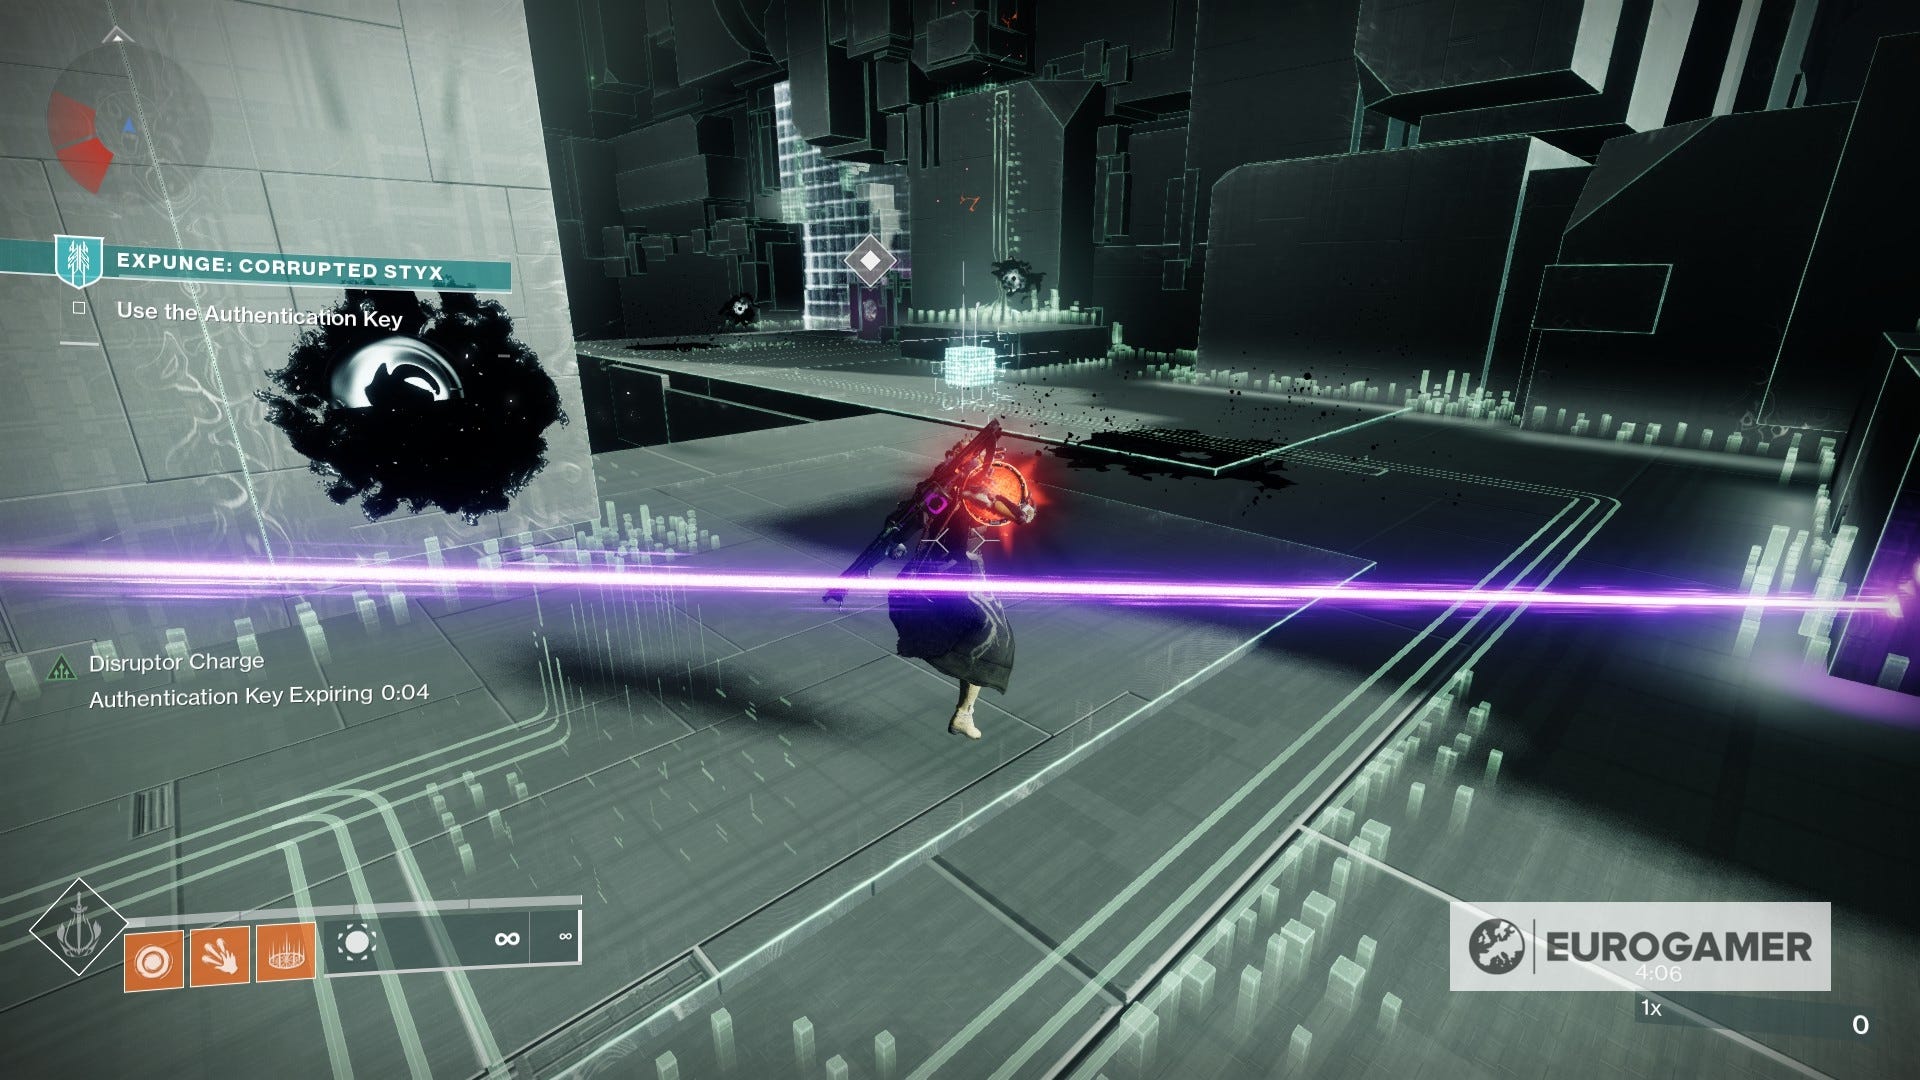
- That being said, you really don't need to kill every single mob. As soon as you get your hands on the key, make a sprint to the nearest checkpoint - if you're still alive by then, keep going to the next and so on until you get to the terminal.
- Remember the flying Taken orbs from Expunge: Labyrinth (Corrupted)? They're back, and with the same patter: 'blinking' three times, and exploding on the third. They won't deal tonnes of damage, but just to be sure, try and stay away from them once they activate the countdown.
- The second object is a trap of sorts that's usually placed on walls. This will also perform a countdown for a couple seconds (although with a softer effect) and, instead of exploding, will push you back - and most likely off the nearest edge in the process.
- From the two, the latter is more of a nuisance in Styx particularly. Some of these are place right in between a checkpoint and a ledge, so make sure to time your jumps accordingly so you don't constantly fall down into the void while running with the key.


- Just as you're about to complete the trial from the room on the left (opposite to the lasers' gate), you will notice the gate before the terminal is locked. For this, you'll have to get inside the Taken's pit and destroy it after killing all enemies in the area.
- As per usual, make sure to either equip one or tell one of your squadmates to carry a sniper rifle with them, as enemy snipers can be a hassle to deal with.
- At the middle of the boss fight you will have to take a key to the opposite side of the room, and some platforms will appear this time around. Once you get to the one on the top, which has the checkpoint, try to stay moving onward and stay on the air so you can dodge the laser wall and not fall into the void in the arena's centre.
- There is a Corrupted Key Code Chest at the end of the Expunge mission, for which you will need a Corrupted Data Key (obtained in a manner of activities). It's most likely that you'll have one of these already after completing an activity or two to obtain Ether for the mission.
Aside from the often annoying traps, you shouldn't have any problem doing this either with a group or solo. Keep in mind that the corrupted variant has a 1300 Power Level requirement instead of the previous 1290. There is also a Expedited challenge for this that tasks you to complete Styx in under 9 minutes, if you fancy it.
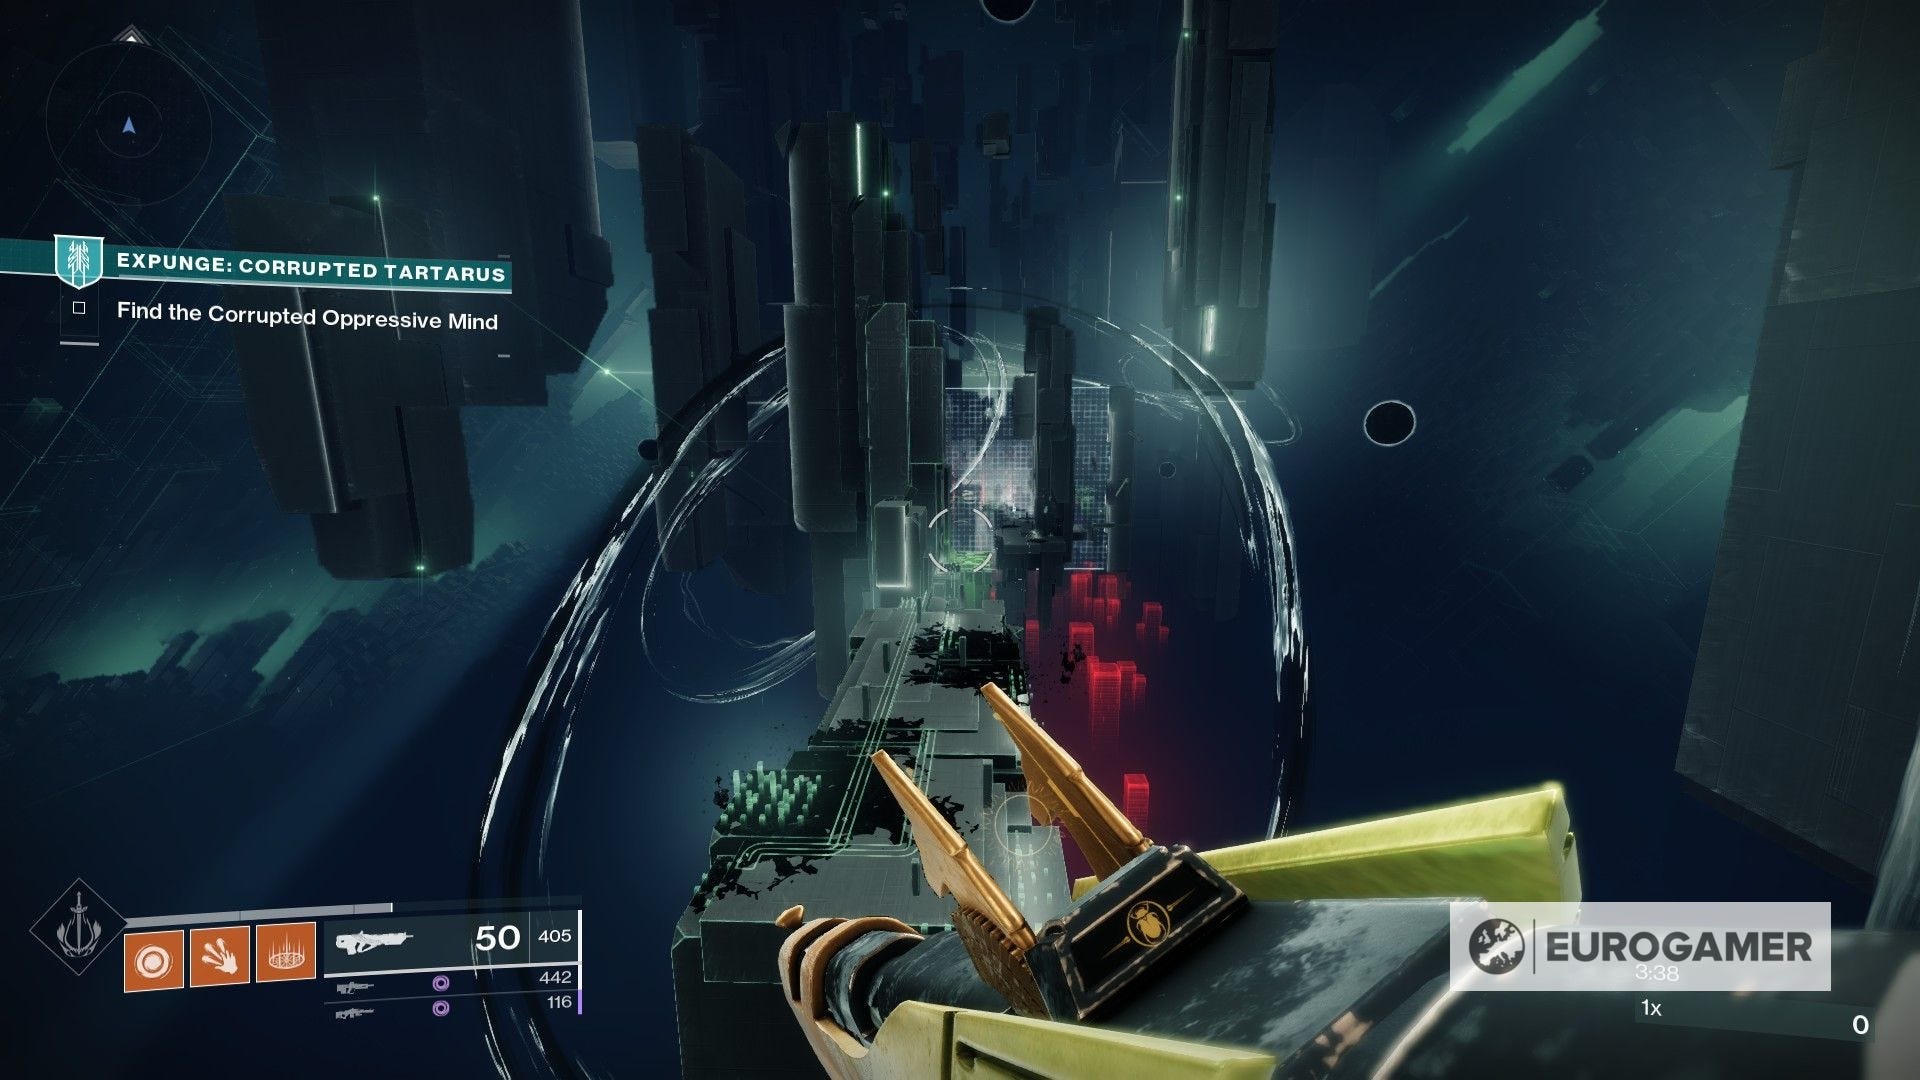
How the Expunge: Corrupted Tartarus quest works in Destiny 2
Tartarus is back on rotation and can be found on Europa. Following last weeks' rotations, there's now a corrupted variant of this mission.

Once more, the structure of the mission remains identical. You'll still have to go through the unique Expunge phase during the first half that is present in all previous missions. Once on the other side, you'll notice the environment has become darker than usual for Tartarus.
You'll encounter enemy variants which will be tougher all around, in addition to the usual foes. Moreover, those annoying traps from Labyrinth Corrupted and Styx Corrupted are back, but don't preset that big of a threat here as Tartarus is rather short.
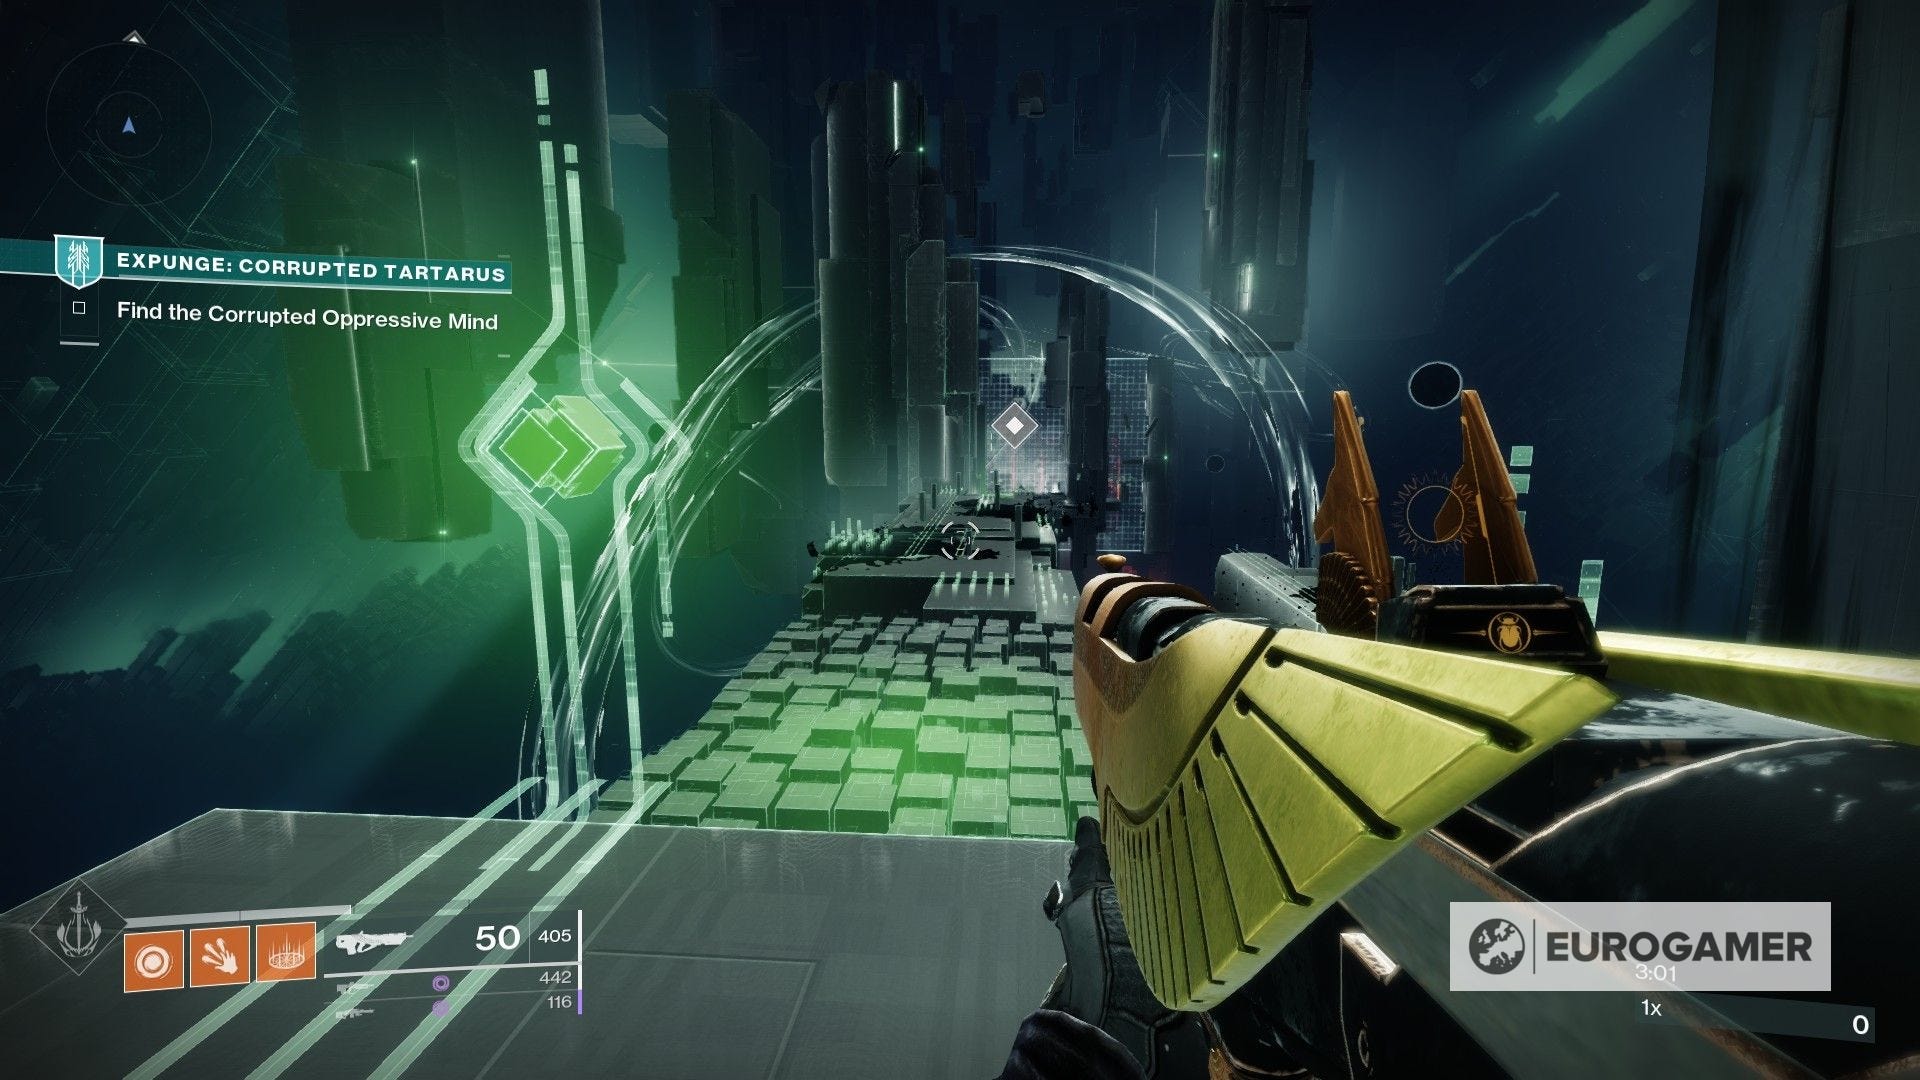
If you need a refresher, Tartarus is all about hacking terminals and then shooting at nodes to unlock Vex-locked gates. Since the placements remain the same, it's super easy to get through the quest and into the boss fight - you'll probably get there before you realize it. Just make sure to always stay in place to charge your Stability Security Access status as much as possible (up to x32).
As usual, you can find a couple tips below to tackle this as efficiently and quickly as possible:
- We're once more reminding you that if you have been ignoring Splicer Gauntlet upgrades up to this point, we cannot recommend them enough. Upgrades like Codestrider and Codebreaker will prove immensely helpful when navigating Expunge, and just save you time overall.
- As you're collecting the Stability Security Access status, you will notice the number will go up if you stay for a couple seconds. We recommend doing so as you'll gain as much time as possible without the need to return and recharge often (up to a total of 32 seconds, such as the non-corrupted variant).
- To make things more interesting, Expunge: Tartarus will chase you with laser walls coming rapidly at your way as you're searching for nodes (displayed as white squares). Take your time and look at their routes, as there is always a blind spot where you'll be safe from impact. Then, wait until the right window and make haste.
- Some of the white squares are easy to spot, while others are a bit more tricky. When in doubt, look for lines of green dots in the level, which will lead you to them. As a rule of thumb, some of them are found on the opposite side of the firewall, or just around pillars.
- And again, if you've somewhat memorized the nodes' placements, they're all on the same spots here.
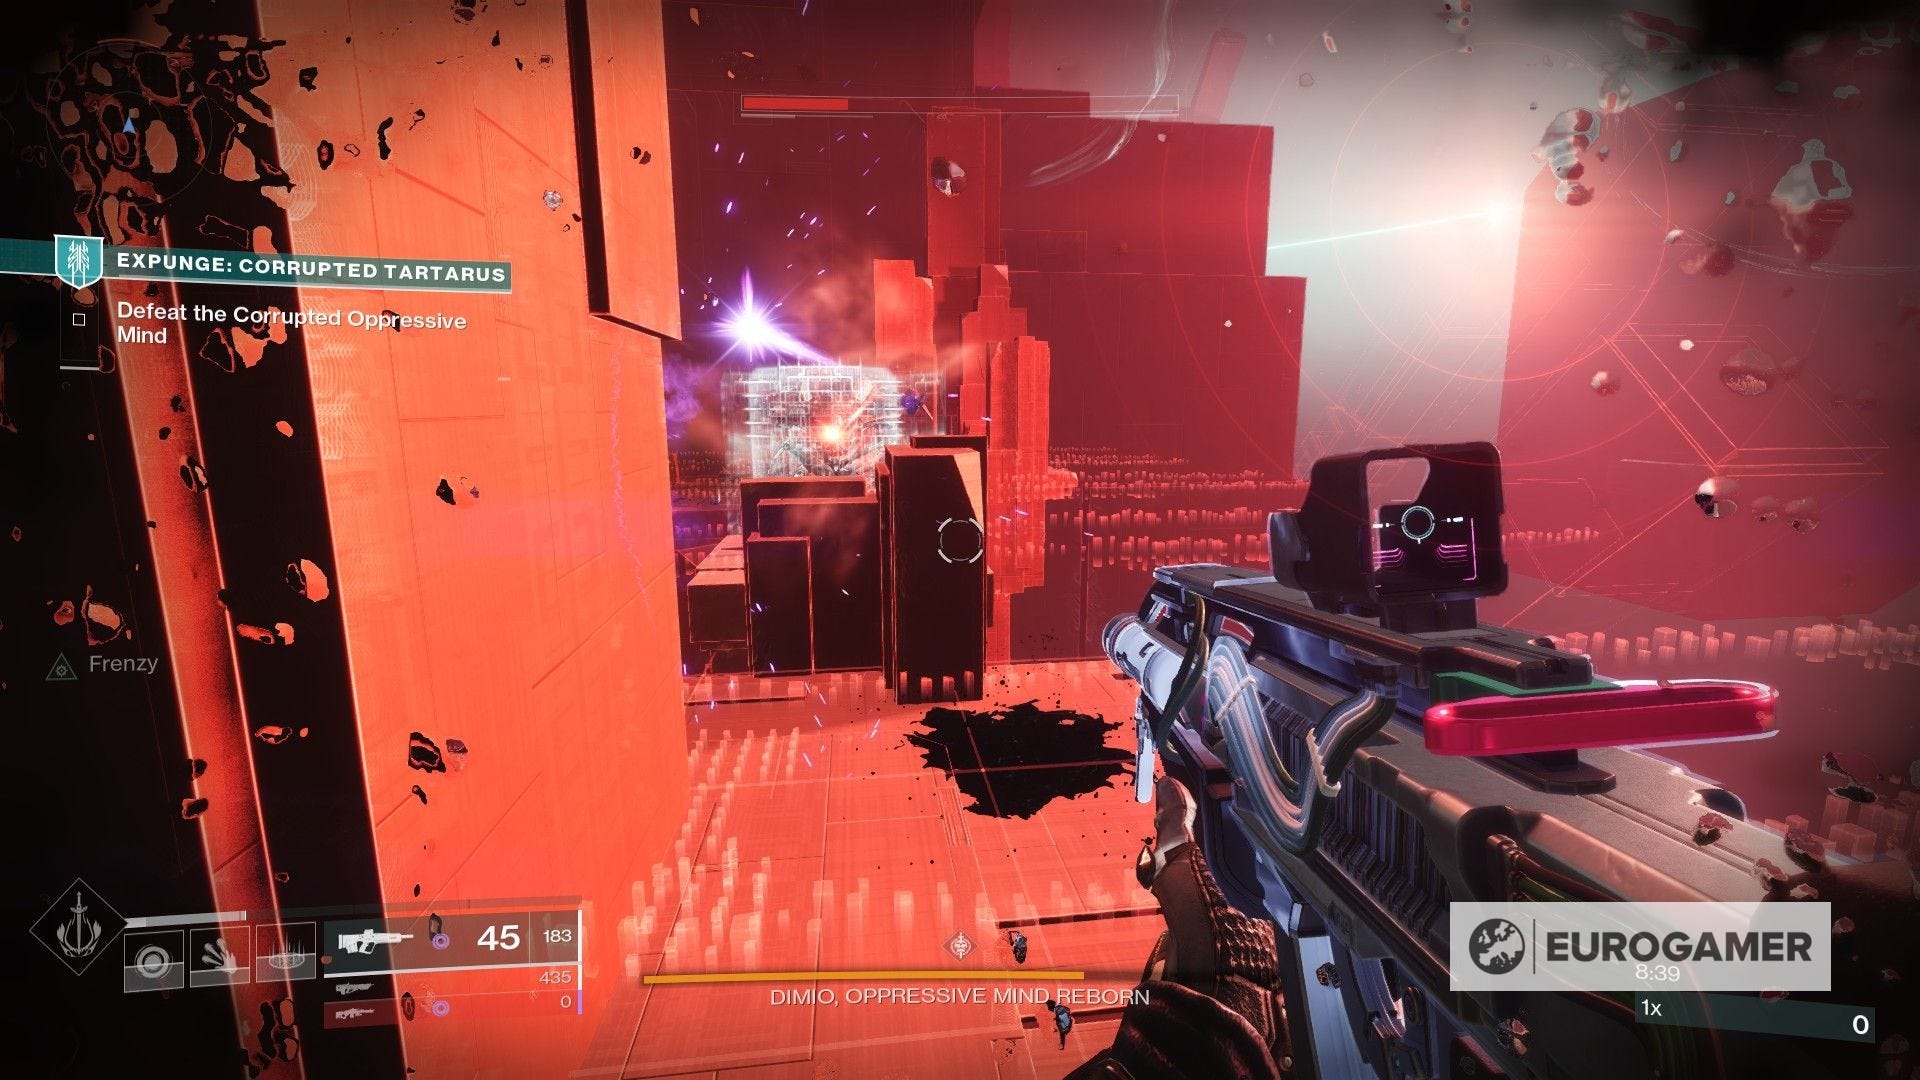
- You will reach the boss in no time, but bear in mind that the fight will stop and you'll have to repeat the puzzle. Don't fret though as the arena isn't big, which means that you will find the floating objects in no time. The big pillars on each side are great for cover, too!

Aside from the often annoying traps, you shouldn't have any problem doing this either with a group or solo. Keep in mind that the corrupted variant has a 1300 Power Level requirement instead of the previous 1290. There is no Expedited challenge this time around, which previously tasked you with completing the quest within a certain time limit for a reward.
How the Expunge: Delphi quest works in Destiny 2
After seeing corrupted variants of the three Expunge headline missions, Expunge: Delphi introduces itself as the fourth and final culmination that we have been waiting for. Well, sort of.
While the boss waiting at the end is new, the whole mission has a far more story-focused feeling to it, which is exciting.
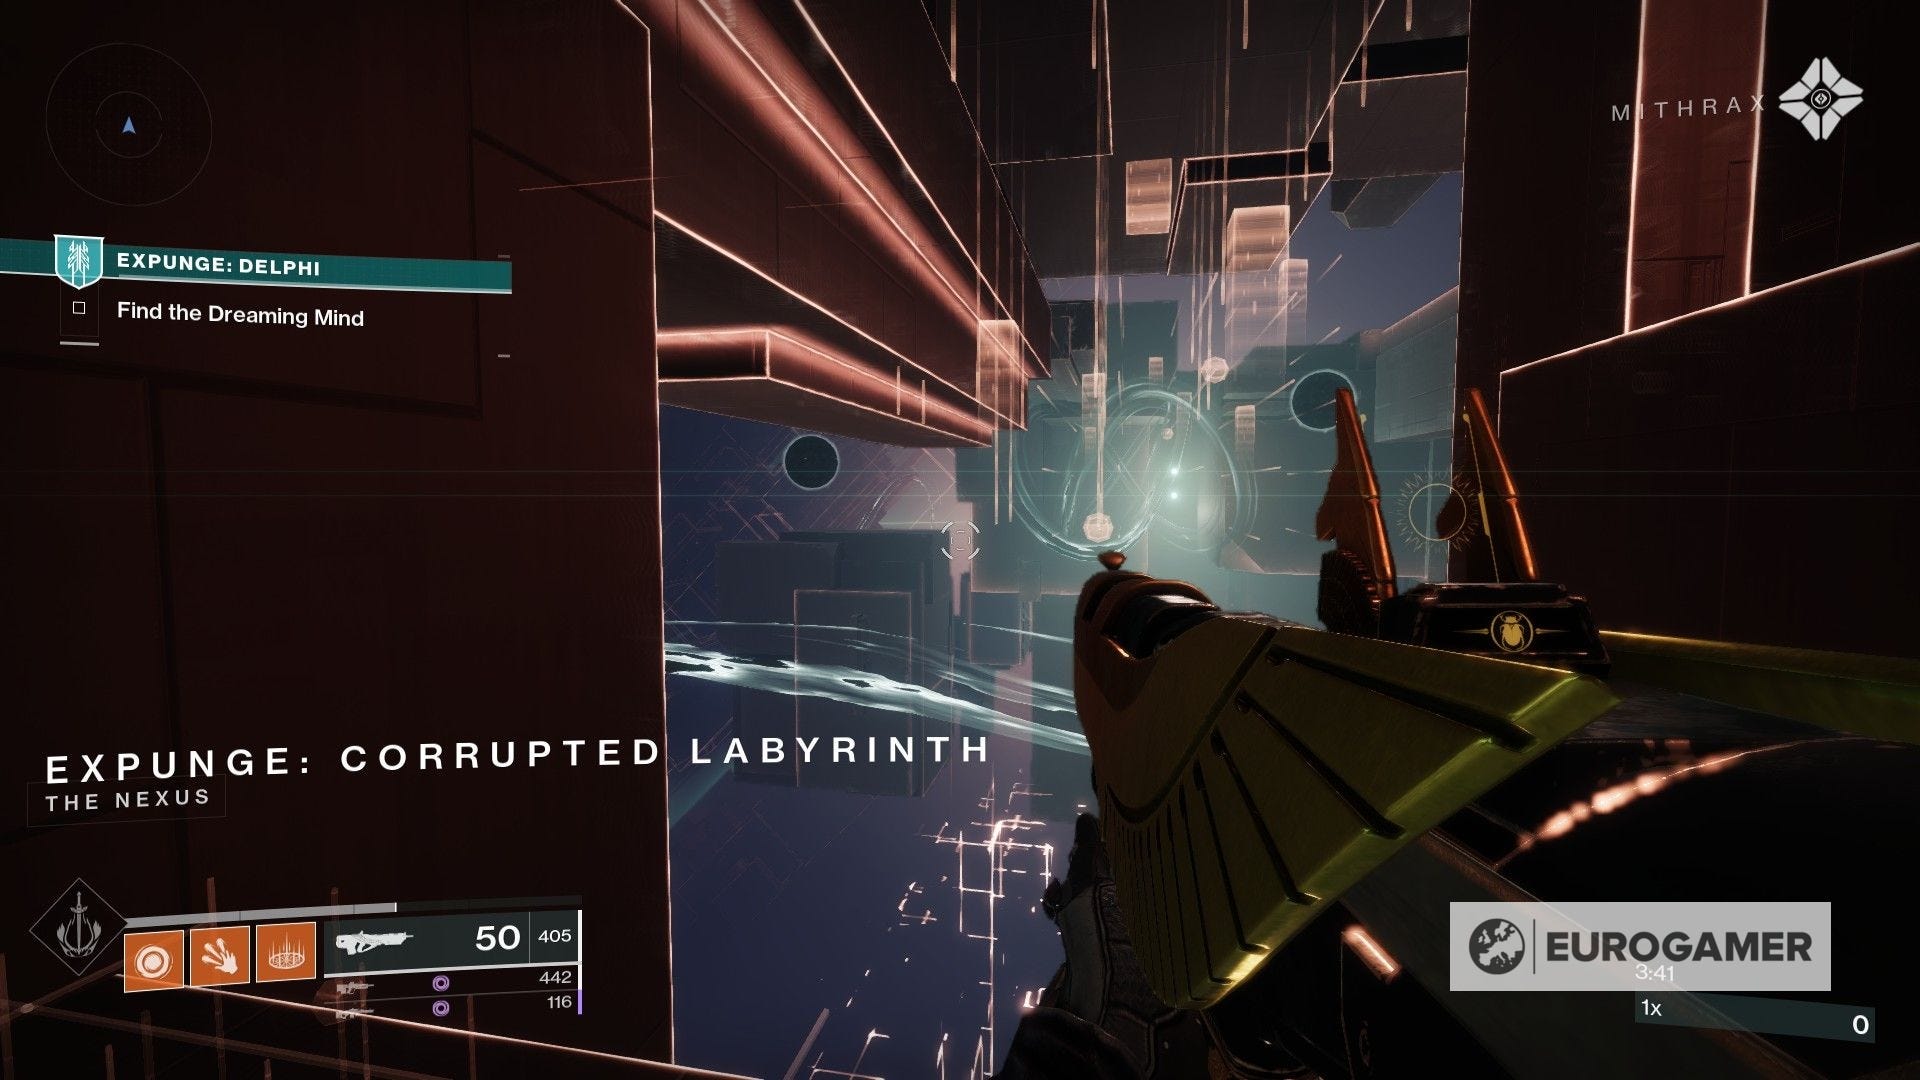
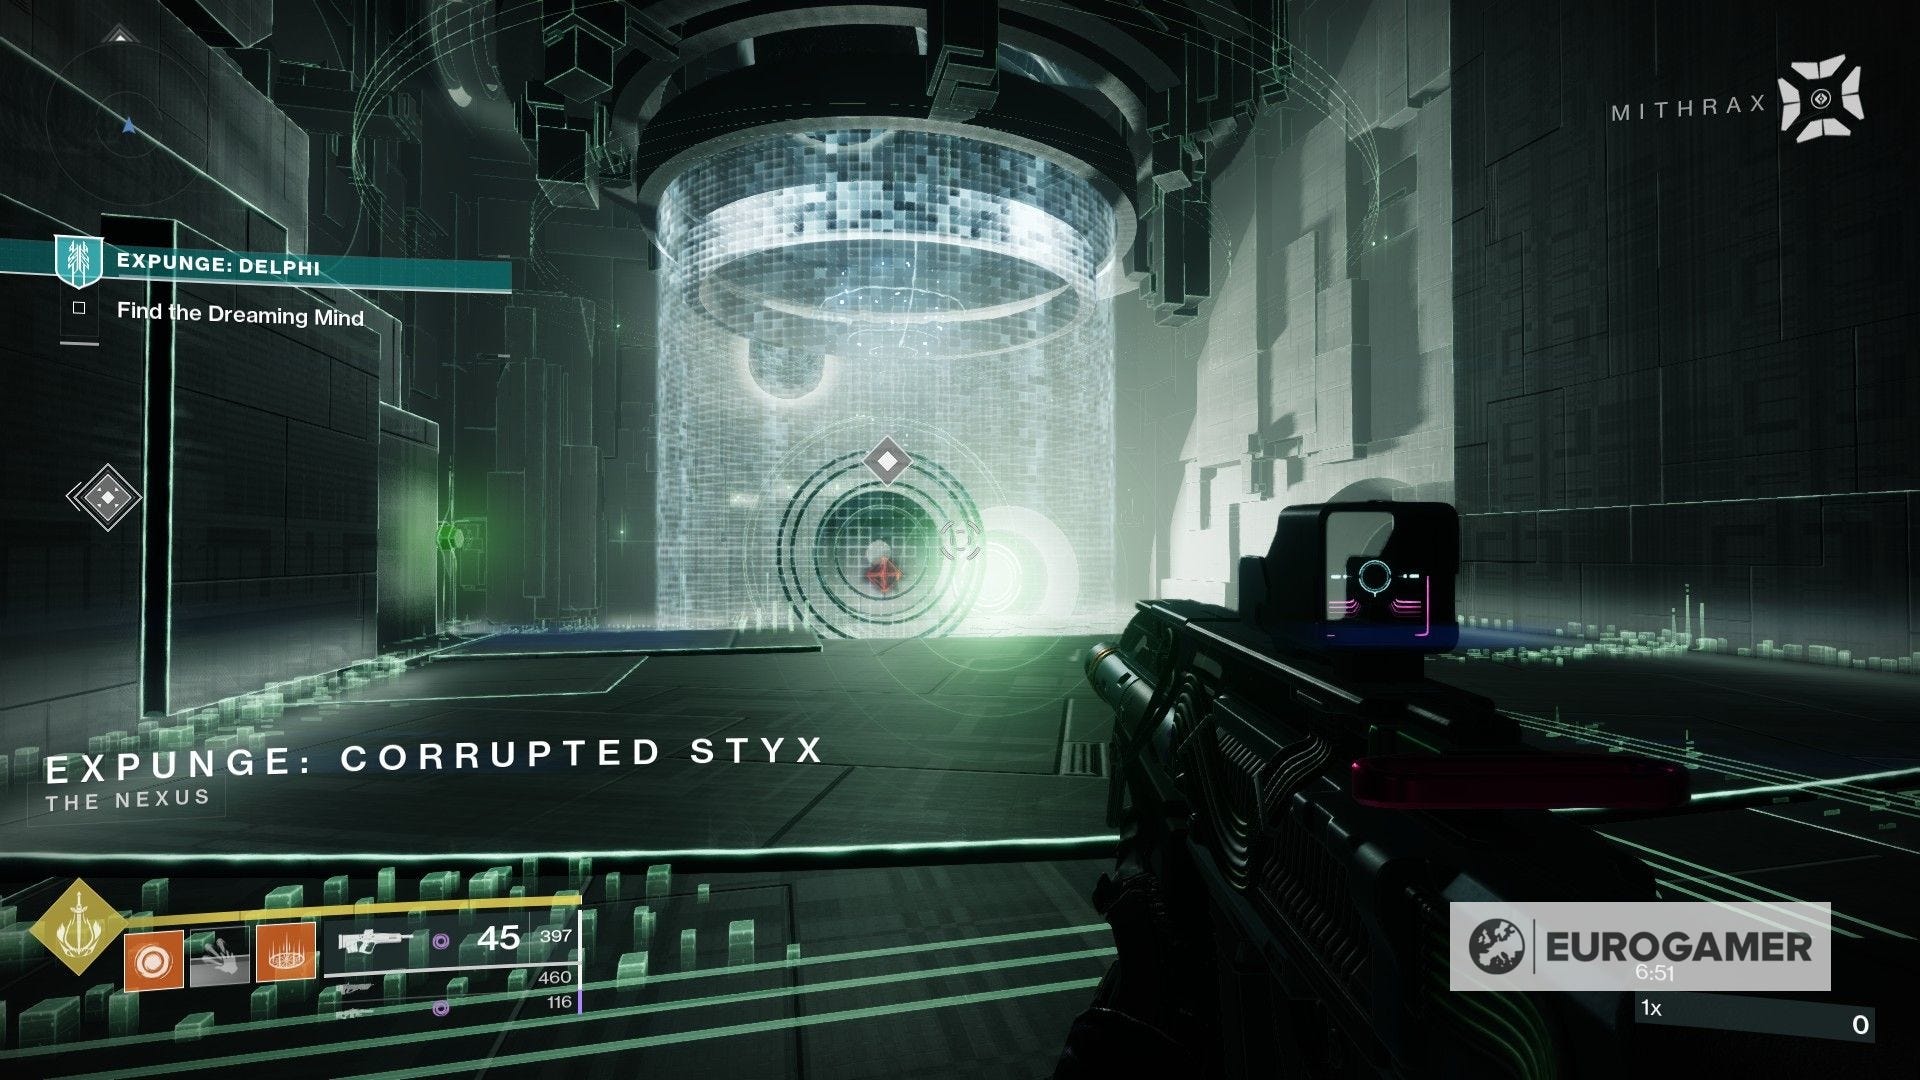
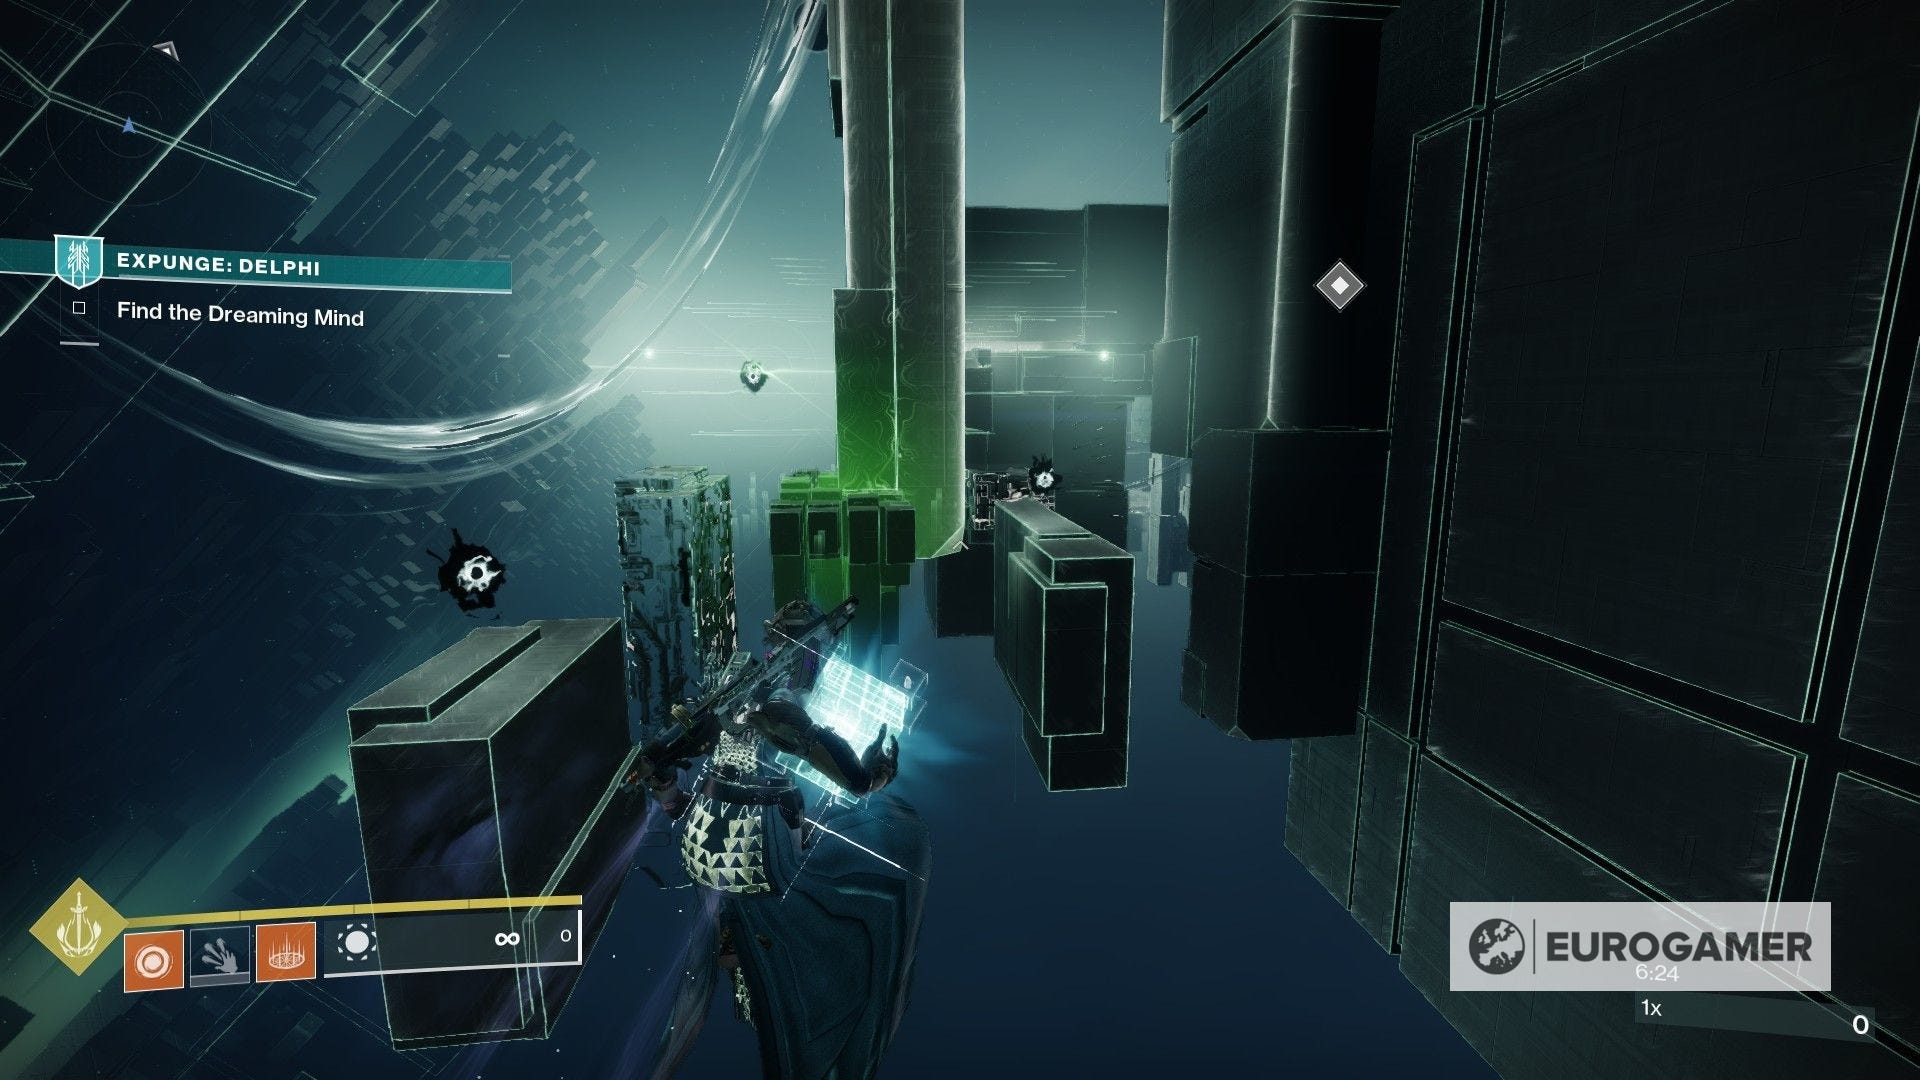
In terms of gameplay, however, the structure is formed by three short sections of the corrupted Labyrinth, Styx and Tartarus variants.
For Tartarus, this entails a section with shifting platforms, which are infested by the blinking-eye kind of traps. After a short walk, you'll have to destroy a Nexus Guardian carrying the Data Spike. After making a run for it and depositing it in the terminal, you'll be transported to the next stage.
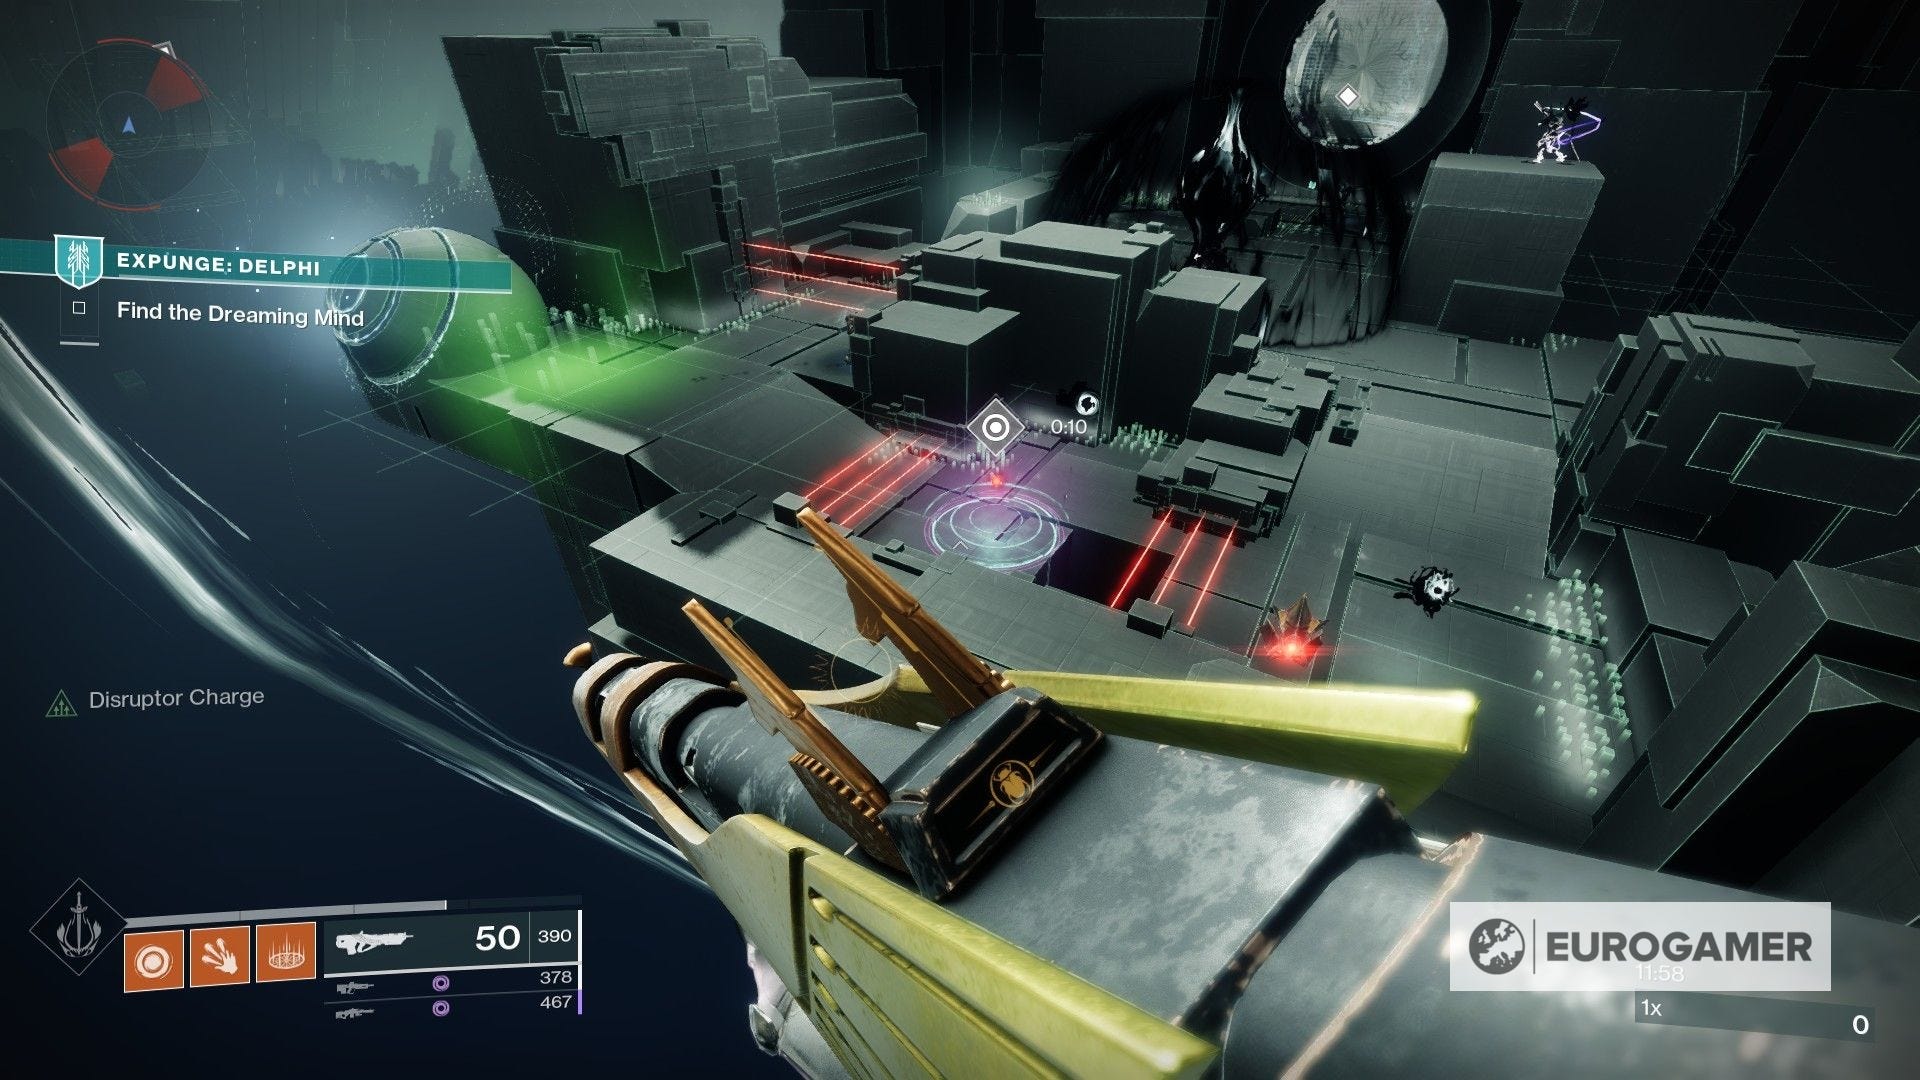
For Styx, it actually takes one of the rooms that are required to access the boss fight. You'll have to get through a series of platforms with tonnes of Taken traps around, destroy the guardian and grab the key.
From here you already know the drill: make a run for it while ignoring most enemies. As long as you set foot on the nearest checkpoint, you'll get to the door in no time. As this is the corrupted variant, you'll have to destroy a group of Taken foes guarding the door. Take them down, deposit the key, and jump through the portal.
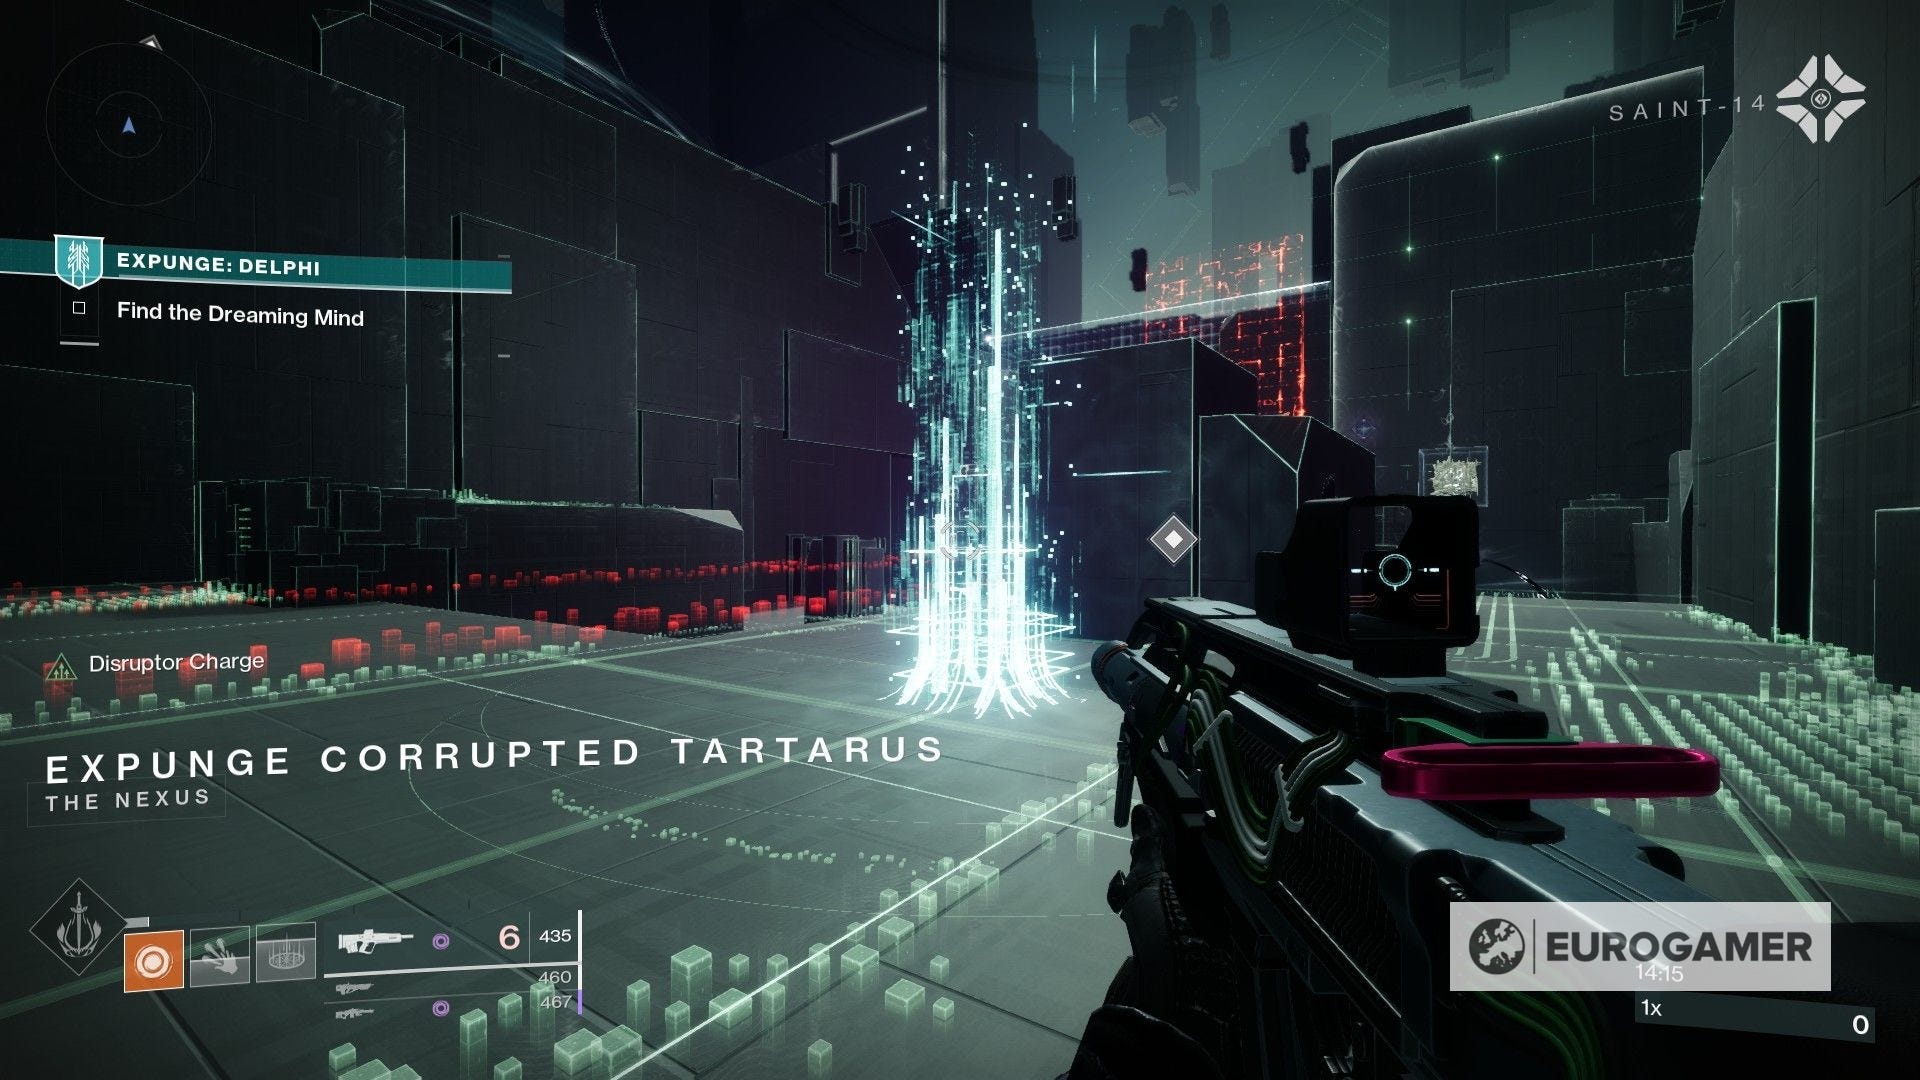
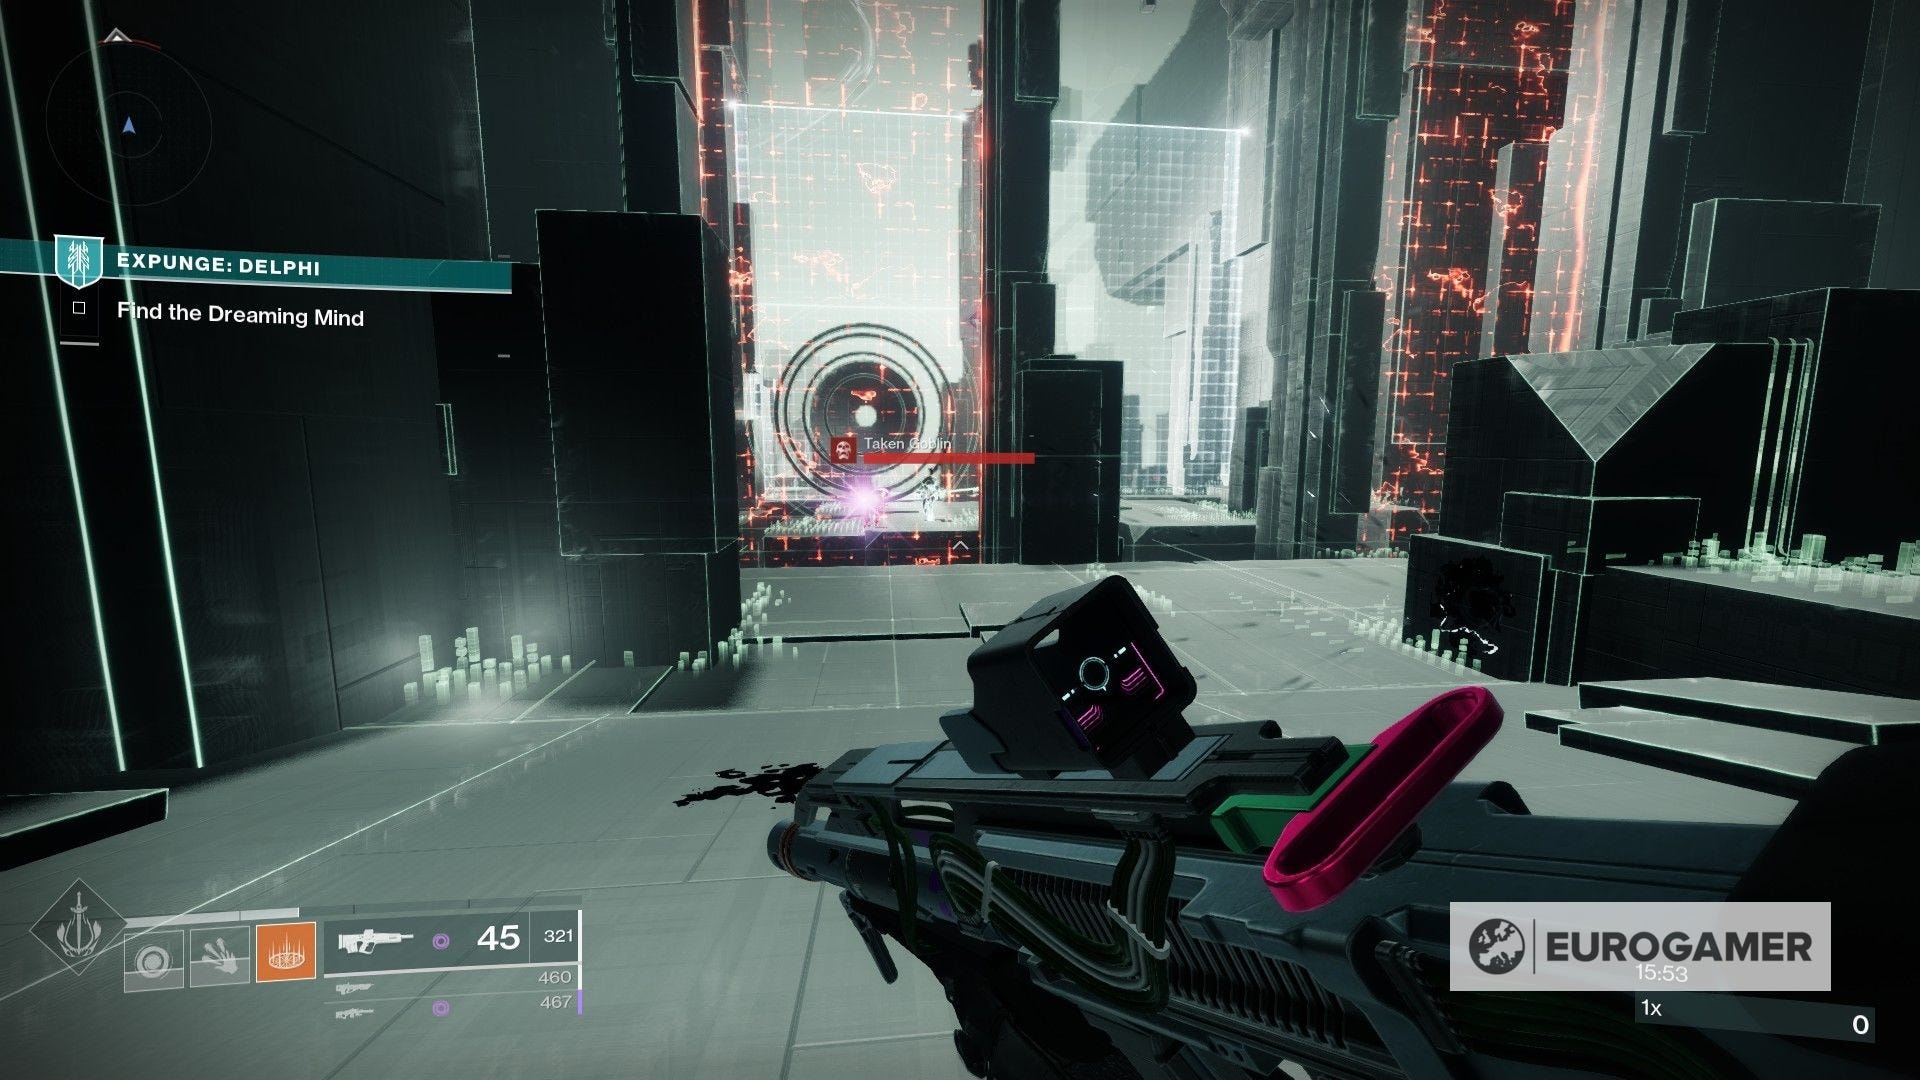
As for Tartarus, this one feels odd as you have just finished going through it, but there's a twist to it. While the section is rather short, you'll have to defeat an Override Hobgoblin, who can be quite fearsome. After destroying it, you only have to jump through the portal and onto the boss fight.
The boss encounter isn't actually as different as you might have expected. Quria is rather familiar to the bosses you've already fought in Expunge, and the mid-fight puzzles are nothing new either - you'll have to carry a key twice, so make sure to look for checkpoints while doing so.
As usual, you can find a couple tips below to tackle this as efficiently and quickly as possible:
- We know it might sound repetitive, but if you haven't been paying attention to Splicer Gauntlet upgrades up to this point, you should! Upgrades like Codestrider and Codebreaker will prove immensely helpful when navigating Expunge: Delphi, and just save you time overall.
- Once more, while you will see a few regular Goblins here and there, most of the enemies will be Taken variants, so make sure to equip yourself properly for the occasion.
- Keep an eye on flashing platforms as they will disappear without much notice.
- As per usual, make sure to either equip one or tell one of your squadmates to carry a sniper rifle with them, as enemy snipers can be a hassle to deal with.
- During the boss fight you will encounter a number of tough mini bosses. If they're proving to be a trouble, it's worth spending some time taking them down.
- That being said, you really don't need to kill every single mob. As soon as you get your hands on the key, make a sprint to the nearest checkpoint - if you're still alive by then, keep going to the next and so on until you get to the terminal. After making the deposit, focus your fire on the boss, and the fight will be over in no time.
Aside from the often annoying traps, you shouldn't have any problem doing this either with a group or solo. Keep in mind that Expunge: Delphi has a 1310 Power Level requirement instead of the previous 1300. In addition, there is no expedited challenge for it, but there is a Flawless challenge if you fancy it.
Expunge rewards and what we know of future Expunge missions in Destiny 2
Neither Expunge: Labyrinth, Expunge: Styx nor Expunge: Tartarus resulted in an Exotic, nor, unfortunately, did it provide a Pinnacle gear, despite how it was previous advertised. Instead, you will get a high stat armour piece in a different slot:
The corruption variant didn't change this, and while there was a tease of "other rewards", we didn't see anything new in-game aside from weekly challenges. As we have witnessed there's been a total of six updates mentioned on the Season of the Splicer roadmap, verifying previous datamines hinting at the 'Delphi' mission (thanks T_Gamer-mp4 on reddit). Between that and the speedrunning Triumph mentioned above, there have been many reasons to pursue these missions beyond the seasonal story.
All there is left to see is if Expunge: Delphi will have any particular variant sometime later in the season, or if there will be a weekly challenge that invites you to revisit the encounter. But in the meantime, congrats for defeating the enemy behind the longest night!