Control The Pyramid: Marshall boss strategy for the Foundation DLC
How to defeat the former Head of Operations.

The Pyramid is the last mission in The Foundation DLC for Control and sees you battling the Hiss for control over the Nail.
It will also put you up against the more than capable Marshall, the former Head of Operations for the Federal Bureau of Control, so make sure you're ready for a fight.
First, however, you need to ensure that you've completed the rituals at the Warehouse, Collapsed Department, Canyon's Rim and Deep Cavern to start this mission and save the Nail.
If you're having trouble accessing The Foundation DLC, check out our guide on how to start the Control DLC.
On this page:

Reaching the bottom of the Nail in Control explained
Once you've visited all four etching and released each key, it's time to head back to the Crossroads and talk to Emily Pope.
She'll explain that while the astral bleed has stopped, earthquakes have started and they appear to be coming from beneath the Nail, which means you need to head down there. To do so simply float down to the bottom of the Nail.
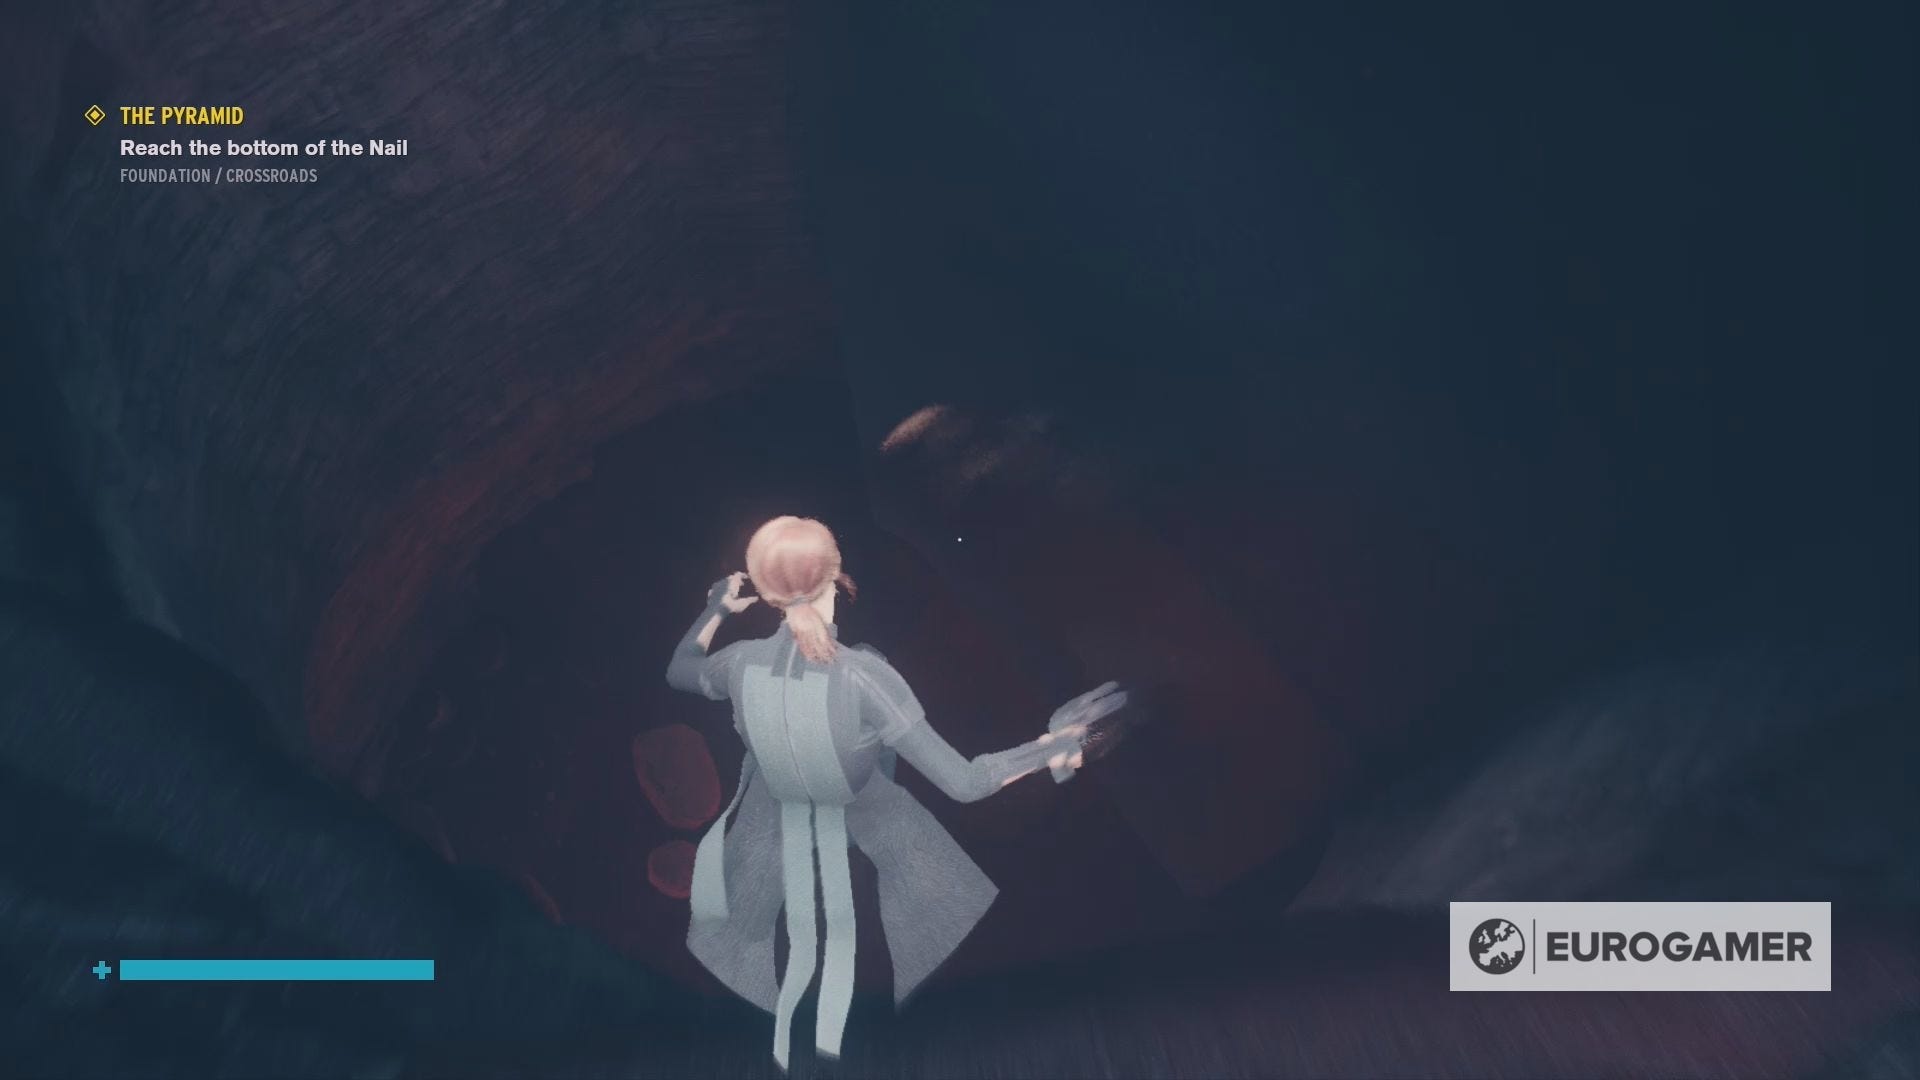
Follow the tunnel down into the Lower Crossroads and avoid the crystals that will appear, and disappear, as you go.
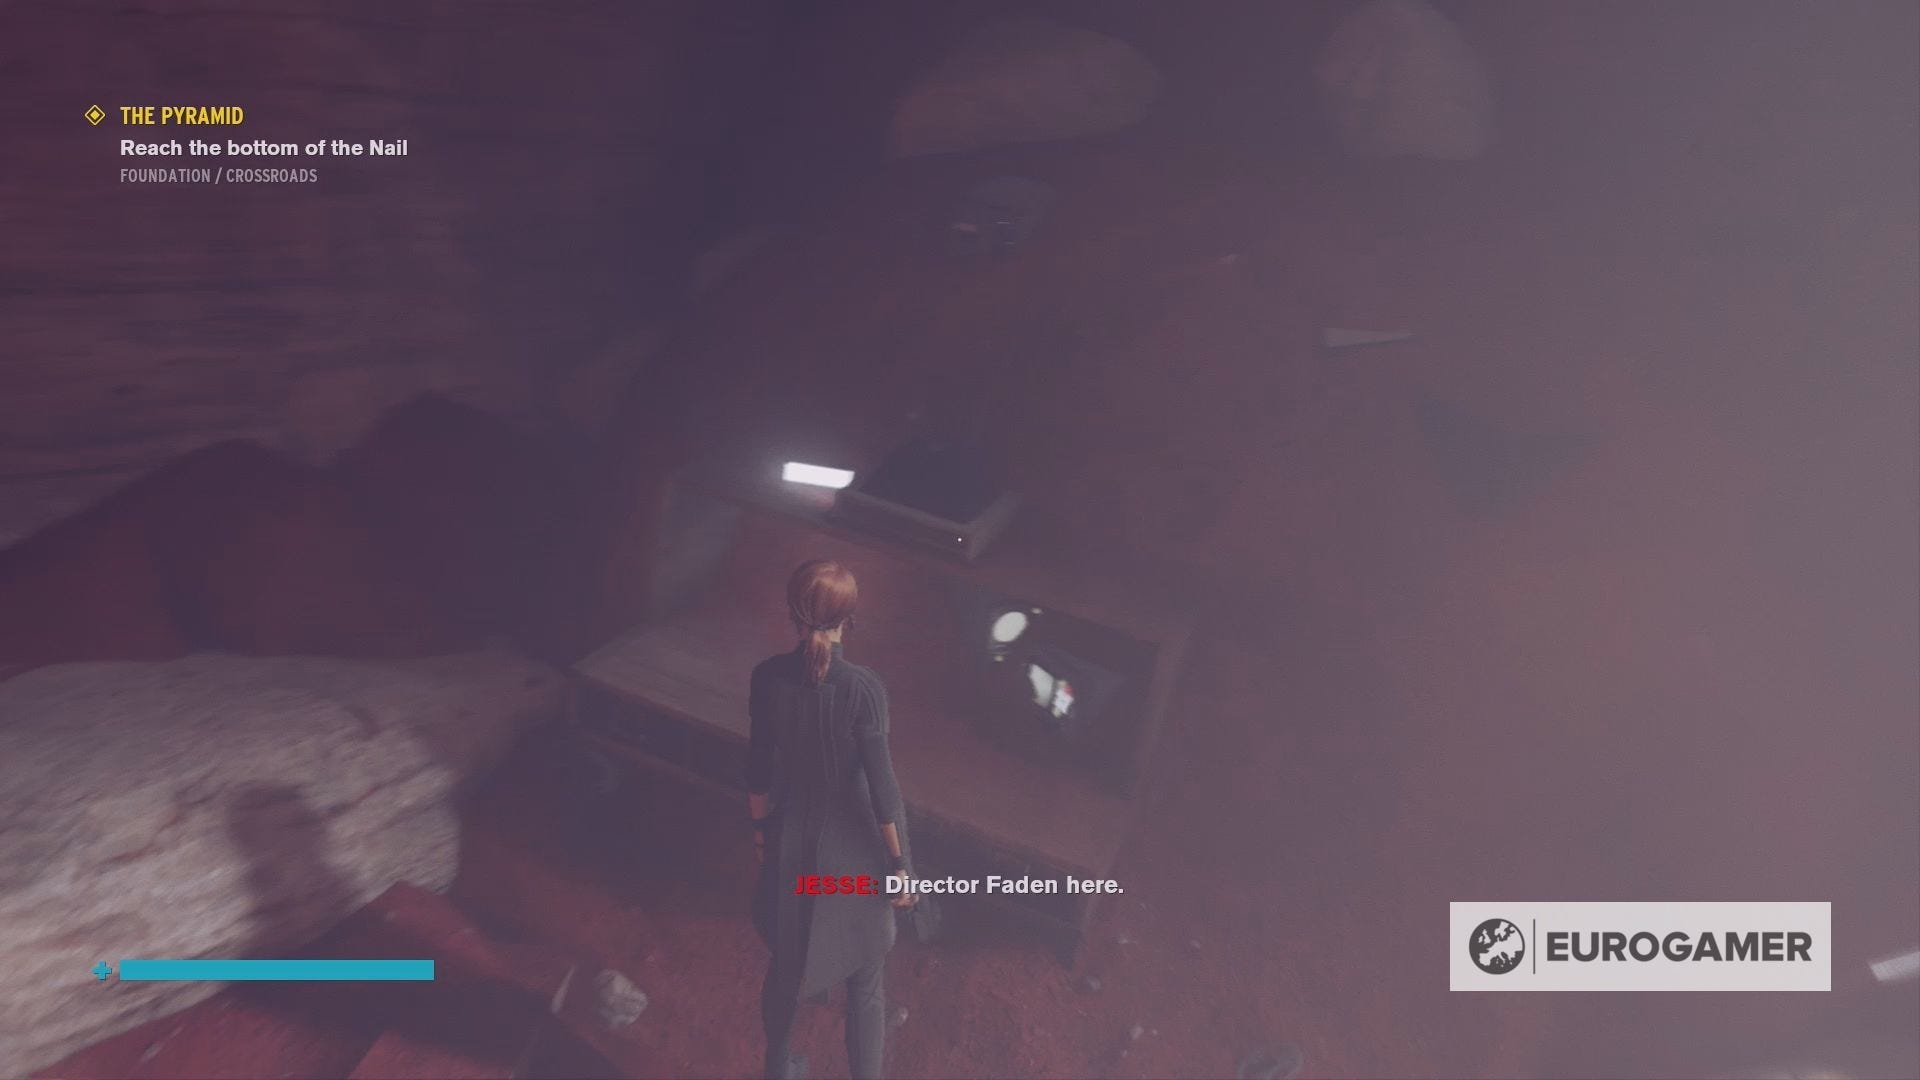
When you come to the Control Point make sure you cleanse it, else, if you die while fighting Marshall, you'll have to work your way through the Lower Crossroads again. It's also a good idea to call for a ranger from the nearby station, so that you can have some additional backup in the boss battle.
Collectibles to be found:
- Hotline - Board - Astral Entities
- (Receive at the beginning of this mission.)
- Multimedia - Ash Tapes - Log 7: Changes
- (Found at the bottom of the Nail.)
- Hotline - Marshall - Two Birds, One Bomb
- (Receive while exploring the Lower Crossroads.)
- Multimedia - Ash Tapes - Log 8: Purpose
- (Found by the Control Point in the Lower Crossroads.)


Everything you need to know about the Marshall boss fight in Control
Marshall mainly attacks in the same manner as a Hiss Sharpened; she has the ability to evade and will use an axe against Jesse if you get too close. She also has a rifle, which can cause a lot of quick damage, and will throw grenades at you.
As the battle continues the number of grenades she throws will increase, meaning that it's always a good idea to keep an eye on where they land and move quickly if you need to.
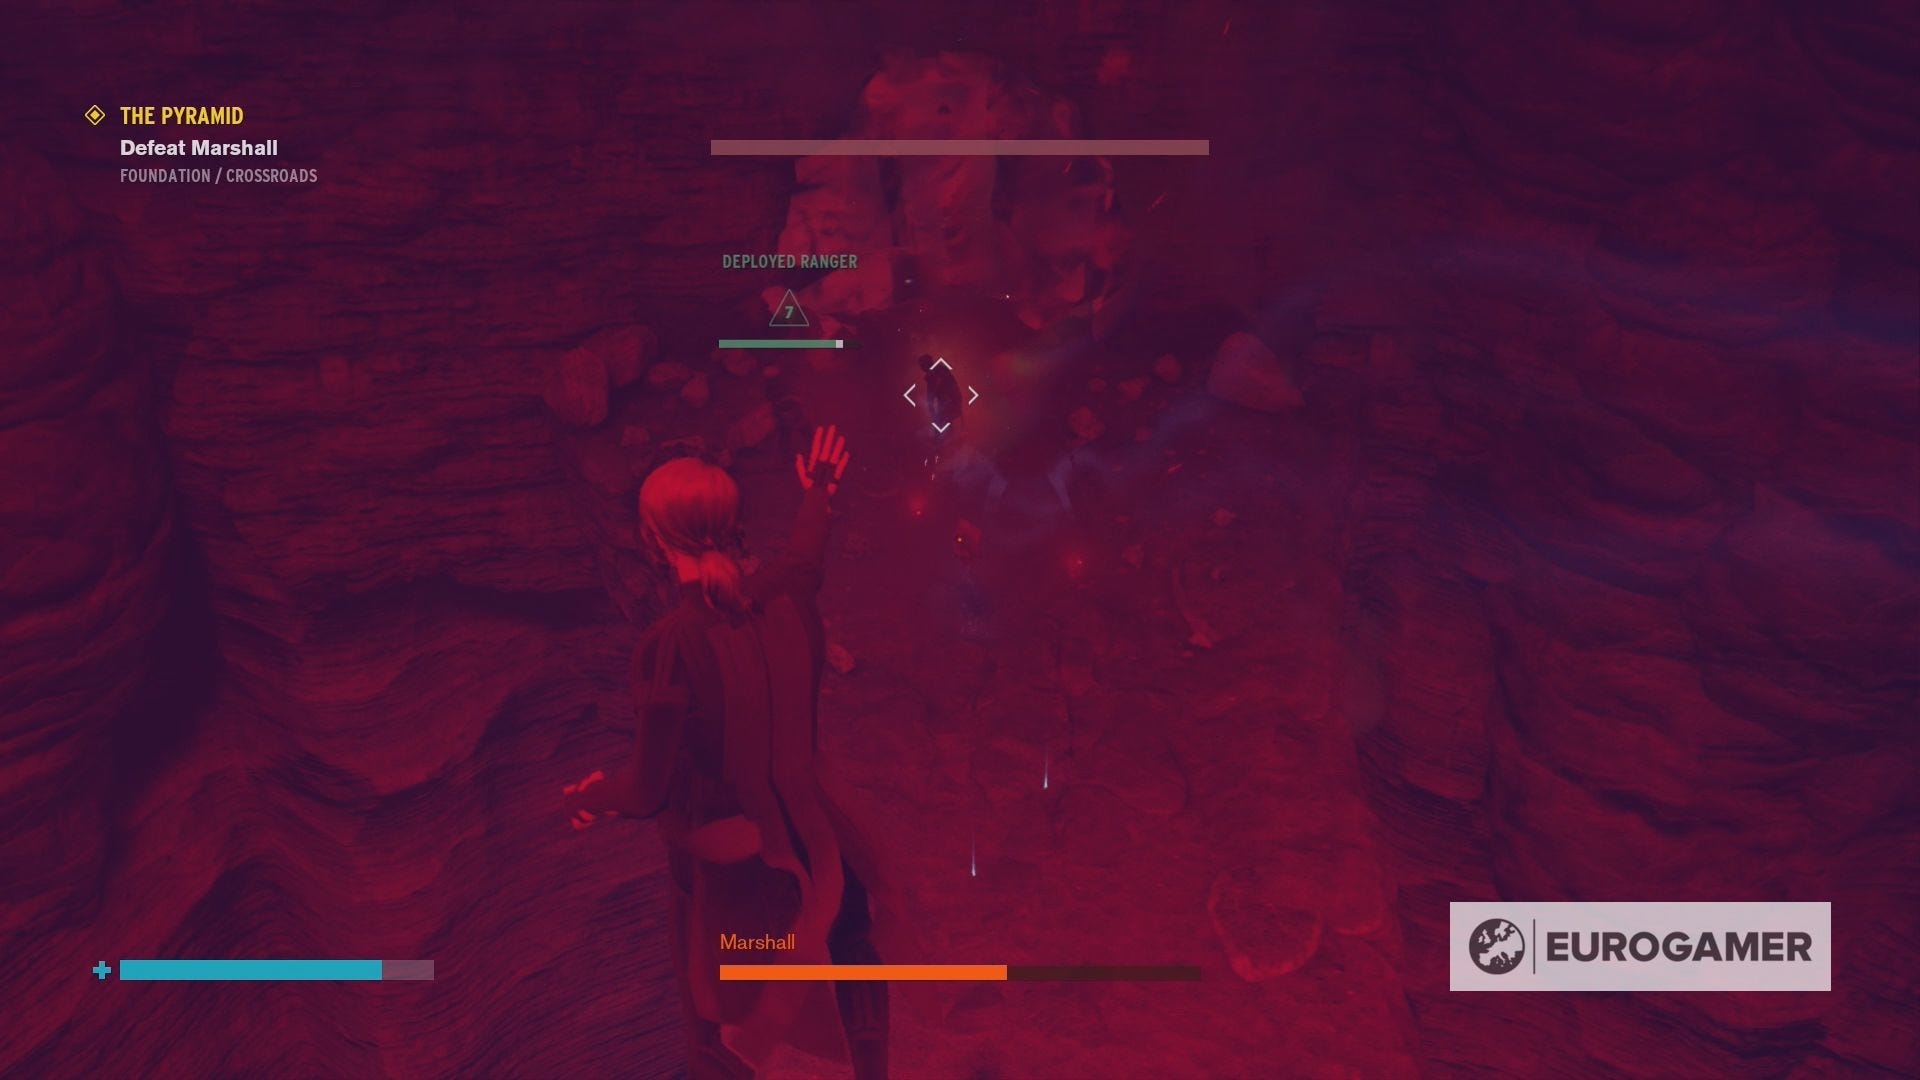
Marshall will also summon a number of Hiss enemies throughout the match, such as Hiss Charged, Hiss Sharpened and Hiss Rangers. These enemies will emerge from one of the three alcoves that you can unlock and block using the Shape ability.
Due to how powerful these Hiss enemies are, we do highly recommend bringing a ranger along with you. He will attack both Marshall and the enemy Hiss, providing you with cover and occasionally drawing their attention away from you.
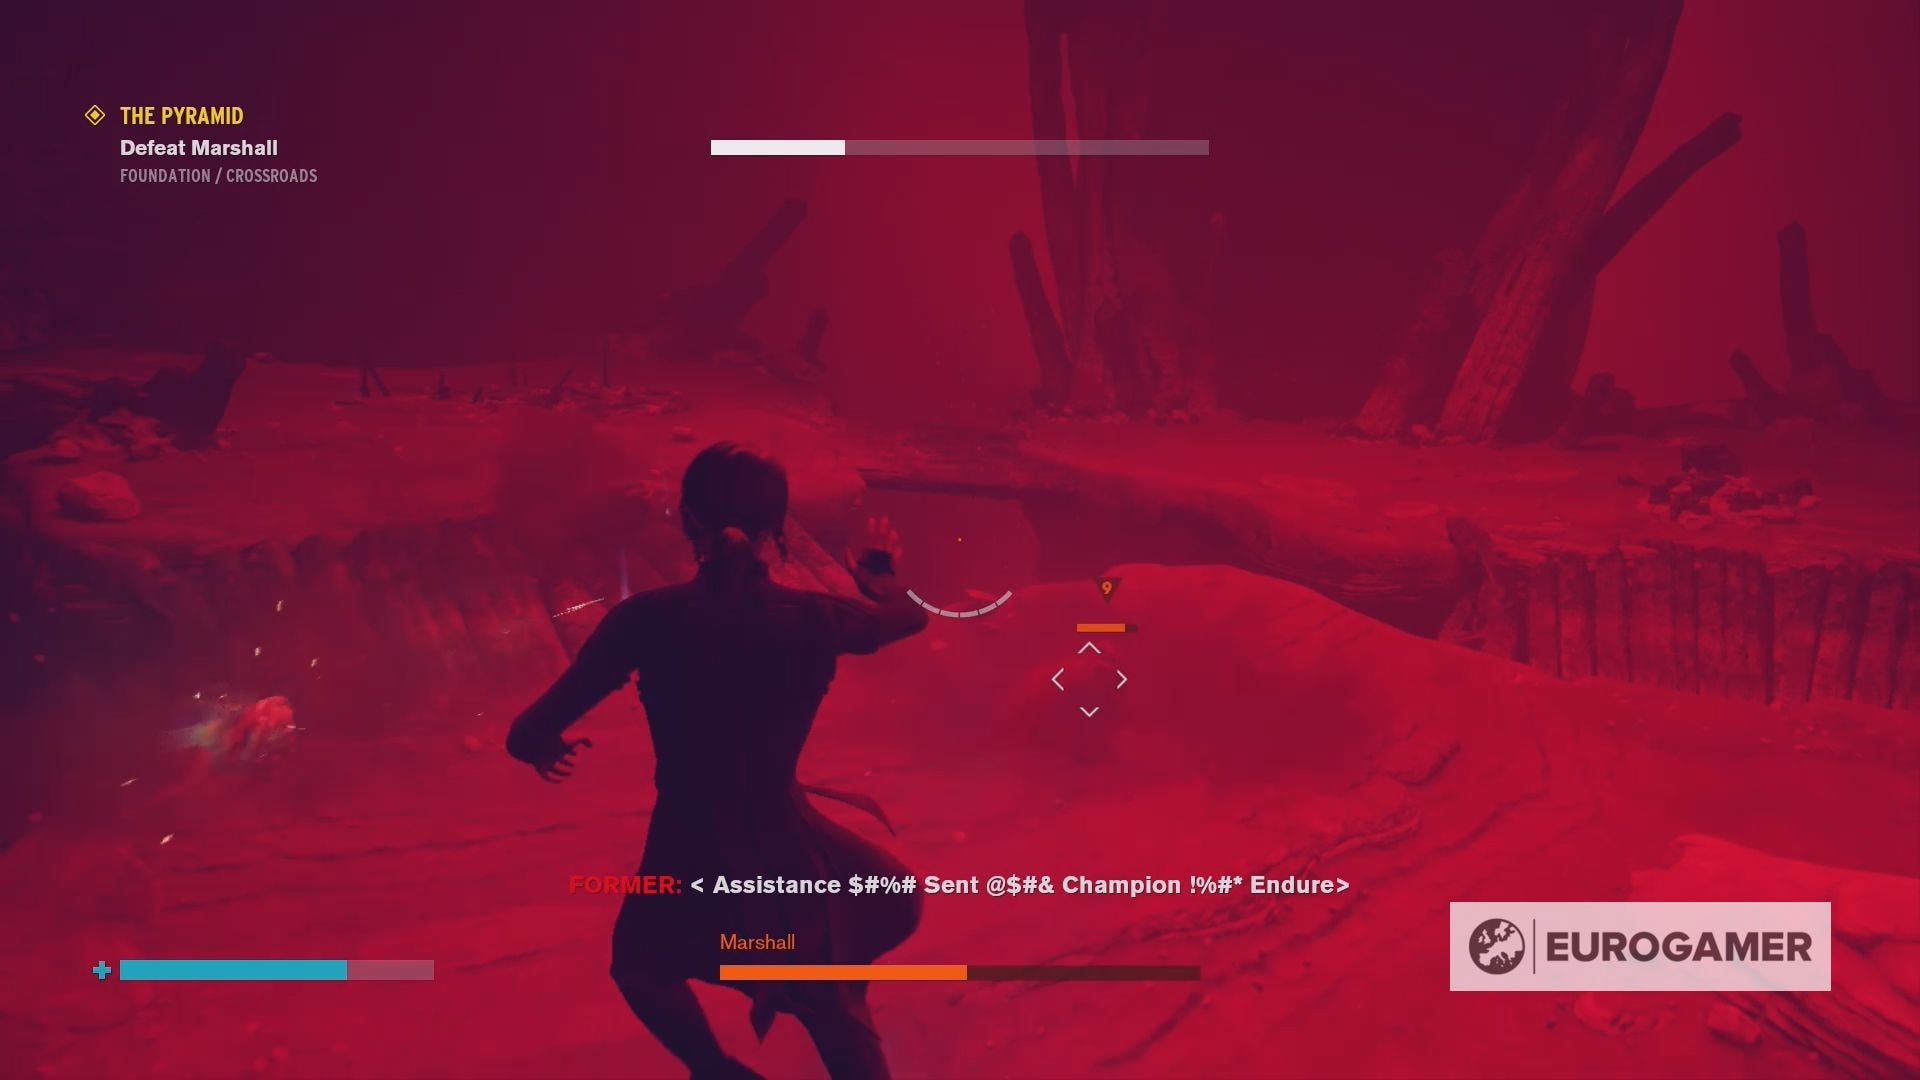
If you talked to the Former, rather than attacking it earlier in the DLC, the worm-like creature will also send you some assistance throughout the battle in the form of multiple Astral mimics. These mimics will provide valuable assistance in attacking both Marshall and the Hiss, drawing their attention away from you, which will allow you to either heal or deal damage freely.
Finally, it's important to know that there are a number of bugs - some useful, some not - that you might encounter during this boss battle. These include Marshall becoming stuck on a bridge ledge, allowing you to continuously cause damage without interfering, and Marshall vanishing from the battle completed.
If Marshall does vanish, then it's a good idea to first check the alcoves and the ledges around the battlefield, as she could have become stuck up there. Sadly, if you can't find her, then you will have to restart the match.
This boss battle also caused our copy of Control to crash a couple of times, with one crash resulting in the save data becoming corrupt. Thankfully, we had a backup ready to go, so we highly suggest that you do the same before facing Marshall in Control.
It’s time to journey into the mysterious Federal Bureau of Control. Our Control walkthrough can help you through the storyline missions, including Welcome to the Oldest House, Unknown Caller, Directorial Override, Old Boy’s Club, Threshold, My Brother's Keeper, The Face of the Enemy, Finnish Tango, Polaris and Take Control. You can also learn new supernatural powers by completing A Merry Chase, A Good Defence and A Captive Audience. We also have guides on upgrading the Service Weapon, your Abilities, how to use Weapon and Personal Mods, how to unlock every outfit and the solution to the Roulette Wheel puzzle.
Marshall boss strategy in Control
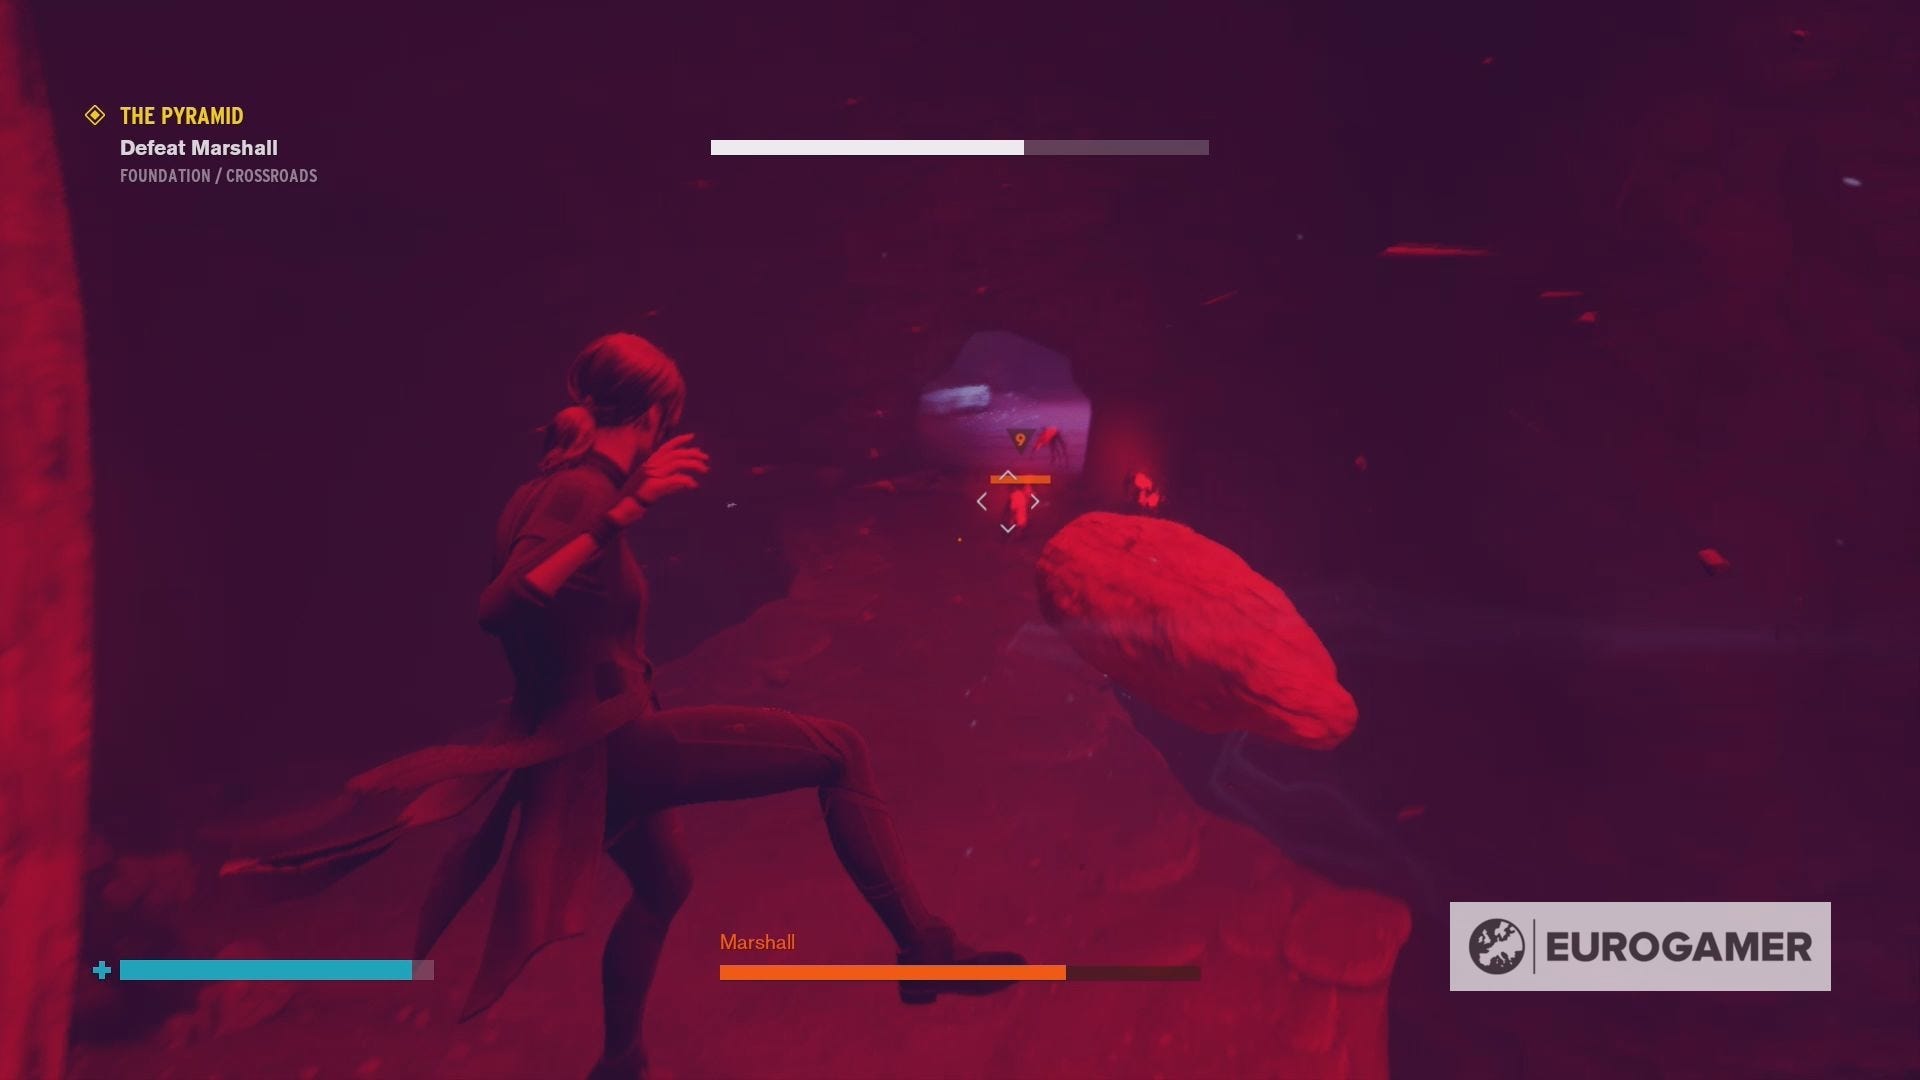
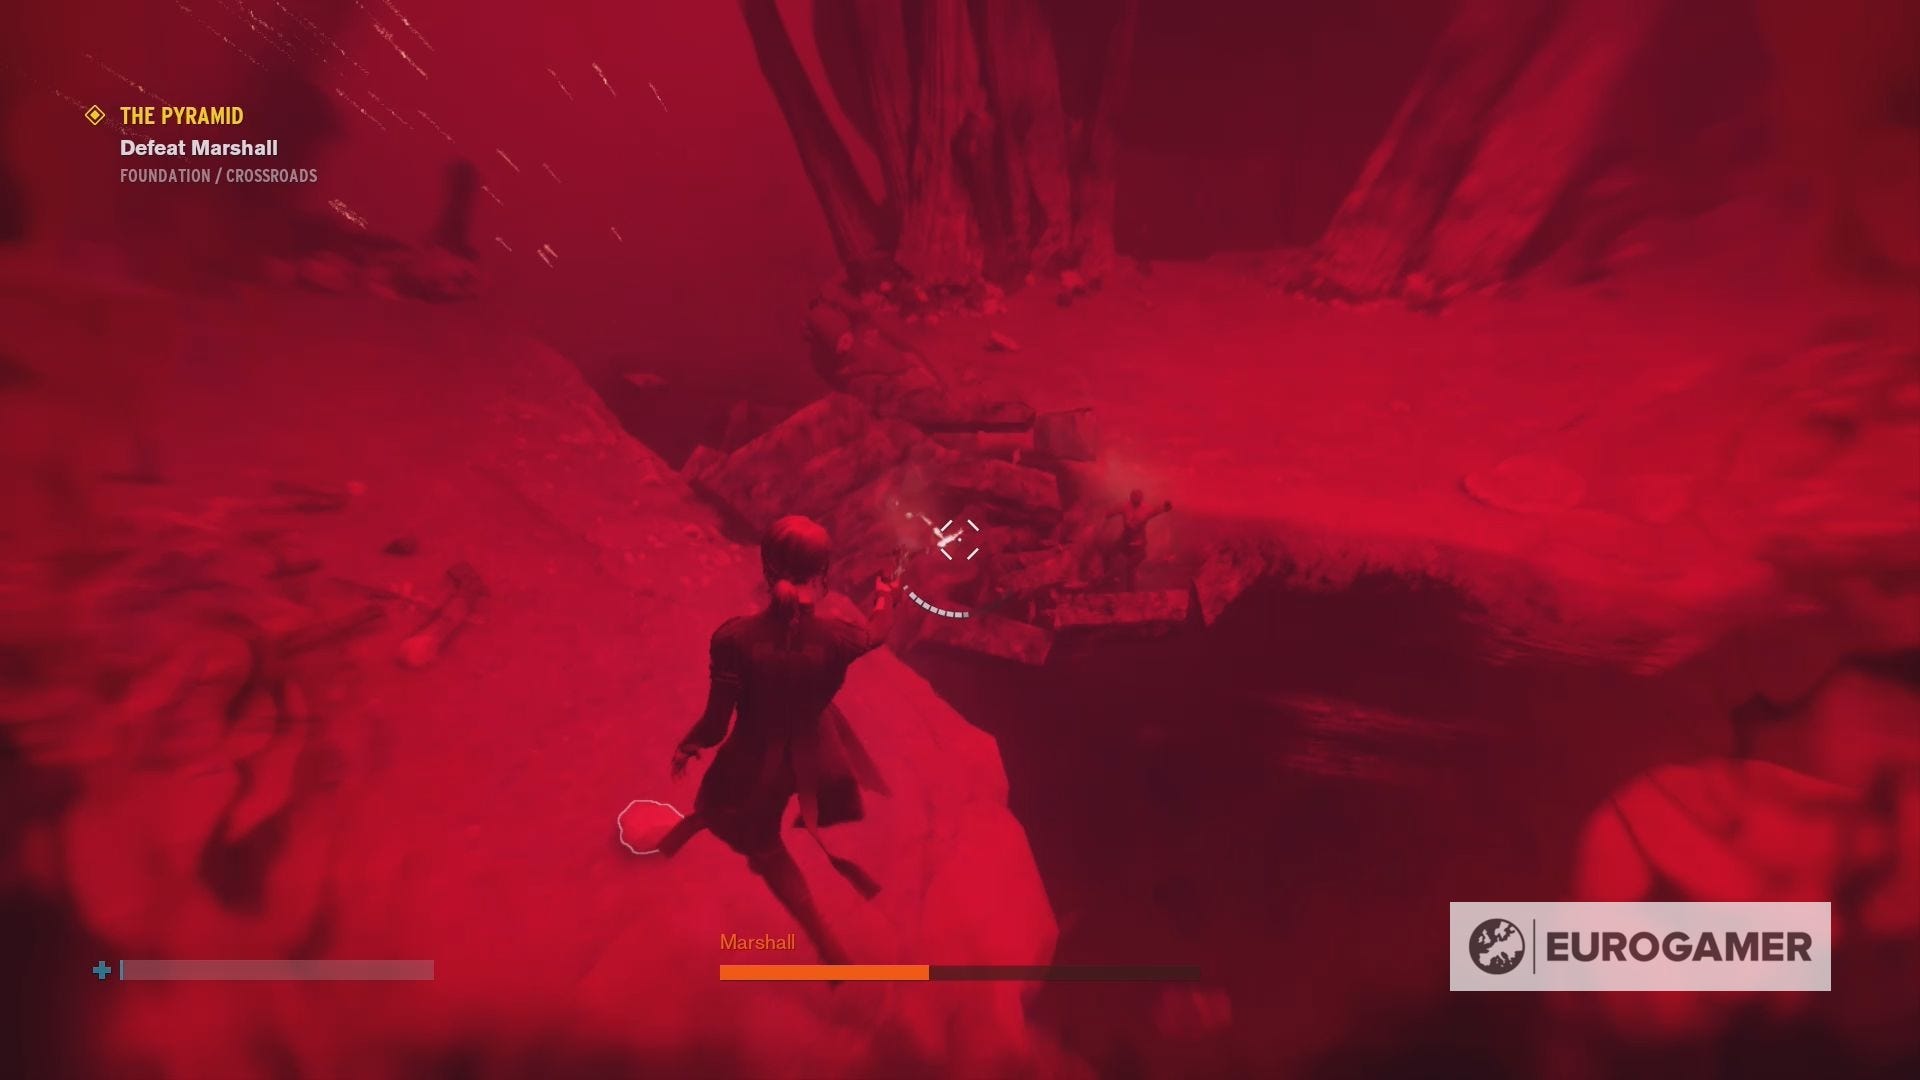
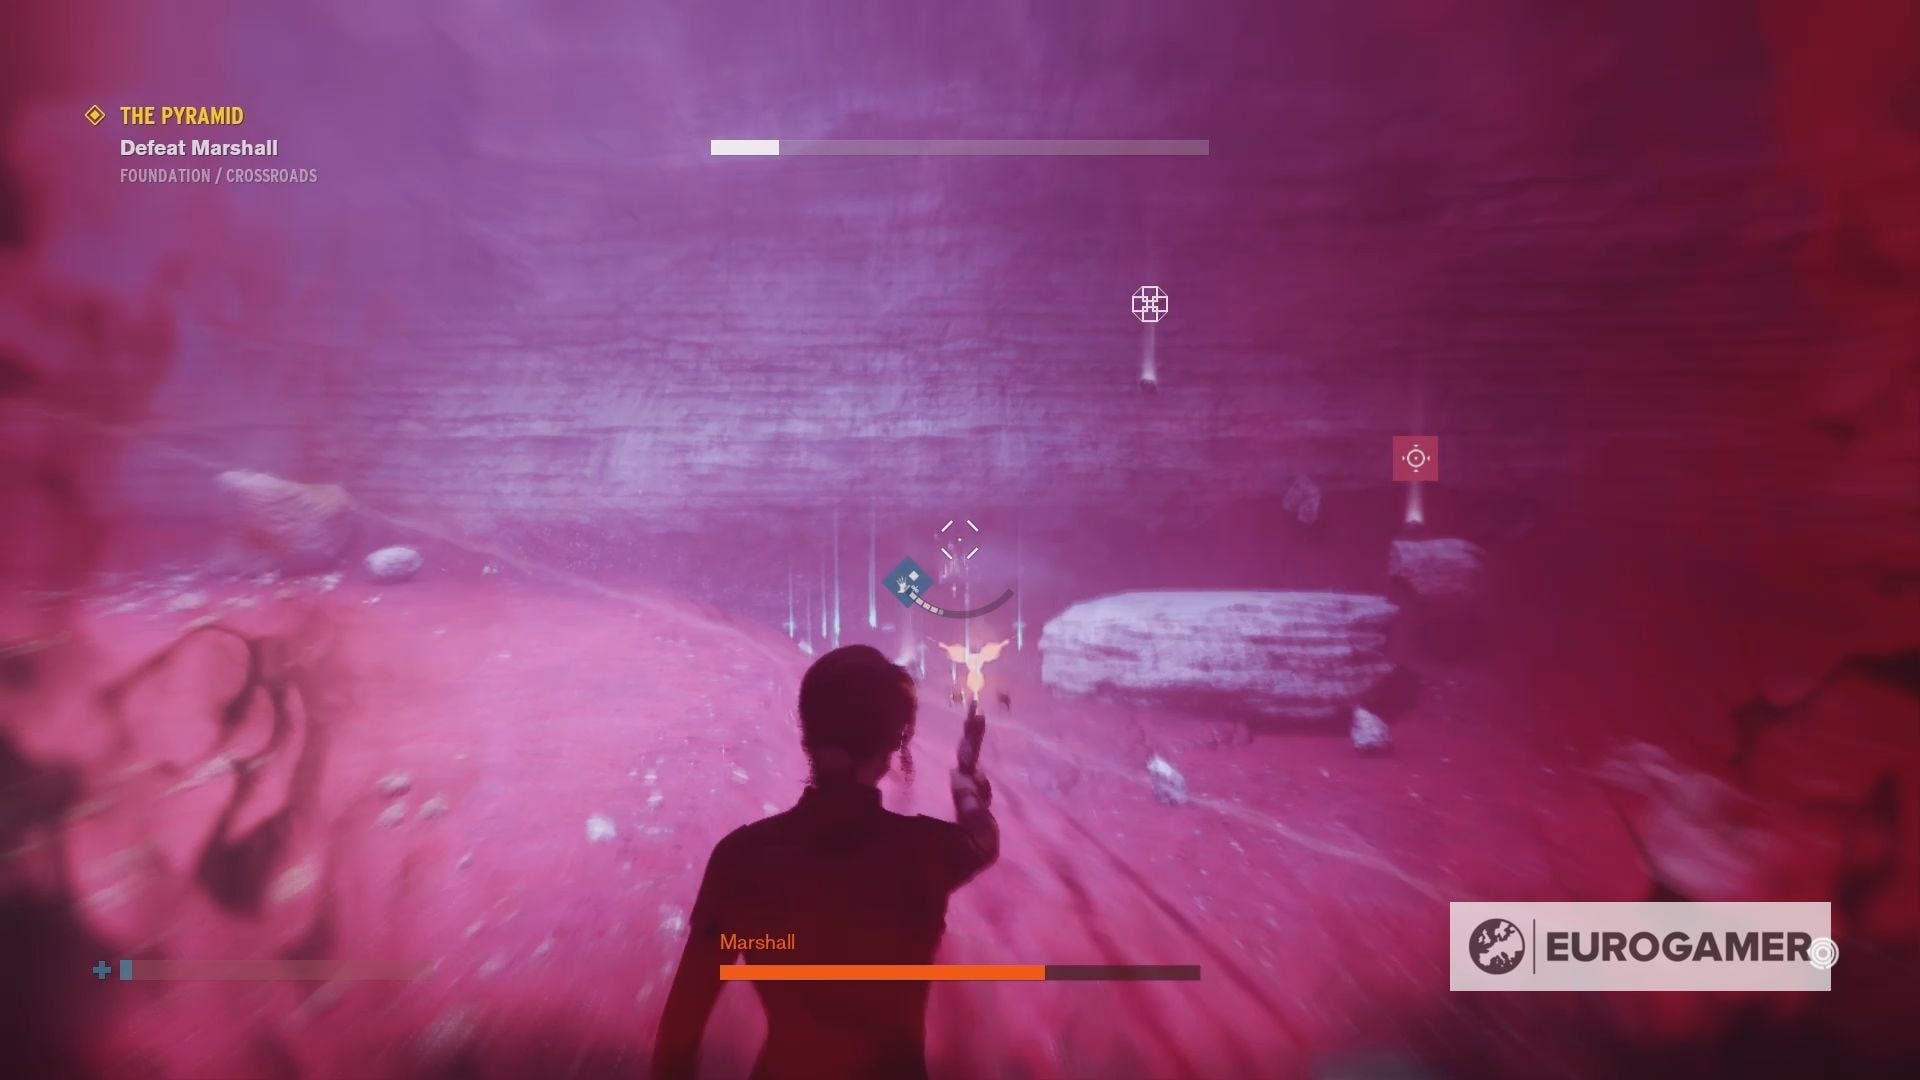
Like the other bosses in Control, you'll defeat Marshall by using a combination of your Service Weapon and abilities, especially launch. Although, the best way to defeat Marshall is to lure her into one of the crystal bridges and then destroy it from under her feet.
She will quickly return to the battlefield, but will lose a good amount of health in the process. Since Marshall will often stand still while firing at you or one of your allies, this is quite an easy feat to do. Just make sure you keep an eye on her location and shoot the right part of the bridge.
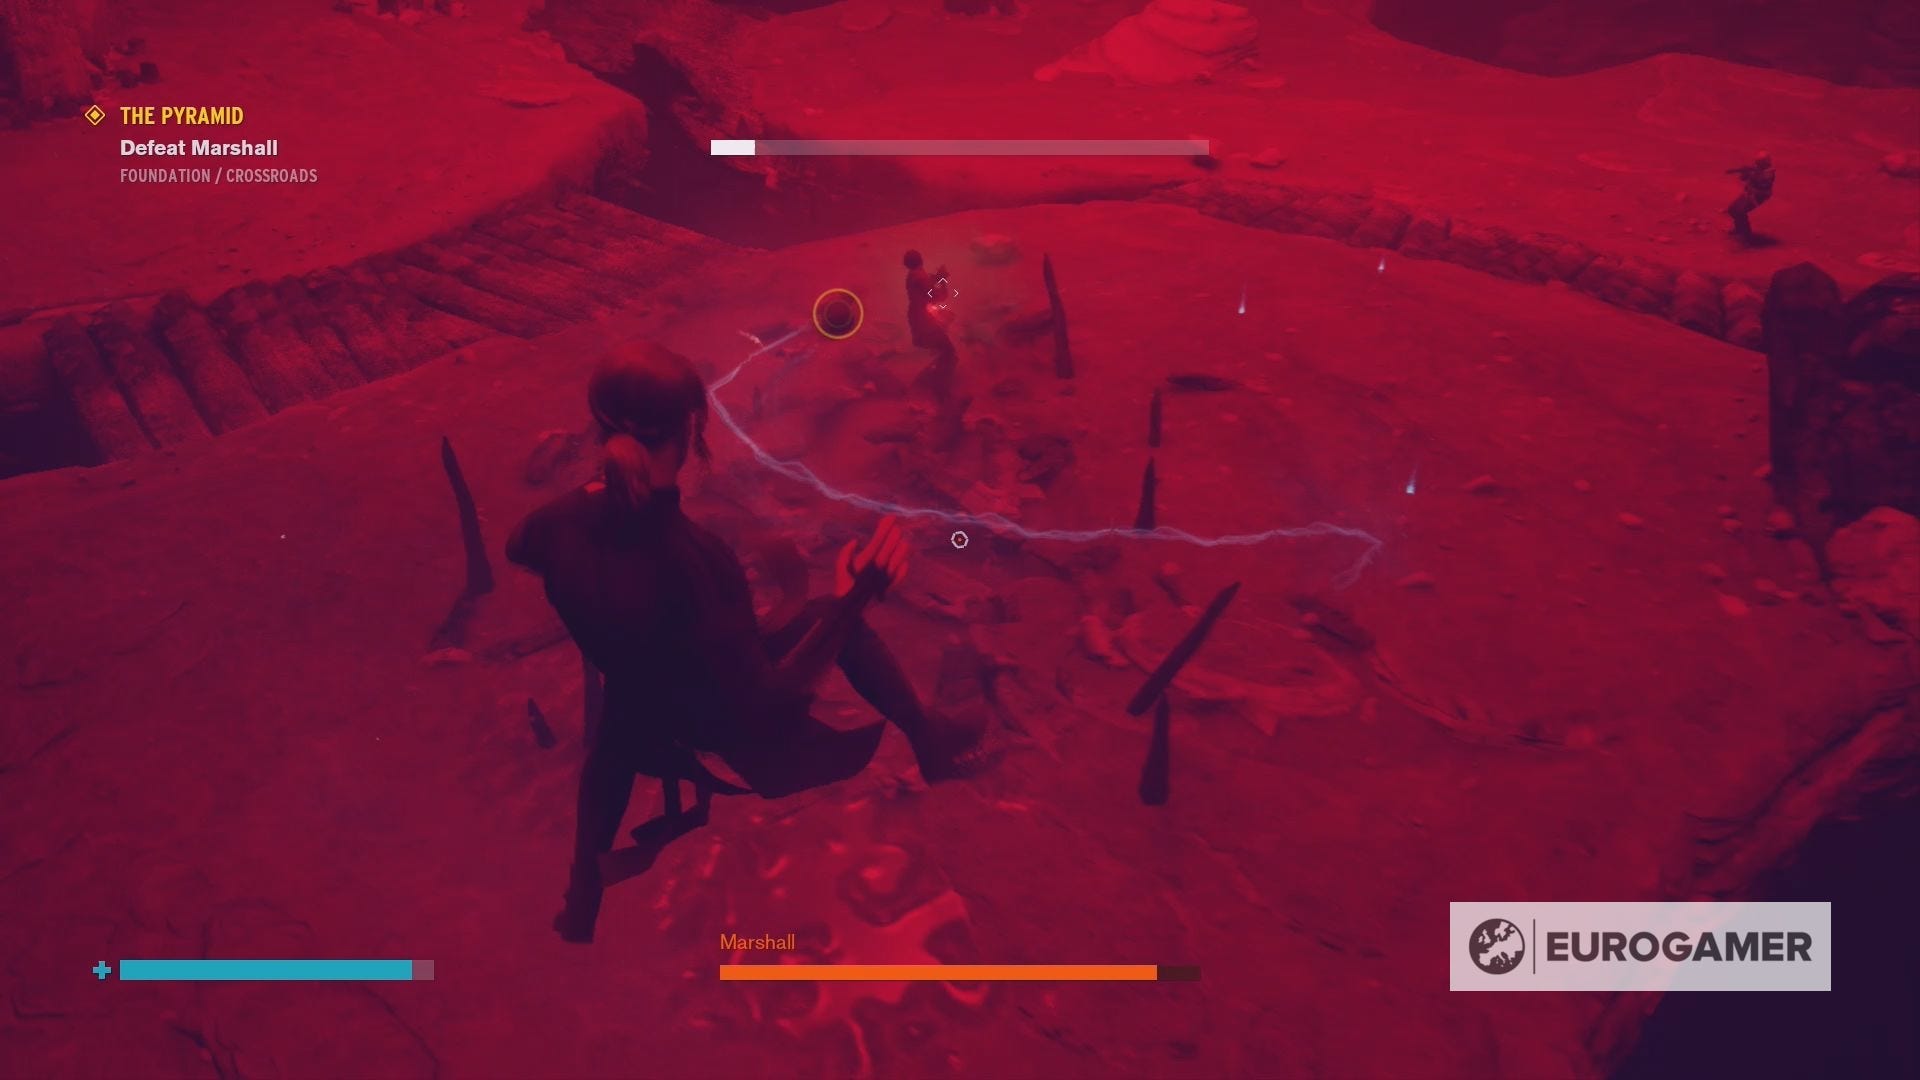
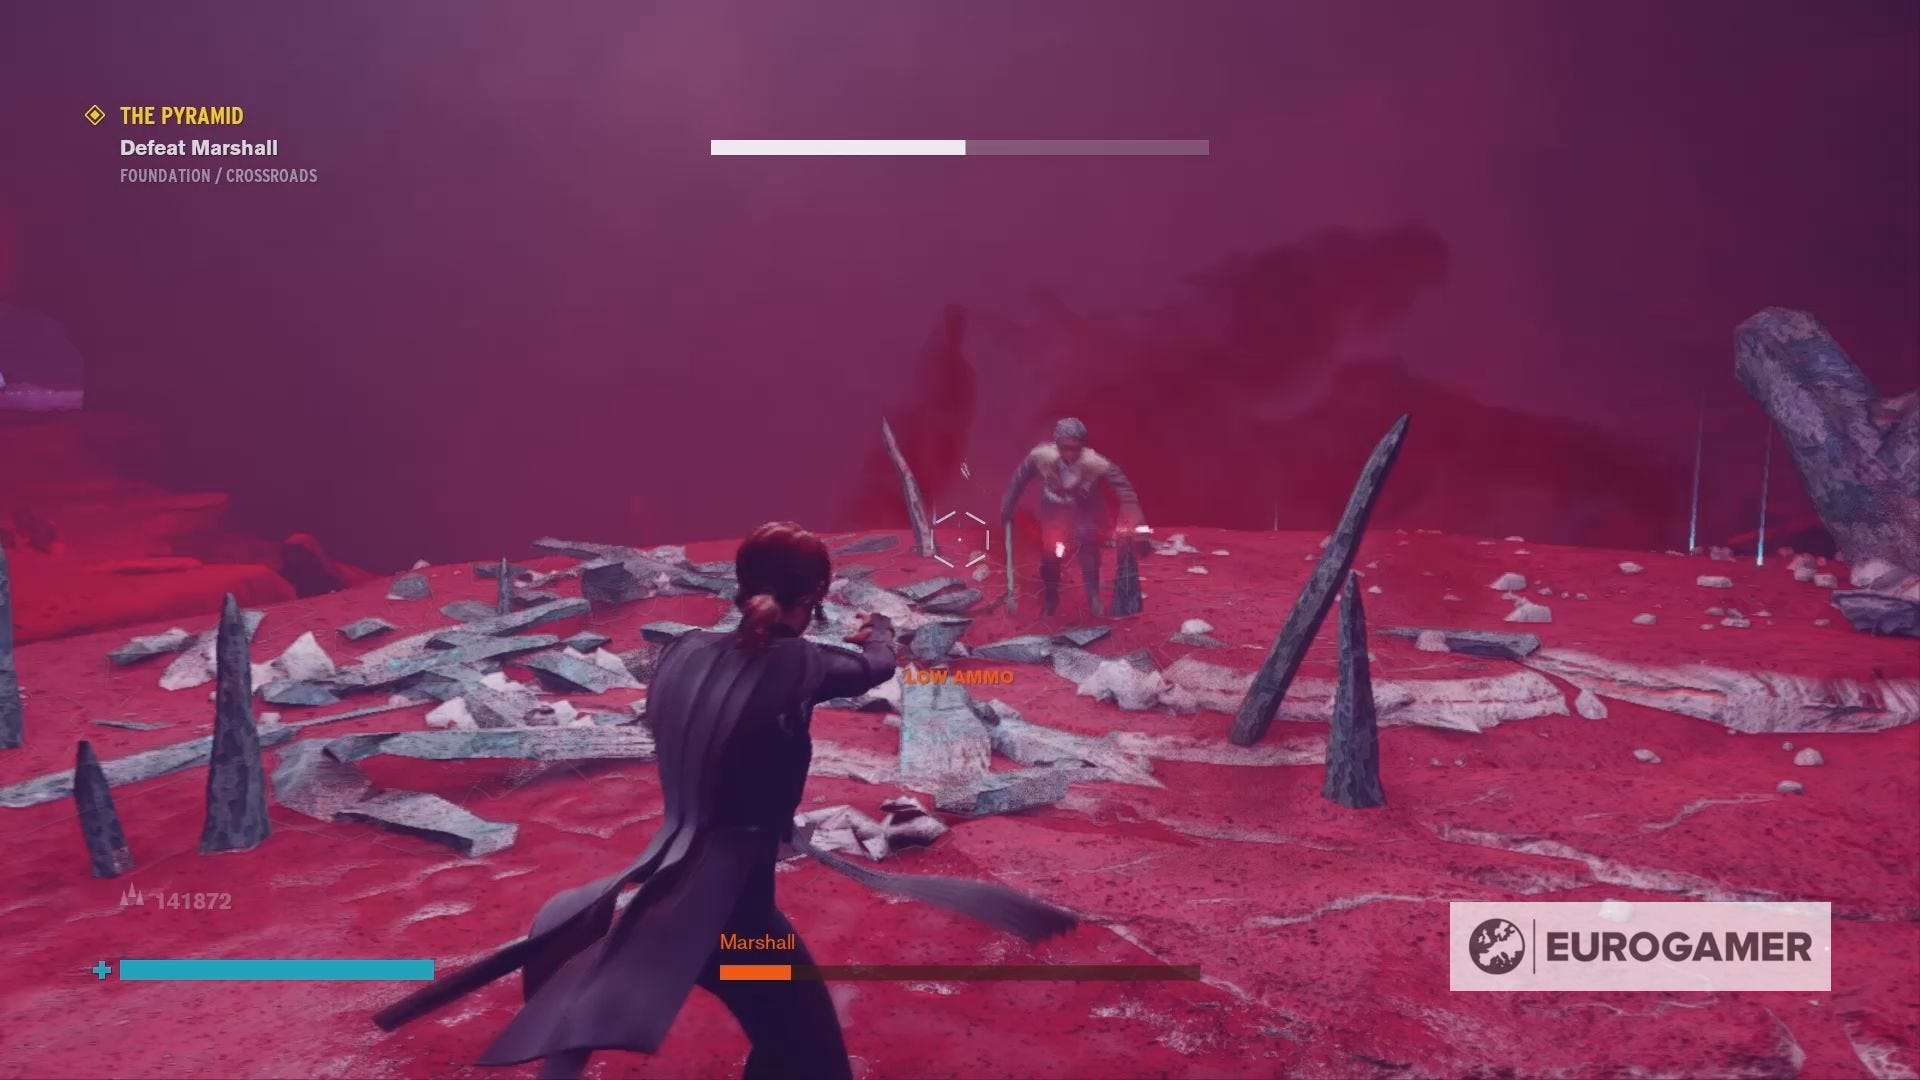
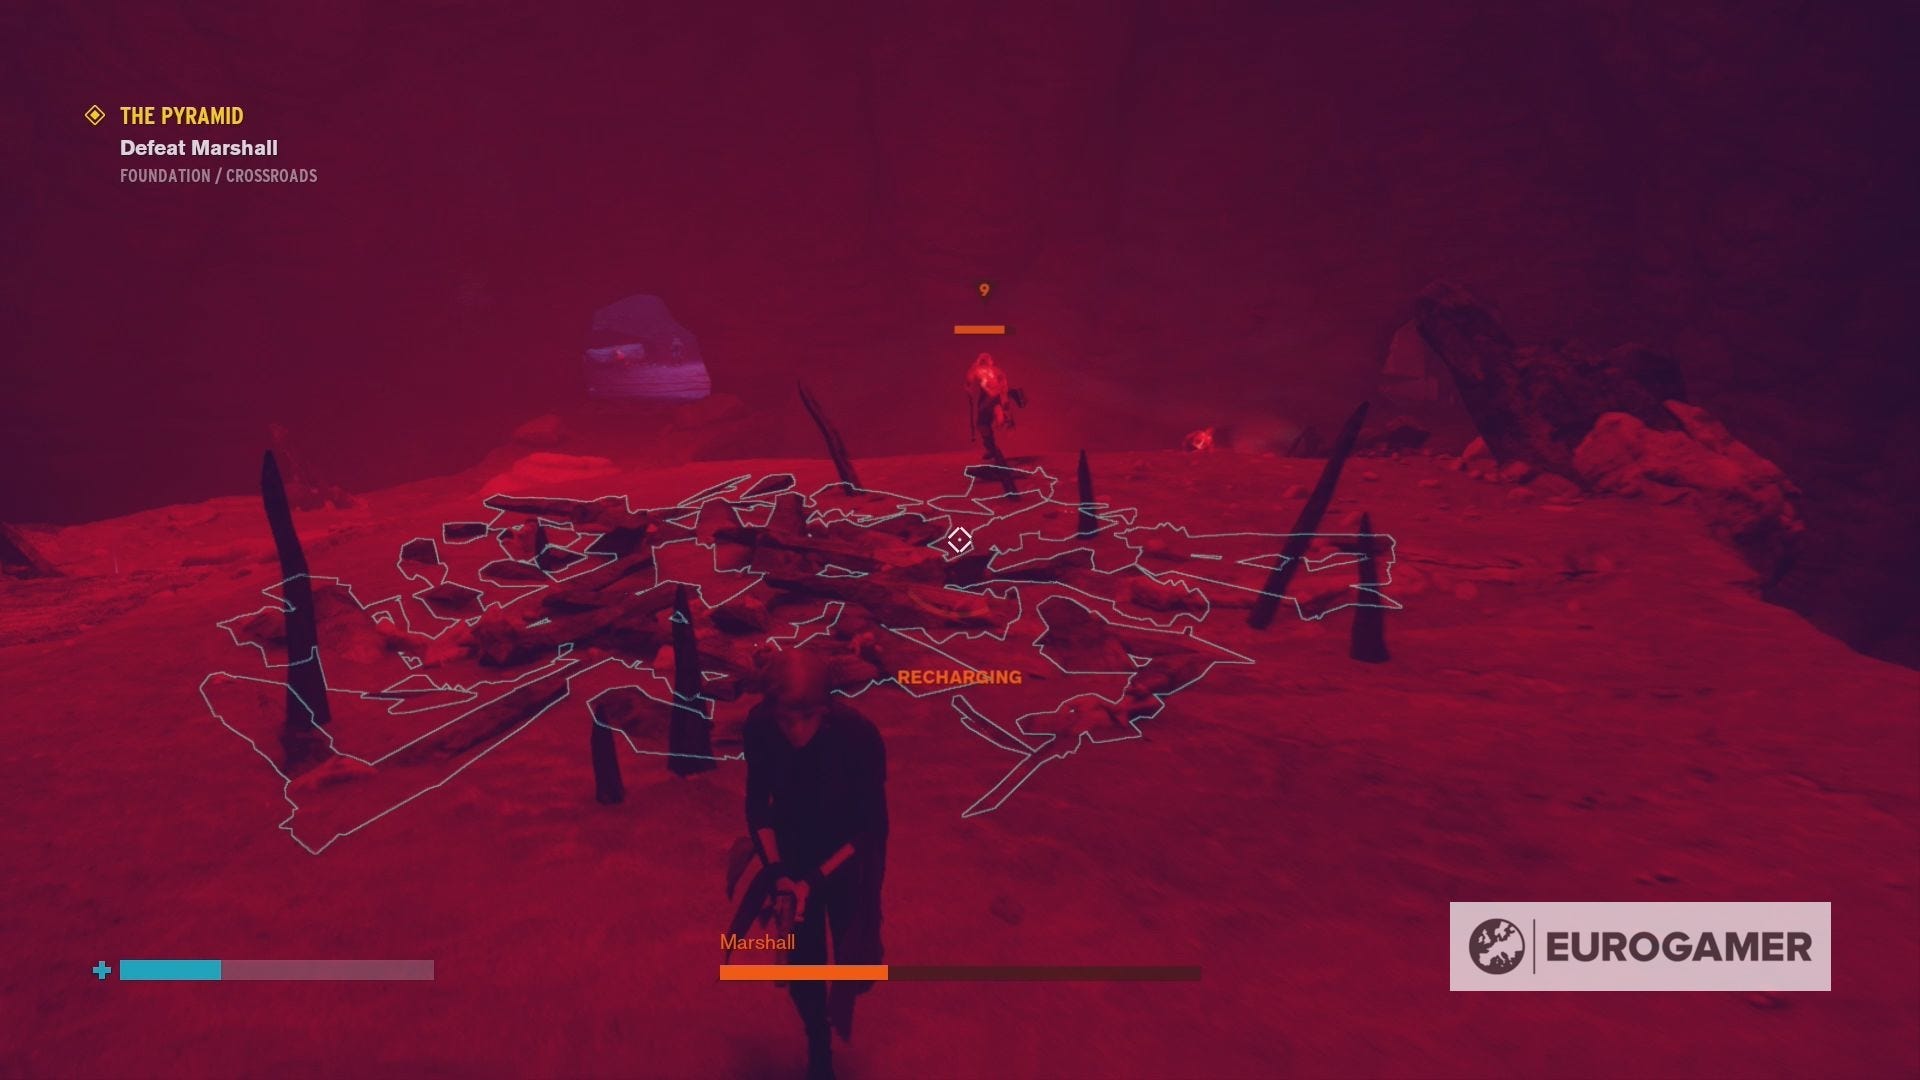
When the battle with Marshall begins, you'll want to head immediately to the left-hand corner of the battlefield. This will not only give you one of the best views of the fight, but will also put you close to the spikes that you can manipulate using the Shape ability.
These spikes will be invaluable throughout the battle, because not only can they destroy many of the Hiss enemies with one hit, but, if you manage to lure Marshall onto them, you can cause a substantial amount of damage.
The only thing you have to be worried about with this position are Hiss enemies appearing in the alcove behind you, but, if this does occur, you'll have enough room to quickly evade their attacks.
You should also be spending the majority of this battle in the air, as this positioning will allow you to see when enemies throw an axe or grenade at you, giving you more time to do it. Levitating will also help you dodge melee attacks from both Marshall and the Hiss, while also giving you a better view of the bridges.
When you are on the ground try your best to lure enemies onto the spikes and try to avoid getting pinned in a corner. This is a battle that can easily become very chaotic, so you need to make sure you have a good idea where everyone is, so that you can stay alive.
If you do need a second to quickly recharge the Service Weapon, run into one of the alcove and use Shape to grow the crystals behind you. This should keep you safe from the Hiss for a few moments and, if they do make their way inside, you'll be able to quickly kill them, then safely regain your health from their remains.
It's also important to note that, unlike in our boss battles, falling off a platform during this fight won't kill you. Instead, you'll return to the battle with a small health penalty, meaning that, if you're brave enough, this could be a solution if you find yourself in a tight spot.
Finally, we highly recommend you bring a ranger into this battle, especially if you attacked the Former earlier on in the DLC. This ranger will draw Marshall's attention away from you at times, giving you the opportunity to both heal and cause a lot of quick damage without the worry of being attacked.
Cleanse the Nail in Control
With Marshall defeated, you can now cleanse the Nail of any Hiss influence.
After a couple of words from the Board, head down the tunnel to the left of the Nail - it's past the spikes you probably used in the boss battle - and follow this path, until the ending cutscene for the Foundation DLC begins to play.
You'll also receive four Ability Points and the collectible:
- Hotline - Board - Departure
And with that - congratulations! You've completed the Foundation DLC for Control.
There are, however, still a number of secrets left you to find in the Foundation, including more collectibles, three side quests, hidden areas and a few other secrets we'll let you discover for yourself!
If you want to continue your adventure in Control, then visit our Control walkthrough for some activities you might have missed.
Good luck exploring the Foundation!