Gears of War tips and tricks
Crunching Gears on your behalf.
We have a full walkthrough to Gears of War sitting here, but it's so deathly dull and boring we figured most of you would nod off if we posted it. So we've ripped out the useful bits and binned the rest. First up, tips on beating all the baddies in the game, and over the page, the whereabouts of all 30 COG tags.
No, thank you. You're so very welcome.
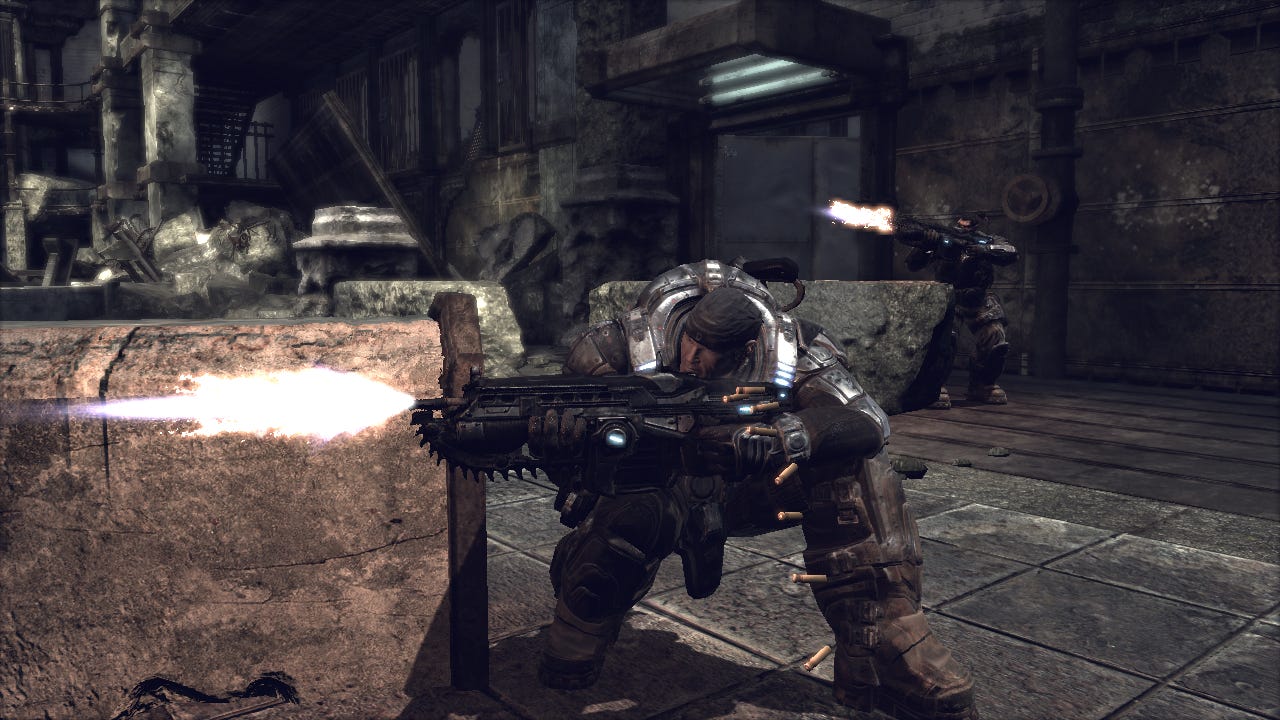
Drone
The lower-class citizens of the Locust world can be found in just about every area of the game, usually firing a Hammerburst in your general direction. They're fairly stupid but have strength in numbers. If you find yourself being overrun then sneak around to the side or rear as they're really easy to flank. Close grub holes as soon as possible to limit their numbers.
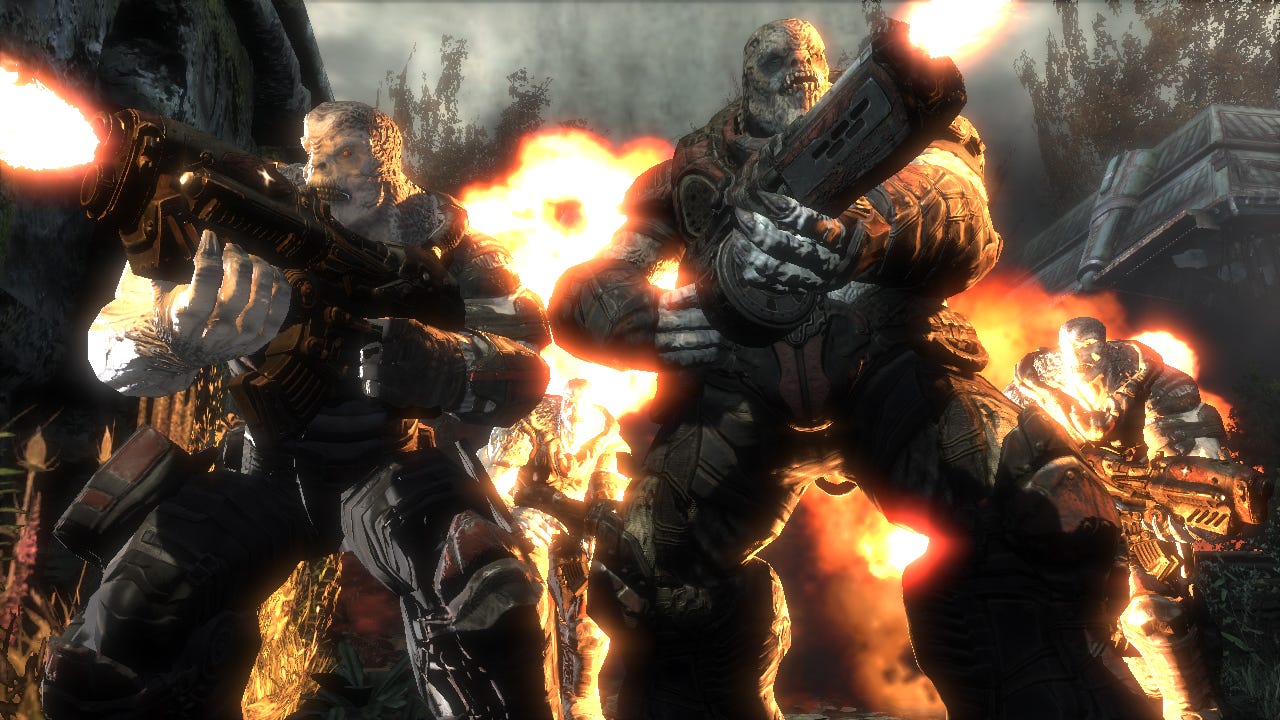
Grenadier
Grenadiers are basically Drones armed with Frag Grenades. You'll definitely want to keep your distance and take cover whenever grenades are being pinged around the place. Avoid melee attacks because they're also armed with Gnasher shotgun-style weapons which deal out significant damage at close range. Fight fire with fire, or in this case, frags with frags.
Sniper
While Snipers are fairly weak, they're deadly thanks to their sharp-shooting skills. They're often hidden from sight too, making them difficult to pin-point. Hopefully you'll have a sniper rifle of your own in the form of the Longshot. Take cover and methodically pick them off with a long range shot to the skull.
Guard
A clear notch above Drones in the food chain, Theron Guards are far more intelligent and will work together as a team to flank you. They often take cover too, making them difficult to flush out. Tactics aside, they're not much stronger than standard Drones, so once you're face to face they go down really easily. Don't forget to grab the nifty Torquebow weapon they drop.
Boomer
The Boomer is a formidable foe. As the name suggests, they're armed with powerful Boomshot rocket grenades. Somewhat foolishly on their part, they're happy to shout "Boom!" just before firing. This is your cue to dive for cover. It takes them a long time to reload and they move slowly, so use your relative speed in both these areas to defeat them.
Wretch
You'll first spot these four-legged freaks at the very beginning of the game, crawling over the ceiling of the prison cellblock. They're fast, agile and numerous in number, but they possess no firearms and fall incredible easily under Gnasher fire. Look out for the 'dark' variants later in the game - they go out with a bang, so get ready to run!
Kryll
Best described as fat bats with big teeth, Kryll lurk in the dark and will devour any creature (including Locust) who step from the safety of the light. You can't kill them by any conventional means, so just avoid them by staying in light areas. Thankfully, they only appear in a couple of parts of the game.
Seeder
The only way to kill Seeders is with the Hammer of Dawn. Lock onto its bloated body and wait for the satellite to do its magic laser thing. Of course it's not that straightforward, as the Seeder will eject Nemacysts, nasty little airborne baddies that whiz towards you and explode on contact. They're fast and worryingly accurate, so shoot them out of the sky before they can lock onto you.
Berserker
You'll encounter a Berserker on three separate occasions, and each time you need to lure her to a vulnerable spot using only sound (they are completely blind). At the end of Act 1, in the Tomb of the Unknowns, there are three metal doors. Stand by each door and fire a few shots at the Berserker to attract her attention, then quickly dive out of the way as she rips through the metal. Once outside you can use the Hammer of Dawn to rain down on her parade. It's a similar story in Act 4, when you're inside the Academy, only you need to make her smash through the stone pillars. This will cause the roof to collapse, allowing you to use the Hammer of Dawn once more. Finally, in Act 5 on the first section of the Tyro Pillar, you can dispense with the Hammer of Dawn altogether. Instead, dart past the Berserker and make her follow you to the far end of the carriage. Now sneak silently to the other end, pressing the green button on the left as you go. This will cause the carriage to detach and derail. If the Berserker manages to jump free, get her to charge into the gap left by the carriage.
Corpser
Don't be worried about the size of this big ol' crab thing. When you eventually face the Corpser at the conclusion of Act 3, it's surprisingly easy to defeat because it follows traditional boss rules (yes, it has got a blindingly obvious weakness). Circle around to its left, shooting its exposed belly until it opens its mouth in agony. Now shoot its mouth area to inflict damage and make it back up. Eventually it'll move onto a metal platform. Shoot the platform supports to finish it off.
Reaver
These flying beasts carry a couple of Locust Guards on their backs. It's possible to make it crash and burn by shooting the underside of its body, but it's much easier to kill the enemies it carries, thereby instantly ending the threat. If you have a Longshot handy then this is definitely the way to go.
Raam
Standing steadfastly between you and glorious victory is General Raam, leader of the Locust army. As soon as the battle begins, equip your Torquebow and fire at Raam's head. The Kryll should disperse, at which point you need to select your Longshot and pop the boss in the head. If you're lucky with your reloads you may be able to hit him twice. His brutal melee attack will kill you instantly, so when he gets close, throw a Frag Grenade at his feet to slow him down. Quickly run to a new position and repeat the Torquebow/Longshot strategy until Raam falls and the game is complete.