Resident Evil 3 NEST 2 explored: How to get the antigen and adjuvant samples
How to survive the last area of the game.

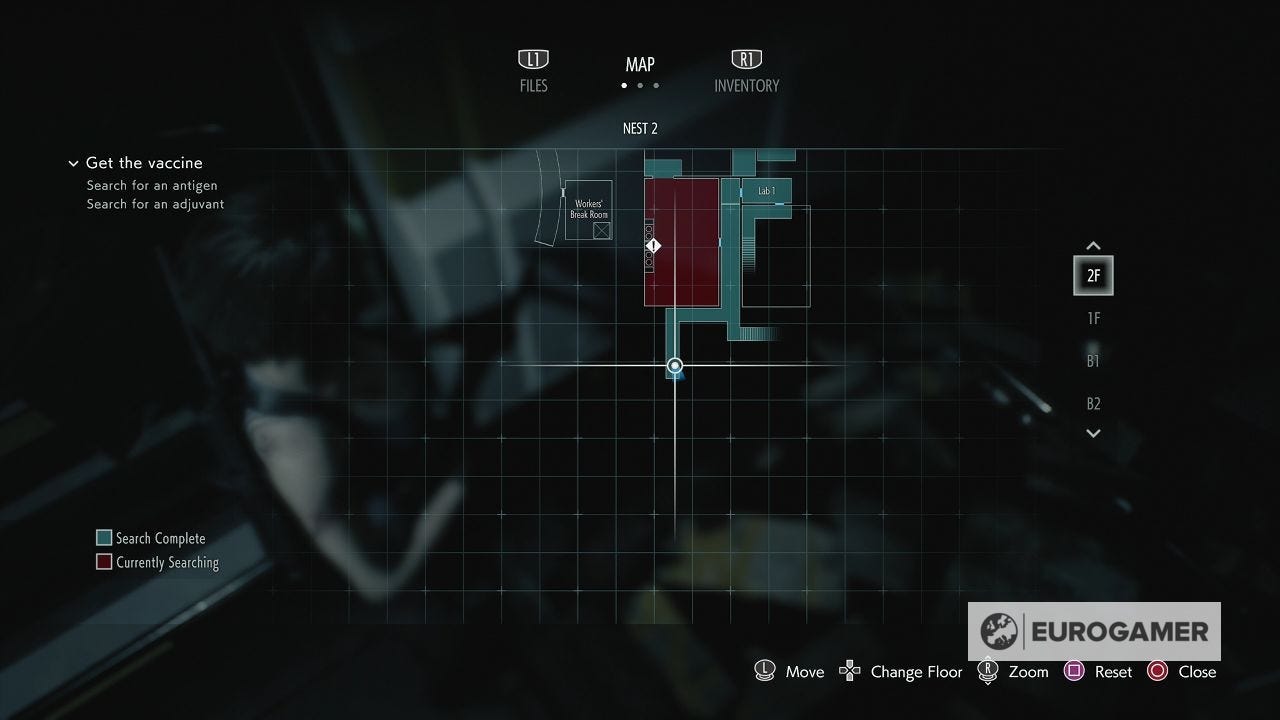
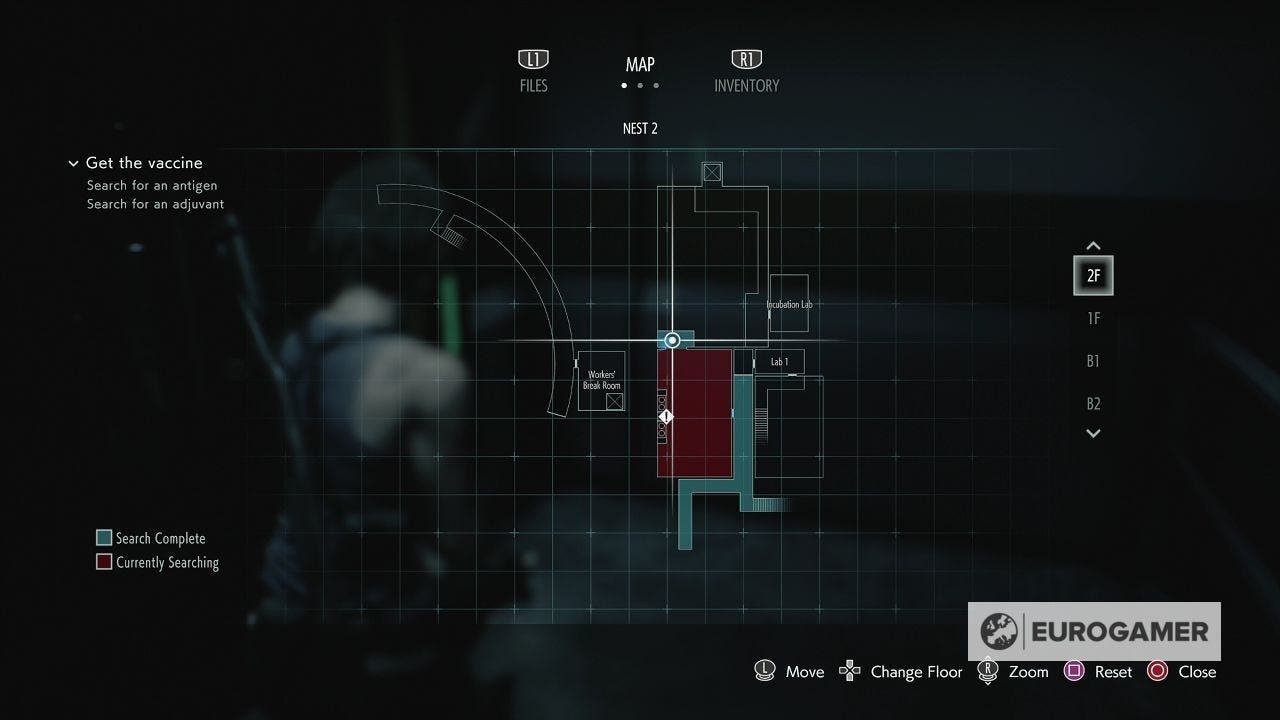
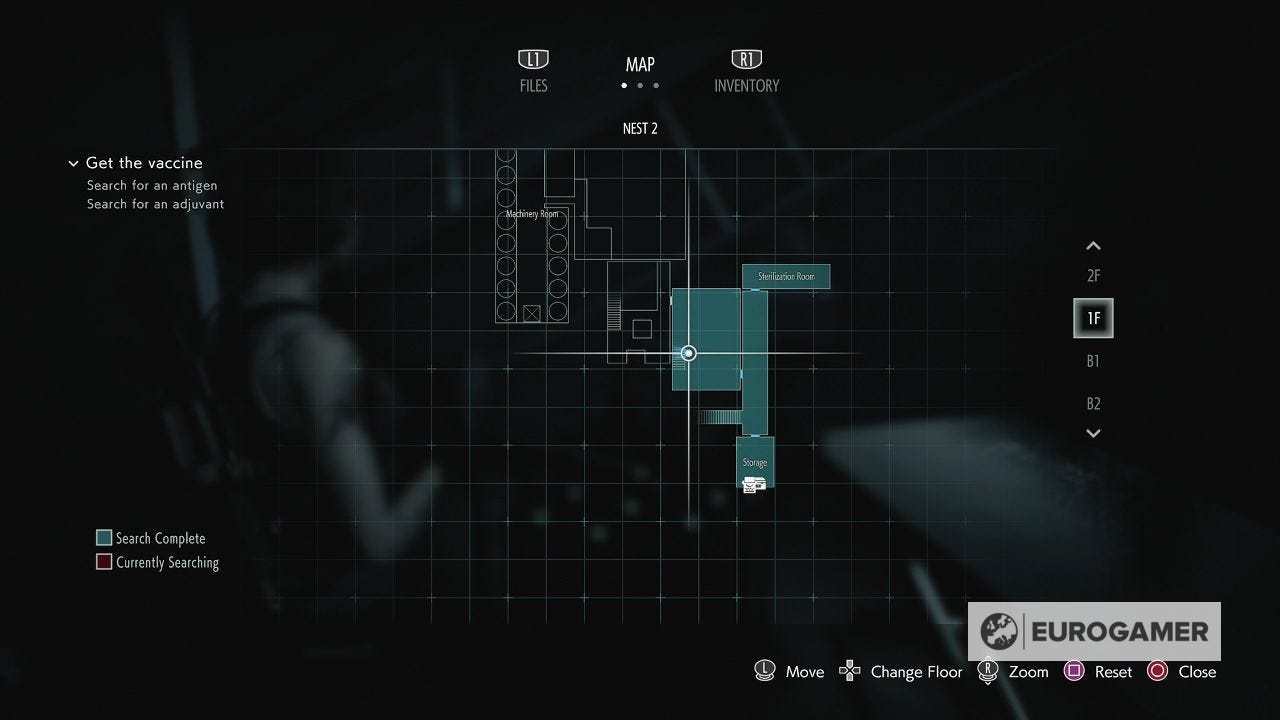
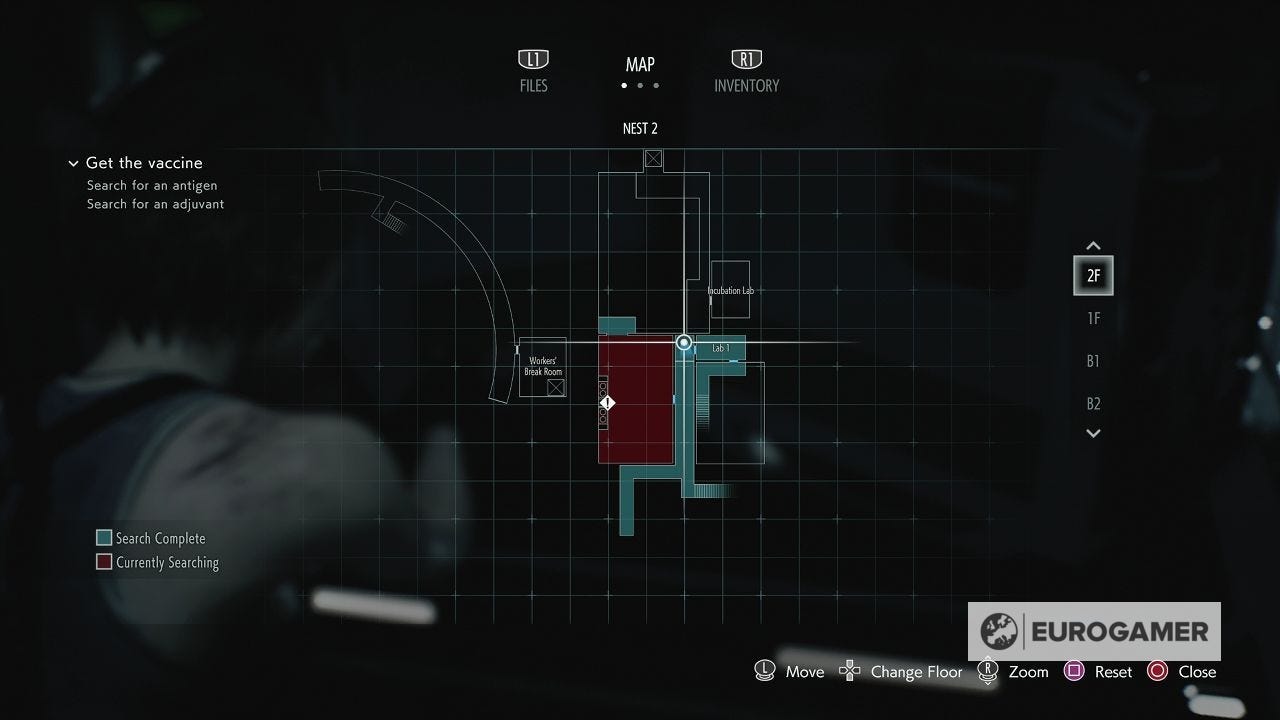
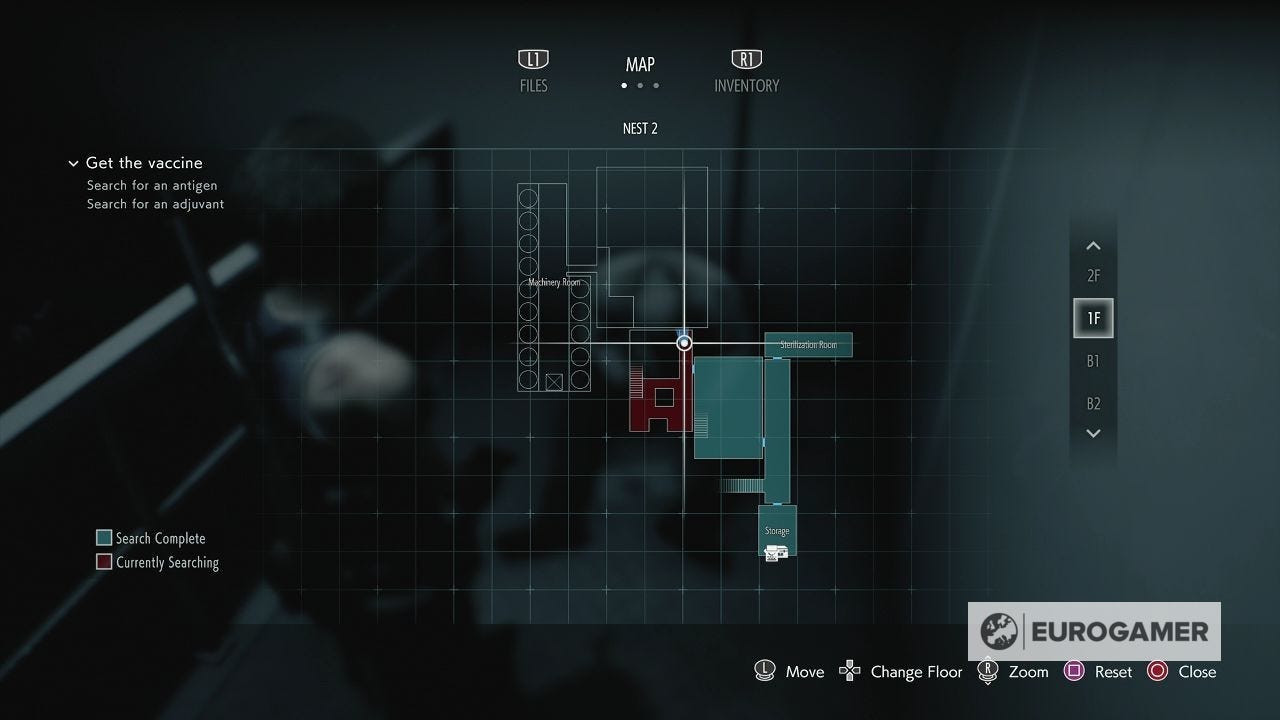
NEST 2 is the final area of Resident Evil 3 - coming after the Underground Storage section.
The main goal here is the find the antigen and adjuvant samples, which you'll only collect after fully exploring the facility.
On this page:
Looking for something else? Visit our Resident Evil 3 walkthrough for more help.

How to begin exploring NEST 2 in Resident Evil 3
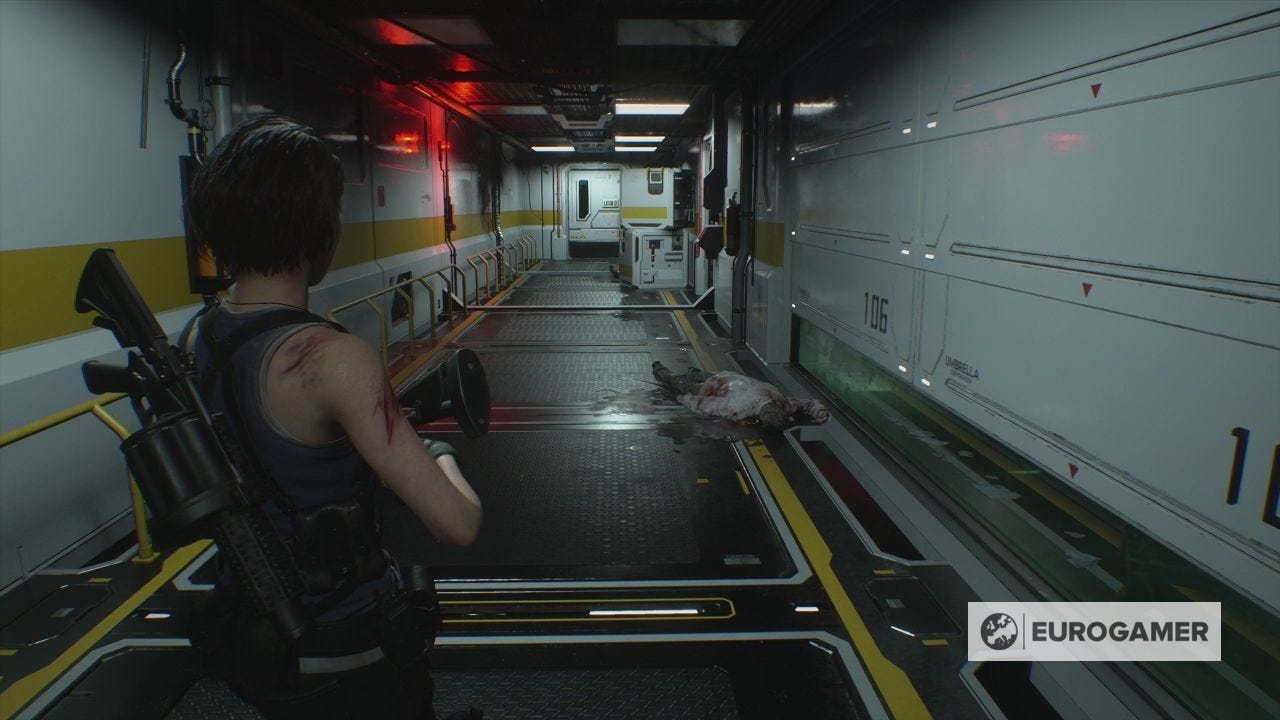
After the Sterilization Room, head south to the door at the very end, ignoring the locked door on your right.
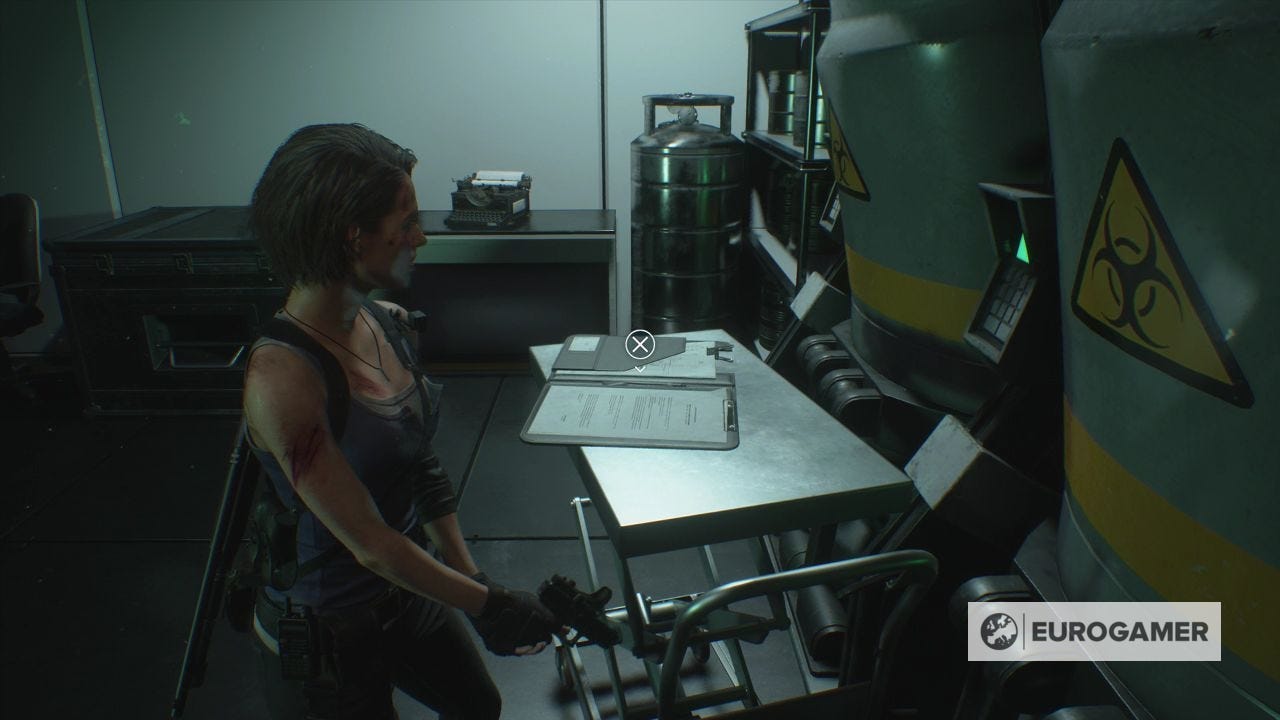
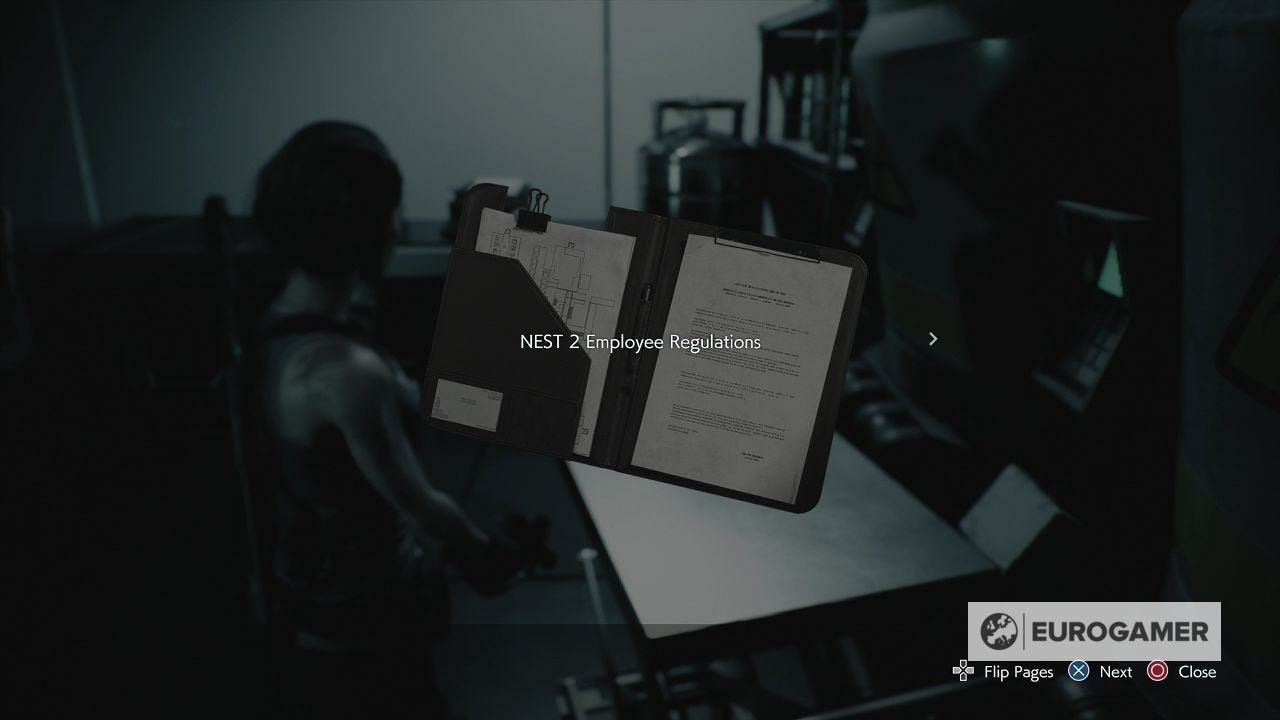
This end room - named the Storage Room - is a safe room which has the NEST 2 Employee Regulations file. Reading this also gives you the NEST 2 map.
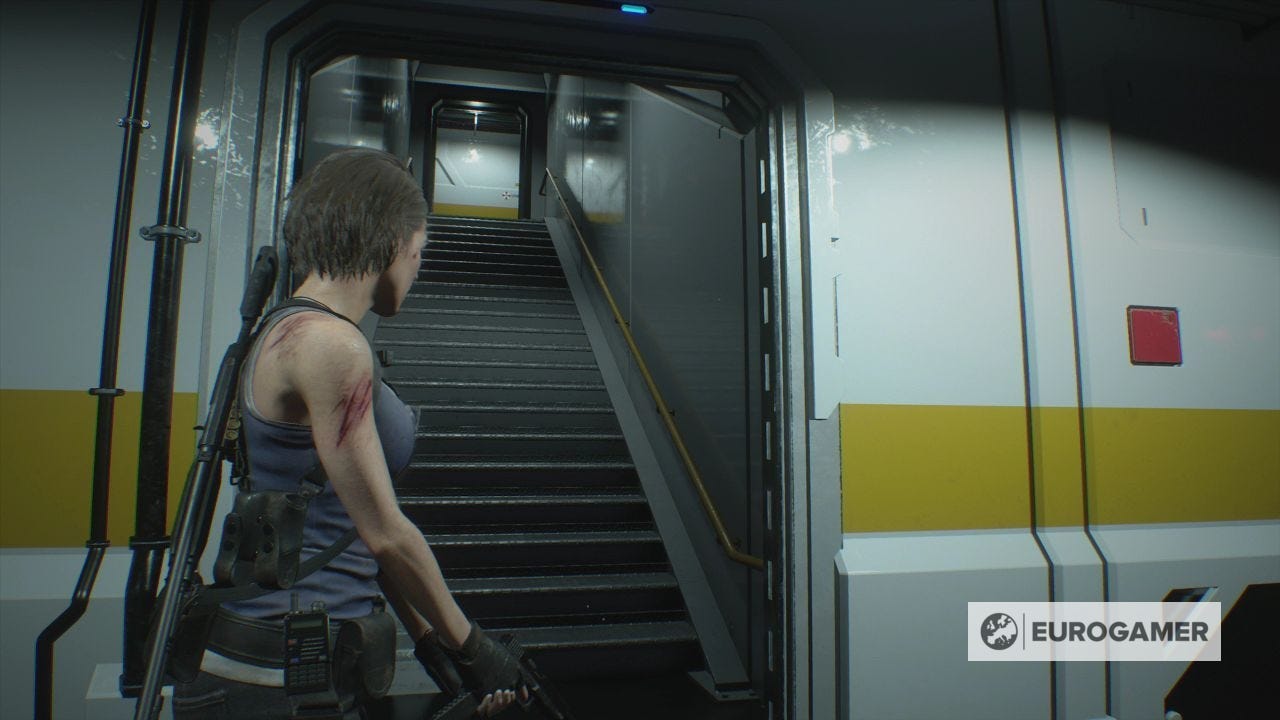
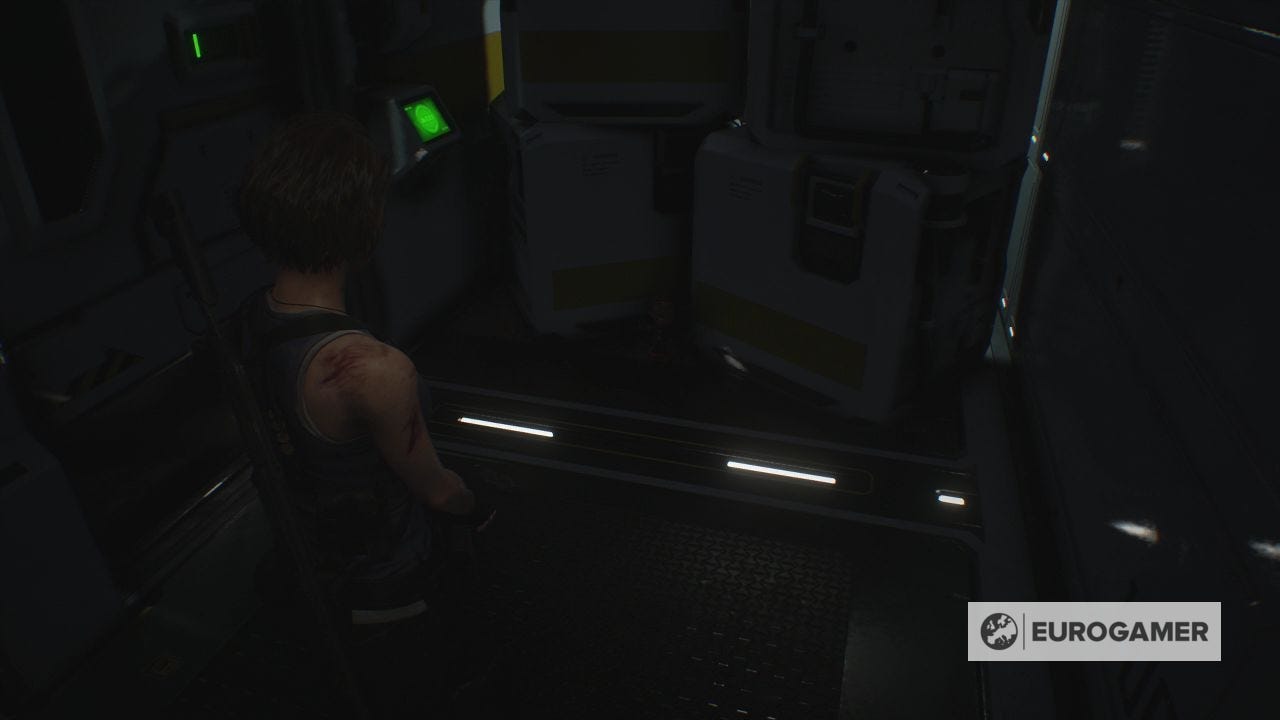
Head out the door you came in through, and take the stairs left up to 2F.
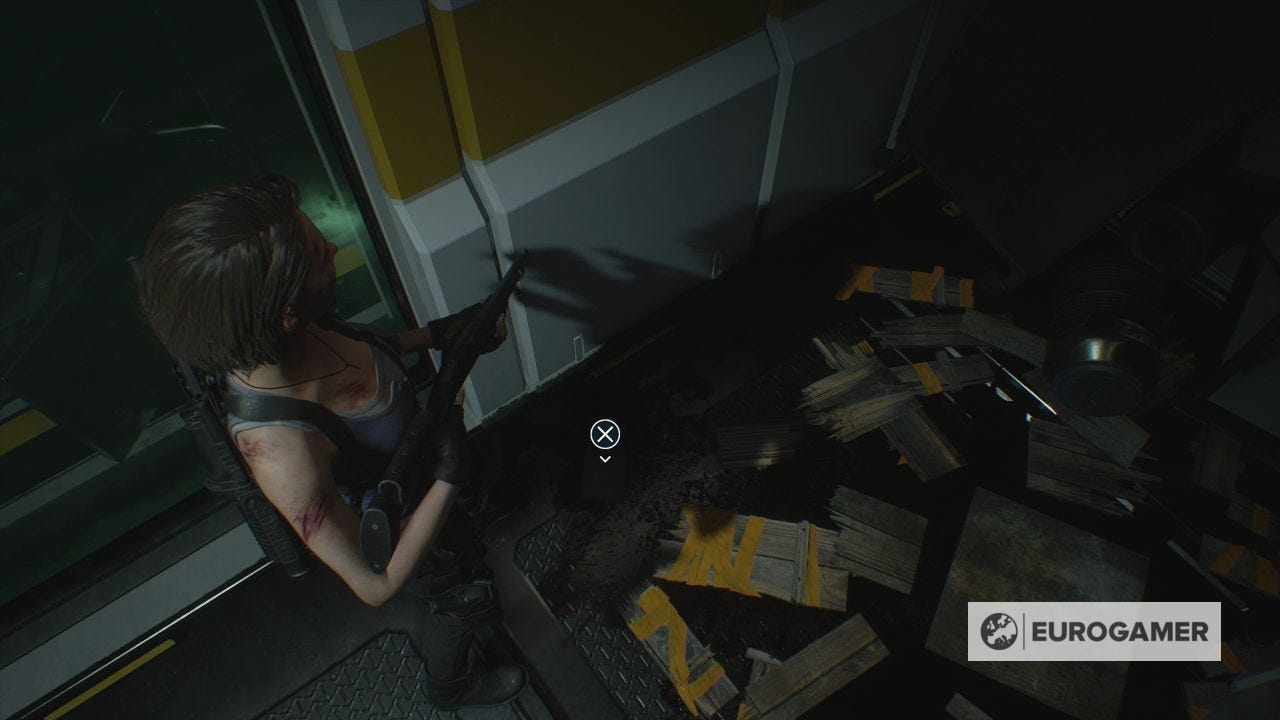
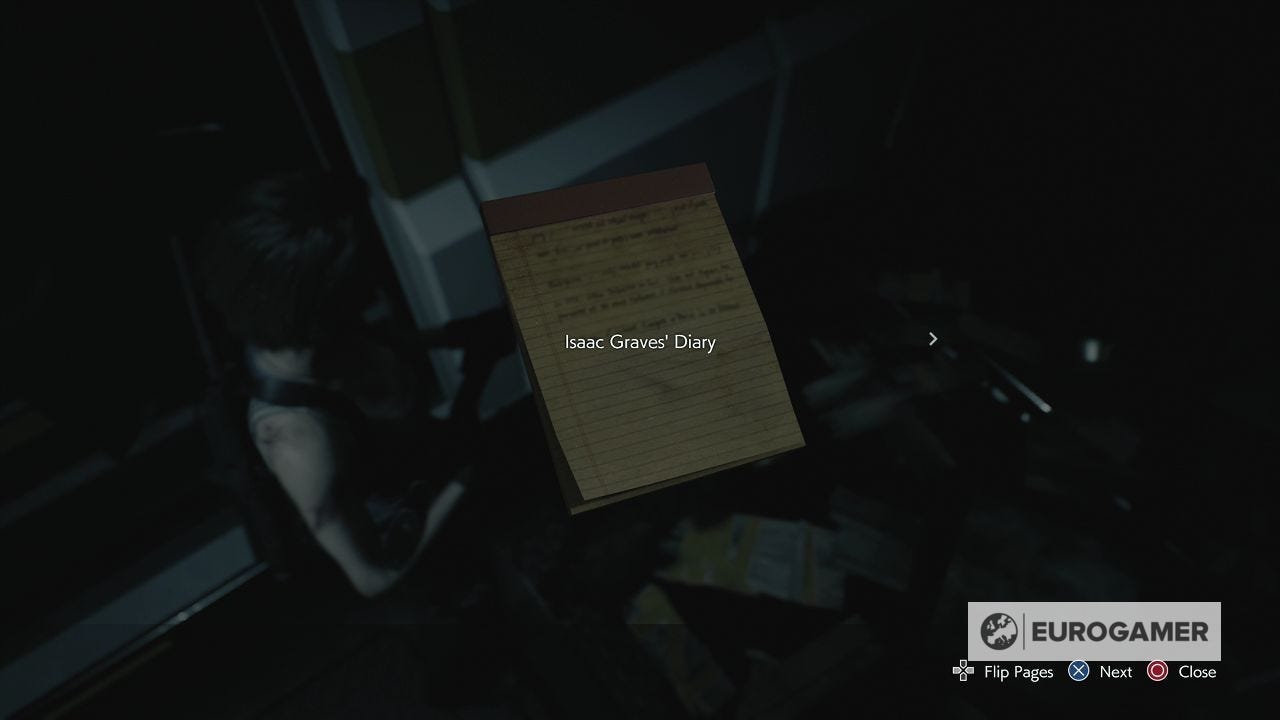
The corridor left is a dead end with the Issac Graves' Diary file. There's also an item crate containing Gunpowder, and an ambush by zombies either side of you - so be careful.
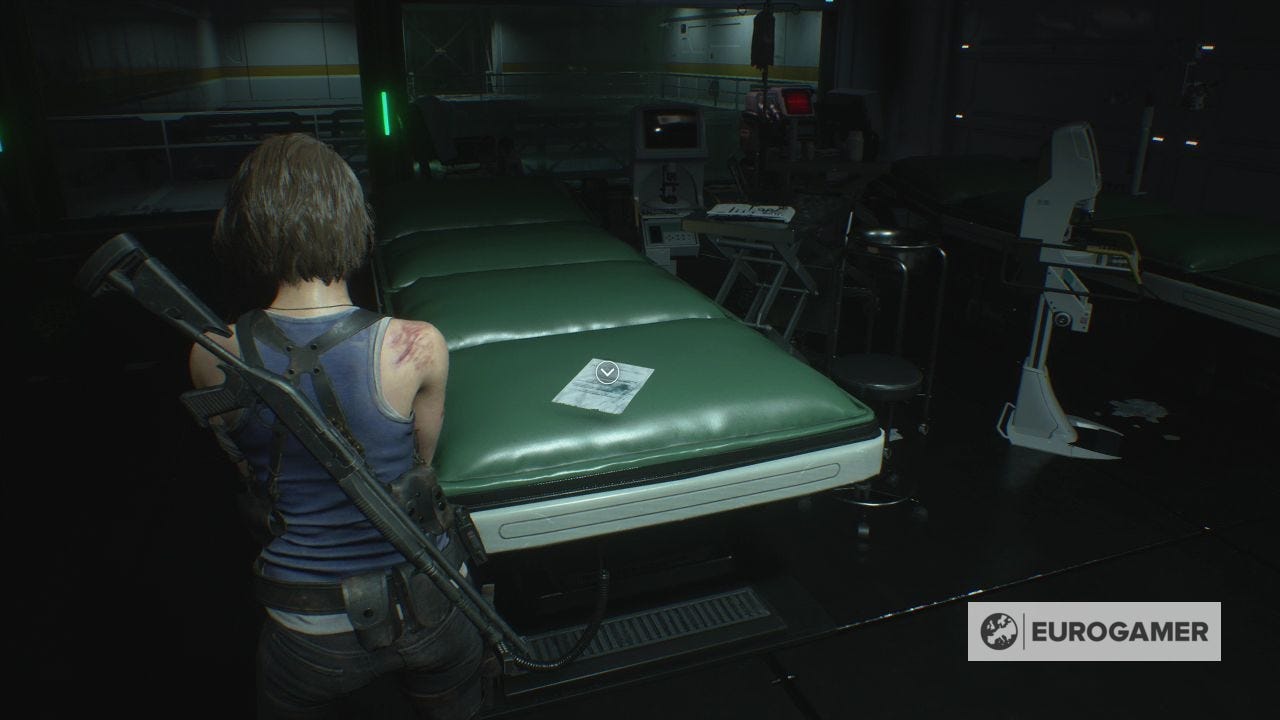
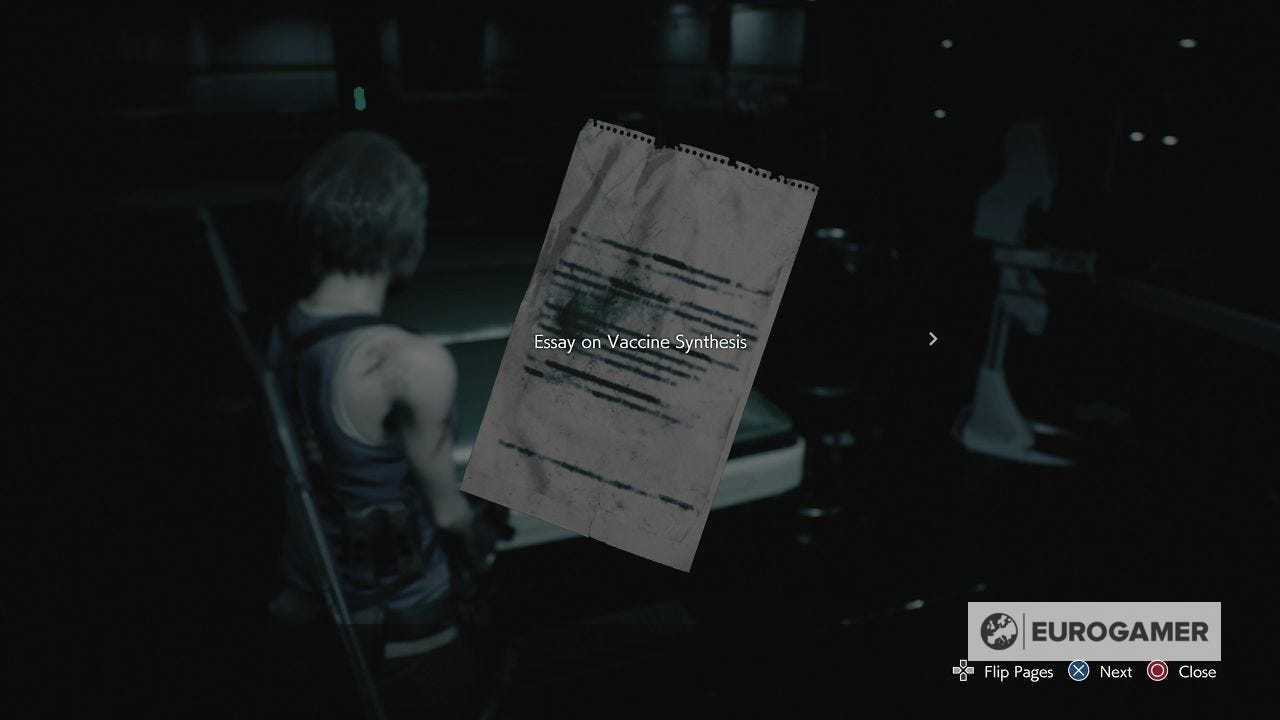
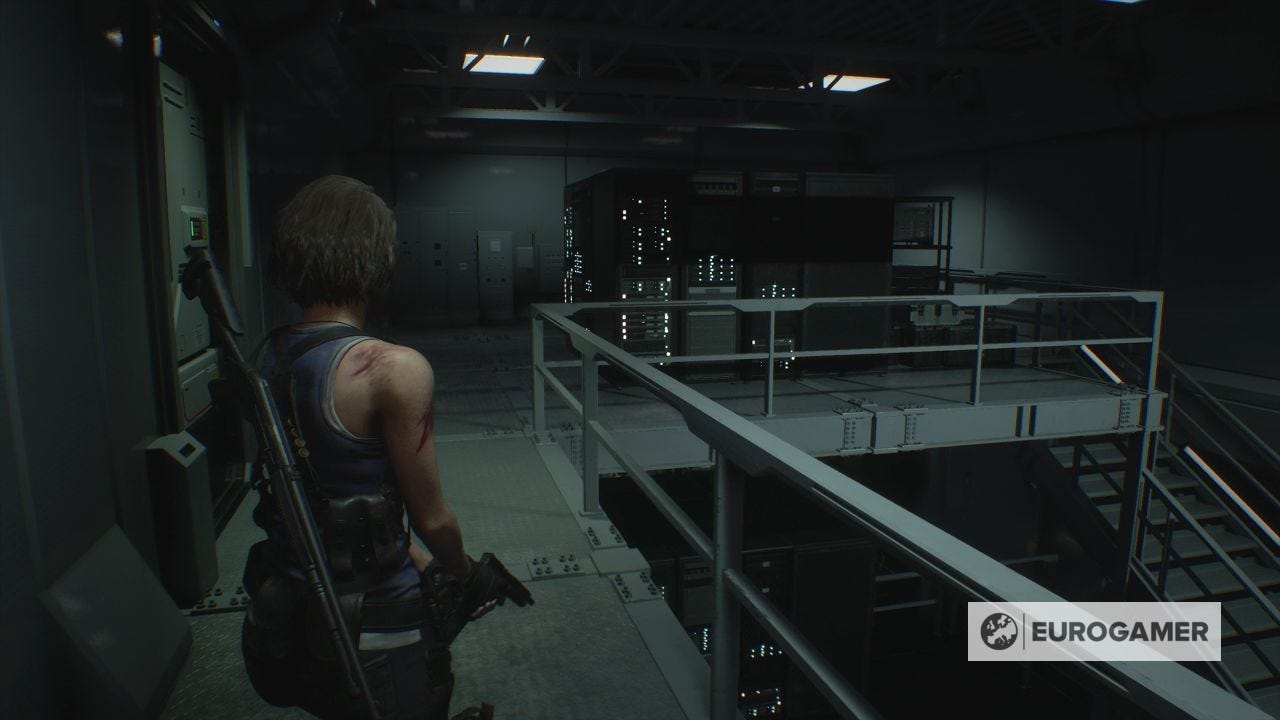
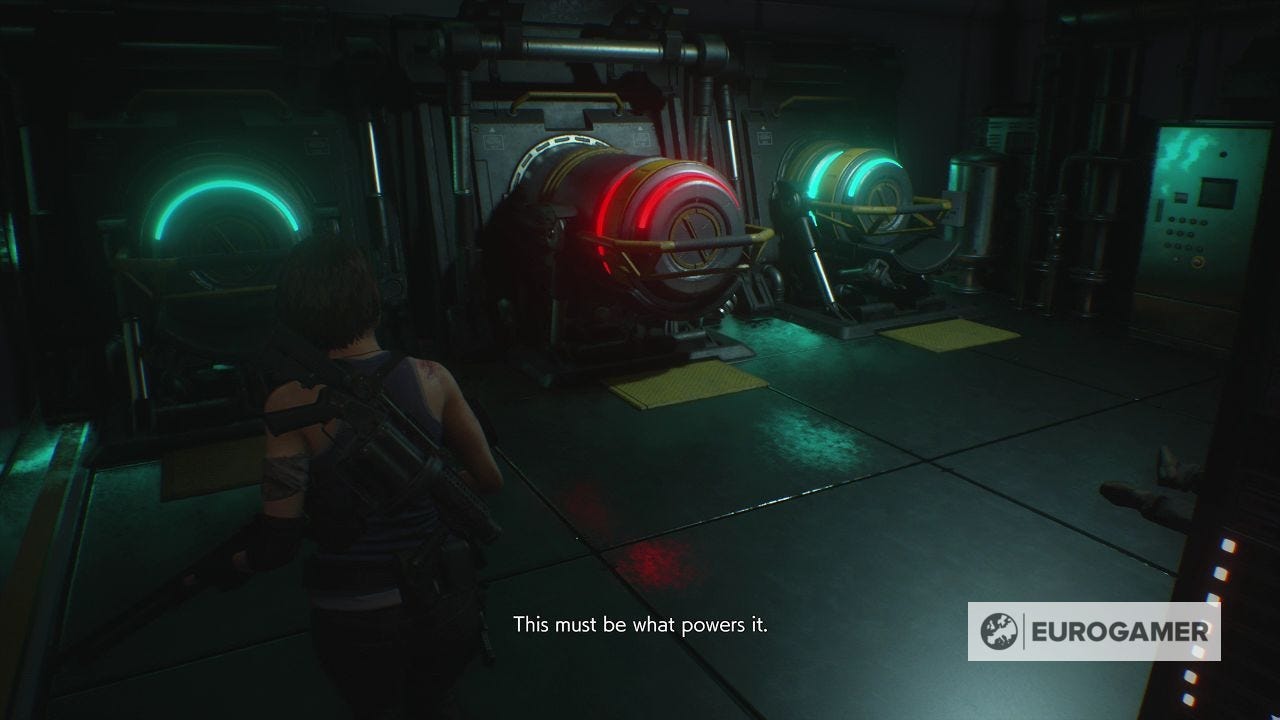
Otherwise, head north from up those stairs. In this large room, you can get an Essay on Vaccine Synthesis file near the Vaccine Synthesis machine.
This is your next goal - finding the antigen and adjuvant within the NEST 2, then returning here.
Before progressing, step onto the balcony to the north for a Bobble Head in the corner.
Where to find the antigen in NEST 2
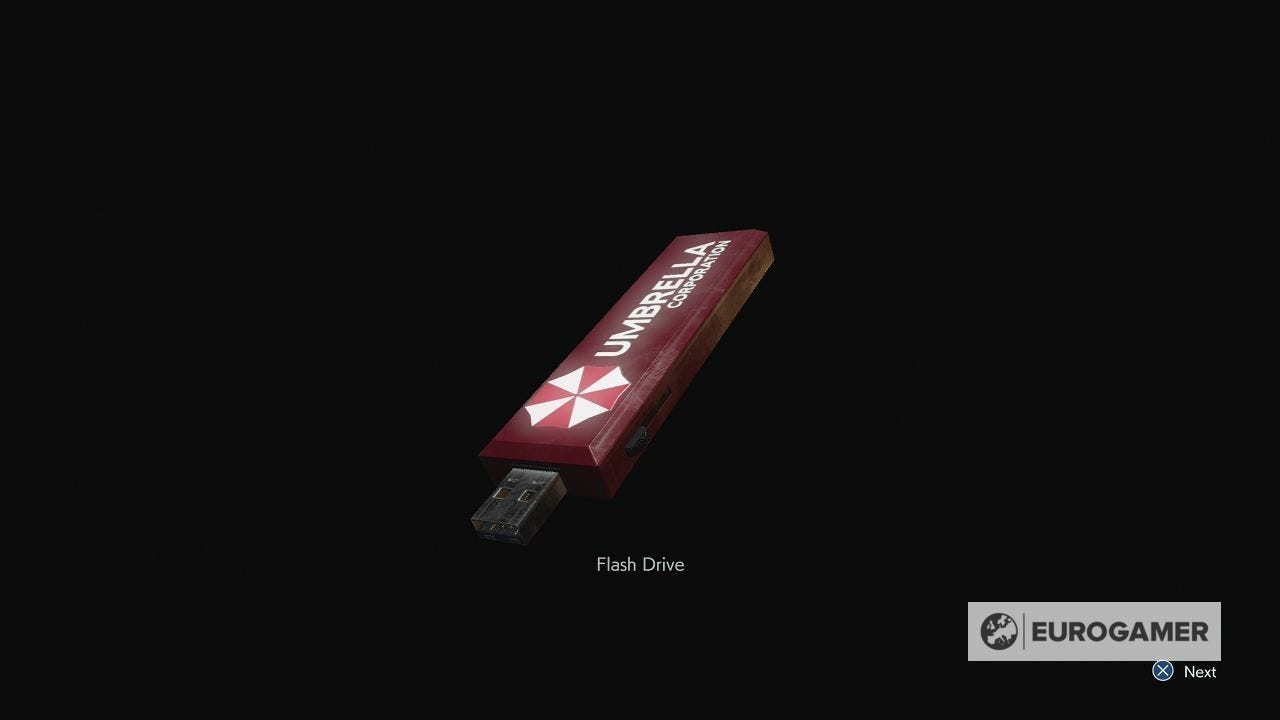
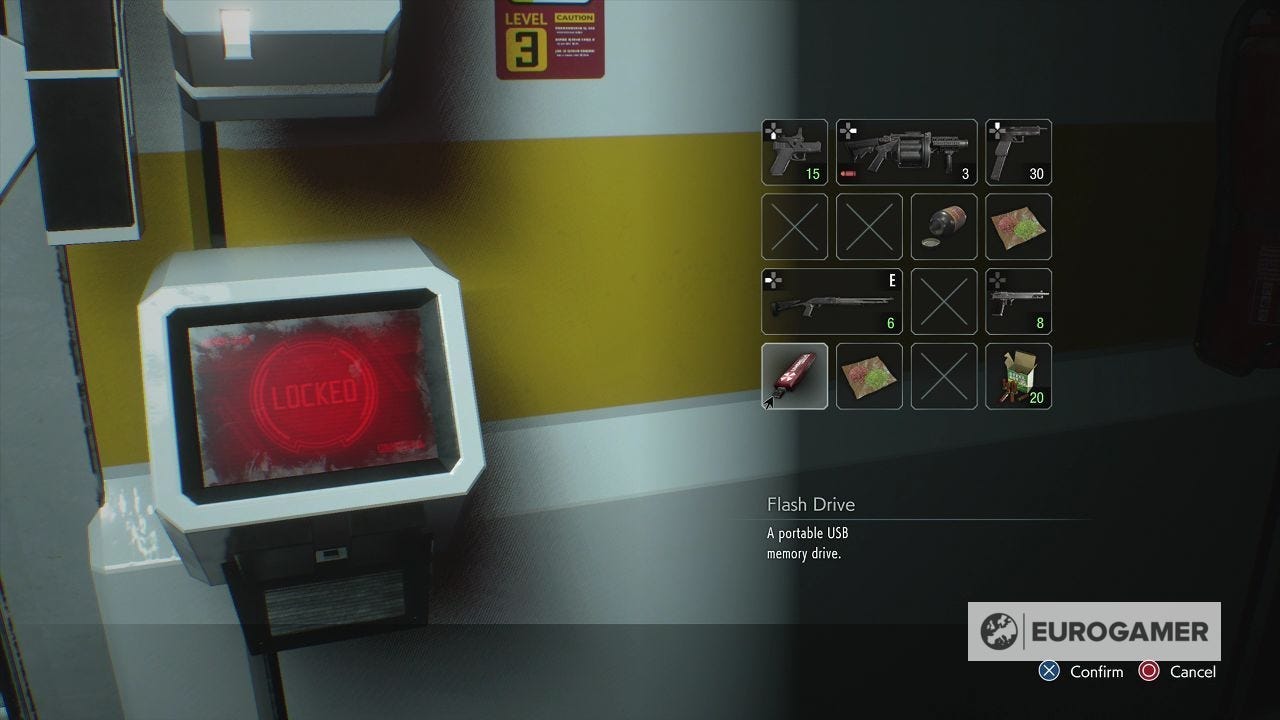
To progress, you need to get the Flash Drive from the console up against the window to the north.
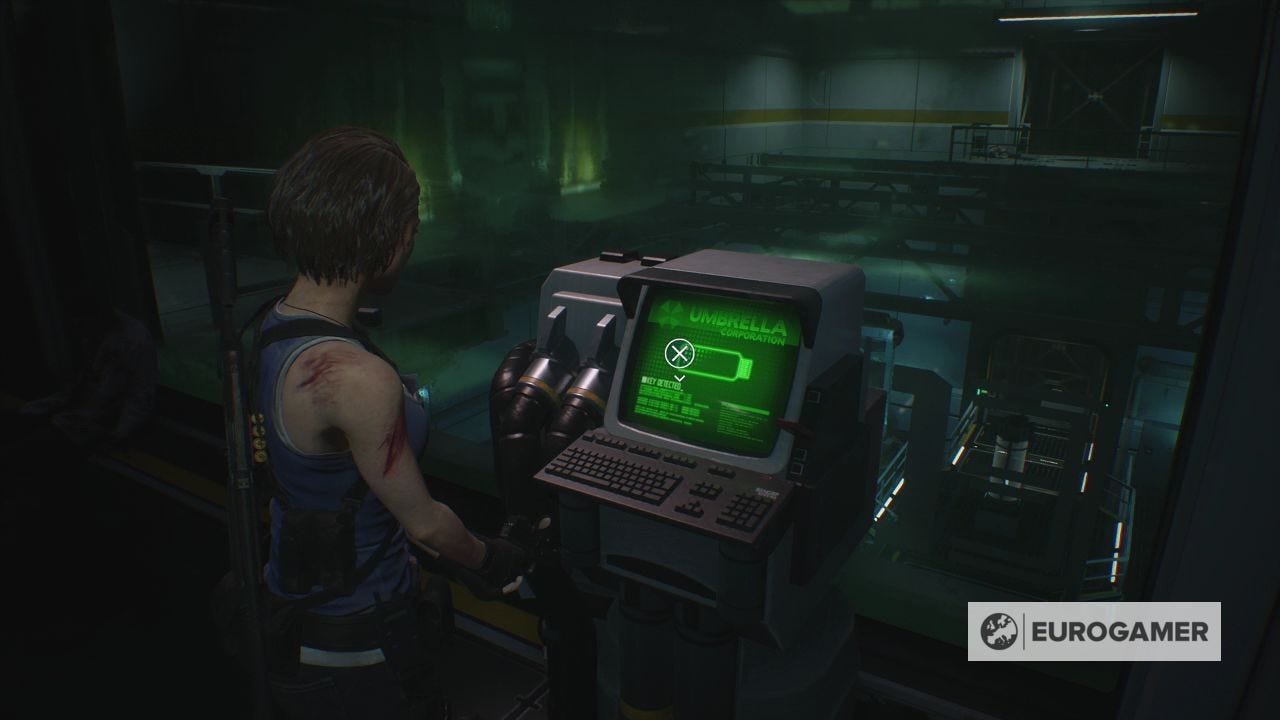
Now go downstairs and use it on the locked door in 1F's opening corridor.
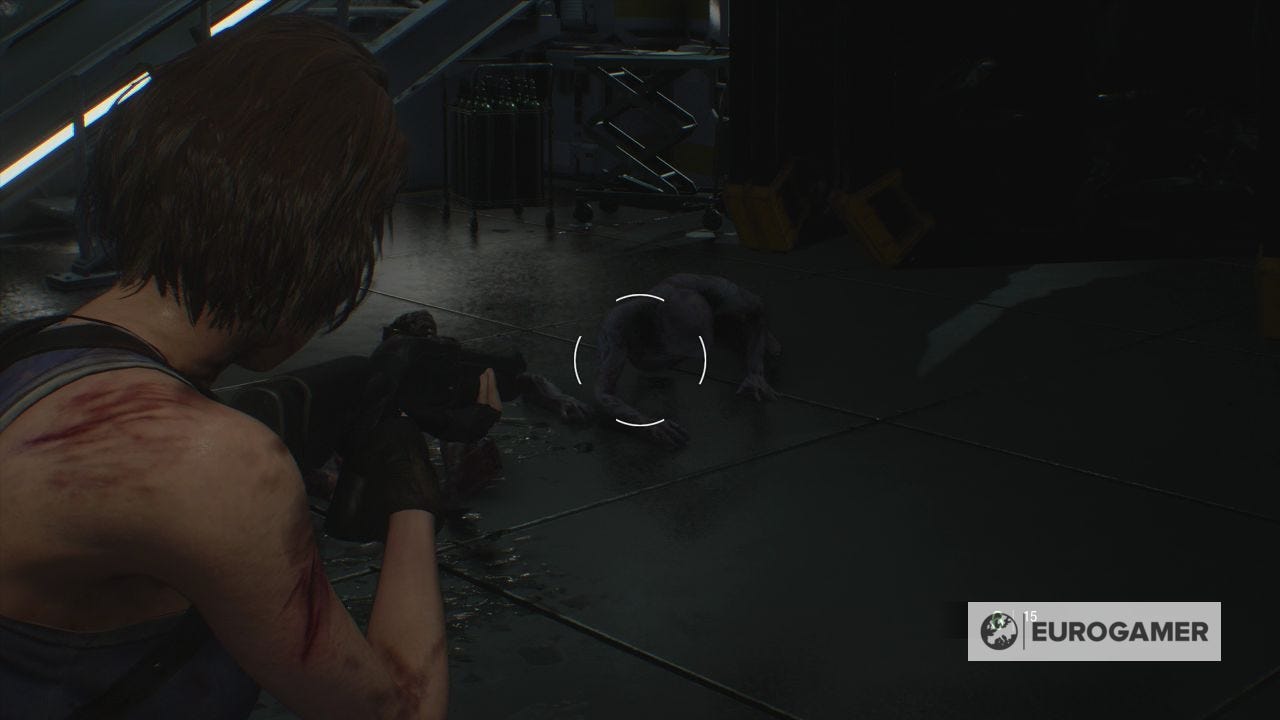
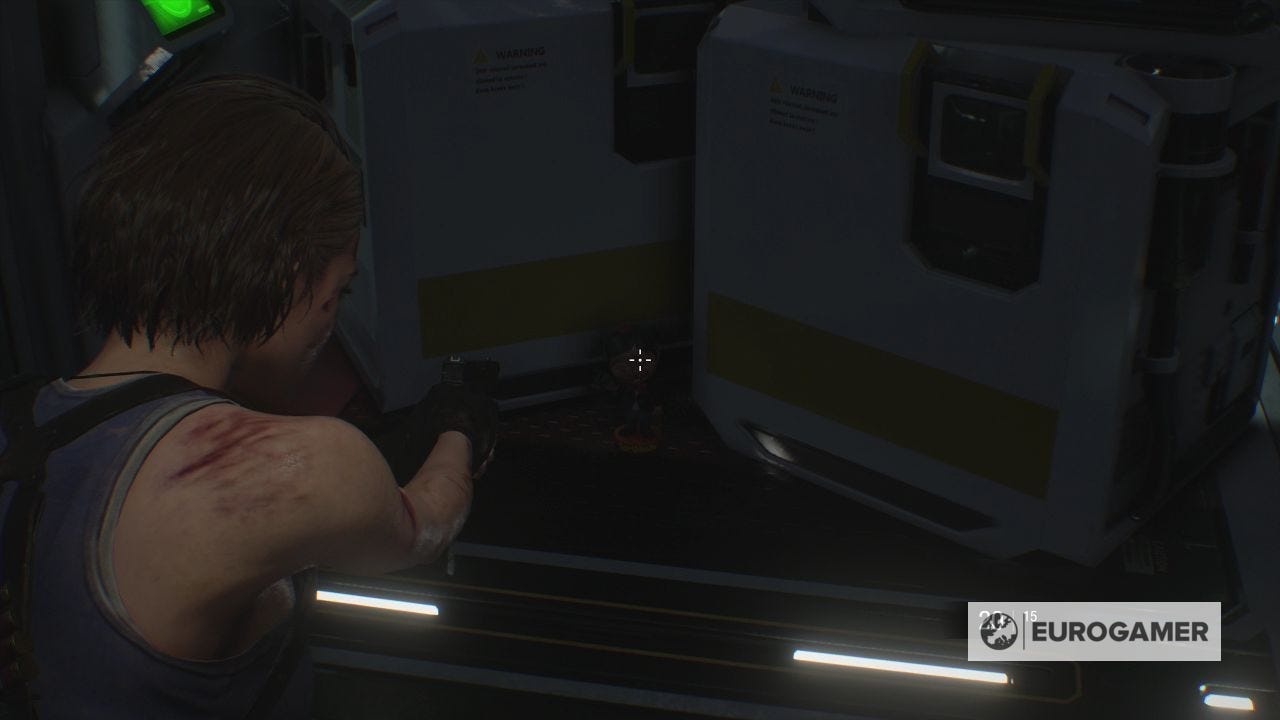
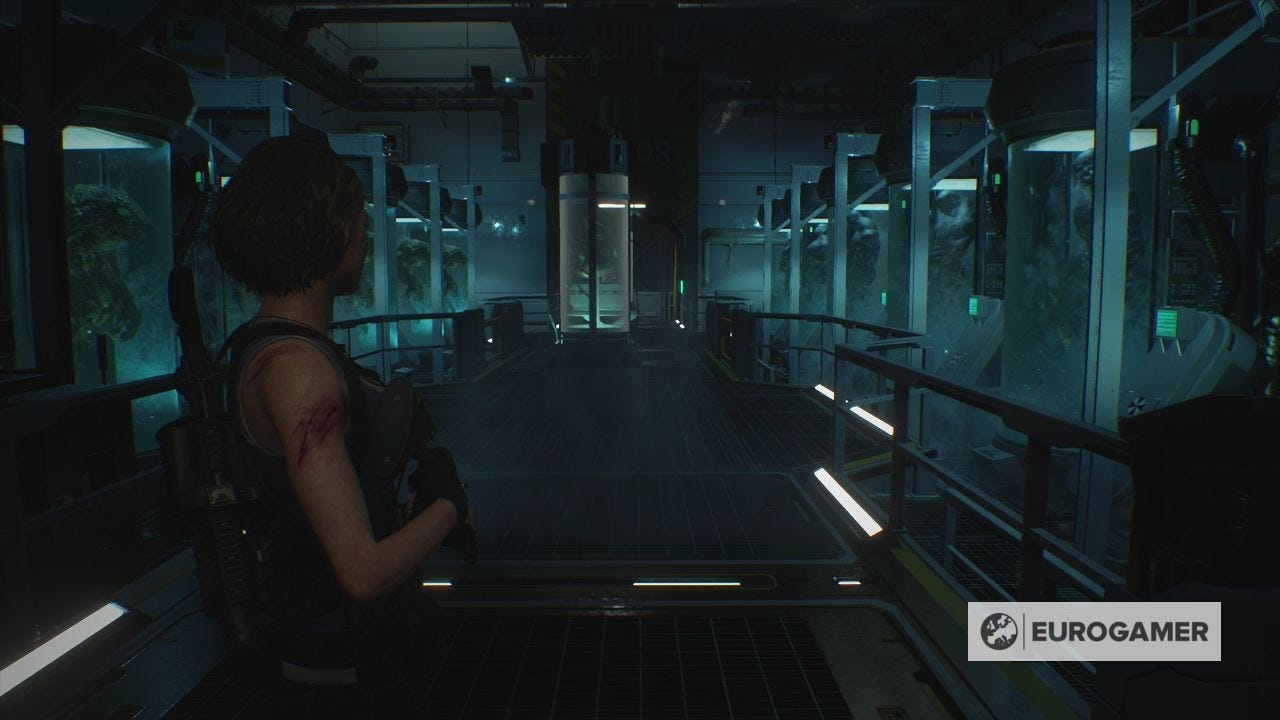
There are a lot of Pale Heads in here - take the time to clear them out. Some are crawling across the ground, so don't let them surprise you.
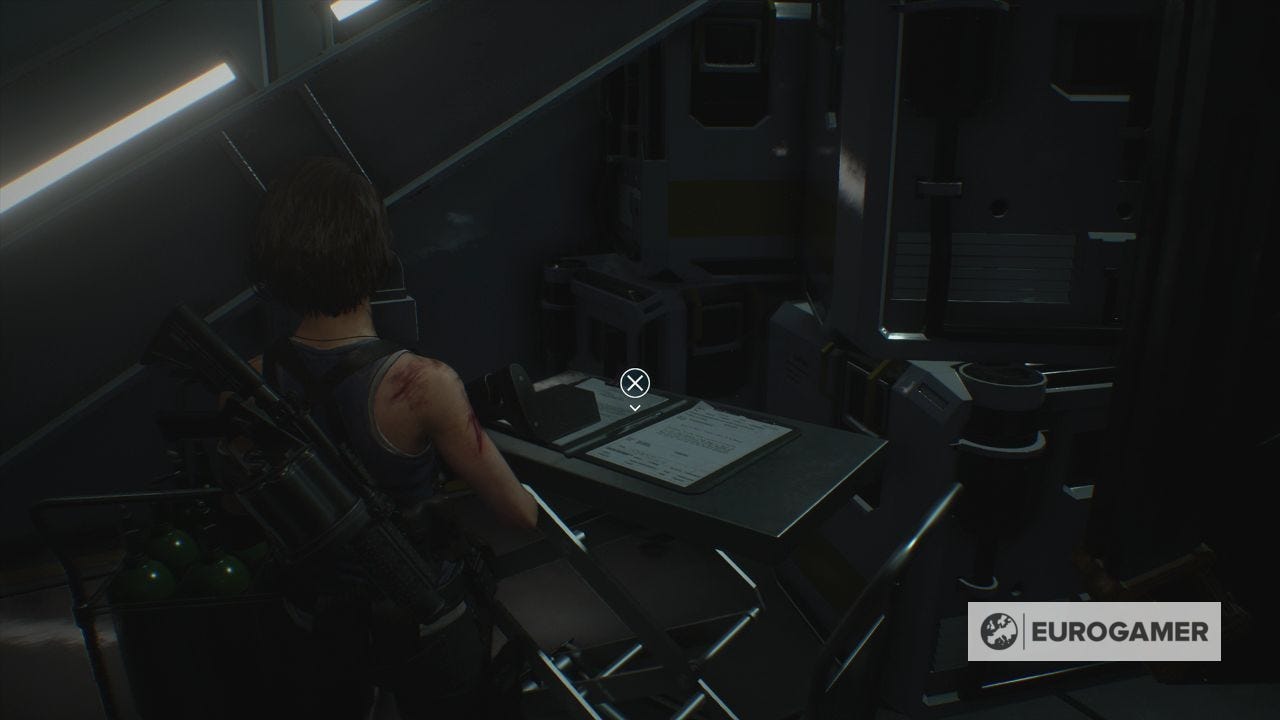
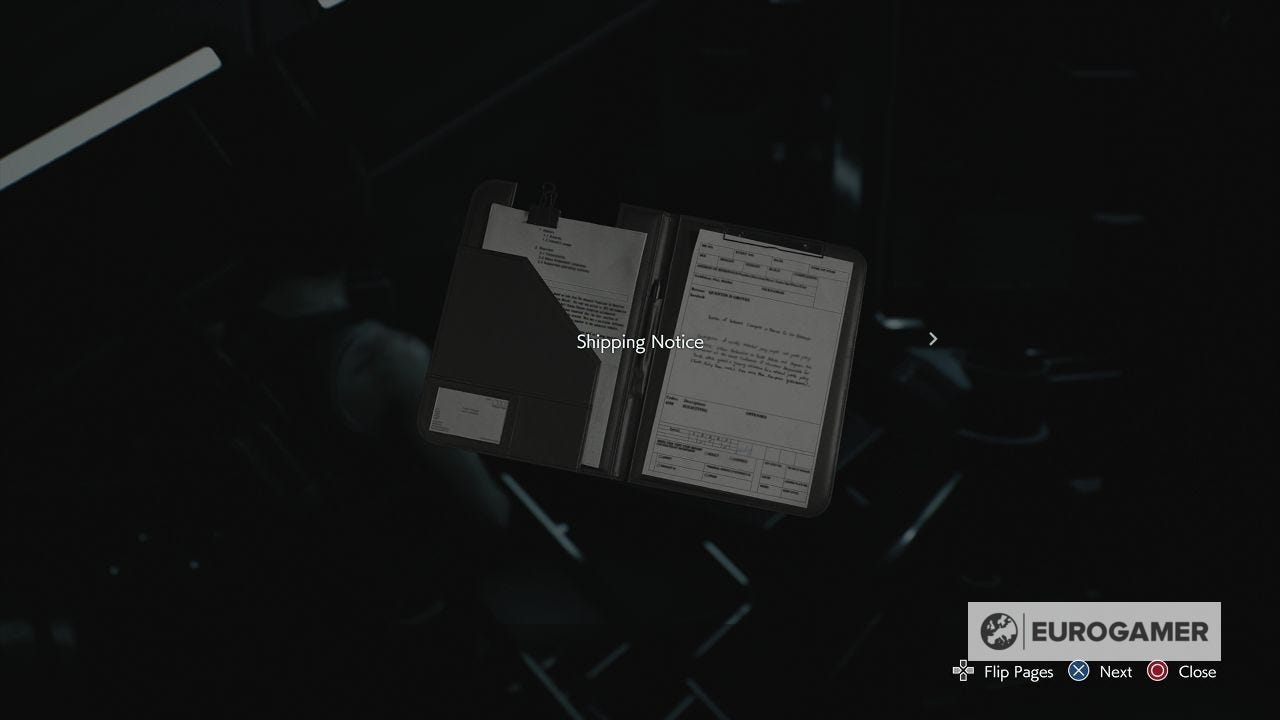
Once cleared, get the Shipping Notice file next to the stairs, then head up to Lab 1.
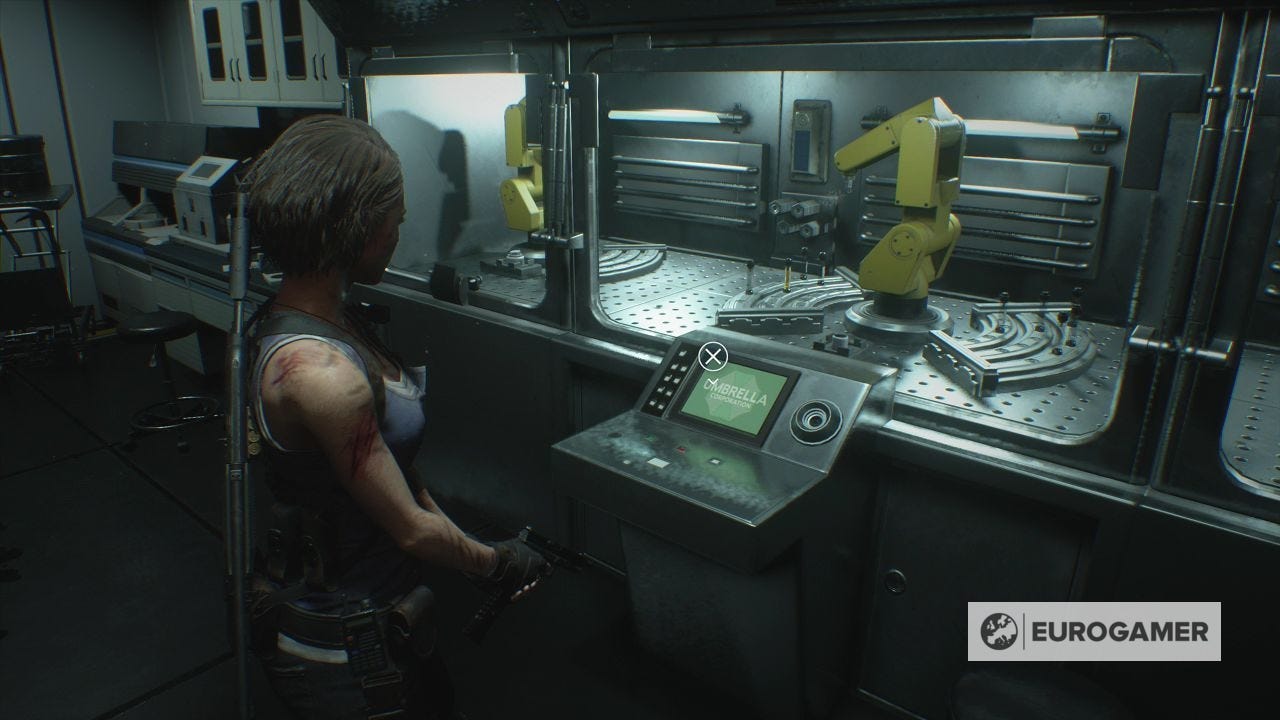
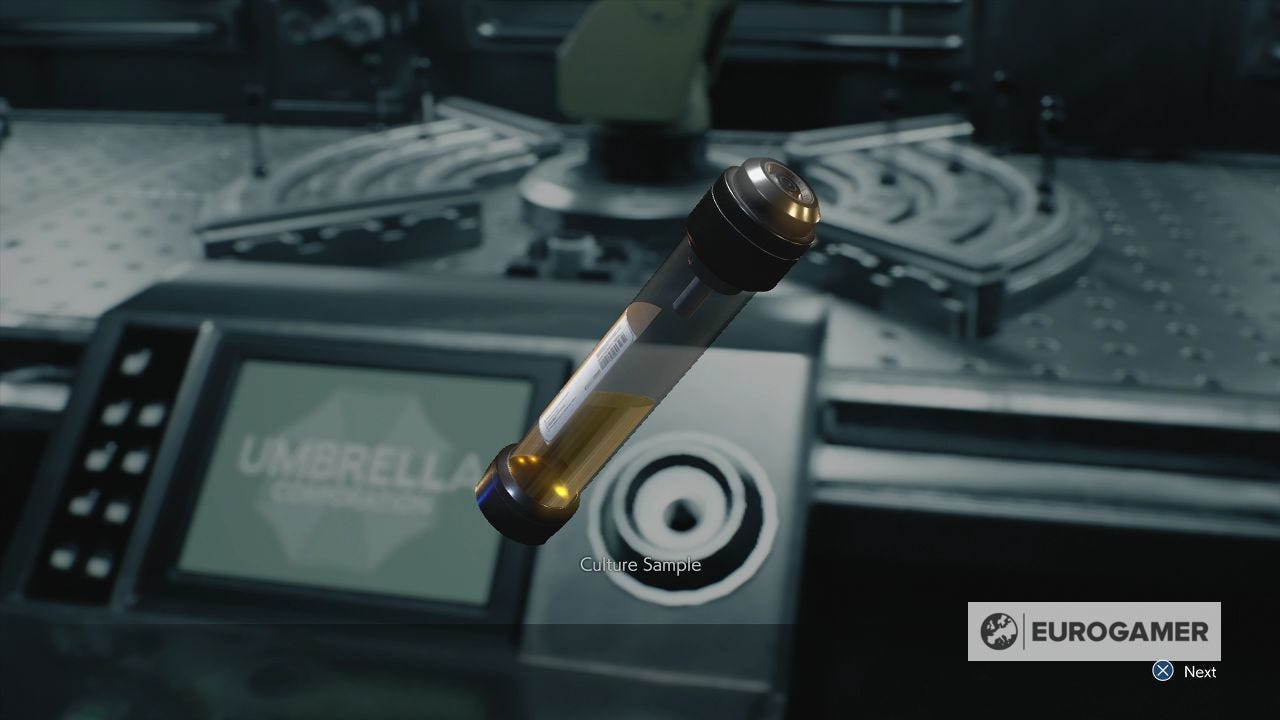
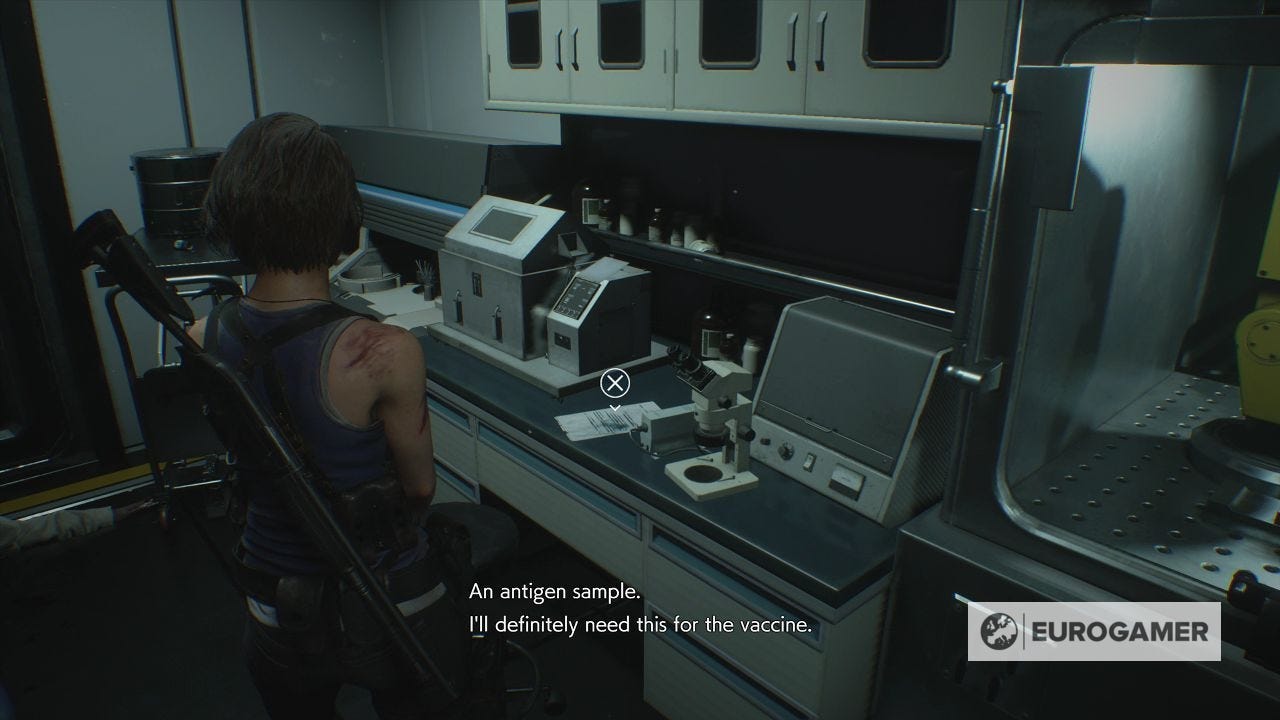
Lab 1 has a zombie on the floor to shoot. Now interact with the console for the Culture Sample.
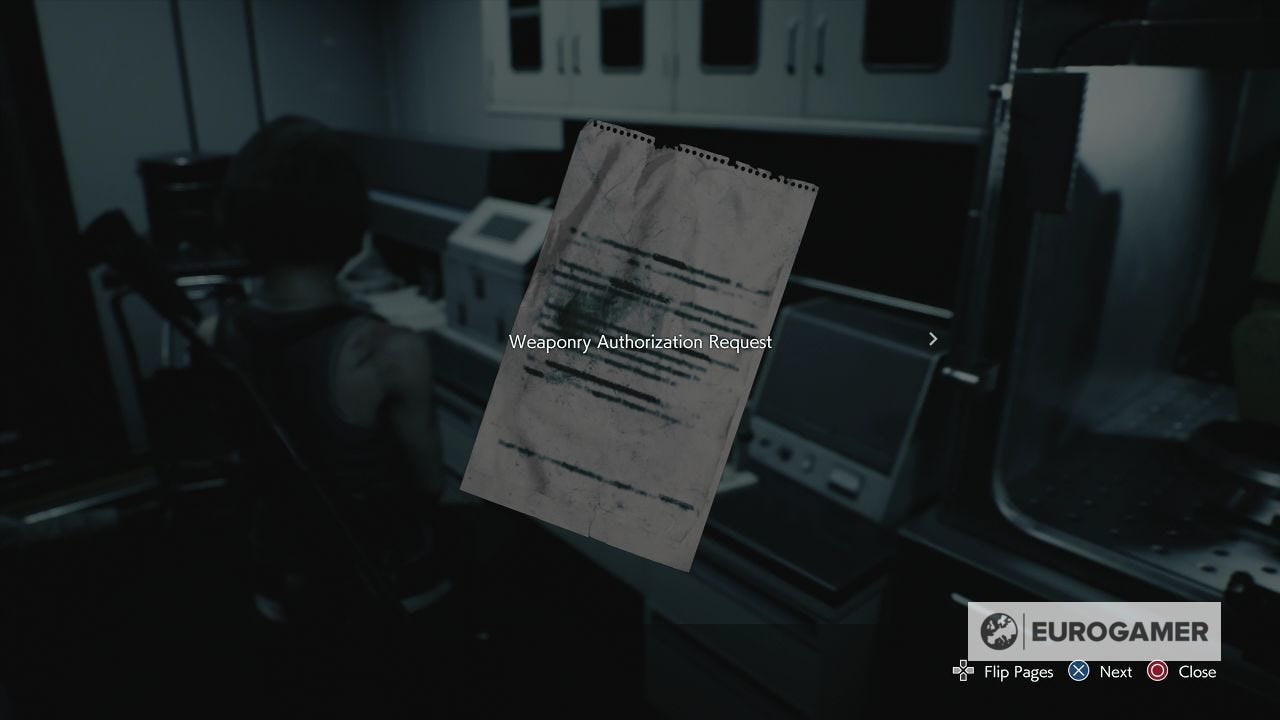
Before you leave, there are two other things to get. One is the Weaponry Authorization Request file on the side, giving you some extra insight into Pale Heads.
Second, if you leave out of the door from Lab 1, you'll be at the other end of the blocked corridor from earlier. You can find a Bobble Head here. Provided you have got all throughout the game so far, this is the final one in the game - giving you a Trophy or Achievement for your efforts.
Where to find the adjuvant in NEST 2
Head back downstairs from Lab 1, and watch out for the Pale Head which drops down there.
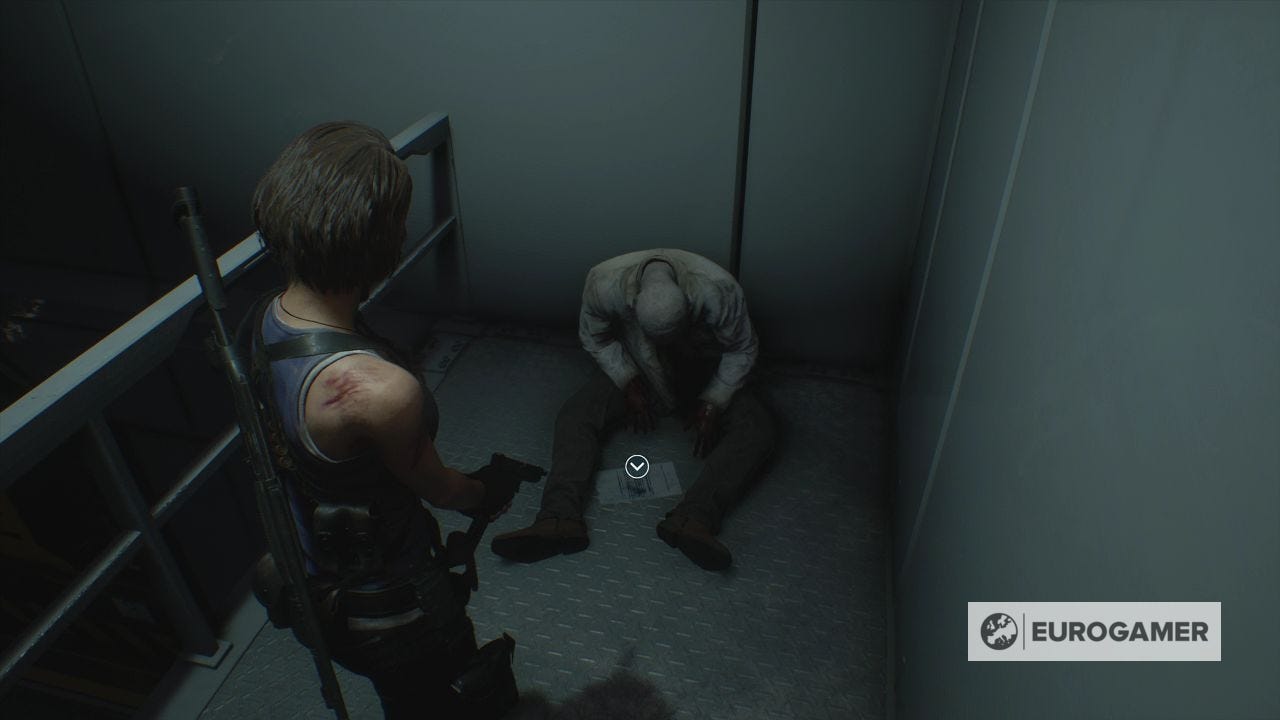
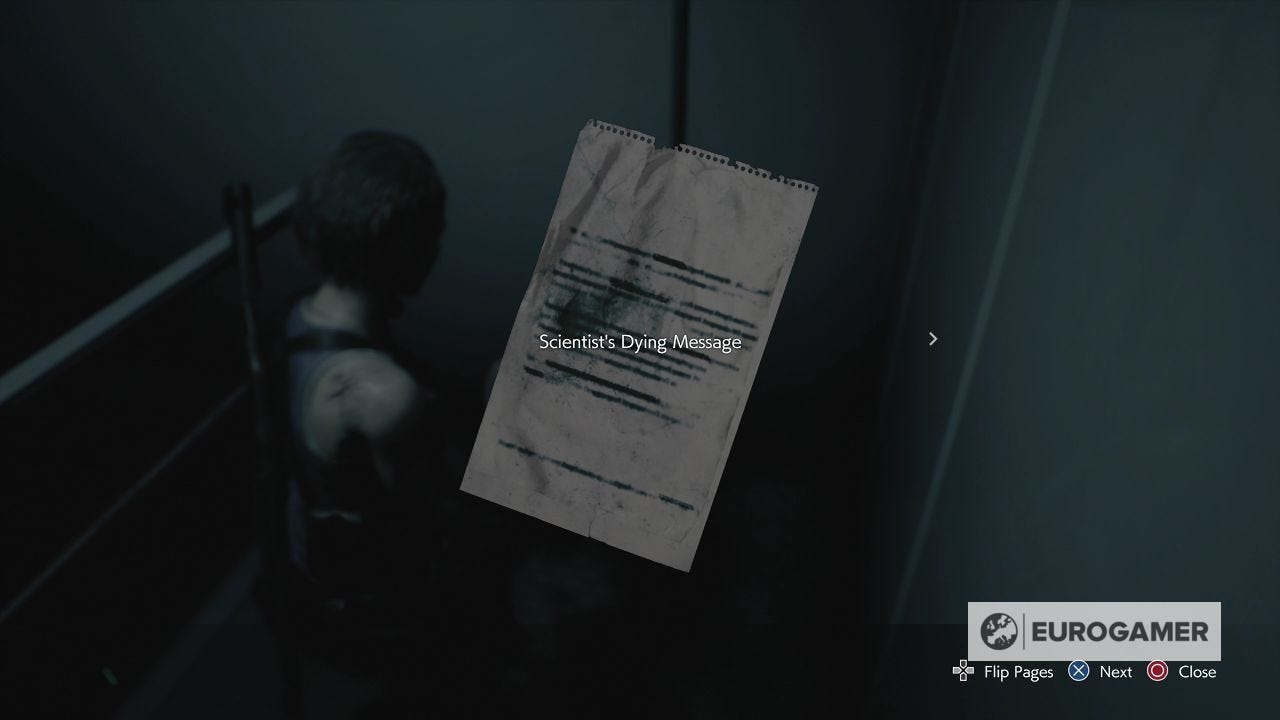
Go north-west from here. Turn right as you enter and search the body for the Scientist's Dying Message file.
There are a few more consumable items in here as you work your way round and down the stairs, so take as much as you can carry.
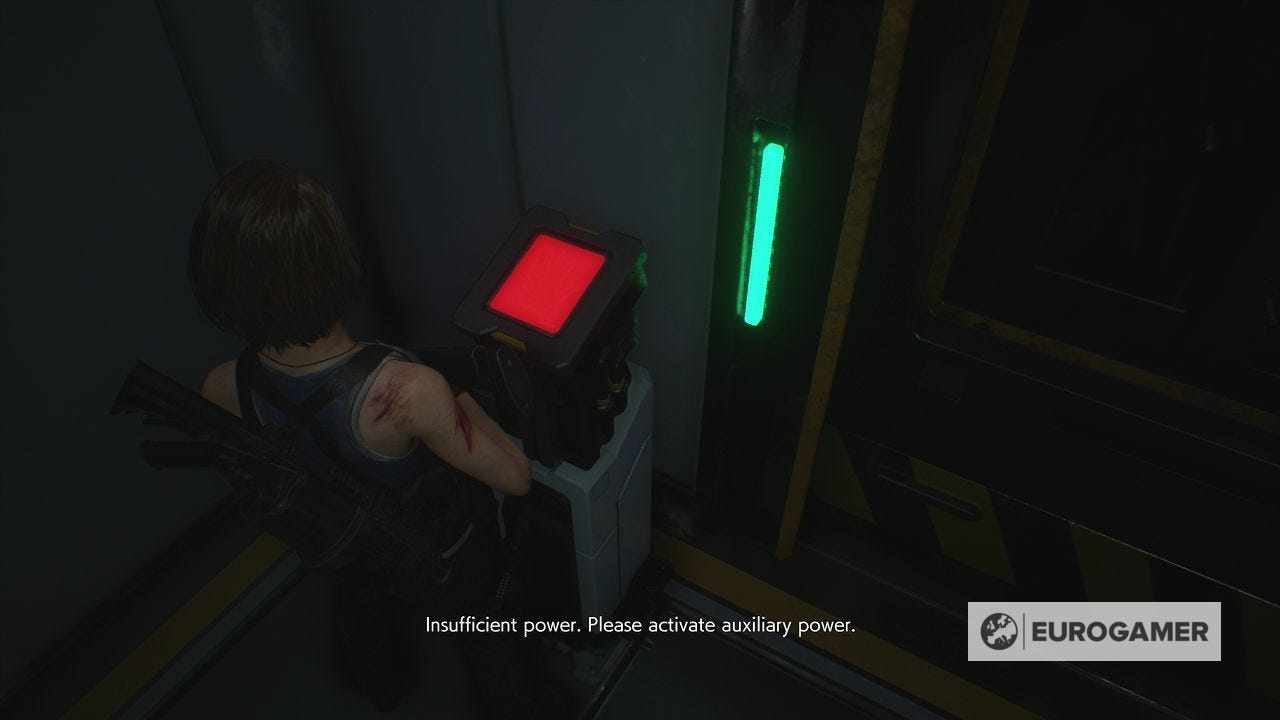
At the foot of the stairs, the door is locked. On the south side is a generator you need to push into the wall - make sure you kill the zombie there first. Now use the console and go through the door.
After the hall of Tyrants, take the elevator up.
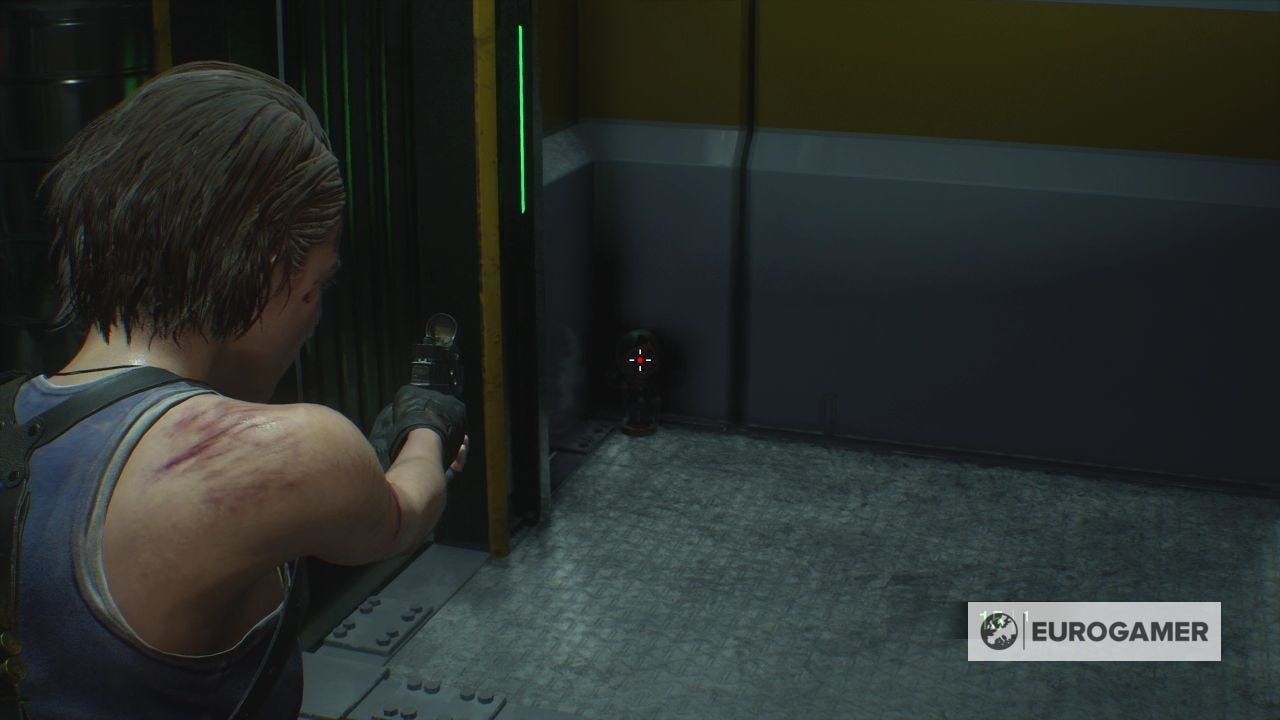
As you approach the next room, it will open and spill out several varieties of zombie emerge at once - use a Grenade or Grenade Launcher round to thin out the crowd, and finish with other weapons.

Aim at the door and gradually step through as you enter to ensure all are clear, and then deal with the additional zombie in the corner which only rises up when you step inside.
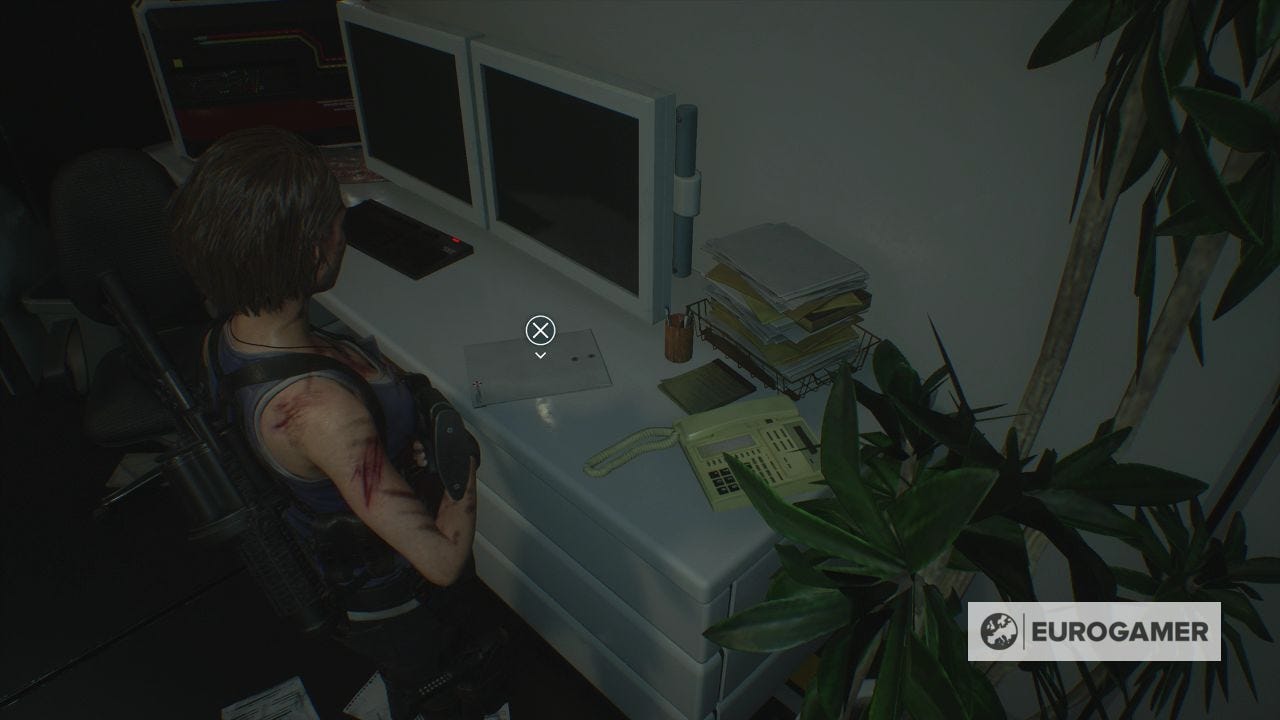
Now you're free to explore, get the Expression of Concern file from the desk.
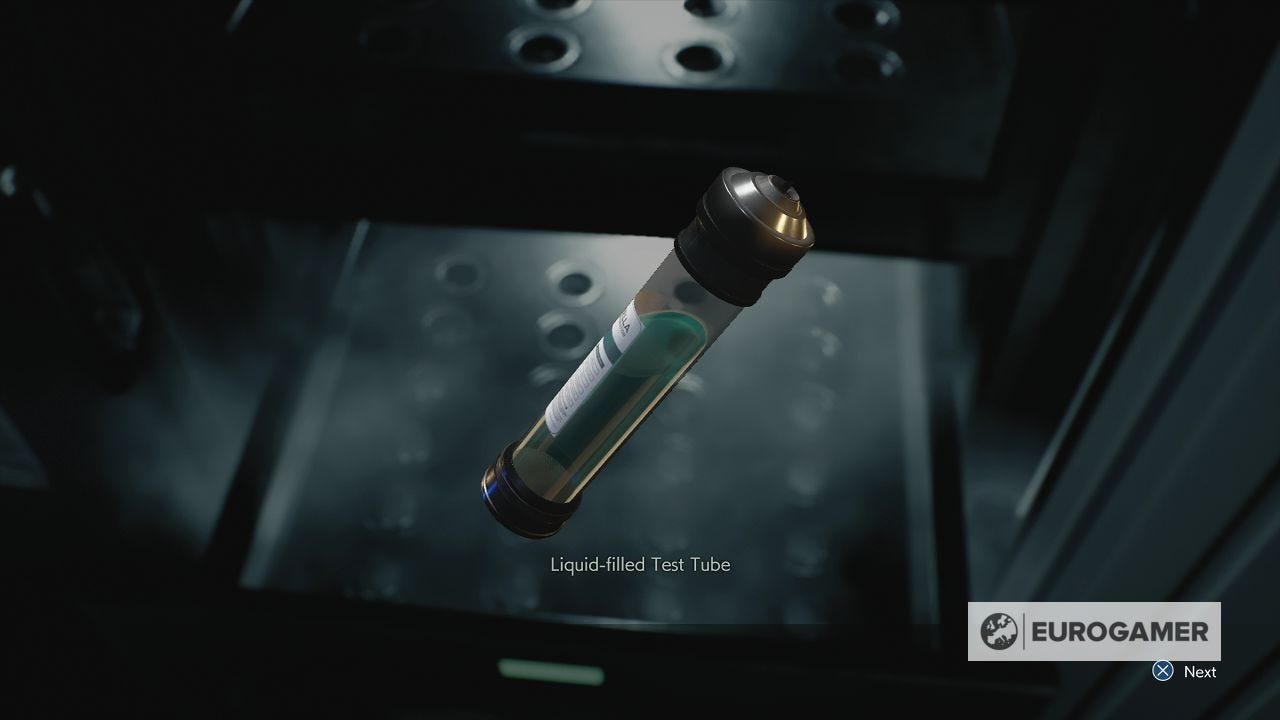
There's some other consumables here to grab, and when ready, check the drawer on the right for the Liquid-filled Test Tube.
Our full Resident Evil 3 walkthrough explains every aspect's of Jill's, including the Shotgun location, Bolt cutters and Lockpick locations, how to reset the Circuit Breakers to restore power in the Substation, find the Drugstore safe code solution and Aqua Cure clue, Police Station Safe, Locker codes, Hospital safe code and courtyard box for the Magnum explained.
With this, you're now to return to the 2F Lab. Be warned as you go down the left back through the corridor of Tyrants, several cases smash which sees Hunters attack - two at first, then a third. The door ahead will be locked until they are killed.
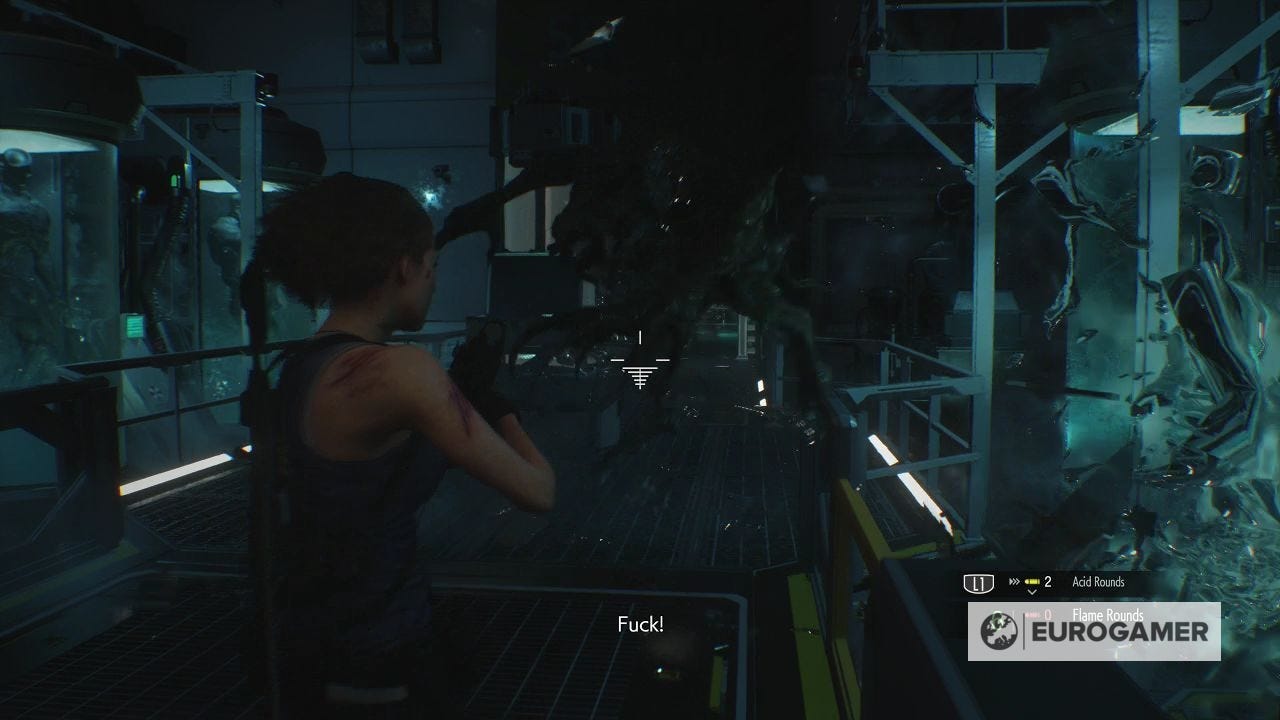
If you have acid rounds, this is the best way to make a dent - or the Magnum will make quick work of them.
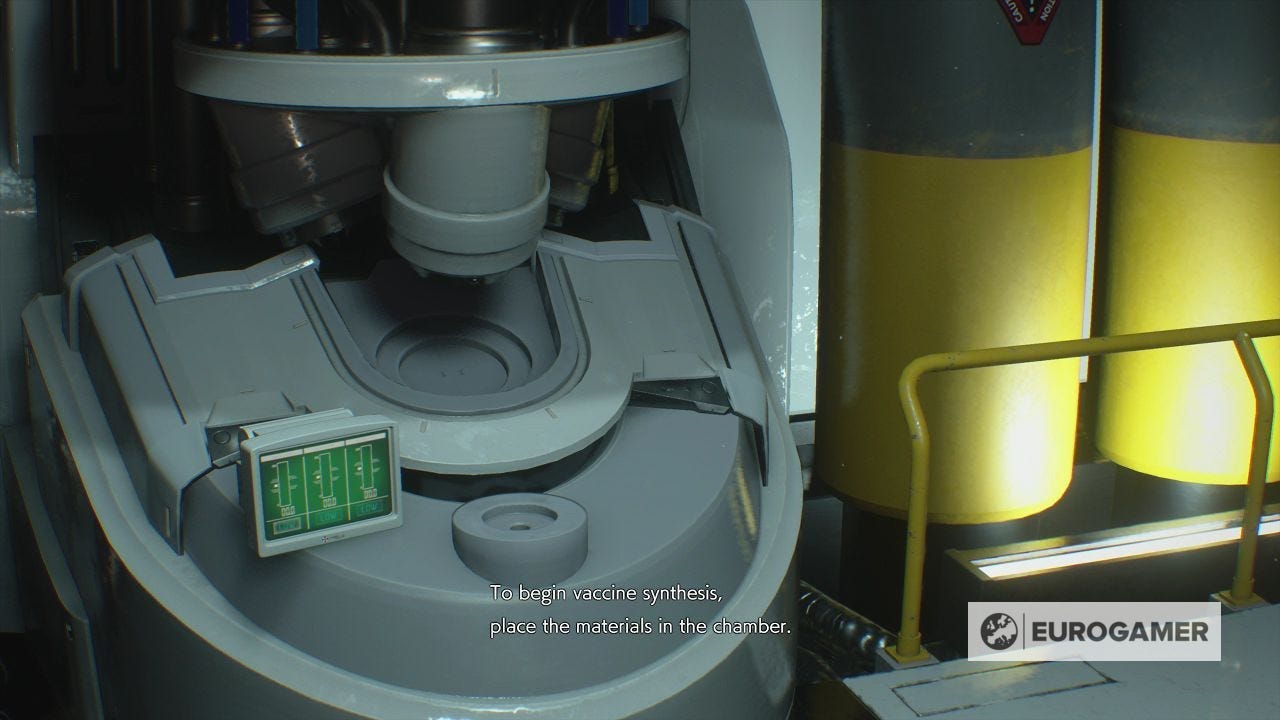
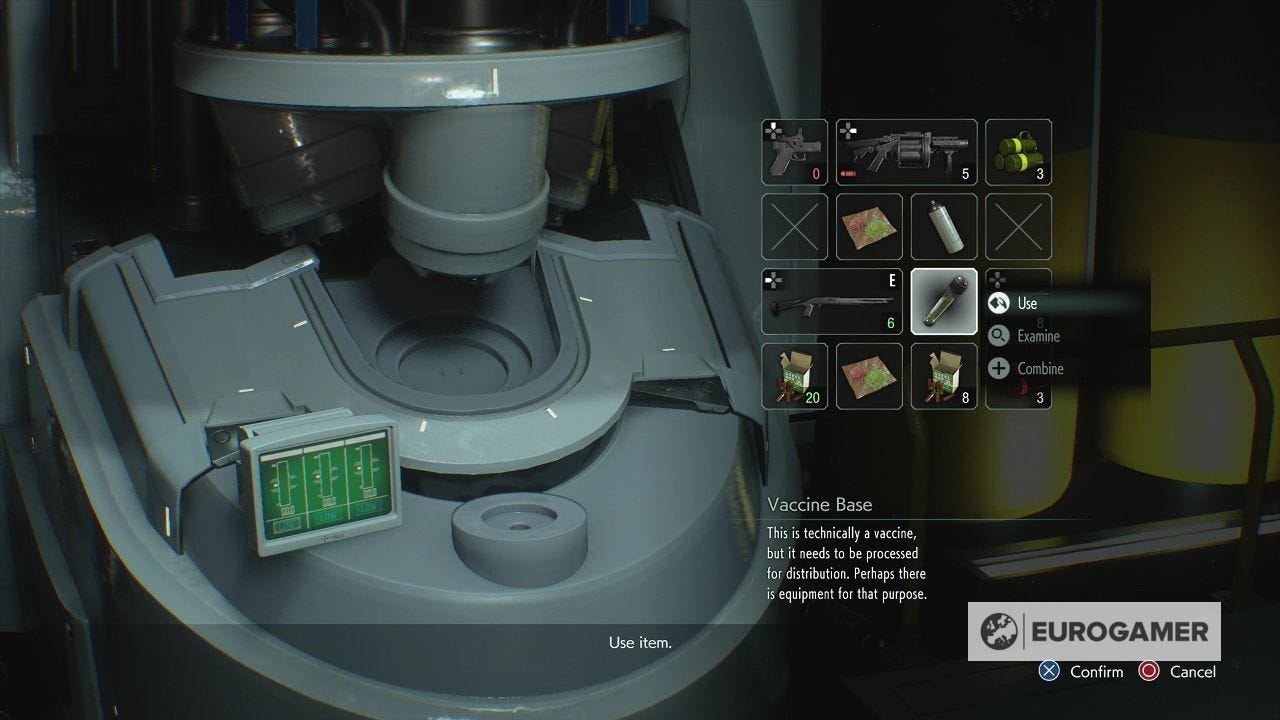
Once done, the route back to the safe room will be without incident. Head up the stairs again now to the Vaccine Synthesis room. Combine the two samples and interact with the device. Now you must solve the Vaccine puzzle.
Note - completing this puzzle is a point of no return, to make sure you have collected all the Files and Bobble Heads you need before continuing.