Resident Evil 3 Police Station - Safe, Locker codes and ID Card location explained
How to explore the Carlos section and open every lock along the way.

The Police Station in Resident Evil 3 is a returning area from the Resident Evil 2 remake, following the appearance of the Kendo Gun Shop which Jill just explored.
As you'll notice, Carlos is visiting this before the events of that game - meaning you'll encounter some neat Easter Eggs among the familiar ground you're treading - with even the same Police Station safe and locker codes to input.
On this page:
Looking for something else? Visit our Resident Evil 3 walkthrough for more help.

How to get the ID Card
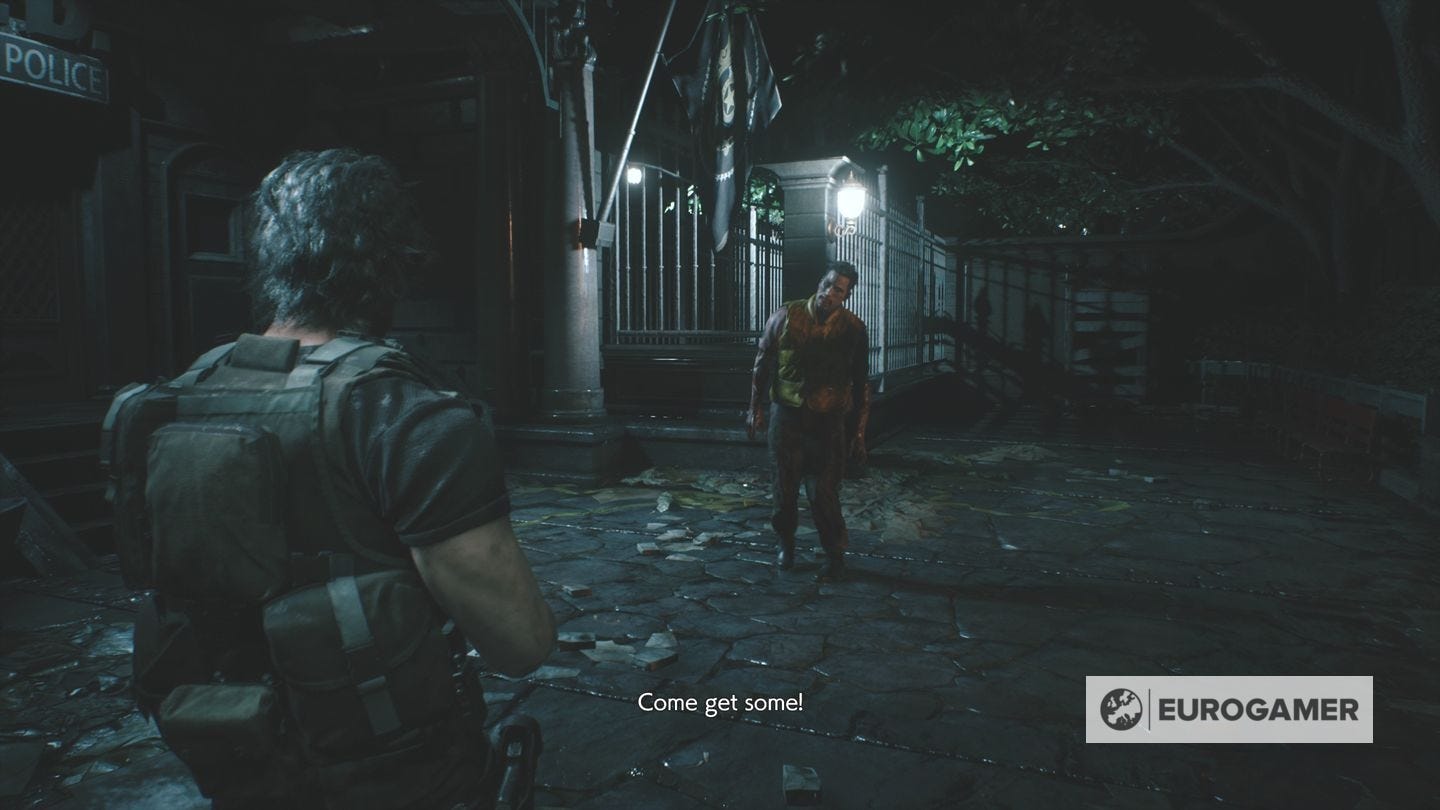
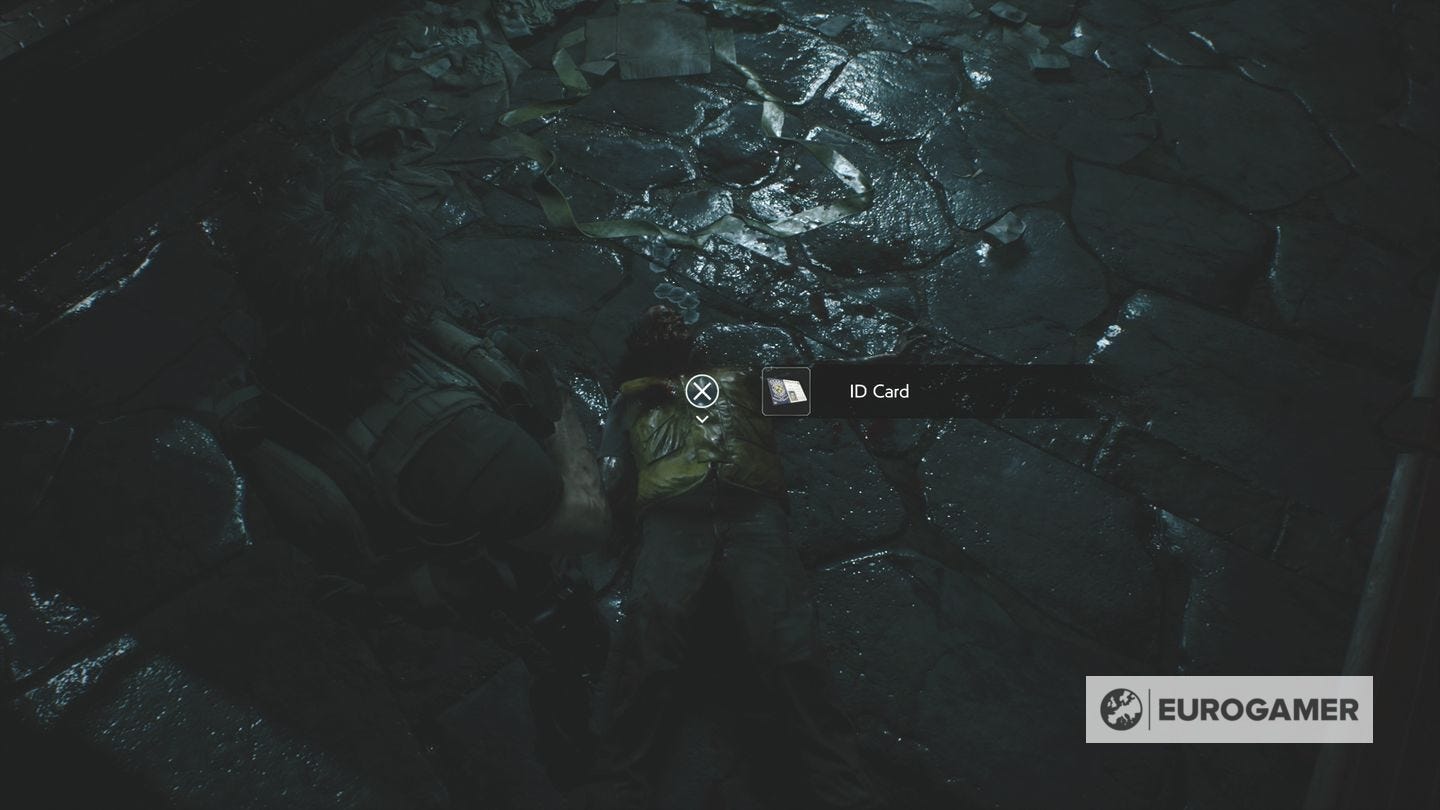
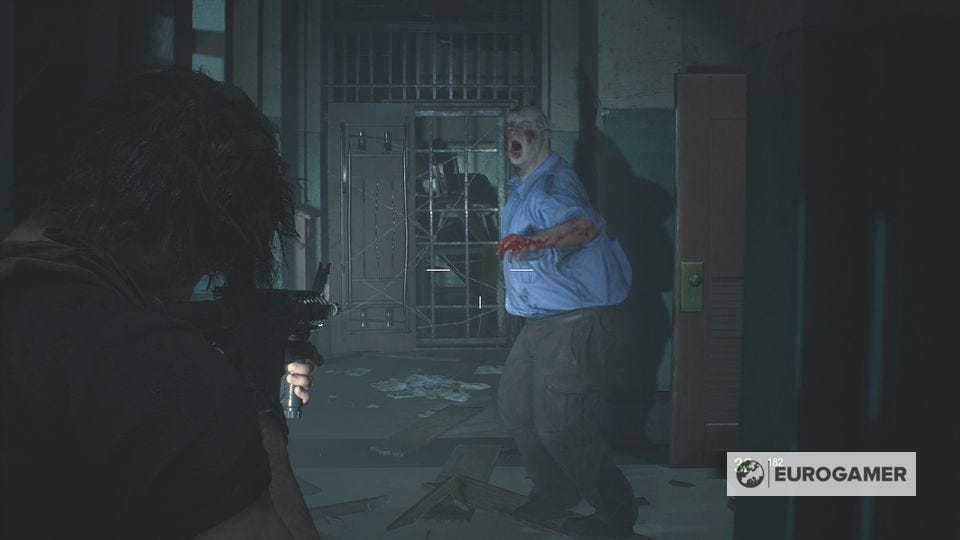
Walk through the cemetery and, after the cutscene, you'll have to kill a zombie Brad Vickers. He'll take more ammo than a conventional zombie, so let rip. Search the corpse for an ID Card.
Before you head inside into the Police Station, there's a few items you can find first. Go back to the cemetery before, and you'll find a staircase going down.
There's a room here with an Email Outbox file, and some nice Easter Eggs in the locker and on the wall to interact with.
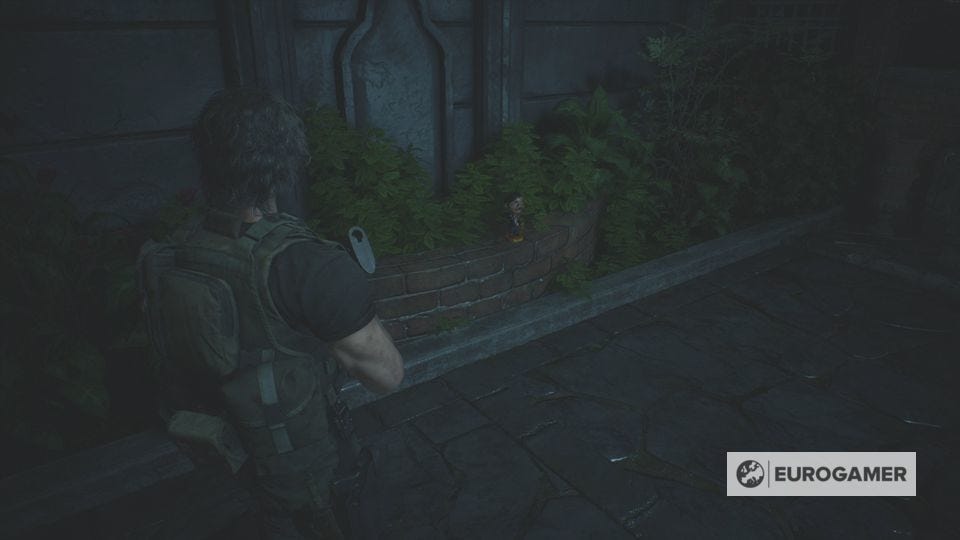
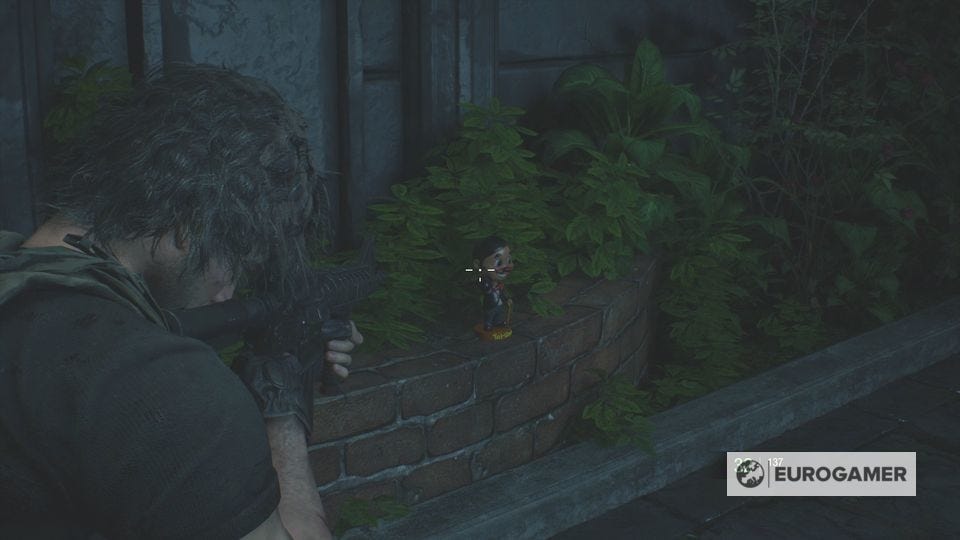
Now, if you go up the stairs the other side, you can find some consumable items and a Bobble Head on the left wall.
Exploring the Police Station in Resident Evil 3
When you're ready, enter the Police Station through the double doors where you encountered the zombie Brad.
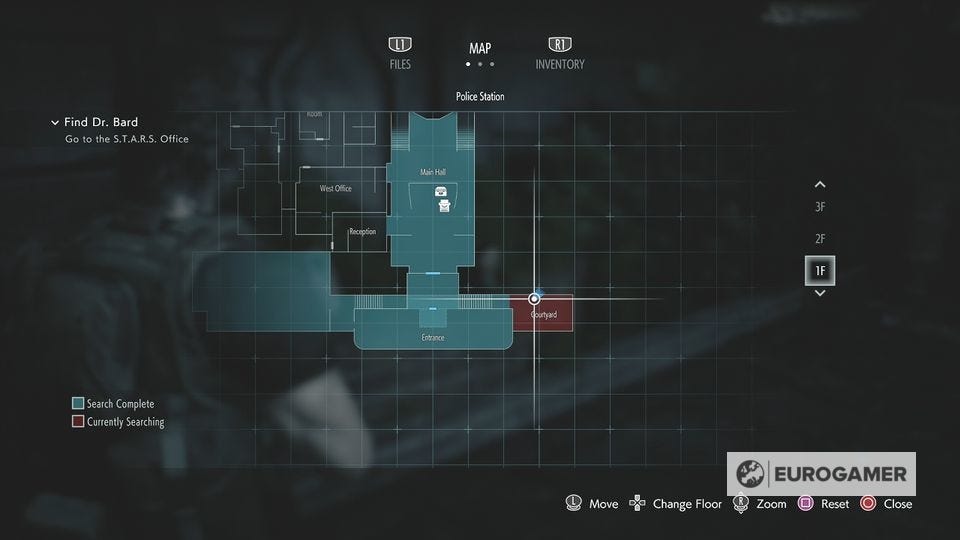
Approach the desk for a cutscene about where to find the STARS Office - as you can see via your map, it's on the second floor - then save your game and use the item box if needs be.
Before you go, it's worth exploring the Main Hall - there's a Green Herb round the other side of the front desk, and some Handgun Ammo on the east side of the top floor.
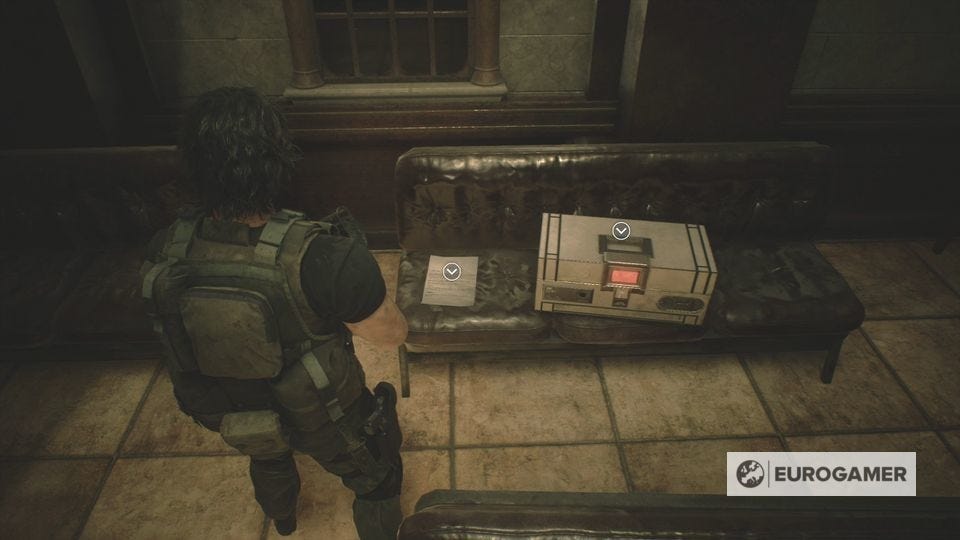
To continue, from the ground floor head west through the Reception. There is the ID Card Security Protocols file in here, as well as a Case which requires an ID Card to open. Provided you killed Brad outside and looted his body, you can open this for some Assault Rifle ammo.
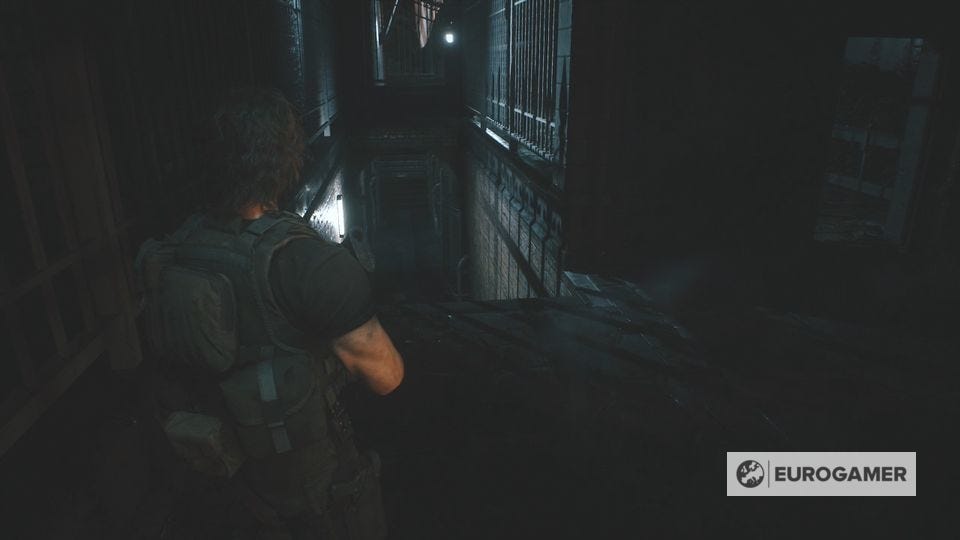
With that done, head west through the corridor. Along the way is a zombie, and two more which come out of the room and window at the end.
Once in the Operations Room, grab the Flash Grenade from the central desk, then through the door in the middle. Make sure you grab the Assault Rifle Ammo from the right, reload your weapons and heal up, then unlock the door to the east.
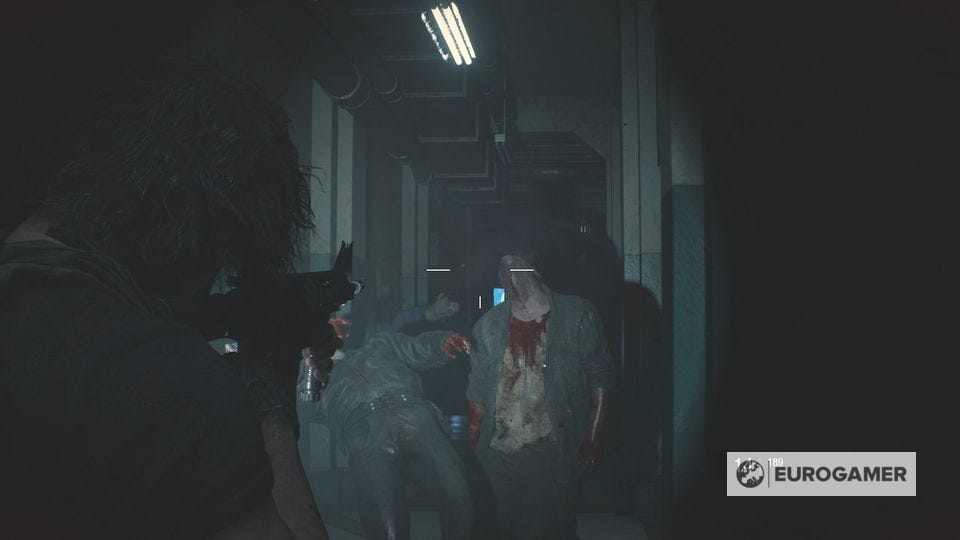
This area is packed full of zombies. Don't mess around - turn left and go down to the end of the dead end corridor, minding the not-quite-dead zombie on the ground.
Now turn around and lay waste to all which come towards you with the Assault Rifle. The numbers here mean it's easy to get picked off if you're not careful. If you get any respite and they're all on the ground, use the Handgun to shoot each one in the head afterwards to ensure they're properly out for the count.
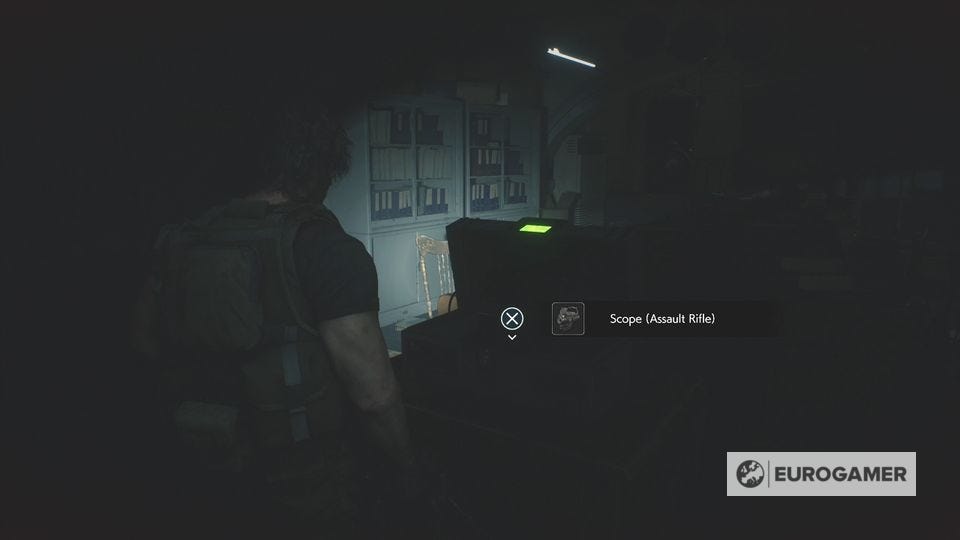
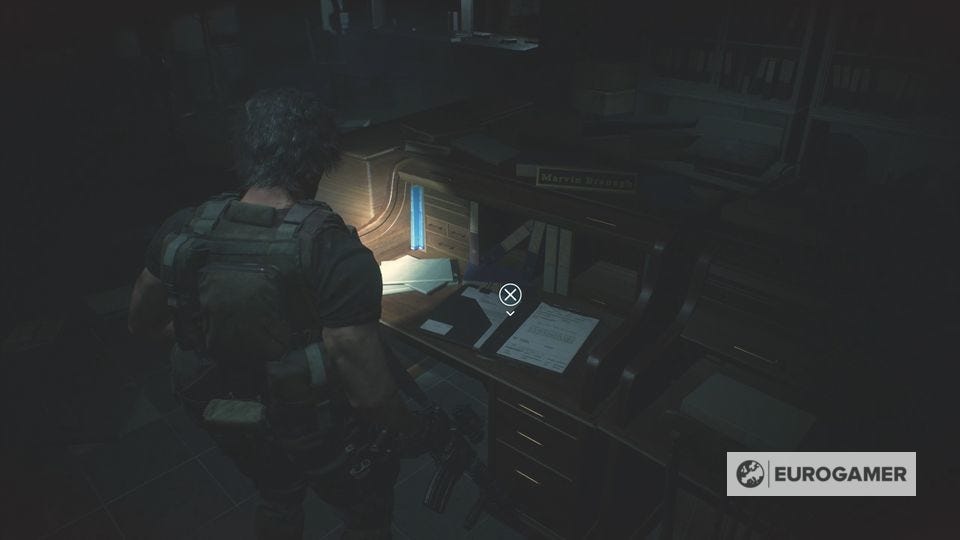
With that done, head south into the West Office. You can use the ID Card on another crate, giving you the Scope (Assault Rifle) weapon upgrade. There's also a Sept 20. Arrest Report file on the desk.
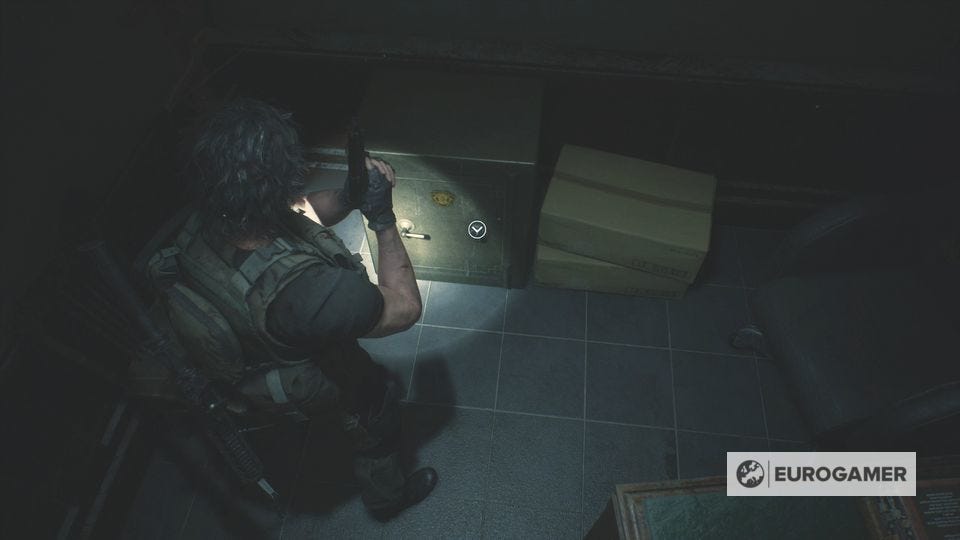
In the south of the West Office is a zombie in the doorway - make sure you knife or shoot it before to 'wake' it up so it doesn't attack you - then investigate the safe in the corner.
Resident Evil 3 Police Station West Office safe code
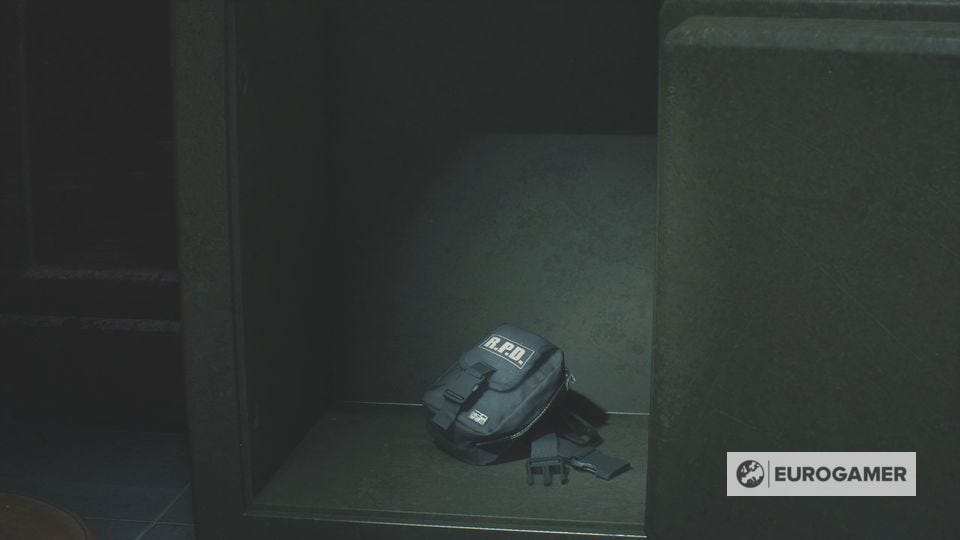
The West Office safe code is 9 Left, 15 Right, 7 Left. Interestingly, it's the same as it was in the Resident Evil 2 remake, and though you get a clue for it later, you can open it right now. Opening it gives you a Hip Pouch inventory upgrade.
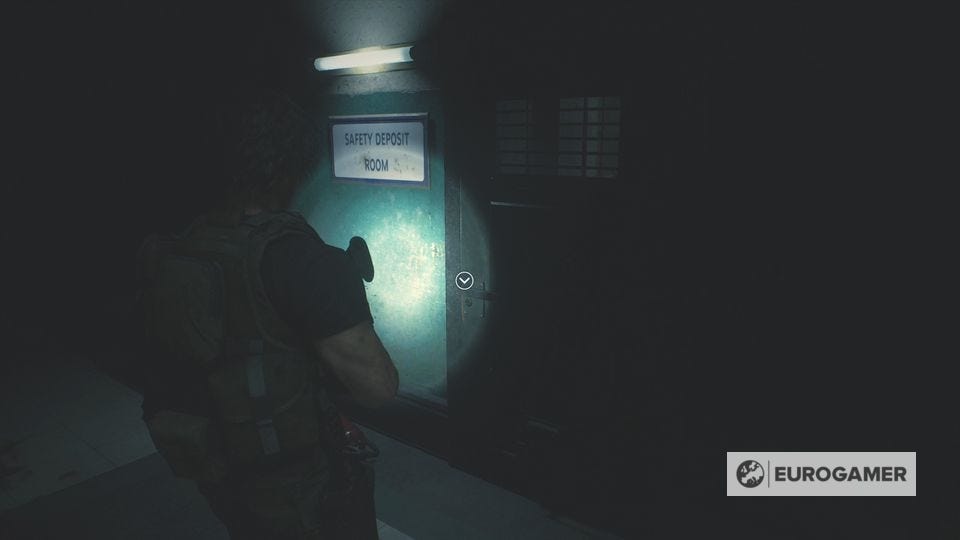
When ready, leave and you'll notice the Safety Deposit Room is locked. You need to get in shortly, so remember the location.
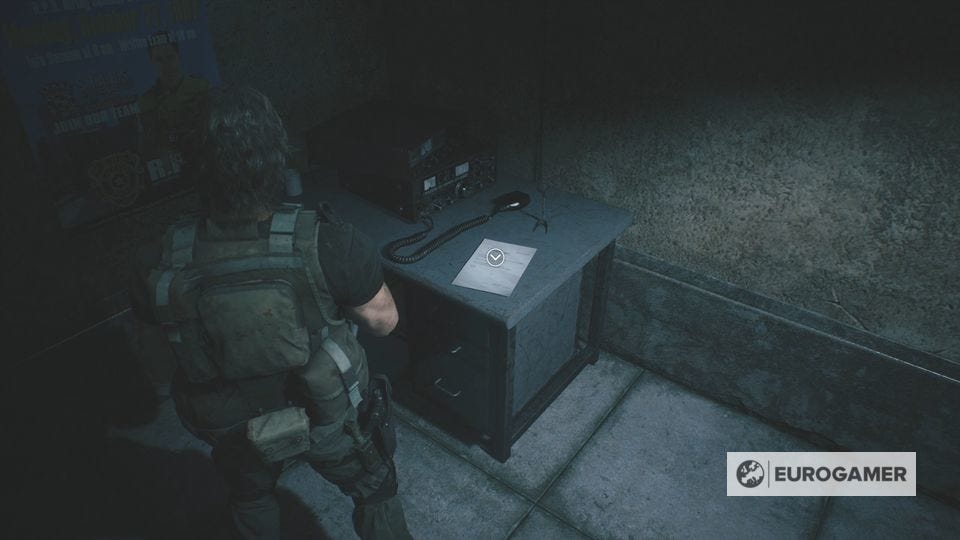
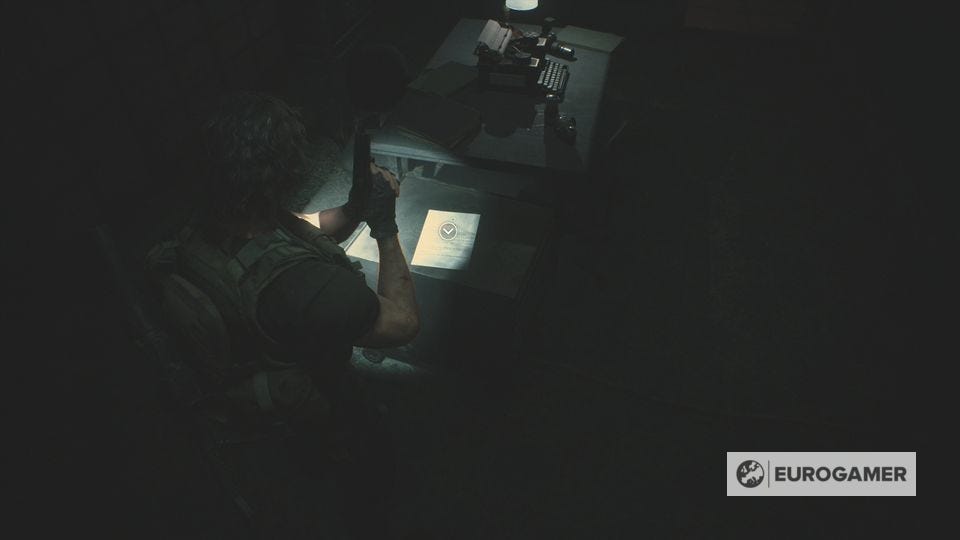
Head north now along the corridor to a set of stairs, and a room on the right. This is a Dark Room, and also a safe room, so be sure to save your game, and pick up the Internal Memo file while you're at it.
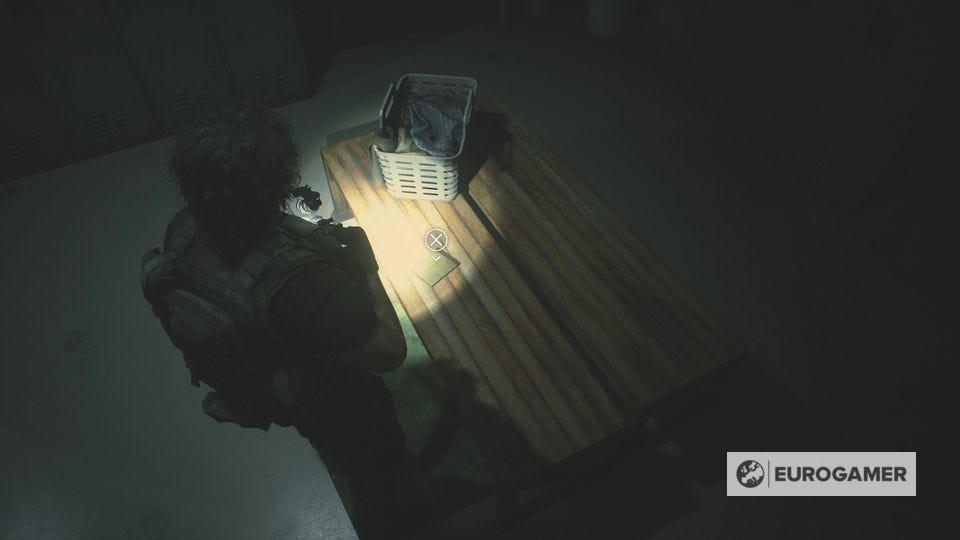
Head back outside and up the stairs to the second floor. Enter the Shower Room and pick up the Note to a Friend file in front of you to learn about the Shower Room Wall which you need to blow open. This is now your next objective.
Our full Resident Evil 3 walkthrough explains every aspect's of Jill's, including the Shotgun location, Bolt cutters and Lockpick locations, how to reset the Circuit Breakers to restore power in the Substation, find the Drugstore safe code solution and Aqua Cure clue, Police Station Safe, Locker codes, Hospital safe code and courtyard box for the Magnum explained.
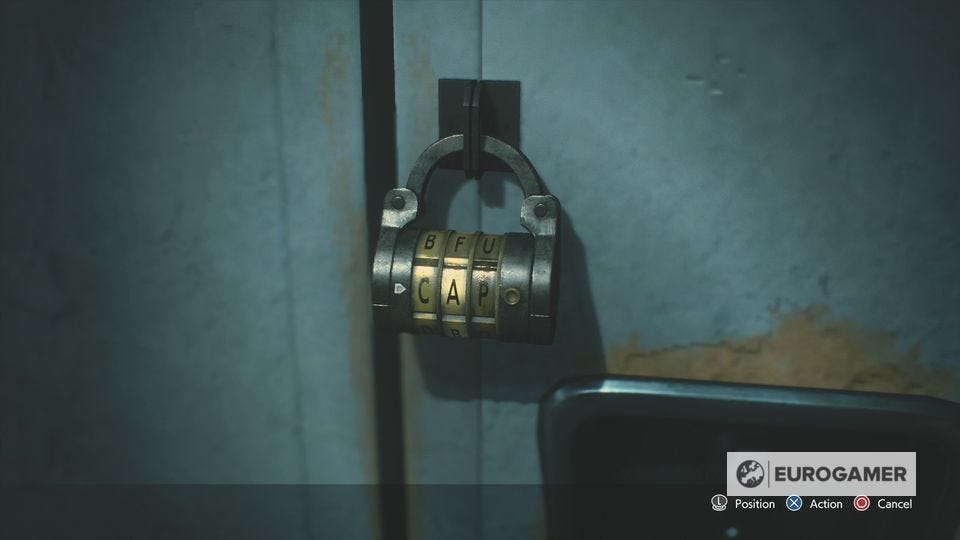
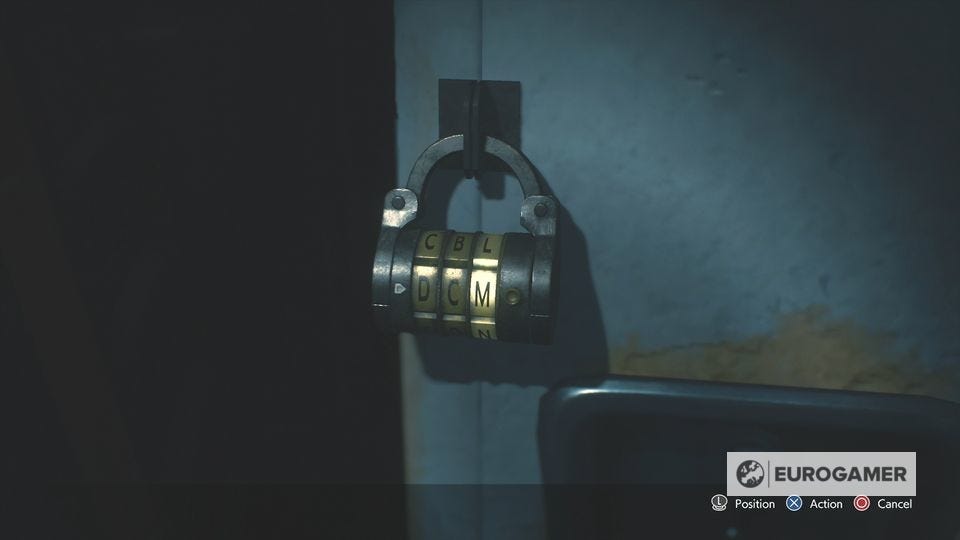
Resident Evil 3 Locker codes for the 2F Locker and 3F Locker in the Police Station
Before we do, there are two Locker codes to open first. The 2F Locker code is CAP, giving you a Flash Grenade.
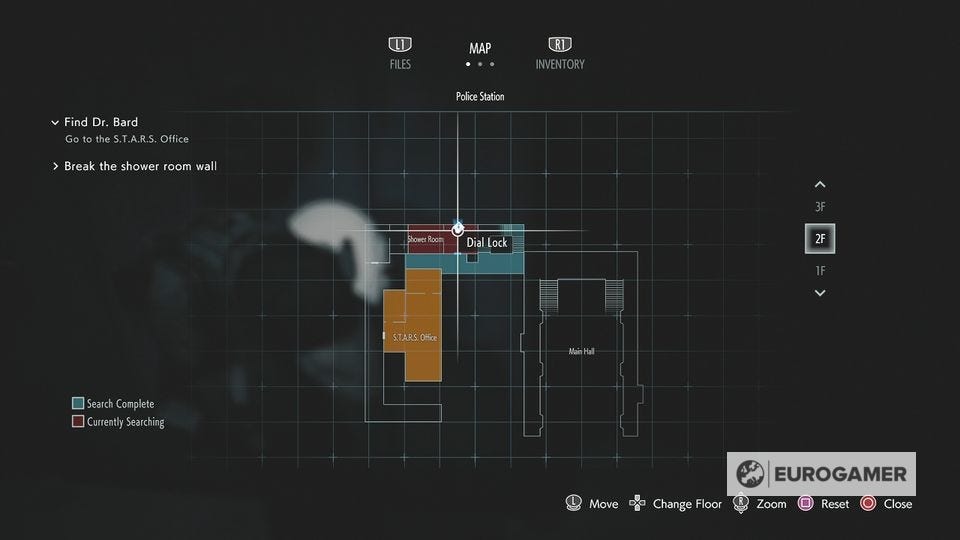
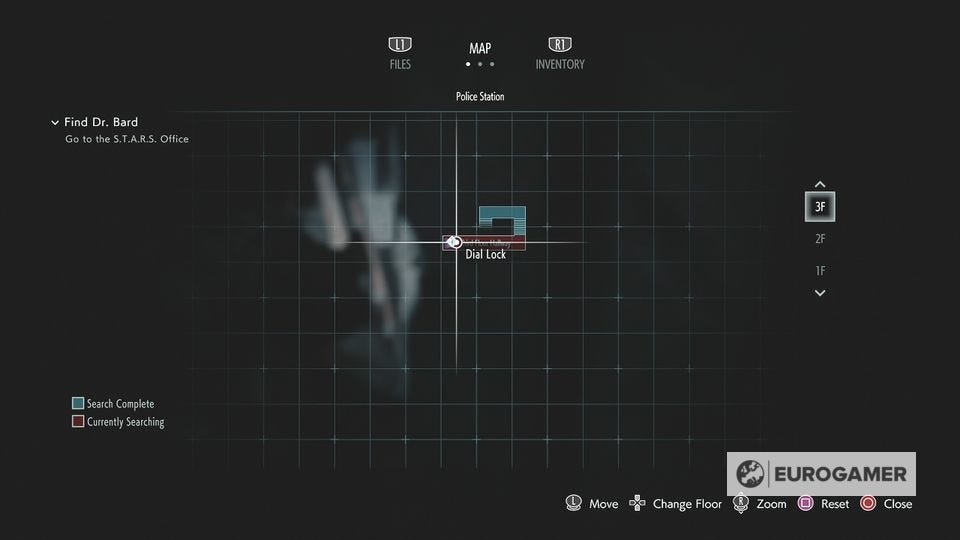
Once done, head out and continue up the stairs to the third floor. At the dead end is another locker.
The 3F Locker Code is DCM, giving you Assault Rifle Ammo.
While you're on this floor, pick up the Key - which is what you need for the Safety Deposit Room.