Zelda: Link's Awakening - Bottle Grotto dungeon explained, how to beat Shy Guys and Hinox
How to explore the start of the game's second dungeon.

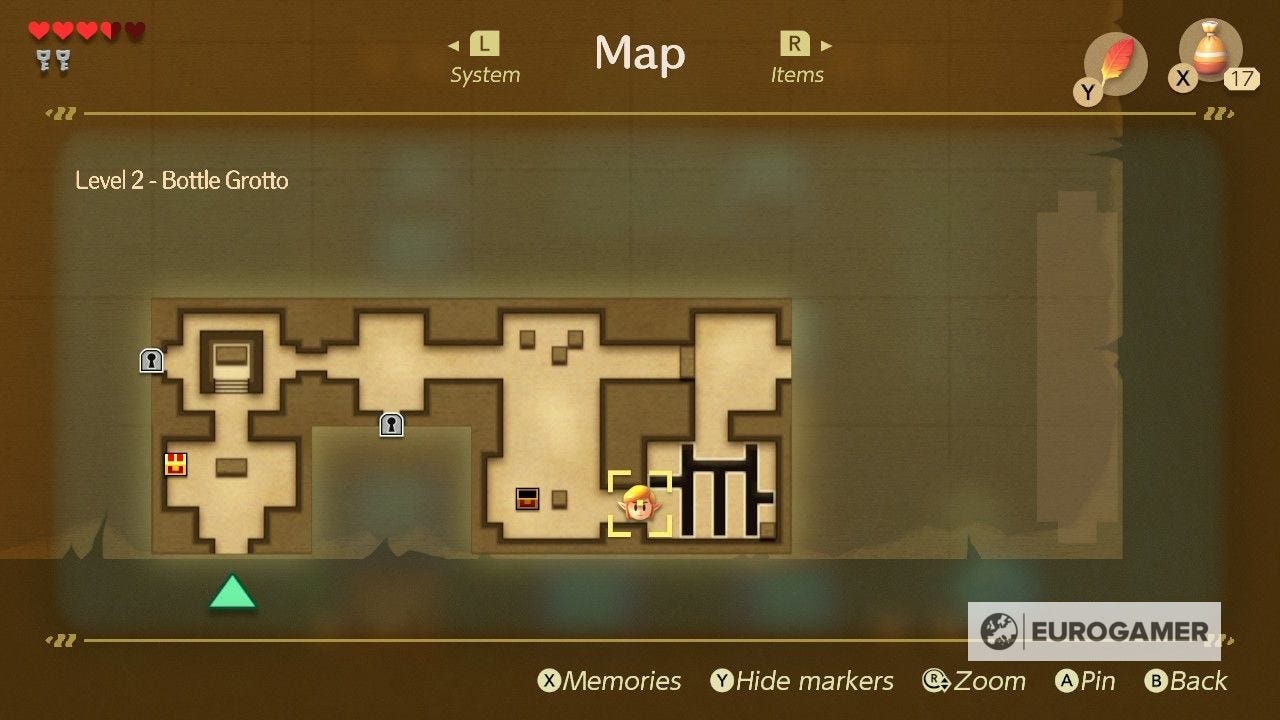
Bottle Grotto is the second dungeon in Zelda: Link's Awakening, which you can access in Goponga Swamp.
Inside you'll encounter a few new enemy types - including Shy Guys and a Hinox mini-boss.
If you're looking for more assistance, our Zelda: Link's Awakening walkthrough can help.
How to start Bottle Grotto and get the first Small Keys
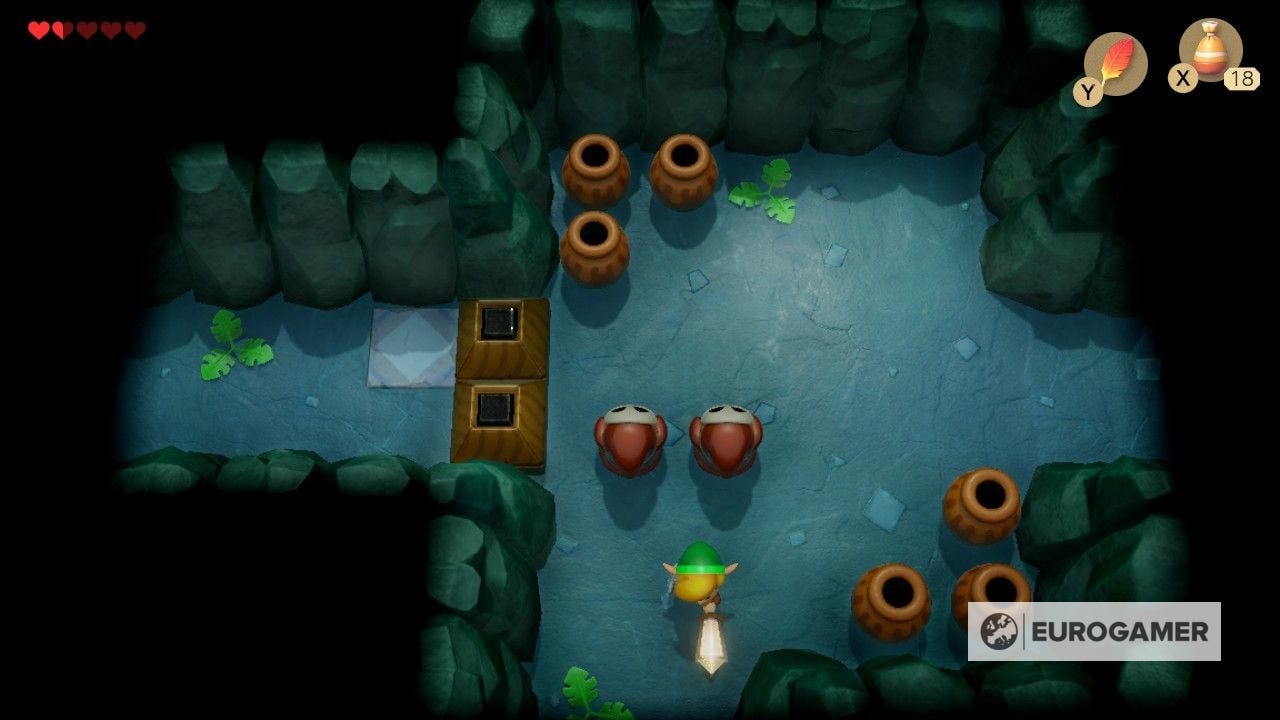
Ignore the chest in the first room - you cannot get to it just yet - and head north to a dark room with a spark enemy circling the outside. To progress, you need to equip and use Magic Powder on the two central torches, which opens the door on the right.
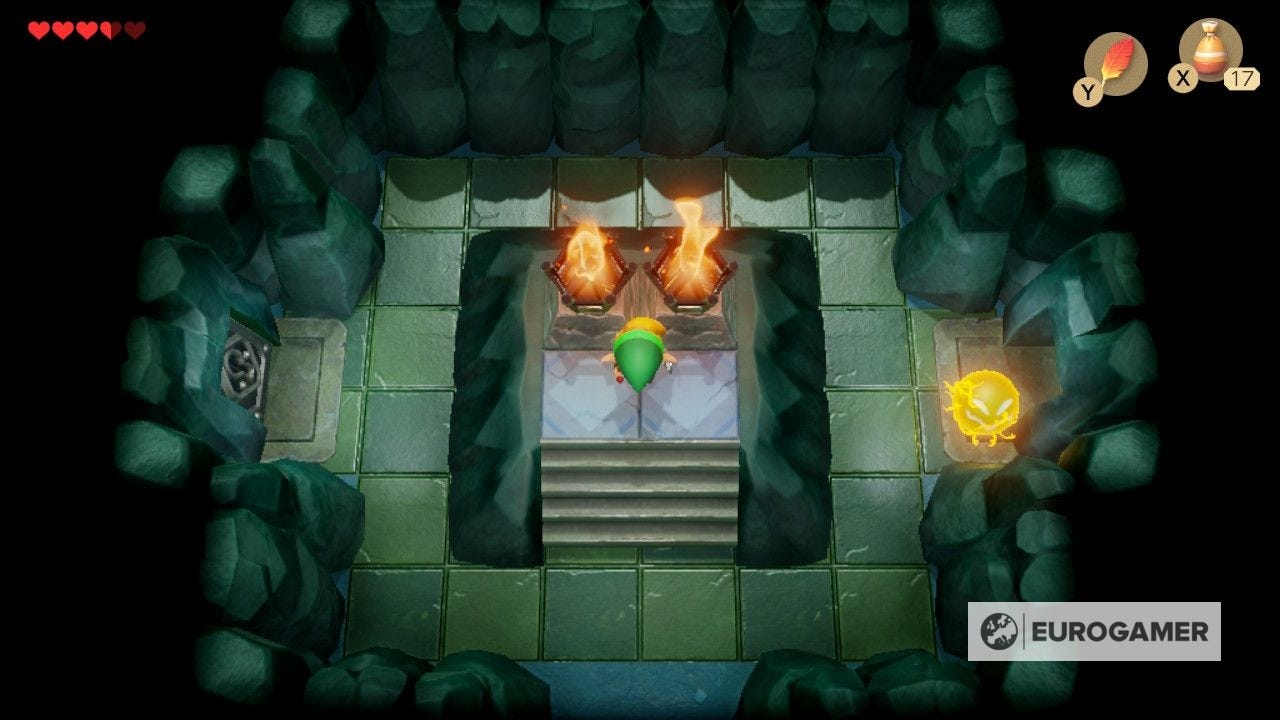
If you're out of Magic Powder, then kill some enemies or check out the Trendy Game back in Mabe Village, where it's a possible reward.
Head through the door east, kill the two skeletons and pick up the Small Key that drops in their wake.
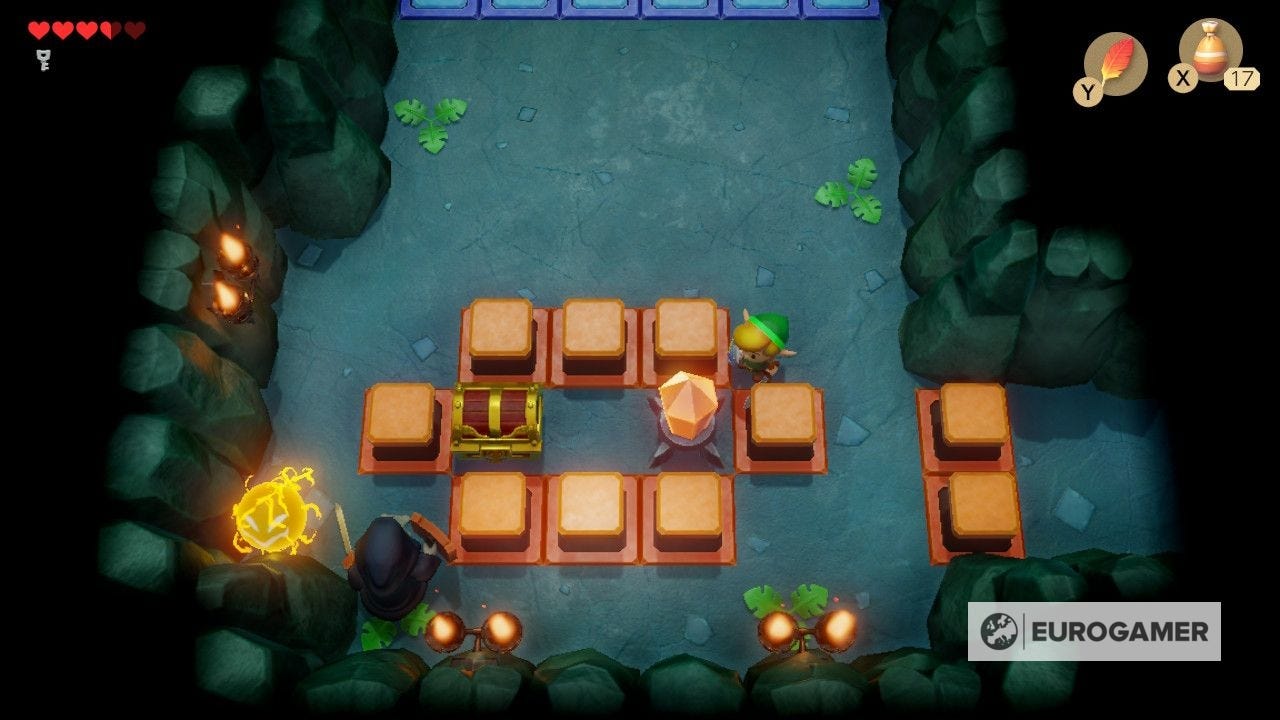
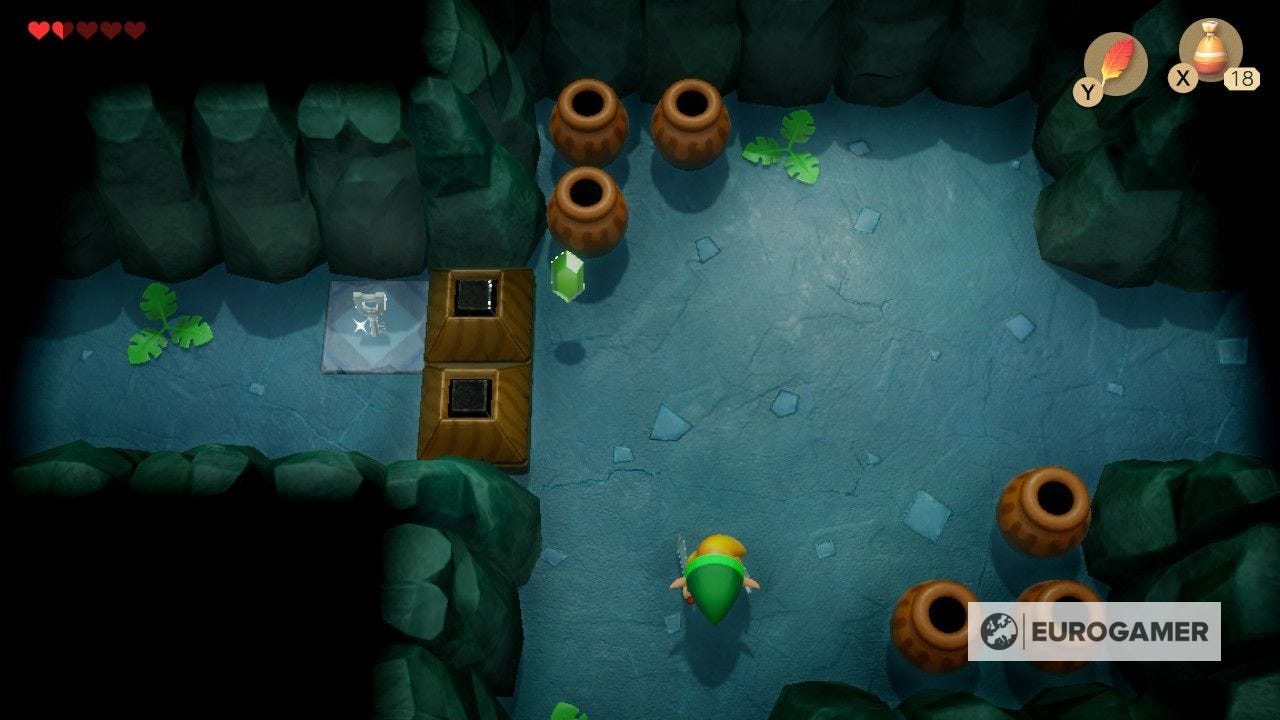
Head east again to come to a room with a spark and a crystal. Striking crystals like these will alternate the red and blue blocks throughout the dungeon.
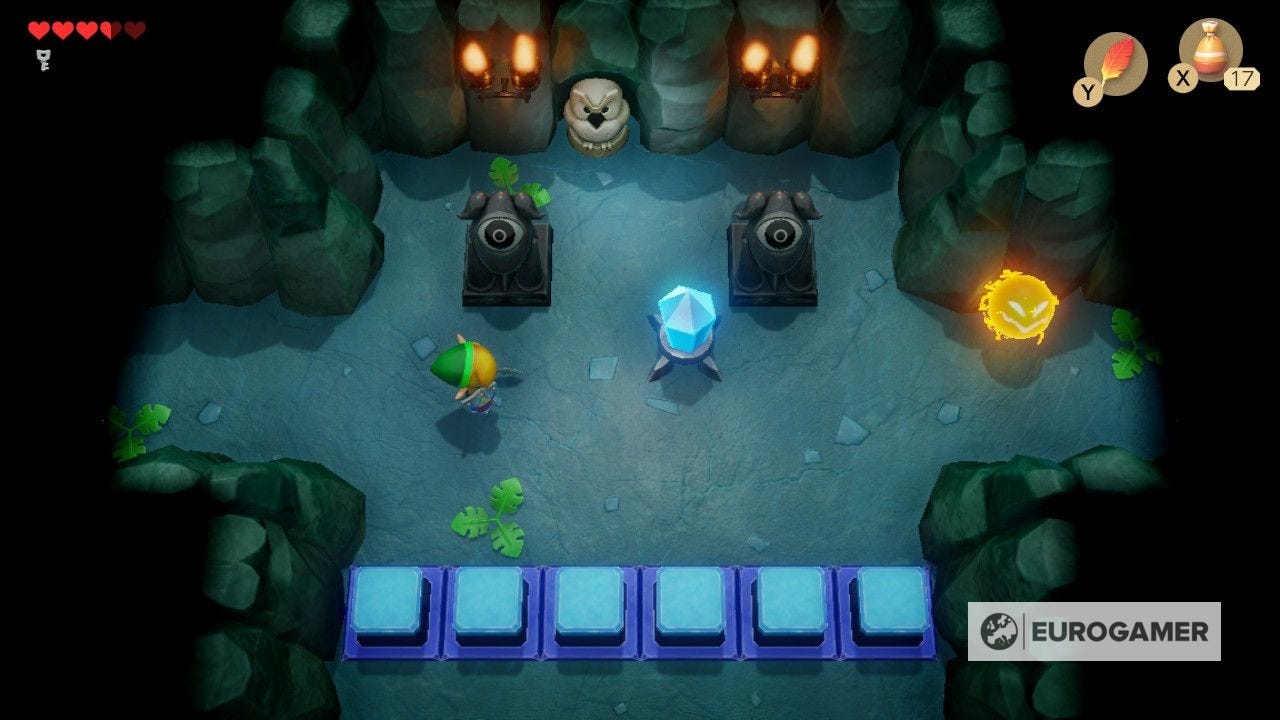
Strike it and head south to a group of red blocks with a crystal and chest inside. Strike the crystal from a diagonal angle to lower the red blocks, allowing you to get the Small Key inside.
(The hooded Staflos here is easy to take down by the way - like Moblins, keep your shield raised and after it's stunned from an attack, you can take it down.)
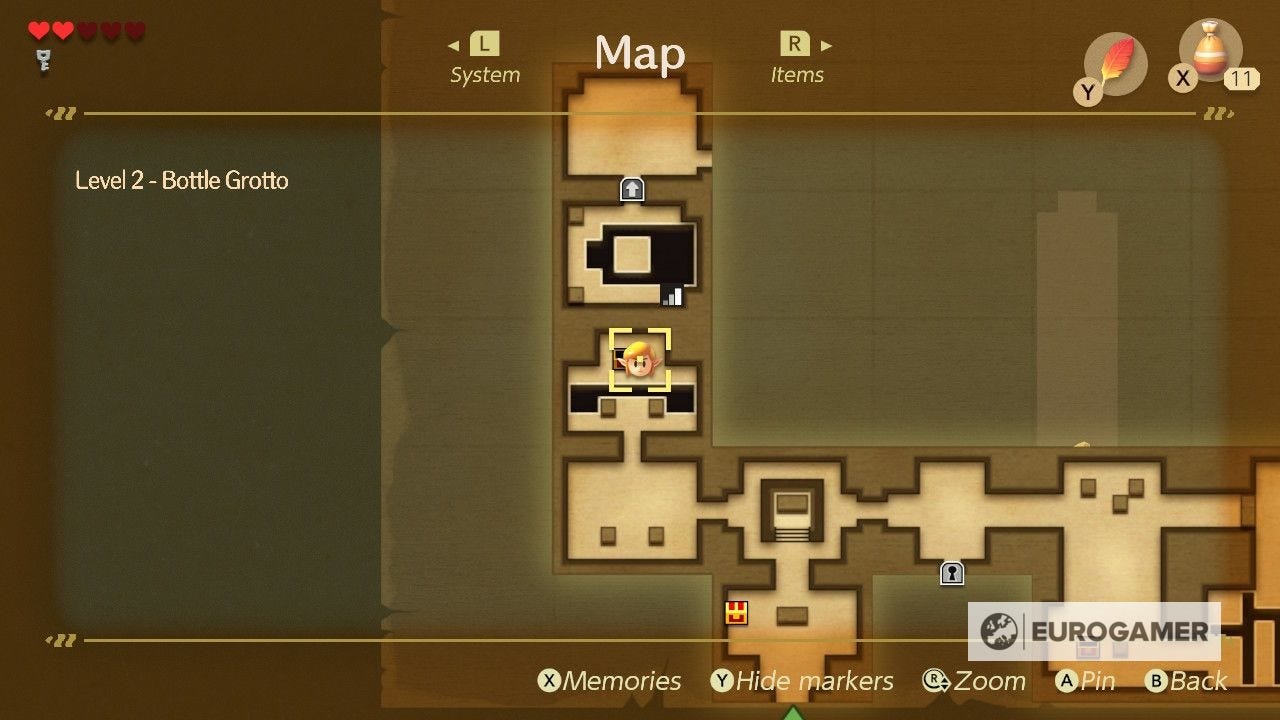
Where to defeat Shy Guys and get the Stone Beak and Compass in Bottle Grotto
Before you head east, let's do a spot of backtracking now we have two Small Keys.
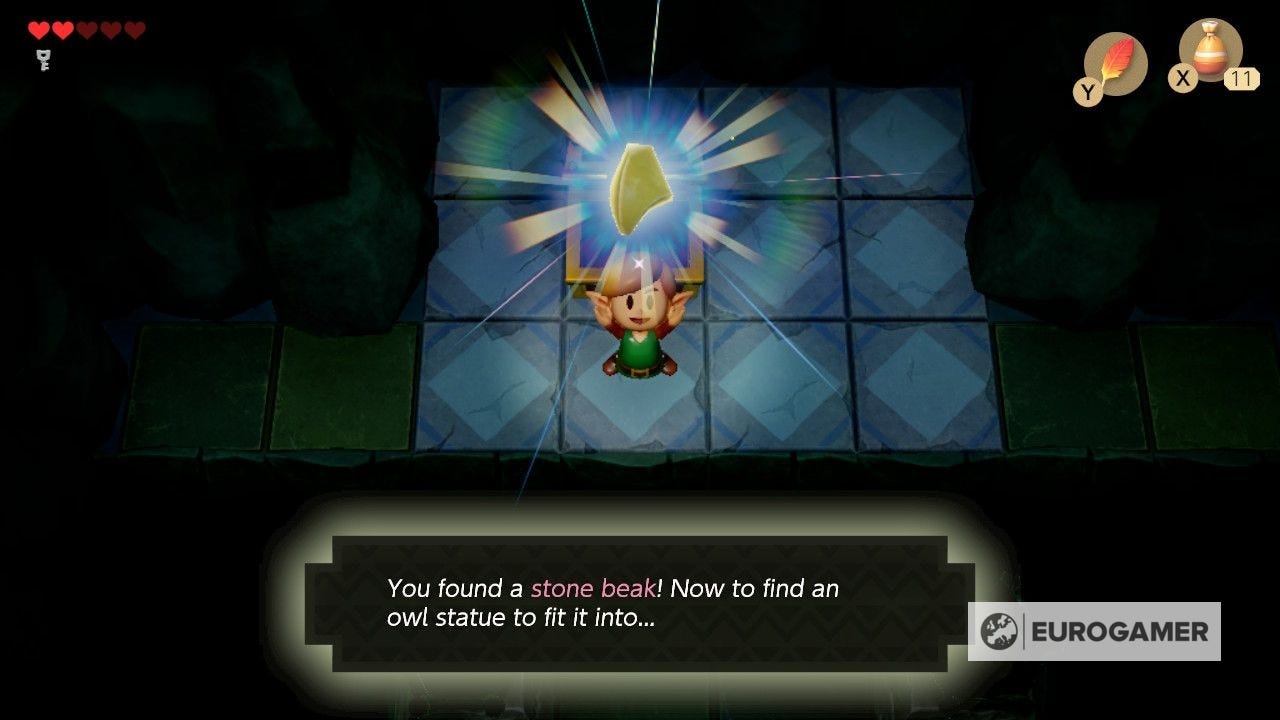
First, head back to that second room with the spark and the torches you had to light to progress. Use the Small Key to go west, and raise your shield as you enter to avoid getting injured by the spinning blades.
Defeat the Keese to open the door north, where you'll find a chest with the dungeon's Stone Beak.

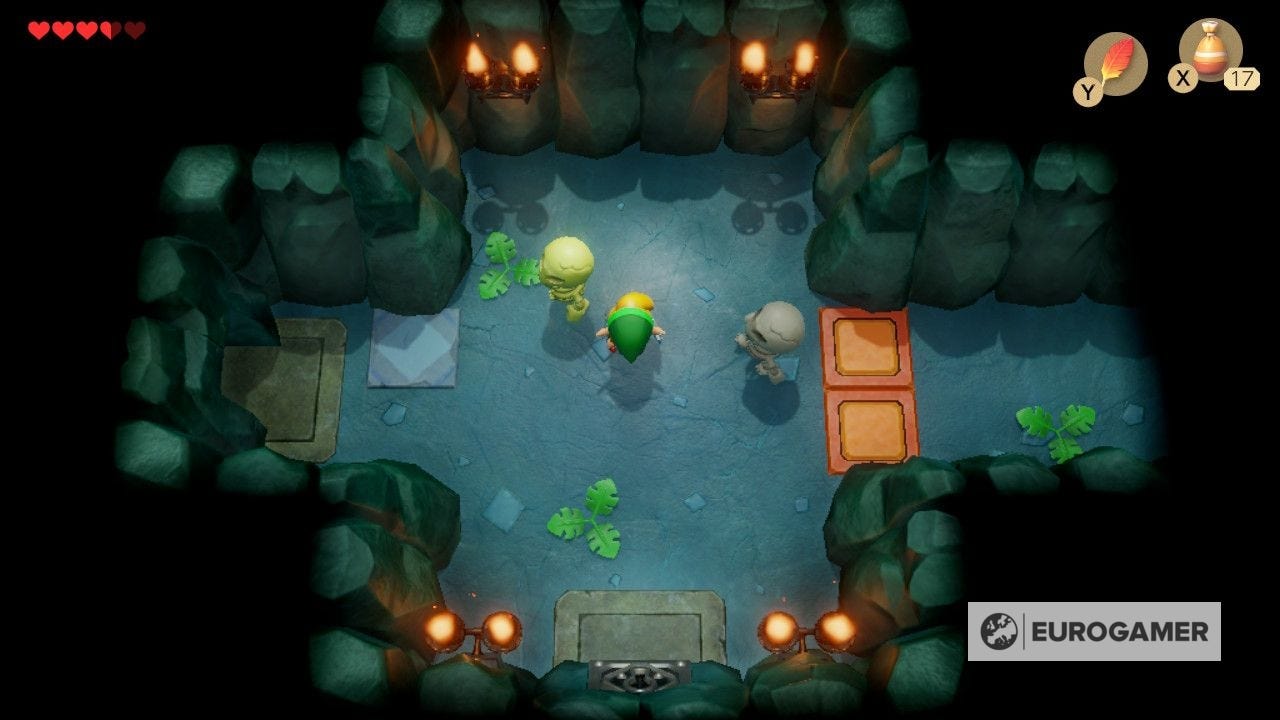
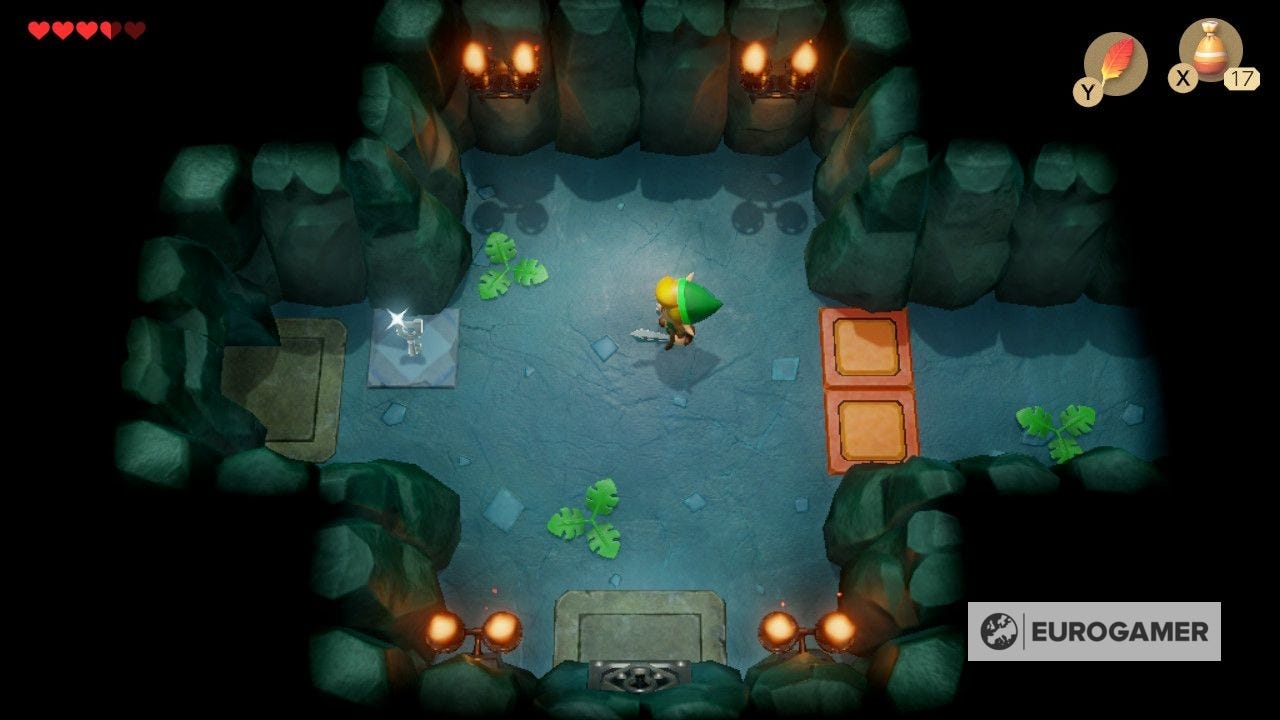
Next, head back through the dungeon and south through the Small Key door next to the two skeletons. Inside is a Shy Guy, an enemy that mirrors your movements.
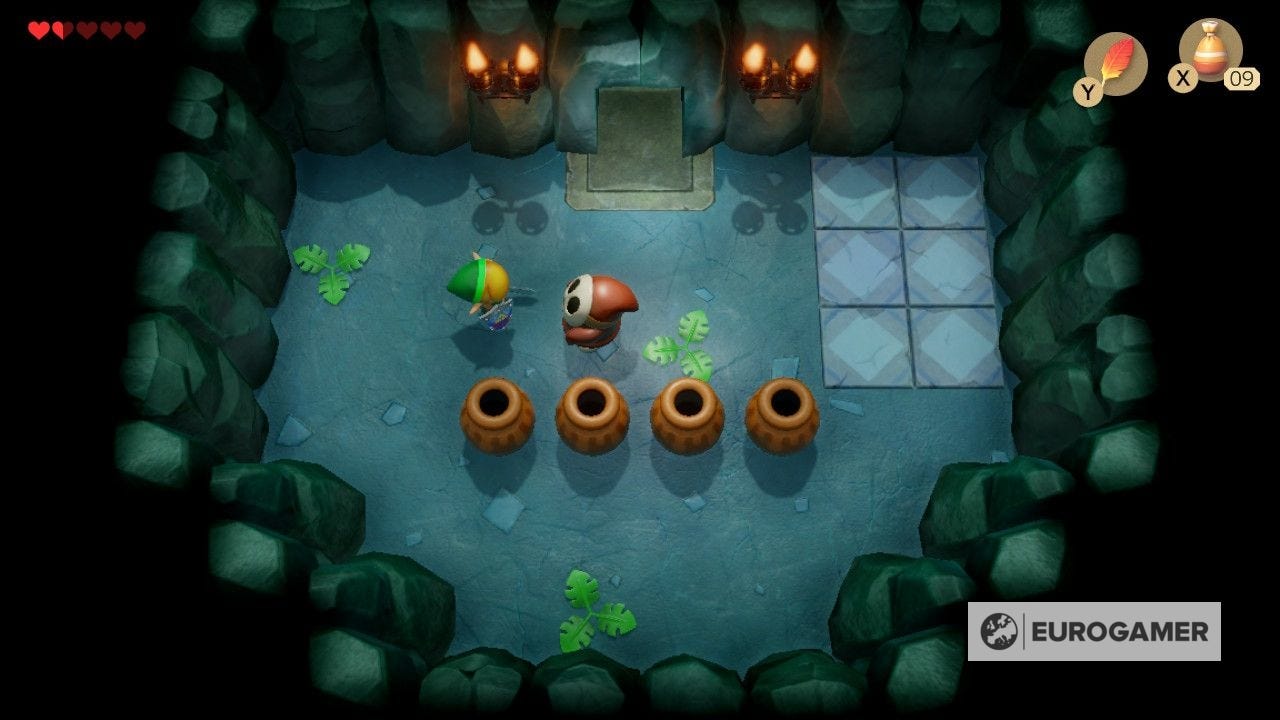
The defeat a Shy Guy, you must attack it from behind by using a spin attack, performed by holding your sword, charging it up, then releasing it.
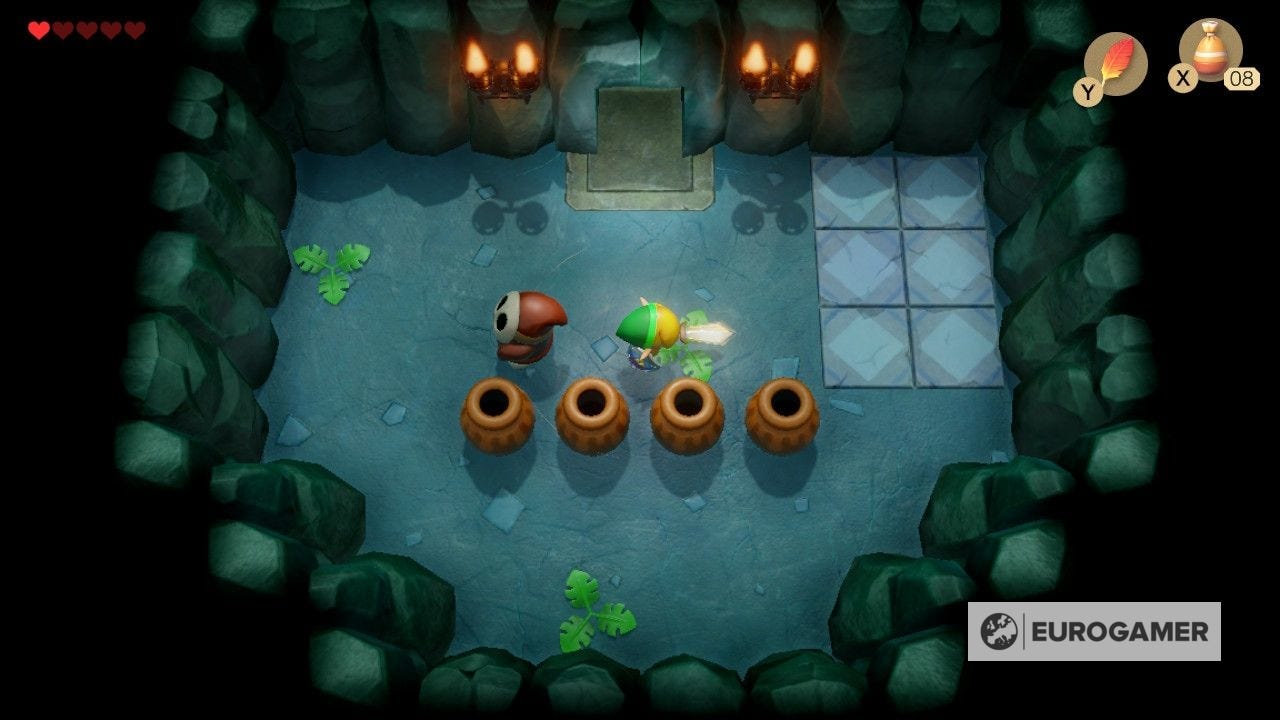
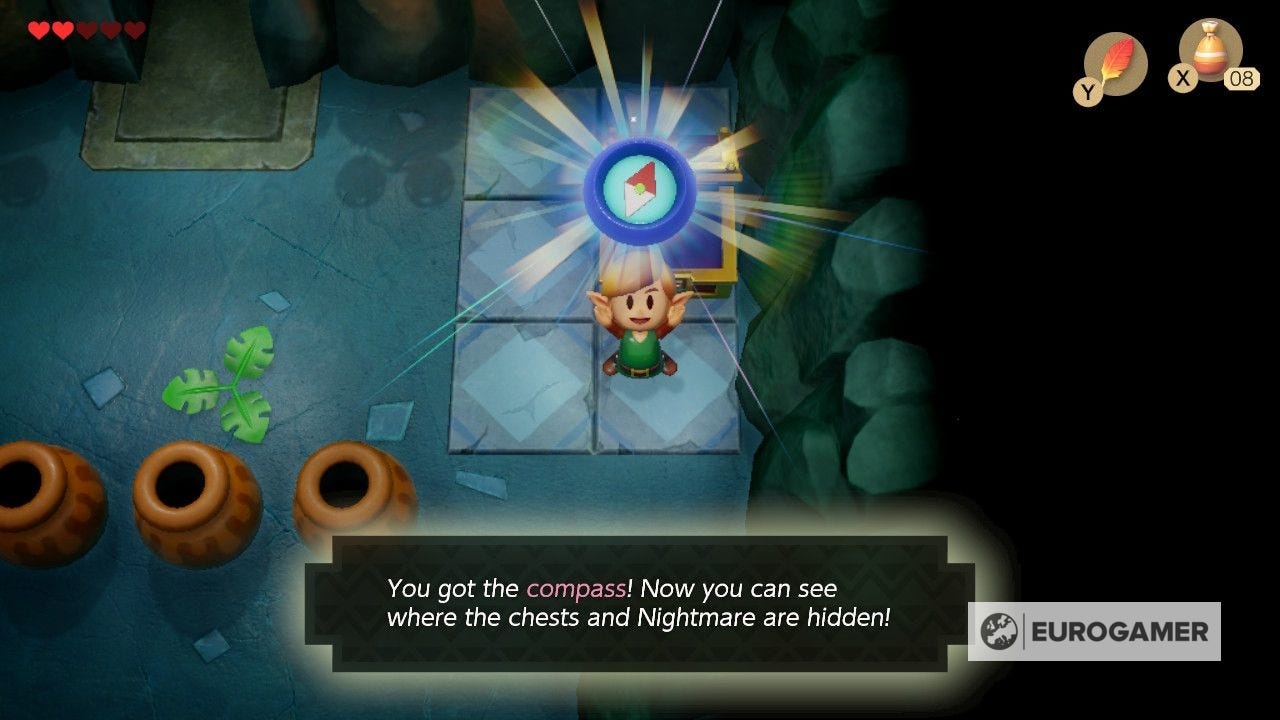
Move around the room until you are side-by-side, turn away so the Shy Guy exposes its back, then spin attack. Doing so will drop the dungeon's Compass.
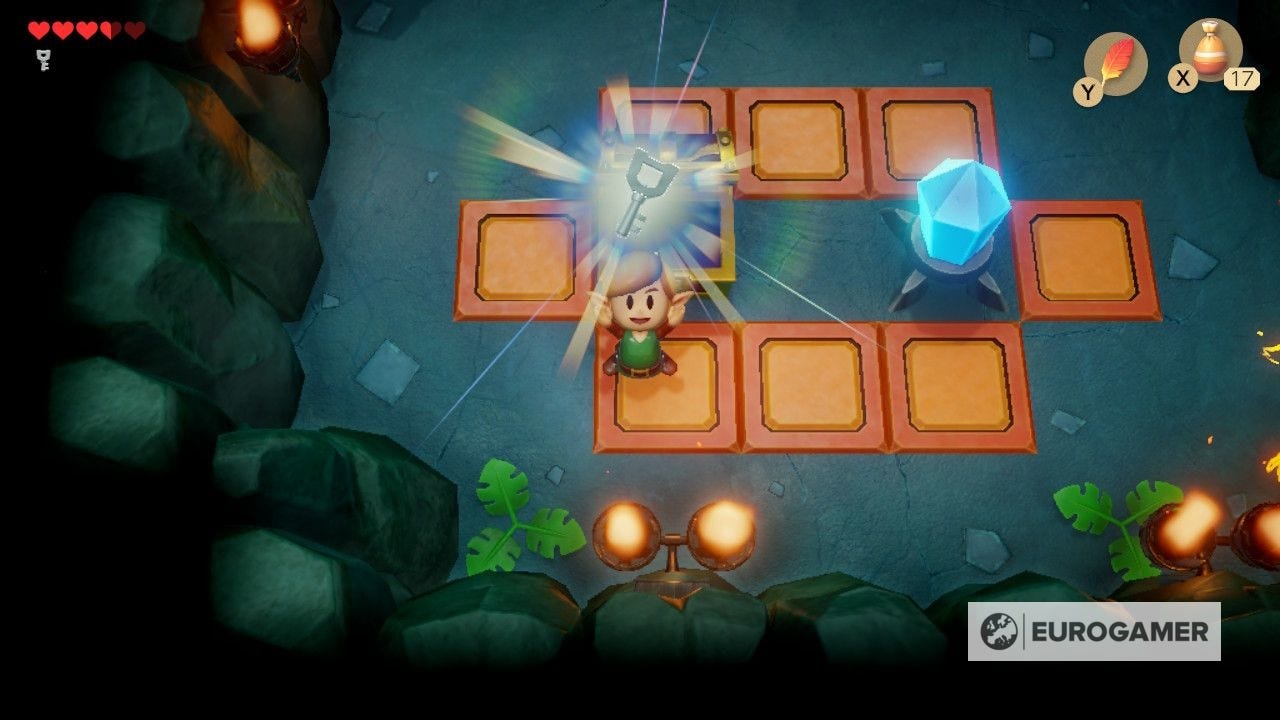
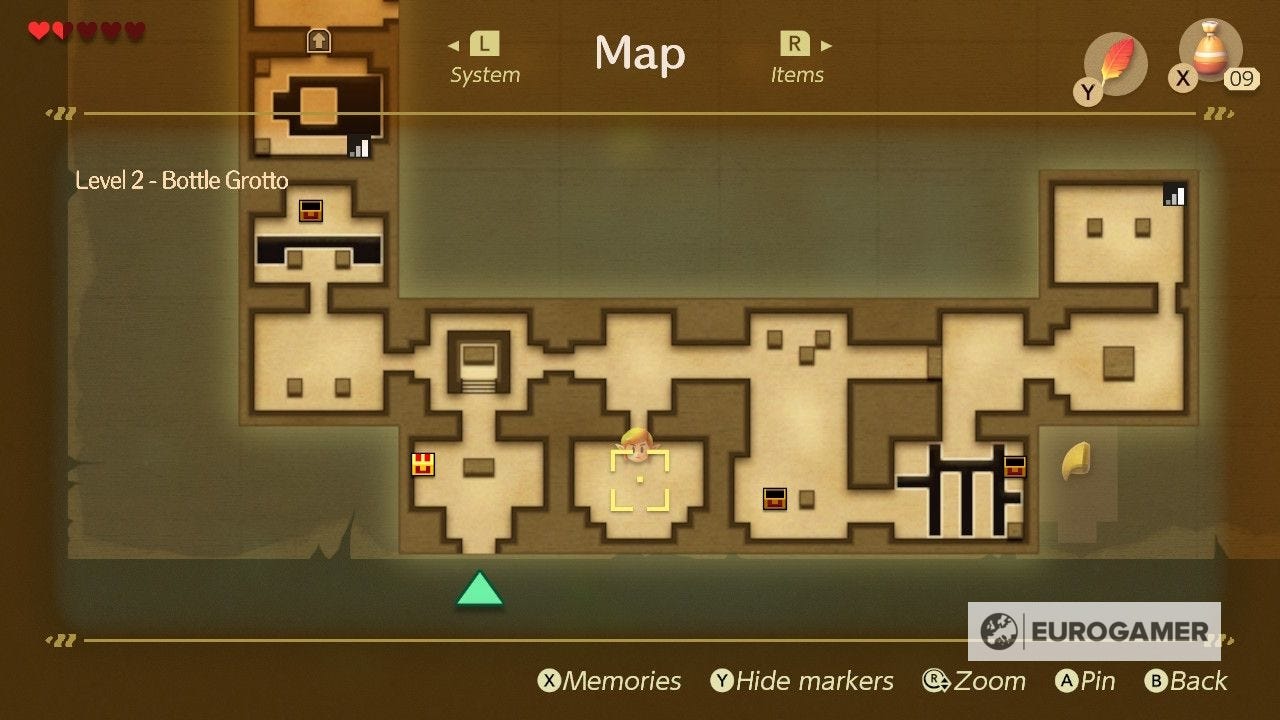
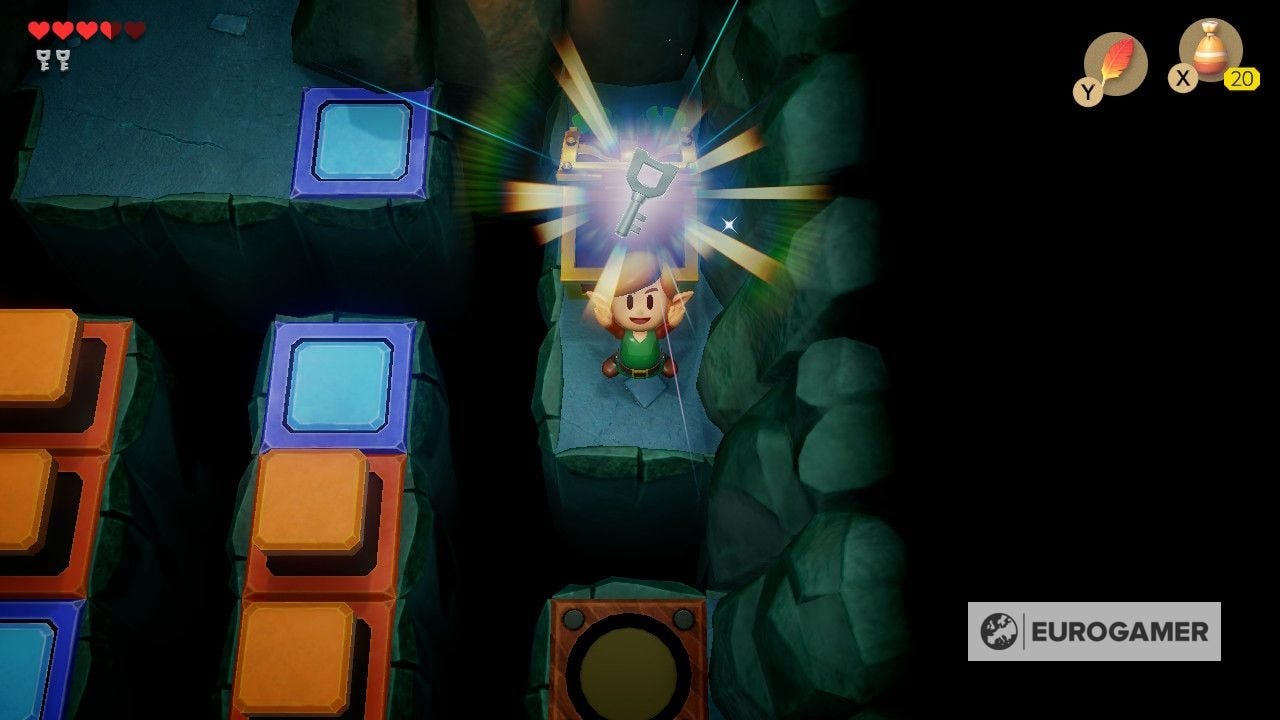
With that out of the way, it's time continue through the dungeon. Return to the room with red blocks where you got the Small Key from the chest, and head east to a room with blue and red blocks on a series of platforms, and a switch and a crystal on the far right side.
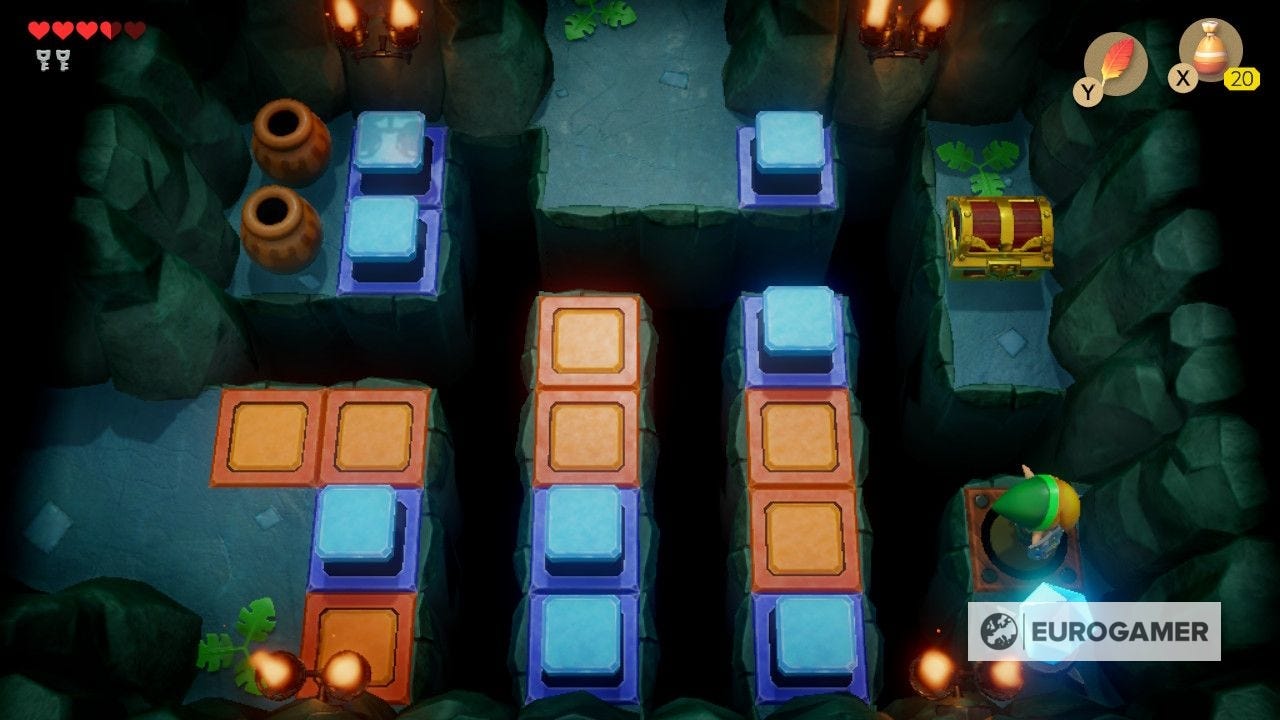
Use Roc's Feather to jump across to the switch, spawning a chest. Hit the crystal, leap north over the pit and open the chest for another Small Key. Now leap left and up to leave the room to the north.
Here you'll come up against two Shy Guys, who mirror your movements.
Again, you can defeat these by moving next to one another, turning around, then performing a spin attack. Doing so spawns a Small Key on the left side of the room, on the other side of the blocks, which you'll have to backtrack to reach.
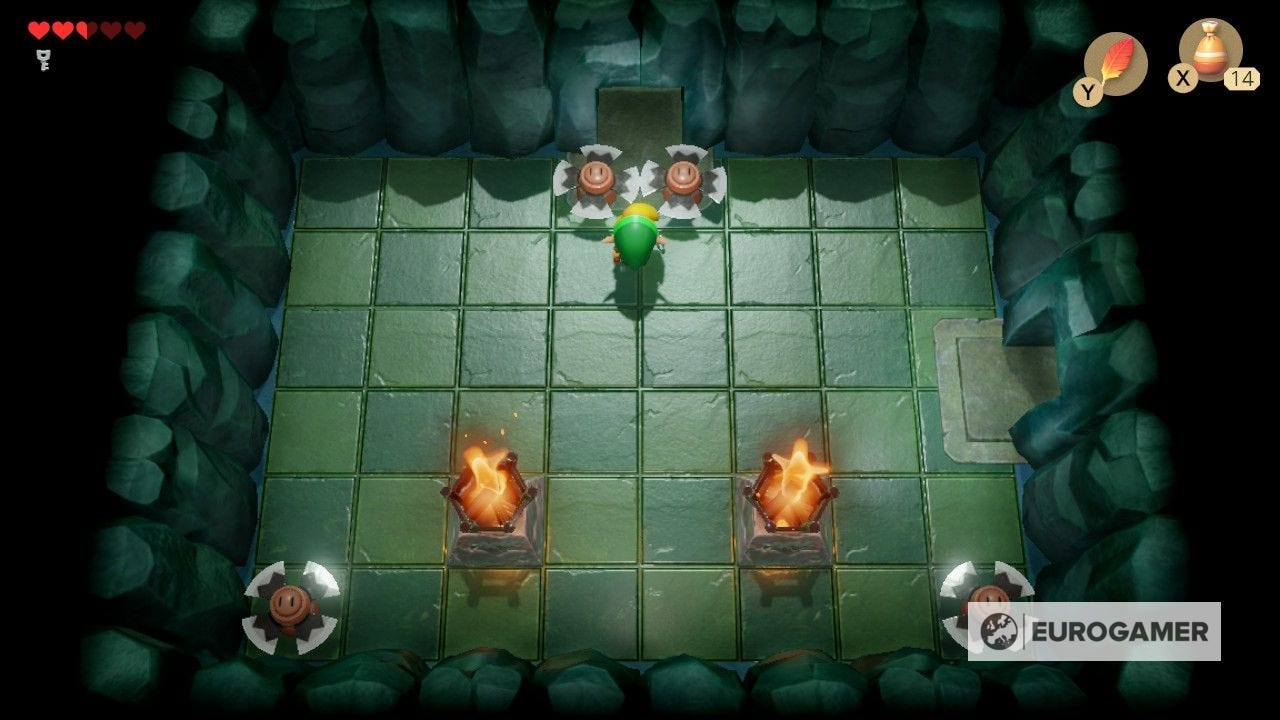
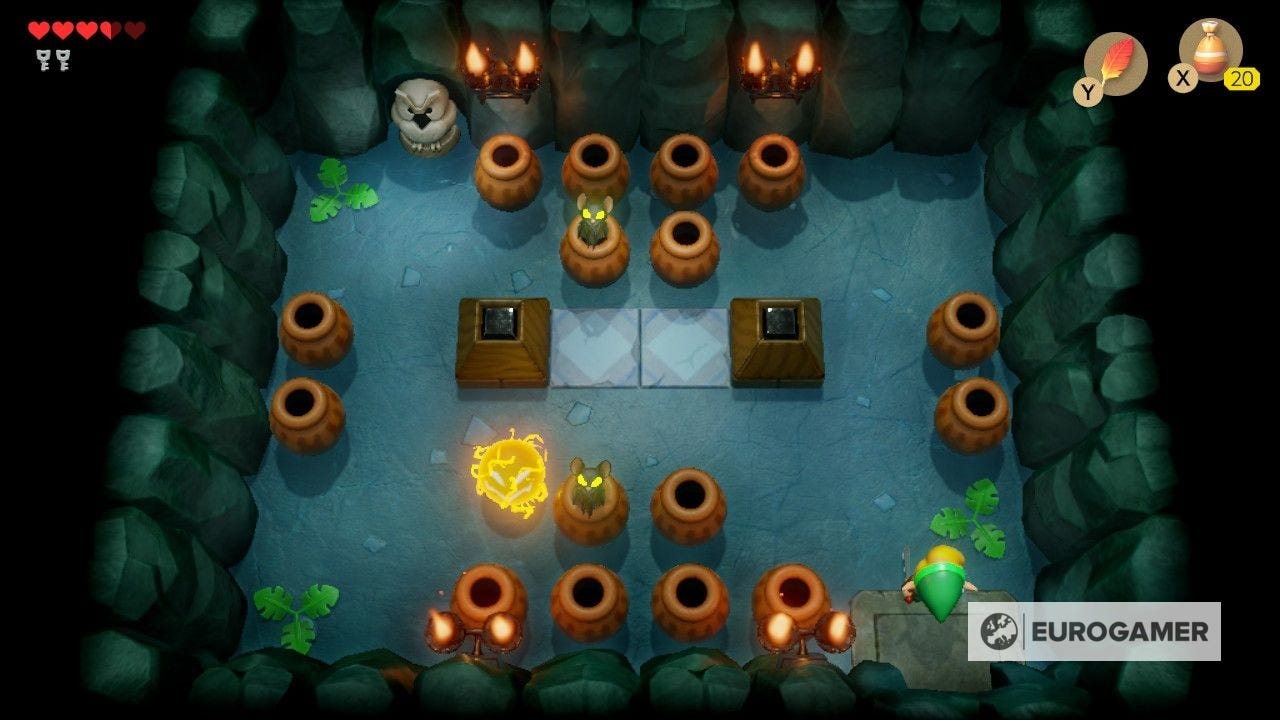
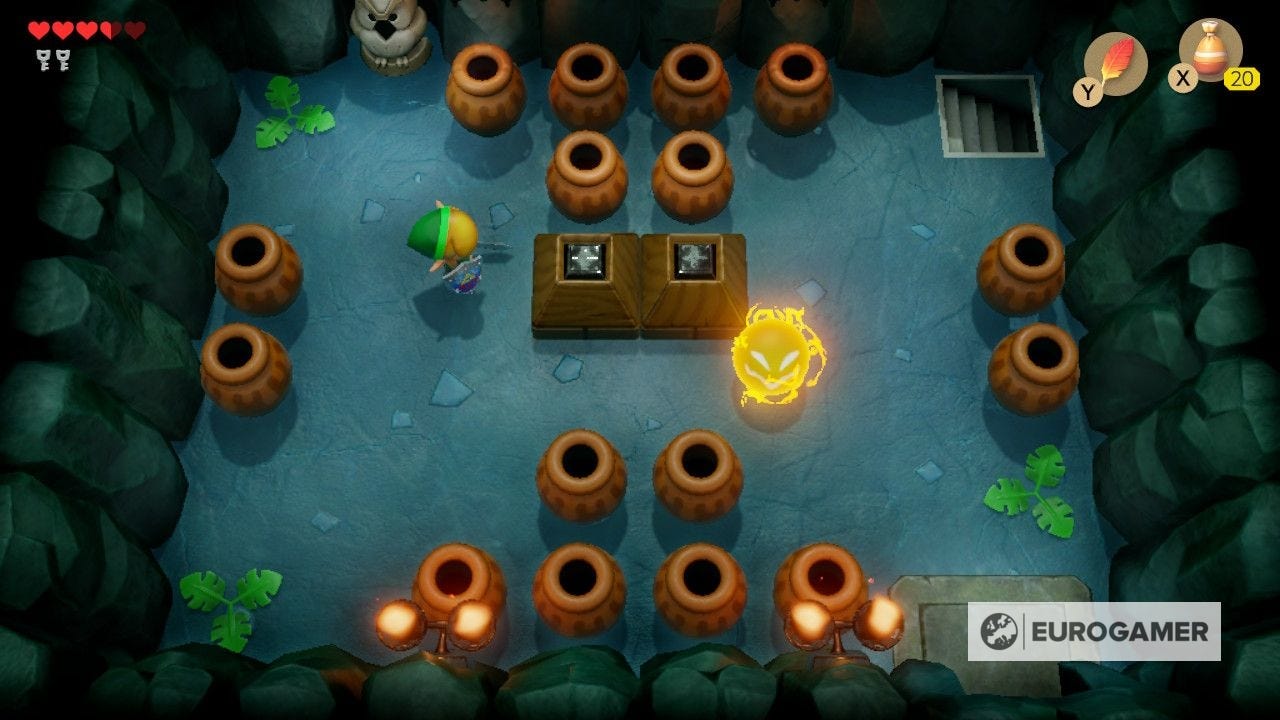
From the two Shy Guys, head east to a room with two spiny enemies. You can defeat these if you like - use your shield when they charge to flip them on their back, exposing them to attack - otherwise head north to a room with a spark enemy and some Keese.
Defeat the Keese, then push the two central blocks against one another to reveal a secret staircase in the corner.
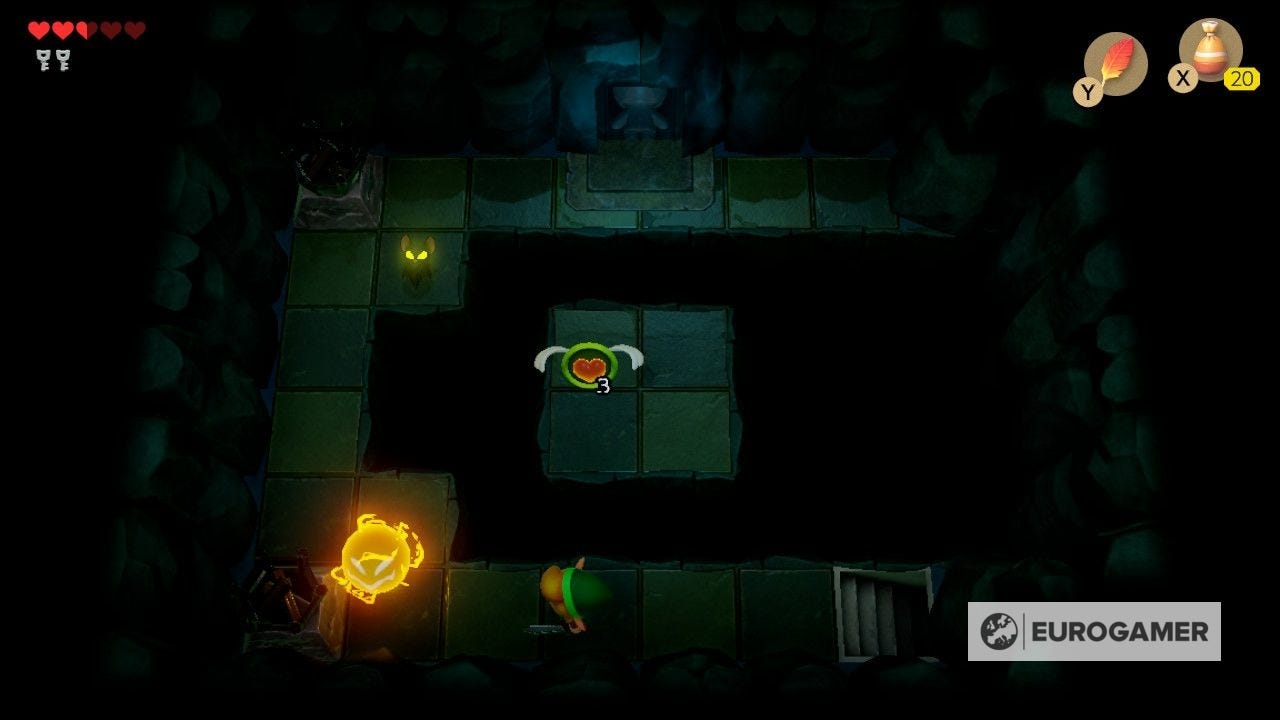
Head down and through the side-scrolling section to arrive at a dark room with a spark and some more Keese. You just have to progress through here - not need to do anything - so use the central platform to avoid both enemies to come to a Hinox mini-boss.
Our Zelda: Link's Awakening walkthrough and guide can help you with the critical path, including the Eagle's Tower and Turtle Rock dungeons. There's plenty to be done on the side, too - including Zelda Link's Awakening Heart Pieces, Zelda Secret Seashells and the Zelda Link's Awakening trading sequence. Finally, there's also the new Zelda Chamber Dungeons feature to unlock and complete.
How to defeat the Hinox mini-boss in Zelda: Link's Awakening
The Hinox is a pain to defeat. Though it's open to attack at all times, you'll want to time your offense carefully. It has two moves - a bomb throw, which you can evade by running and leaping to the side with Roc's Feather - and a grab.
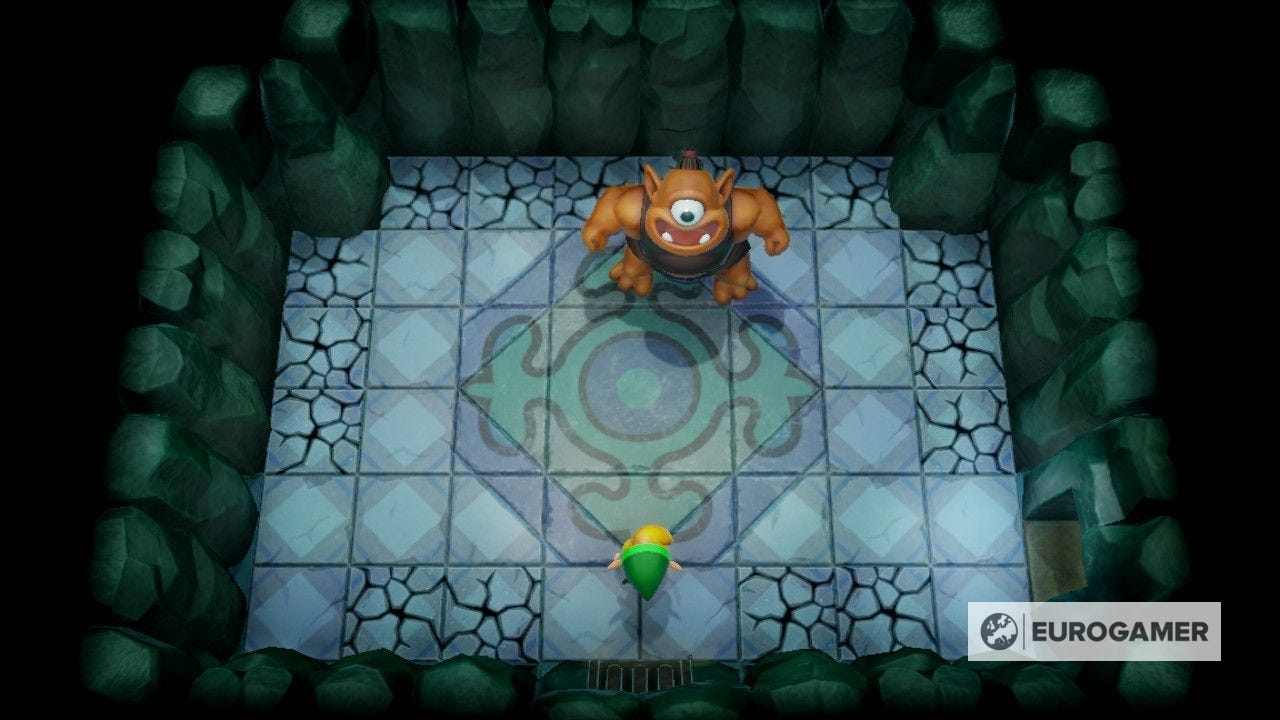
The grab is the one to really watch out for, as it chucks you against the wall and onto a cracked piece of flooring.
The key to this battle is to keep your distance and moving wide around the Hinux, so you can anticipate when the grab is coming in. Doing so means he should grasp at the air and miss you, leaving him open to attack. You might have to step on the cracked flooring as you go, but as long as you keep moving, you won't full through.
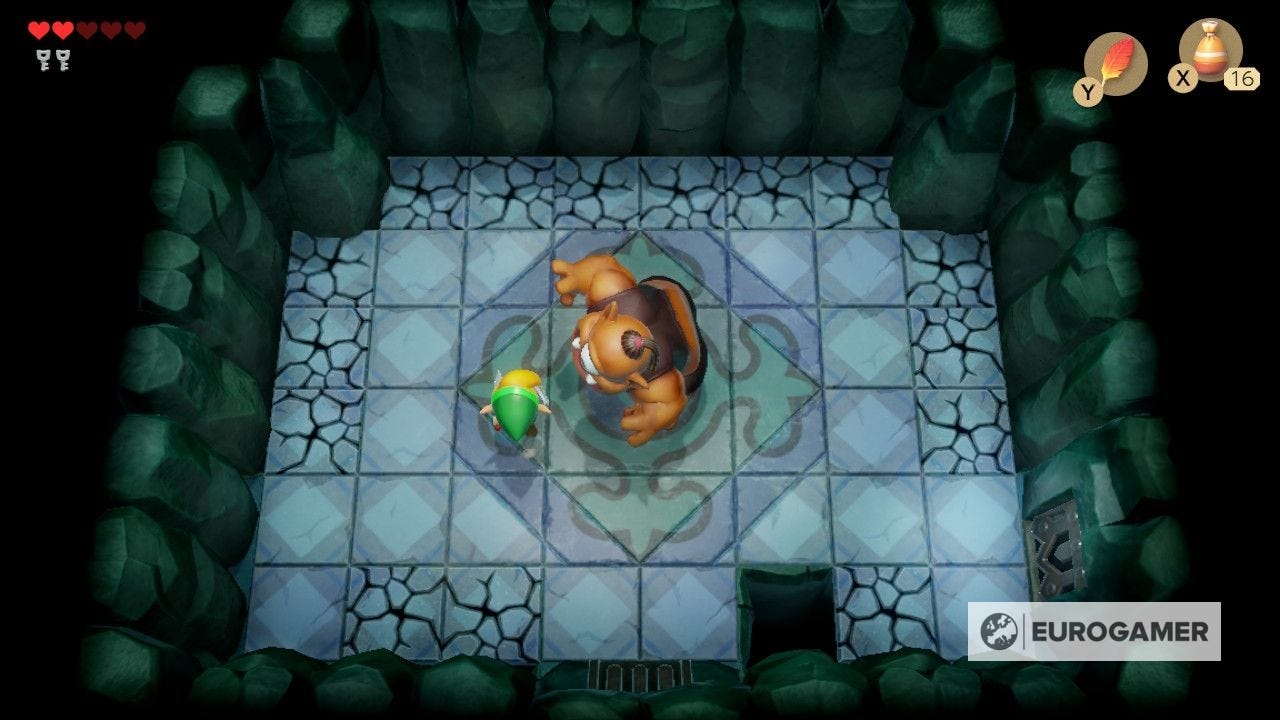
But, unlike the Tail Cave boss Moldorm, falling through the floor won't result in you appearing in another area and having to repeat the battle - you simply lose a bit of health.
Once done, the door to the east will open up, making you one step closer to getting the Power Bracelet.