Zelda: Link's Awakening - Eagle's Tower dungeon explained, how to destroy all columns and get the Mirror Shield
How to complete the seventh dungeon and get your hands on a useful shield upgrade.

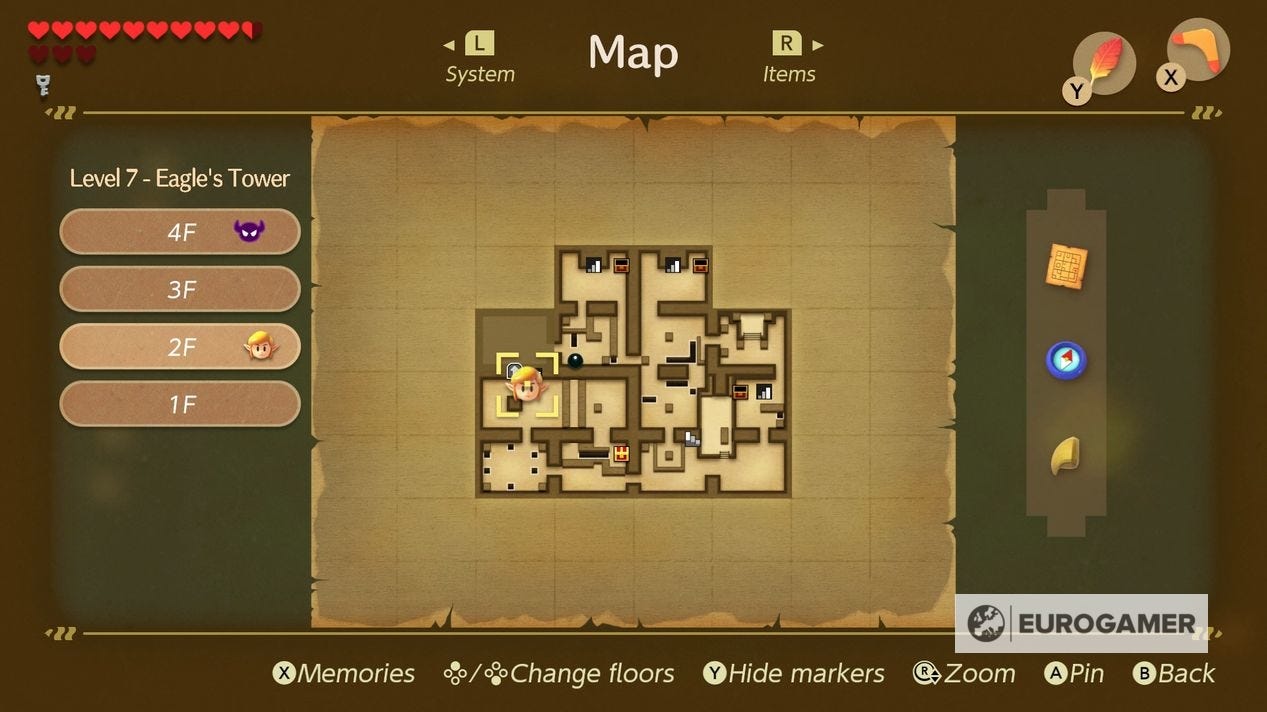
Eagle's Tower is the seventh dungeon in Zelda: Link's Awakening, following on from finding the Bird Key.
Inside you're given the task of destroying four columns aside the usual business of finding keys and other items - and, of course, the next item upgrade the Mirror Shield.
It's a very confusing dungeon, made more difficult with the use of switch crystals, so we're tried to outline clearly where to find the key items first, and where to find each individual column in the easiest order to find them.
On this page:
- How to get destroy the first column in the Eagle's Tower
- How to get the Eagle's Tower Map, Stone Beak and Compass
- How to destroy the second column
- How to get the Mirror Shield
- How to destroy the third column
- How to destroy the fourth column
- How to get the Eagle's Tower Nightmare Key and reach the boss
If you're looking for more assistance, our Zelda: Link's Awakening walkthrough can help.
How to get destroy the first column in the Eagle's Tower
Before we get started, we highly recommend getting the Boomerang. This is an item you can get after completing the trading sequence - which is mandatory to complete the game, so you may as well do this now anyway.
Once you have the Magnifying Lens from completing it, head to the hidden shop in the middle of Toronbo Shores, where you can blow up a wall with a bomb. Trade an item you have in your inventory (don't worry, you can buy it back afterwards) for the Boomerang.
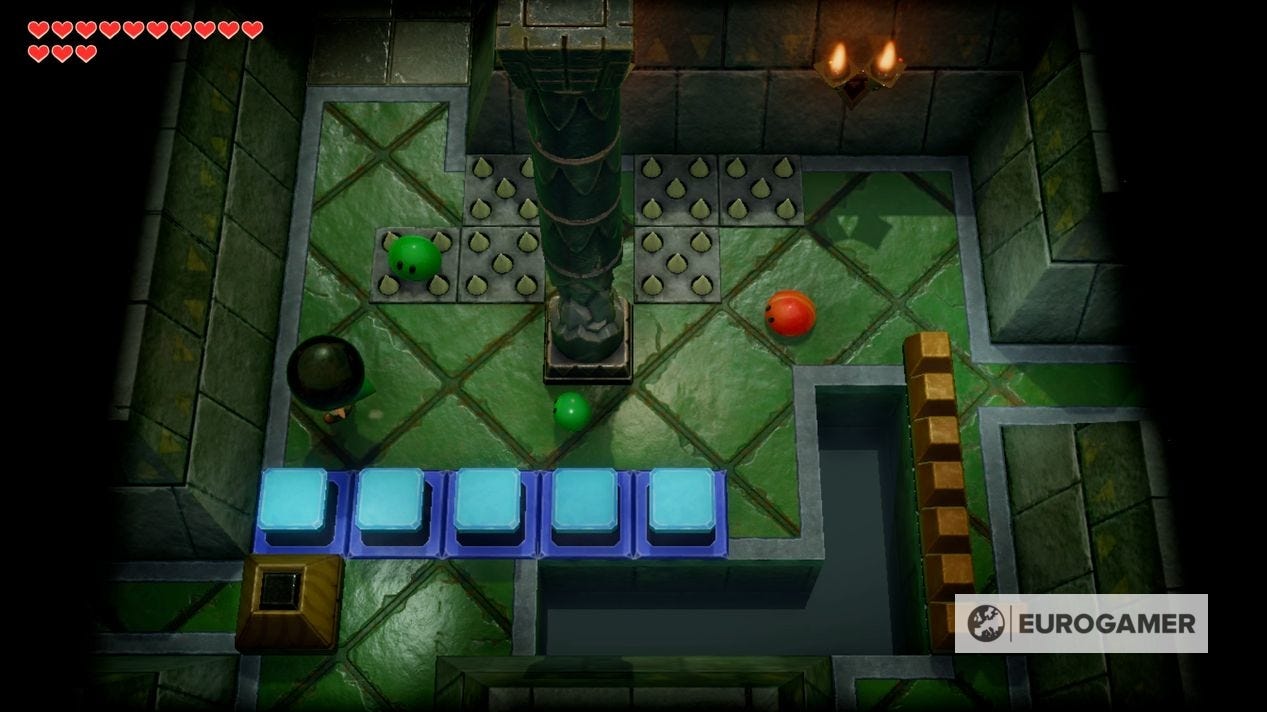
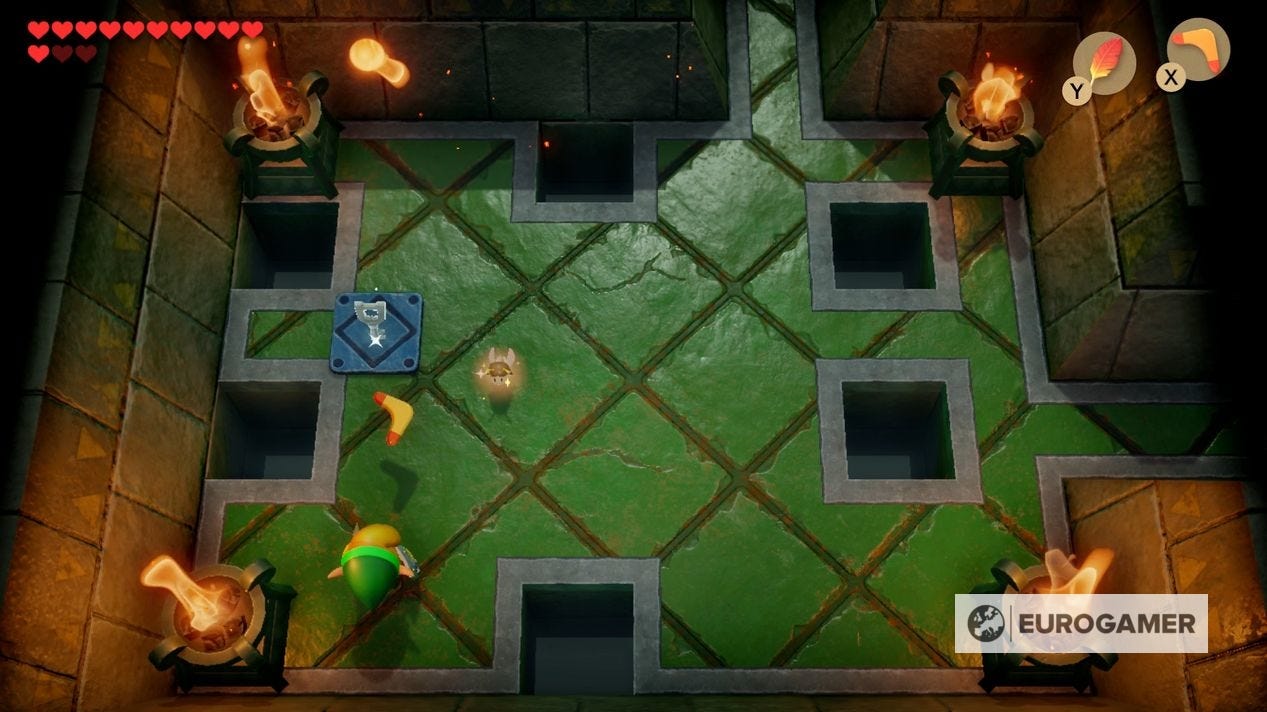
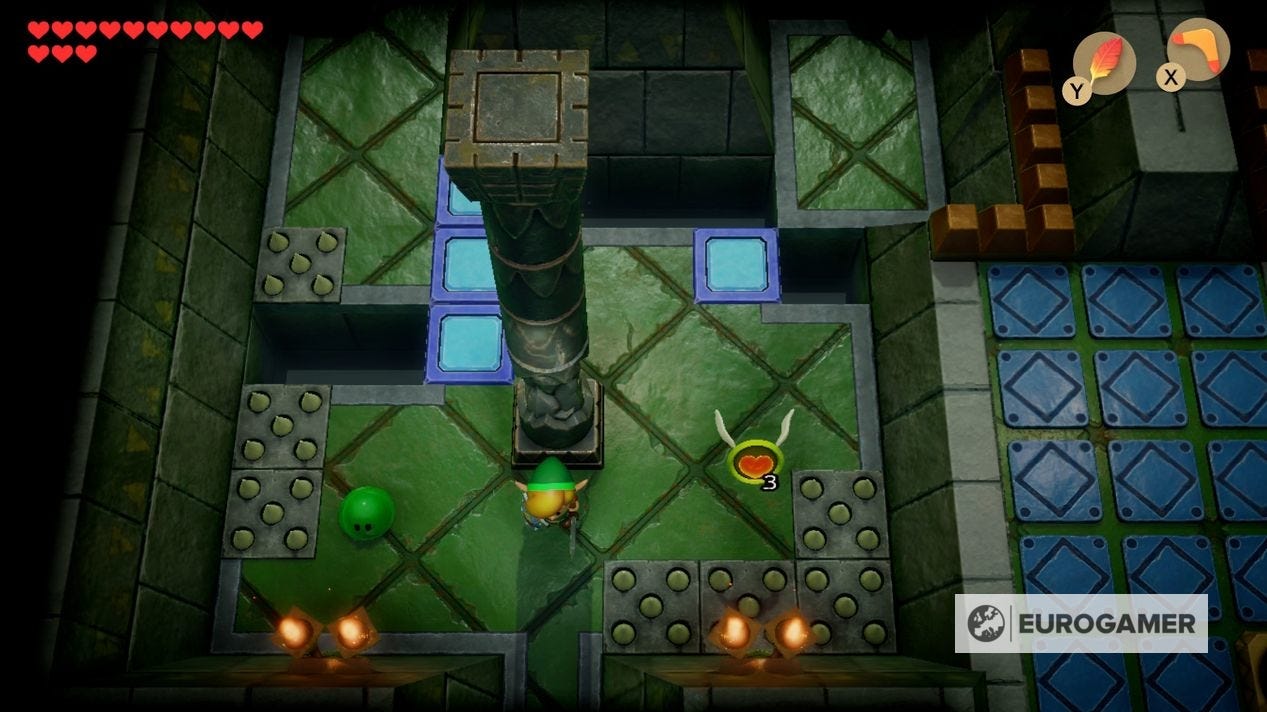
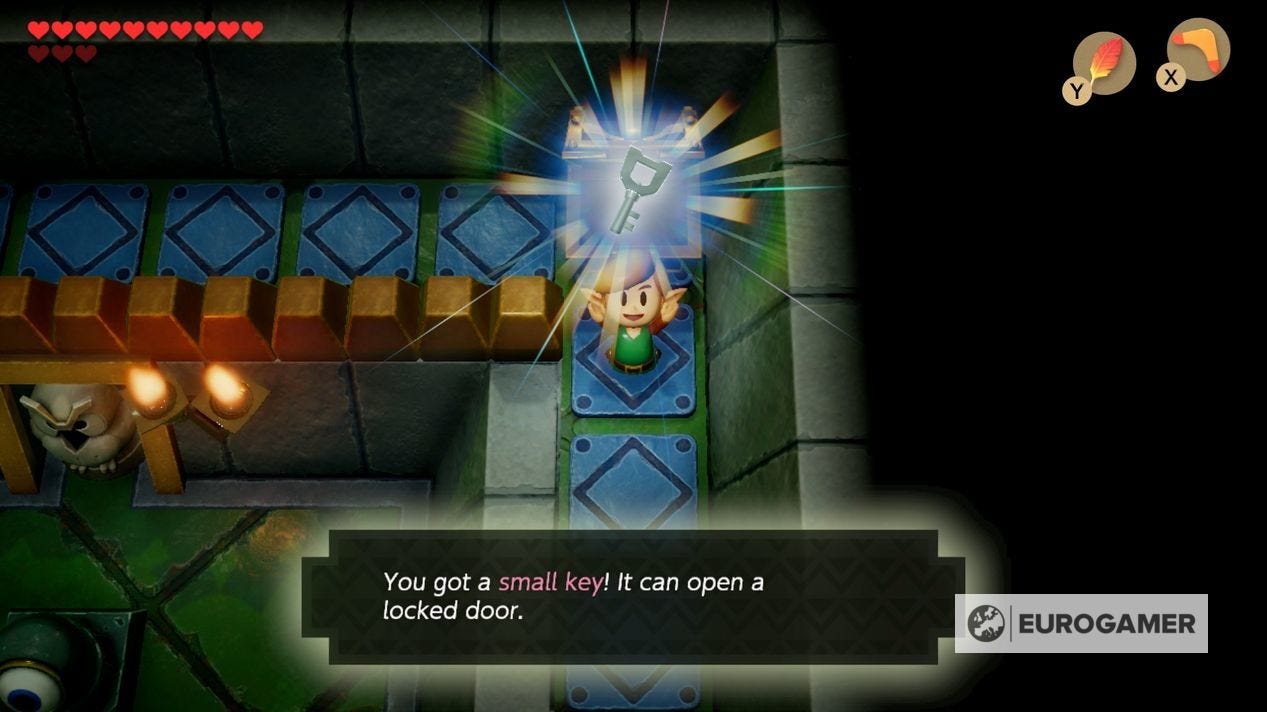
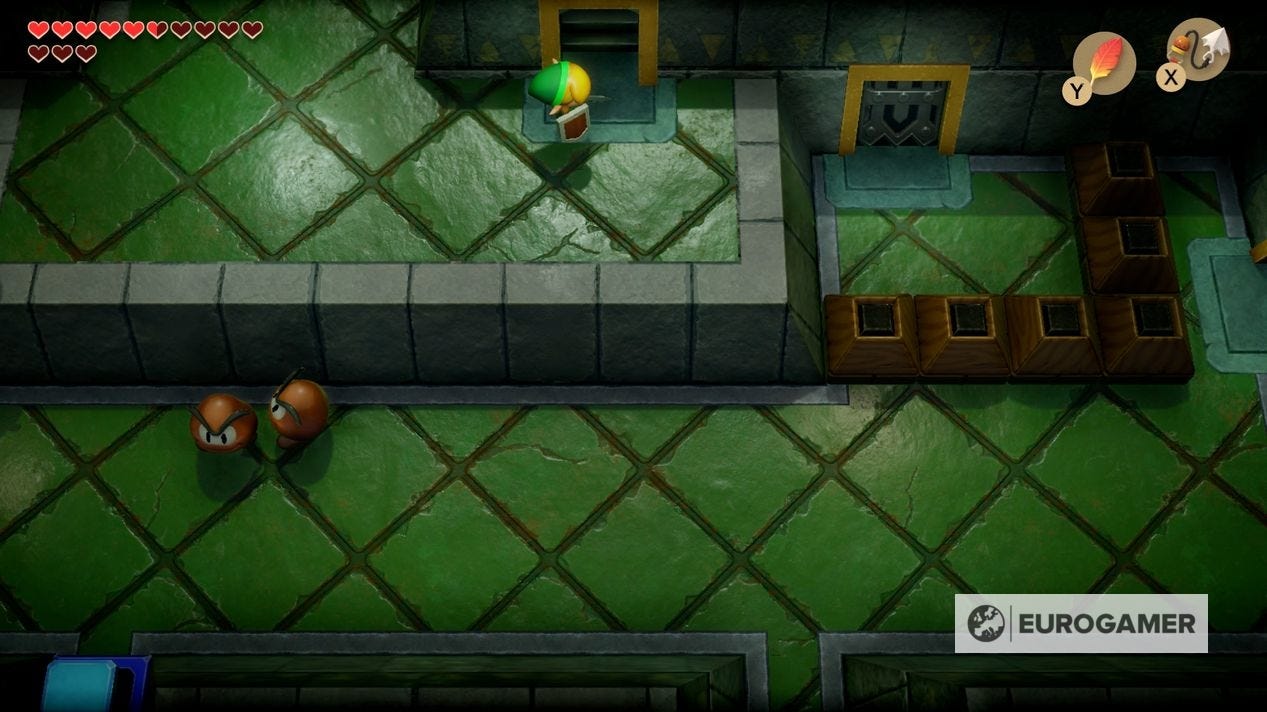
Now for the Eagle's Tower dungeon. Start by going right two rooms to begin with to a corner room with a locked door. Clear the enemies here to receive a Small Key, allowing you to unlock said door and head north and up some stairs.
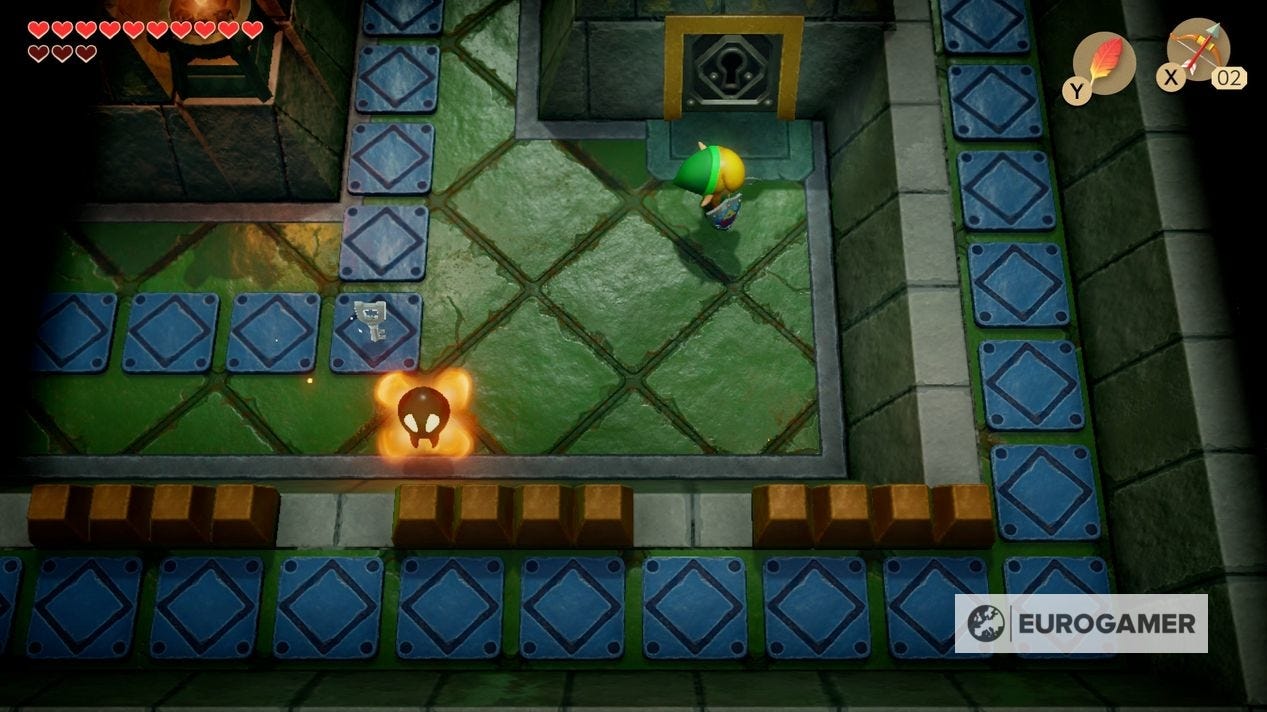
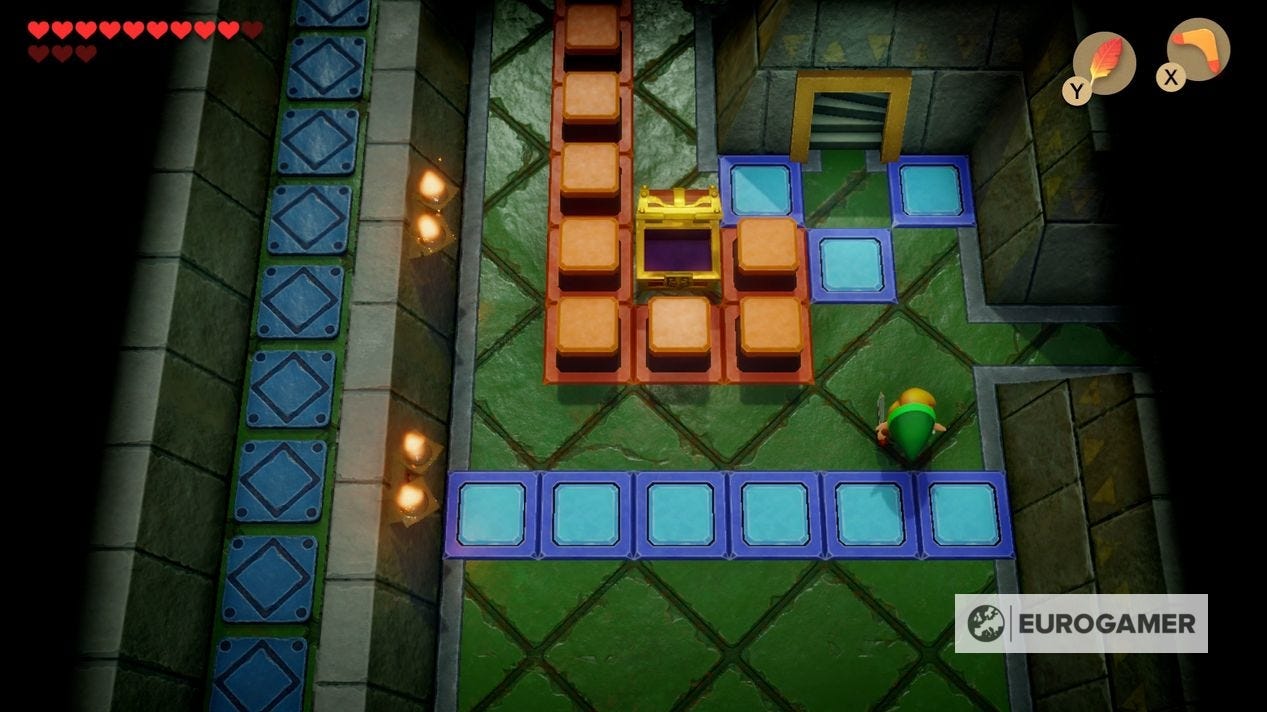
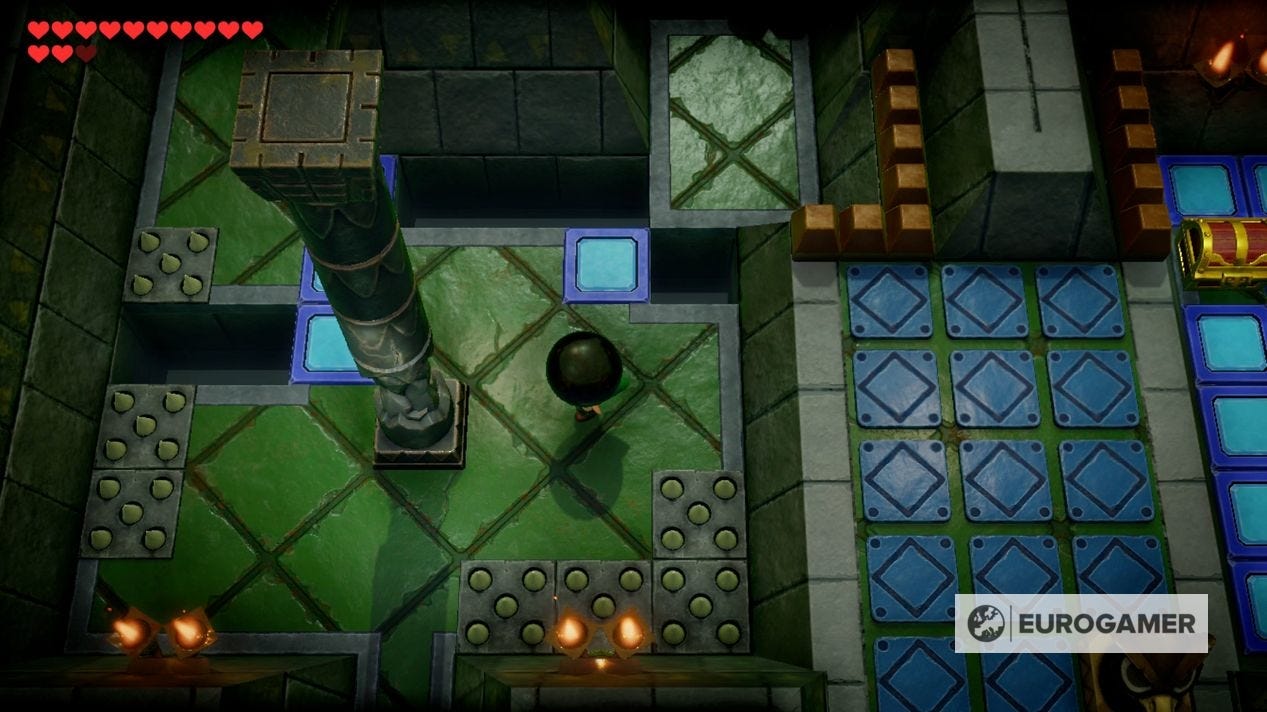
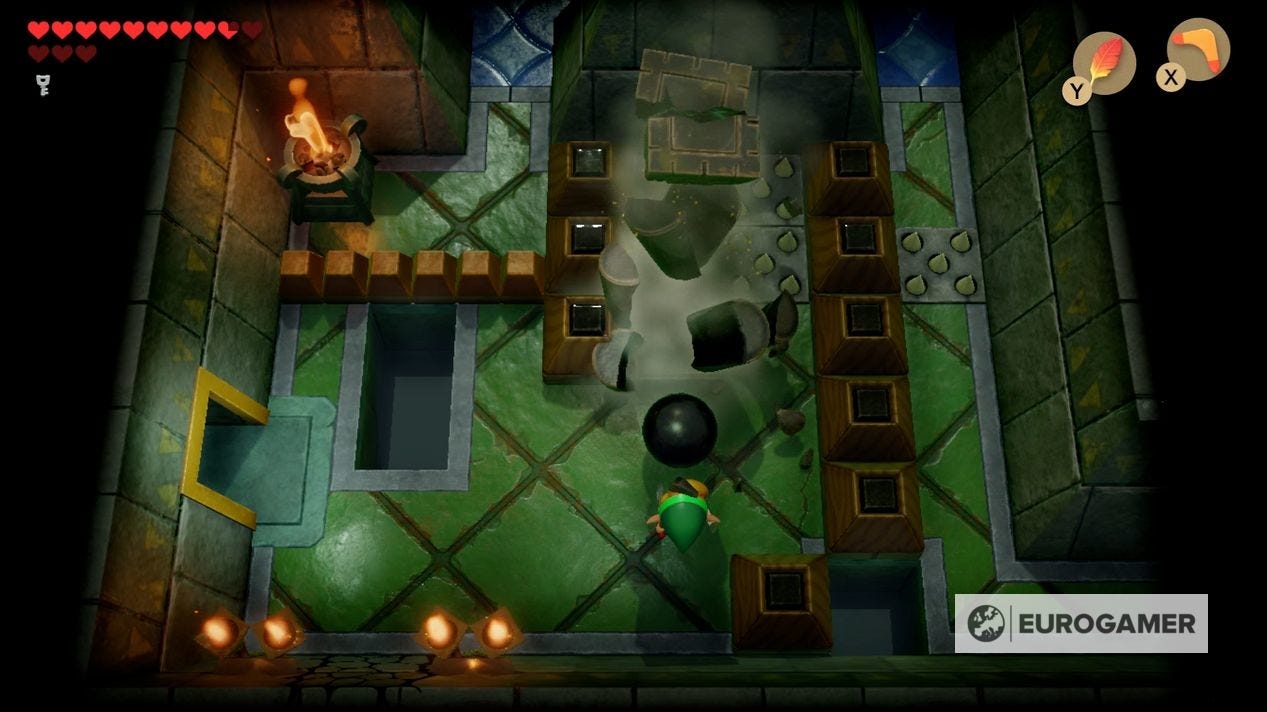
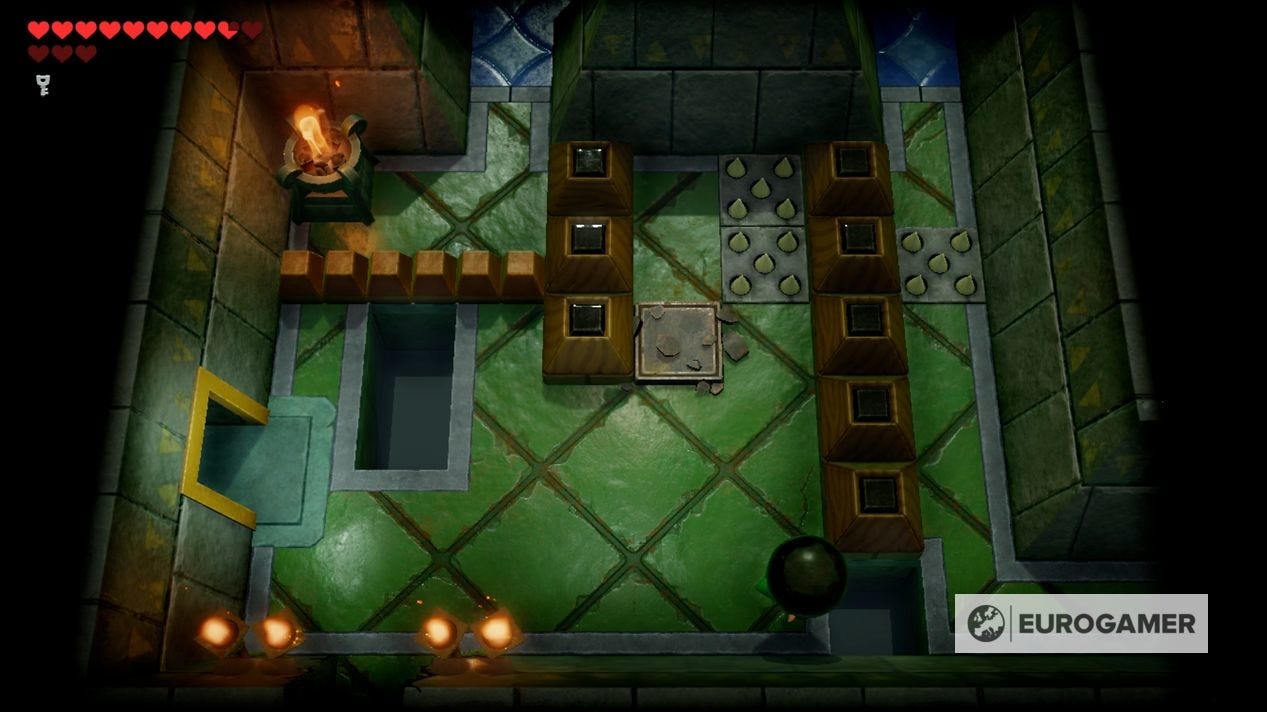
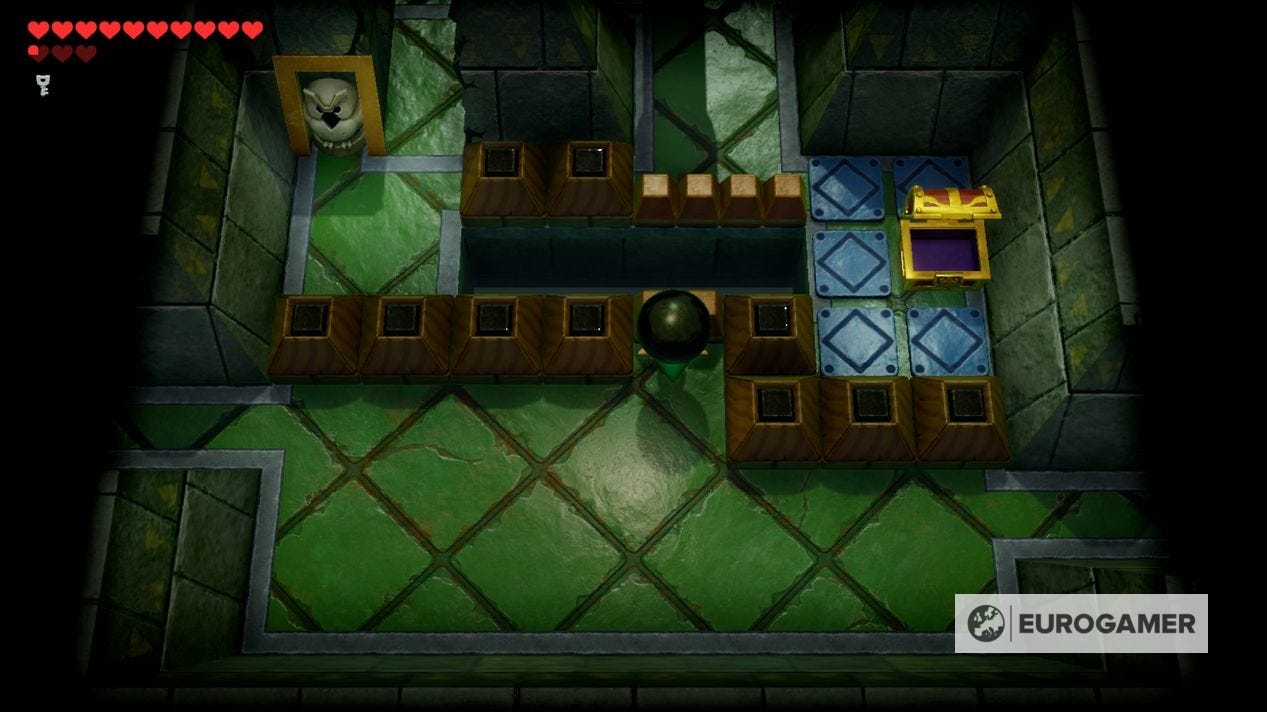
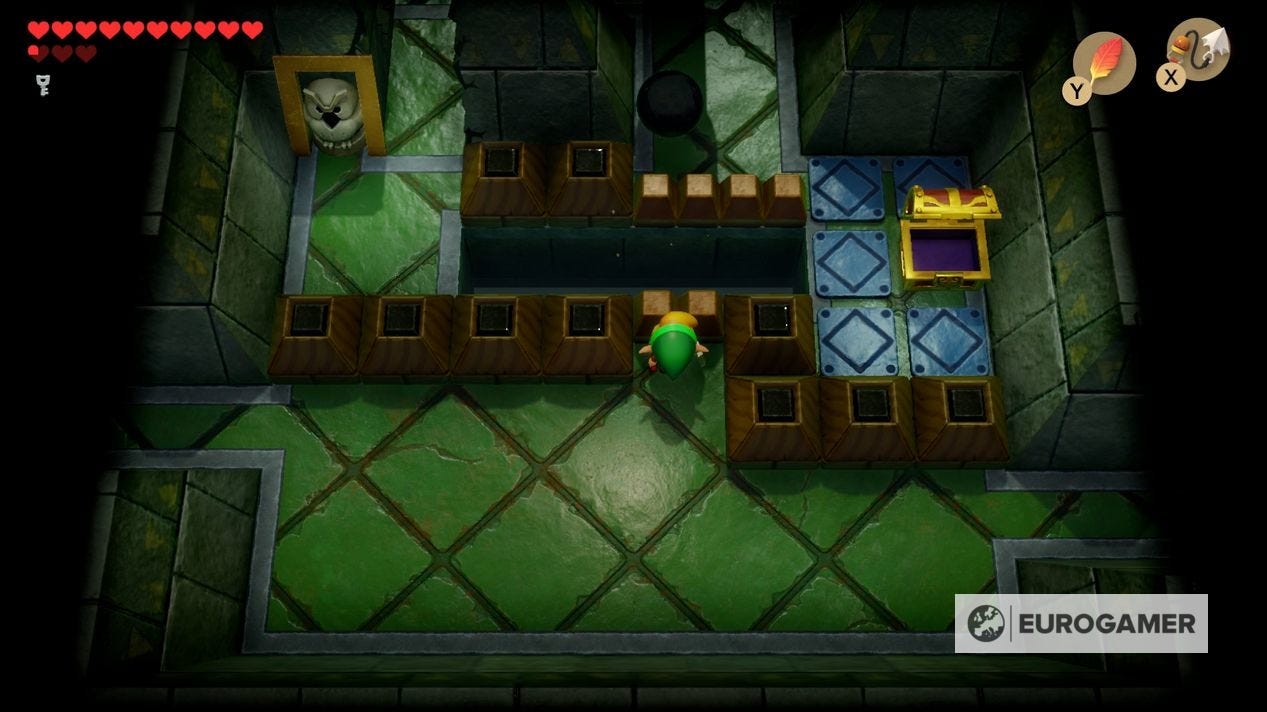
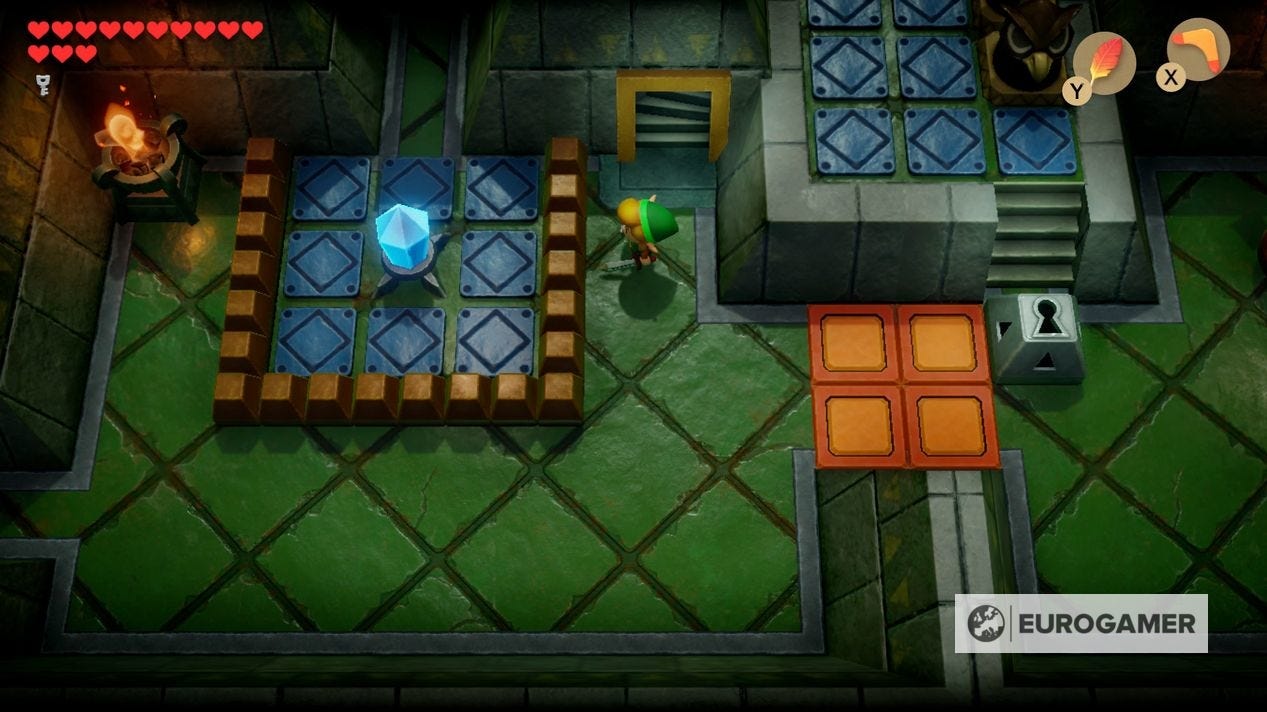
Go north in the next room for a pulley on the right that opens the door on the left, and a black ball on the plinth. Grab the ball and place it next to the left door, and when you have pulled down on the right pulley, go left through the door grabbing the ball as you go.
Here you'll find a column that's partially destroyed. Lob the ball at the column to destroy it. There are several more of these in the dungeon, which is what we'll be trying to accomplish as we explore.
How to get the Eagle's Tower Map, Stone Beak and Compass
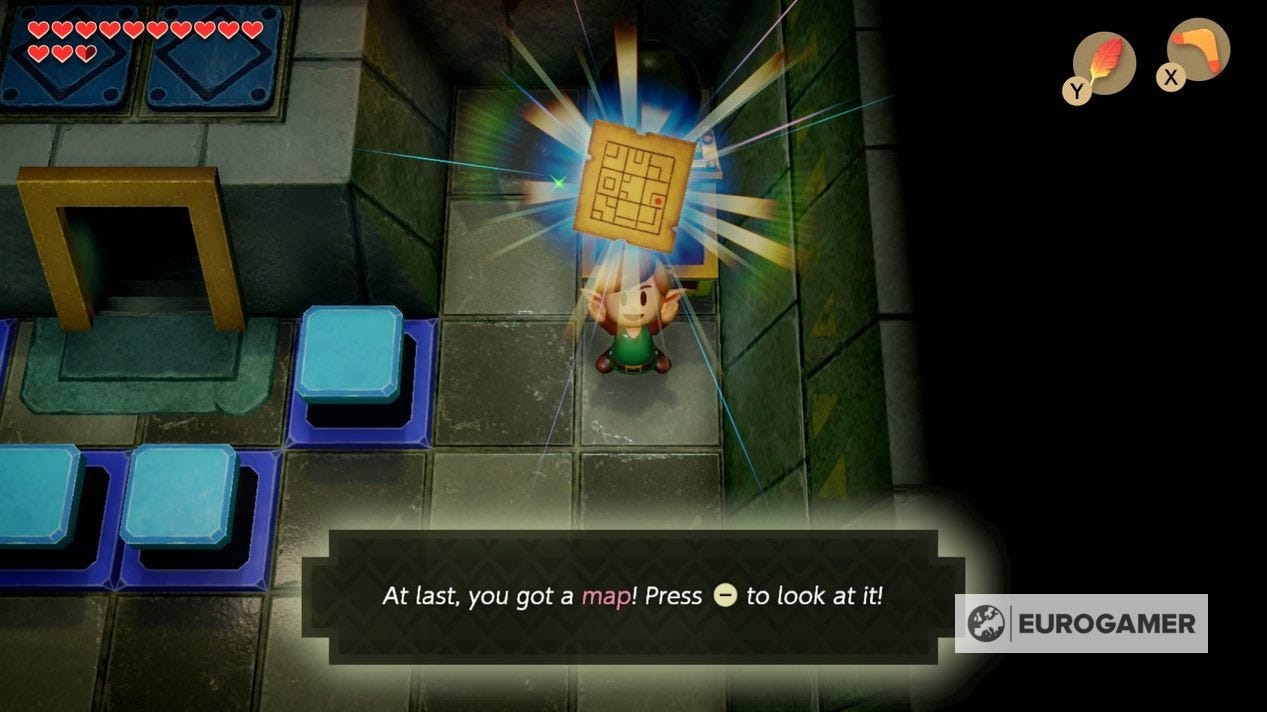
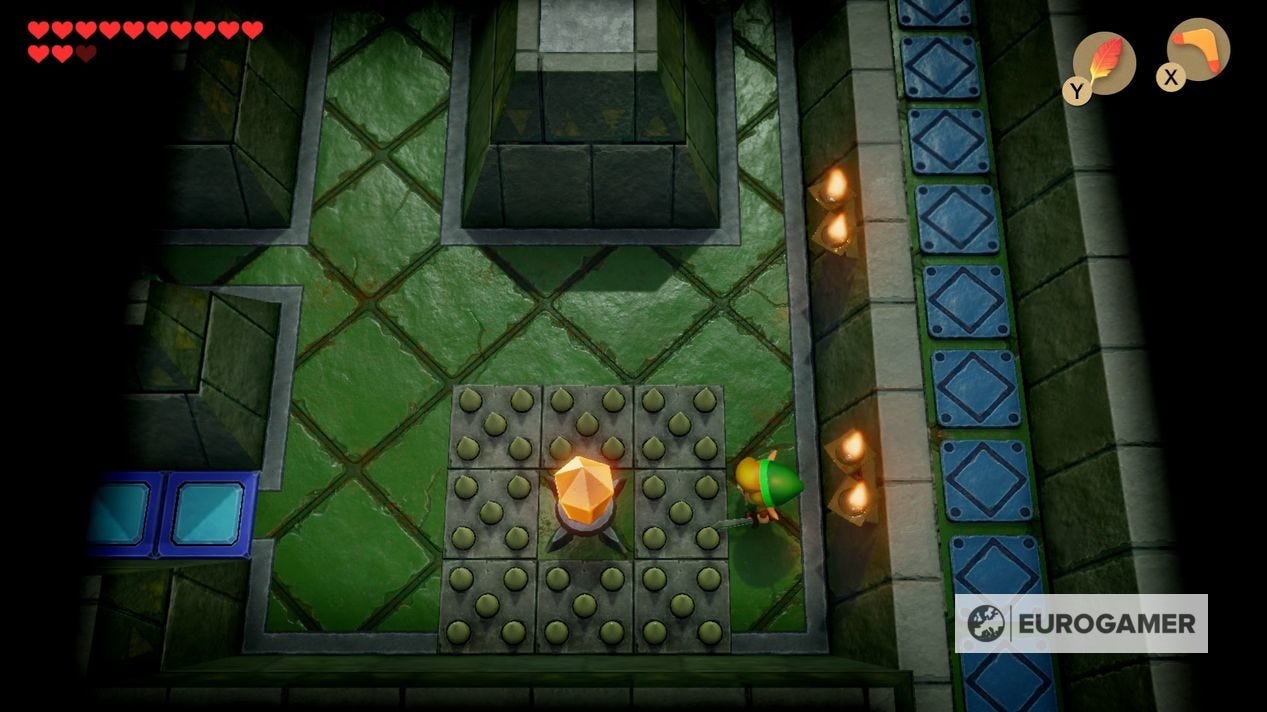
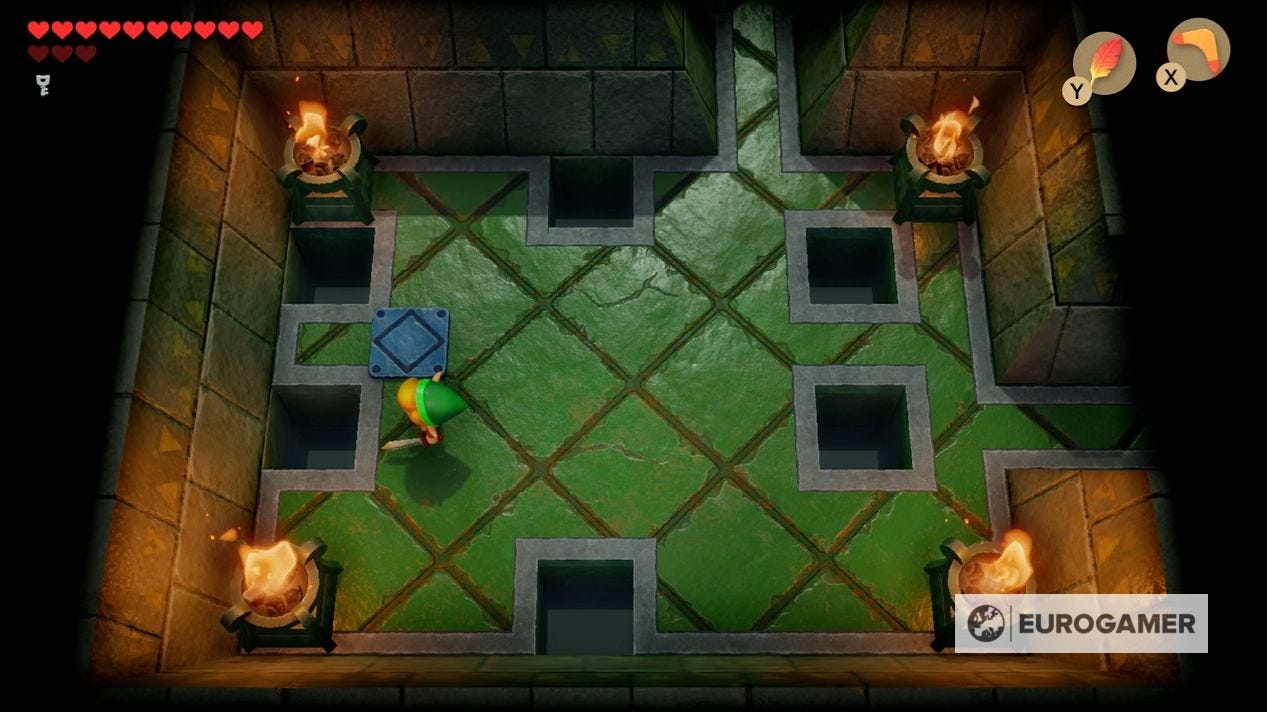
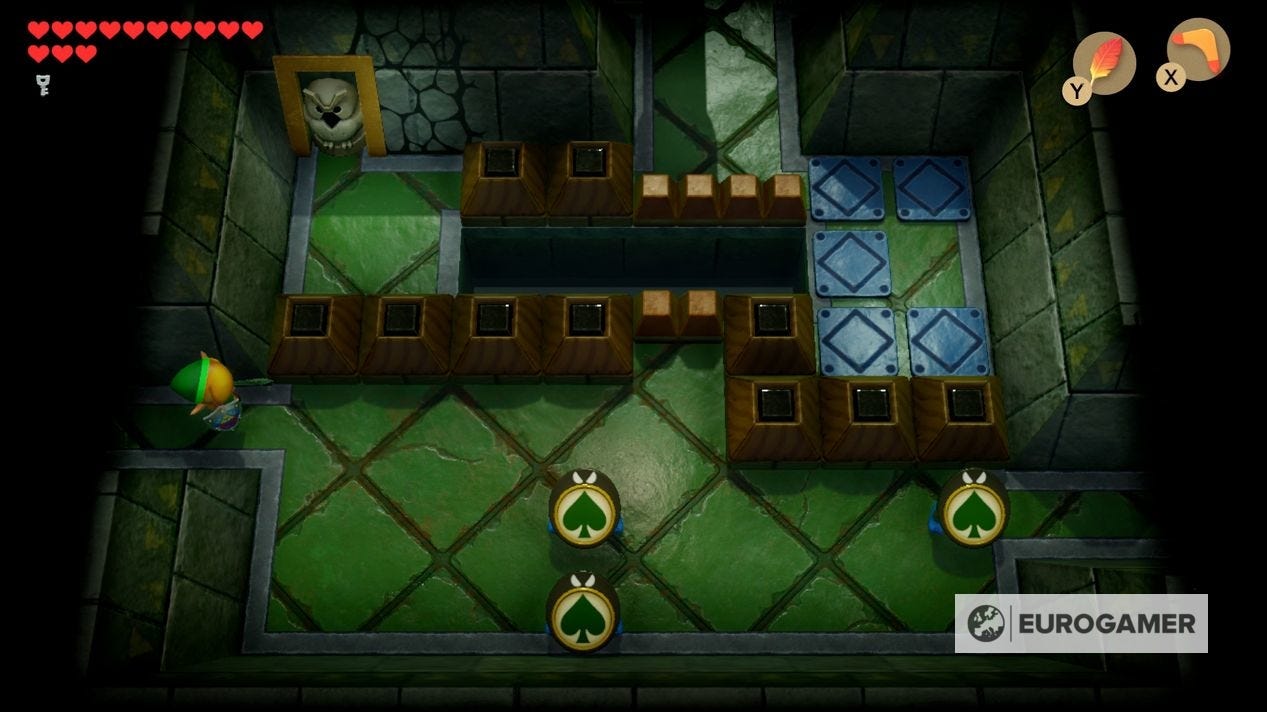
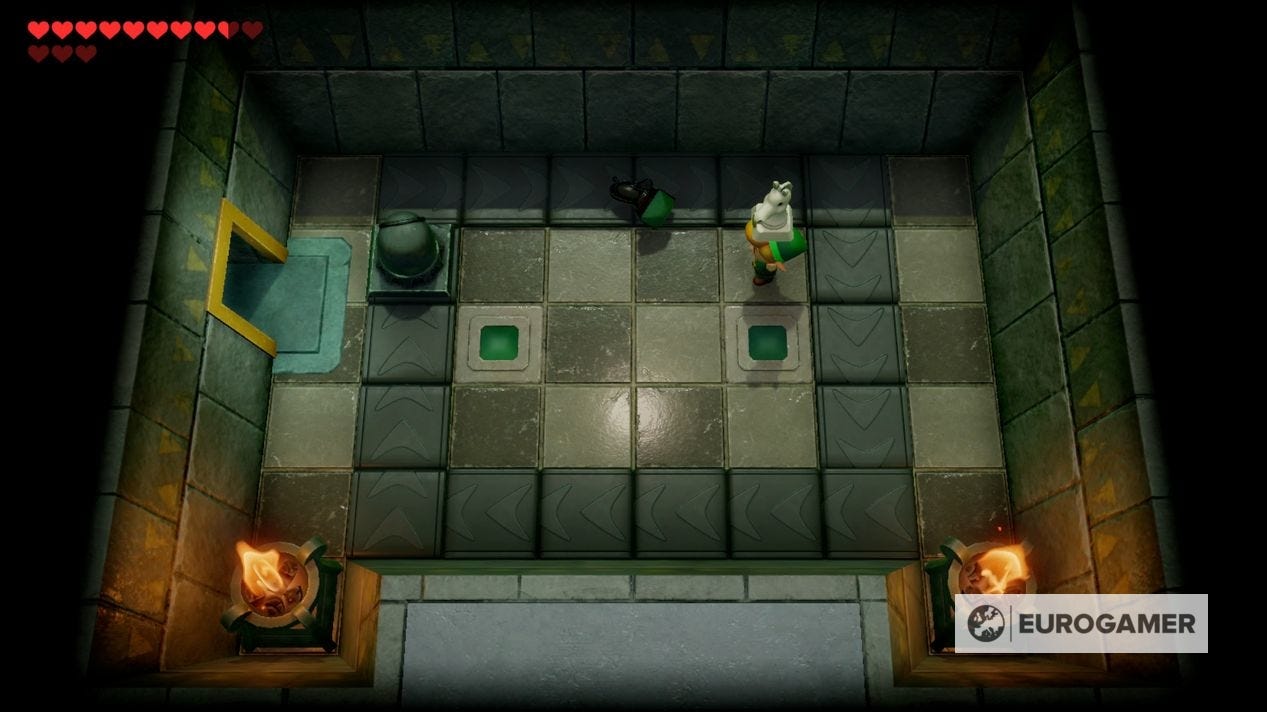
Next, go north from this room to one with two chess pieces and a door blocked by switch blocks. Do the black one first by standing in the right slot and throwing left, then the white one above and right.
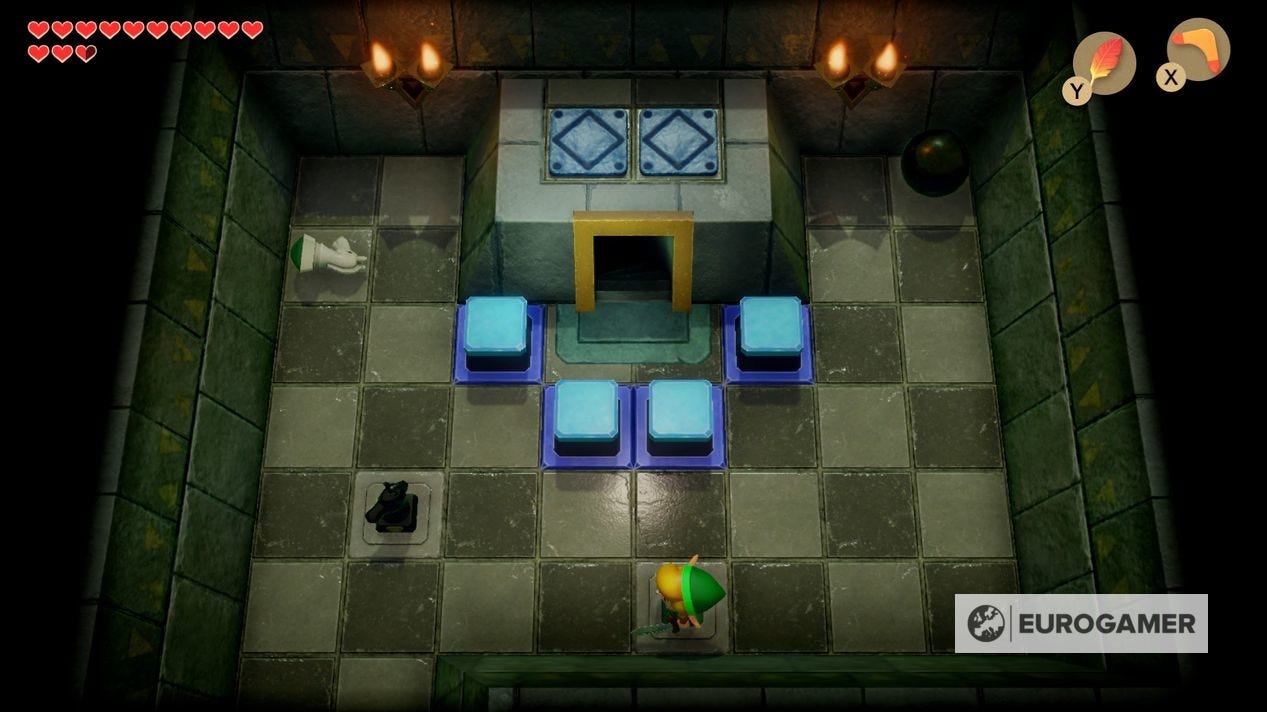
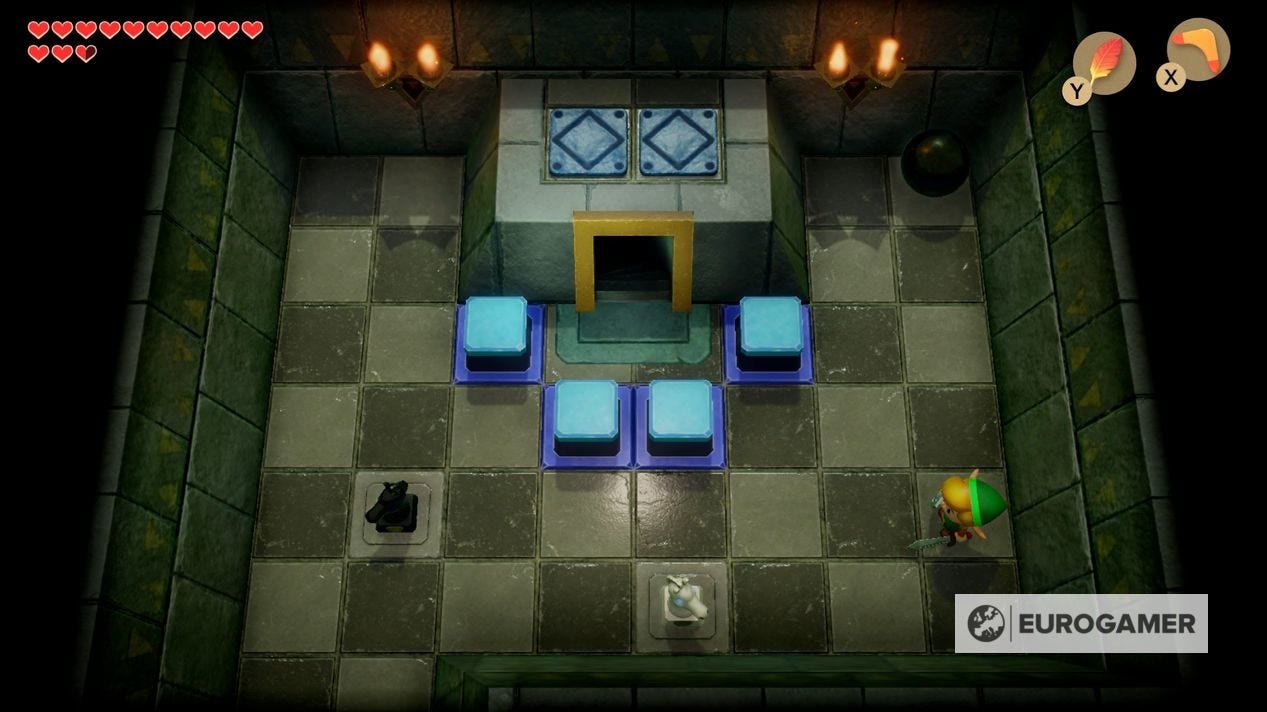
Doing this gives you the Map.
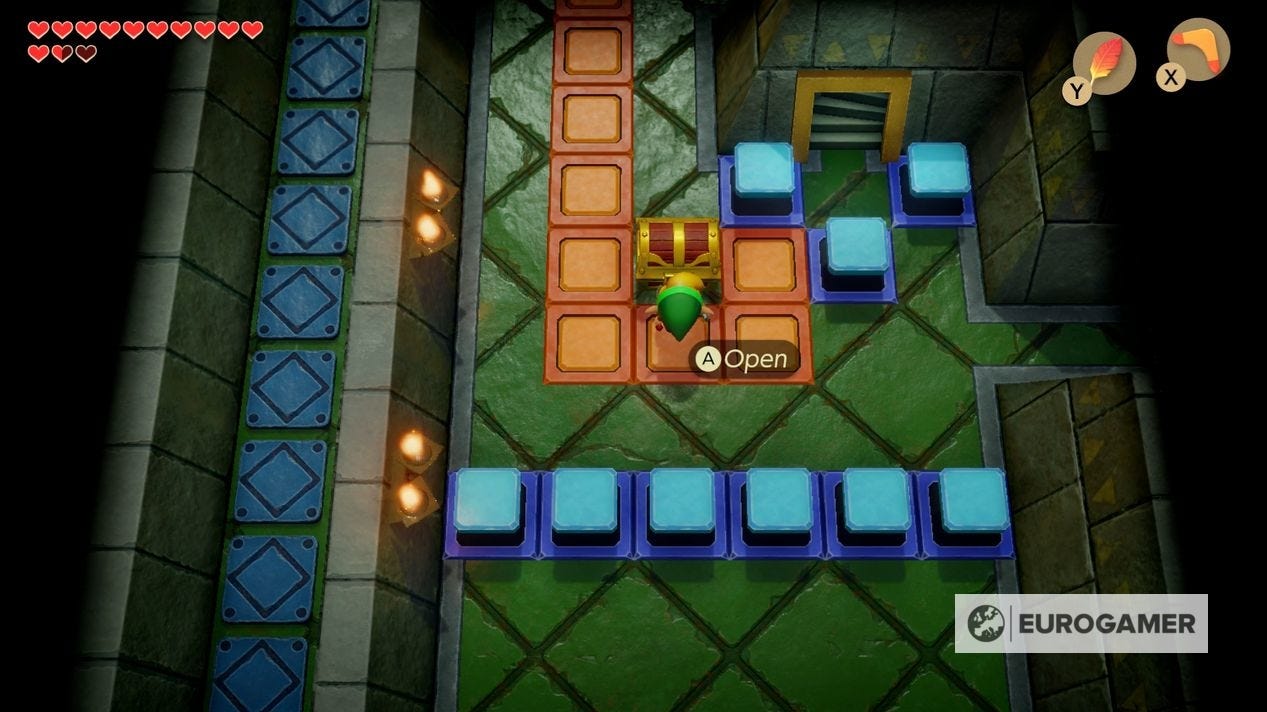
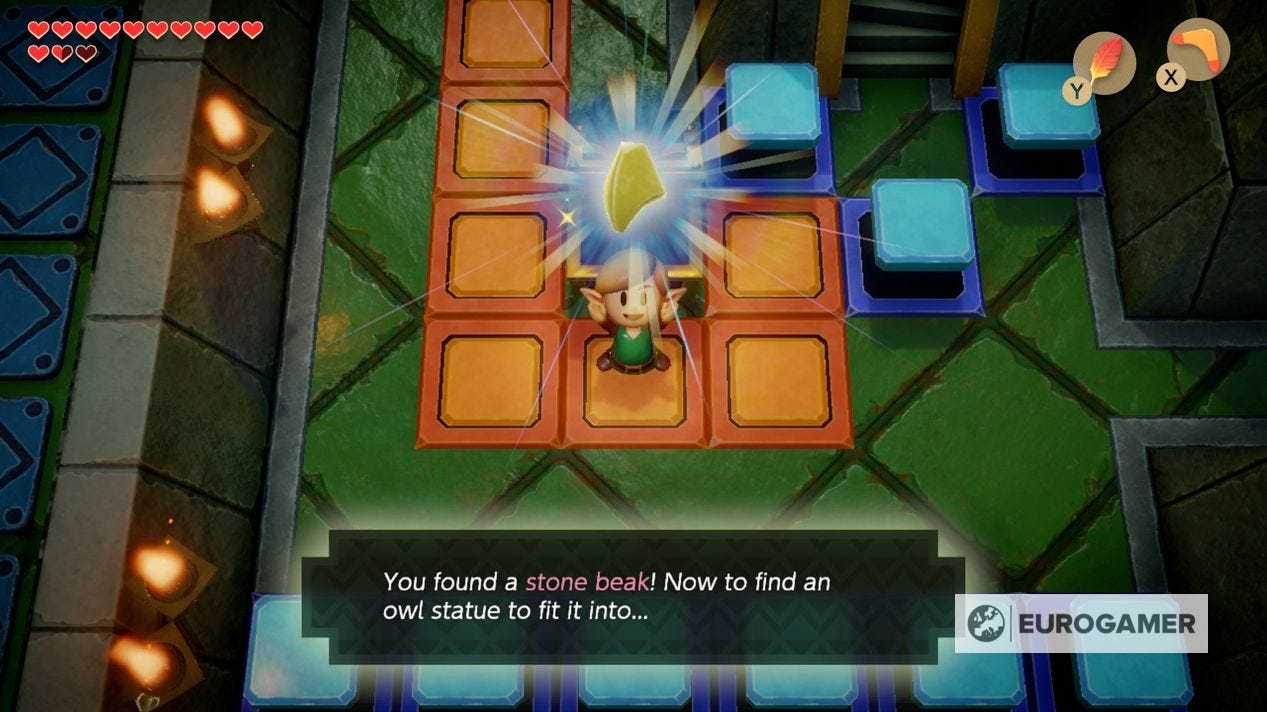
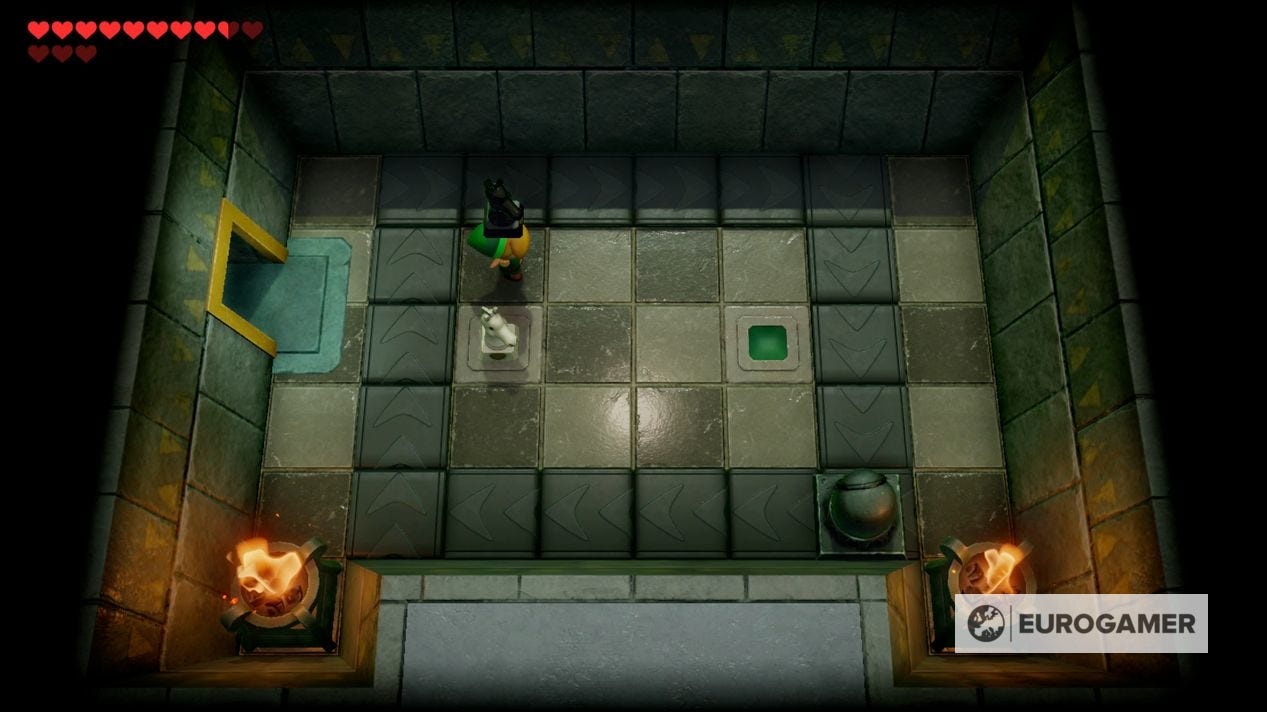
Go back down a screen to where you destroyed the column and fall down the gap in the floor. You'll now land in an area below you haven't been to before. Follow the depressed red block route left and down to find a chest with the Stone Beak.
Follow it back to where you dropped down and go a screen right to find a switch crystal surrounded by spikes. Hit this to turn it orange, depressing the blue blocks. This allows you to go directly left.
Follow it round, down and left, past the entrance, then up to where you opened the Stone Beak chest. Instead, you'll be on the other side, and able to go up the staircase door.
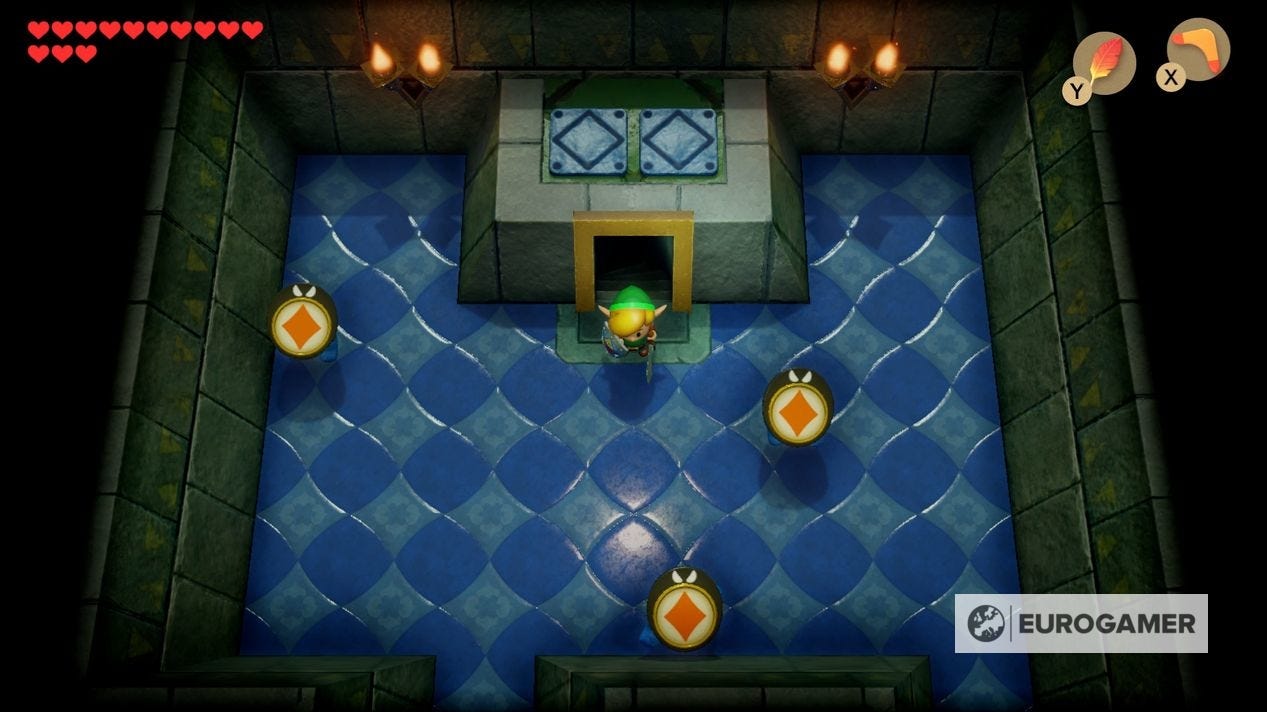
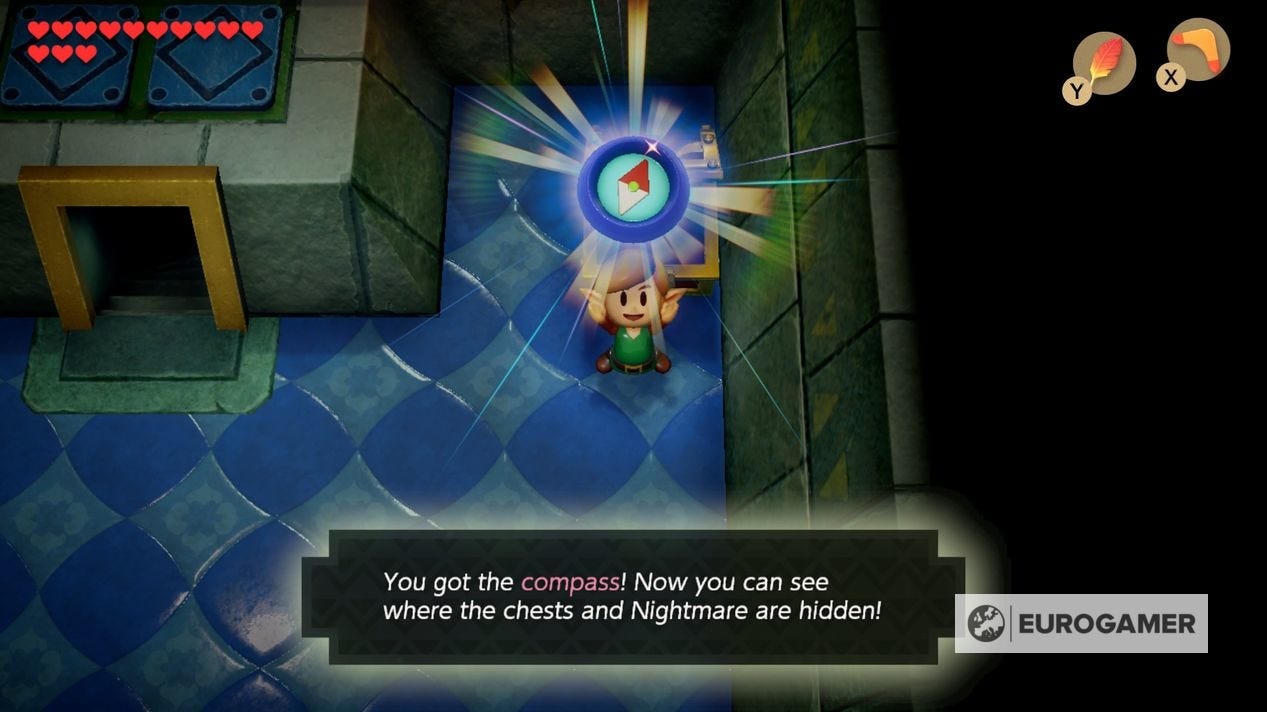
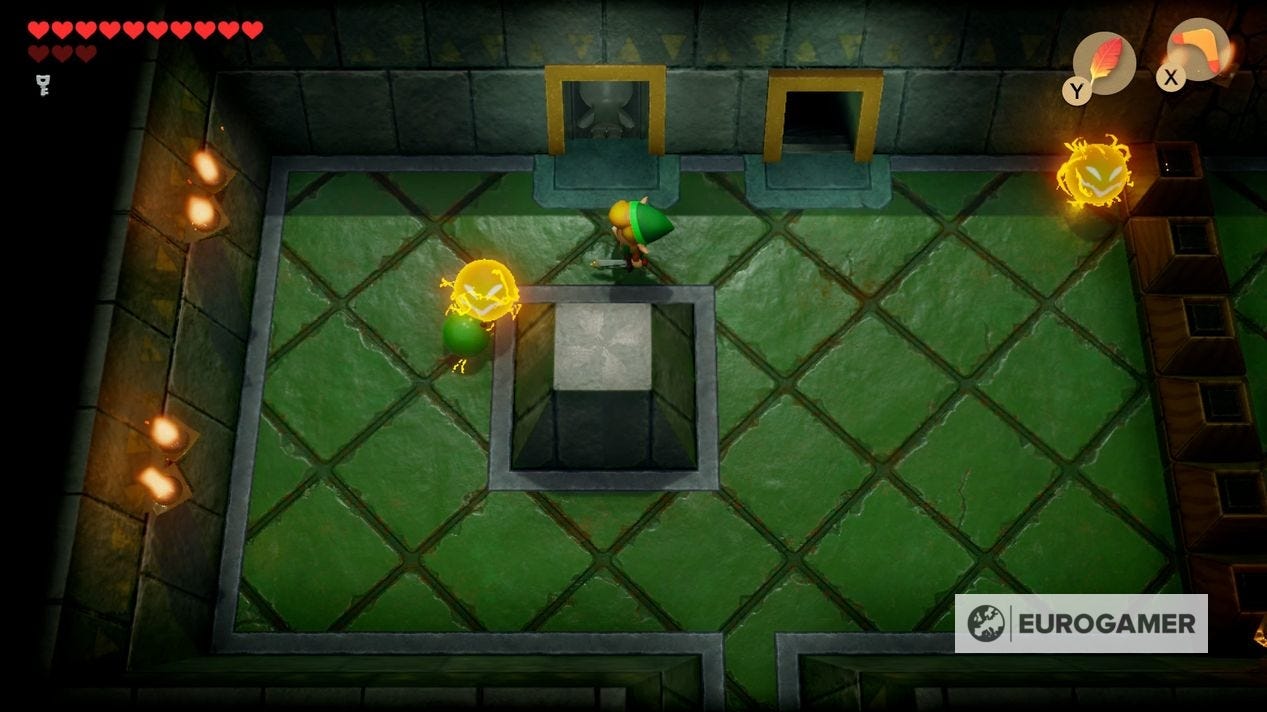
Before that, though, from here go anti-clockwise round the outside of the first floor - use the Boomerang to defeat the Kirby on the way - to the stairway door in the top corner. There are some playing card suit enemies in here, and defeating them gives you the Compass.
How to destroy the second column
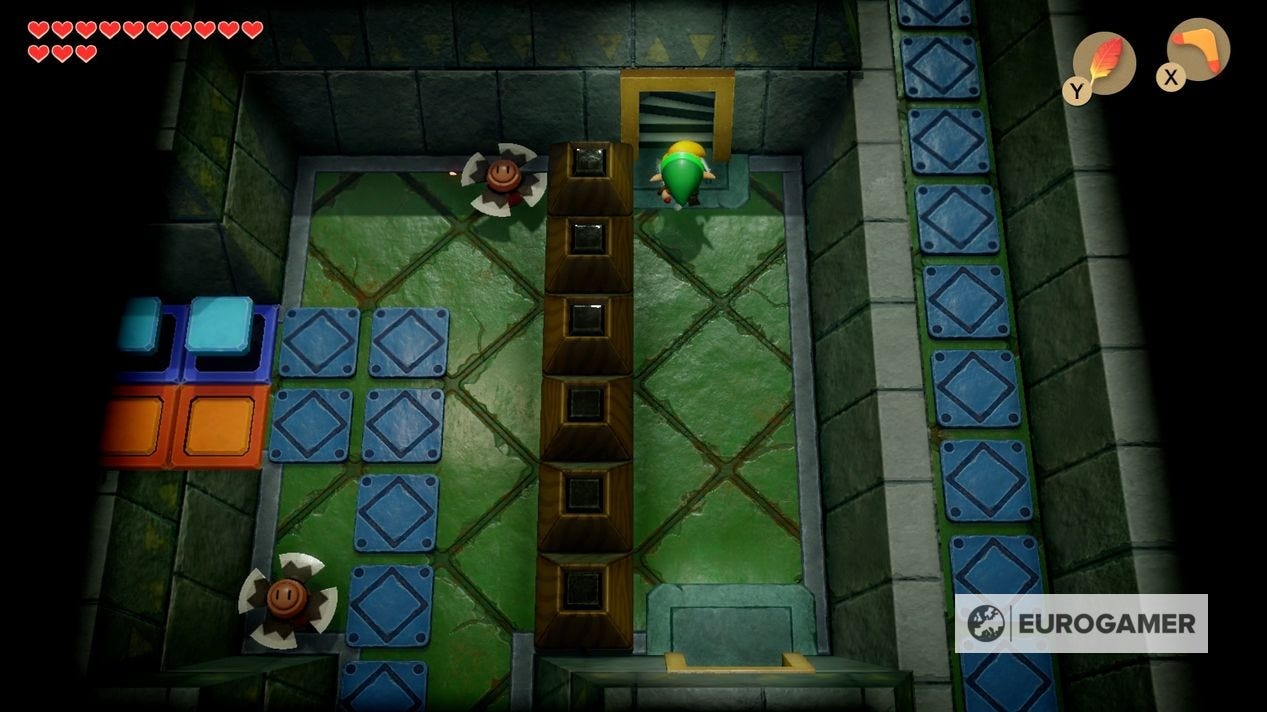
Head back down to the first floor the way you came, clockwise round the outside of the room, to the chest where you found the Stone Beak, and go up the staircase.
On the second floor, go south past the two sparks to fight a Hinox mini-boss - a familiar adversary from a previous dungeon, except the room is pitted with holes and there are fireballs coming at you from every direction.
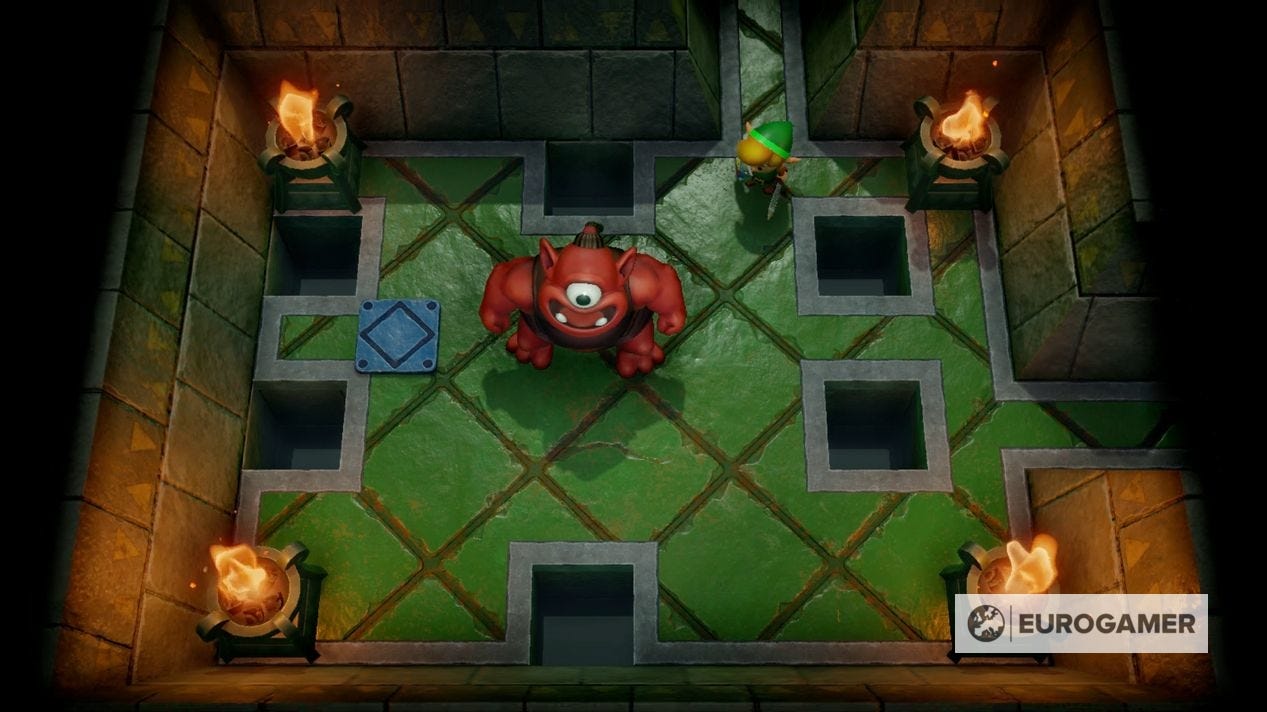
Use Roc's Feather to evade and keep moving, while also using the Bow or the Boomerang to keep a safe distance from the Hinox. You'll receive a Small Key as a reward.
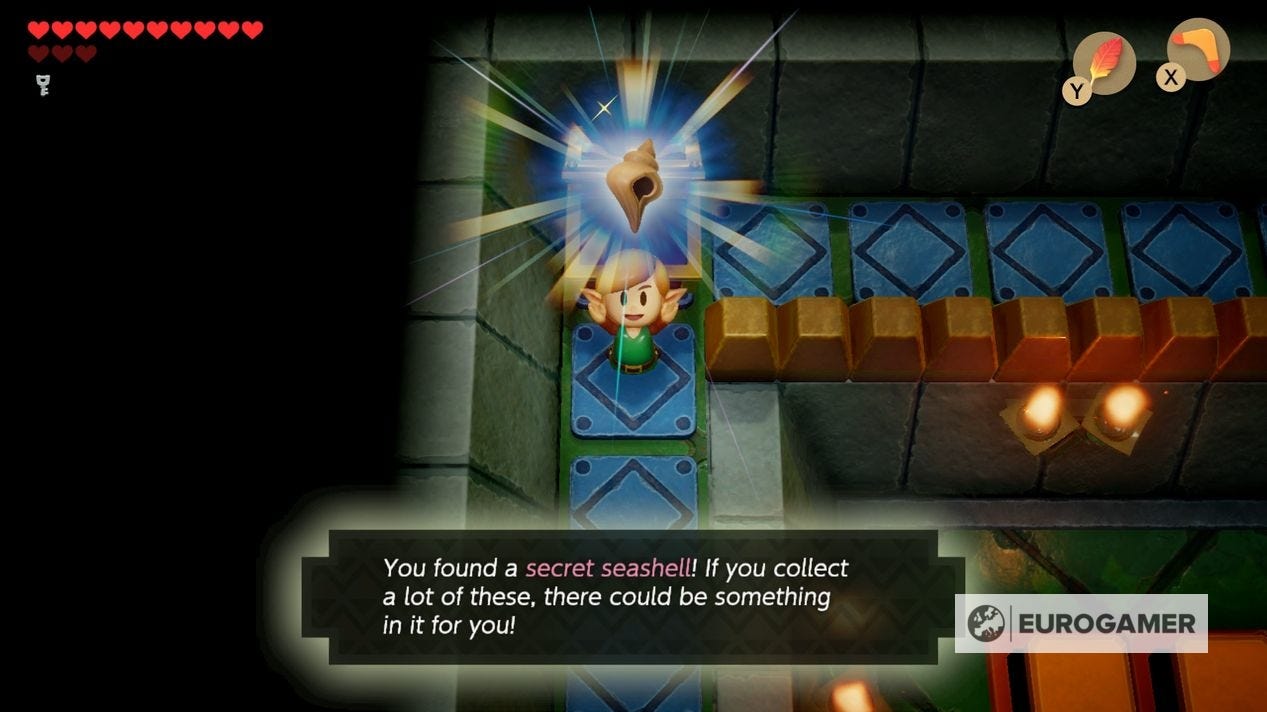
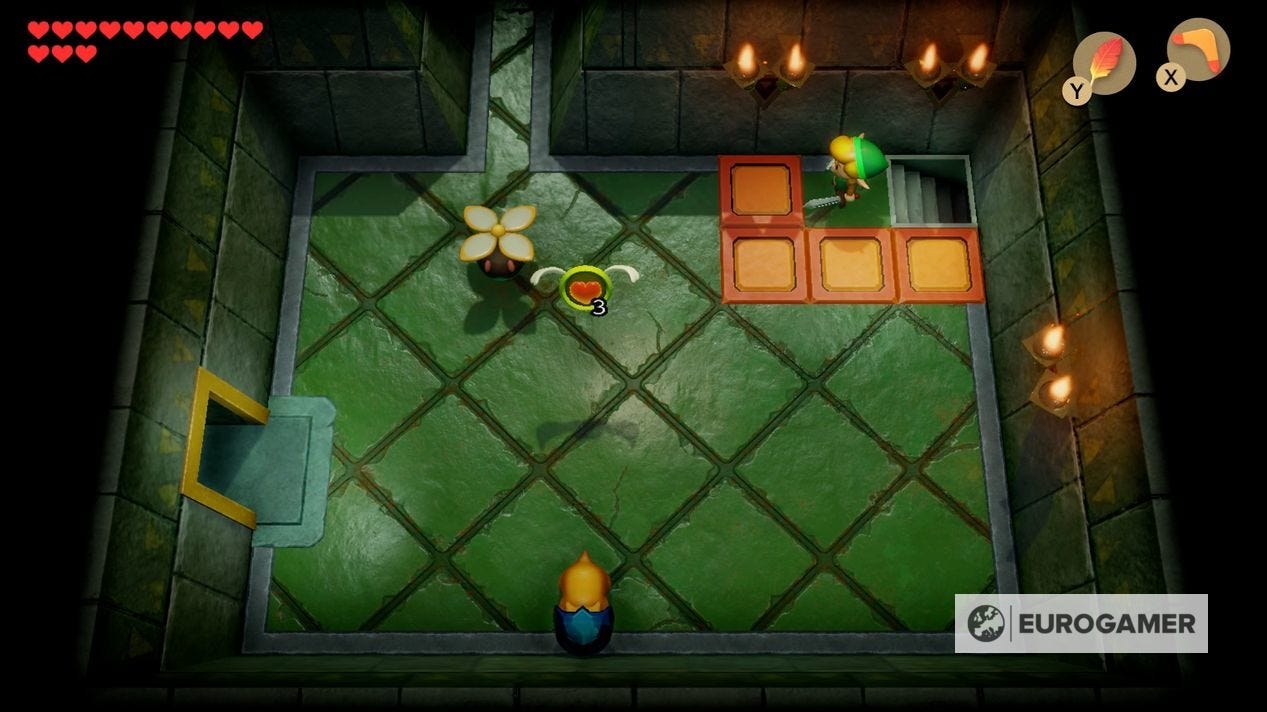
Before you go right, if you drop down one of the left-most holes, you'll arrive on the elevated outer edge of the first floor. Go north until you reach a chest with a Secret Seashell location.
Go right from the Hinox Room, and match all the playing card suit enemies to spawn a chest in the corner of the room you cannot access yet.
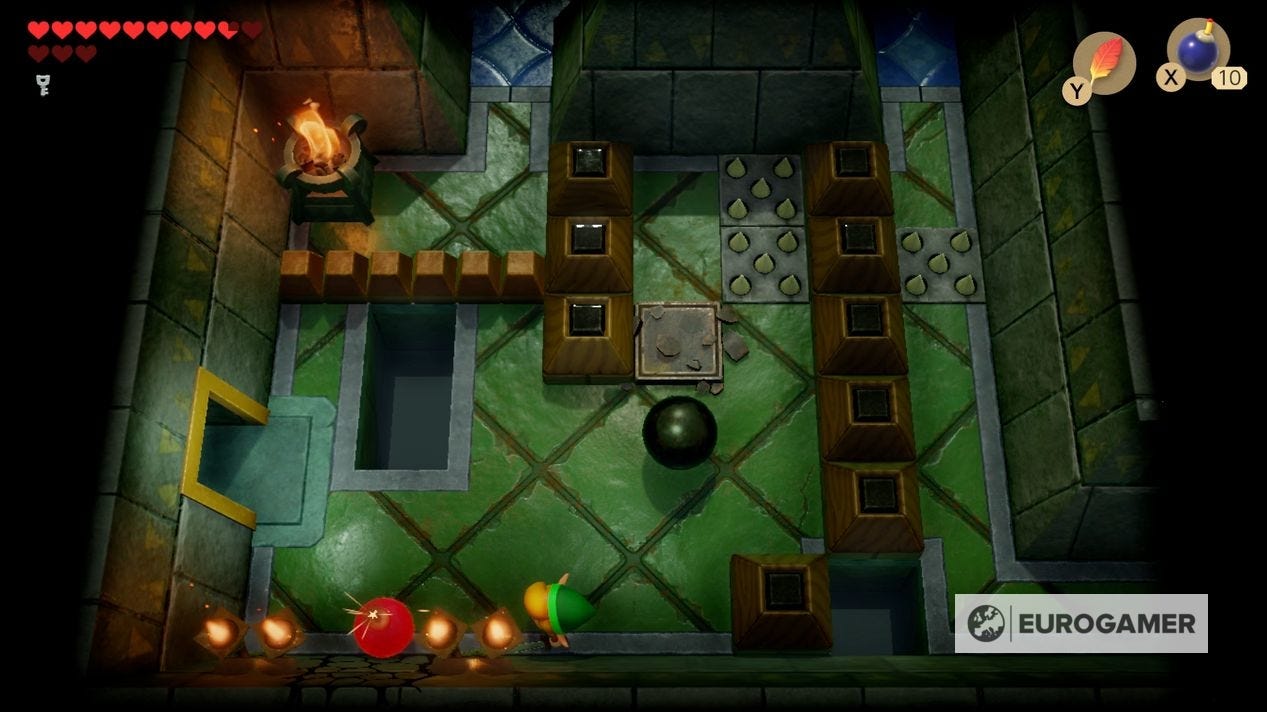
Now go right to a room with a switch crystal, and hit it from afar so you can use the Small Key on the locked block then go up a screen, where you are on an elevated position between two halves of the room.
Drop left first, then down a screen and hit the crystal so the blue switch blocks in the screen above are depressed.
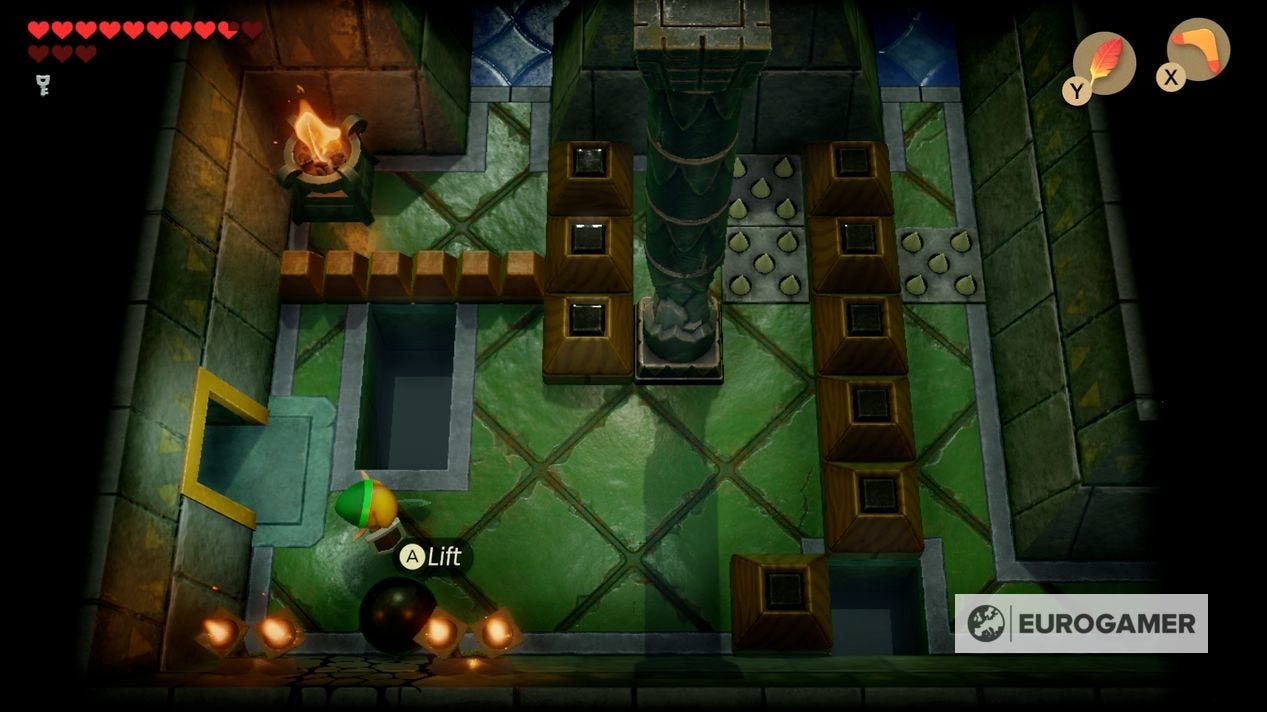
You'll spot a damaged column here - you now must go north then right, back to where you found the black ball originally. Grab this and bring it back left and down to this column and destroy it.
Before you are done, you need to position the ball ready for the third pillar. Go to the same screen as the pillar and move the left-most tile so you can go left to the next room.

You'll see the third pillar on the other side, but inaccessible.
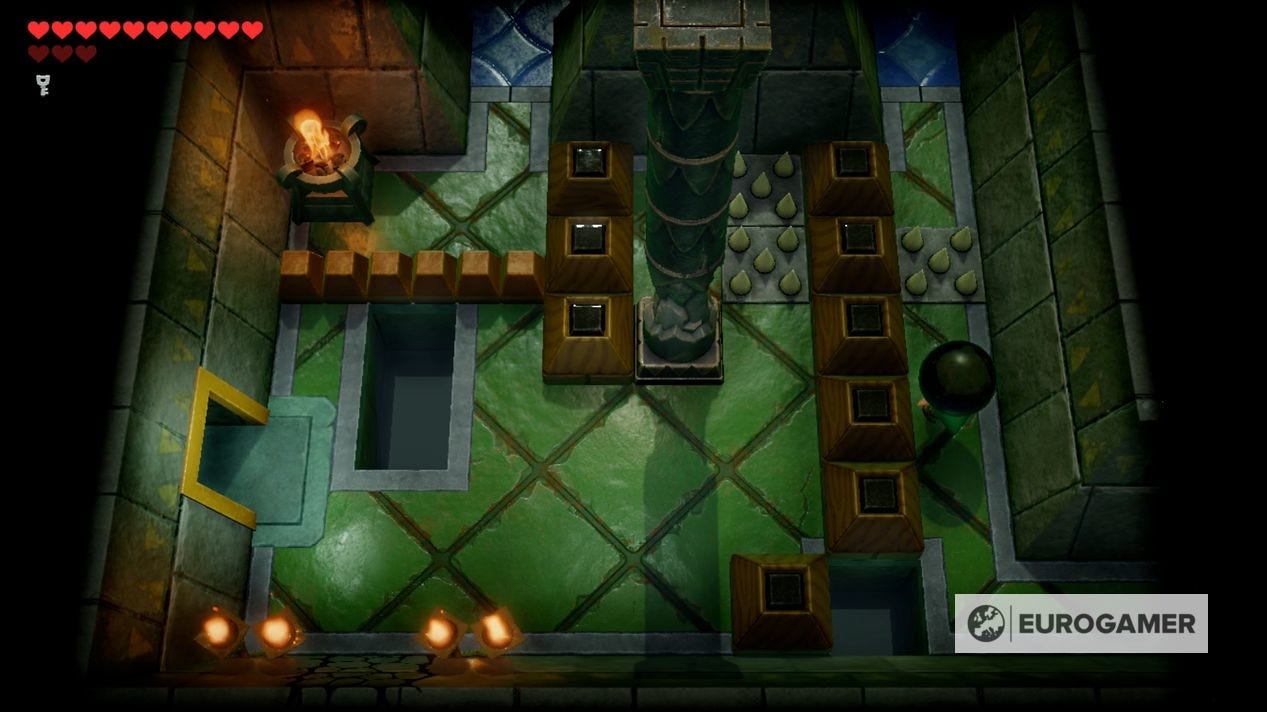

You have to go north a screen, then left and back down south so you are in the same room again, but in the upper corner. You still cannot reach the column, but you can lob the ball over towards it, so you can make use of it later.
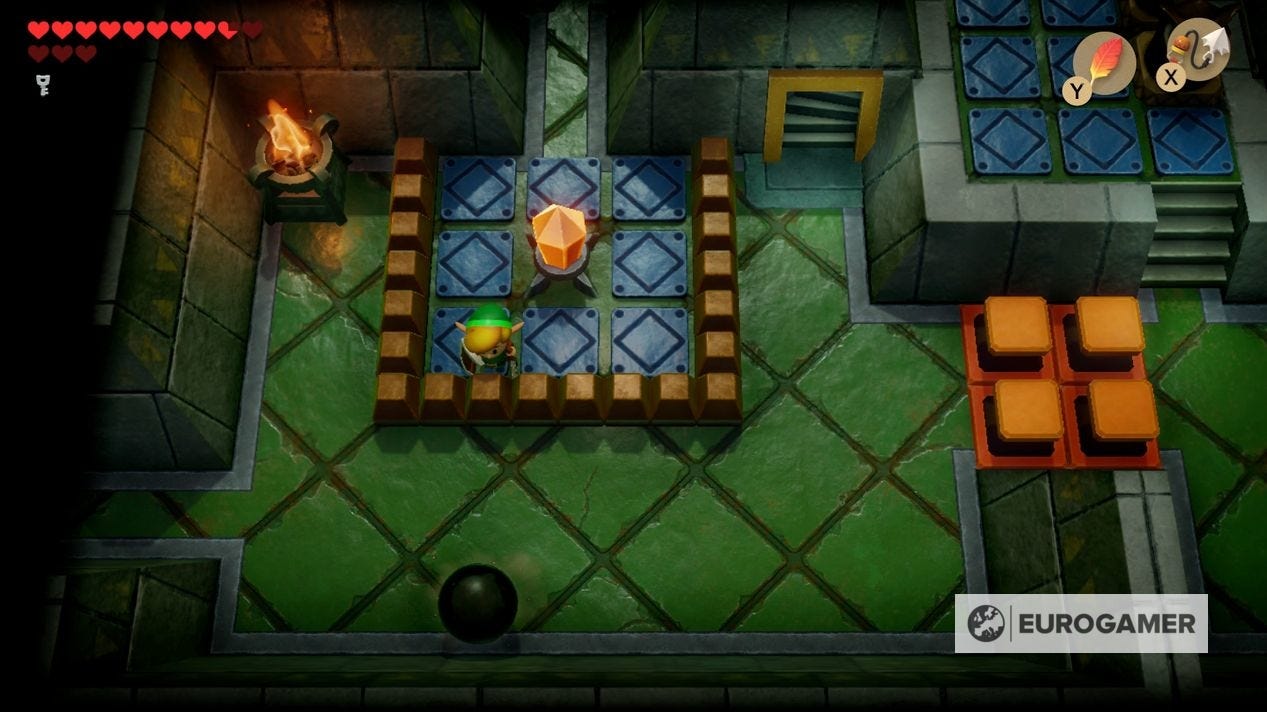
How to get the Mirror Shield
Drop down to the gap in the floor to arrive back in the middle of the first floor, with the lines of red and blue switch blocks all around you.
With the blue switch blocks down, head back to the staircase you just went up to reach the second floor (it's in the south-west corner, next to the now inaccessible Stone Beak block chest), past the Hinox room again, to where you unlocked the block and stood on the elevated position.
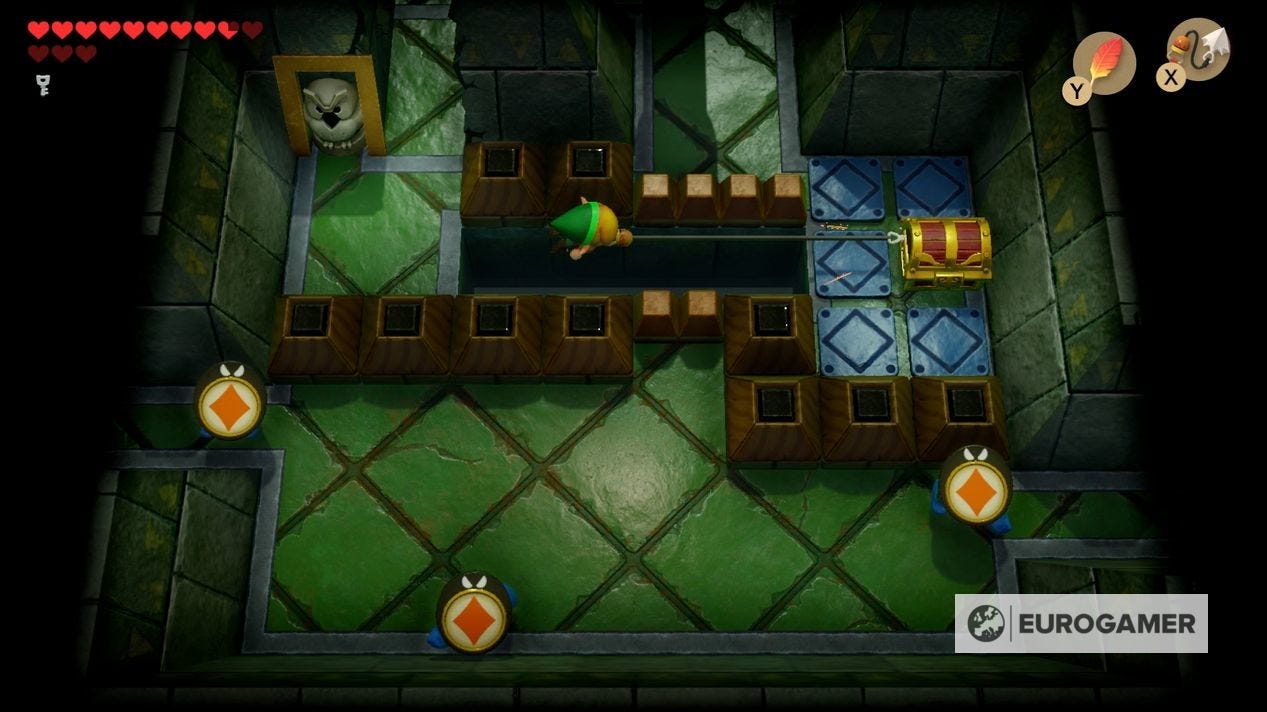
Instead of going left to where the column was, you now want to go right, on top of the elevated blue blocks with the chest inside.

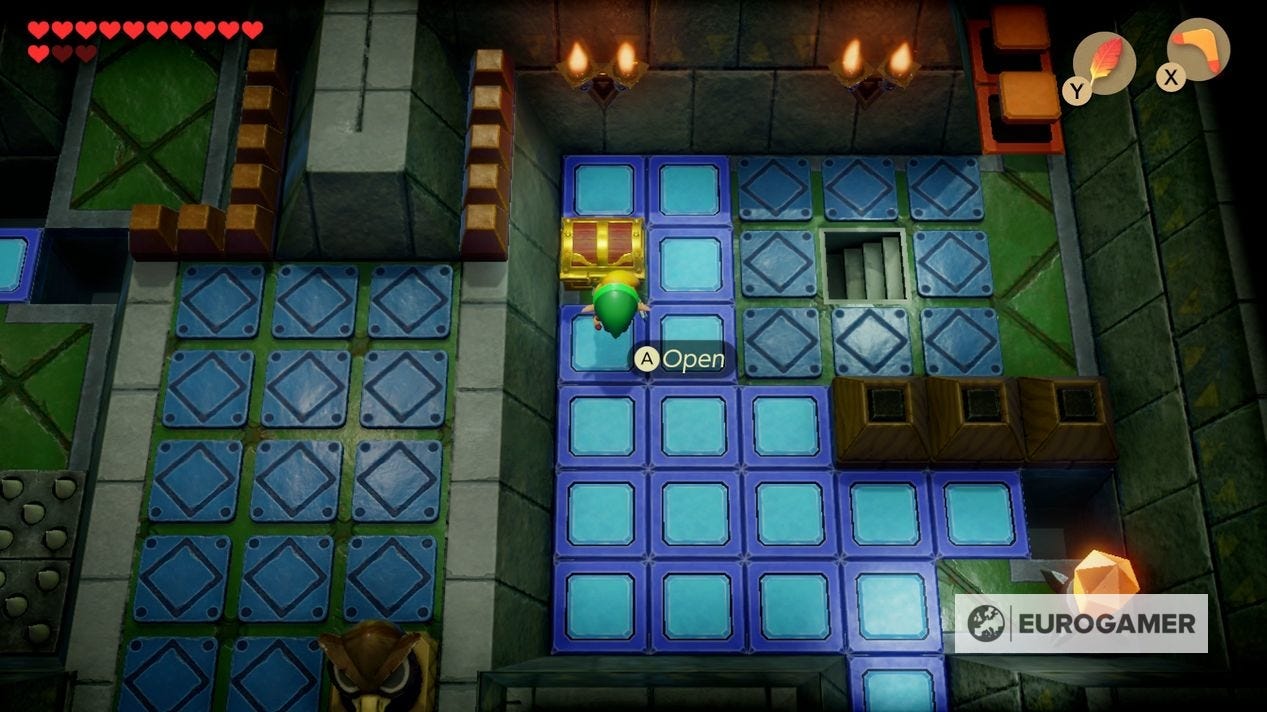
Hit the crystal switch in the corner to access the chest, giving you the Mirror Shield.
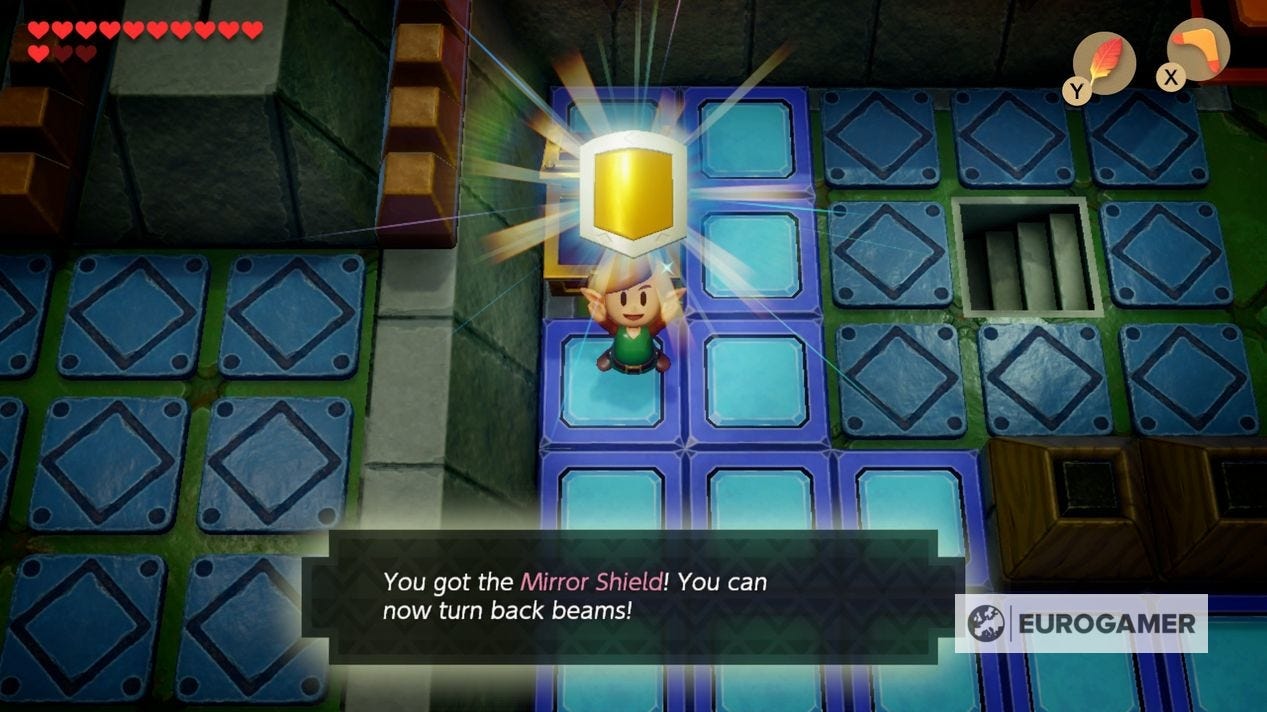
This allows you to block even more powerful attacks, and even reflect a variety of projectiles. Try it the next time you're in battle - you might be surprised at how useful it is!
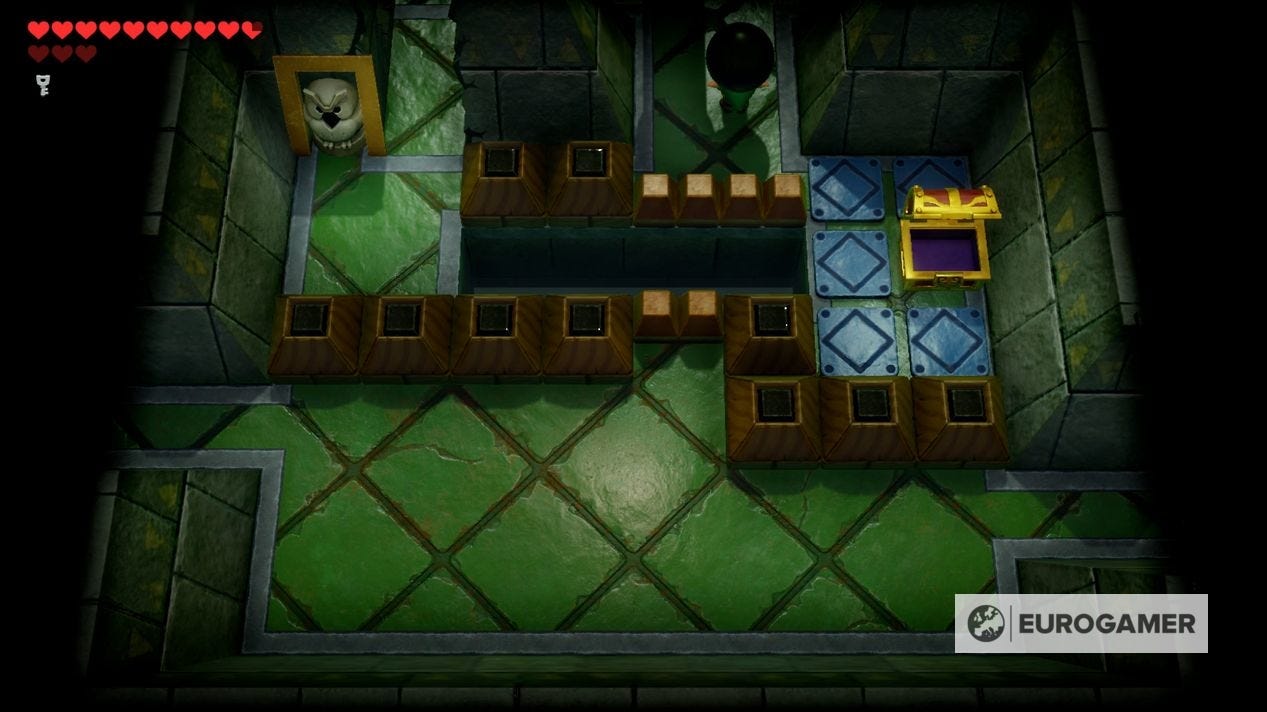
Before you leave, from here, there is a small gap in the floor next to the switch crystal. Drop down it to arrive on the elevated outer edge of the first floor.
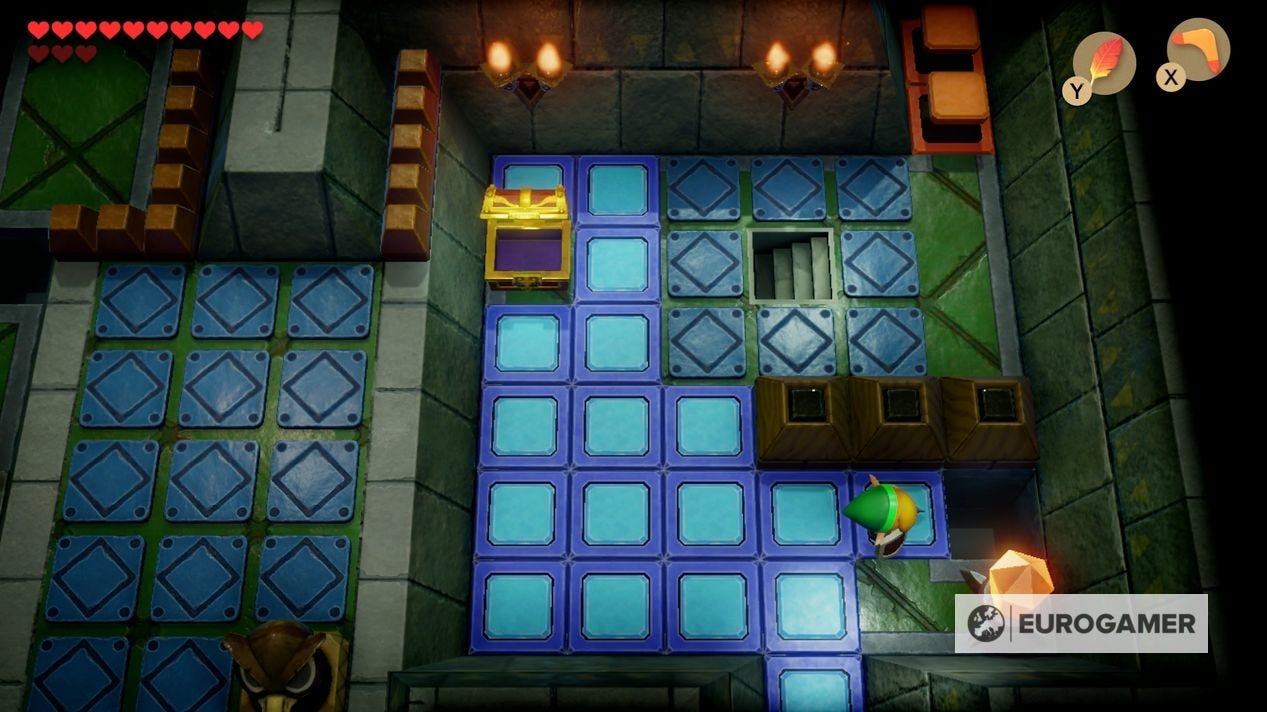

Go north from here to find a chest with a Small Key.
How to destroy the third column
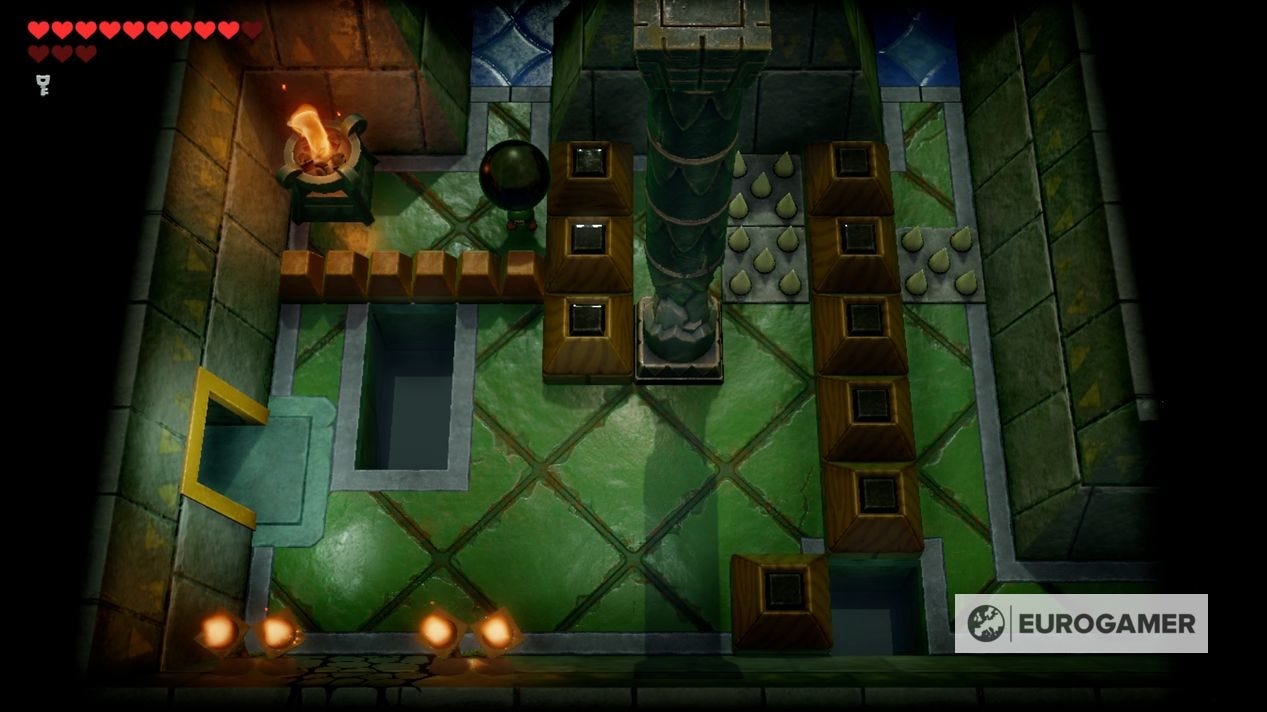
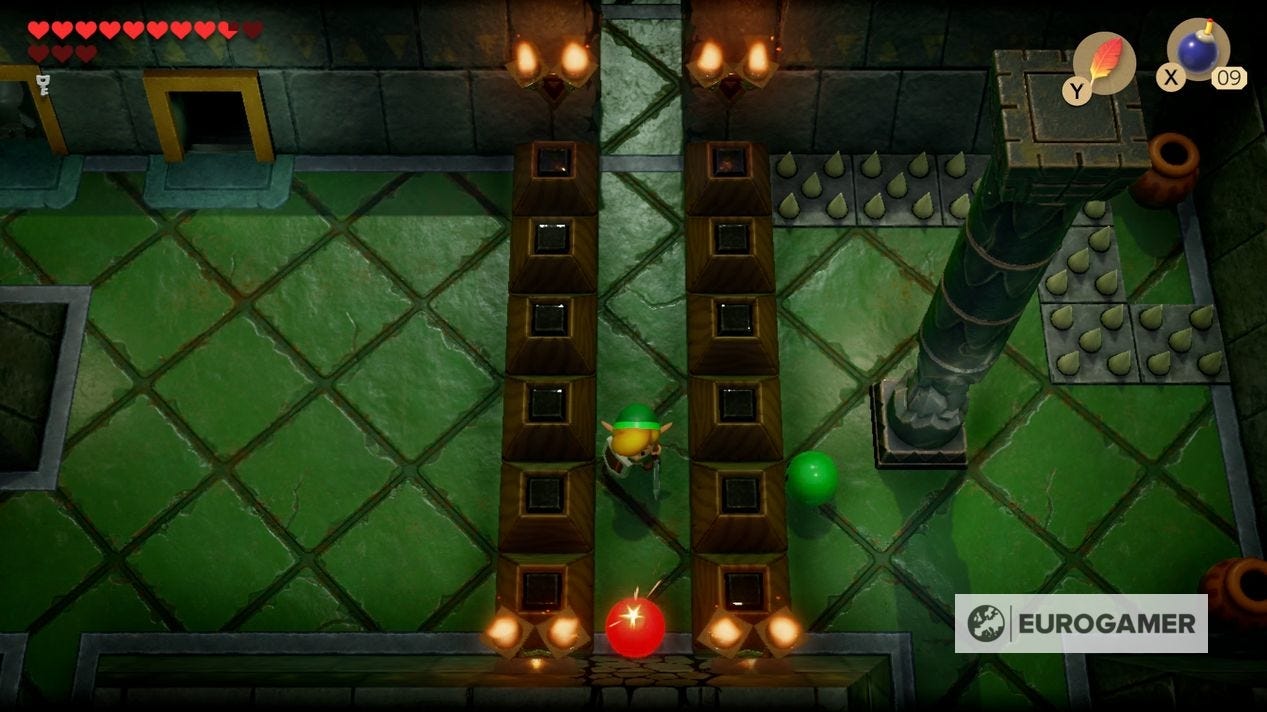
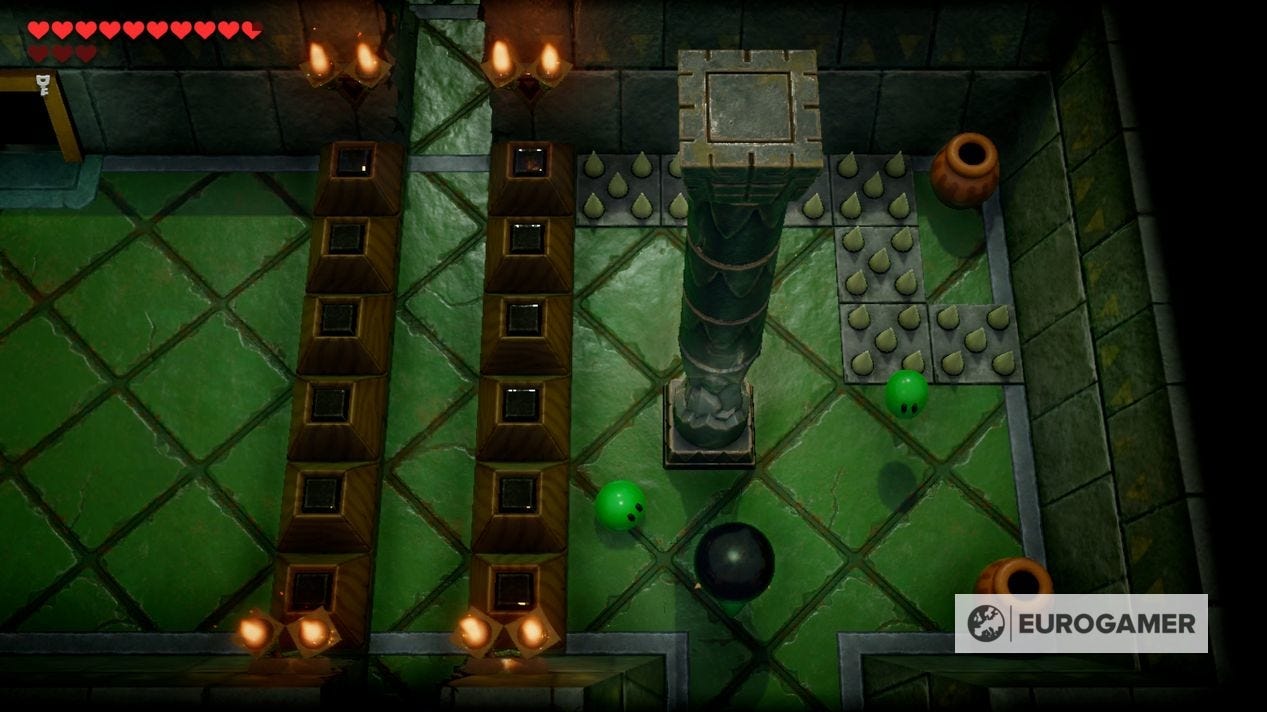
Head to the room north of the Hinox room on the second floor - the one with the two sparks - and there is a one-way door going north.
Here tiles will come flying at you. Hold out your shield until they are all destroyed then go right.

You'll be at the room with the third column. As mentioned earlier, you needed to throw the ball over to this part of the room in order to destroy it (if you haven't yet, go back to the ball room and the first column location, push the block on the left wall and go left, then walk round to throw it across).
How to destroy the fourth column
Once the third column is destroyed, you now have to prepare the ball for the fourth column. Push the lower right block into the gap, throw the ball over, and follow it right.
Take the ball south now to the switch crystal in the lower room, and throw it over the barrier.

Return to the Hinox room, and go right and right again, so you are on the other side of that barrier.
Take it left a screen to the one right of the Hinox room with the playing card suit enemies.
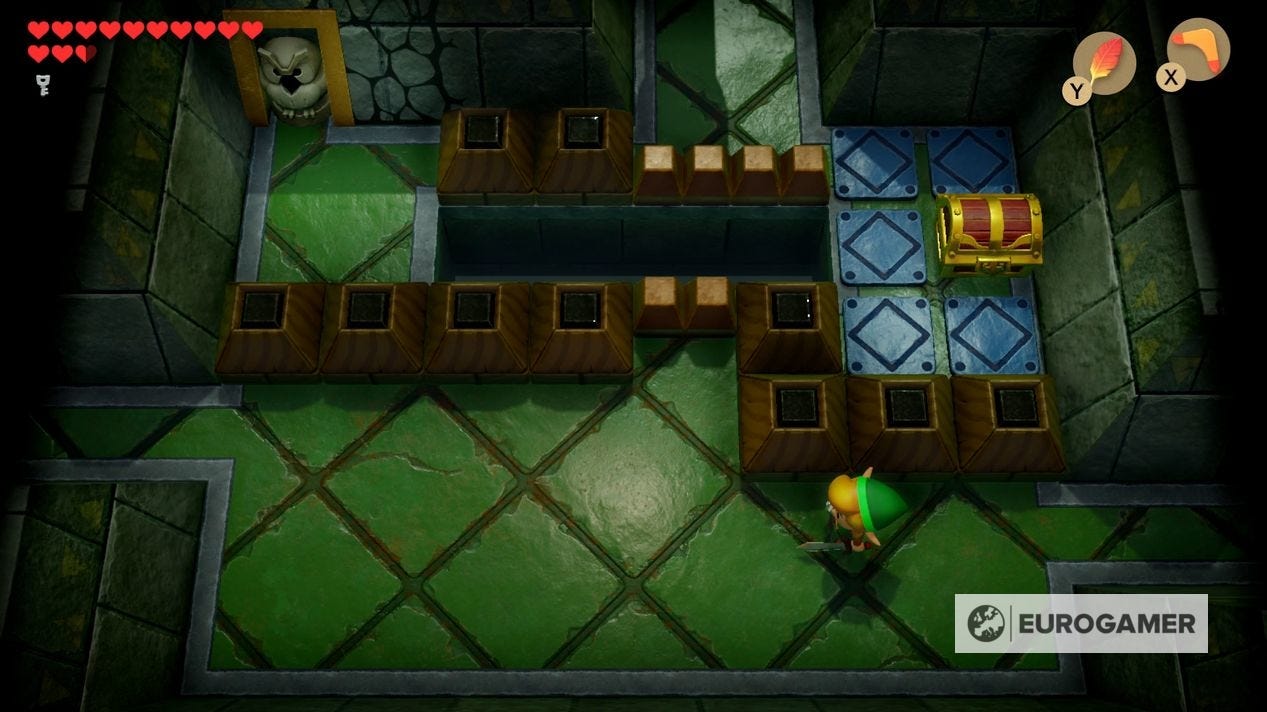
If you haven't already, destroy these enemies - this will spawn a chest in the corner you need in a moment. There is a gap with barriers either side of the top of the screen - throw the ball over them.
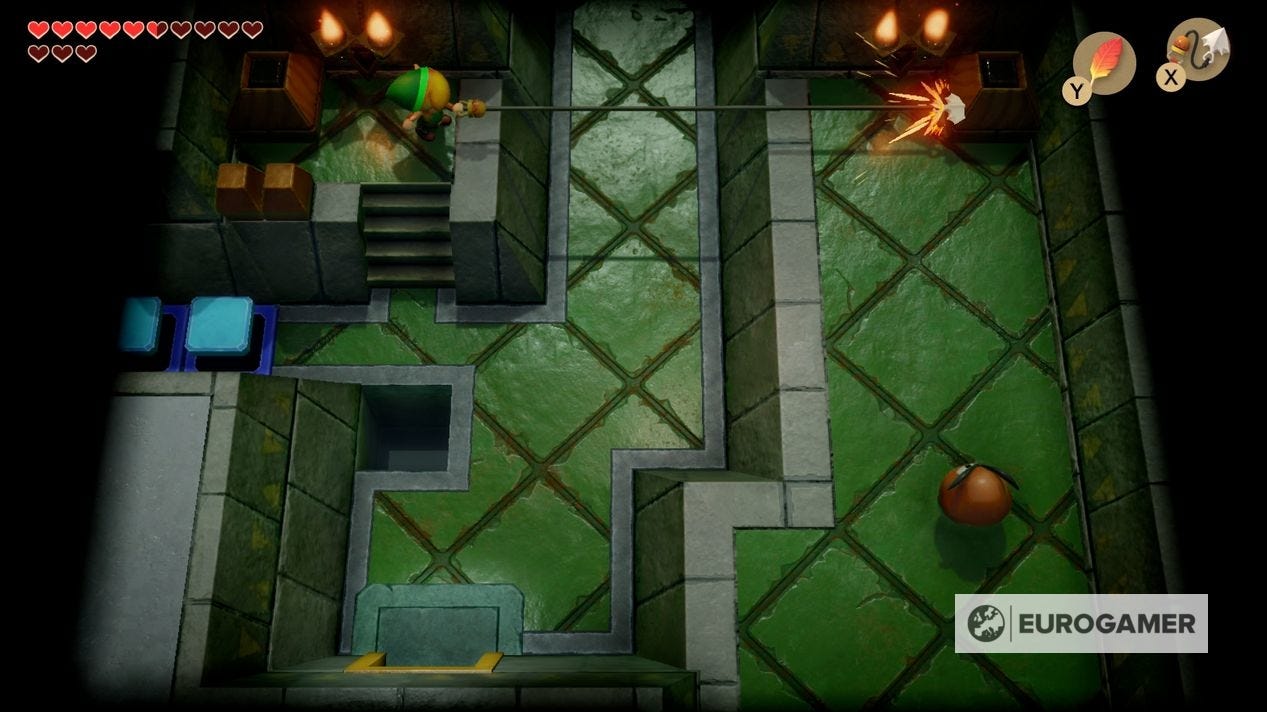
To reach the ball, travel back to the room with the third column. You can bomb the cracked wall in the south corner, and again in the next room, to arrive on the left side of this room.
Use the hookshot over the chest you spawned a moment ago, and take the ball up a screen.
We're finally at the fourth column - destroy it, and you'll see a cutscene with a tower elsewhere lowering in height. It's time to reach it, where you'll face the end boss.
Our Zelda: Link's Awakening walkthrough and guide can help you with the critical path, including the Eagle's Tower and Turtle Rock dungeons. There's plenty to be done on the side, too - including Zelda Link's Awakening Heart Pieces, Zelda Secret Seashells and the Zelda Link's Awakening trading sequence. Finally, there's also the new Zelda Chamber Dungeons feature to unlock and complete.
How to get the Eagle's Tower Nightmare Key and reach the boss
Return to the Hinox Room once more, then go right two screens. To the right of the switch crystal is a staircase going up - take it. (At this point you should have a spare Small Key in your inventory - as mentioned earlier, in the room you got the Mirror Shield from, you can drop down a gap to the first floor to find one. Do this before continuing!)
In the above room, the orange blocks should be lowered. If not, hit the switch in the room below.
Head north a screen then right to a mini-boss, which sees a skeleton summon flying minions to attack you. To win, you must defeat them all, otherwise another wave will spawn.

The trick is to notice the order they appear in, as this is also the order they will fly at you. Since swinging rapidly won't do the trick, you need to time your attacks to hit each one as they fly towards you. Once done, a warp point will appear, and you can go north to a switch crystal.
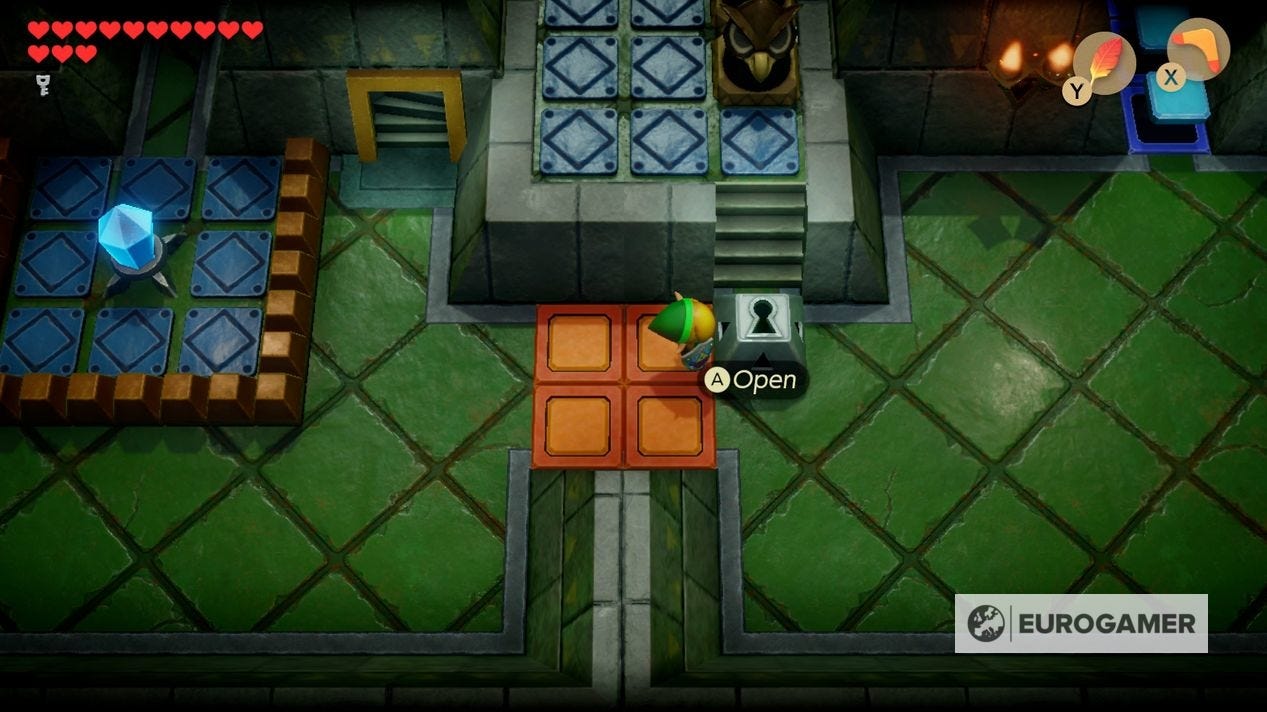
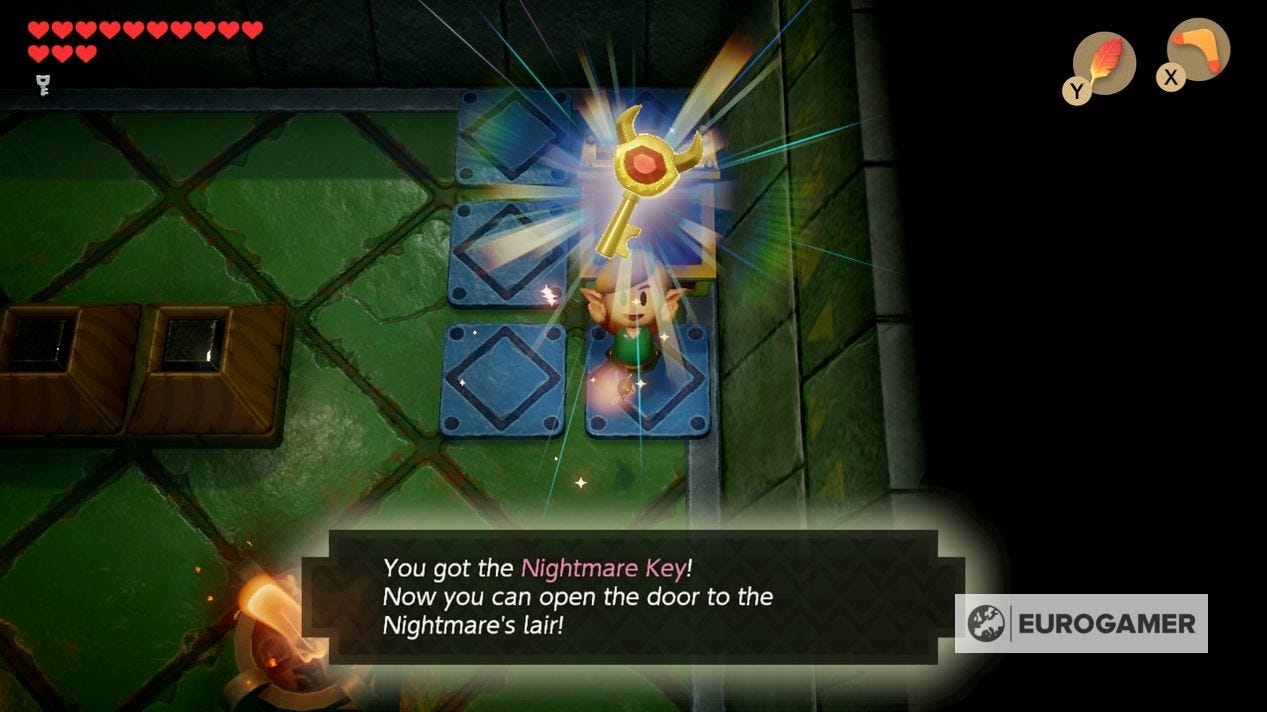
In this room, you'll want to push the two blocks into the centre, spawning the Nightmare Key chest.

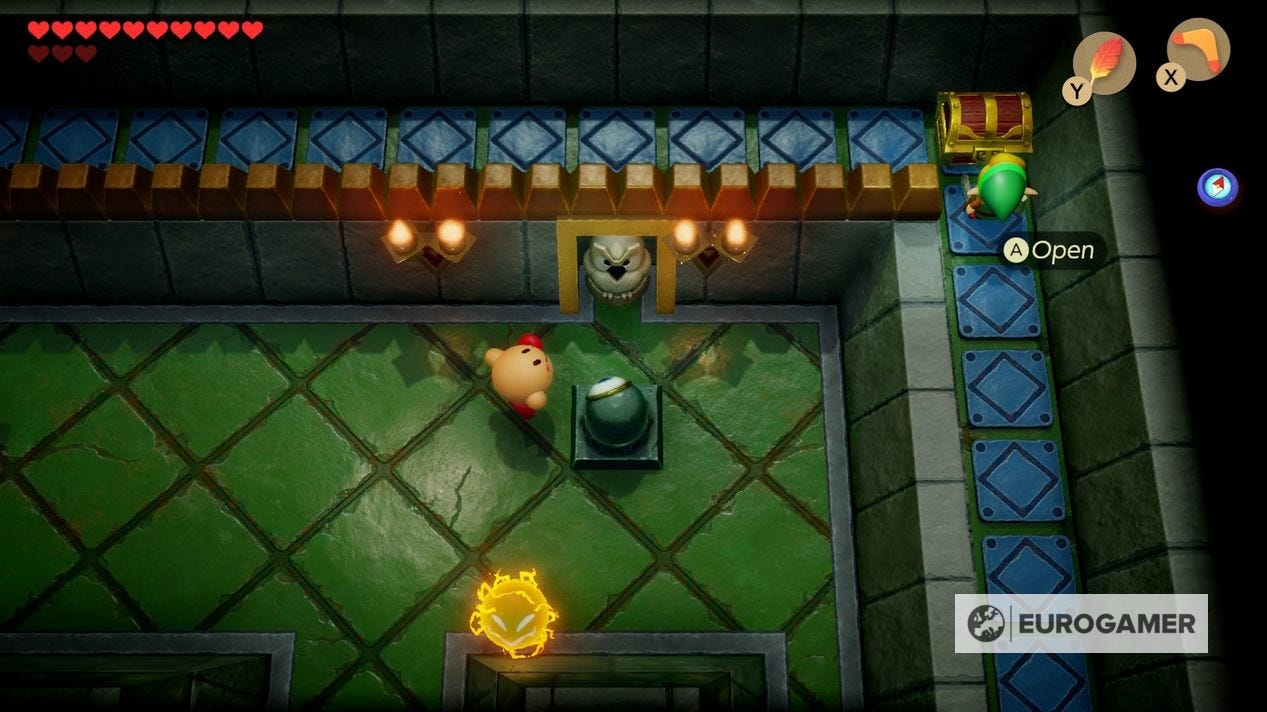
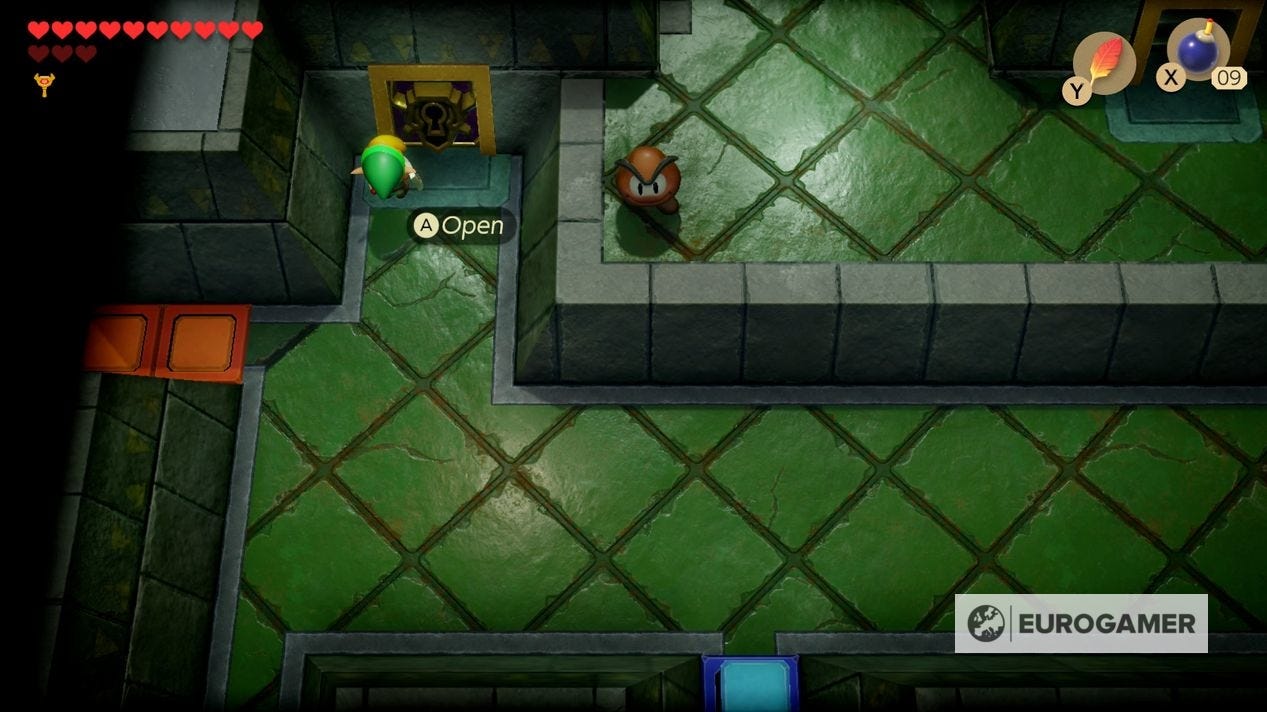
Head down and left again to a room filled with Goombas. The Nightmare Door is on the left - head through it.
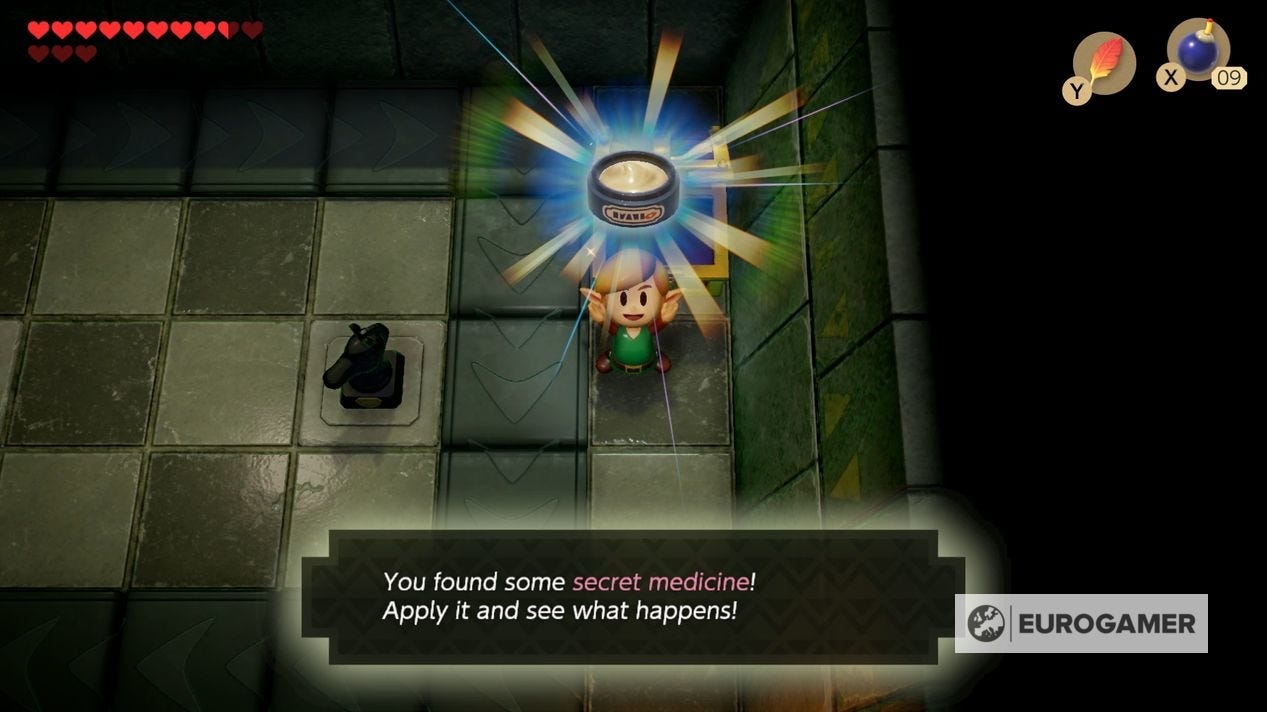
Go north then east to a room with a conveyor belt and chess pieces. Use your Mirror Shield to bounce the laser back at the eye to disable it, then lob the chess pieces into the holes - you want to stand above each block and throw them right and left respectively like so:
Doing so gives you some Secret Medicine.
To reach the boss, head back to the first room after you used the Nightmare Key. Use the stairs in the upper left corner and hookshot right across.
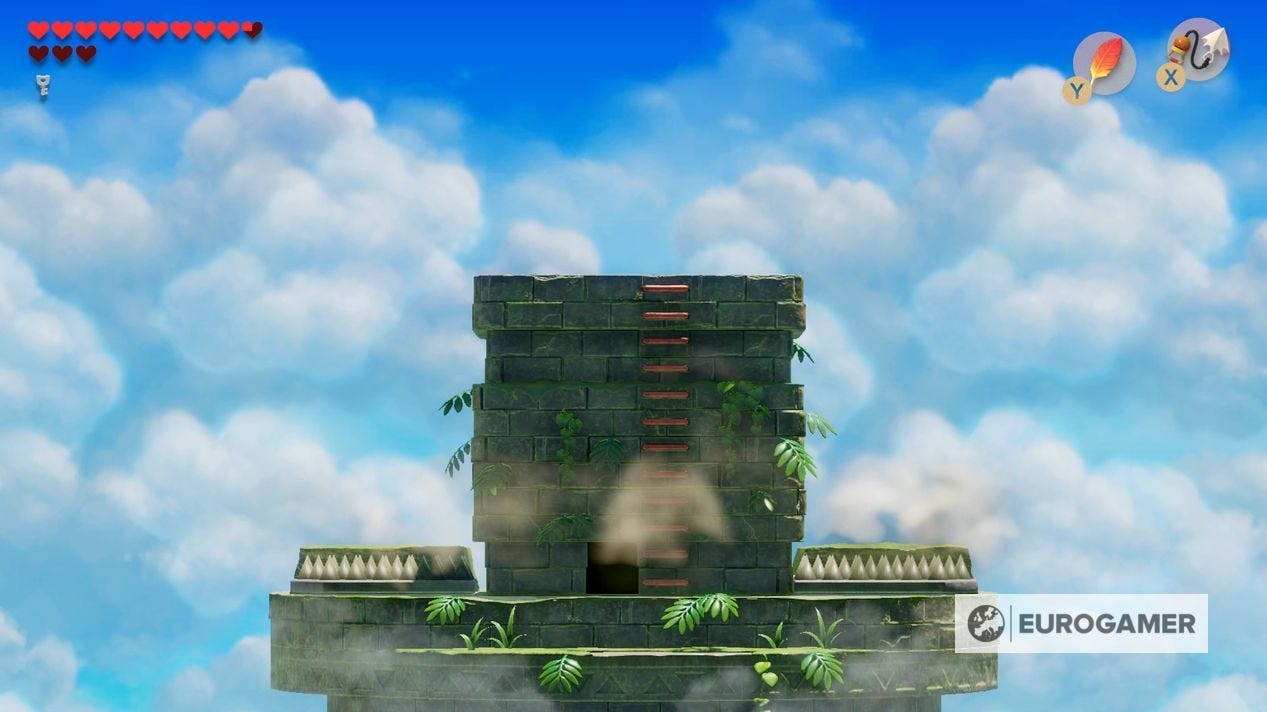
Now go down a screen and up the stairs to arrive a side-scroll section at the top of the tower.
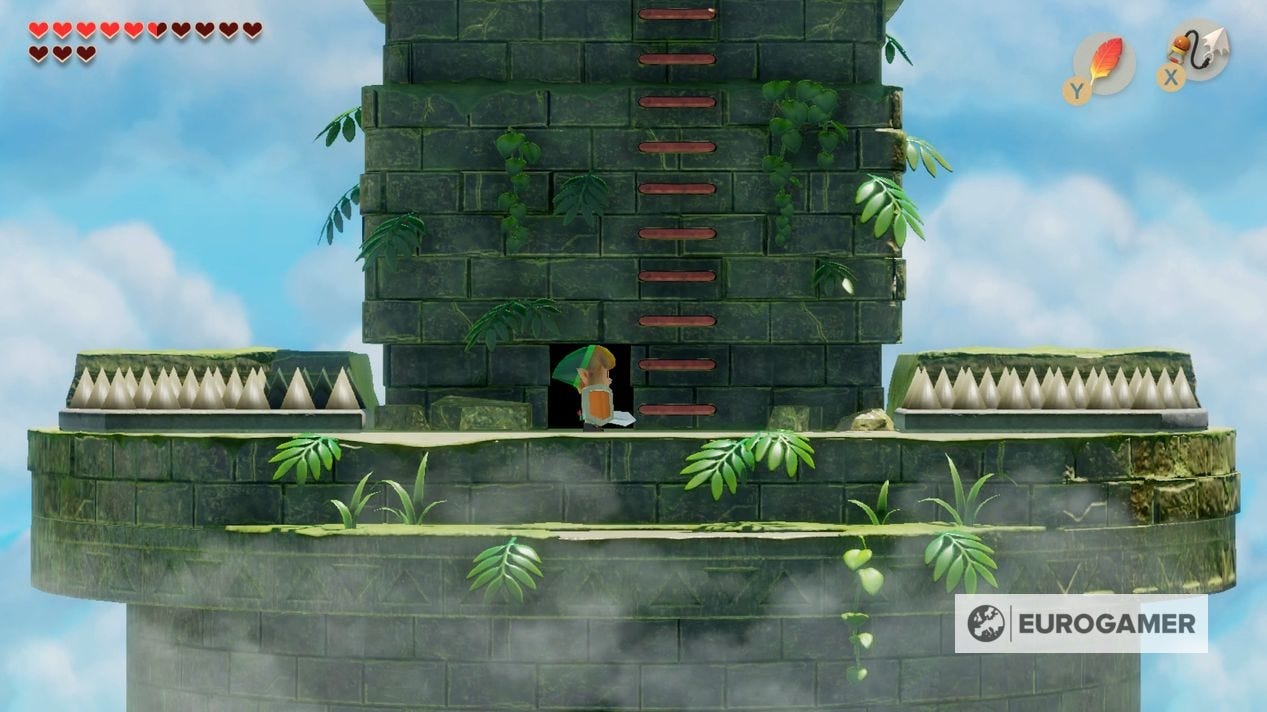
Head up the ladder to face the Evil Eagle.