Zelda: Link's Awakening - Angler's Tunnel dungeon explained, where to get the Flippers
How to beat the fourth dungeon and find the Flippers - a swimmer's best friend.

Angler's Tunnel is the fourth dungeon in Zelda: Link's Awakening, found once you have fully explored Animal Village and Yarna Desert.
Along the way you'll get the next key item on your quest - the Flippers - allowing you to explore deep water areas.
If you're looking for more assistance, our Zelda: Link's Awakening walkthrough can help.
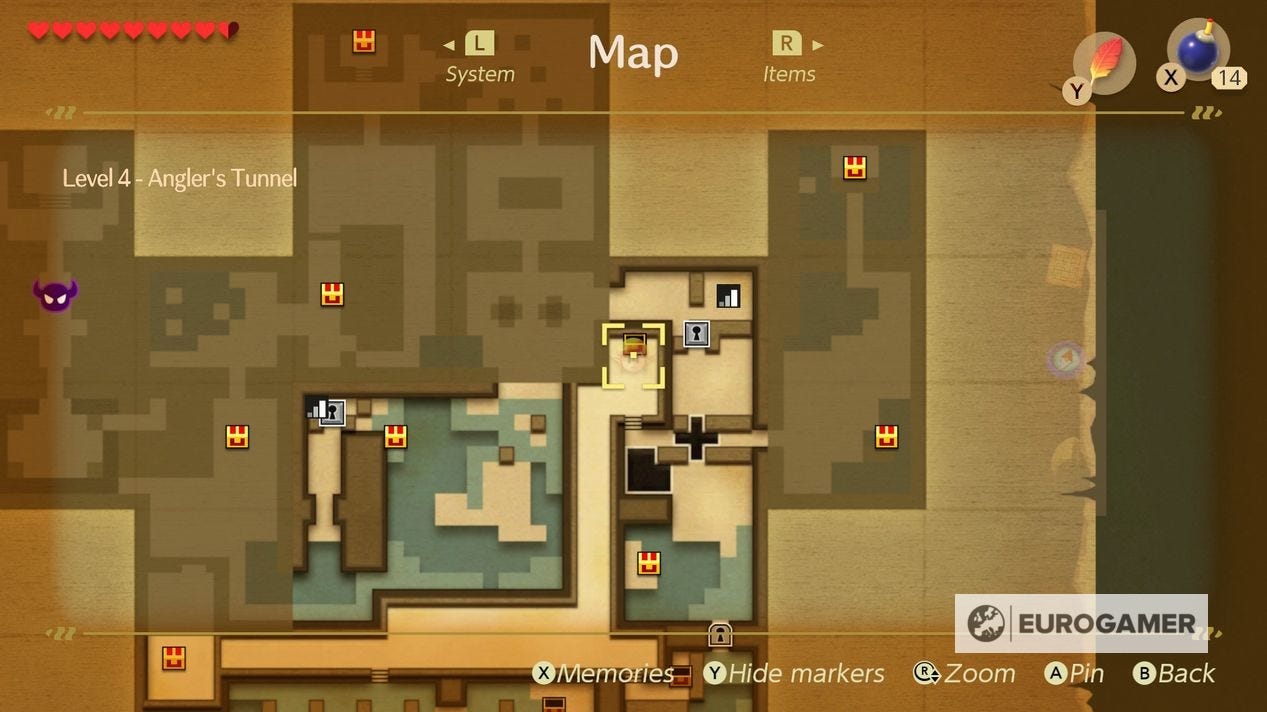
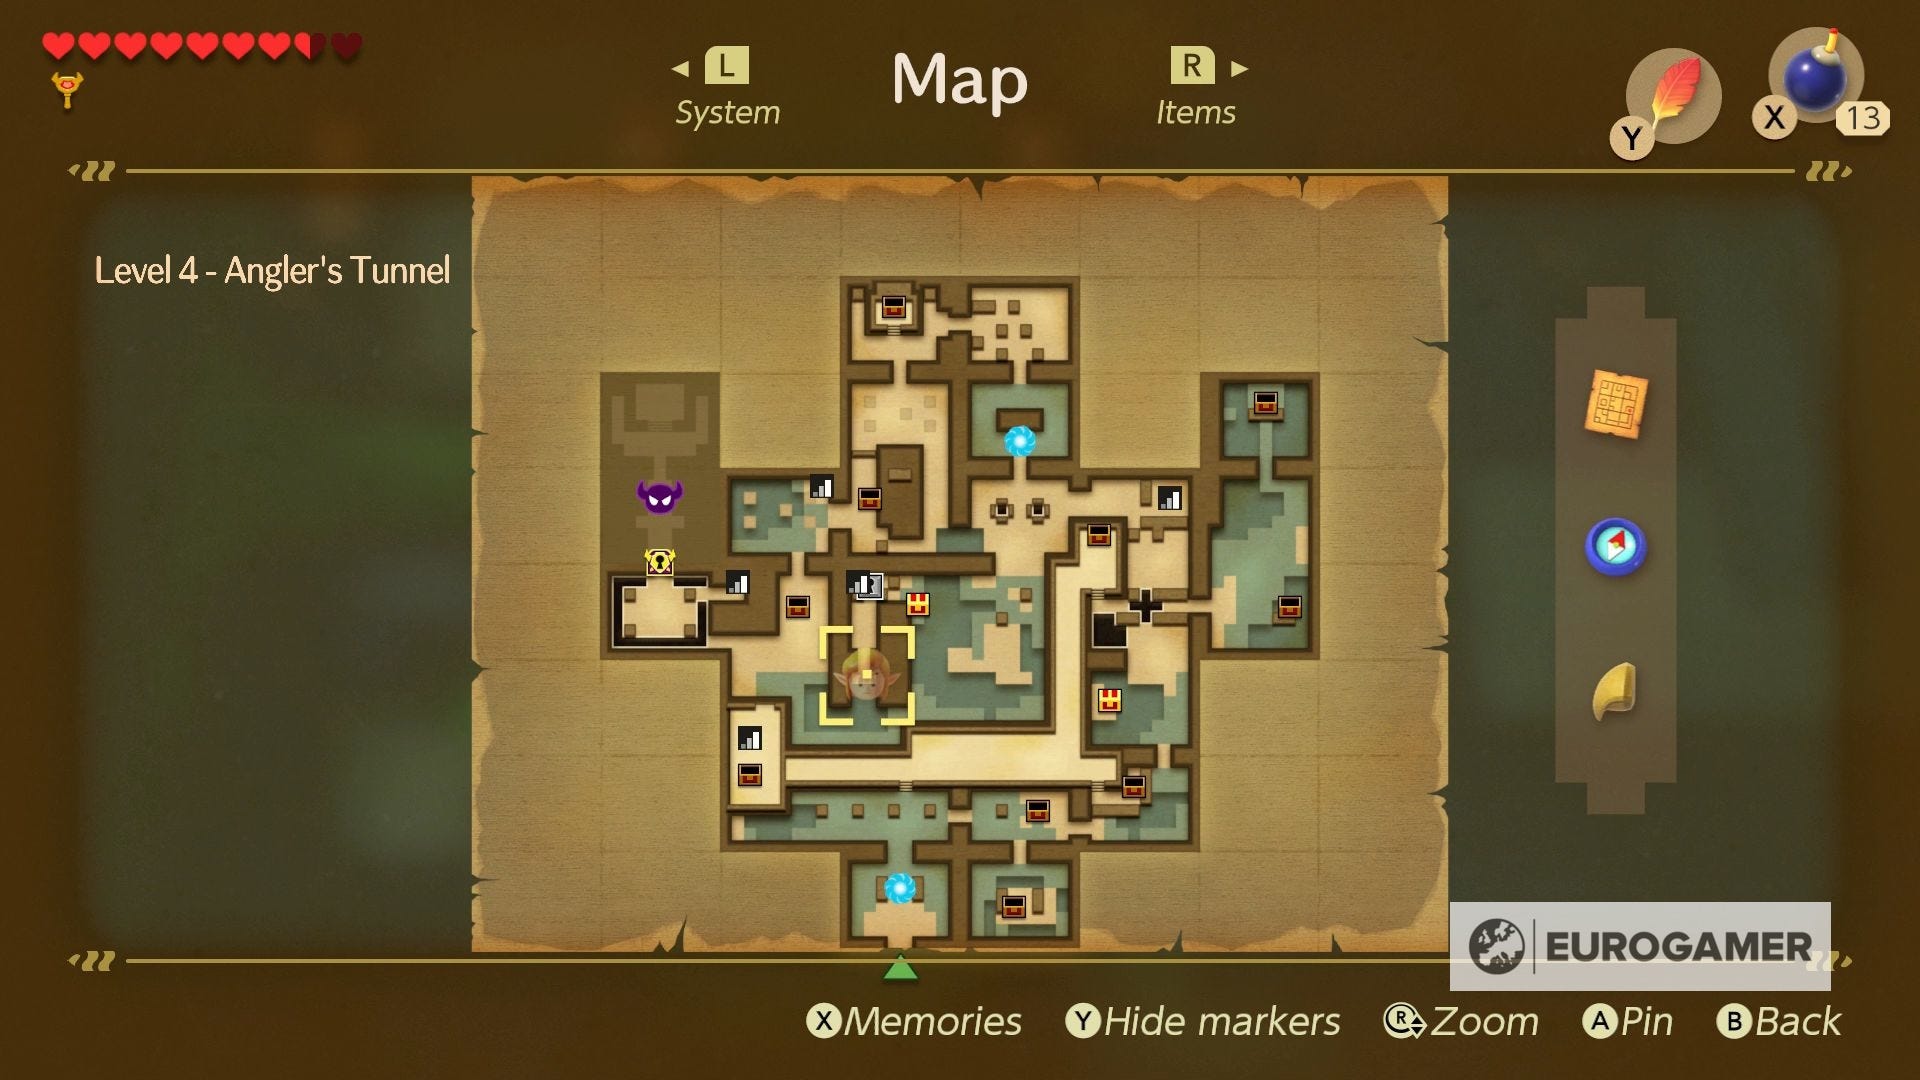
Where to find the Angler's Tunnel Compass, Stone Beak and Map
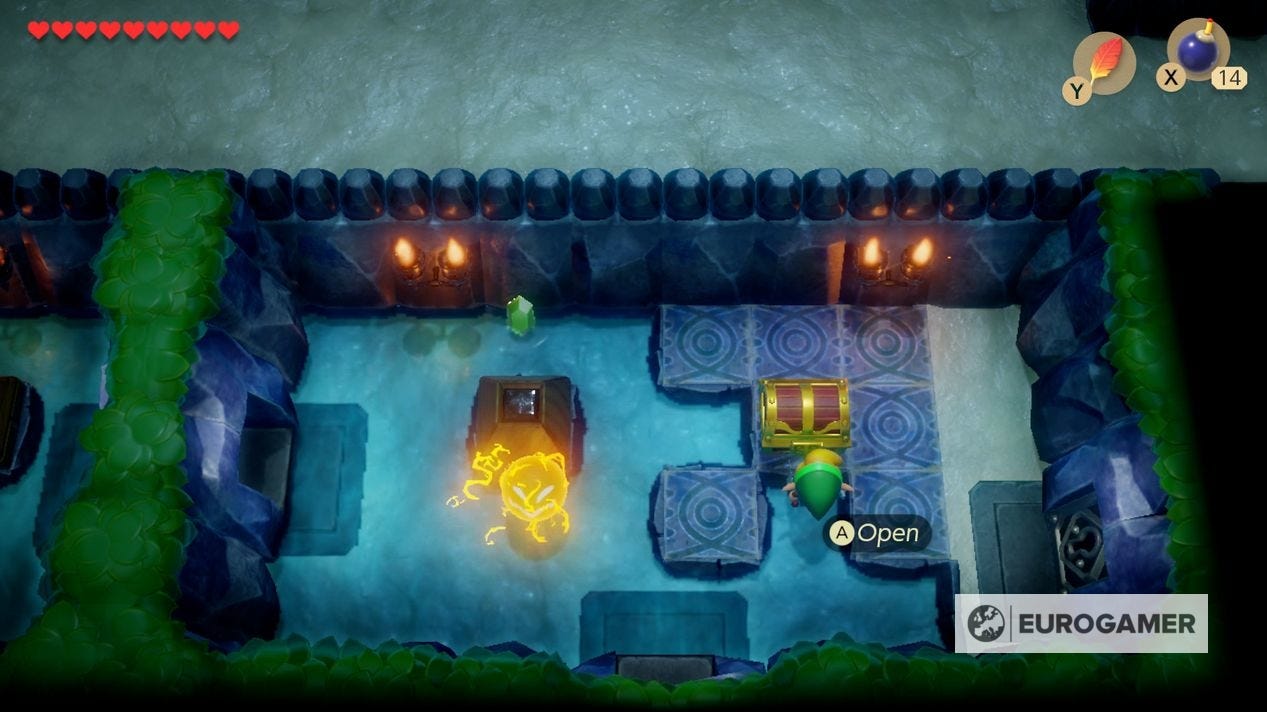
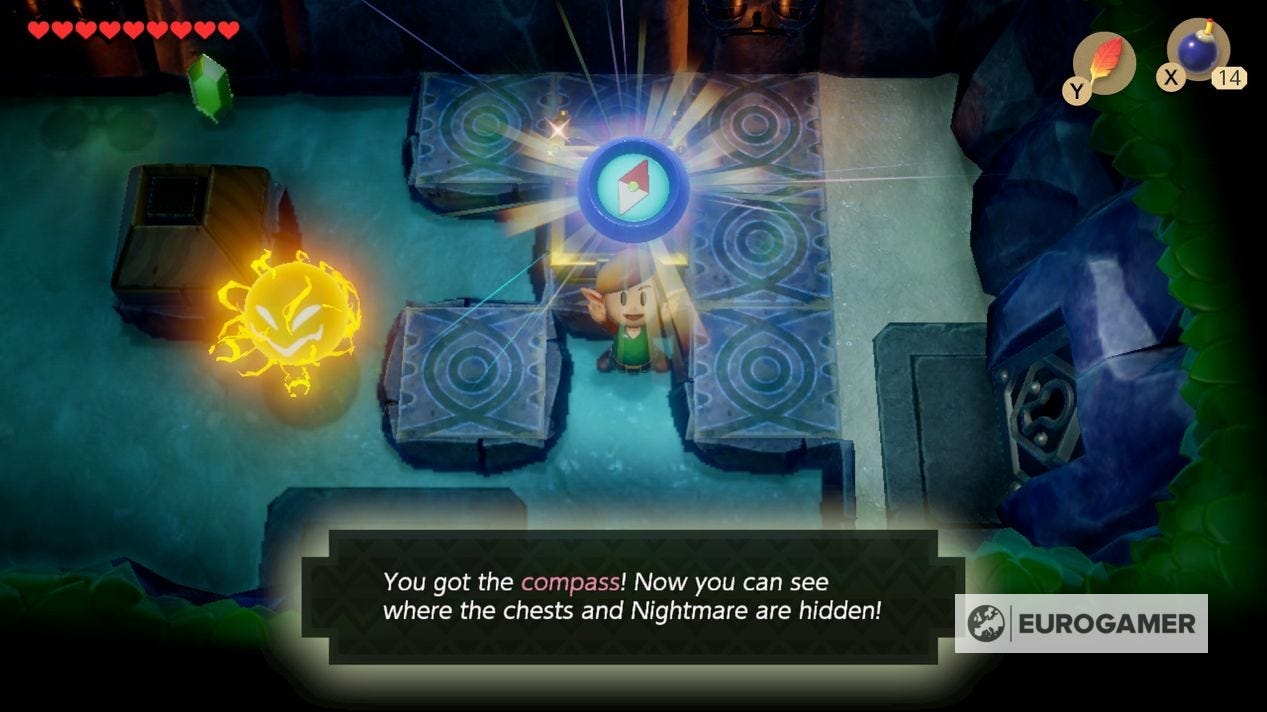
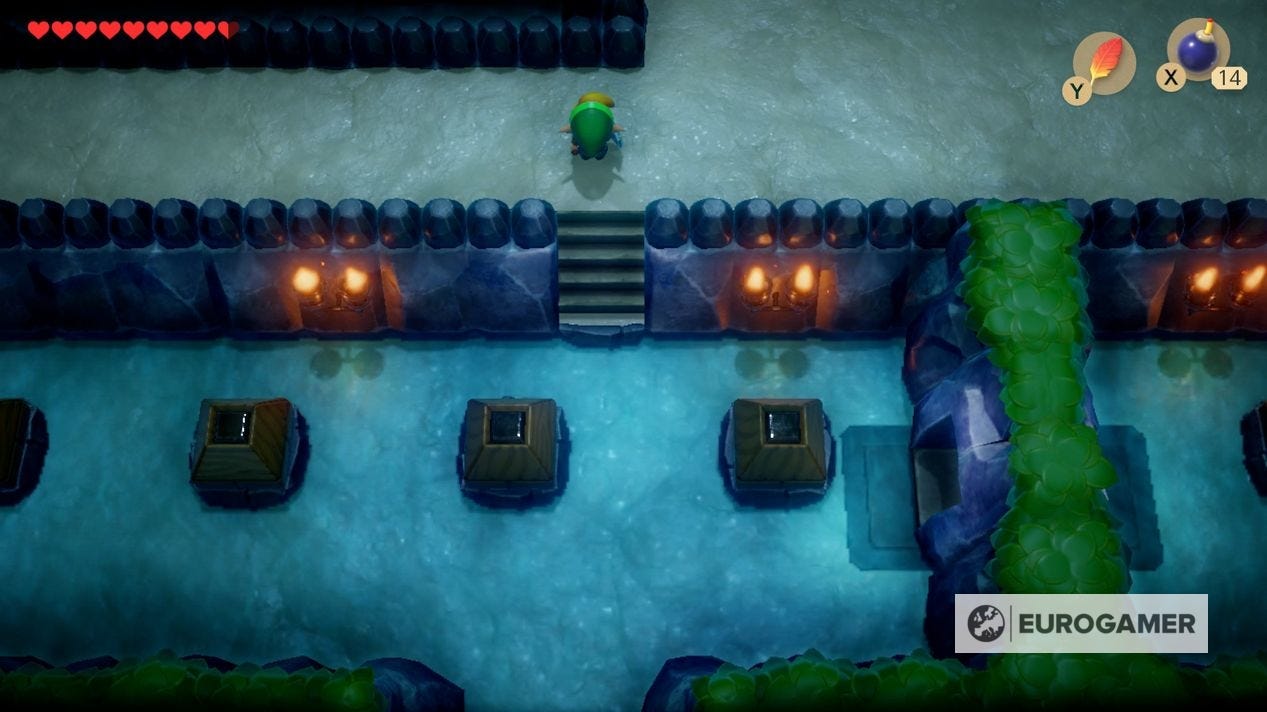
Go north into the first room, and clear out the enemies to open the door east. Open the chest for the dungeon's Compass.
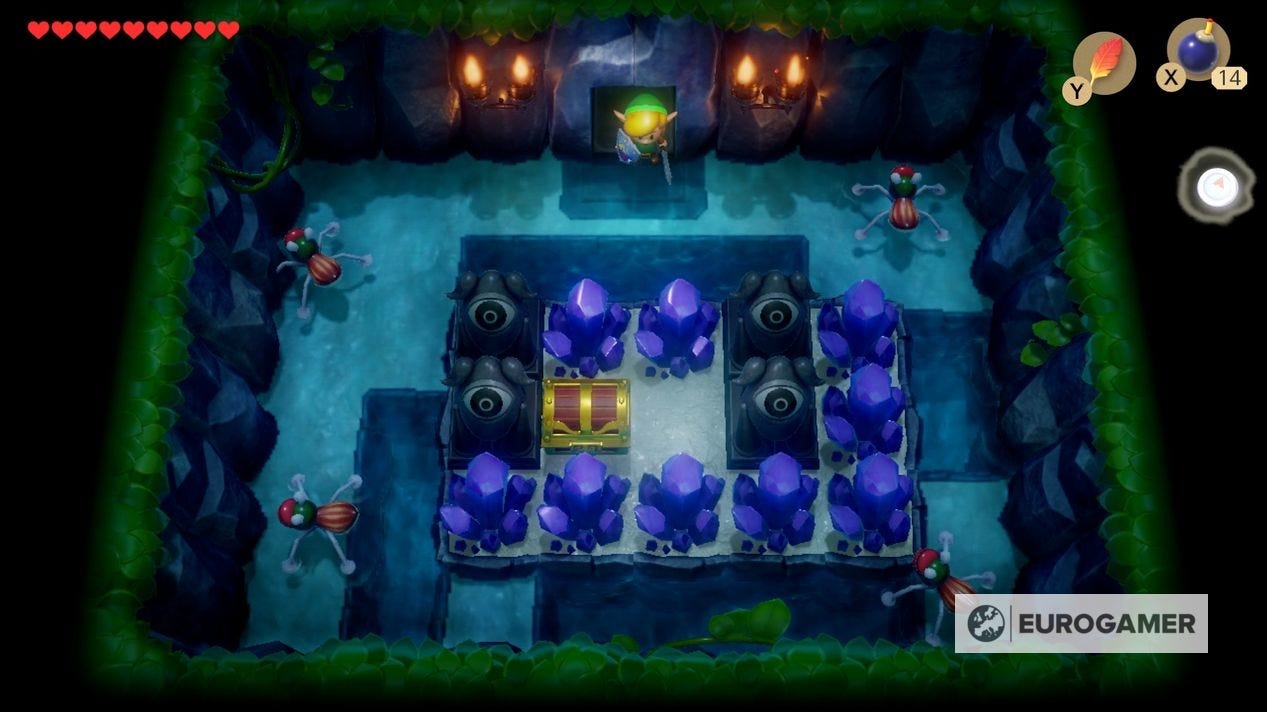
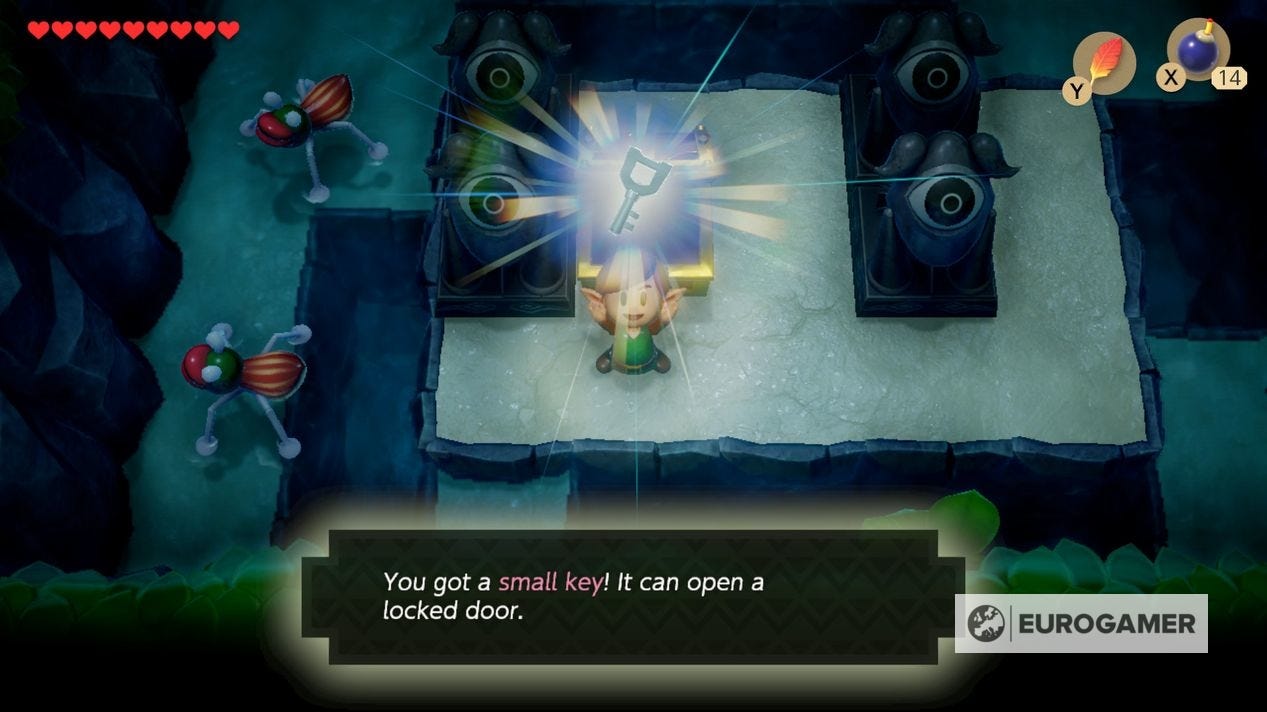
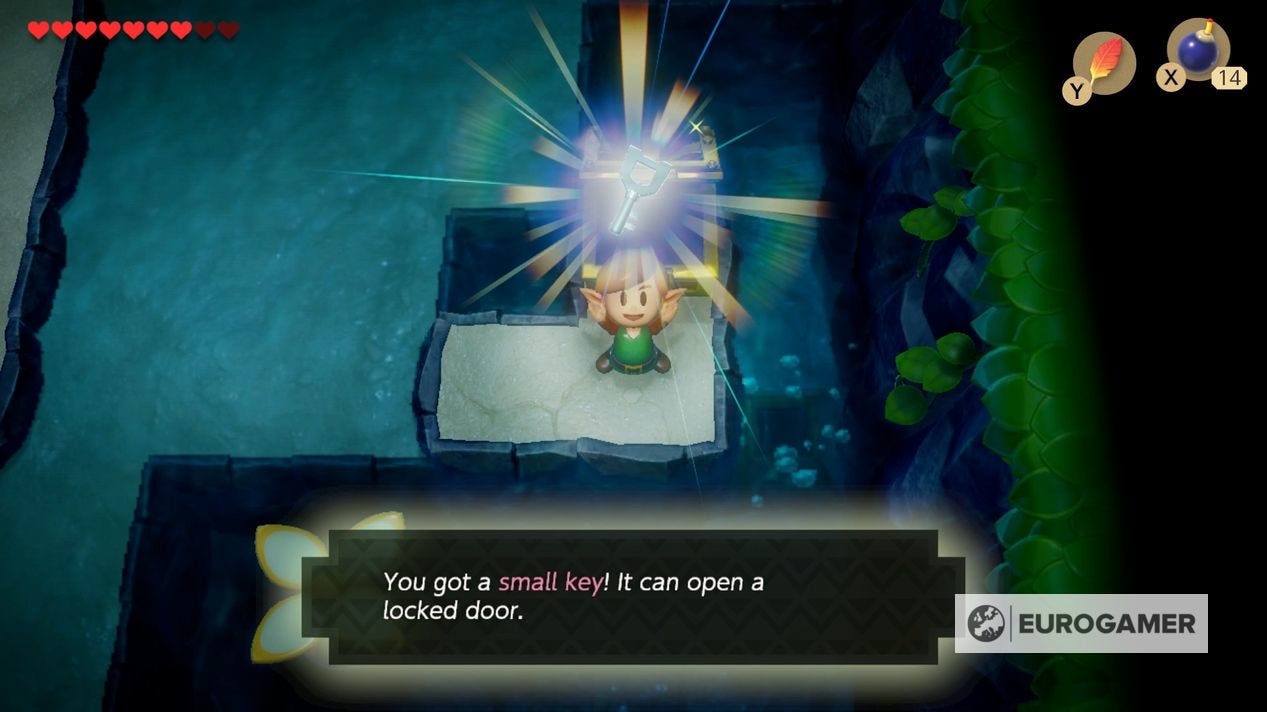
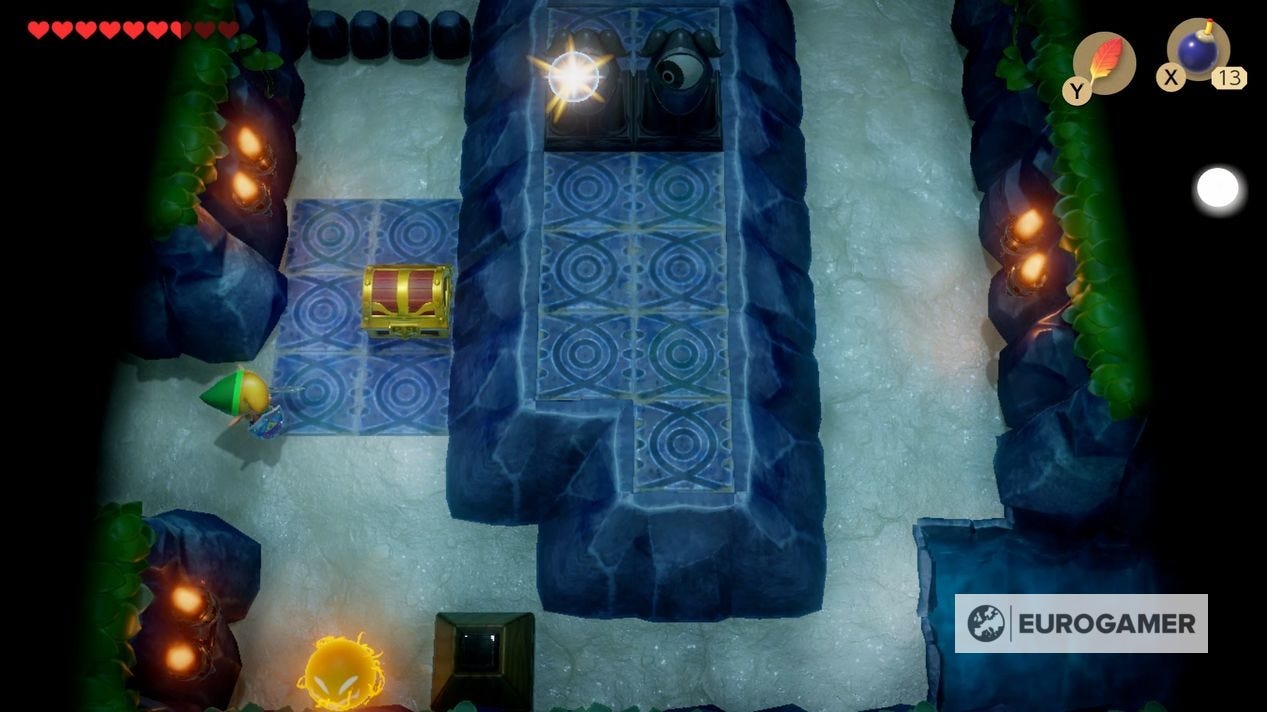
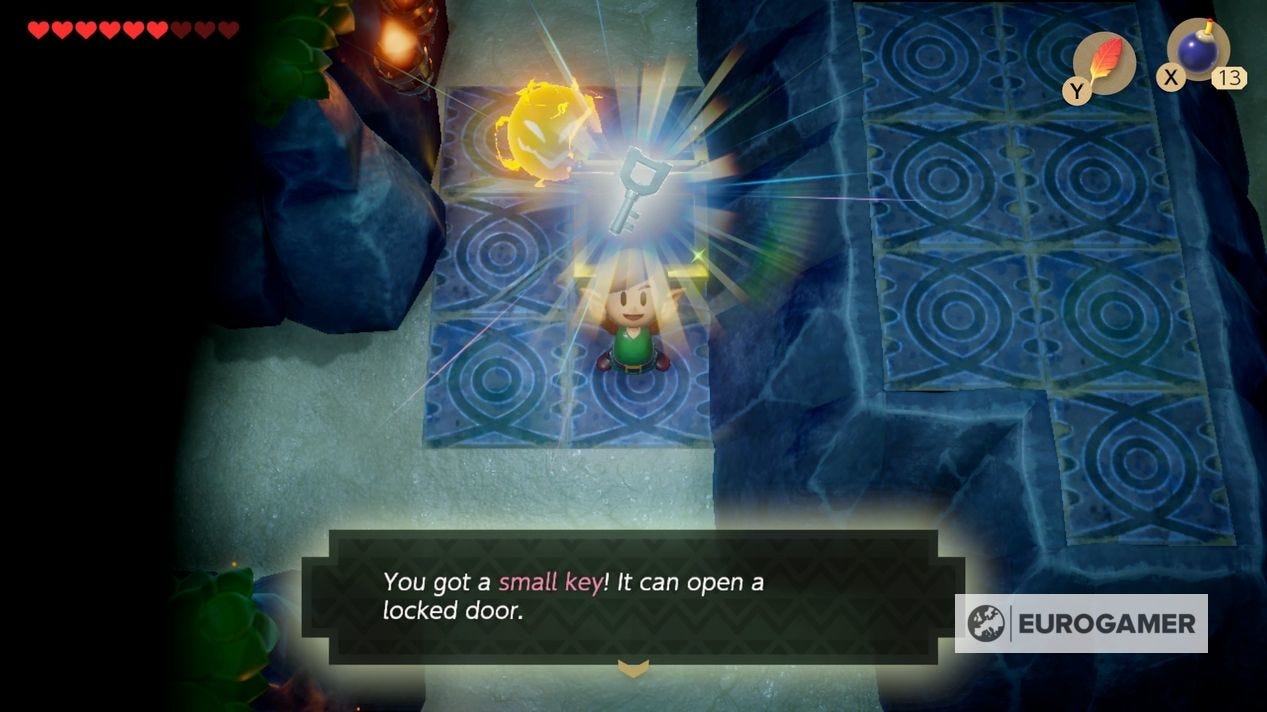
Defeat the enemies here also to open the door south. In this room, you have to go right and avoid the deep water areas, clearing the crystals as you go, so you can reach the chest for a Small Key.
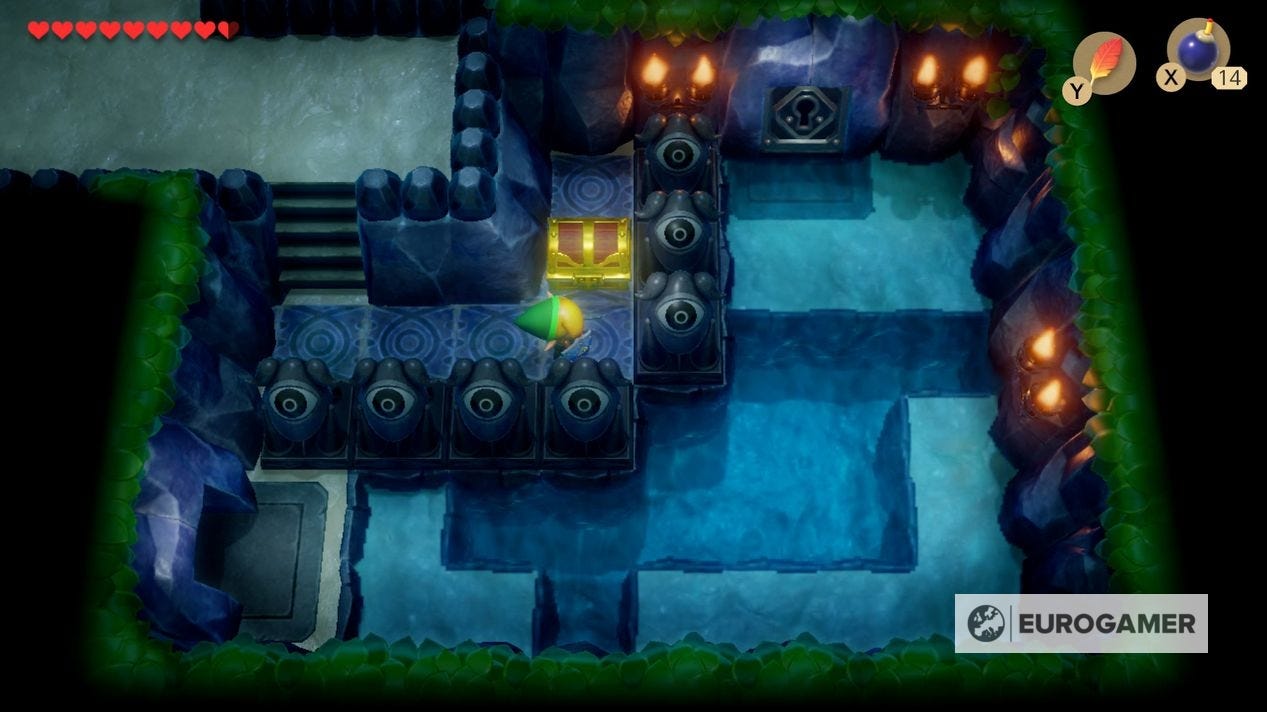
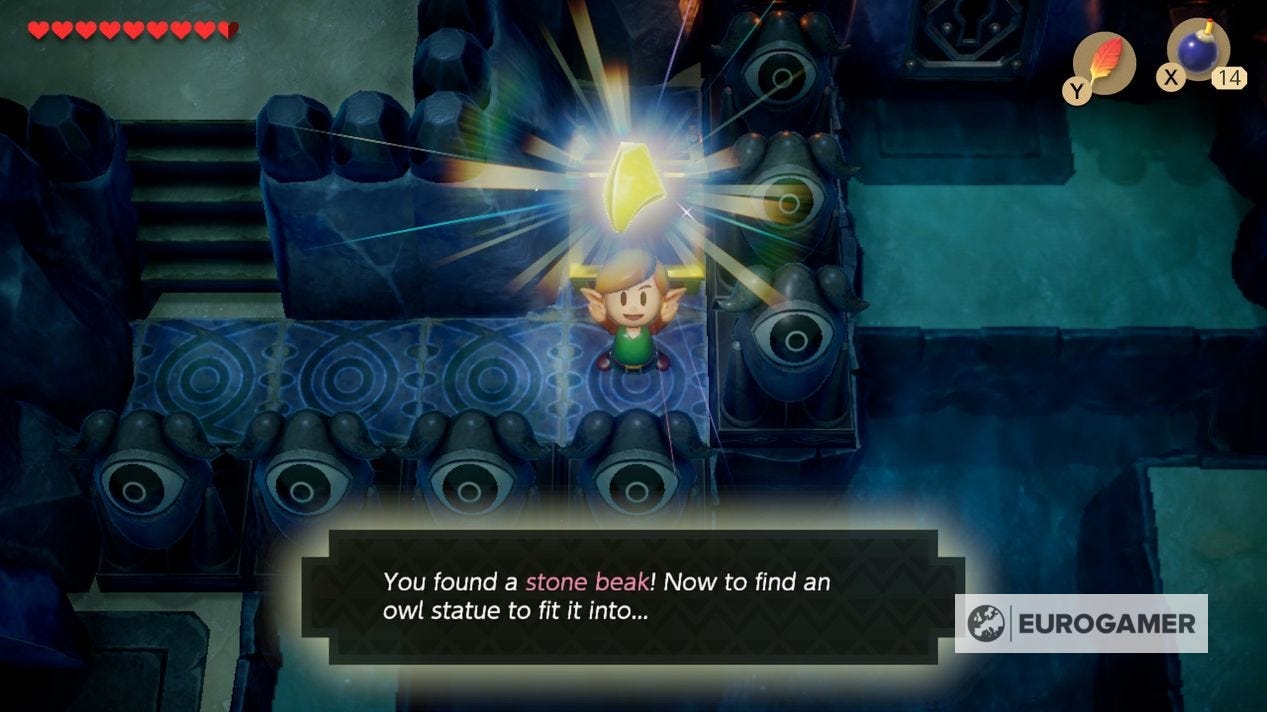
Head back out the room, go left to where you started, then north up the steps. Head right to the edge of the screen then down to find a chest overlooking another room, containing the Stone Beak.
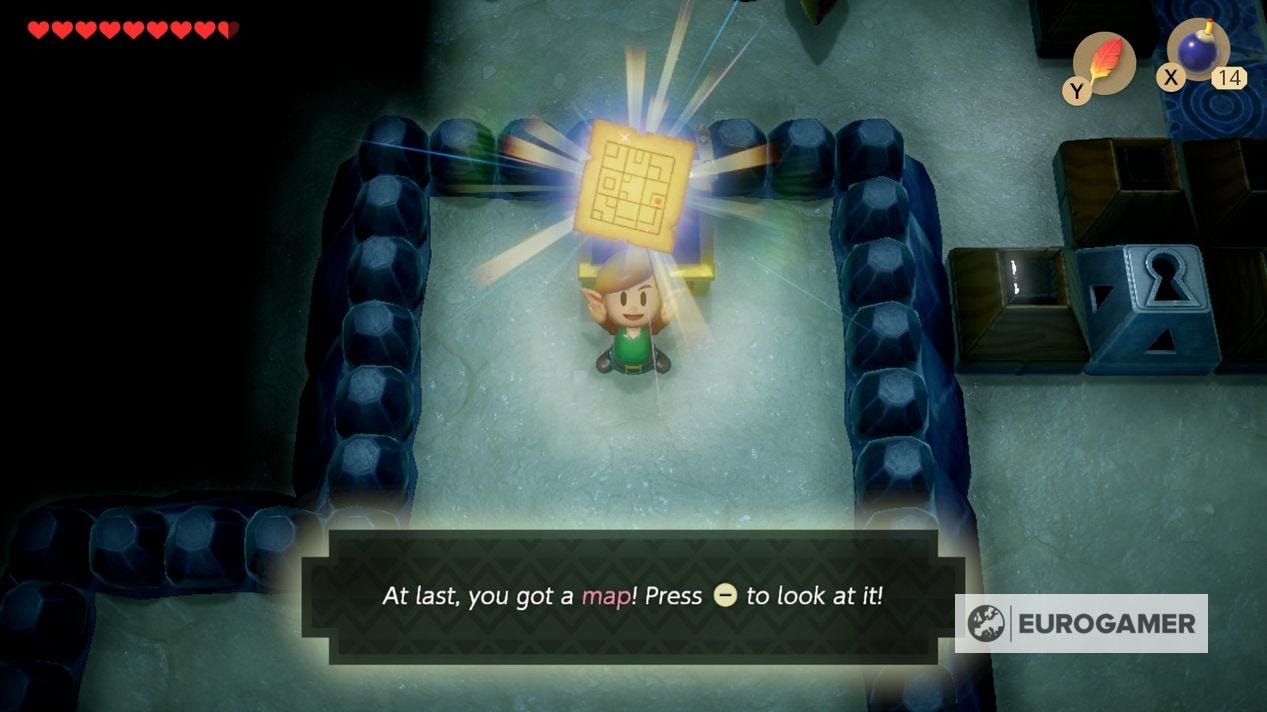
Head back to the previous room then up, until you reach a chest. Open this for the Angler's Tunnel Map location.
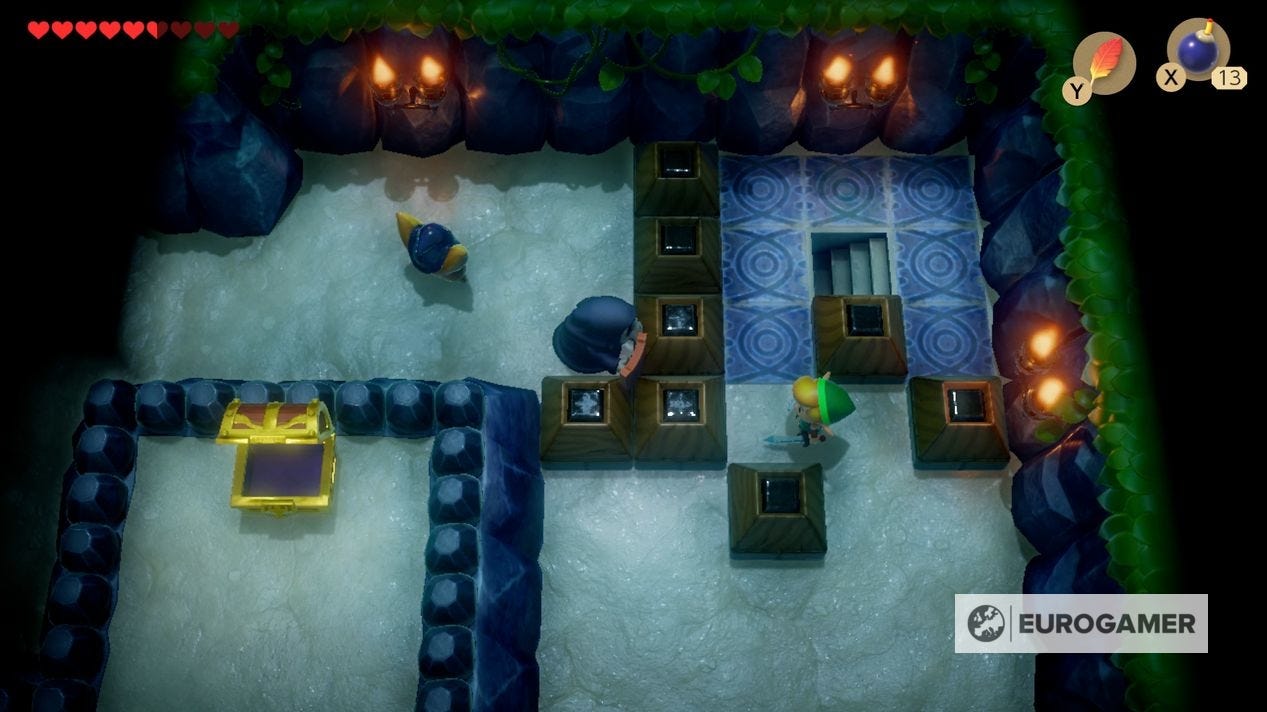
Head down the steps here, and use the Pegasus Boots and Roc's Feather to leap over the 'plus' shaped hole to go east.
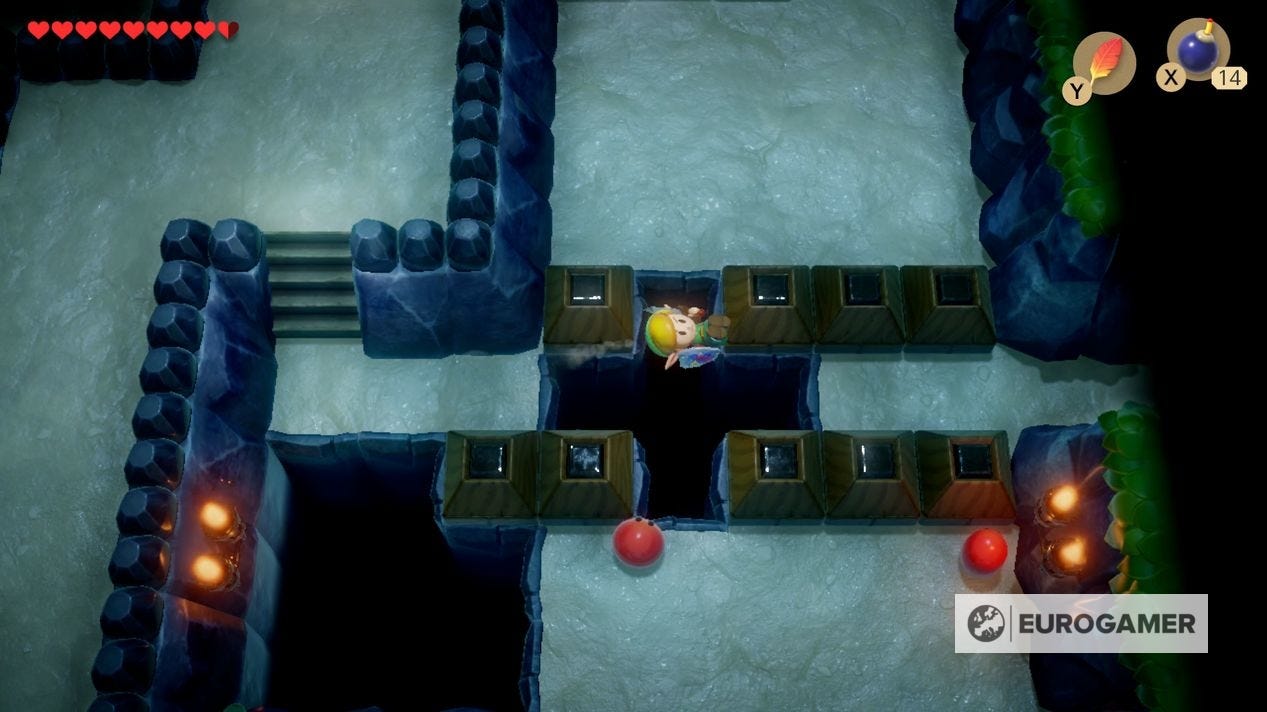
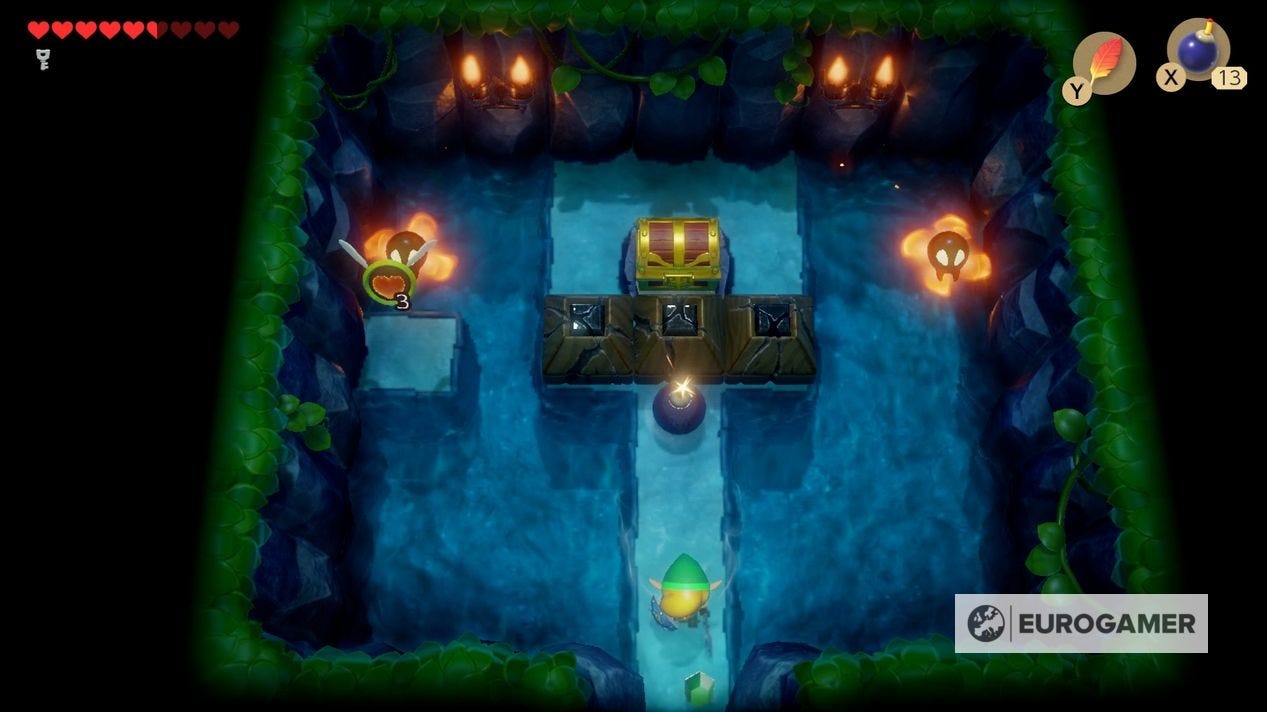
To open the chest on the right, use a bomb on the cracked block, and push the one in front of the chest into the deep water, netting you a Small Key.
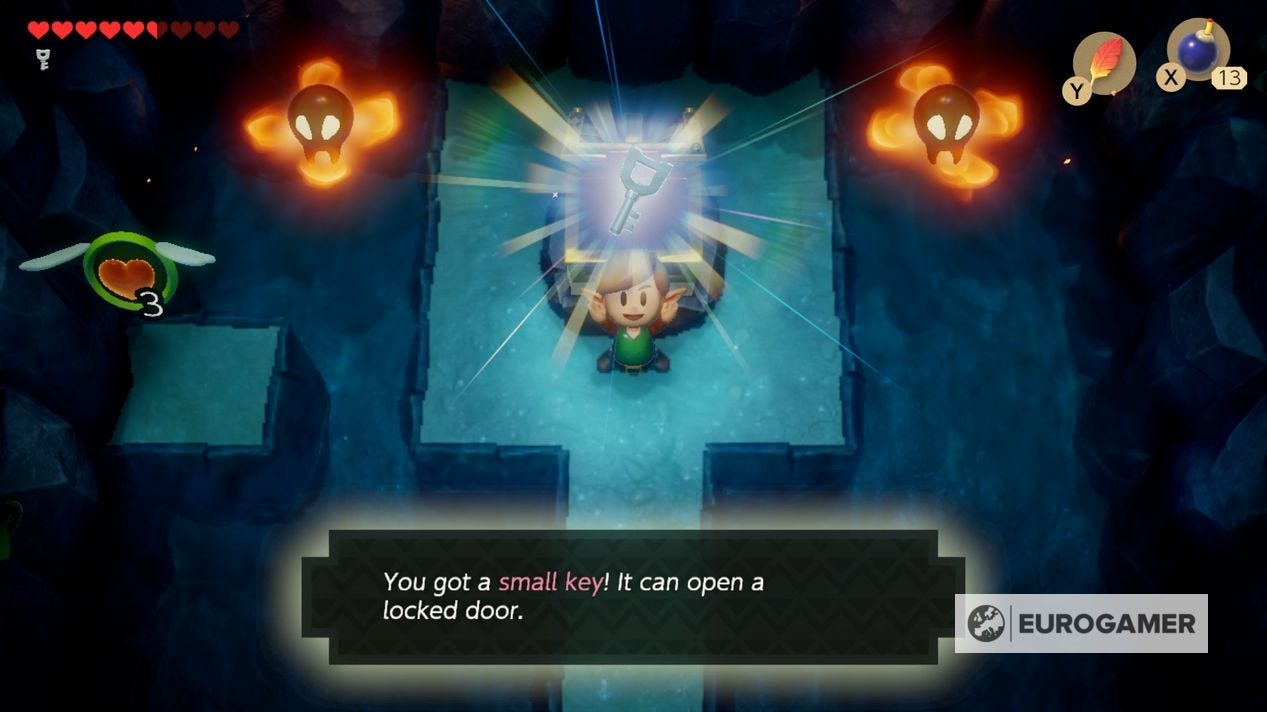
Head north into the corner room, where you'll find another set of cracked blocks and a chest behind it. Use a bomb here for another Small Key.
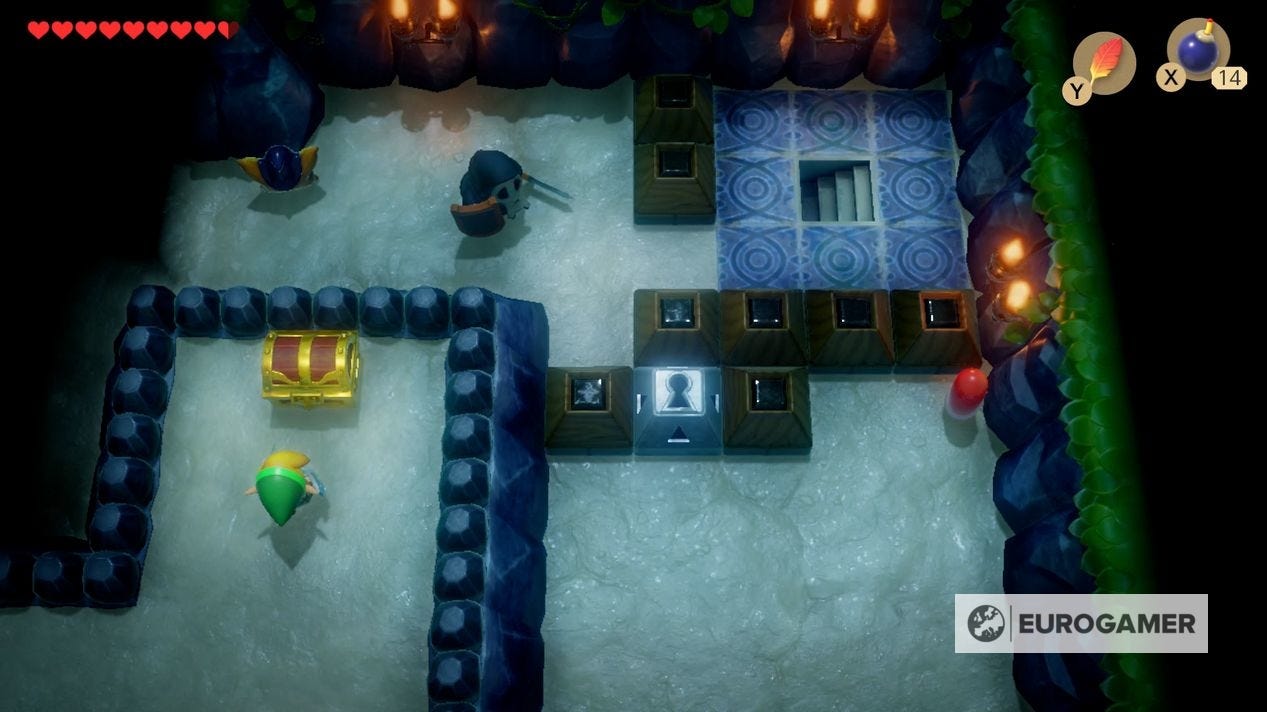
Head back to where you started the dungeon, and go east until you hit a locked door. Use a Small Key to arrive in the other part of the room where you found the Stone Beak, and had through another locked door north.
Ignore the chest to the side for now, and do a Pegasus leap north over the water.
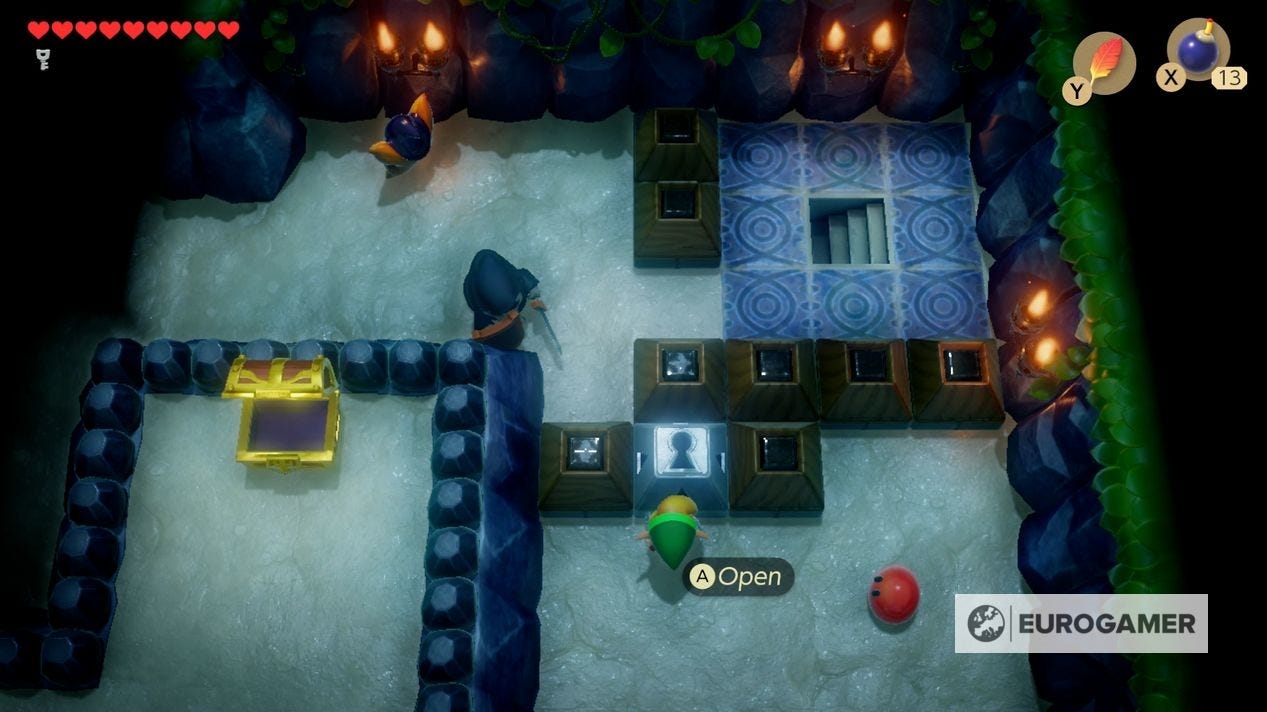
Use a Small Key to unlock the block, and move the blocks as follows to access the stairwell in the corner:
The stairwell doesn't actually contain anything of use right now, so simply leave to reset the blocks, allowing you to head west. Clear the enemies here to make a Small Key drop down into one of the holes.
Ignore this - it's dropped down into the side-scrolling room we just entered, but is out of reach for the time being - and head south.
Make your way round the outside of this large room until you reach the far west side with a chest containing just an enemy.

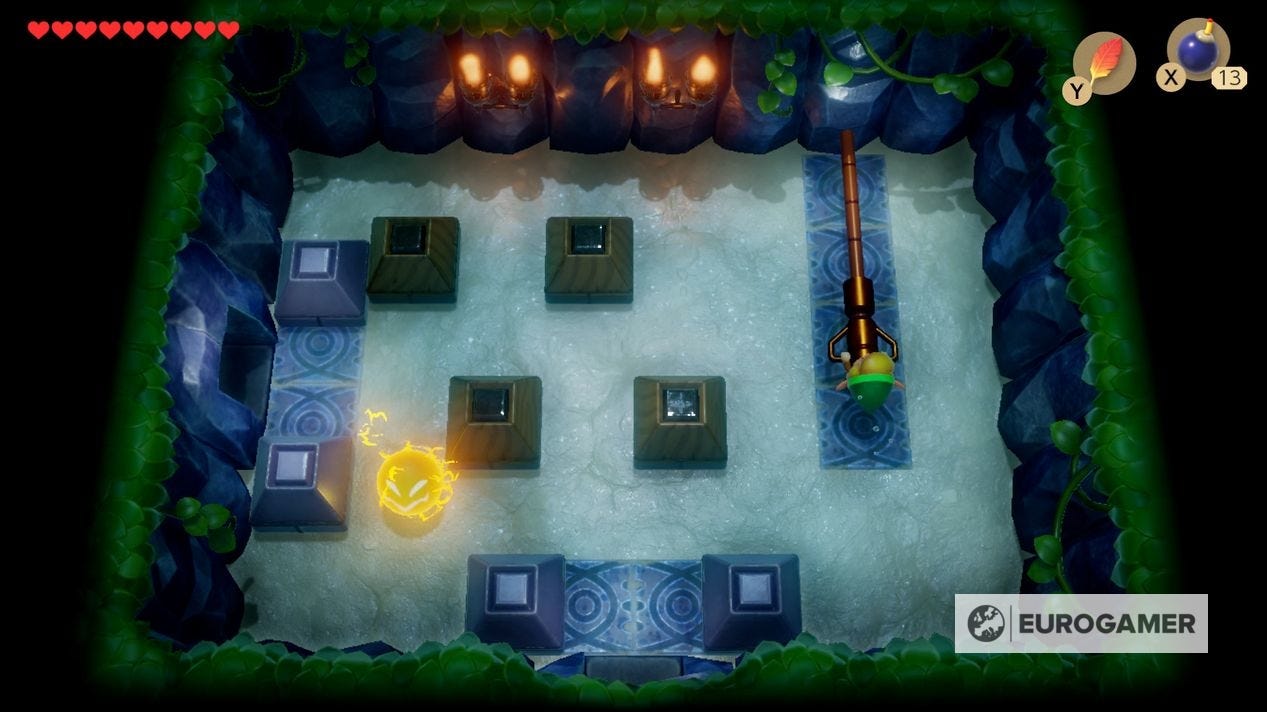
West is a dead end, while north takes you to a room with several ground switches.
You cannot complete this yet, so continue east to enter a long room, with a chest containing a Small Key.
Head back the way you came - all the way round the large central room - to where you saw the Small Key drop into the gap in the ground. Use the Small Key you just got from the chest to open the door here to face a mini-boss.
How to beat Angler's Tunnel mini-boss
To defeat it, you must attack the mini-boss's behind. It'll march round the room, and you have to catch up and stick with your sword or a Pegasus run. If you stick to the inside of the room, you'll be able to reach it that little bit faster.
As the battle goes on, the mini-boss will become more erratic, swapping directions more and more, so be prepared to turn around and run the other way to avoid getting hit.
With enough damage, it'll be defeated, spawning the now familiar warp point back to the dungeon's entrance. Head north into the next room to see several blocks closing in on the doors out of the room.
To prise them open, pull the lever to the right down the screen. Do so as much as you can, then Pegasus run to the left through the door. If you get hit by the flame, try again, and wait for the timing to be just right.
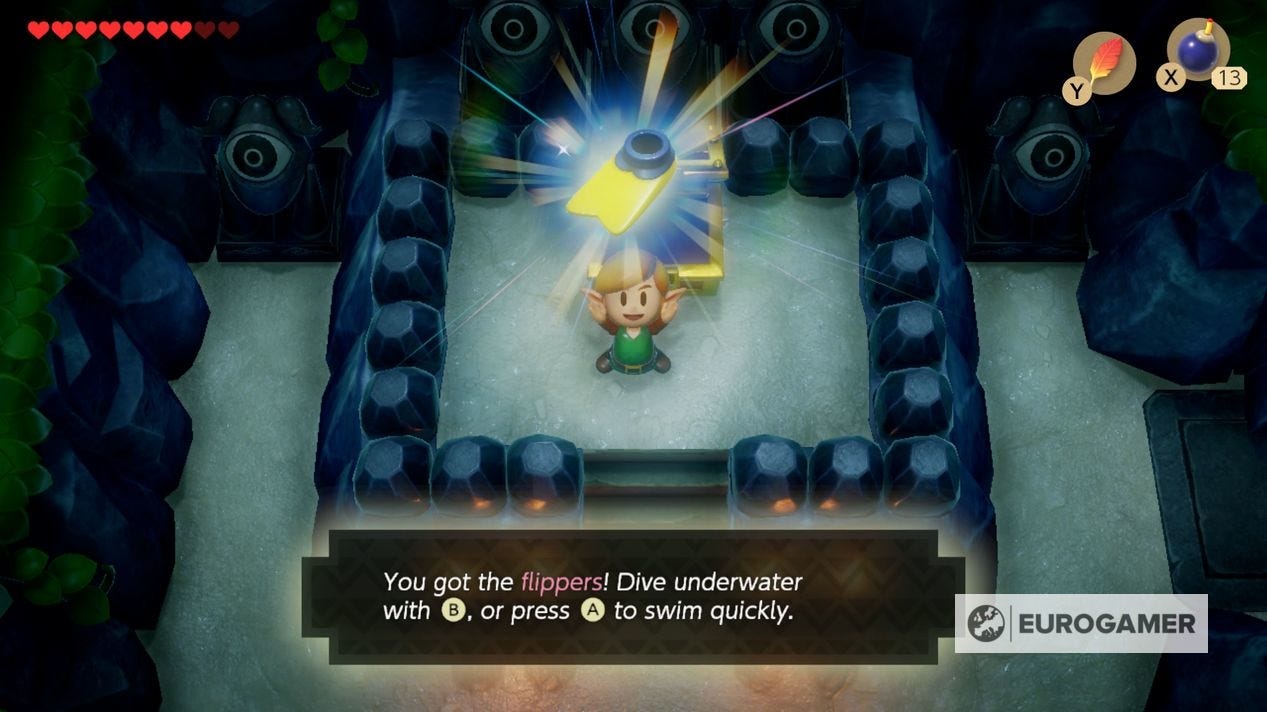
In the next room, clear the enemies to stop the fireballs coming, and open the chest for the Flippers - an item that allows you to safely swim in the deeper parts of the dungeon.
How to solve the Angler's Tunnel panel puzzle
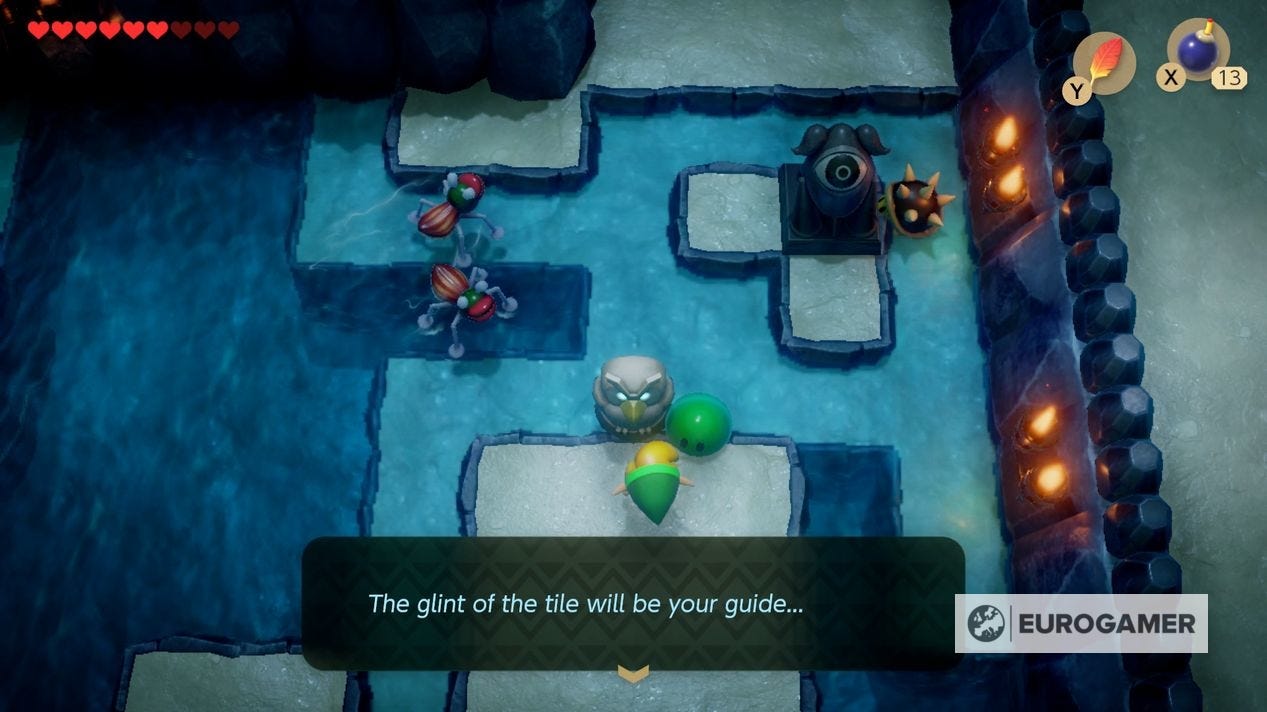
Go south, and clear all the enemies. You'll notice a wisp hovering over the upper right panel. Go there, and it'll move to another panel. This is showing you the solution to the floor panel puzzle elsewhere.
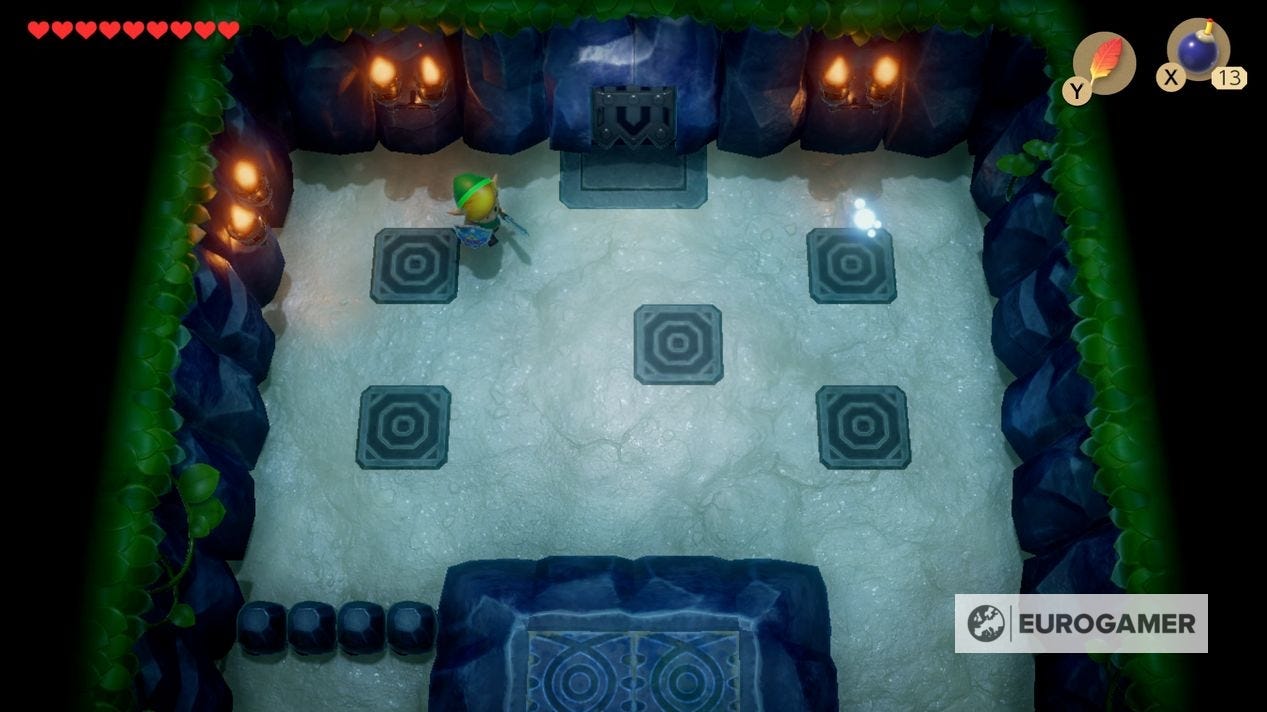
Follow it all the way round to open the door above, but instead, you can get there quicker by going south and moving the block to the left, then going just one screen over.
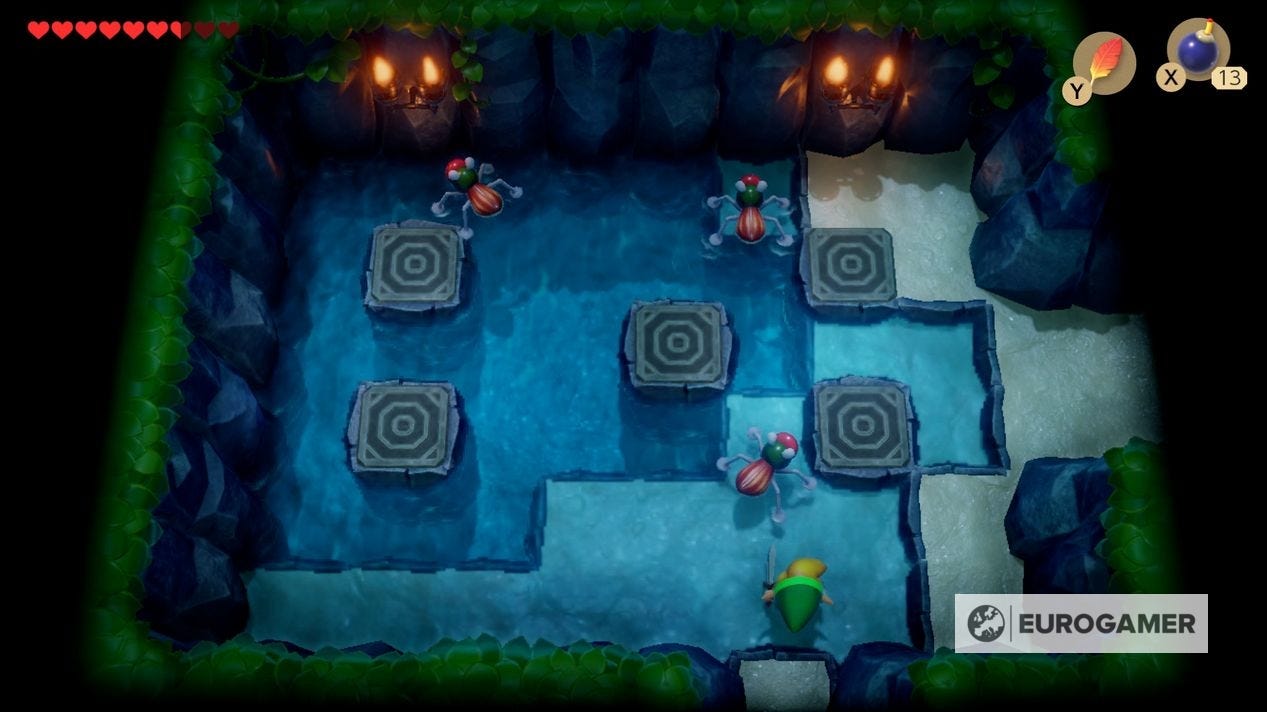
In this room, now you have the Flippers to reach all parts of the room properly, you can now solve the puzzle. The floor panel puzzle solution is as follows:
- Upper right
- Upper left
- Lower left
- Middle
- Lower right
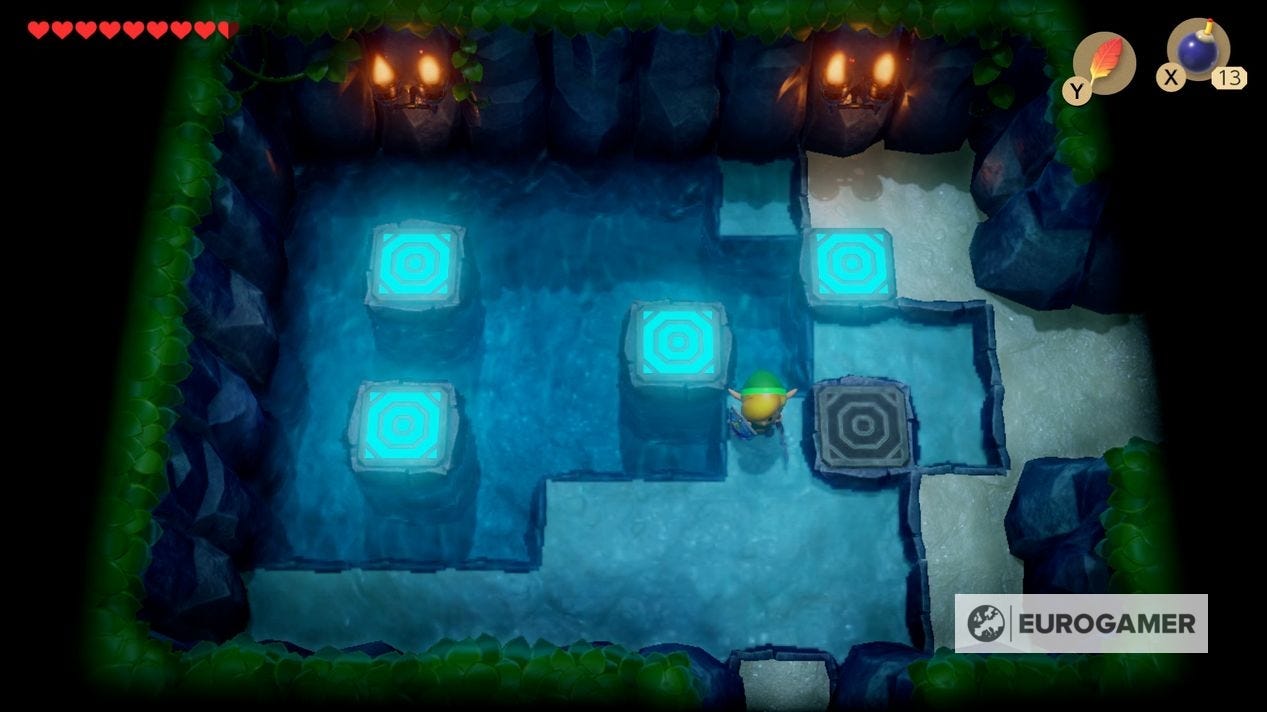
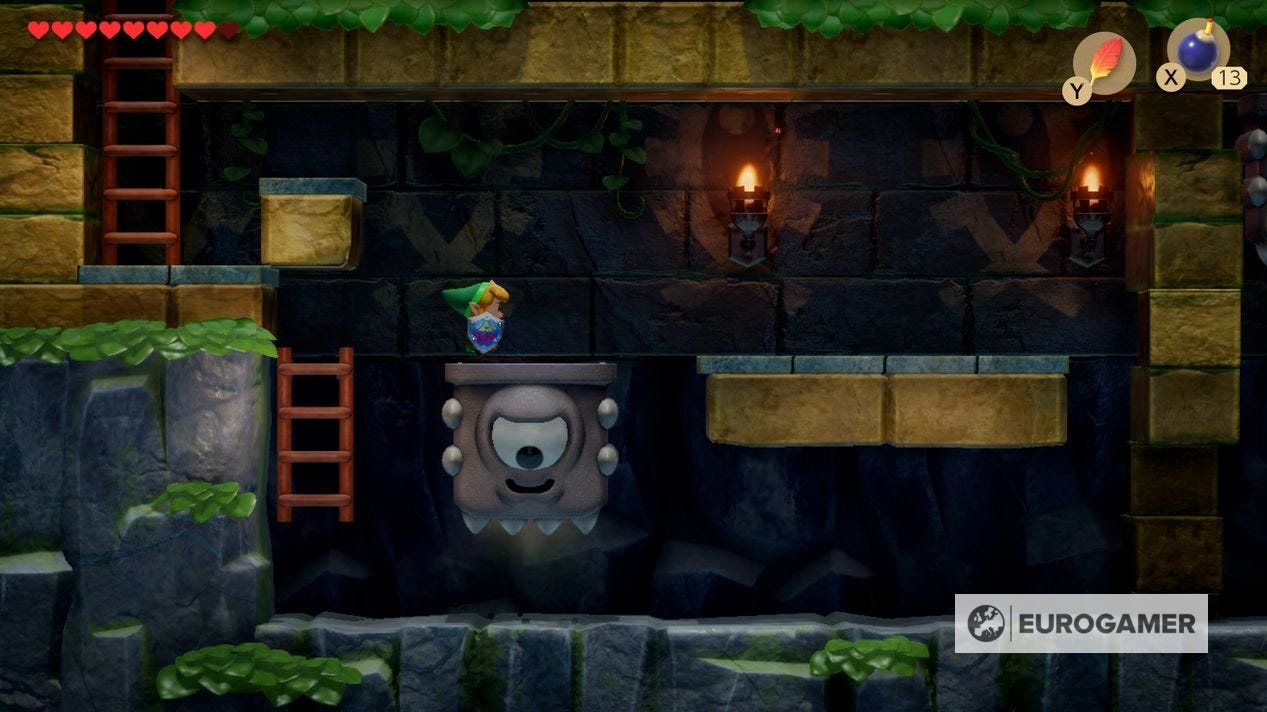
Doing this correctly will spawn a staircase in the corner. In this side-scroll section, you need to goad the platforms into falling by stepping out underneath them briefly, then back again. For the second one, you need to do this, quickly leap onto the ladder and on top, then right.
Do the same again by leaping out then in midair, going back again right, to make it fall. Now leap on when it's halfway, allowing you to reach the exit.
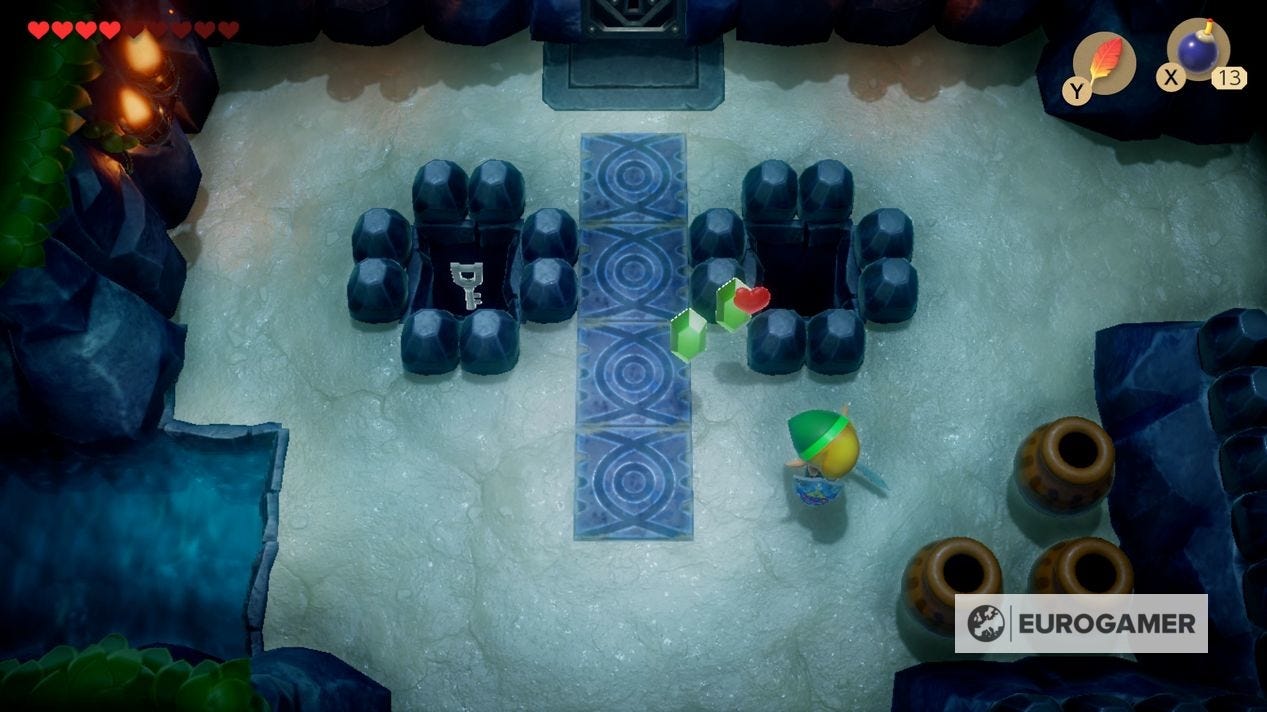
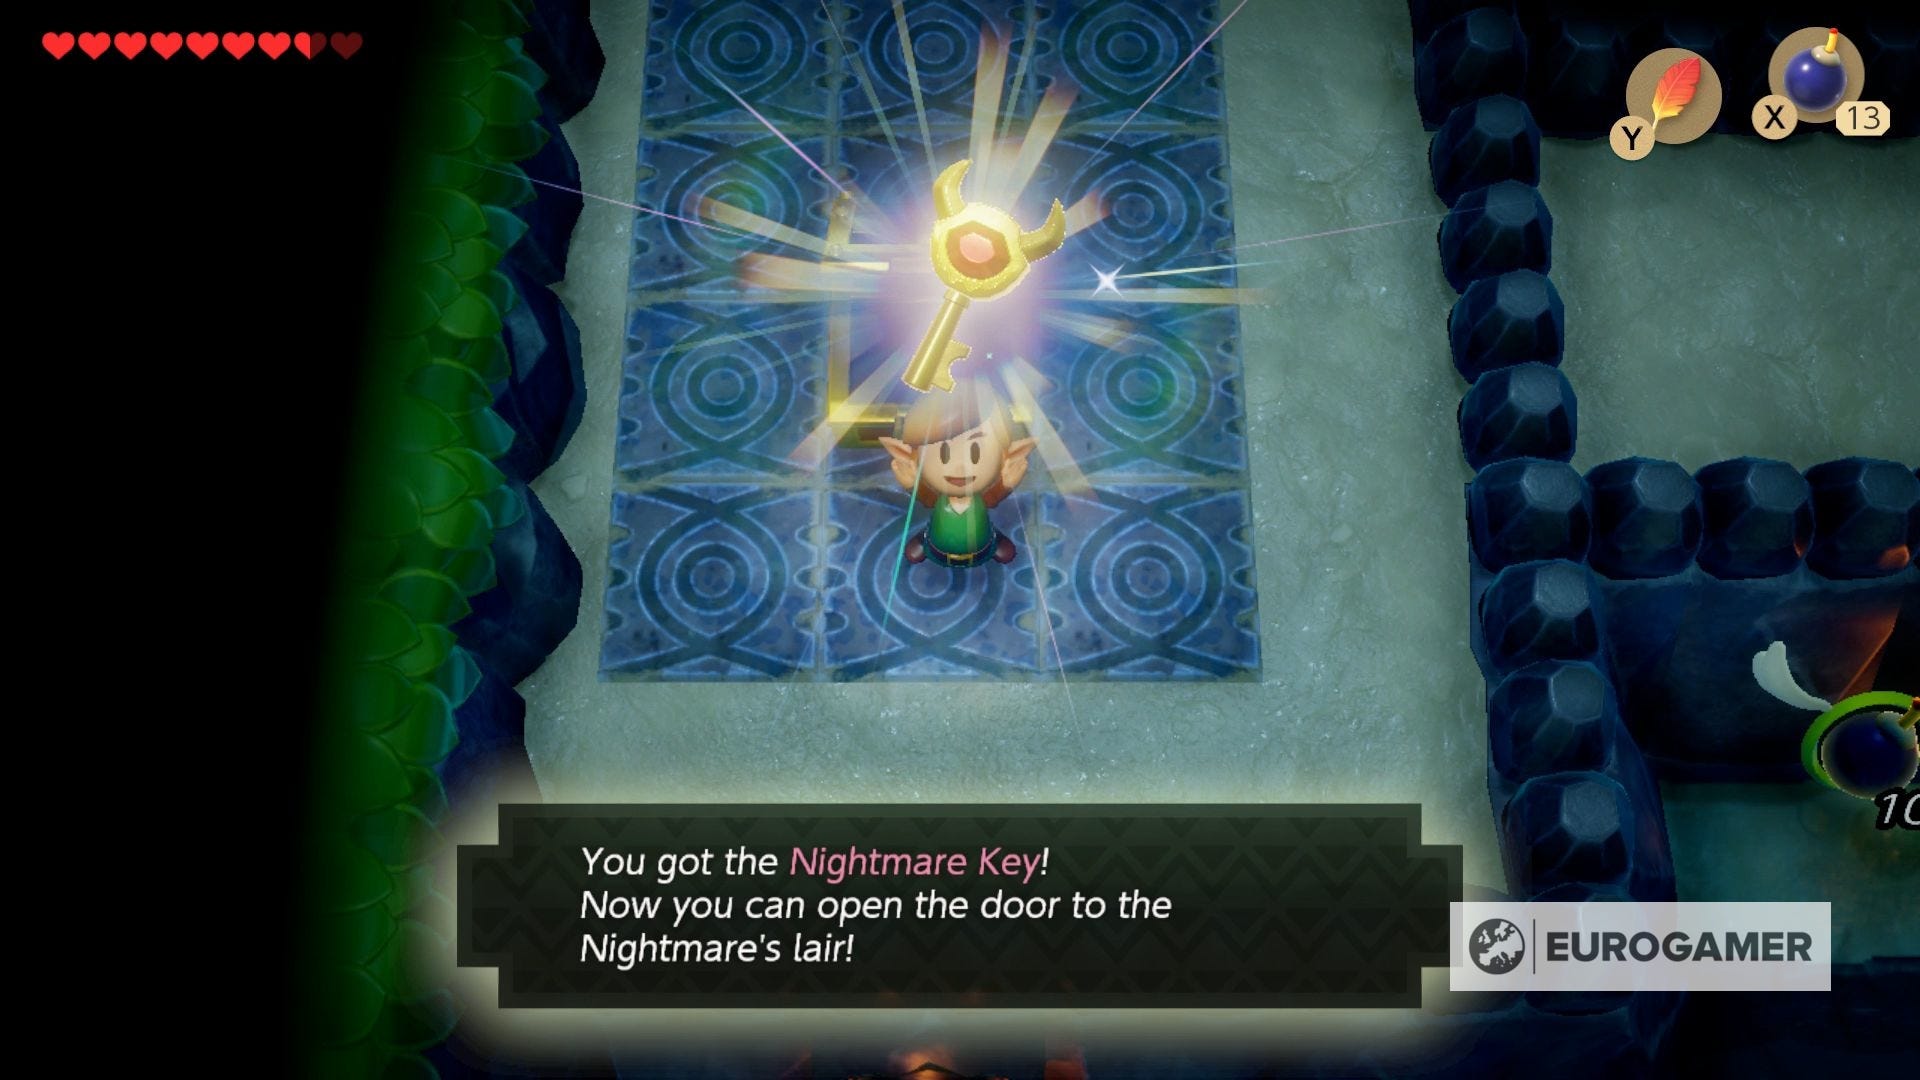
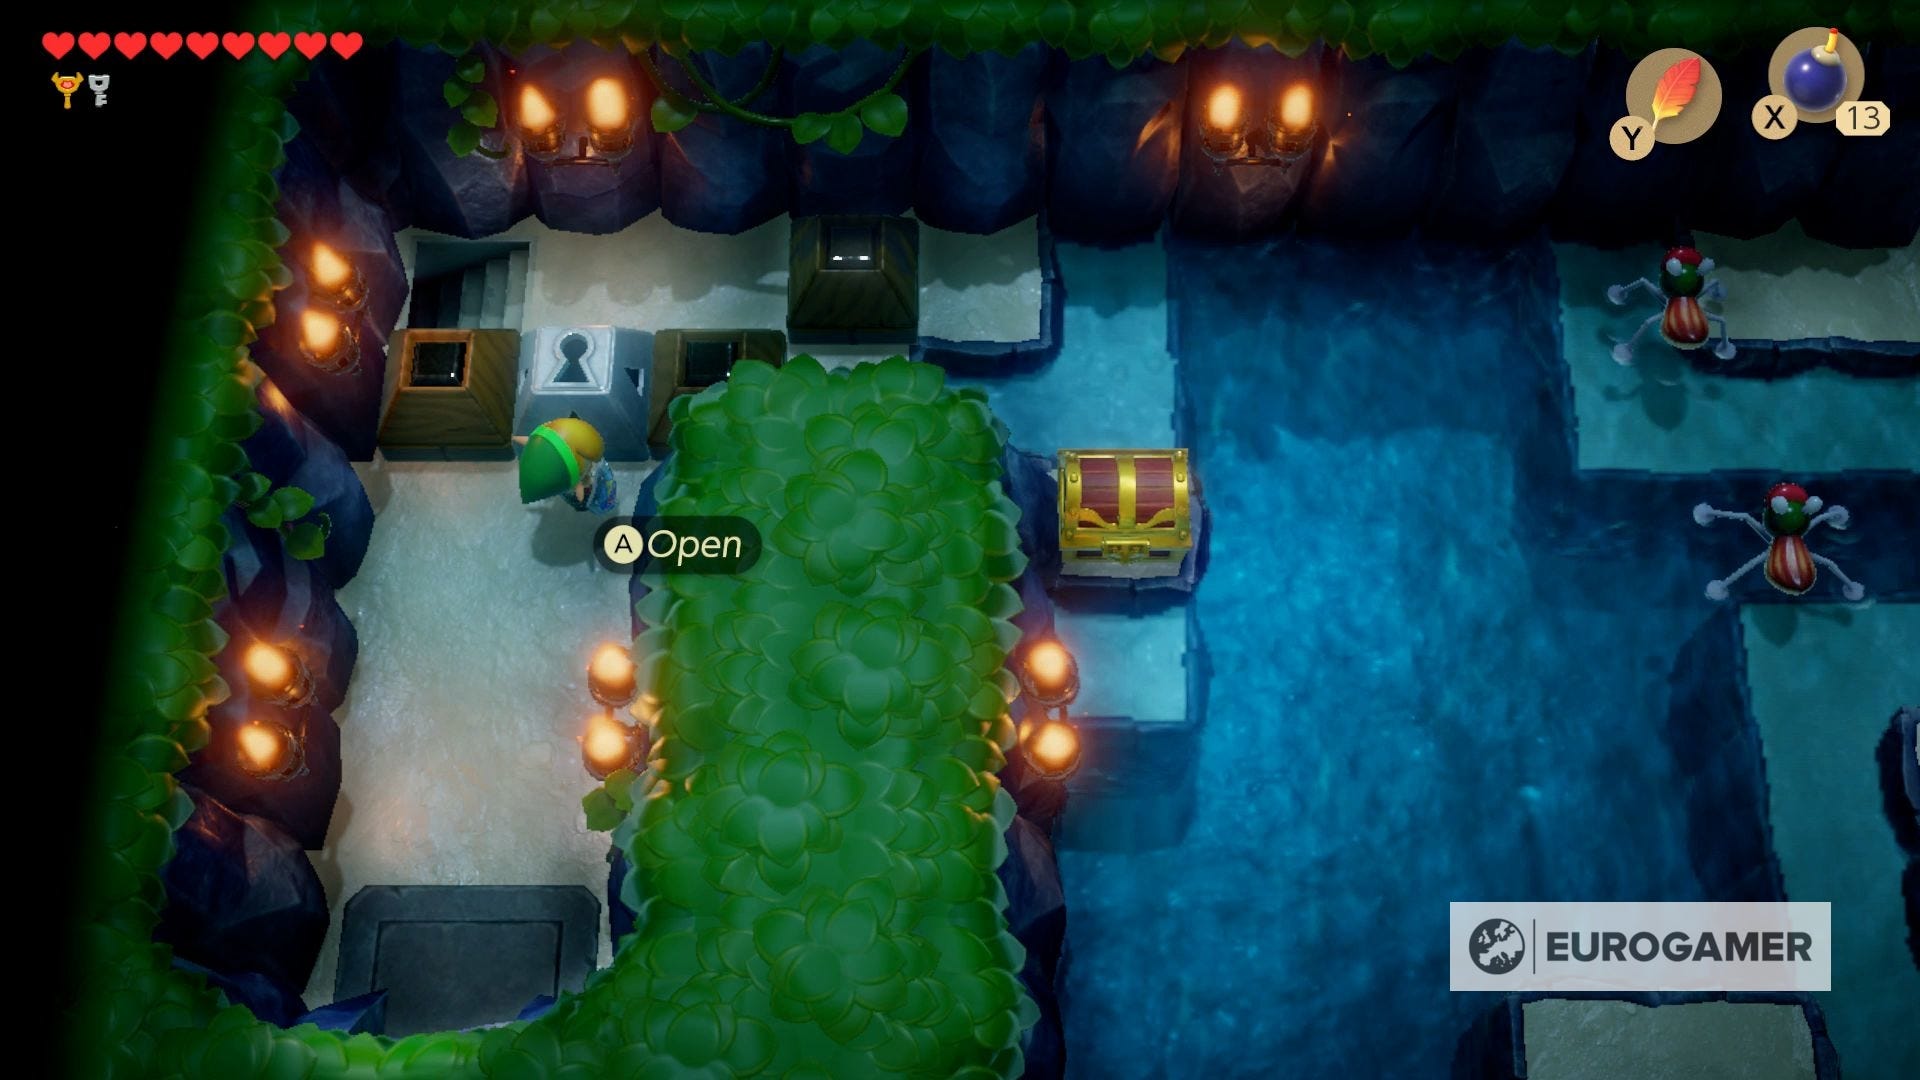
When you emerge, head south and open the chest for the Nightmare key.
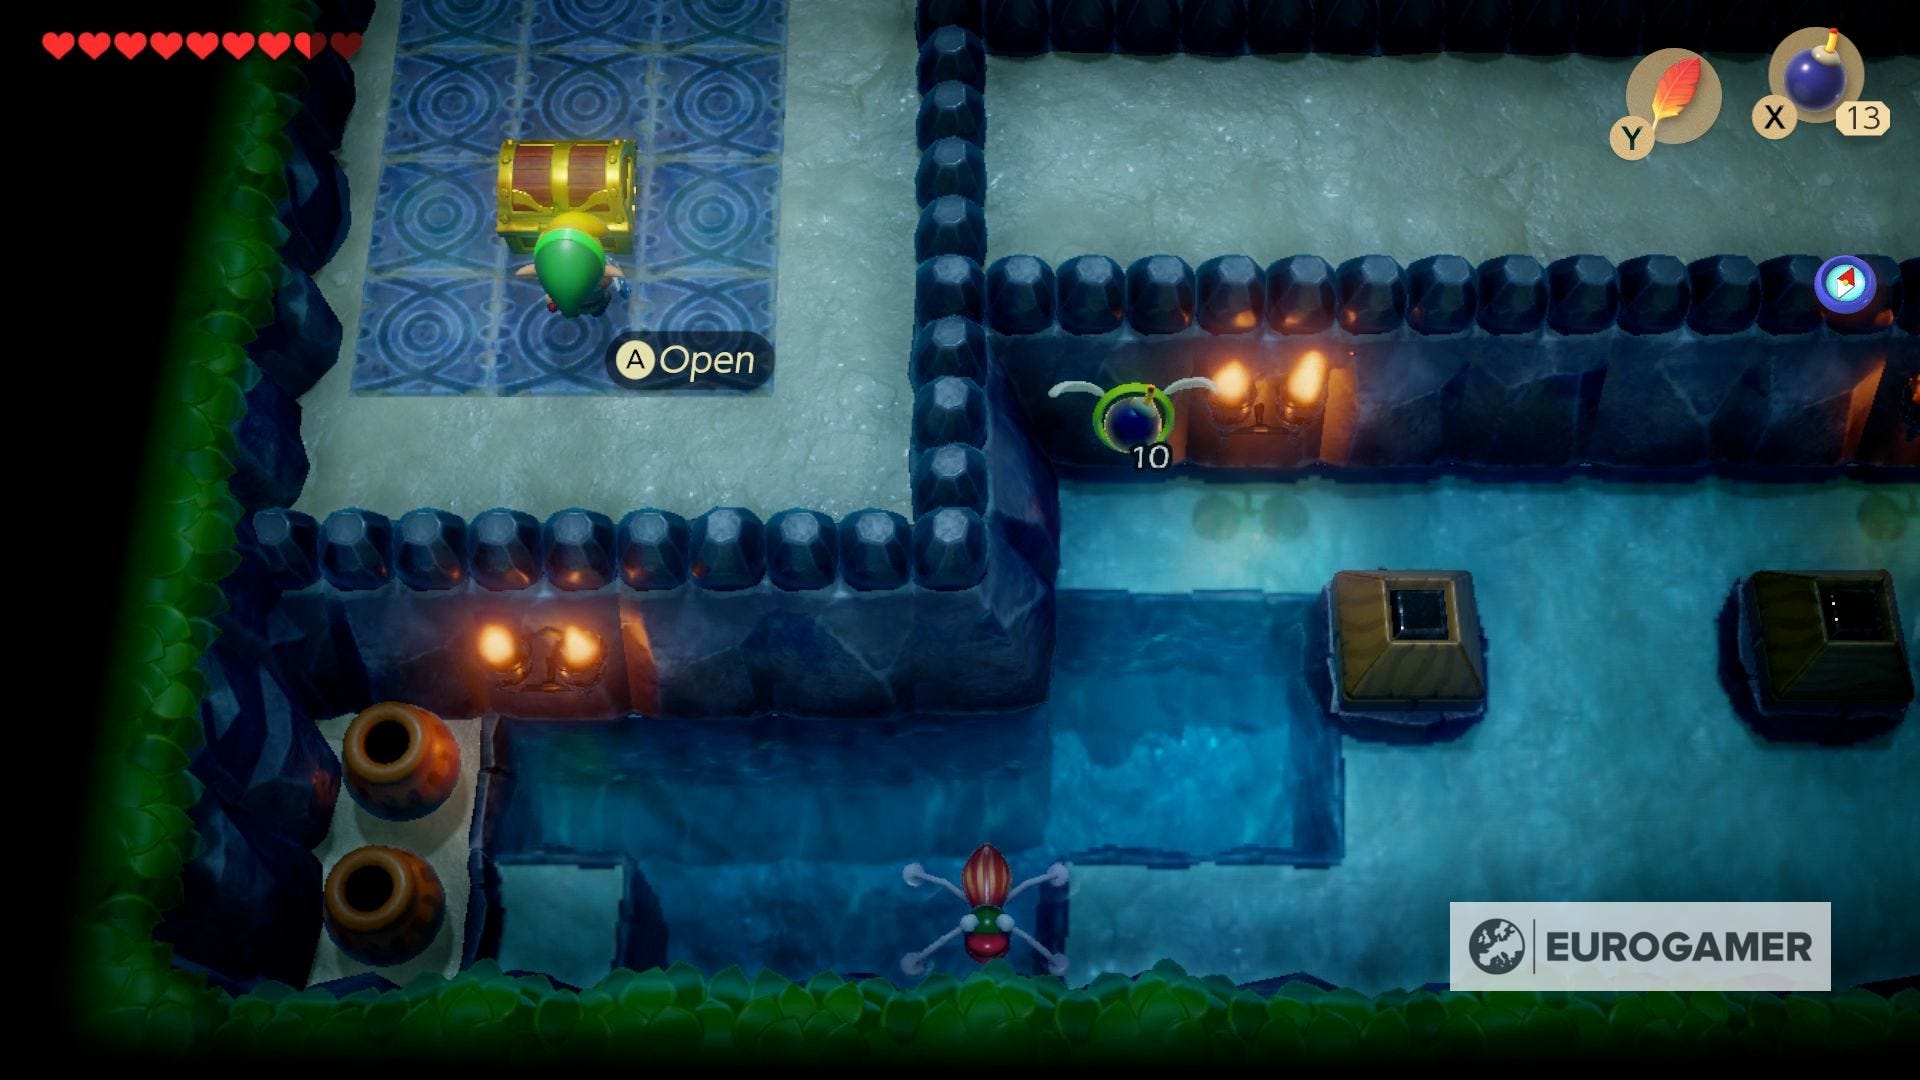
There's some more work to be done before we can get to the boss, however. First, we need to get that Small Key that dropped down into the pit a little while back.
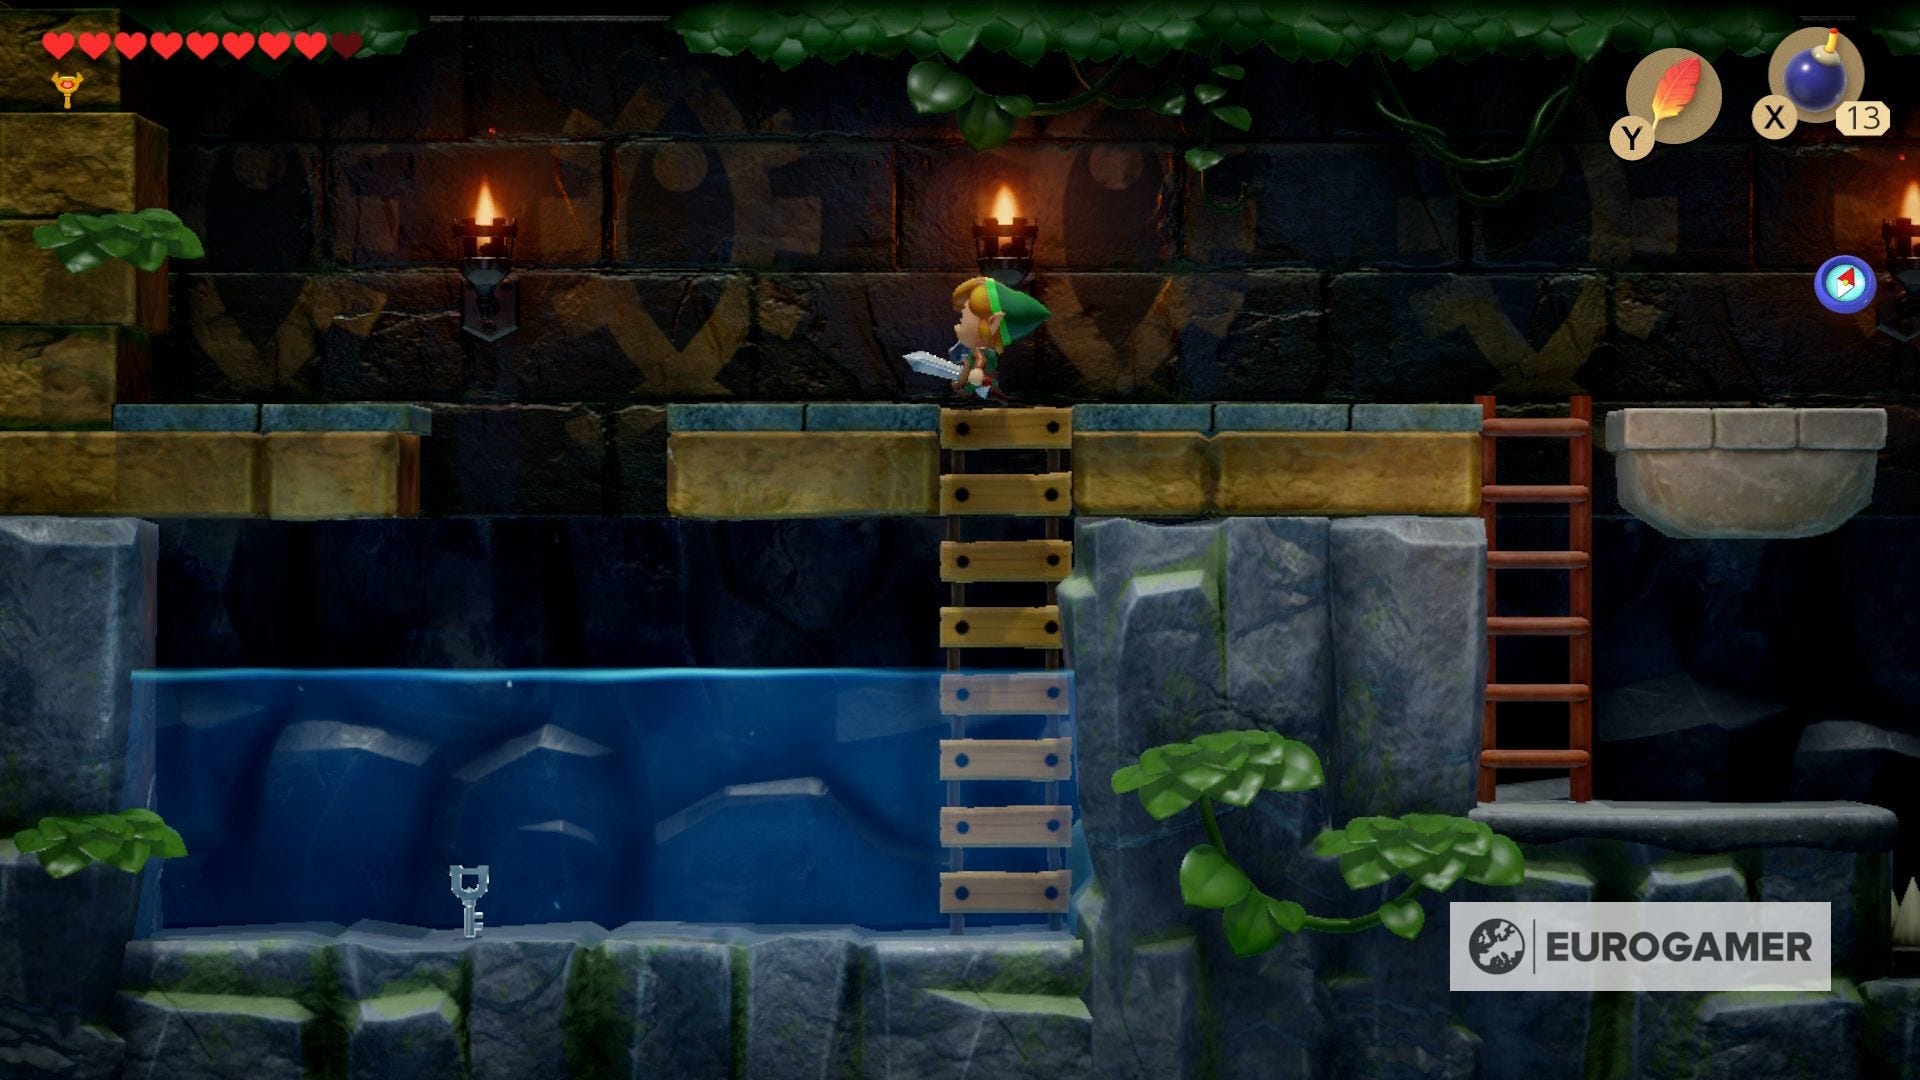
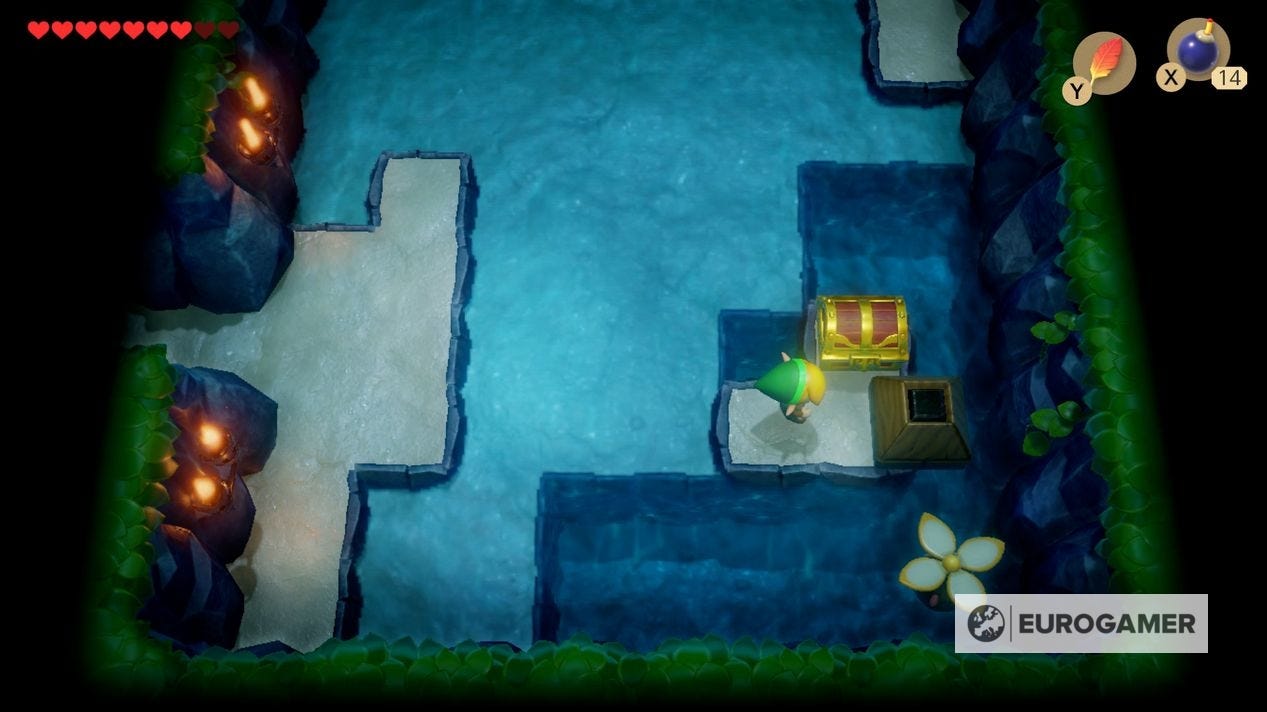
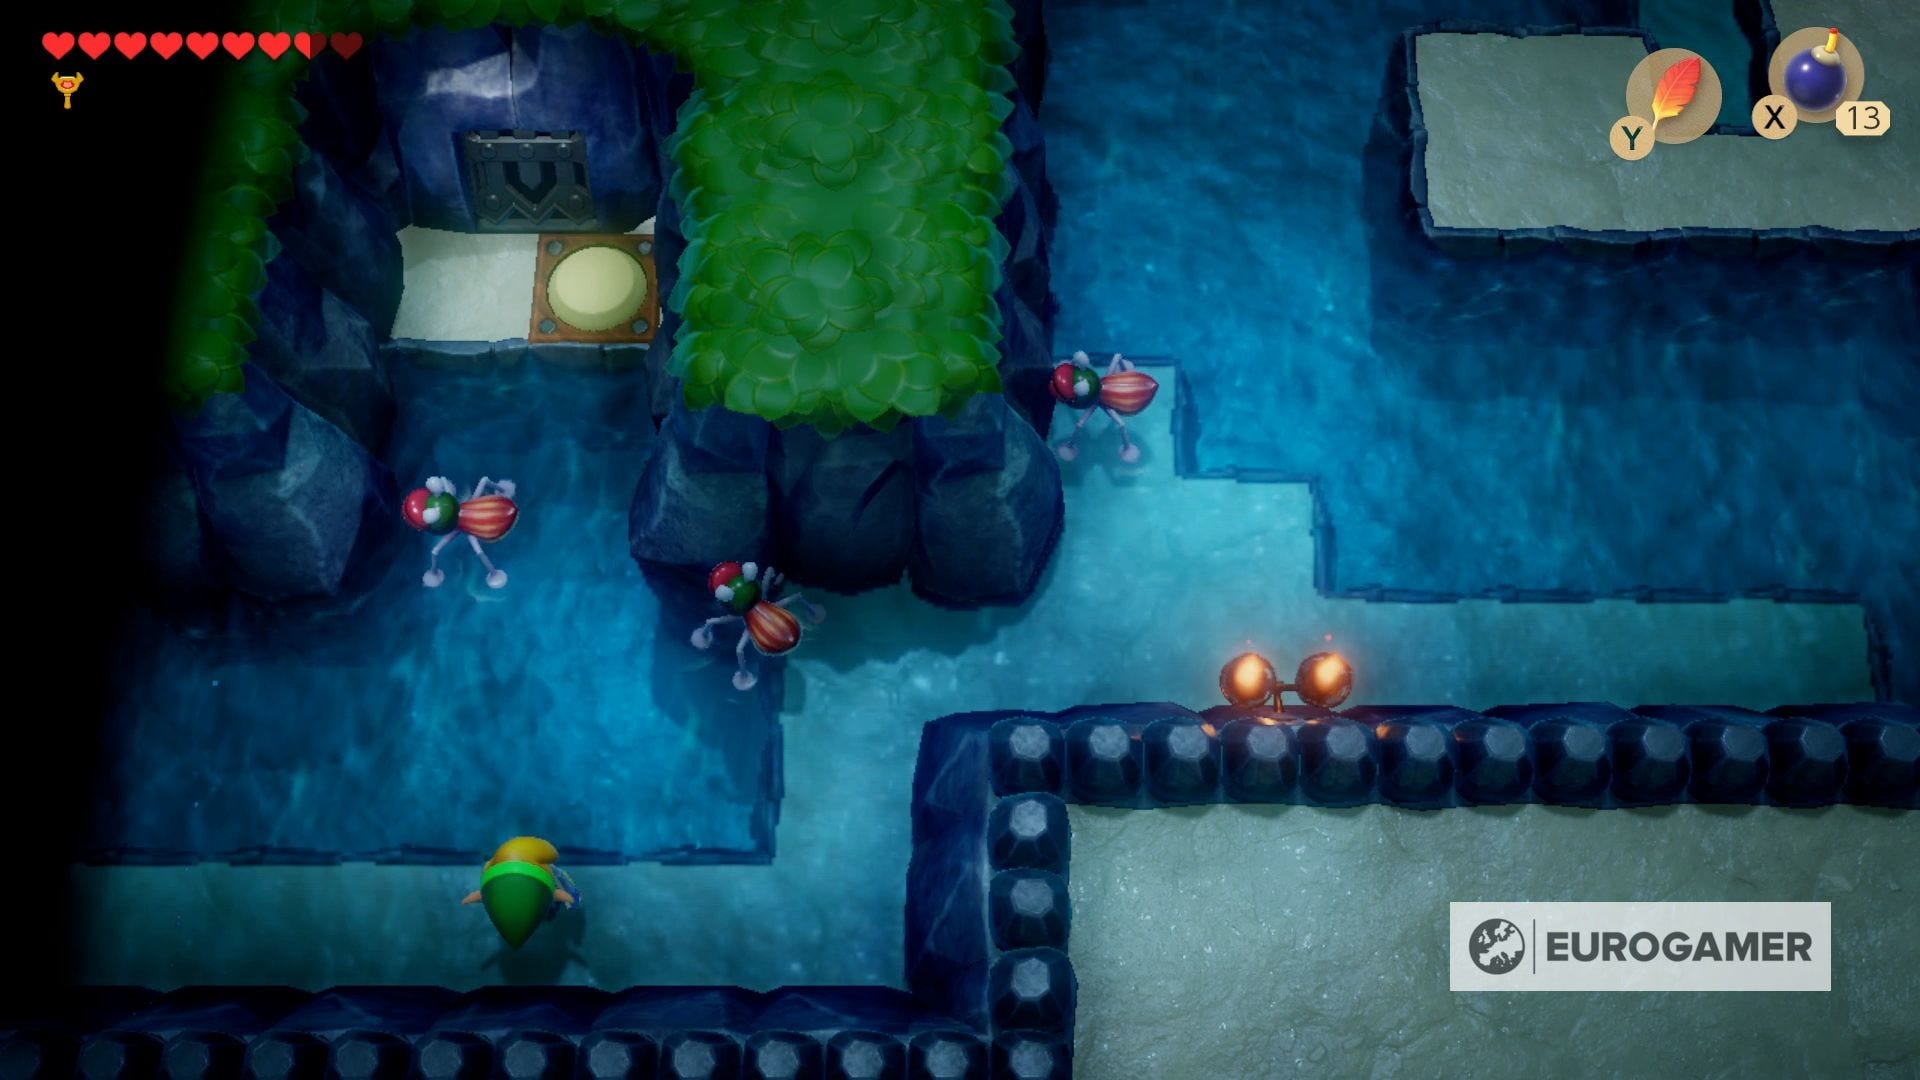
Head to the staircase in the far north-east corner of the dungeon, and enter the side-scrolling area below. Now we have the flippers, we can retrieve it from the deep water section to the left safely.
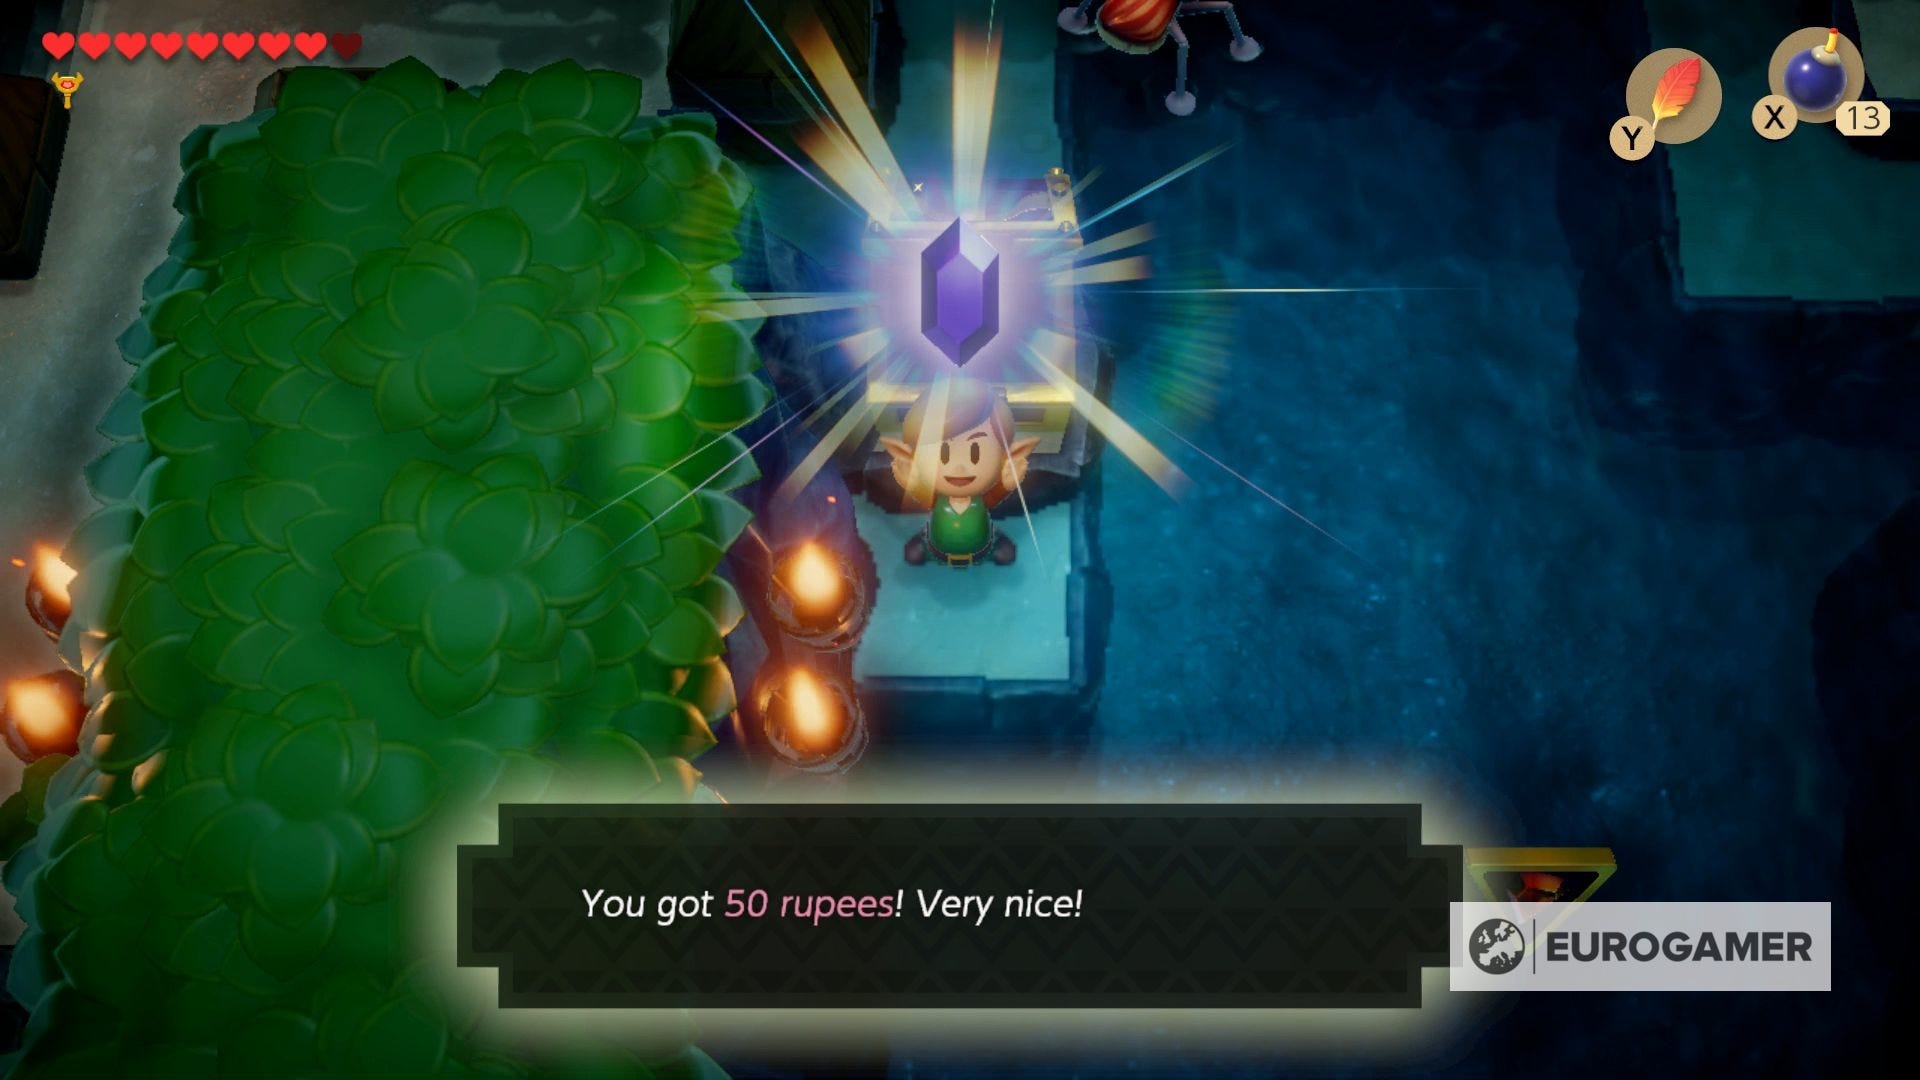
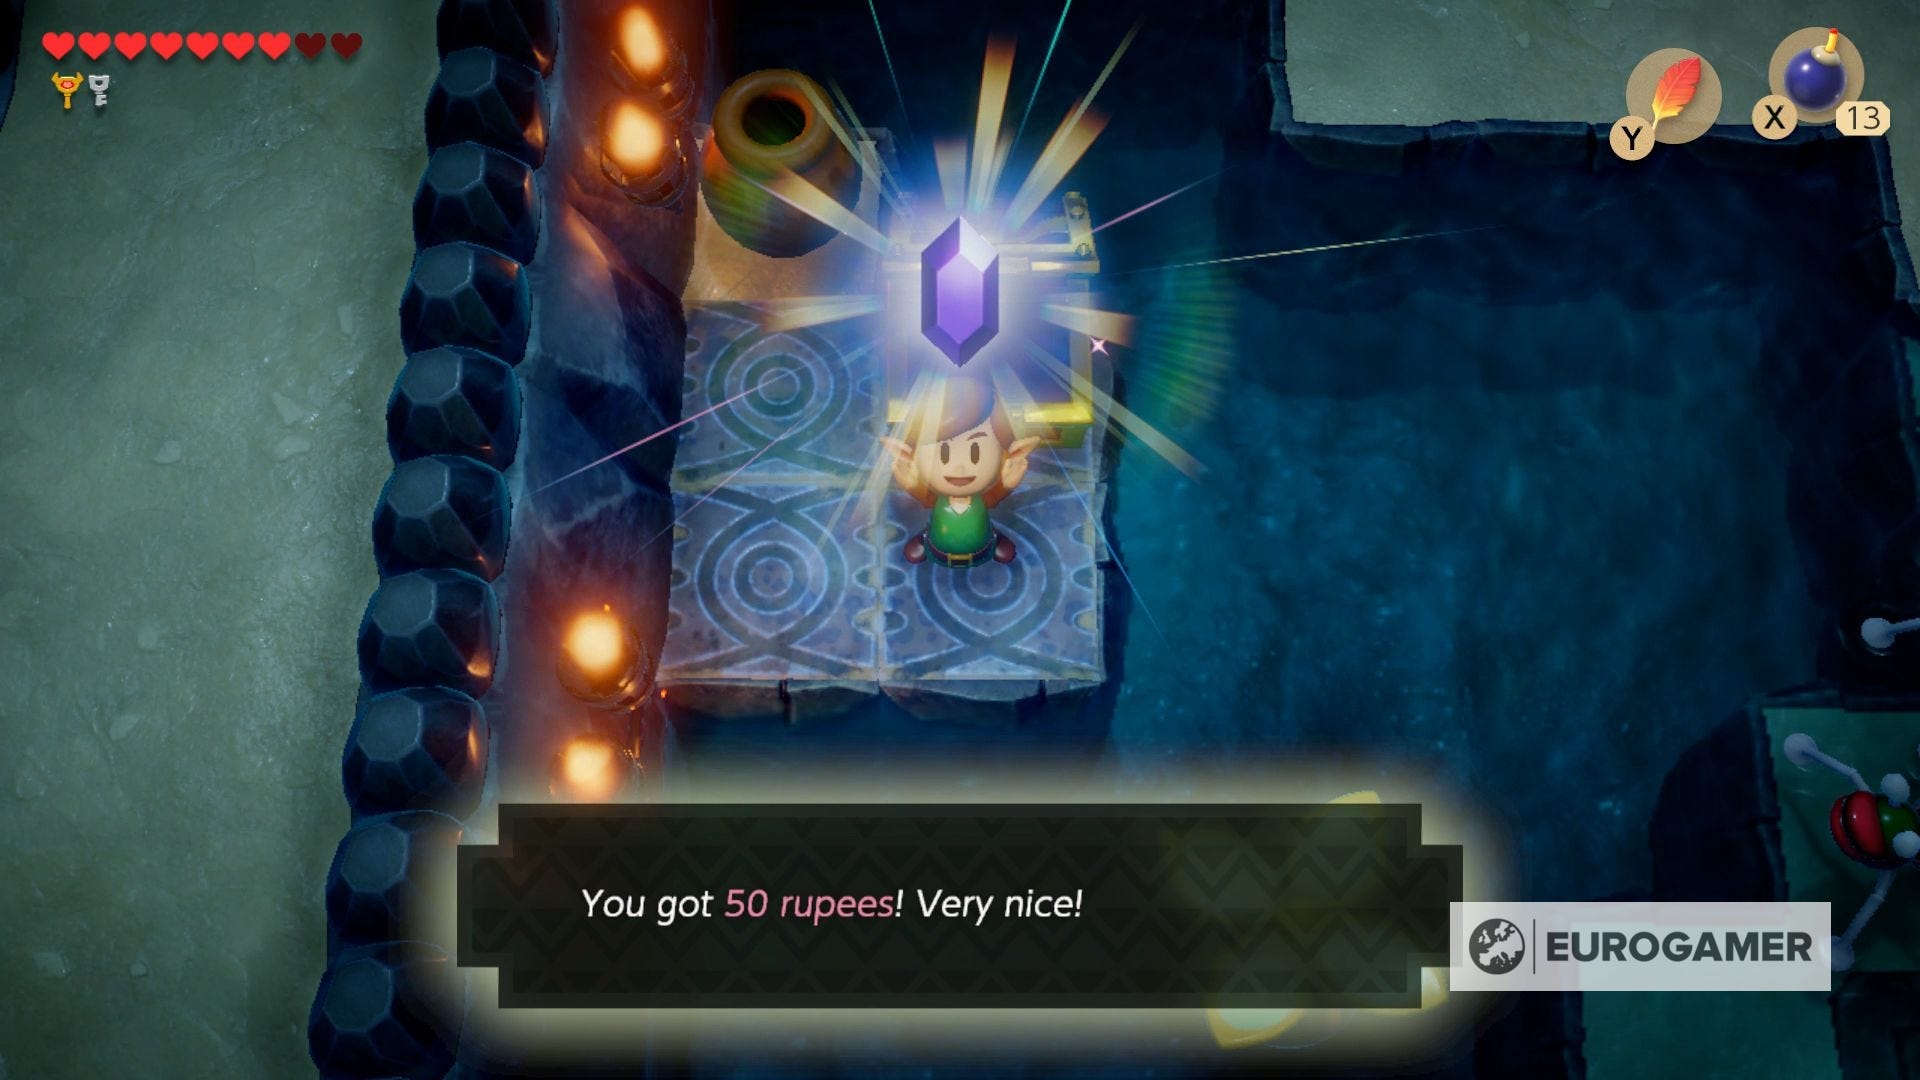
After that, there are two optional chests you can open. One is south of here - Pegasus down and wade across the water for a 50 Rupee piece. The other chest is in the middle of the large room in the middle of the map - again, wade over now you have the Flippers, and another 50 Rupee piece is yours.
To reach the Nightmare boss, in this large central room go to the south-west corner then up, hitting the switch then unlocking the locked block with the Small Key you picked up. Head down the stairs and through the side-scrolling section - you can kill the Cheep Cheeps with your sword - to arrive at the nightmare room.
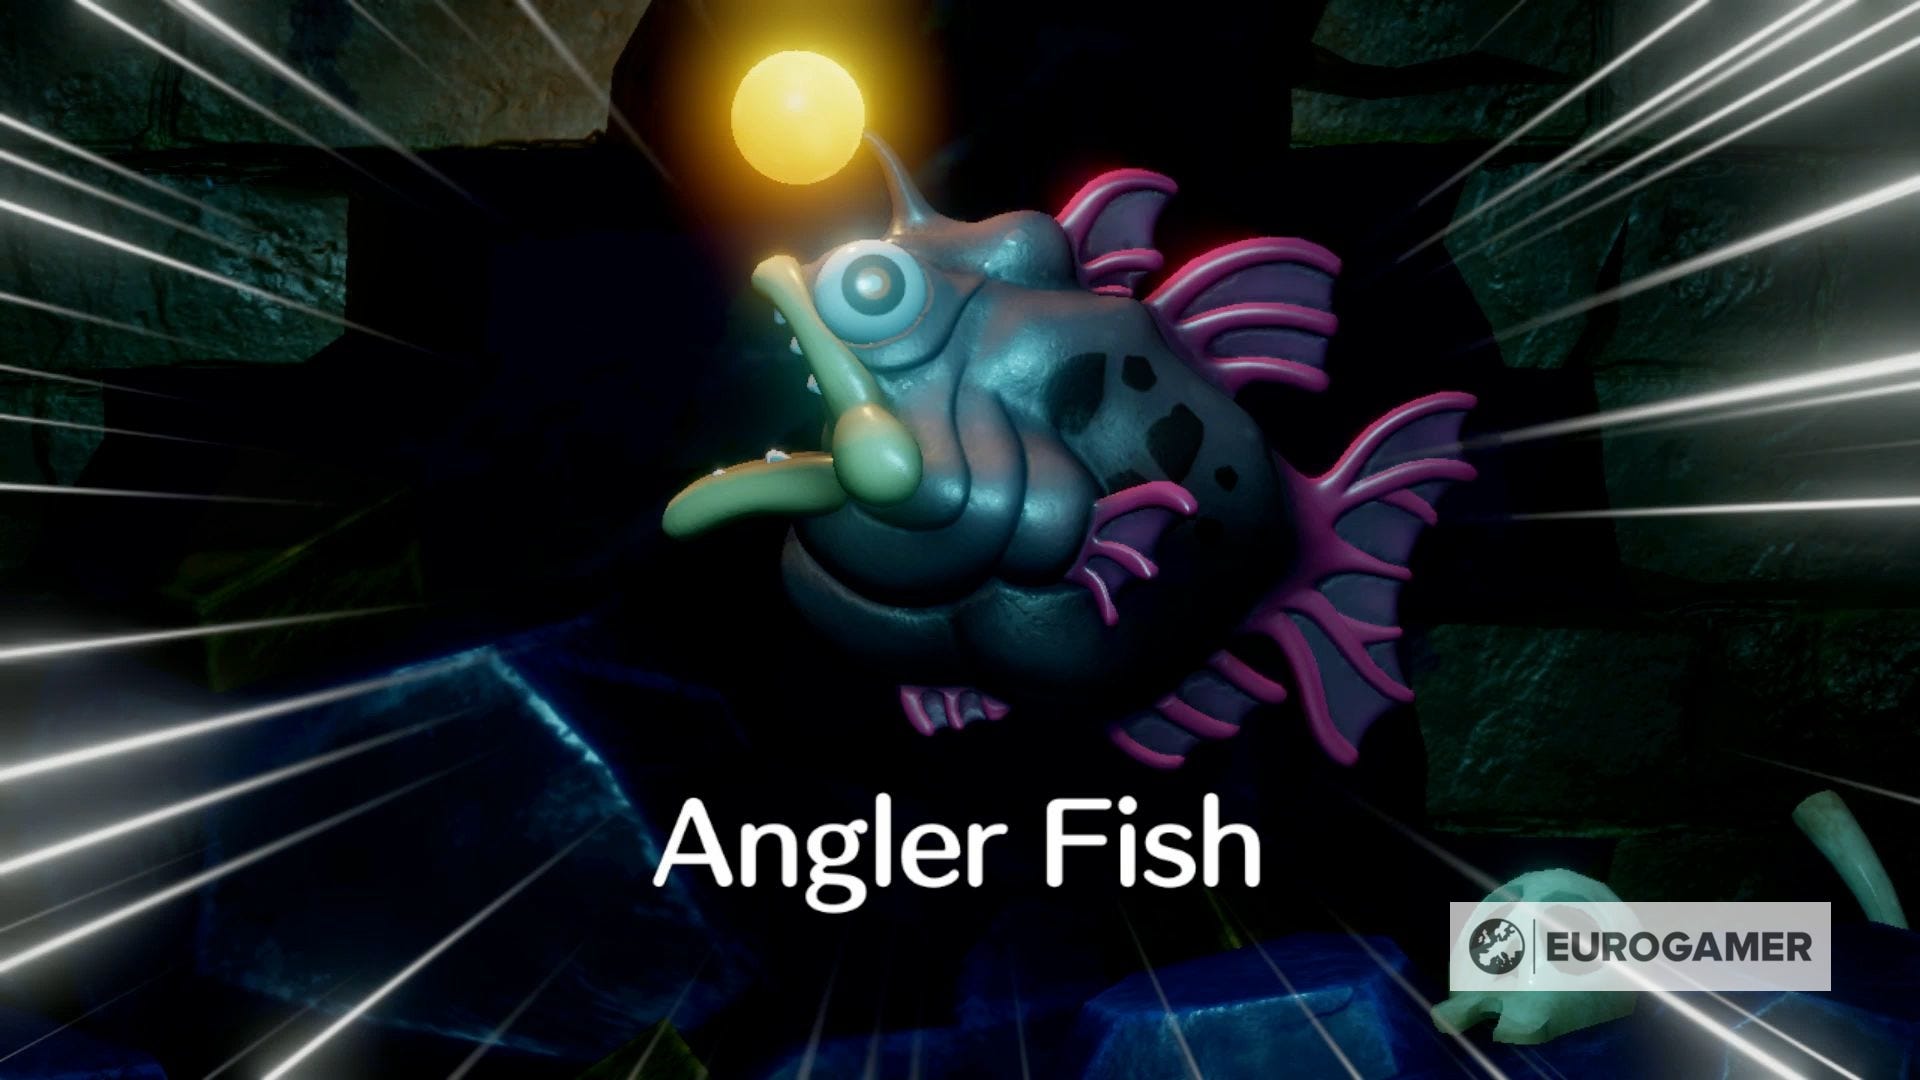
How to beat the Angler Fish boss
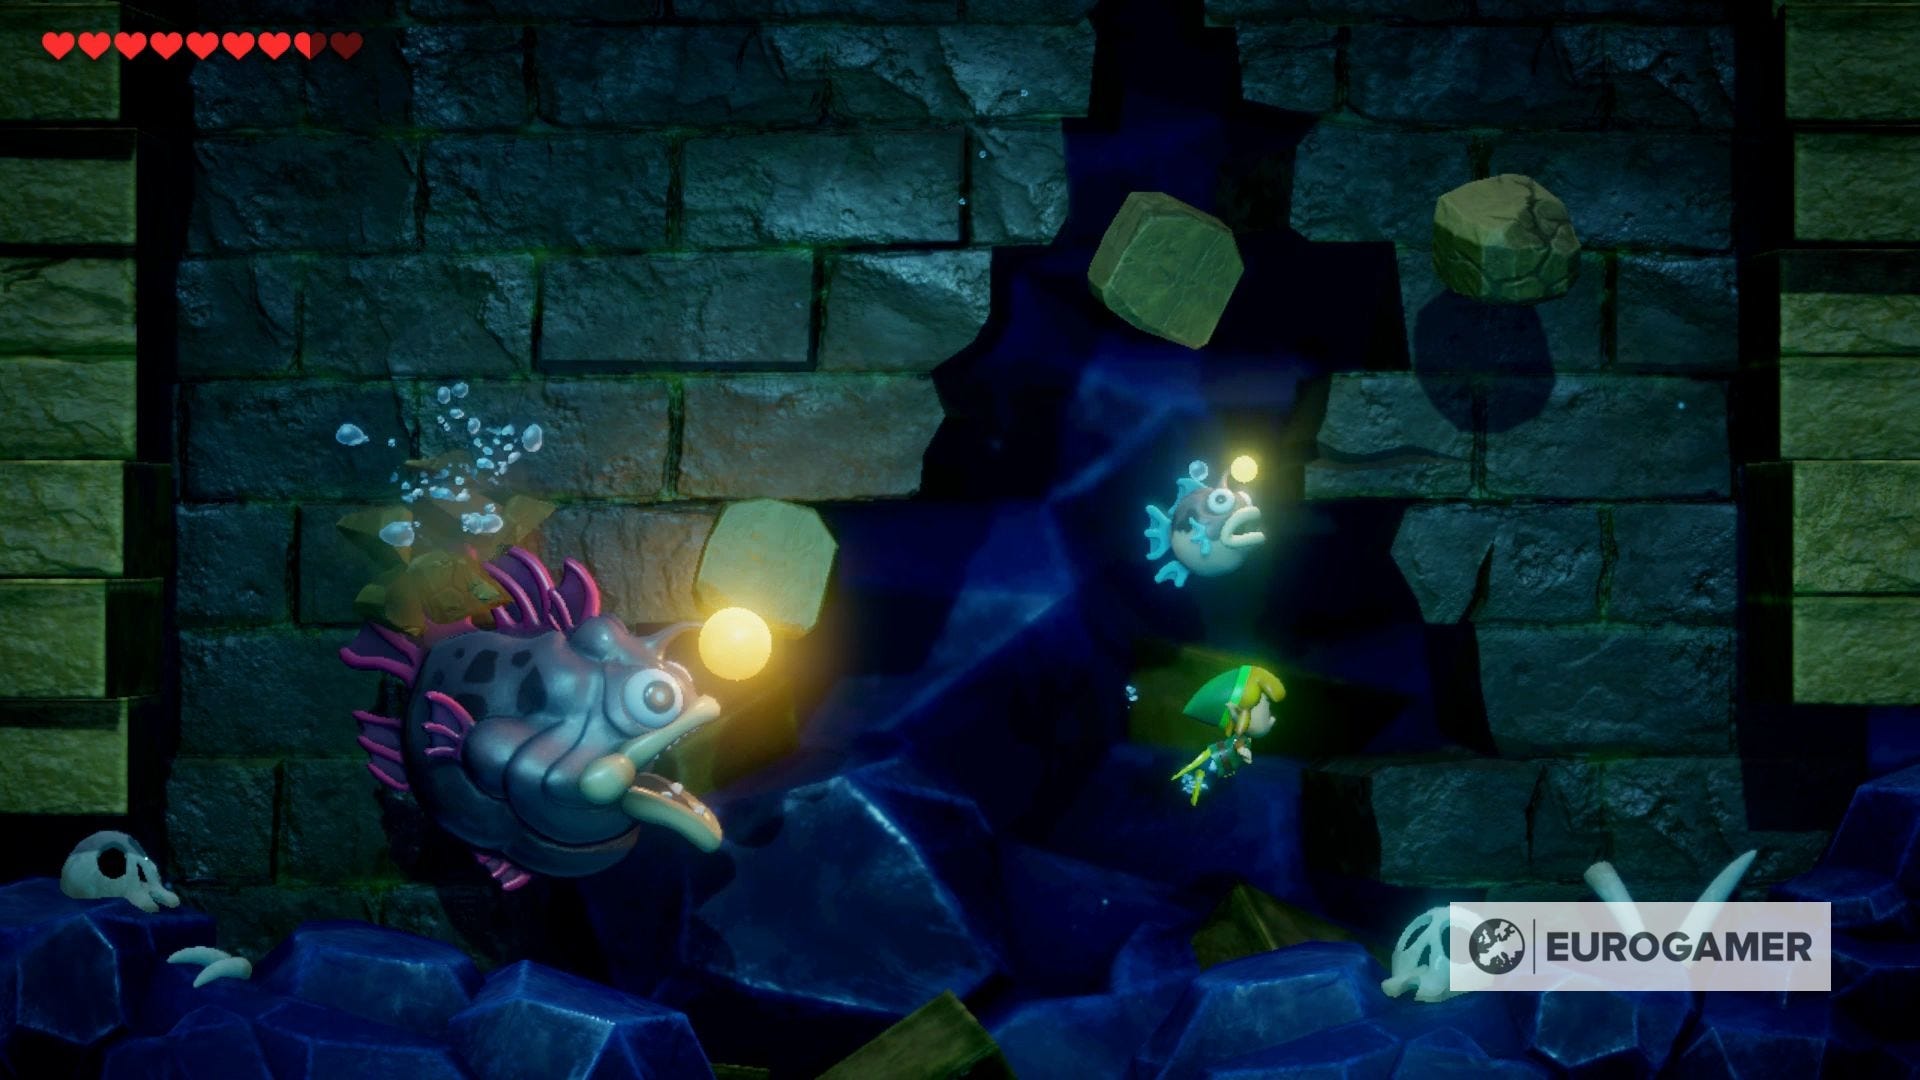
This boss is a little different - you have to head down to a side-scrolling section to face it. Once you are down the stairs and into the water, go down to find the boss waiting.
This is the easiest and simplest boss in Link's Awakening yet. To damage it, swing your sword at the light in front of the boss. It'll be open to attack at pretty much all times, so it's just a case of getting close enough then retreating. To make matters easier you can swing down and up, so keep chipping away.
It'll call down two forms of offence - falling blocks and smaller versions of itself. The blocks you need to drift out the way, while the smaller Anglers require a simple sword swipe to defeat.
That's essentially it - the only difficulty is if you misjudge the rate at which your swim, but since the dangers here don't come quickly, you can take your time in damaging the boss until you are confident.
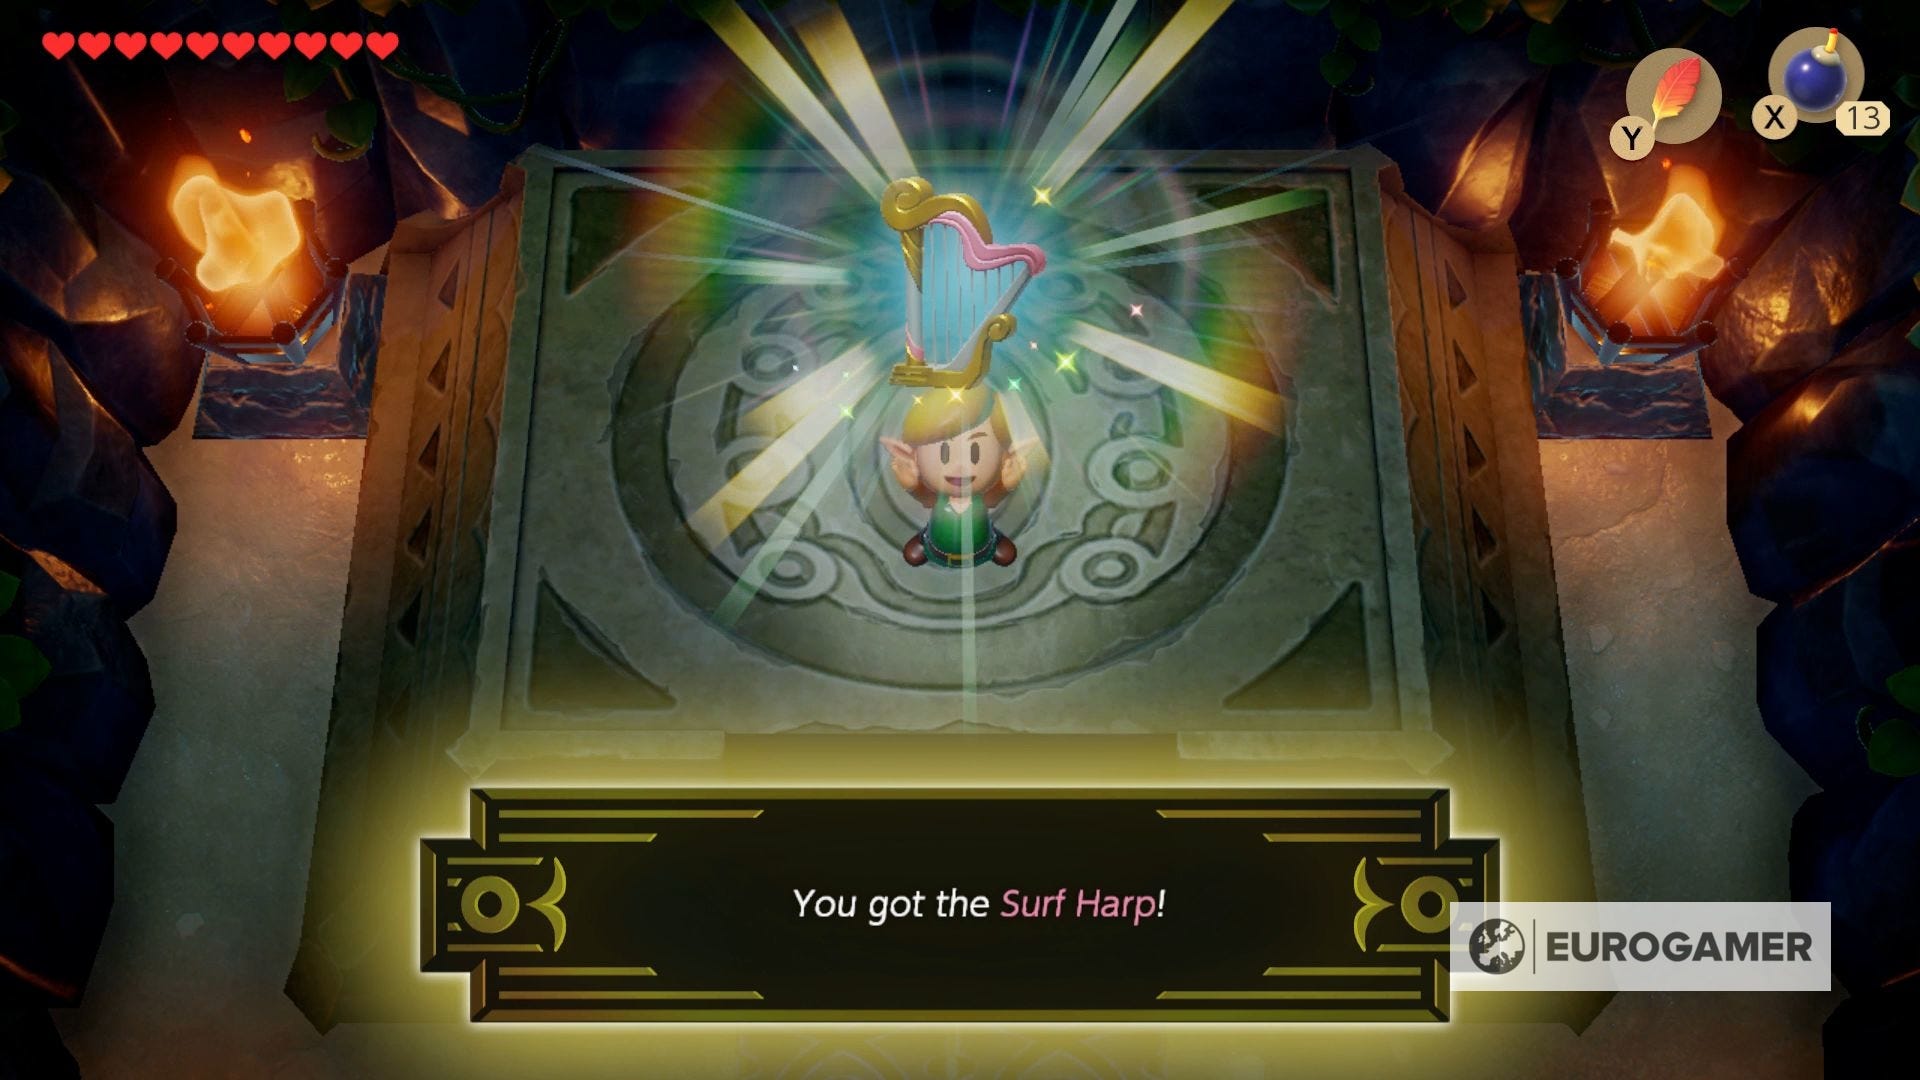
Once defeated, don't forget the Heart Container in the lower corner before swimming back up to the dungeon, opening the door to the north, where you can get your hands on the fourth instrument - the Surf Harp.
As soon as you leave, before you wander away, go left and enter the first cave you see. Provided you have the Ocarina, Mambo will teach you Manbo's Mambo, a song that allows you to warp to any warp point - or if you're in a dungeon, to the entrance.
You'll now notice a pink Ghost following you who can't find its home. Sounds like a mystery worth solving!