Borderlands 3 Legendary Hunt locations explained - how to find Hammerlock's hunts
Our list of Legendary Hunt locations. It's time to put some beasts on the extinct animals list.


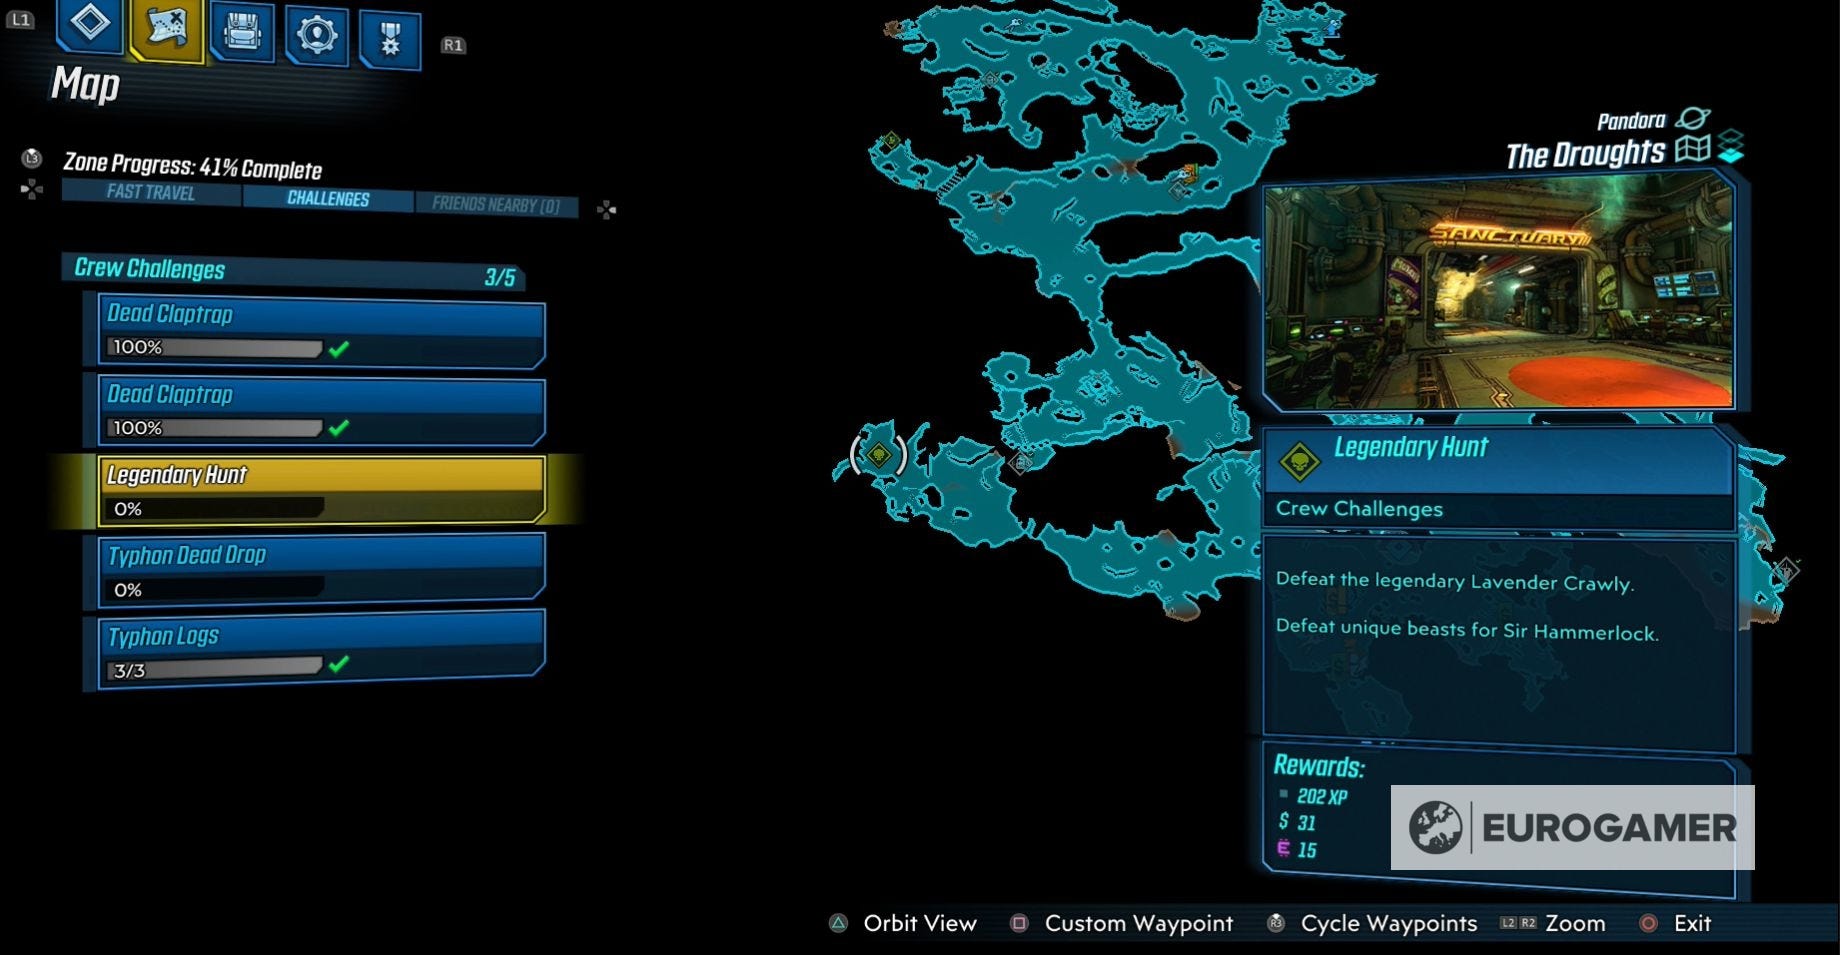
Hammerlock is back in Borderlands 3 and he has another hunt for you. This time it's a Legendary Hunt, meaning he wants you to hunt down the rarest beasts in the galaxy.
From the Skrakk of Pandora to the Chupacabratch of Athenas, you're going to be hunting down some rare beasts and ensuring that they're very dead indeed.
For every successful hunt, you'll be rewarded with some XP, some spending money and a pile of Eridium.
On this page:
Pandora:
- Lavender Crawly location in The Draughts of Pandora in Borderlands 3
- How to defeat the Lavender Crawly in Borderlands 3
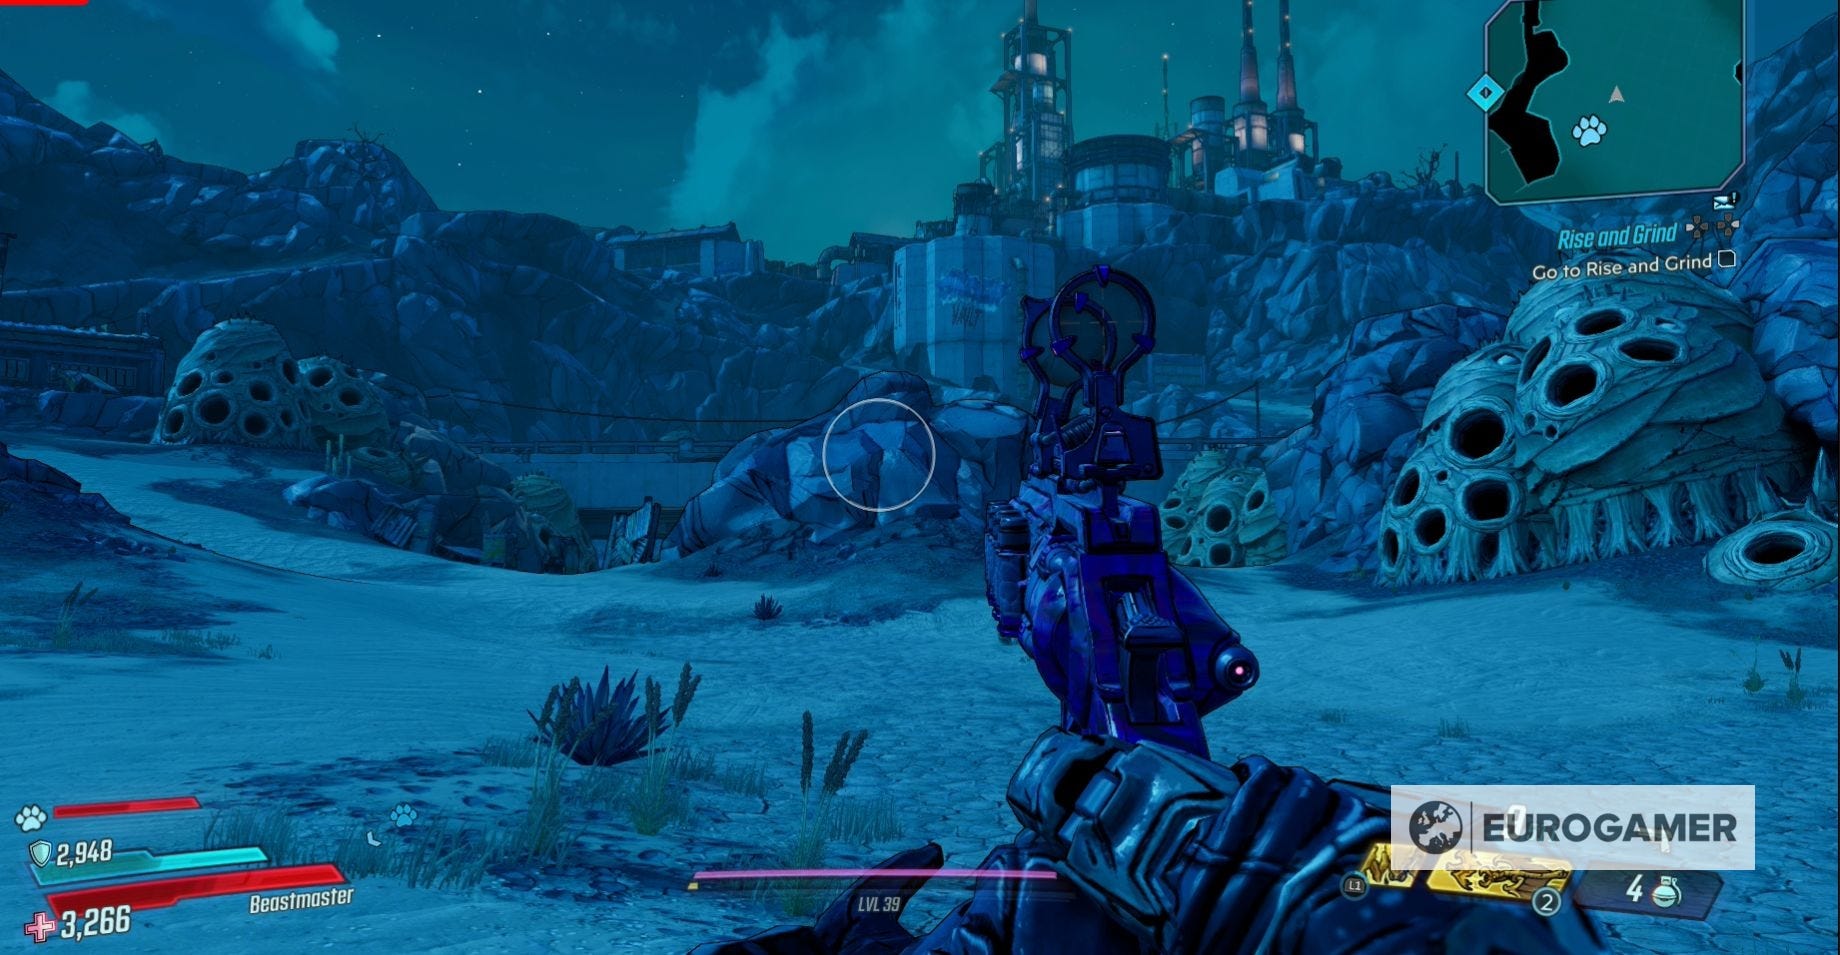
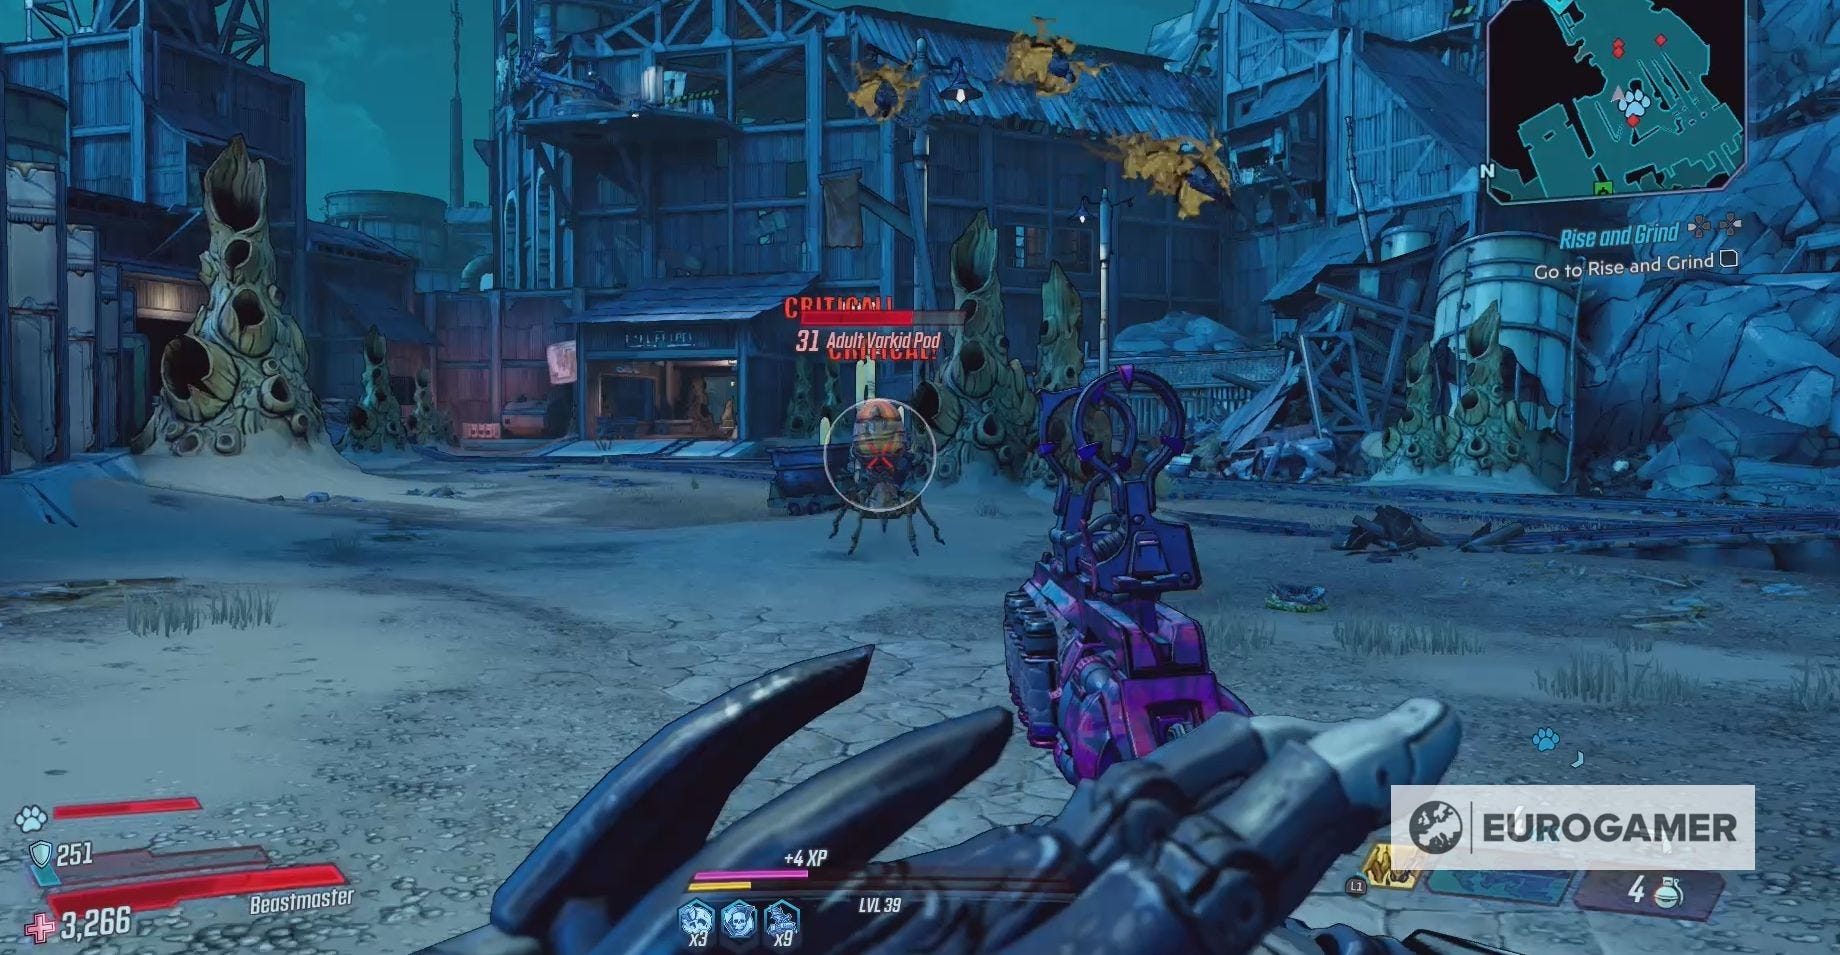
- Skrakk location in Ascension Bluff of Pandora in Borderlands 3
- How to defeat Skrakk in Borderlands 3
- Everything you need to know to defeat the Jabbermogwai
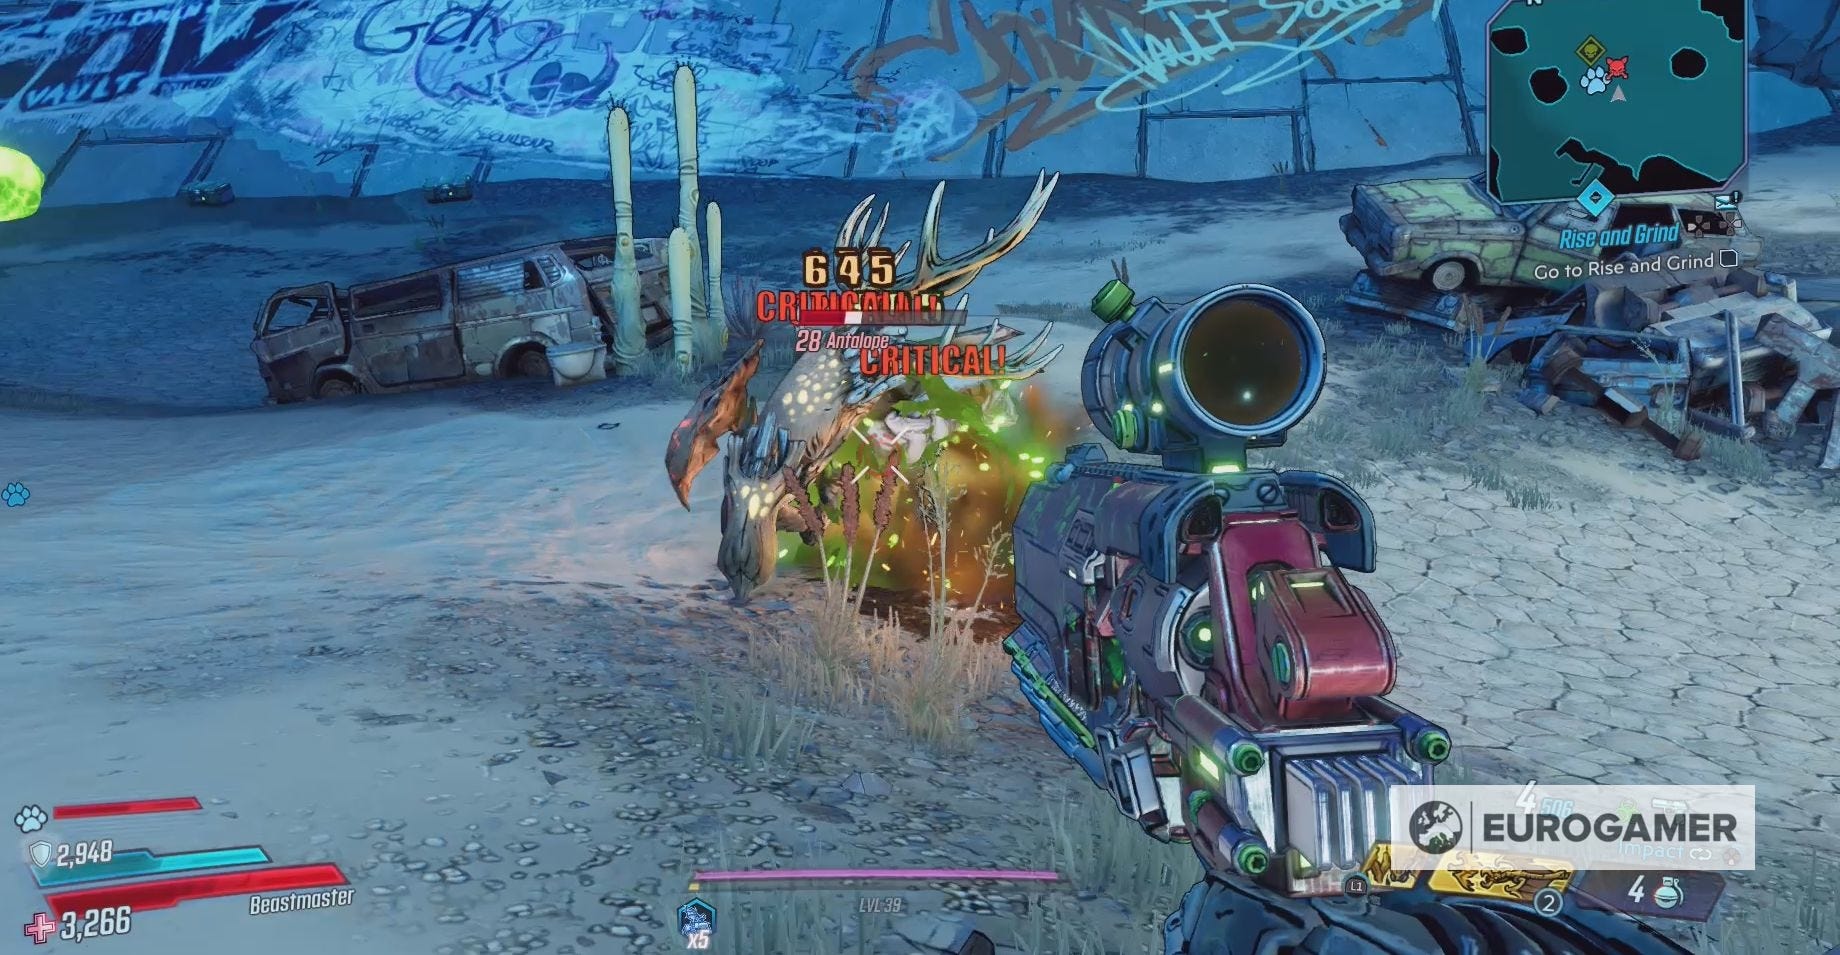
- Where to find the Antalope in Devil's Razor in Borderland 3
- Everything you need to know to defeat the Antalope
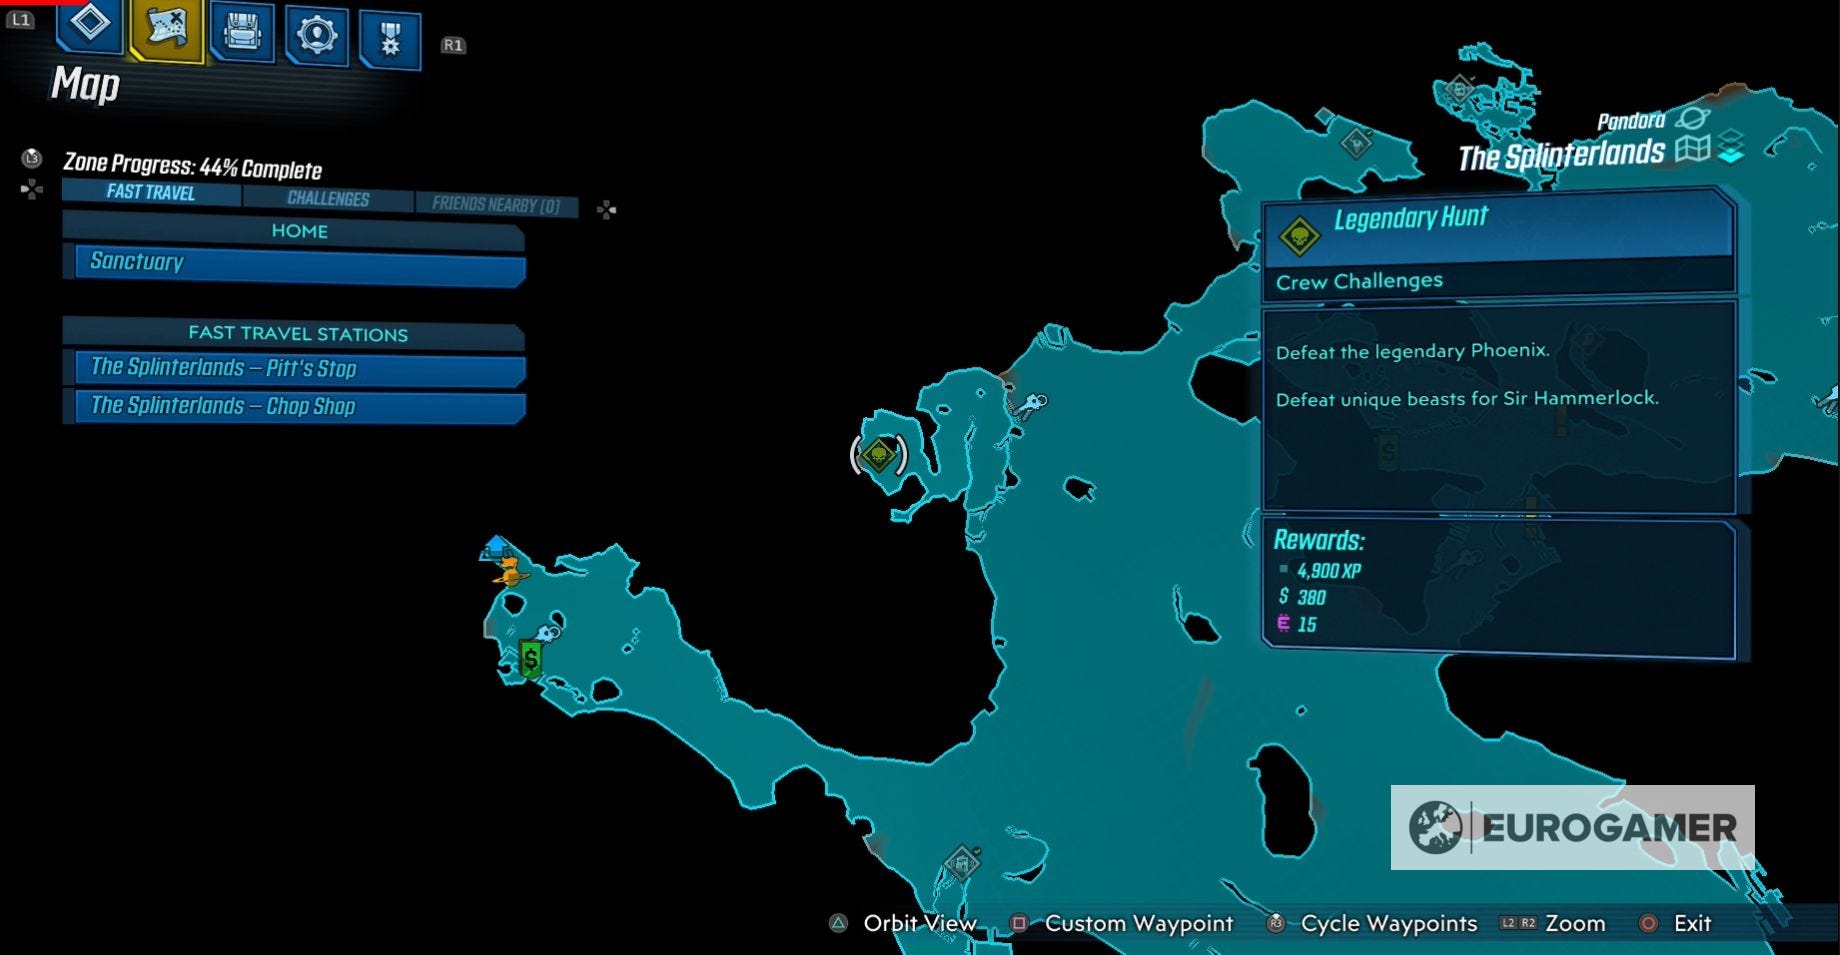
- Where to find the Phoenix in The Splinterlands in Borderlands 3
- Everything you need to know to defeat the Phoenix
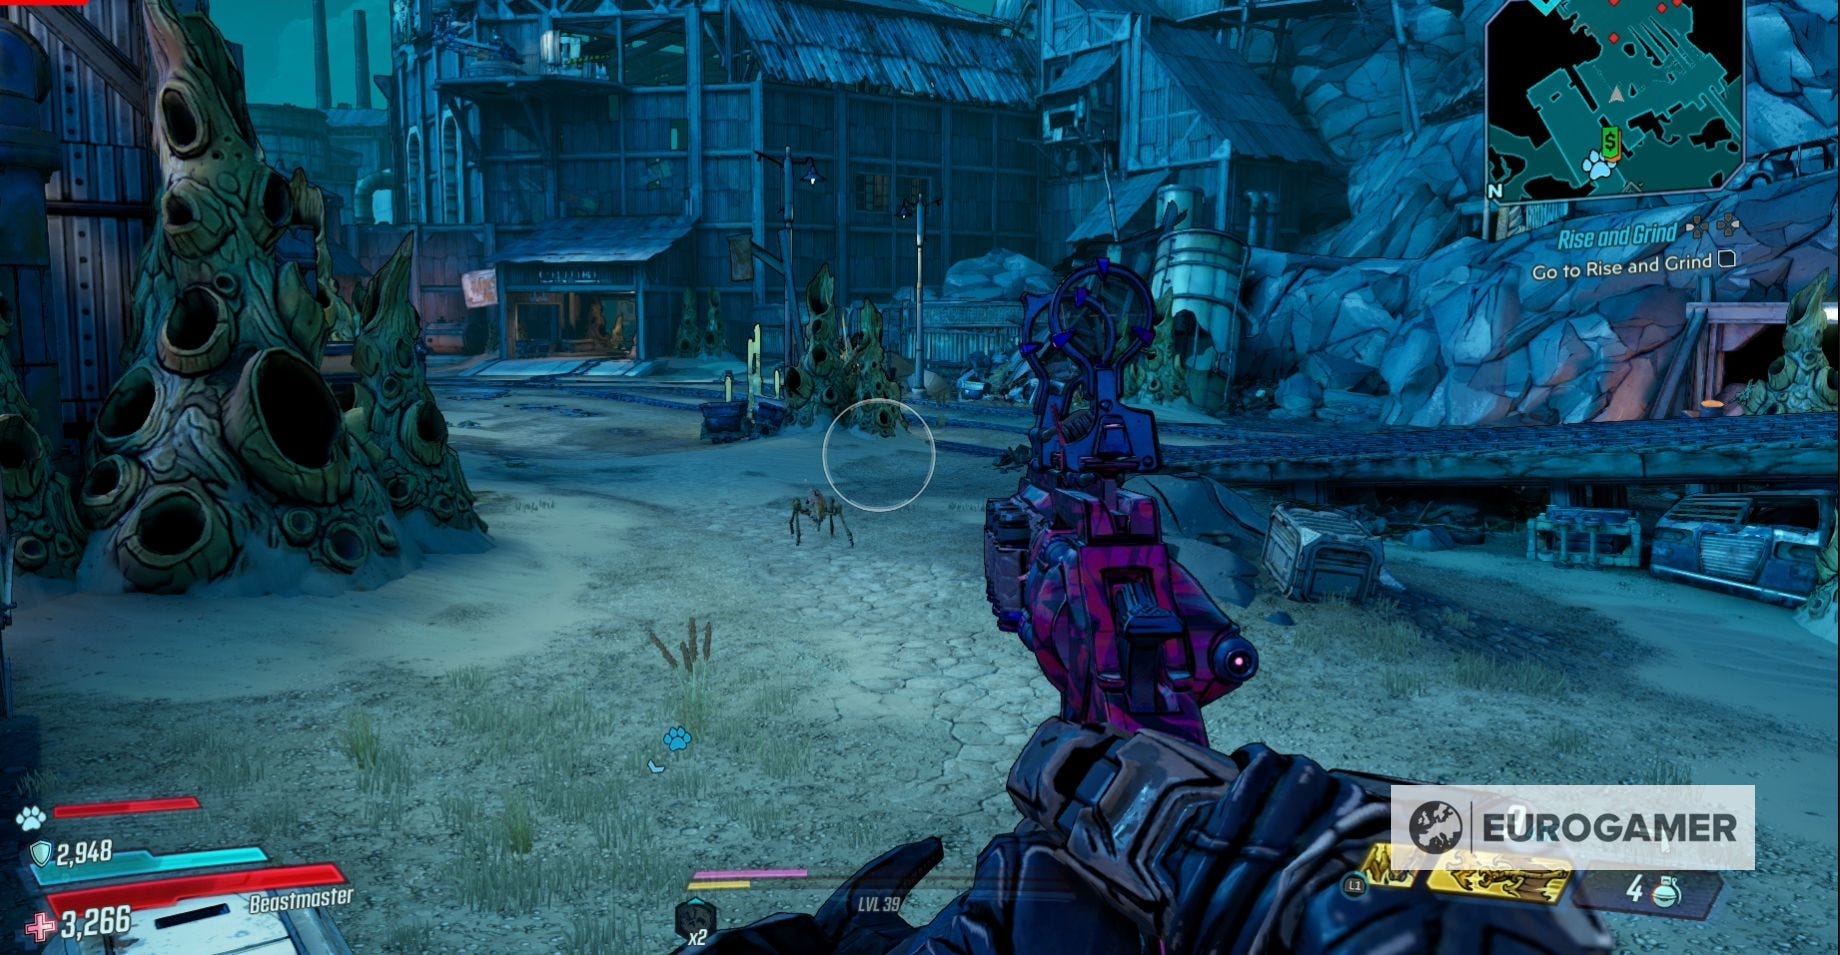
- Where to find the Manvark in Konard's Hold in Borderlands 3
- Everything you need to know to defeat the Manvark
Athenas:
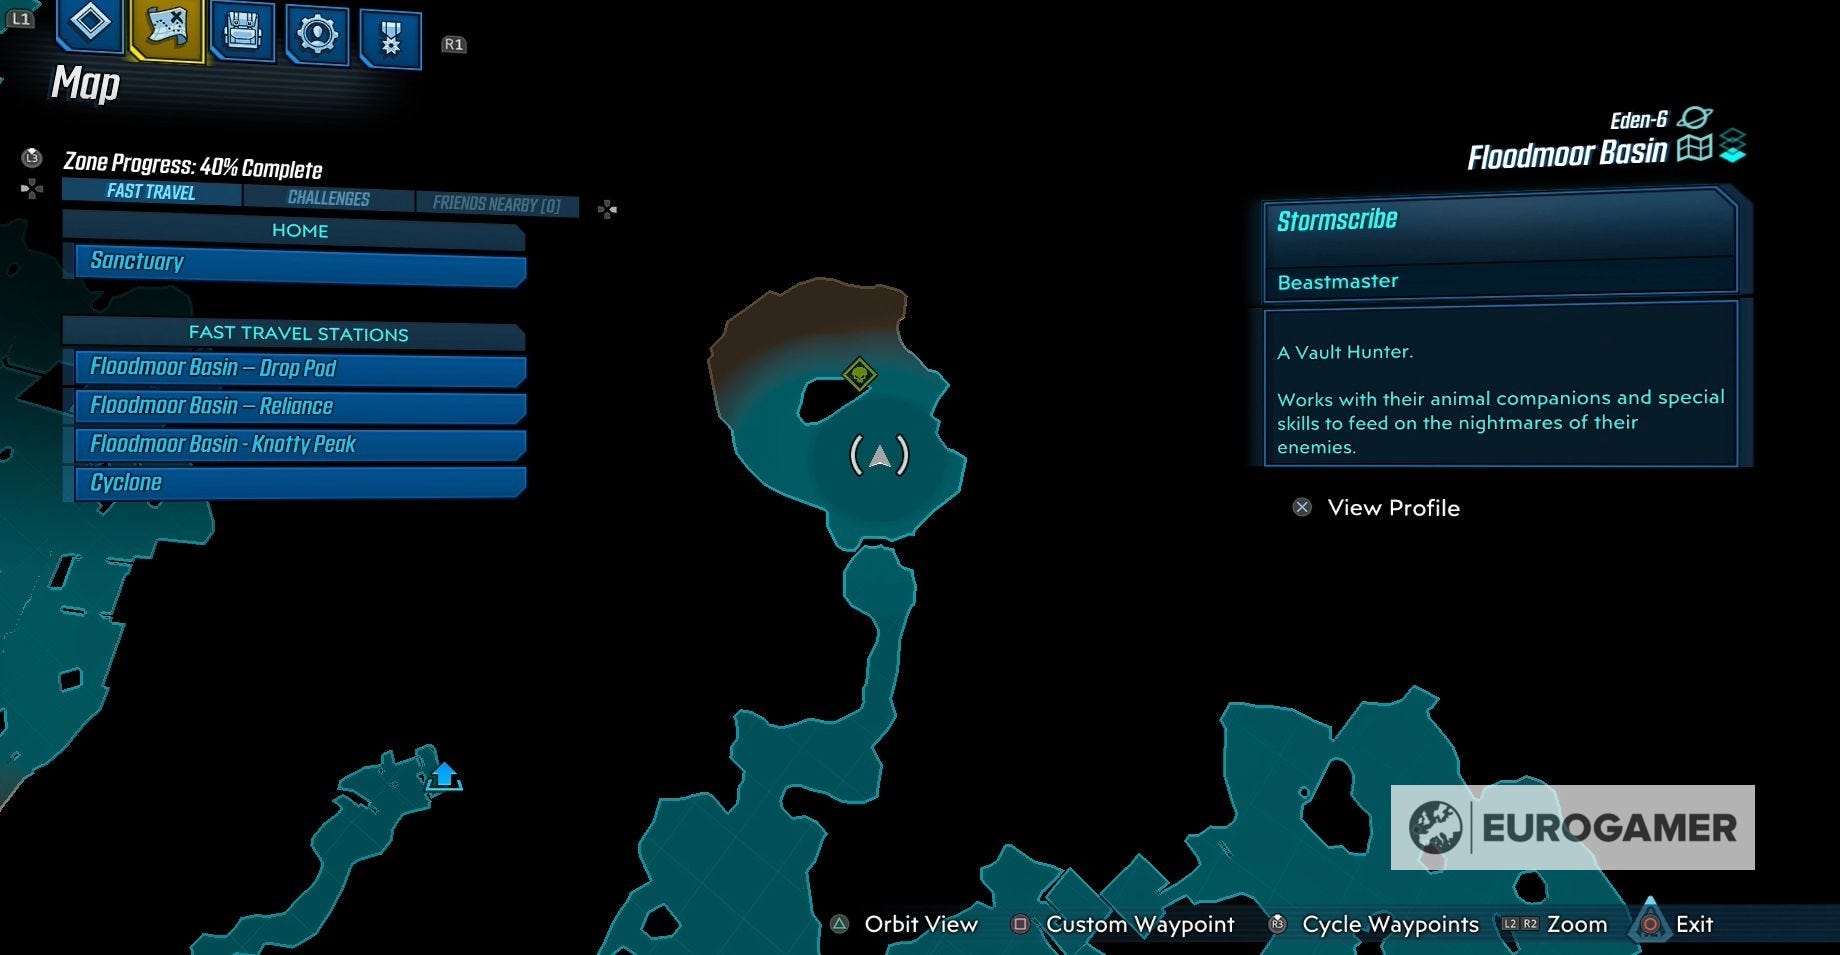
Eden-6:
Nekrotafeyo:

If you're looking for more help in the crazy galaxy of Borderlands 3, then check out our Borderlands 3 walkthrough.
If you're looking for more challenges to complete, check out our guides on Dead Claptrap locations explained, Crimson Radio - Broadcast Tower locations explained, Hijack Target locations explained and Typhon Log locations and Typhon Dead Drop locations explained.
Lavender Crawly location in The Draughts of Pandora in Borderlands 3
The Lavender Crawly can be found in Varkid Valley in the eastern region of the The Droughts.
To quickly reach Varkid Valley, fast travel to The Droughts Fast Travel Station.
Next travel north and take the first left-hand road. Travelling down this path will bring you to Varkid Valley.
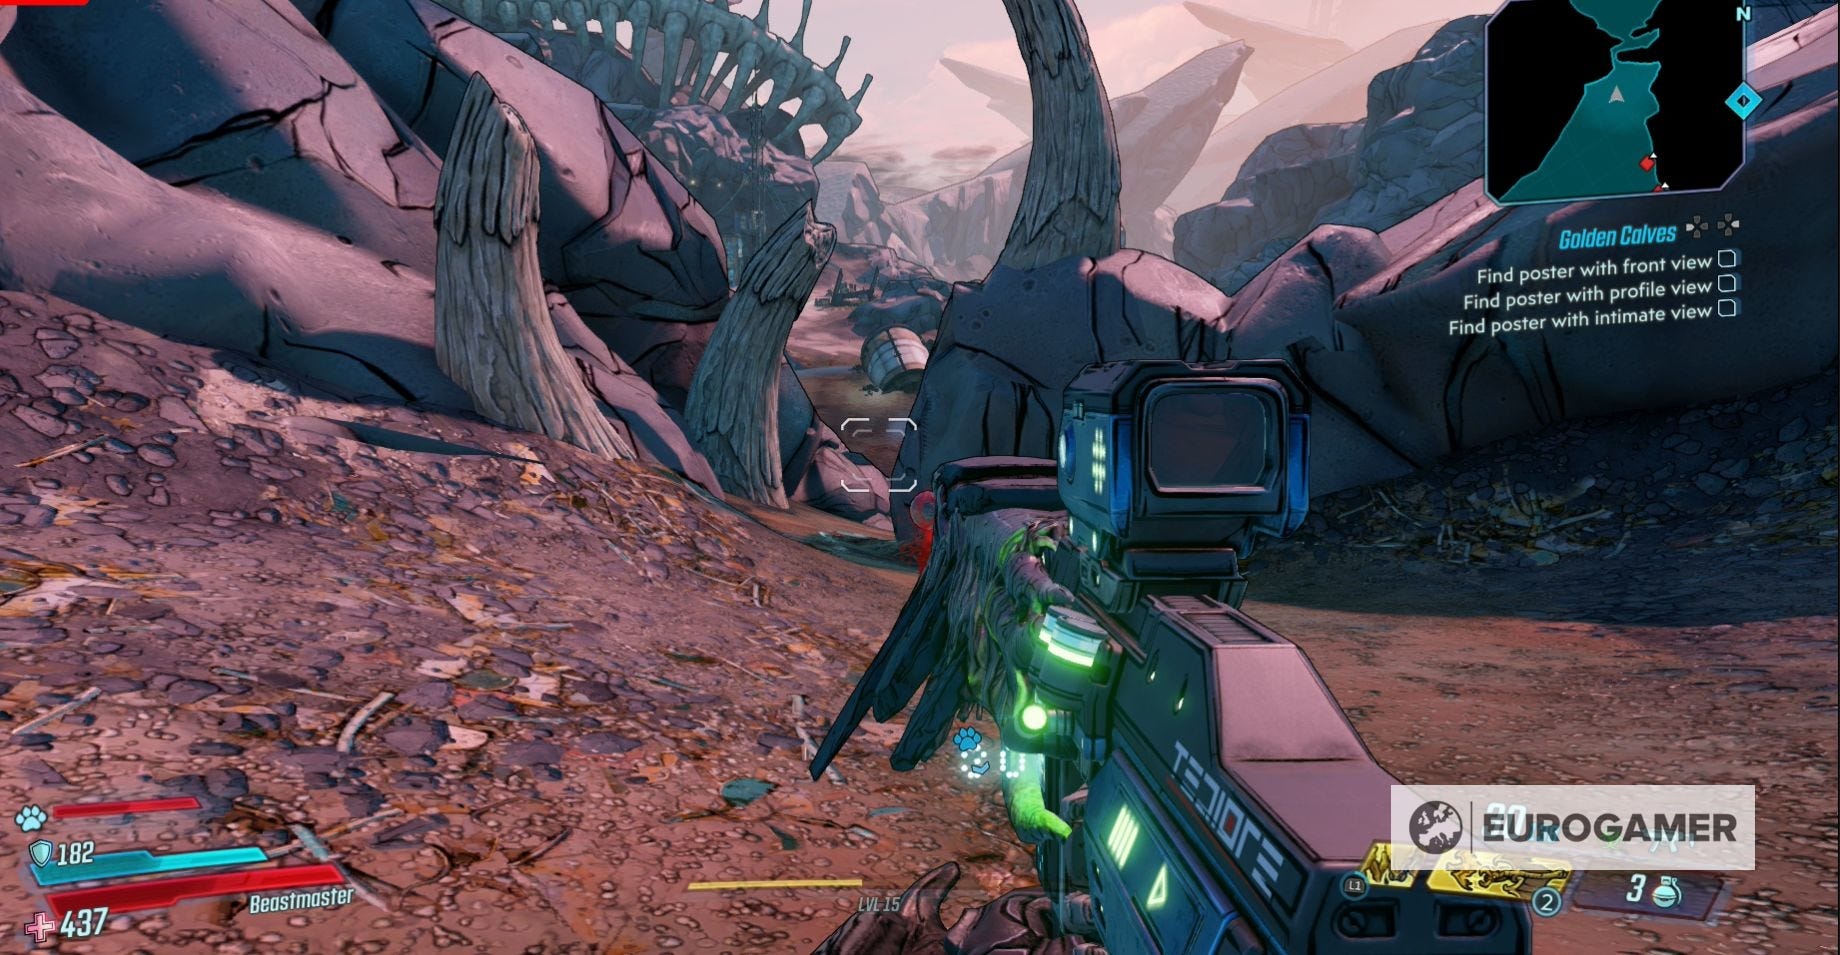
The Lavender Crawly lives in a cave at the far end of the valley.
How to defeat the Lavender Crawly in Borderlands 3
The Lavender Crawly is Level 8. It will attack you using a combination of sludge, Incendiary and Cyro attacks.
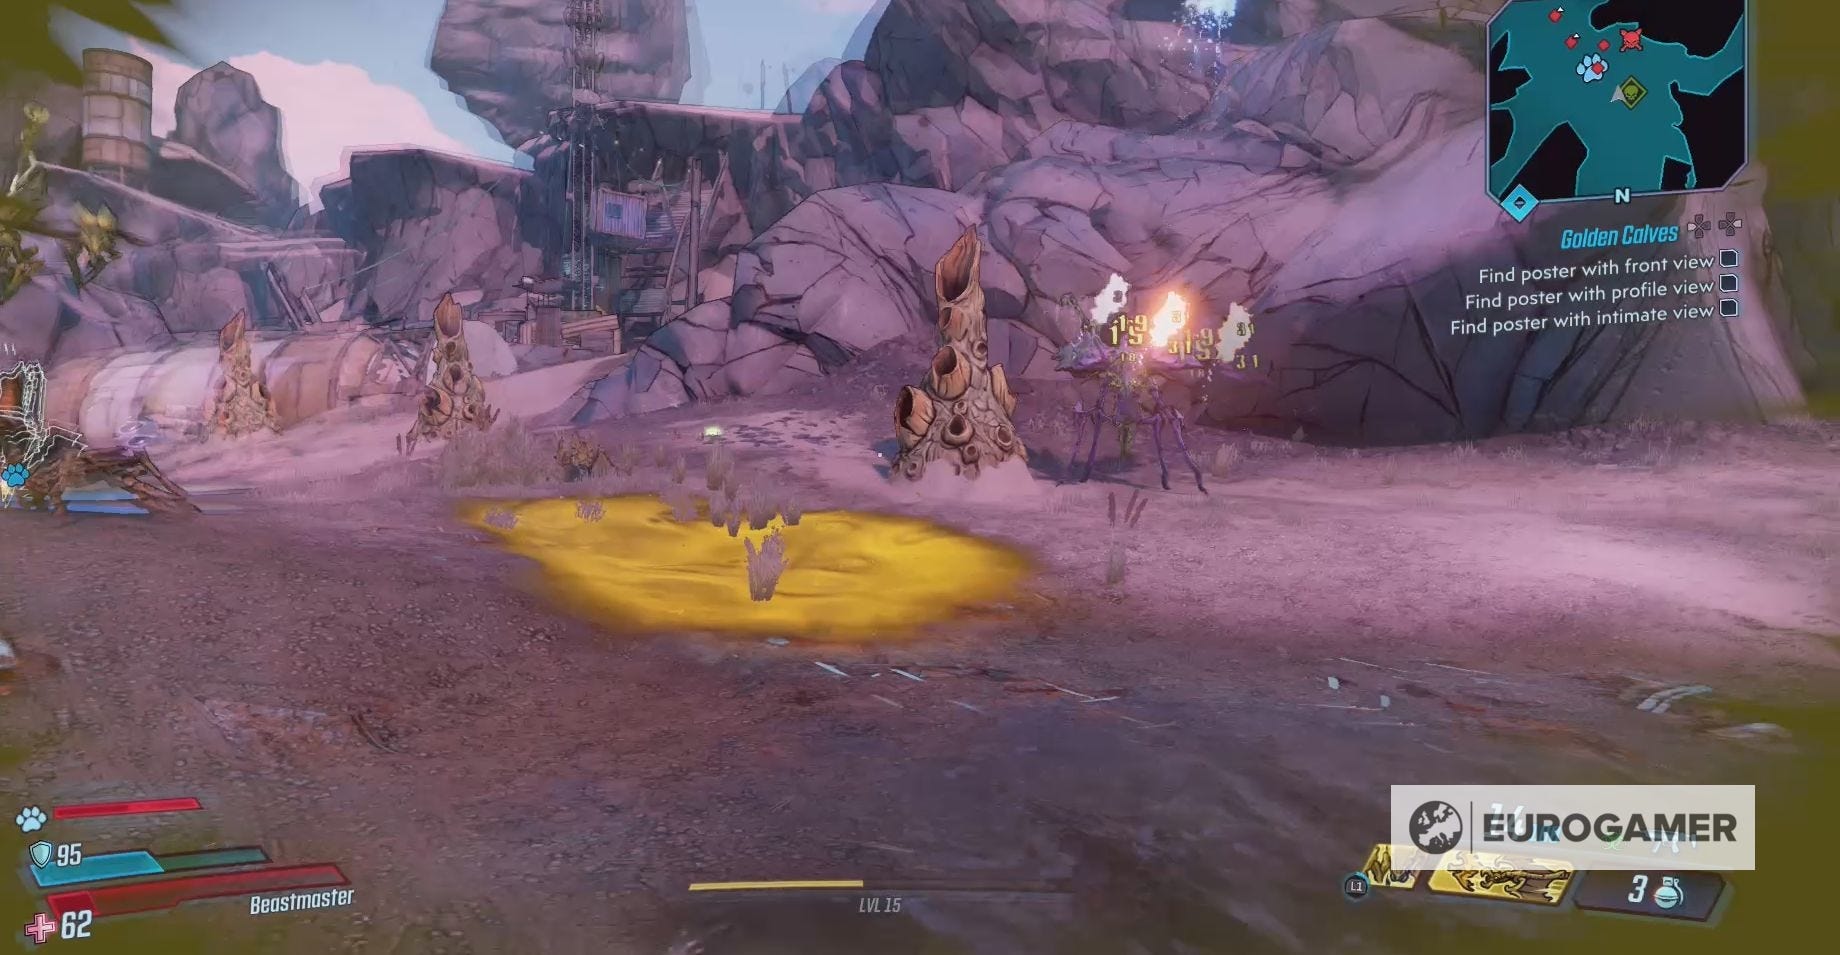
Use your Action Skills and guns to quickly take it out.
It will spawn an egg when it dies and, from this, both Bobby Crawky and Kira Crawly will emerge. Both of these monsters are Level 9.
You should focus on Bobby Crawly first as he attacks with Shock Damage. This includes creating pools of Shock Damage on the ground.
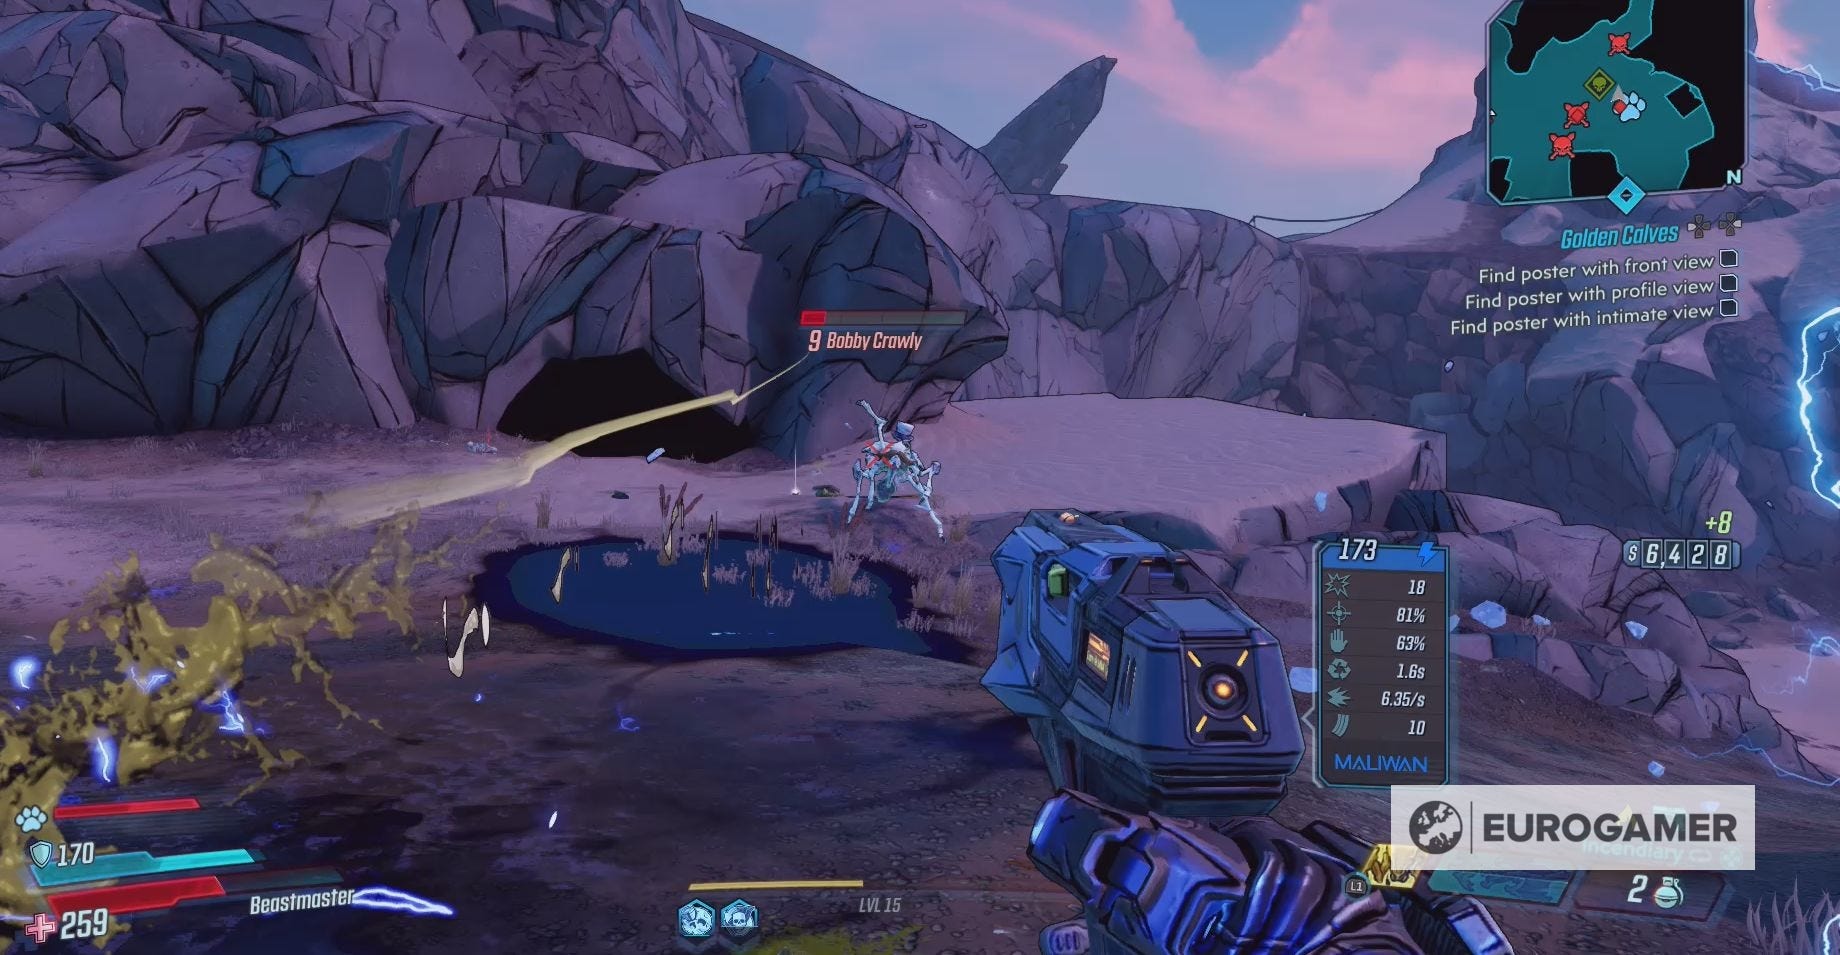
Shoot him while he's in the air to knock him back down to earth, where you can easily use your Action Skills.
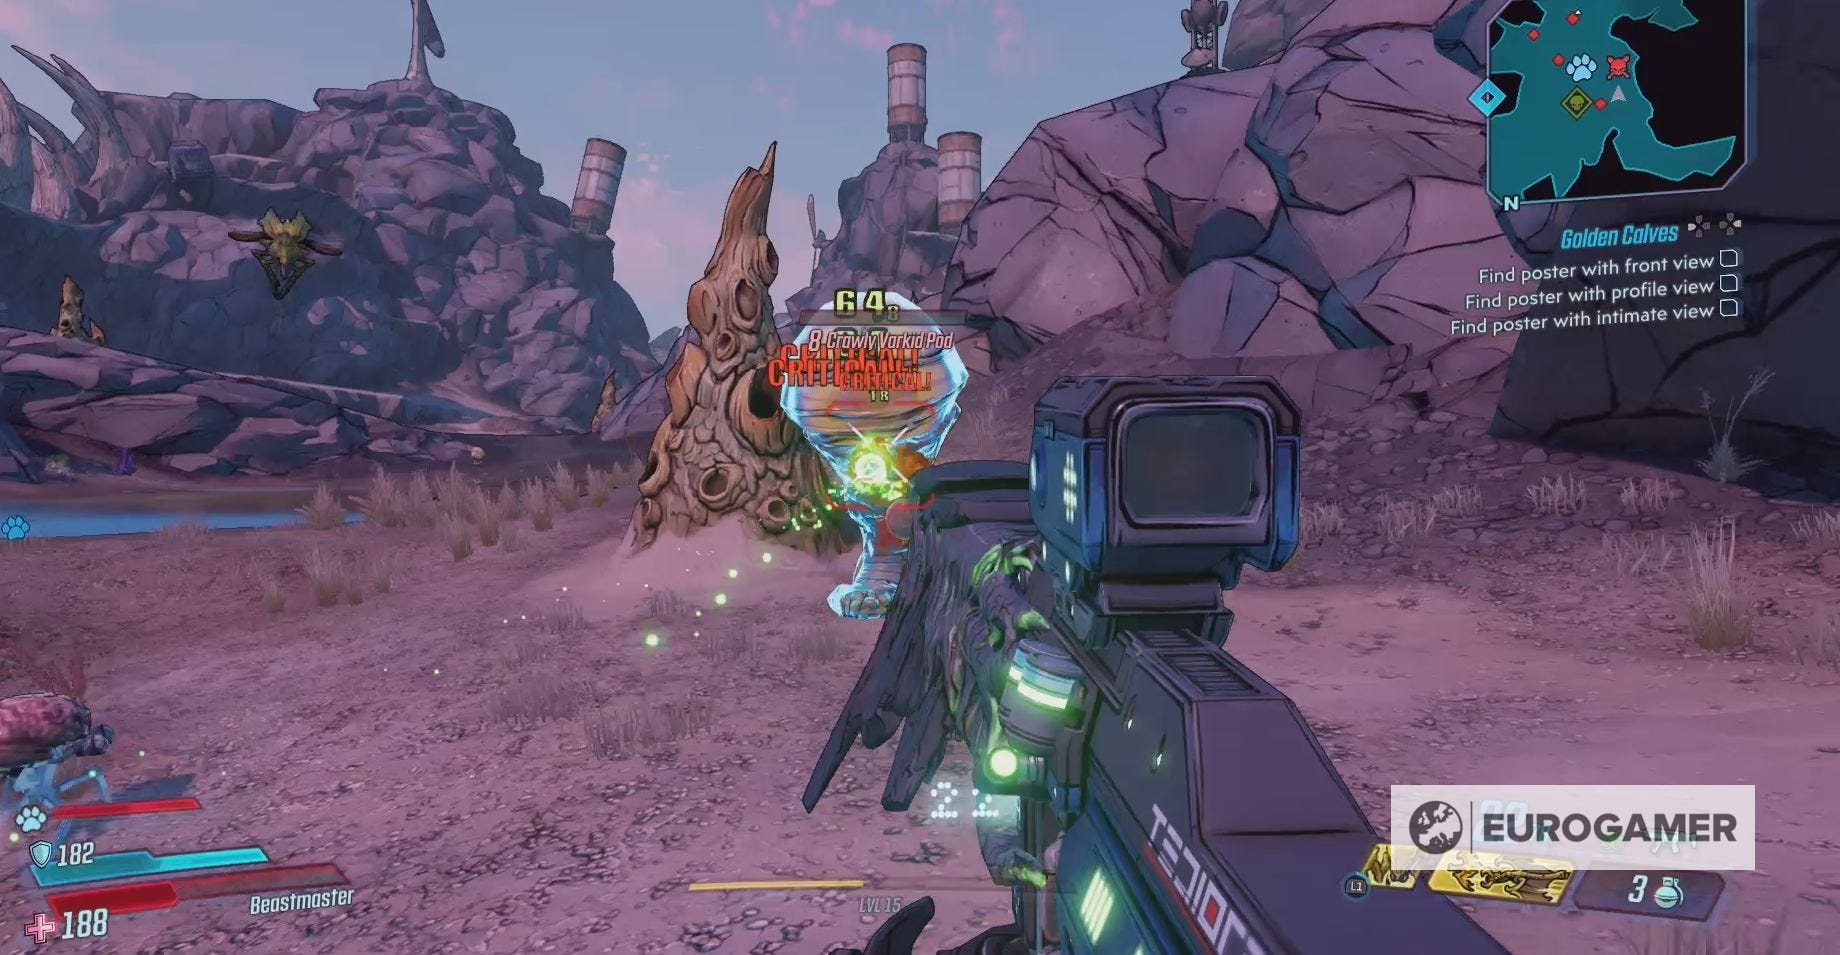
Once these two Varkids are dead, another egg will spawn.
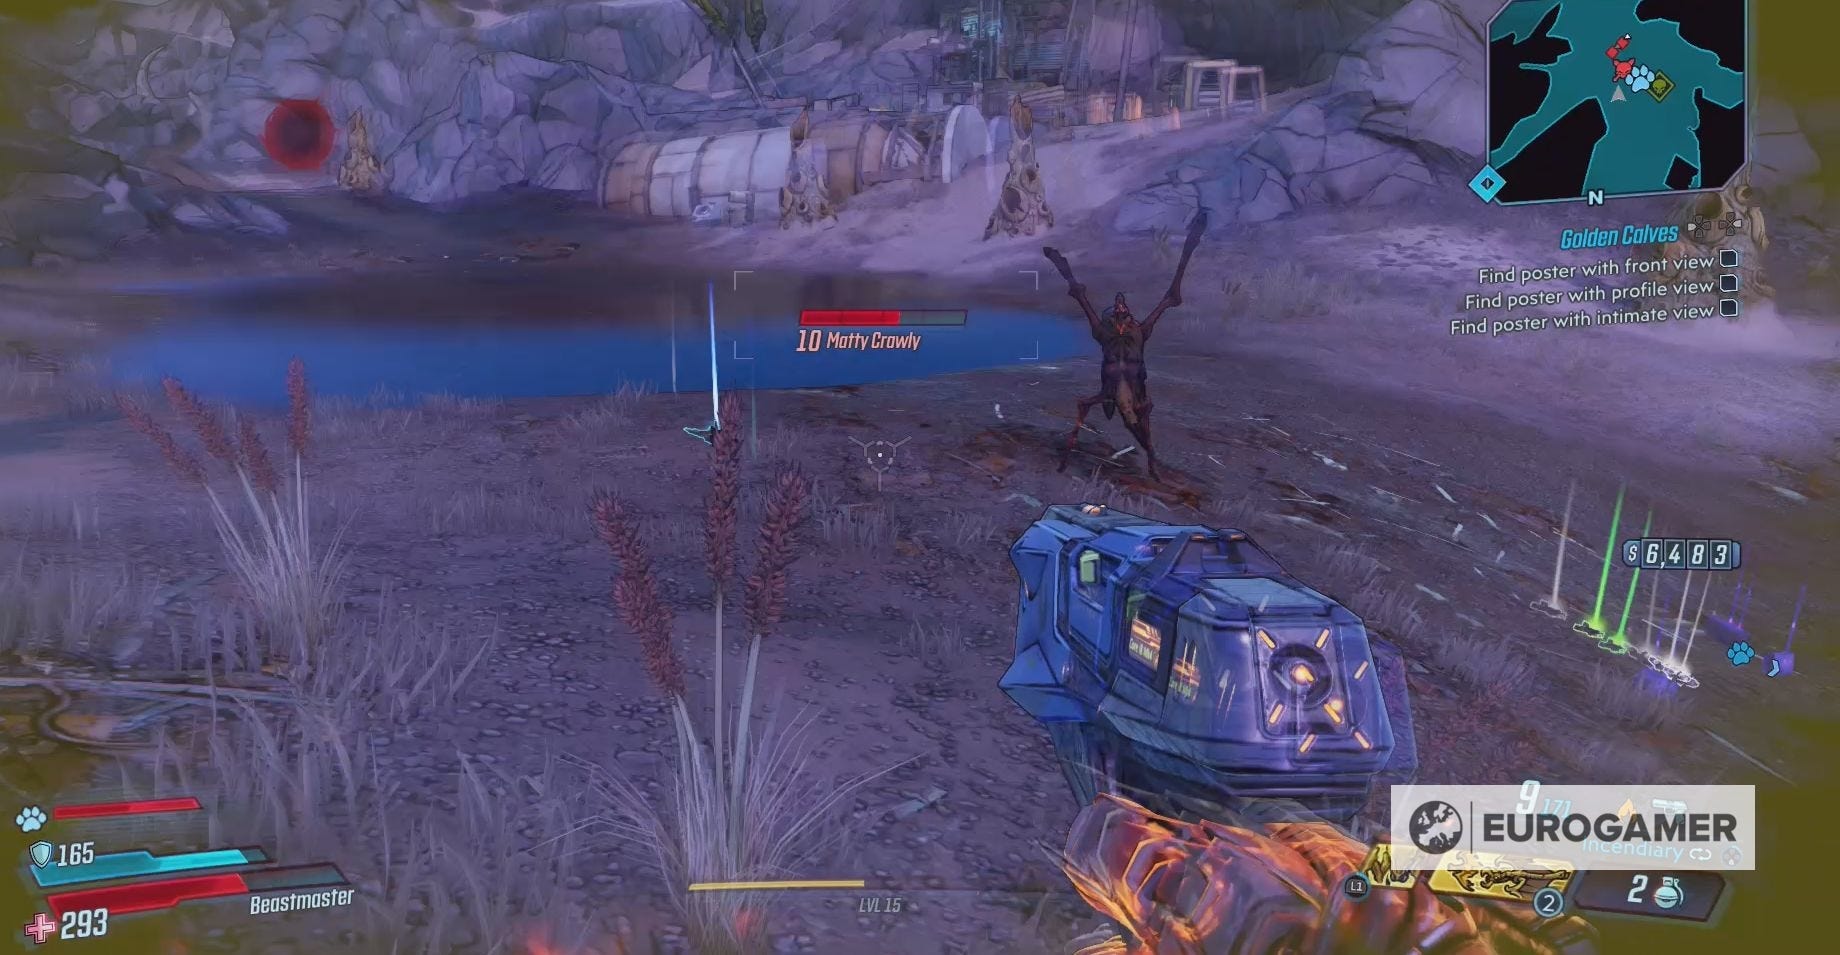
From this final egg, the Level 10 Matty Crawly will appear.
Matty attacks with Incendiary Damage; shooting out three spikes of fire from his belly. Once again, use a combination of your weapons and Action Skill to bring this Legendary Hunt to an end.
Throughout this battle you'll be attacked by the other Varkid in the valley. It's a good idea to kill some of these Varkid before the battle begins, but, if you're level is high enough, you should be able to destroy the Crawly family, while these other monsters attack you.
For murdering the Crawly family, you'll receive a collection of loot from their dead bodies, as well as:
- 202 XP
- $31
- 15 Eridium
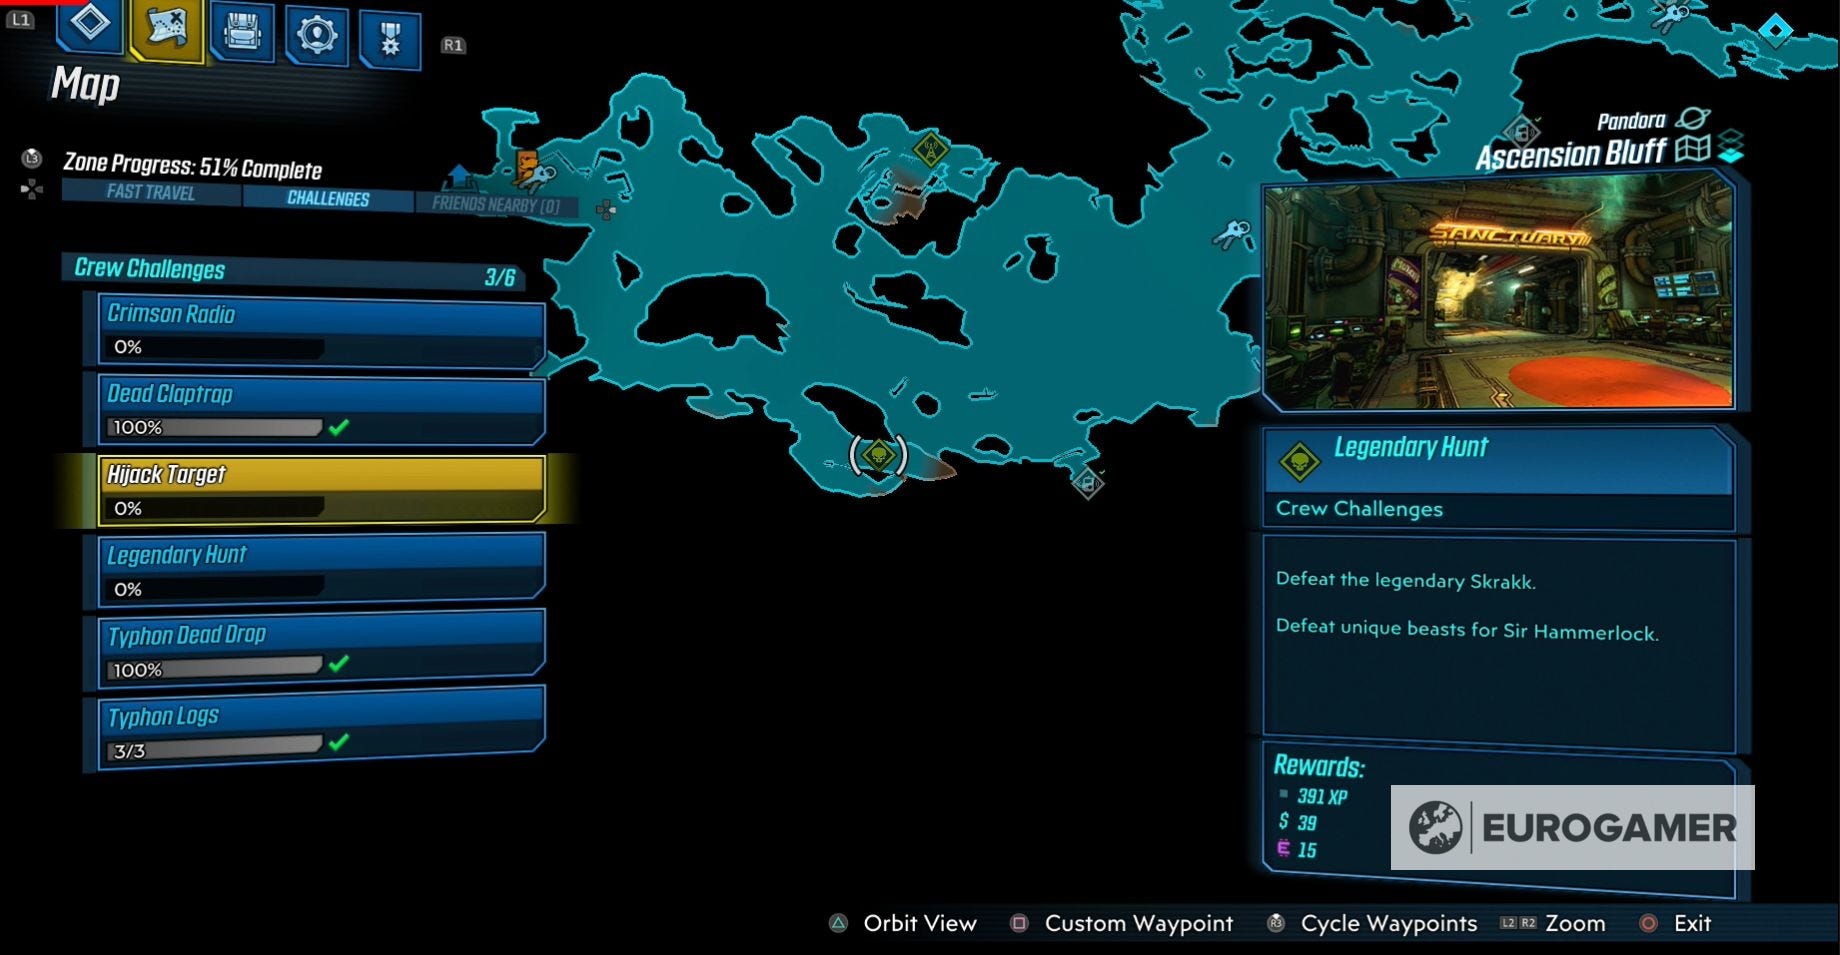
Skrakk location in Ascension Bluff of Pandora in Borderlands 3
To find Skrakk, you must first travel to Ascension Bluff on Pandora via the Fast Travel Station.
Once you're there, head south. The quickest way to reach Skrakk is to simply follow the southern floor of this area, until you reach a small, climbable, wall.

Going up that wall will bring you to the hunting grounds of Skrakk.
How to defeat Skrakk in Borderlands 3
Skrakk is a Level 9 monstrous combination of a Rakk and Skag. We don't want to know how that happened.
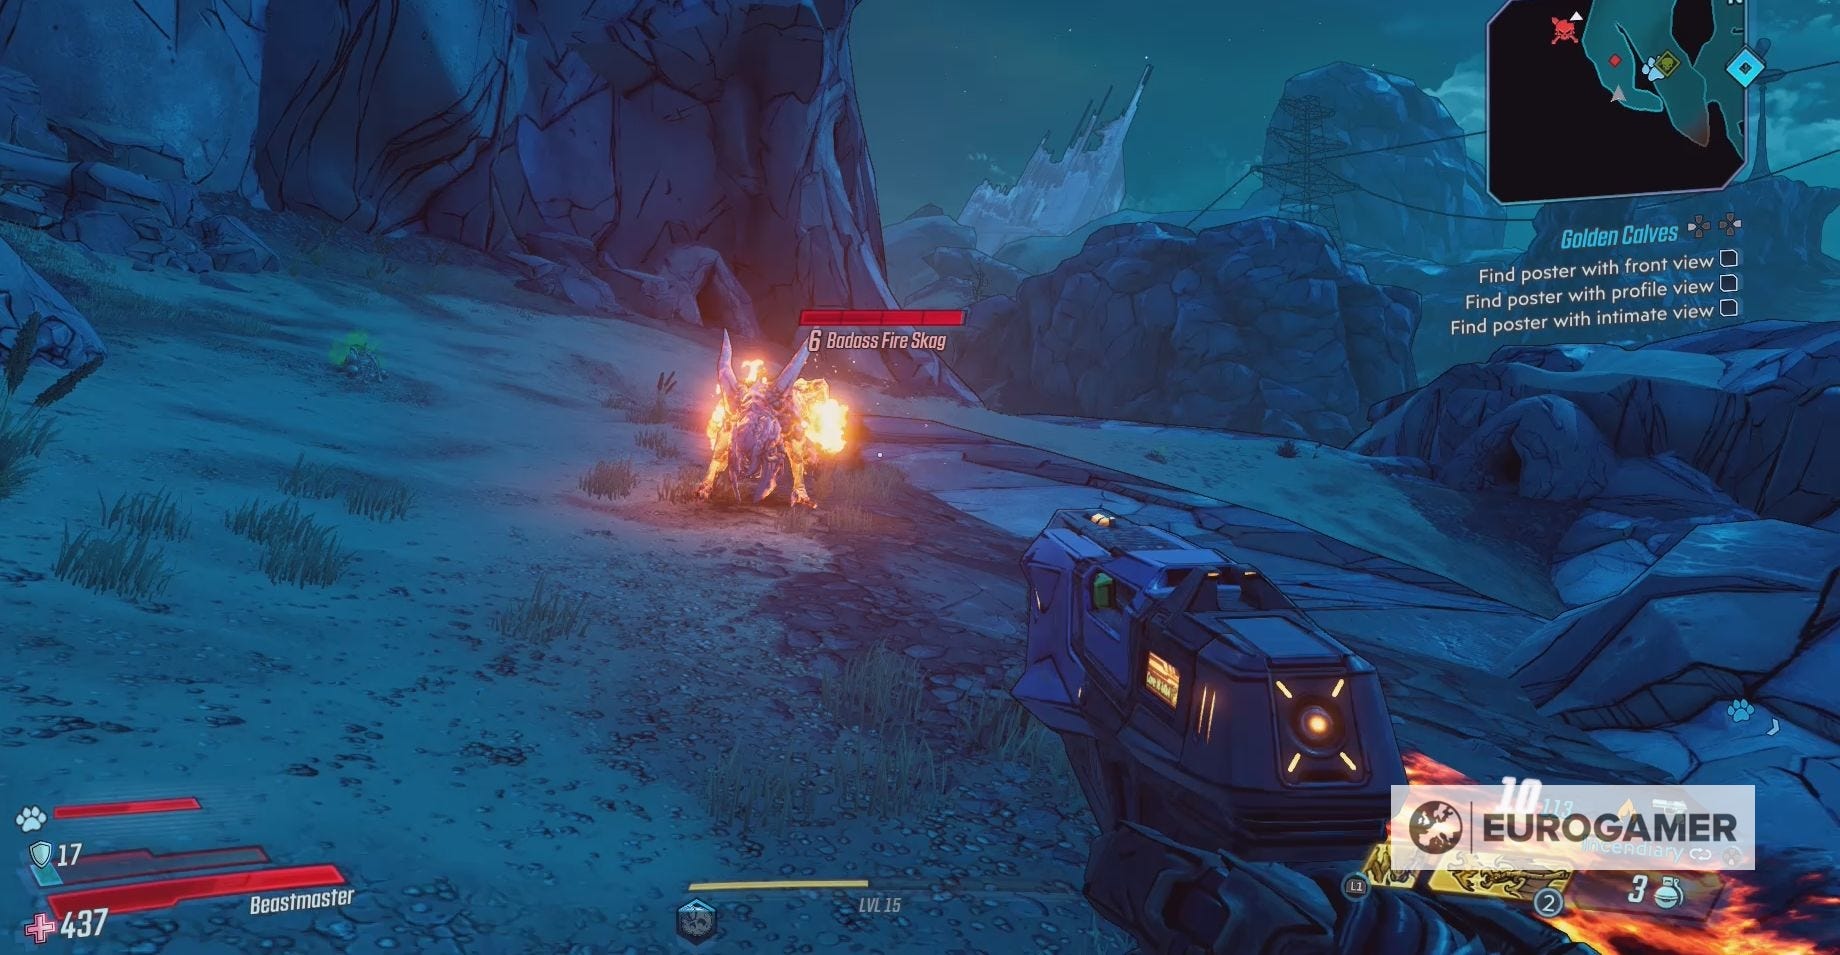
Before you even consider attacking Skrakk, you should take out the Level 7 Skag Pups and Level 6 Badass Fire Skag that live in this area. This will allow you to focus on the Skrakk without any distractions or taking any extra damage.
Once these monsters are dead, focus all your attention on the Skrakk.
The Skrakk will attack you by dive bombing from the sky, which you can run dodge with some practice.
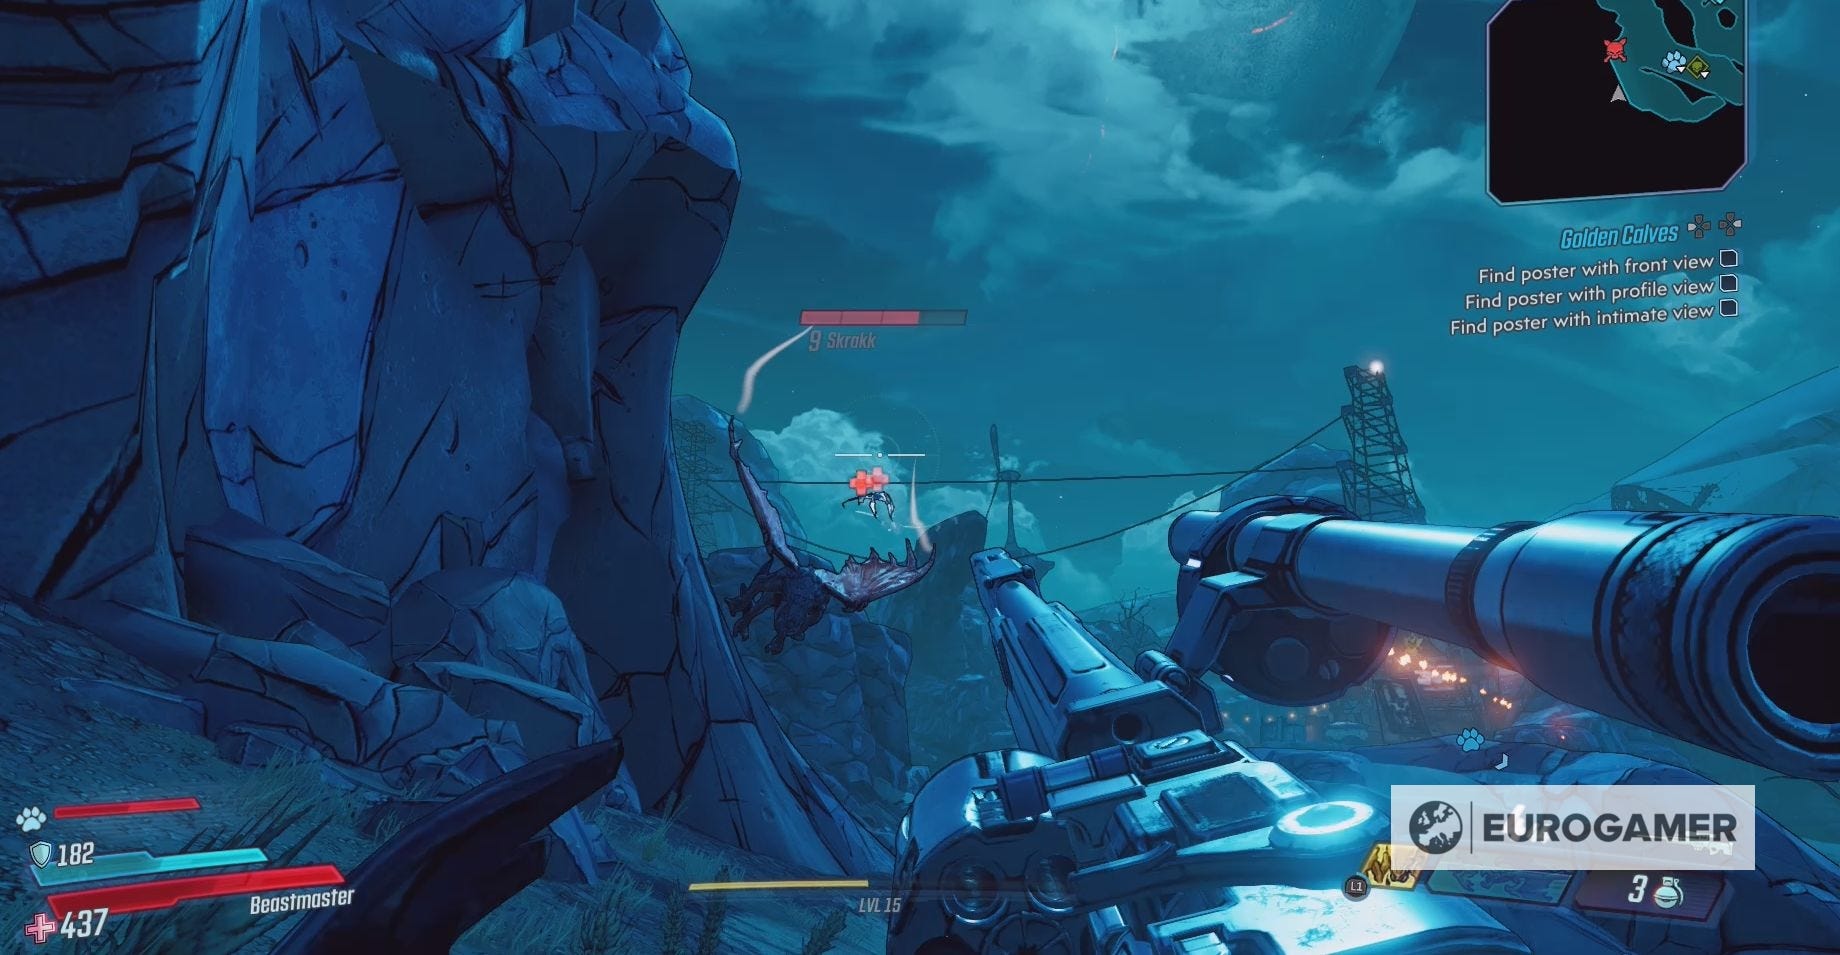
The best way to kill the Skrakk is to use a Sniper Rifle when its high in the air. This will allow you to do some good damage and, using the scope, ensure your bullets hit.

When the Skrakk begins to move closer switch to either an SMG or Assault Rifle to deal some rapid fire damage.
Don't forget to use your Action Skills either when it gets closer.
Once the Skrakk is dead, you'll be rewarded with:
- 391 XP
- $39
- 15 Eridium
Chupacabratch location on Athenas in Borderlands 3
To find the Chupacabratch, head towards the graveyard that you raided for Eridium during The Impending Storm.
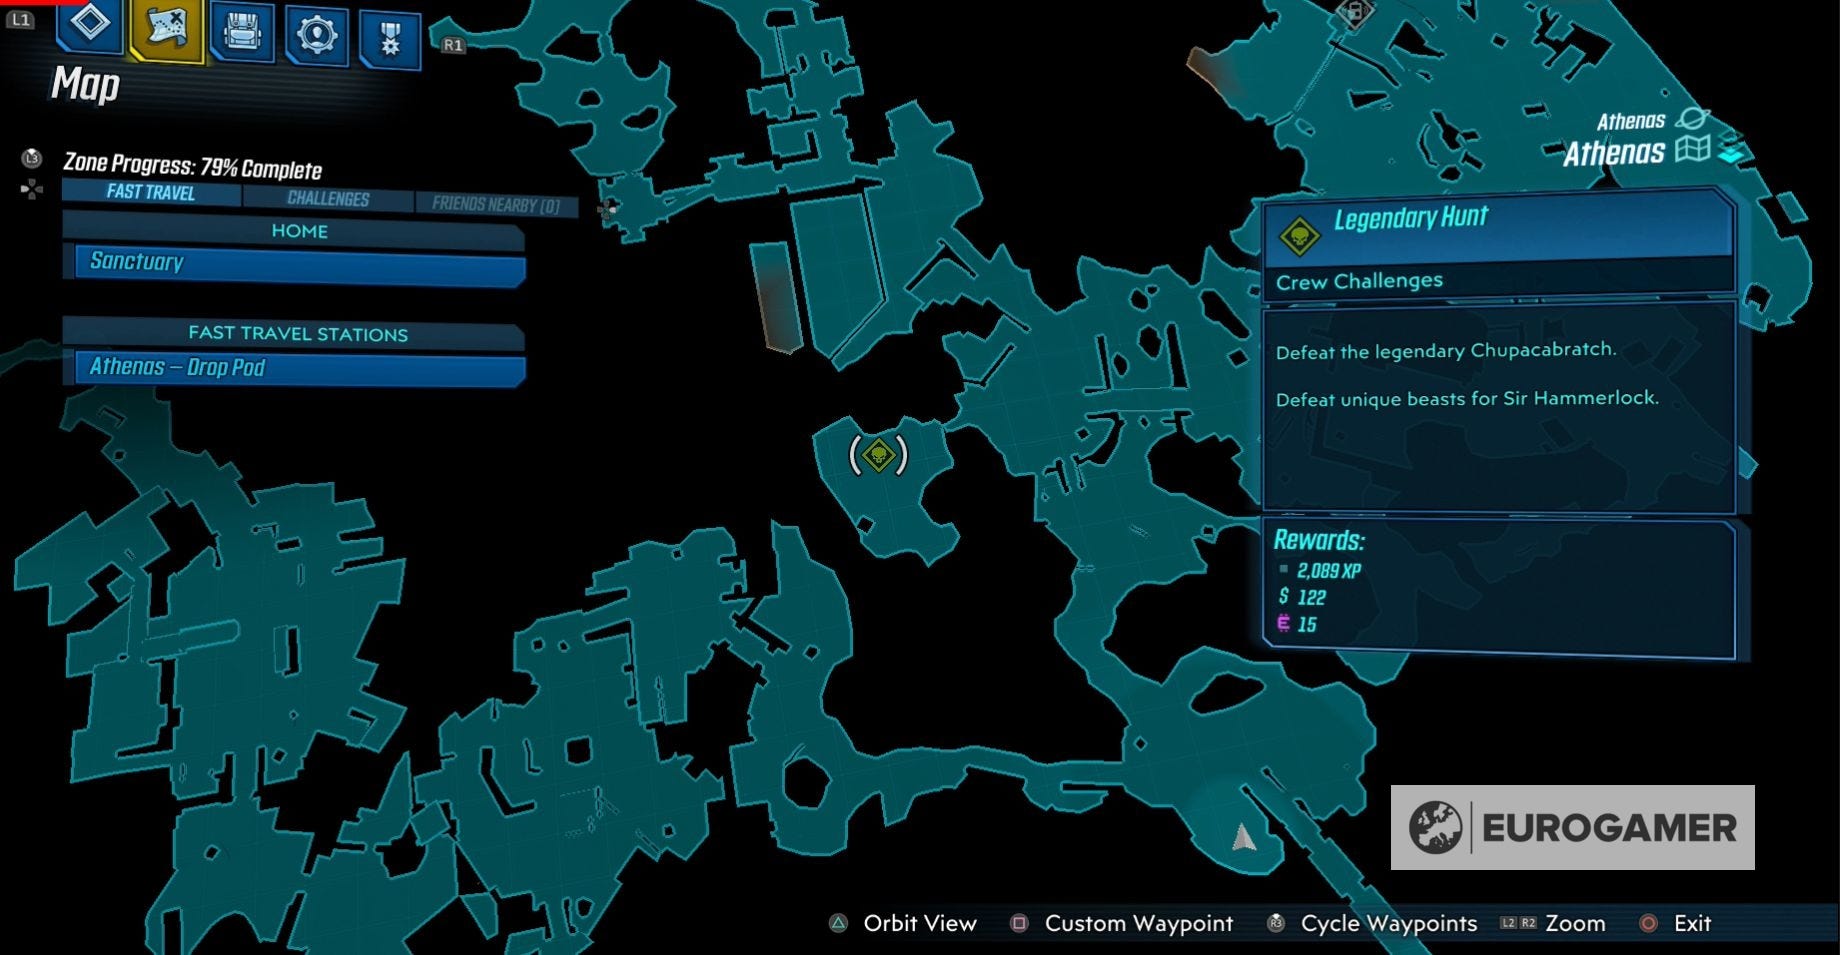
On your way, you'll be attacked by a collection of Ratch monsters. When you reach this spot, turn left and climb up a small wall to reach a raised platform.
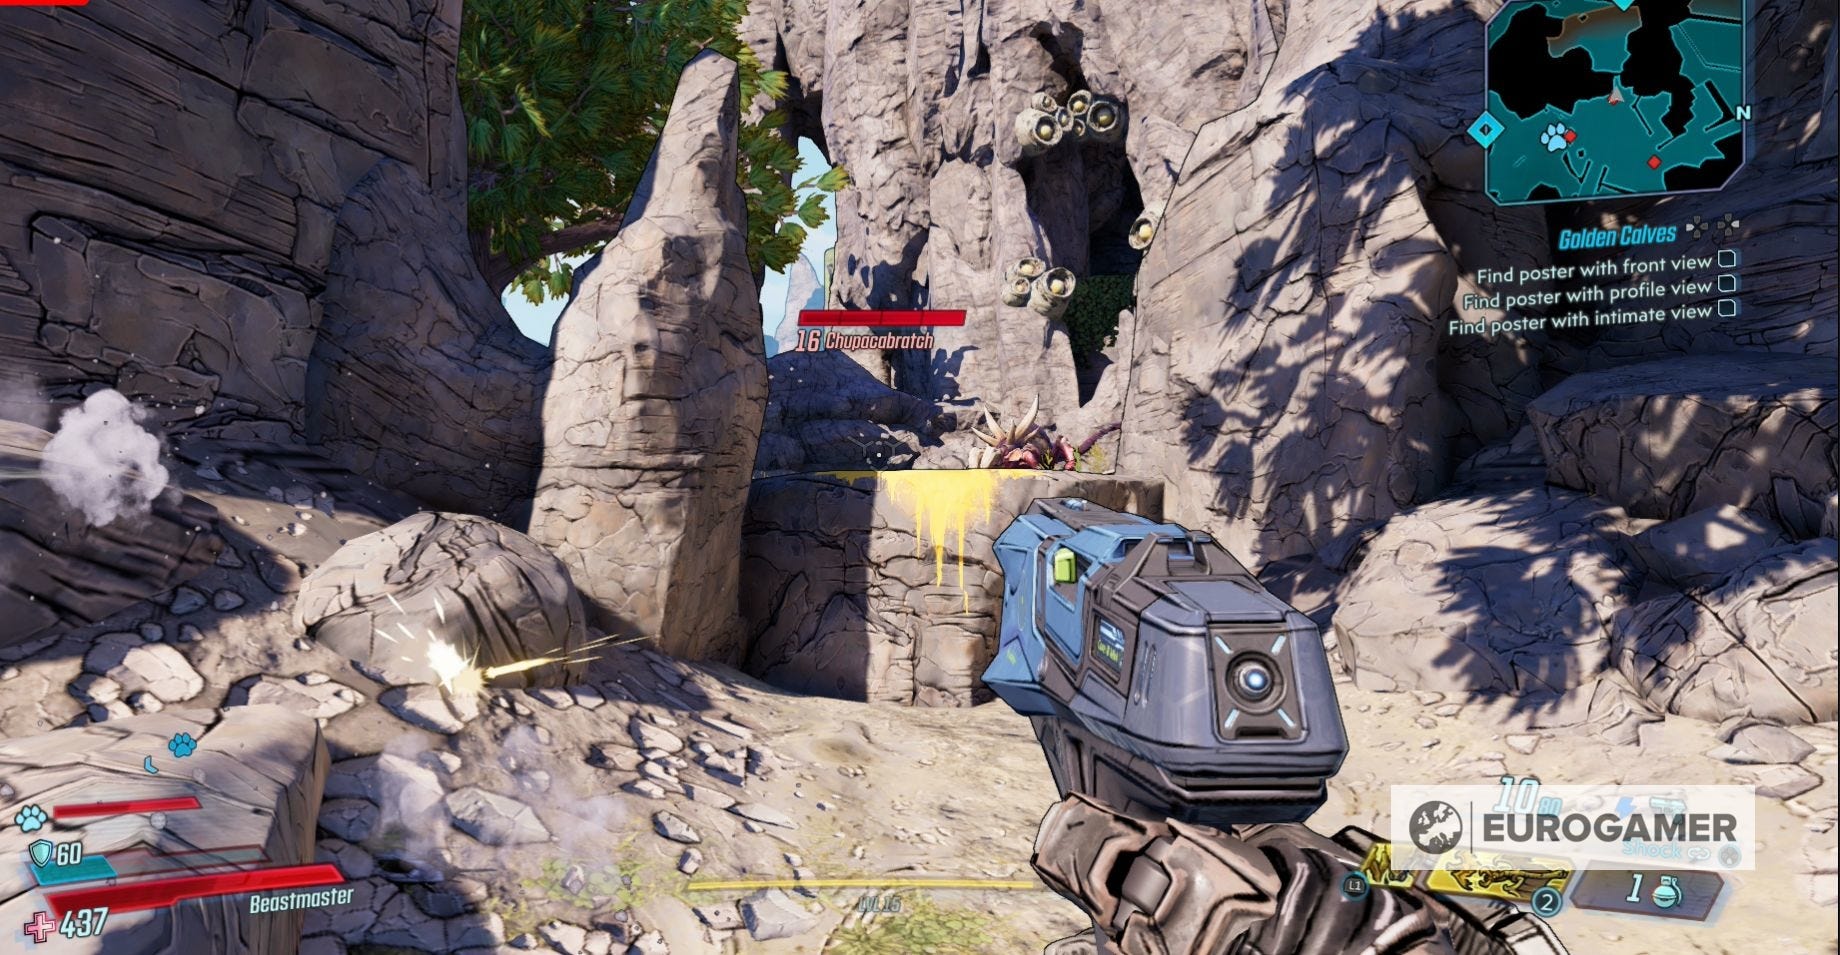
It's on this platform where your battle with the Chupacabratch will take place.
How to defeat the Chupacabratch
The Chupacabratch is Level 16.
It will attack using by shooting sludge at you and creating pools of this poisonous goo on the floor. Move around the battlefield to avoid these attacks and keep filling the Chupacabratch with bullets.
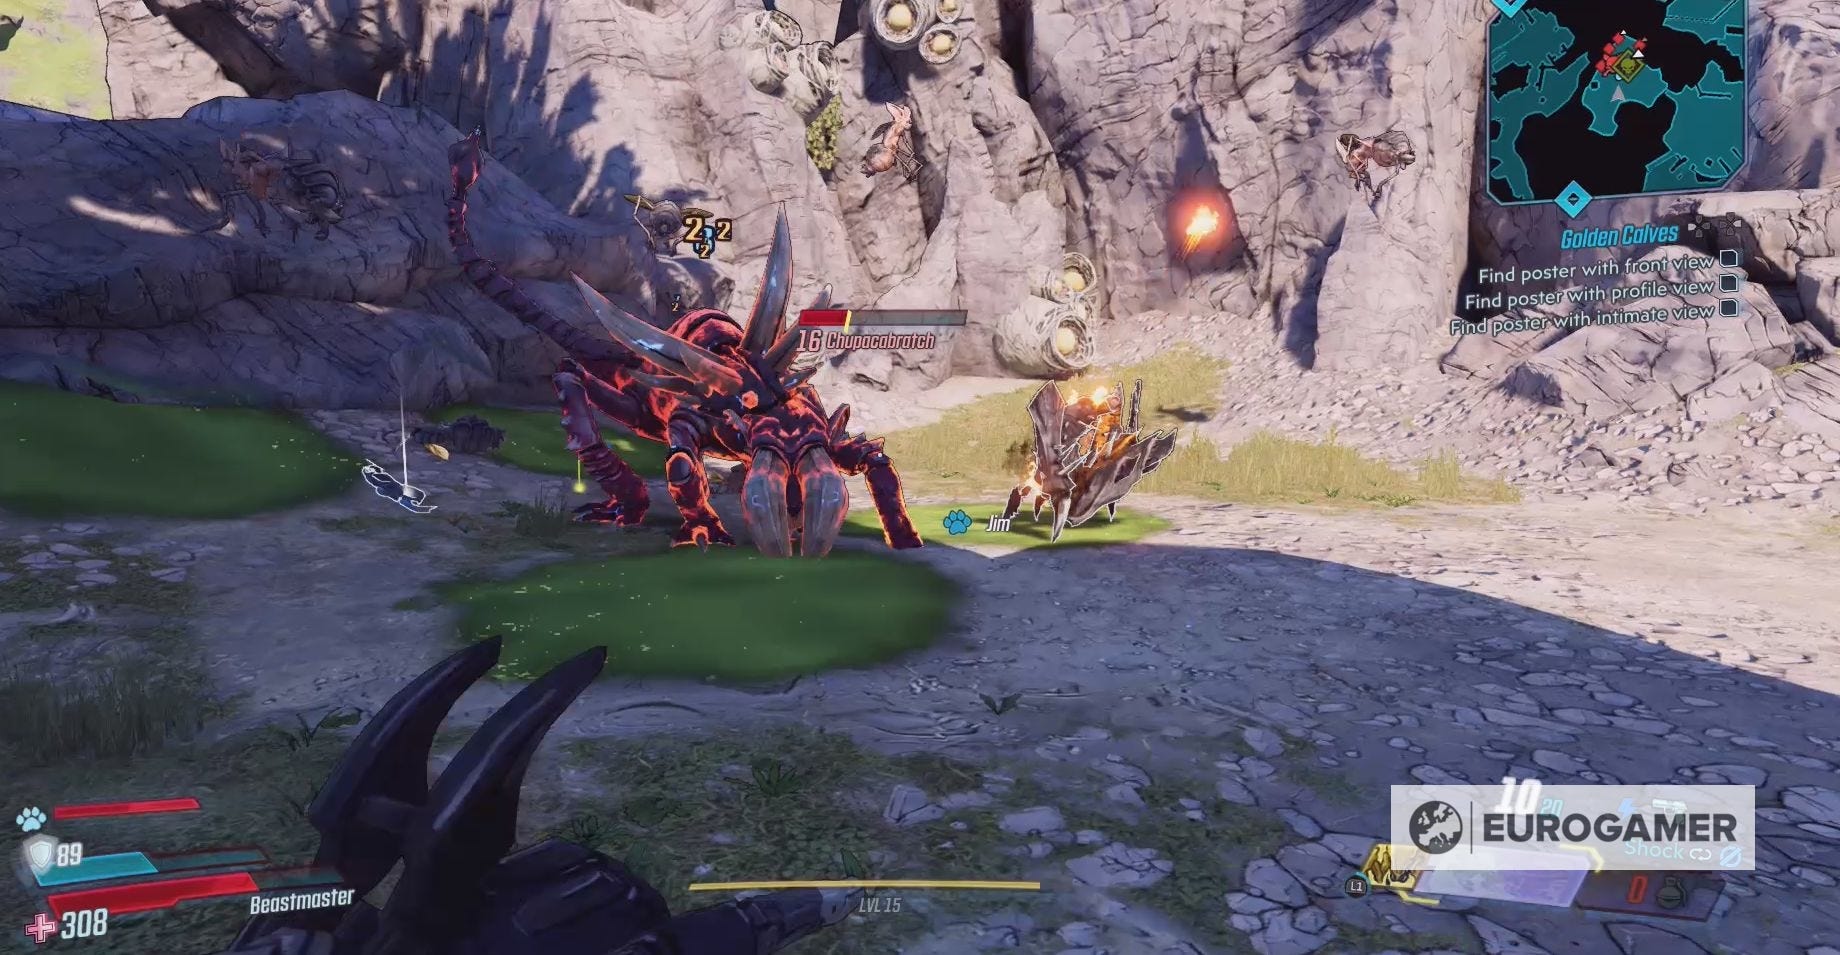
Elemental weapons are a good choice against the Chupacabratch, especially ones that deal Shock Damage.
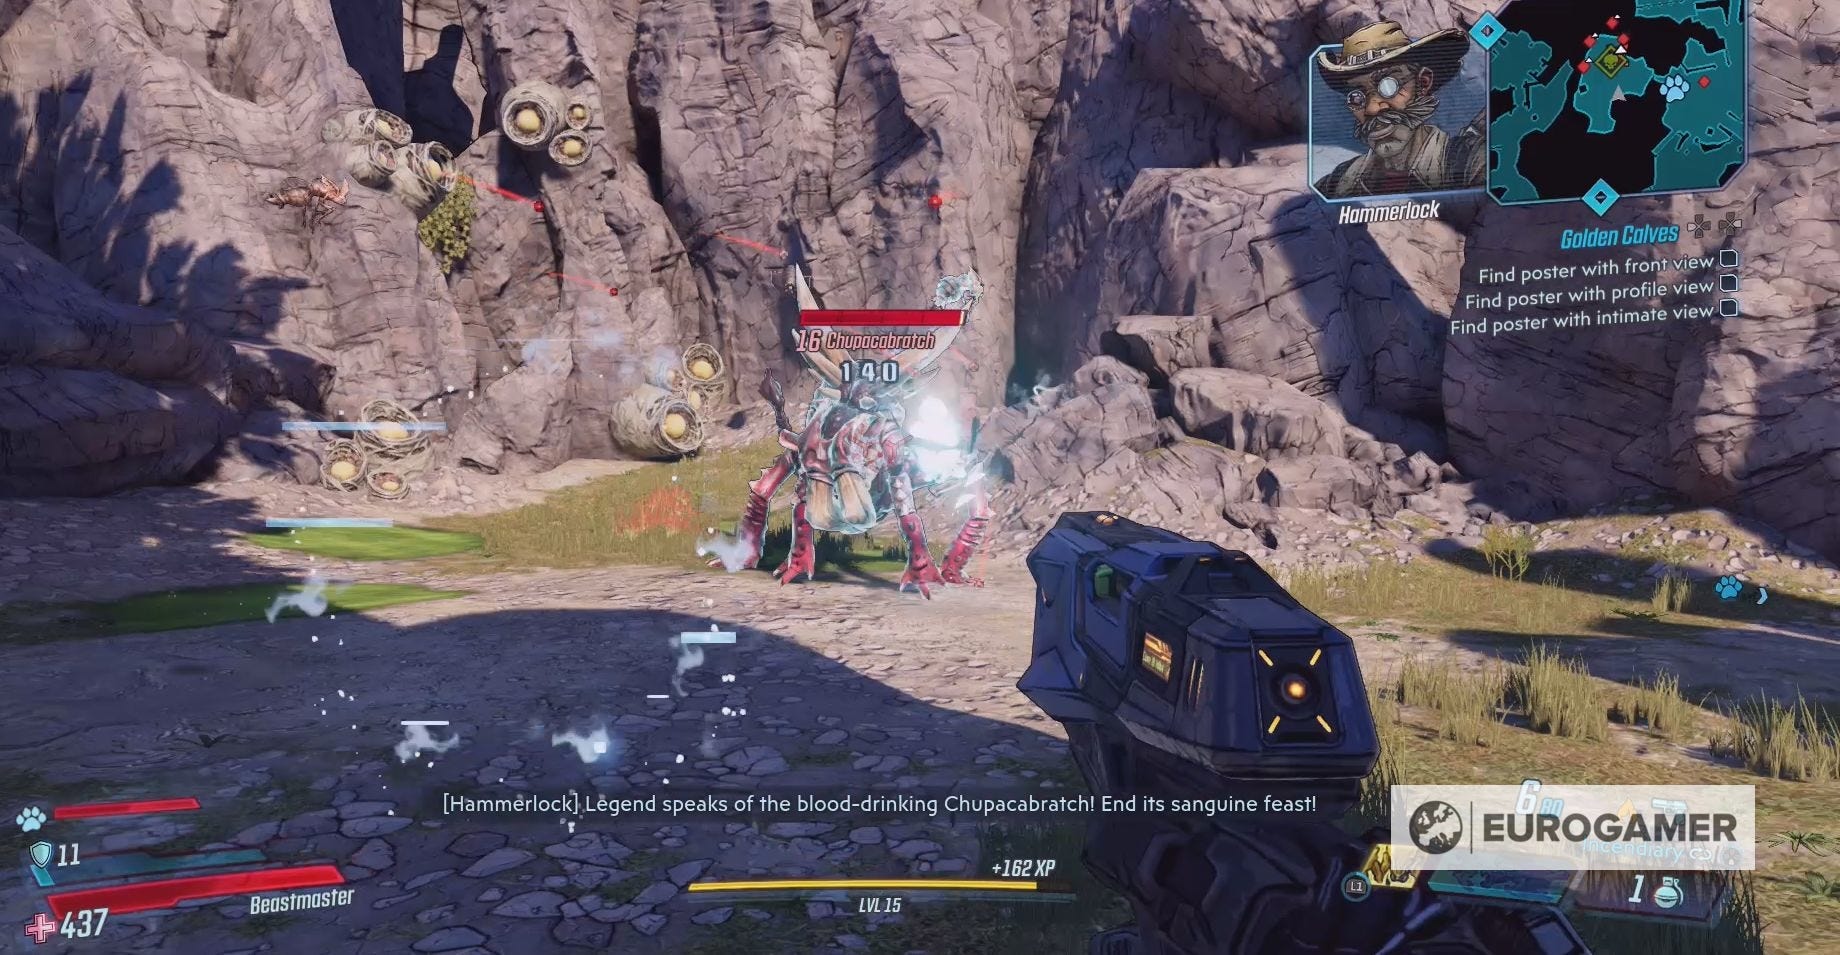
A collection of Level 16 Ratch Gnats will also fly in during the battle. You can easily ignore these and focus your attacks on the Chupacabratch, until it's dead and then take these out.
For defeating the Chupacabratch, you'll receive:
- 2,089 XP
- $122
- 15 Eriduim
Where to find the Chonk Stomp in Floodmoor Basin in Borderlands 3
The Chonk Stomp is located between the entrances to The Anvil and Blackbarrel Cellars.
Climb up a ledge just south of the entrance to The Anvil, then take the left hand path and keep following it.
At the end of the path, you'll find the entrance to the Chonk Stomp's lair.
Everything you need to know to defeat the Chonk Stomp
The Chonk Stomp is Level 25.
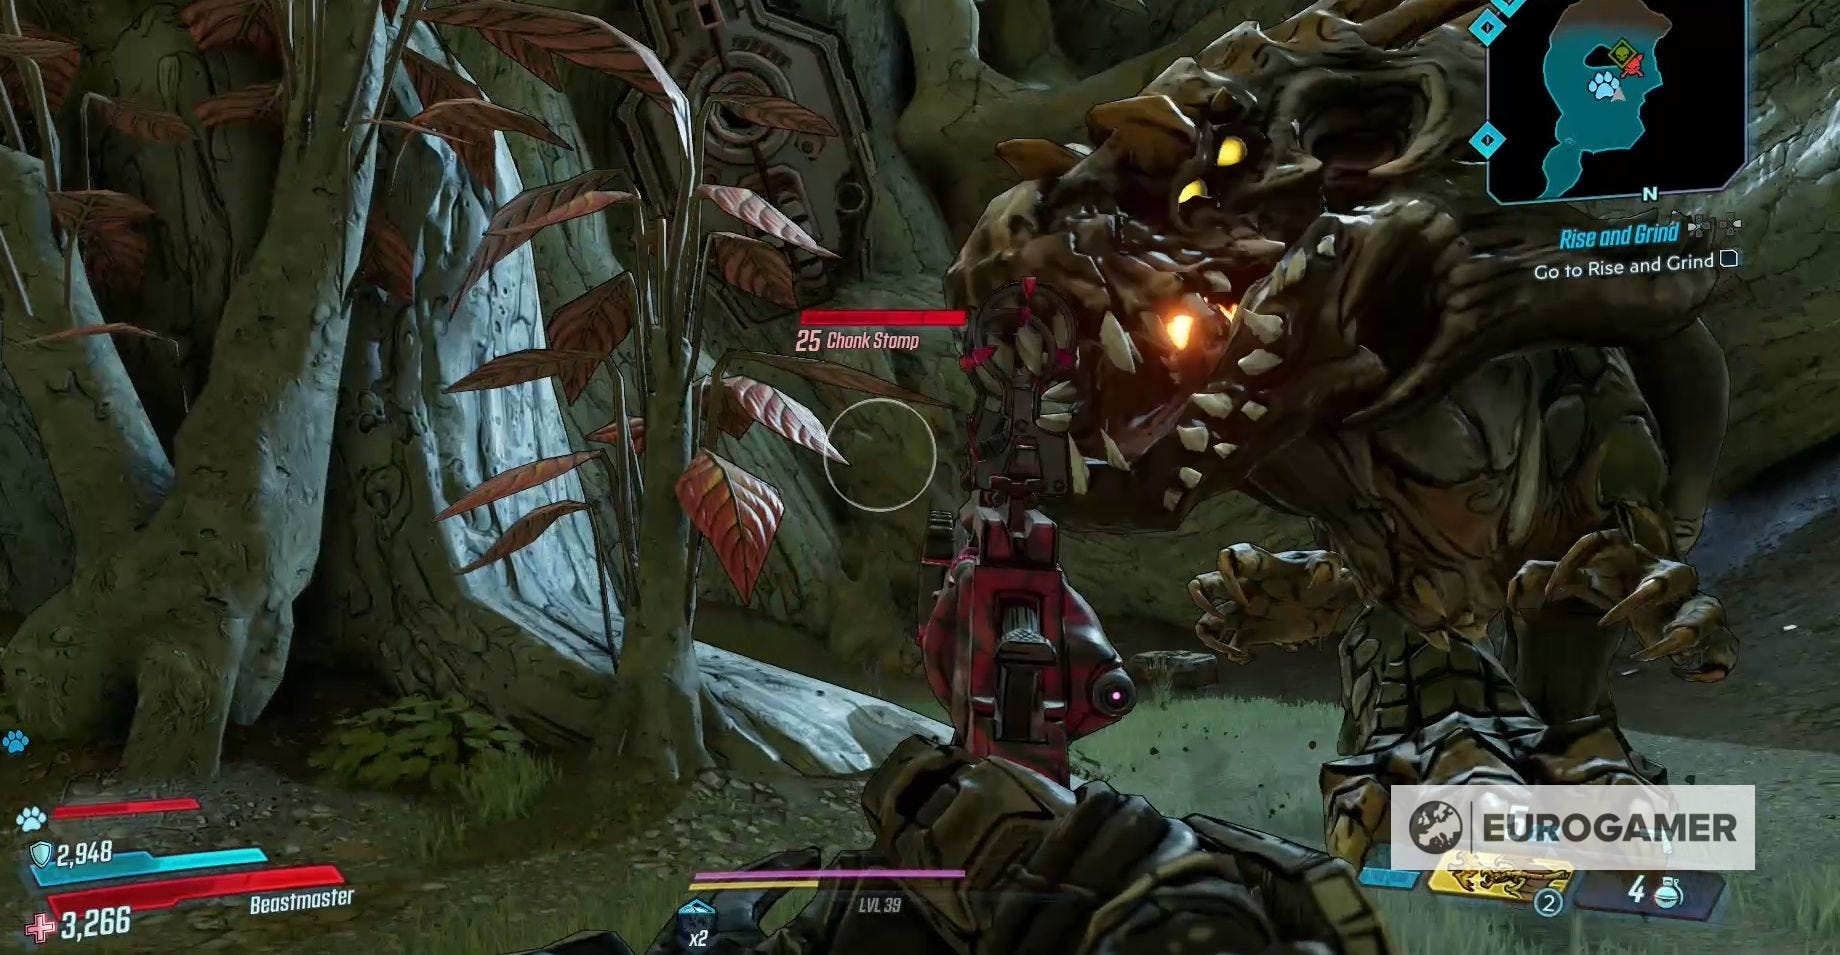
It will attack using a variety of melee moves, since this beast is basically a larger version of the saurians found throughout Eden-6.
You can easily kill the Chonk Stomp with any weapon, be it elemental or not.
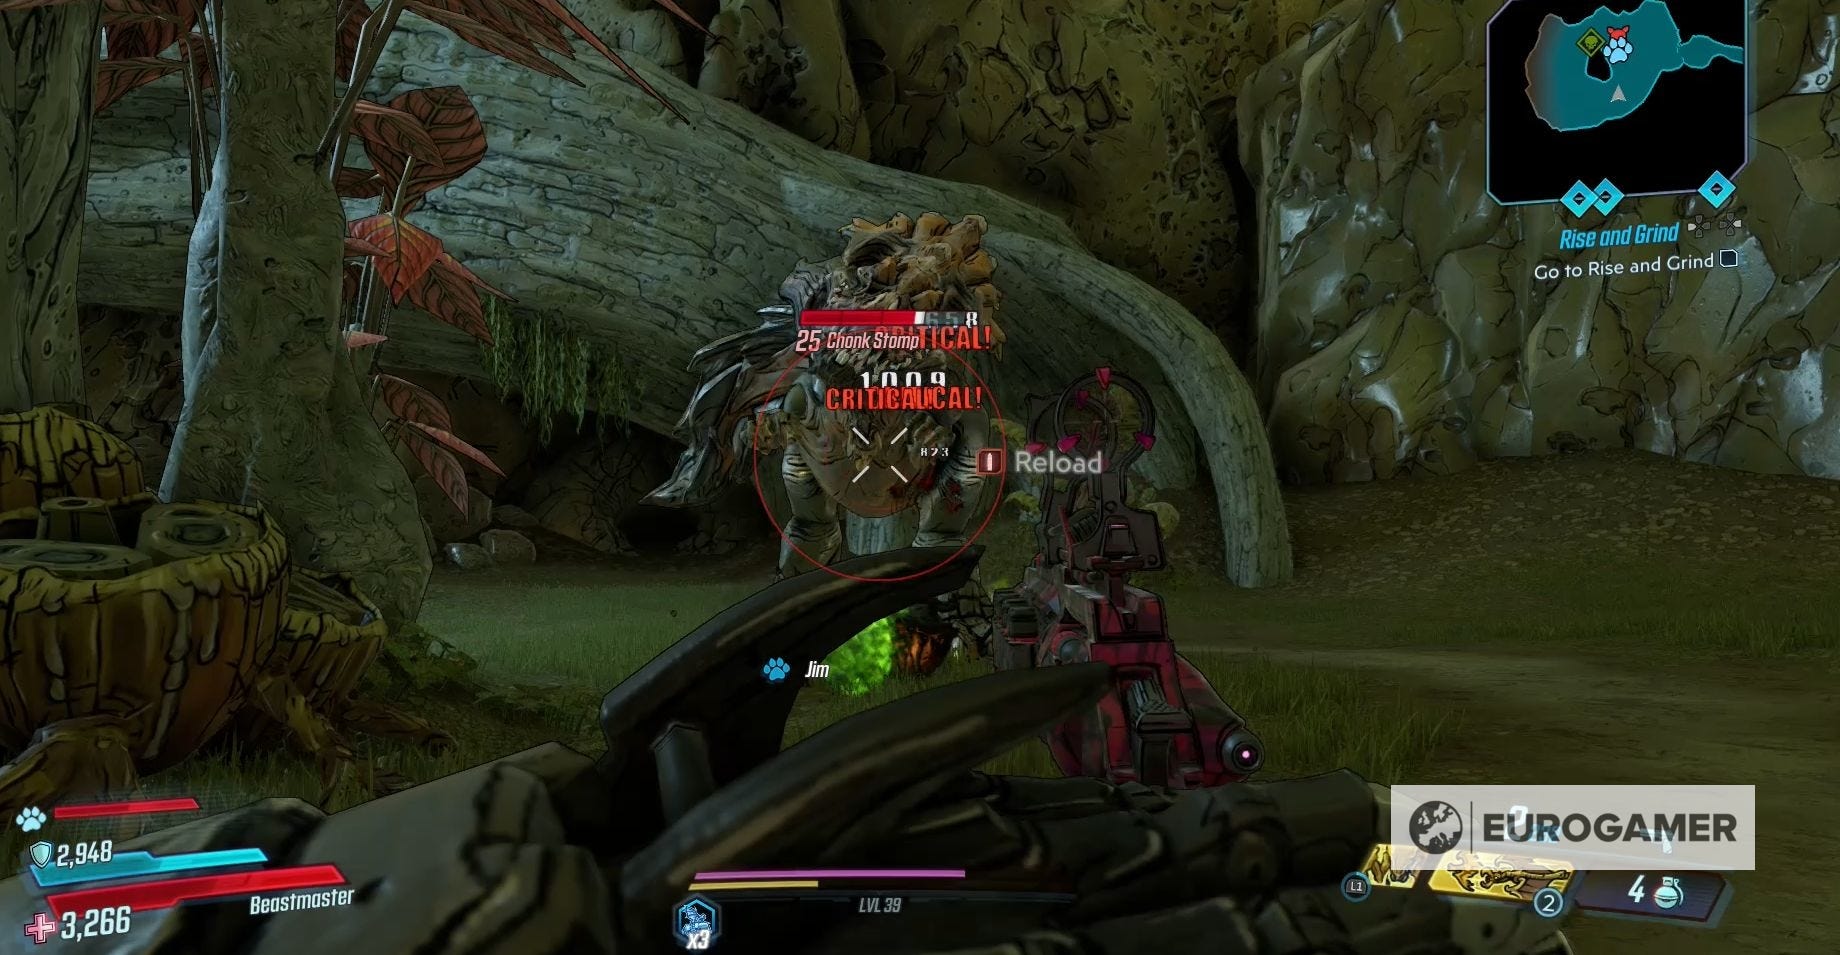
If you're having trouble with the Chonk Stomp make sure to keep your distance; you can easily lead it around in a circle, taking shots where you can.
For defeating the Chonk Stomp, you'll receive:
- 4,255 XP
- $303
- 15 Eridium
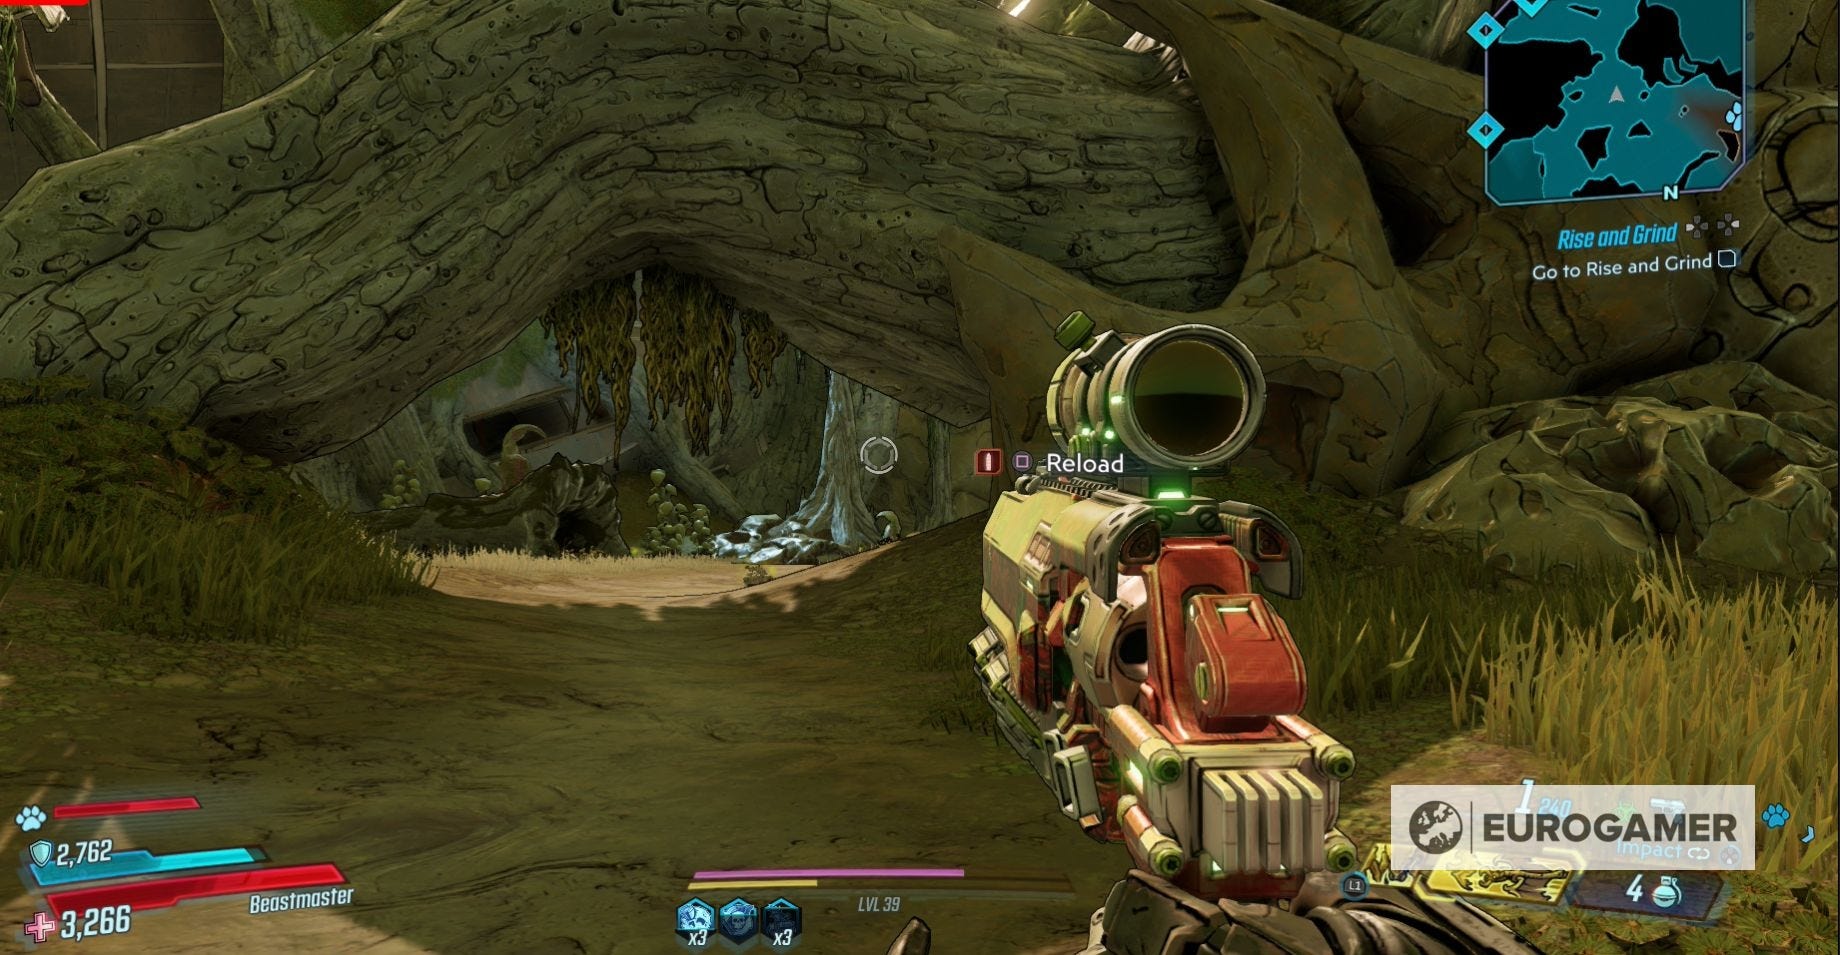
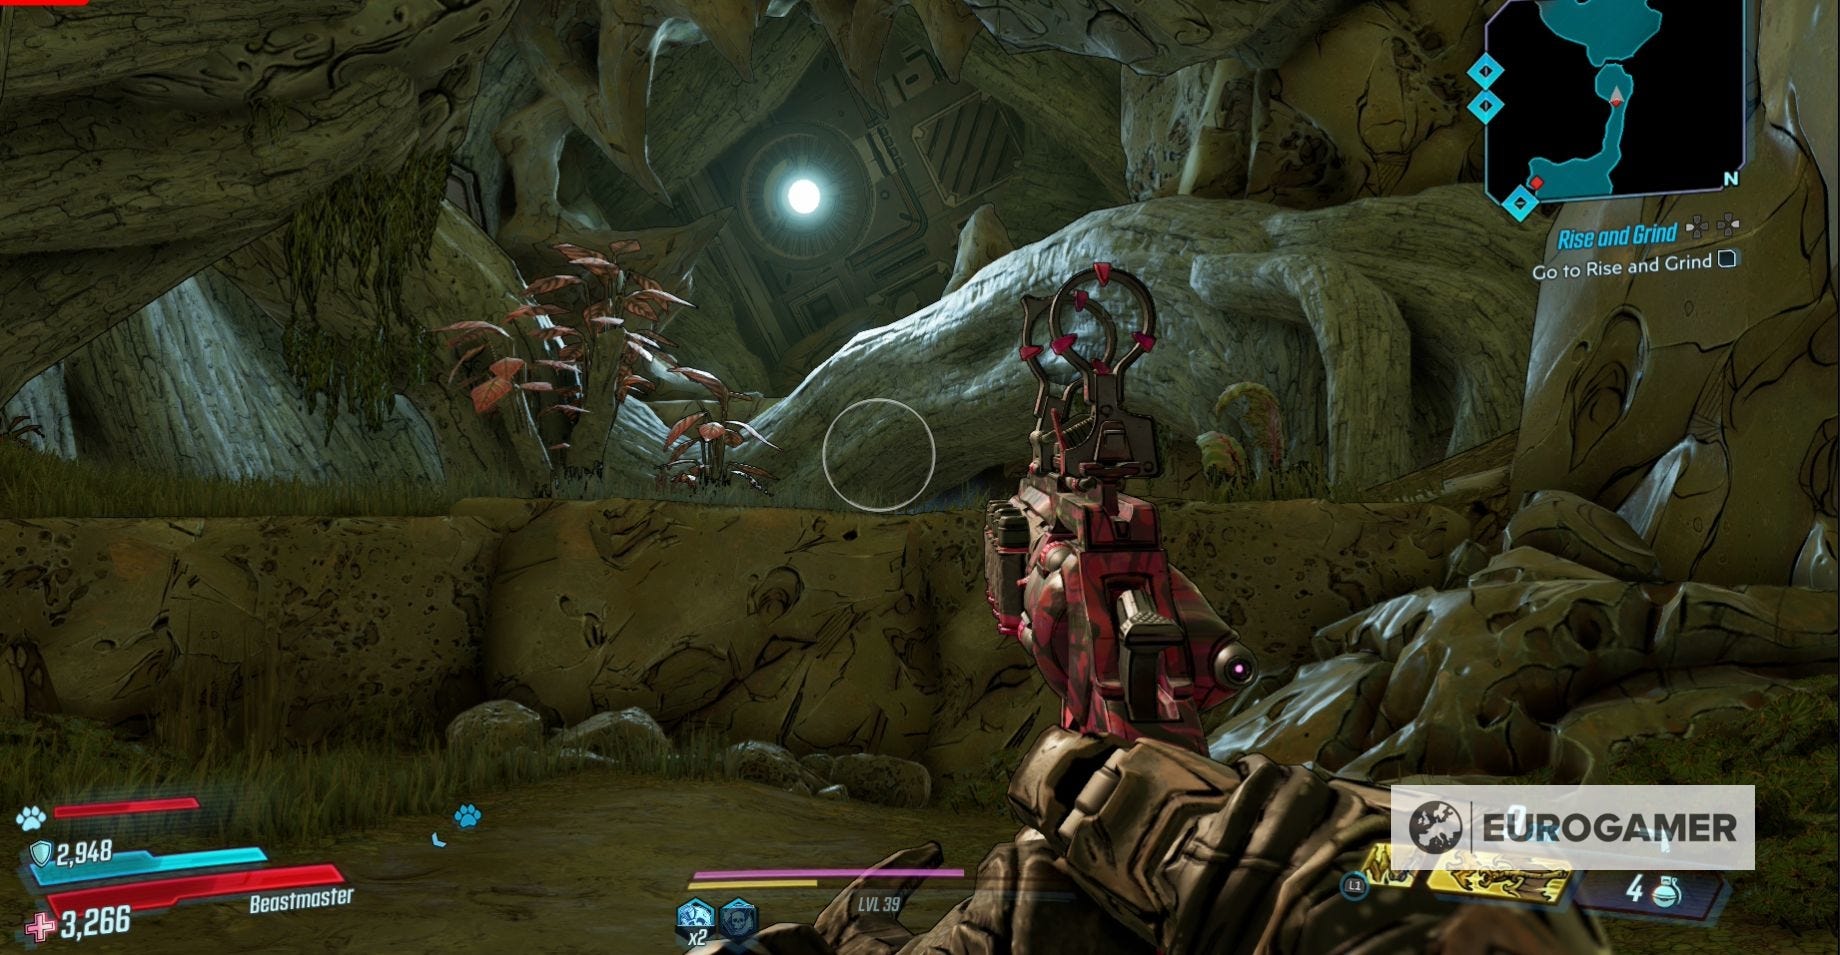
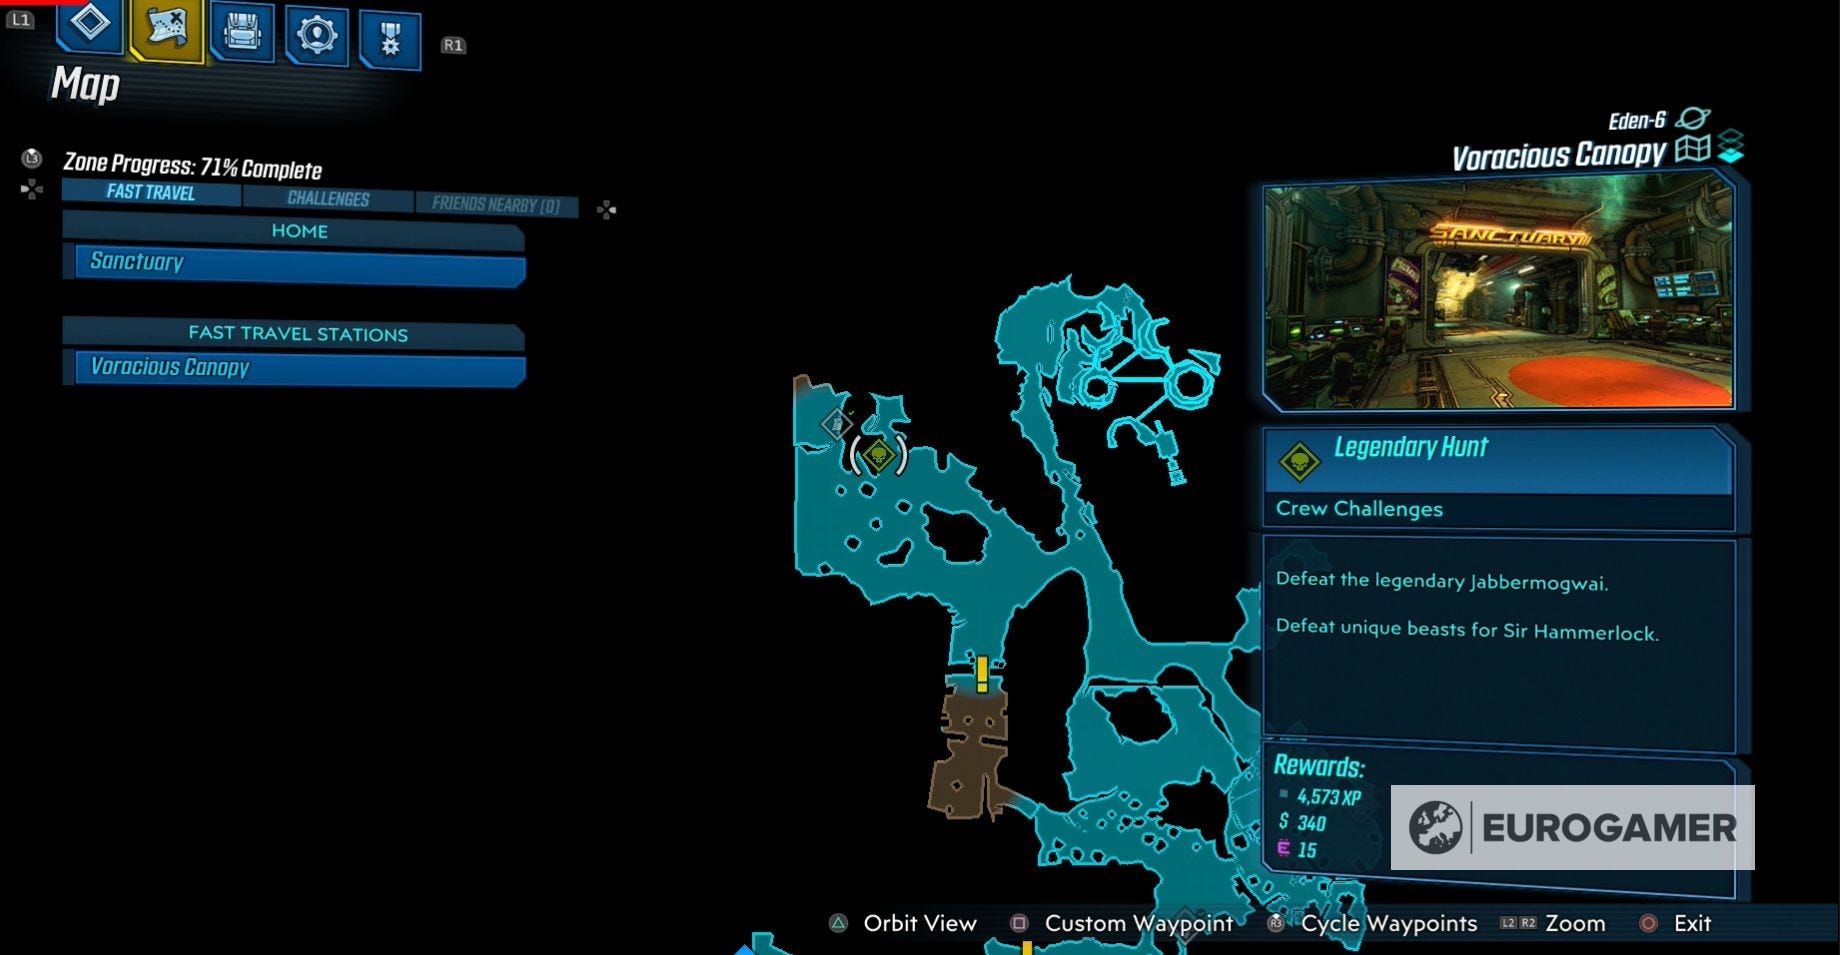
Where to find the Jabbermogwai in Voracious Canopy in Borderlands 3
The Jabbermogwai is located in the northern section of the Voracious Canopy.
To reach this area take the first left-turn you are given in the Voracious Canopy and then continue following the path north, until you reach a bridge.
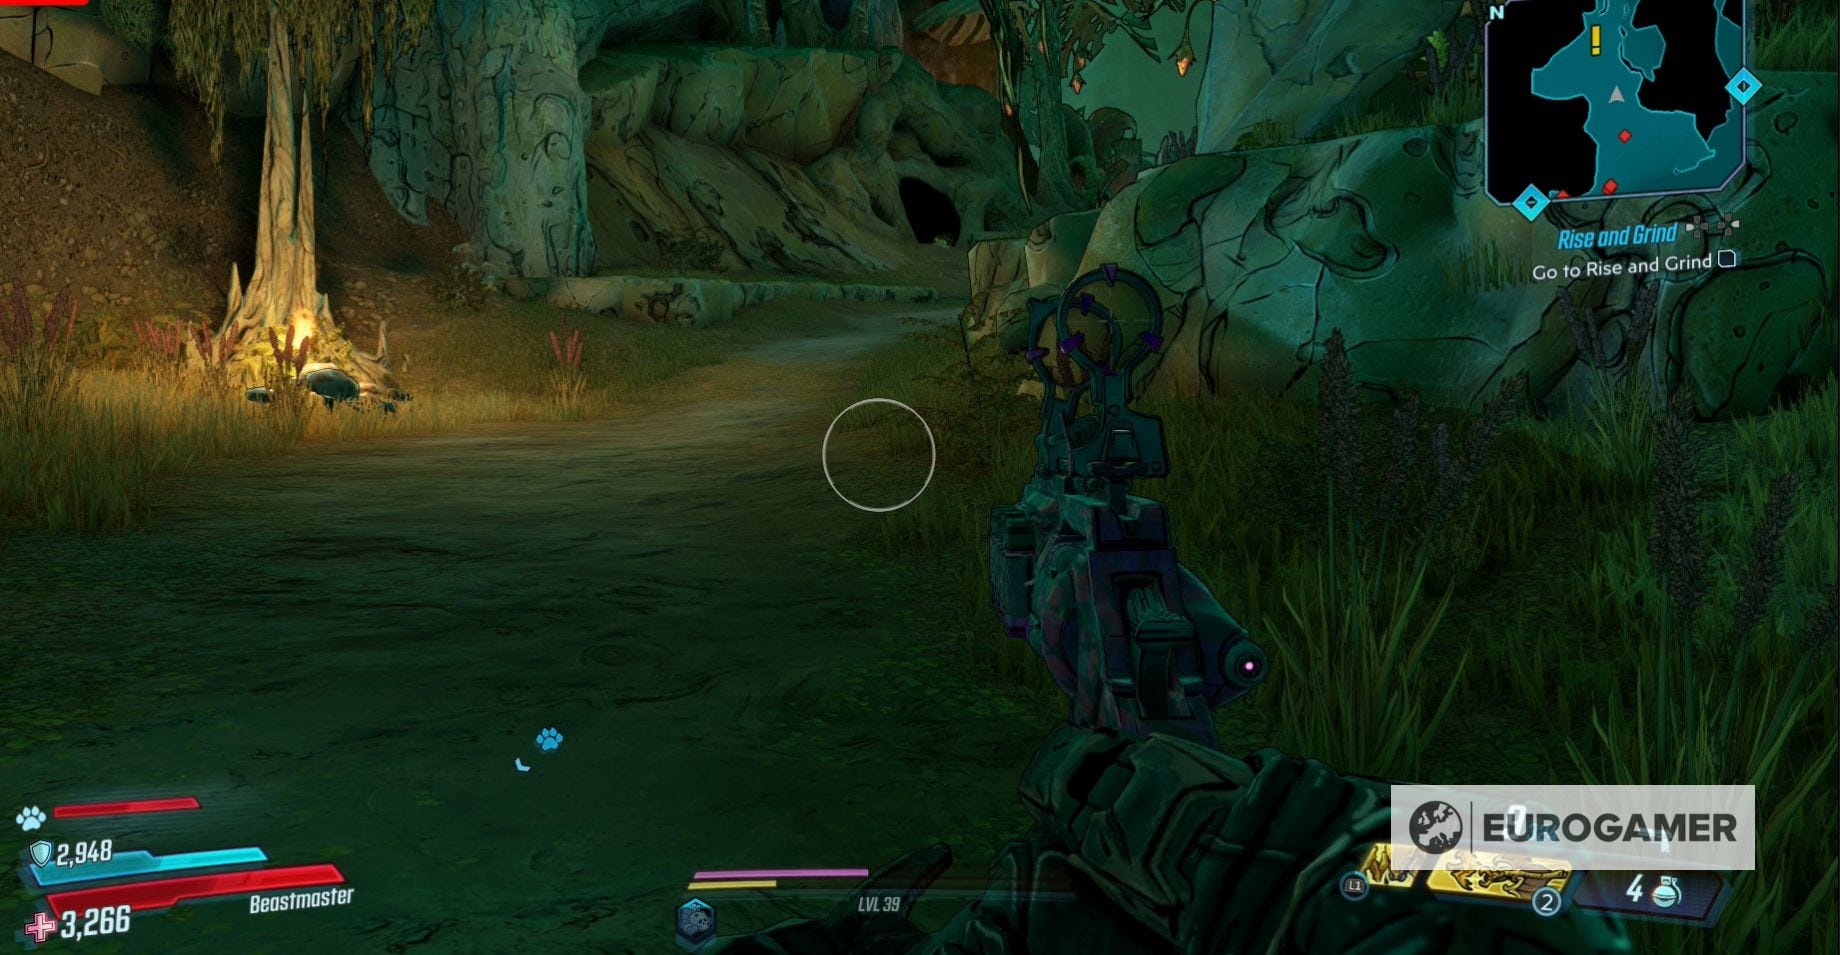
When you reach the bridge, take the left-hand road and then head north again through the swamp.
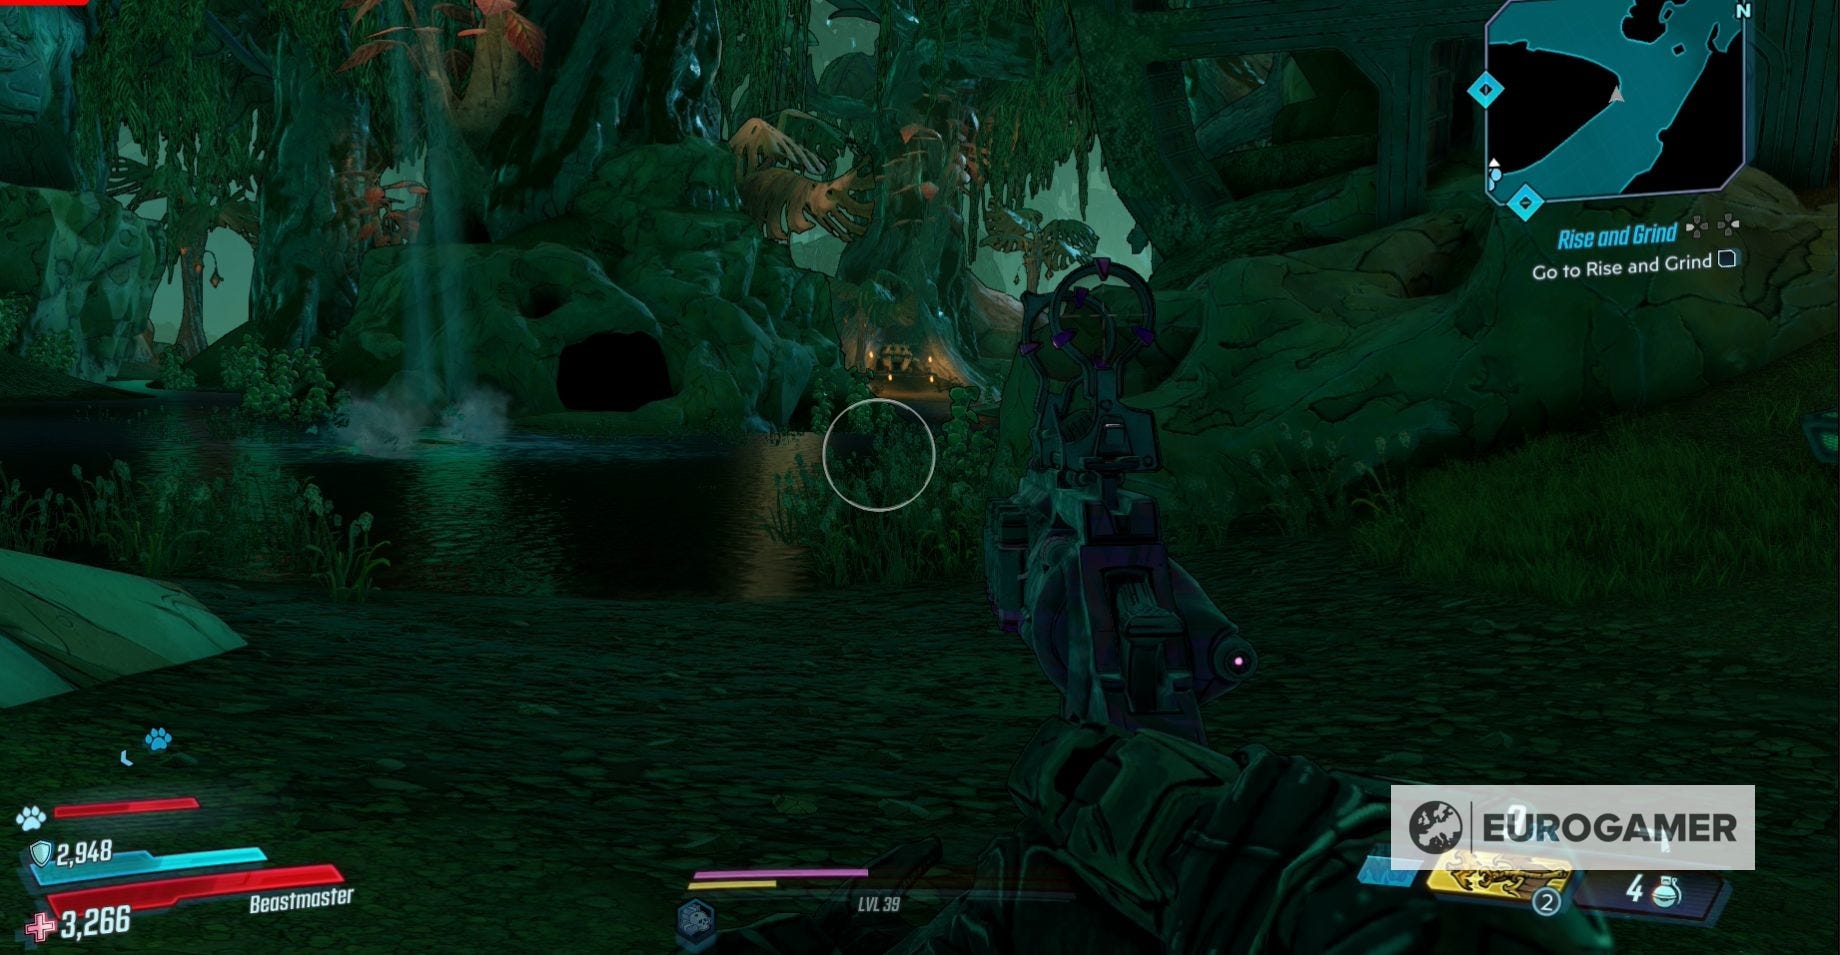
You will eventually find a small hut - this is the home of the Jabbermogwai.
Everything you need to know to defeat the Jabbermogwai
The Jabbermogwai is Level 24.

It has regular Jabber and, while it will be immune to some of your attacks, it's not enough to cause a problem.
What makes the Jabbermogwai special, however, is that it can come back to life if its touching water. Since its home, however, is surrounded by water, then there is a large chance that this will happen to you.
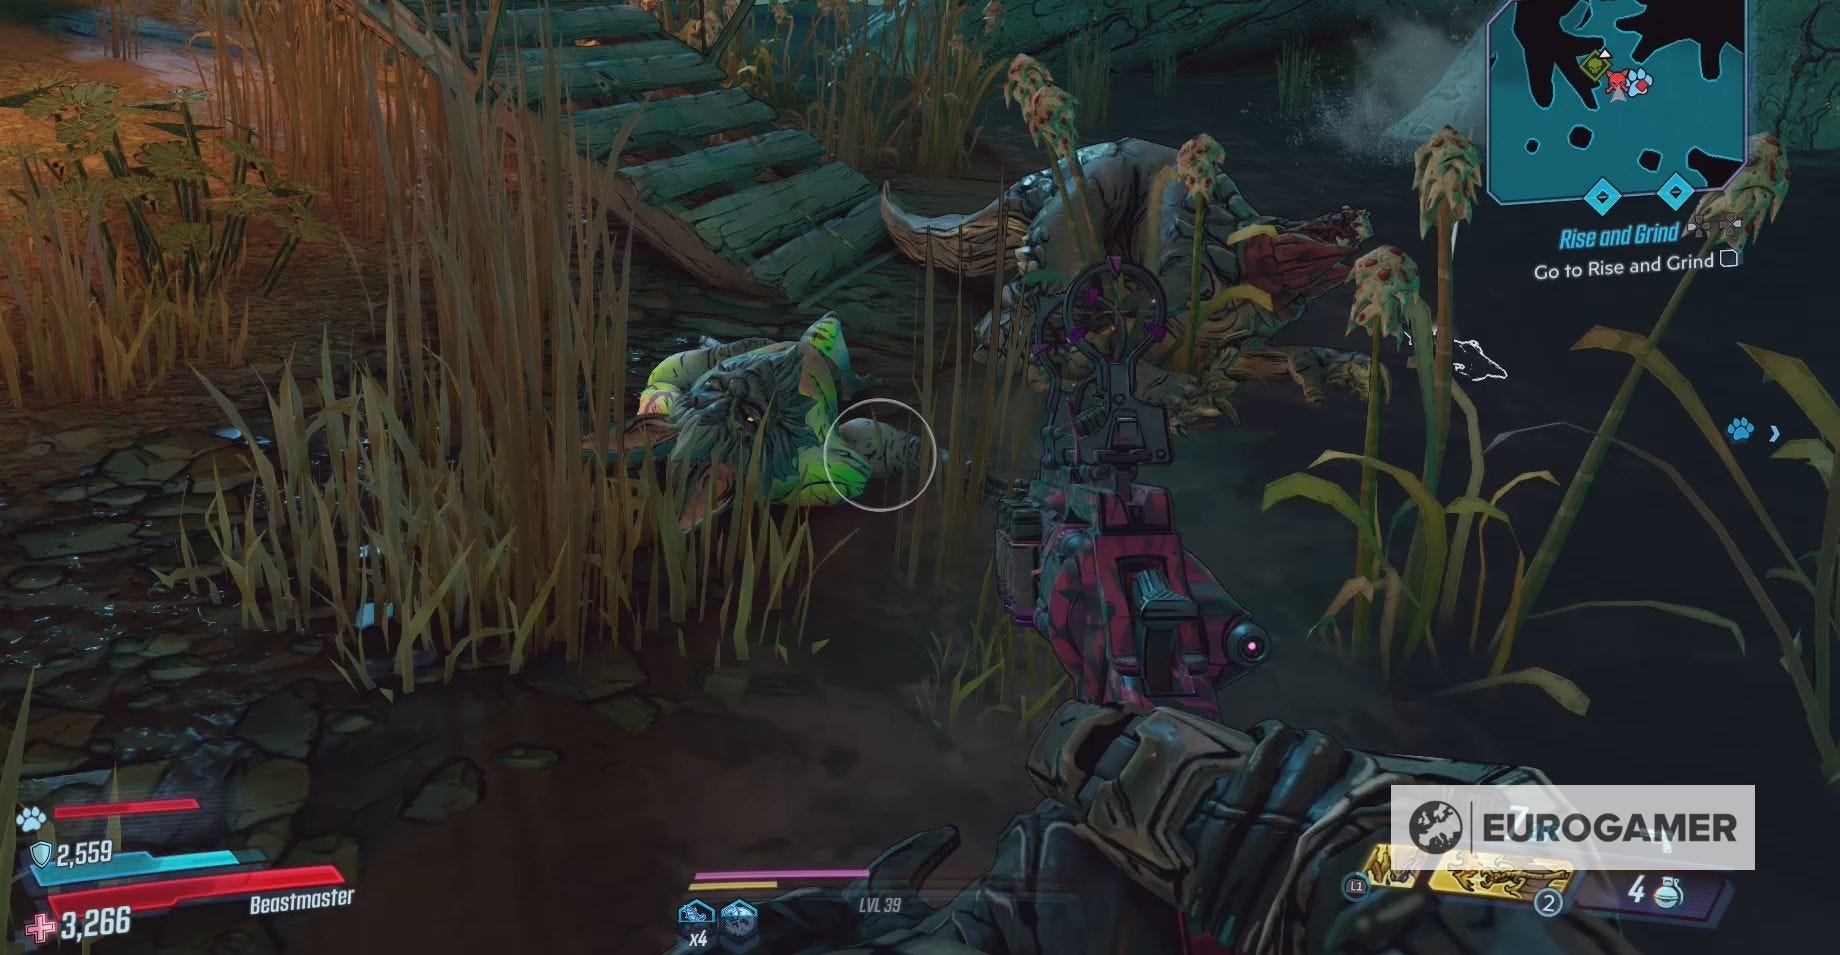
The Jabbermogwai will die after being killed twice. This monster, however, isn't too much of a threat, so you should be able to quickly kill it.
There is a chance that some of the local wildlife will join in on this battle, but, again, you should be easily able to kill them.
For defeating the Jabbermogwai, you will receive:
- 4,573 XP
- $340
- 15 Eridium
Where to find the Antalope in Devil's Razor in Borderland 3
The Antalope can be found in the centre of Devil's Razor.
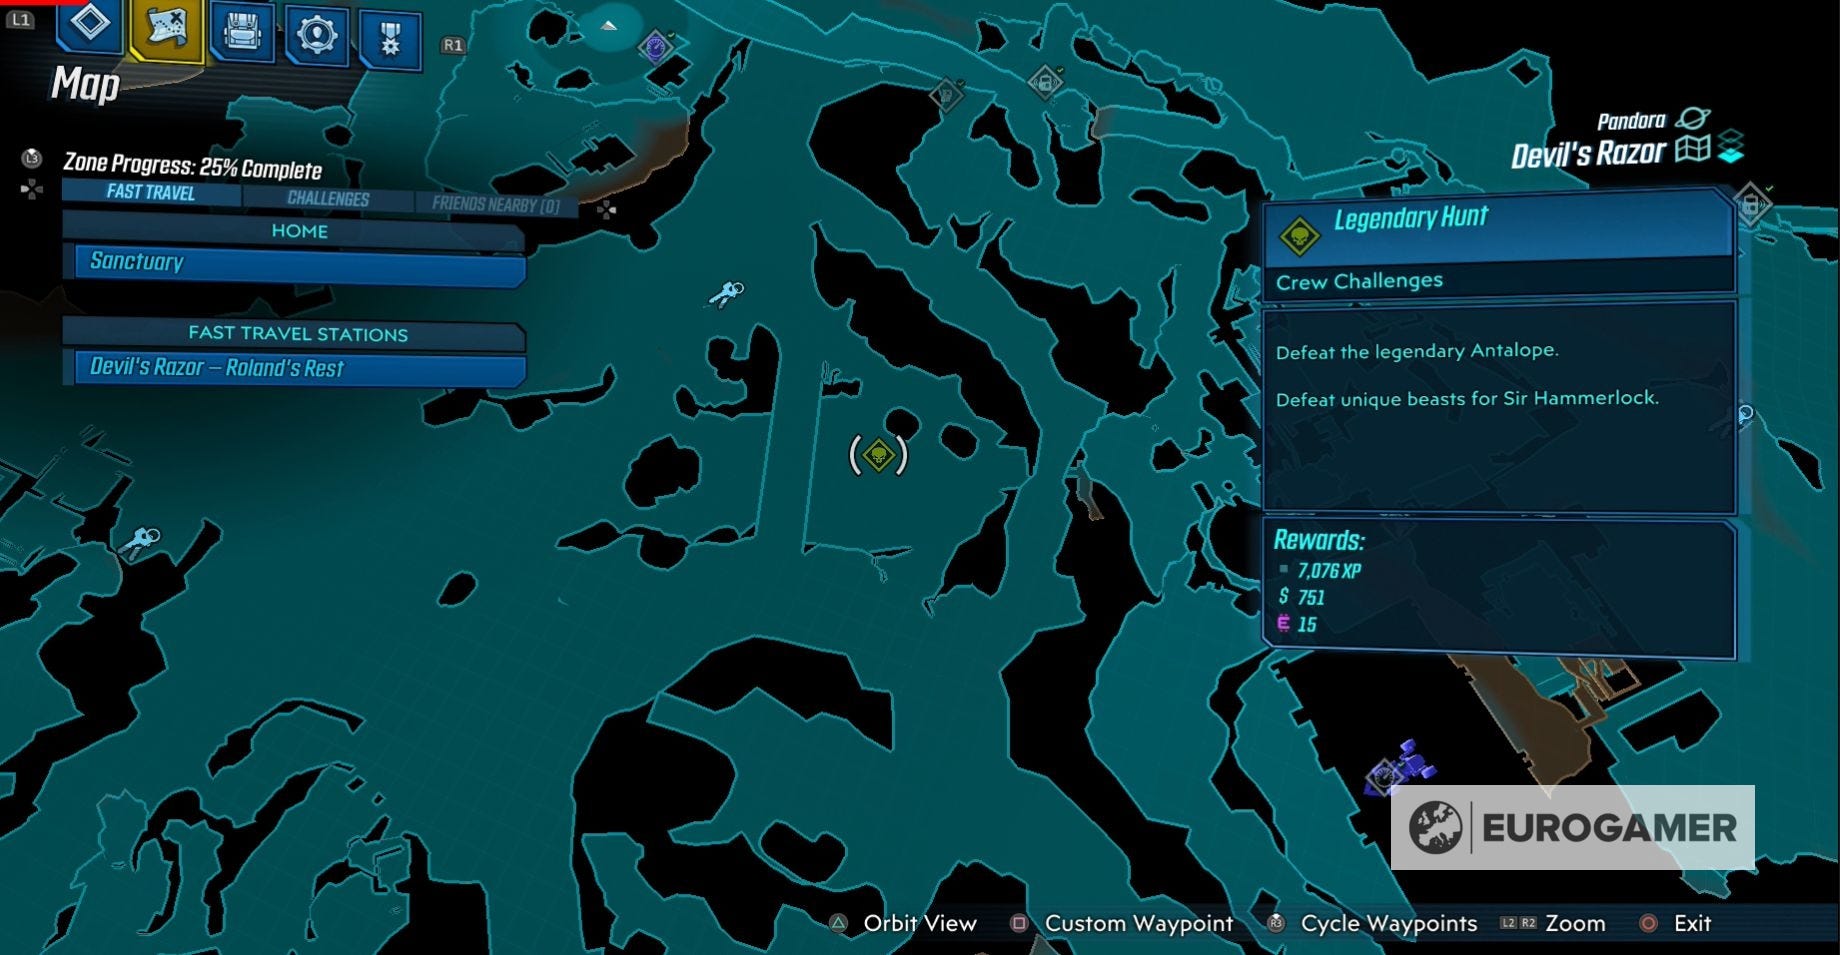
Go directly north from the entrance to The Droughts and, when you see a bridge on your right-hand side, turn right.
Head through the small gully beneath this bridge and you'll quickly find yourself facing the Antalope.
Everything you need to know to defeat the Antalope
The Antalope is Level 28.

It will attack you with a series of melee moves; slamming the ground and charging at you with its antlers. It will also shots webs at you, slowing down your movement speed.
Any weapon will work well against the Antalope, with corrosive weapons being especially deadly.
Defeating the Antalope will reward you with:
- 7,076 XP
- $751
- 15 Eridium
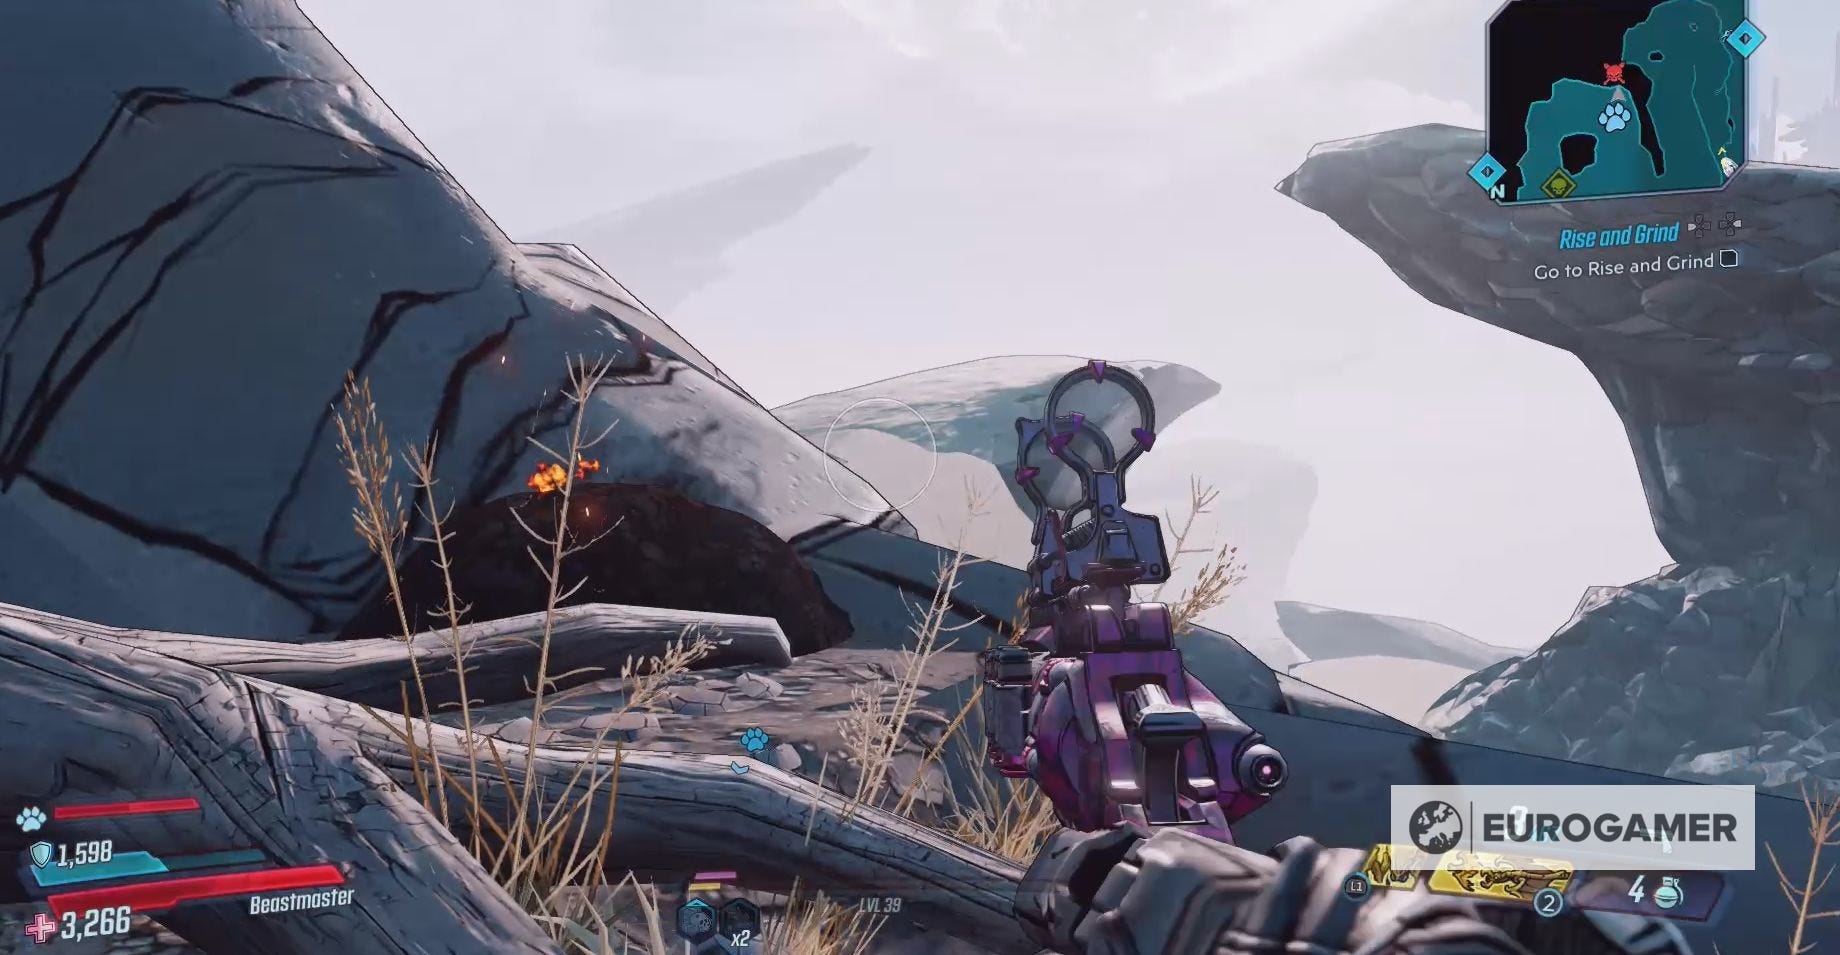
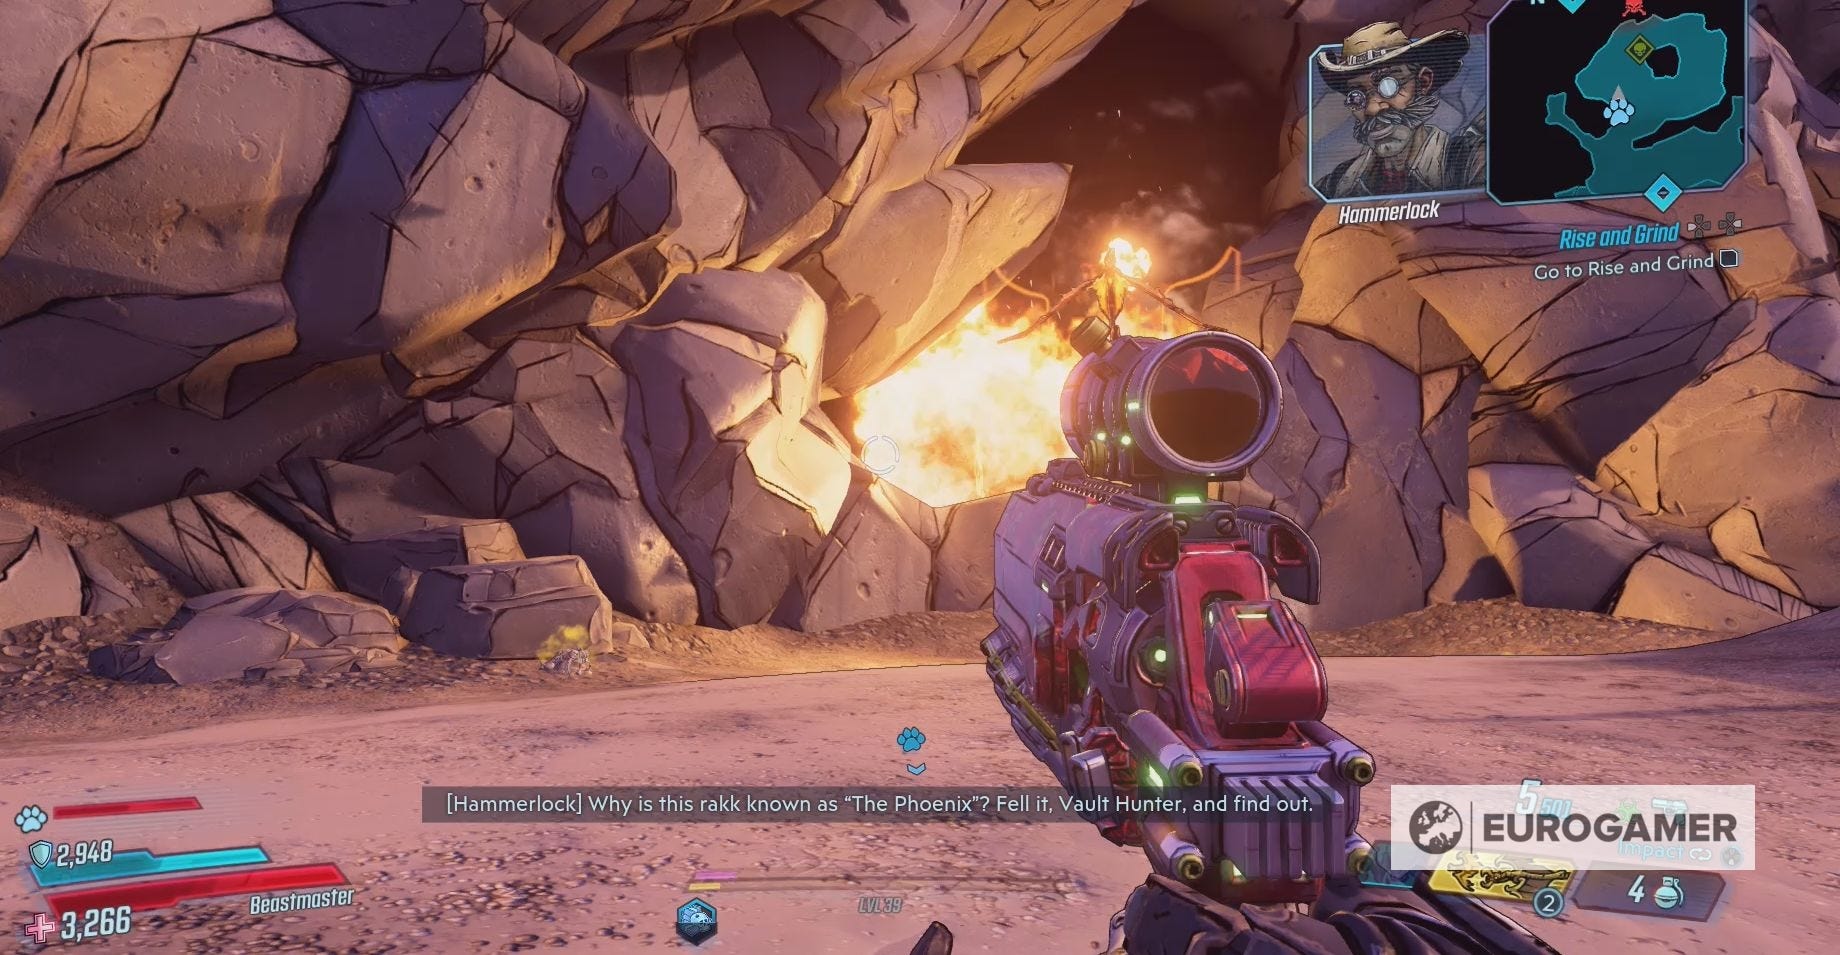
Where to find the Phoenix in The Splinterlands in Borderlands 3
The Phoenix can be found north of the entrance to Devil's Razor.
Turn left, when you reach the end of the road leading you to the main plain of The Splinterlands.
Keep your eyes on the left-hand wall of the valley and look for the beginning of a hill.
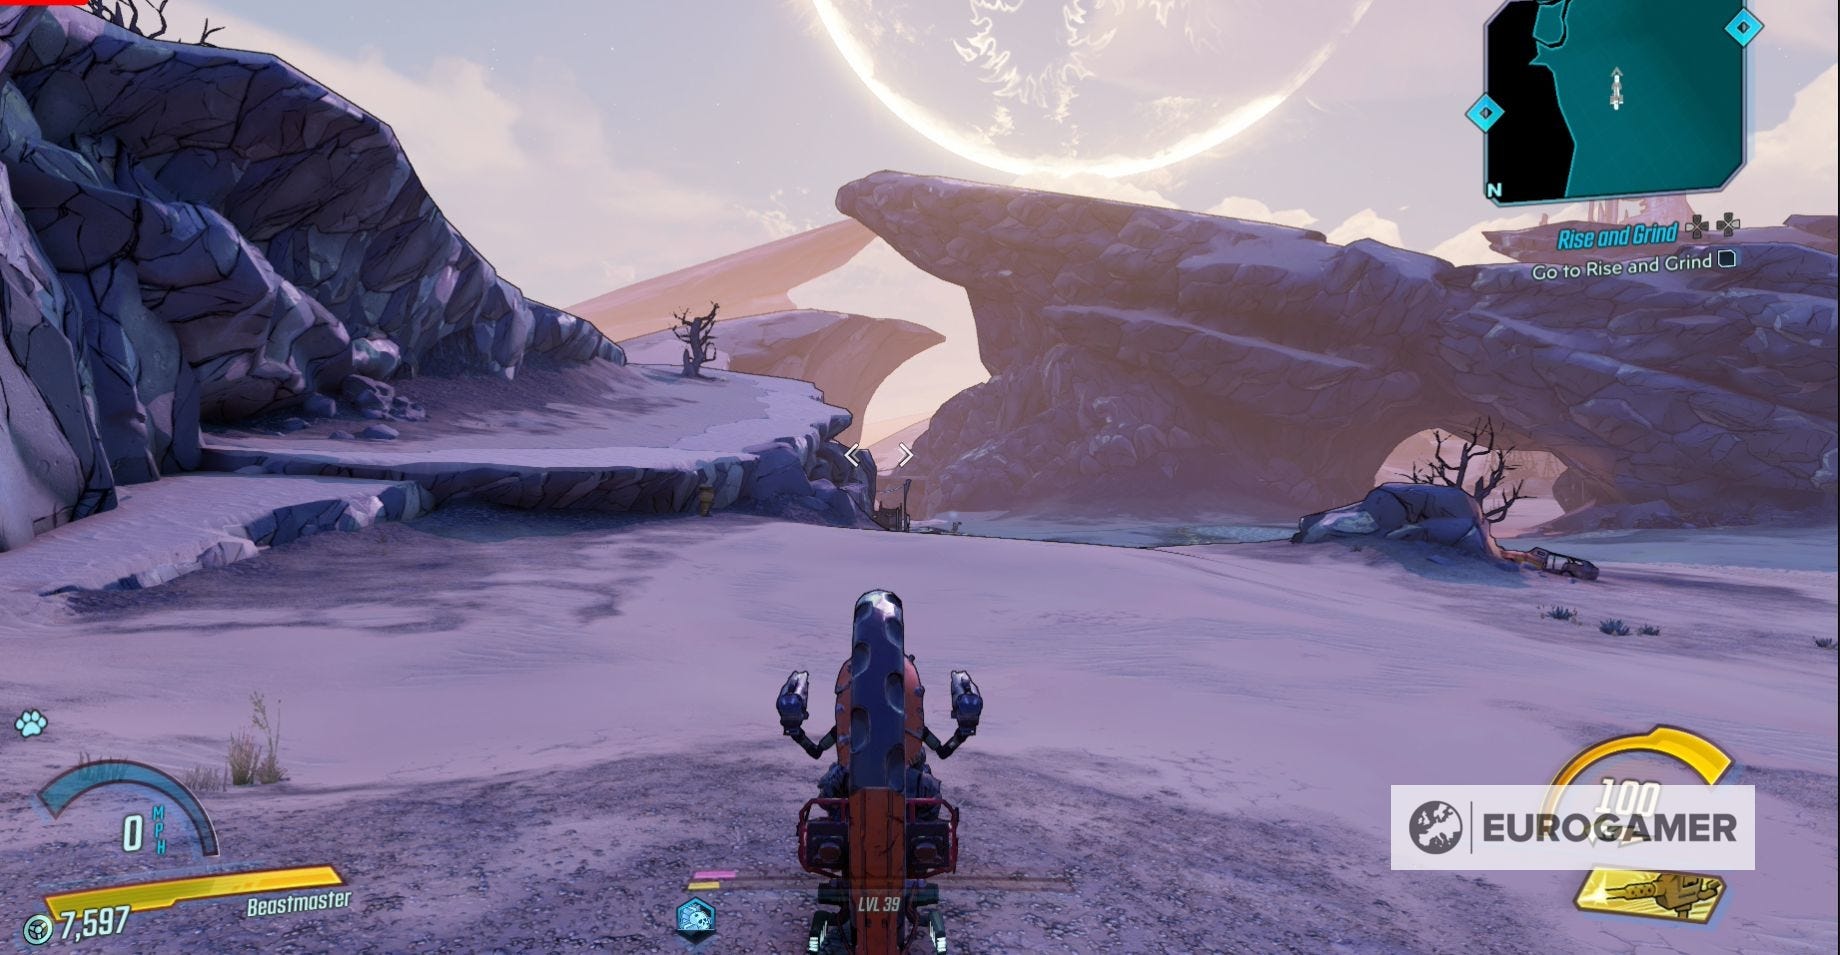
When you find the hill, climb up the hill to reach its peak and the Phoenix.
Everything you need to know to defeat the Phoenix
The Phoenix is Level 27.
Once you kill the Phoenix it will turn into a pile of ashes and will emerge as the Level 28 Reborn Phoenix.
Killing the Reborn Phoenix will transform it into the Level 29 Legendary Phoenix.
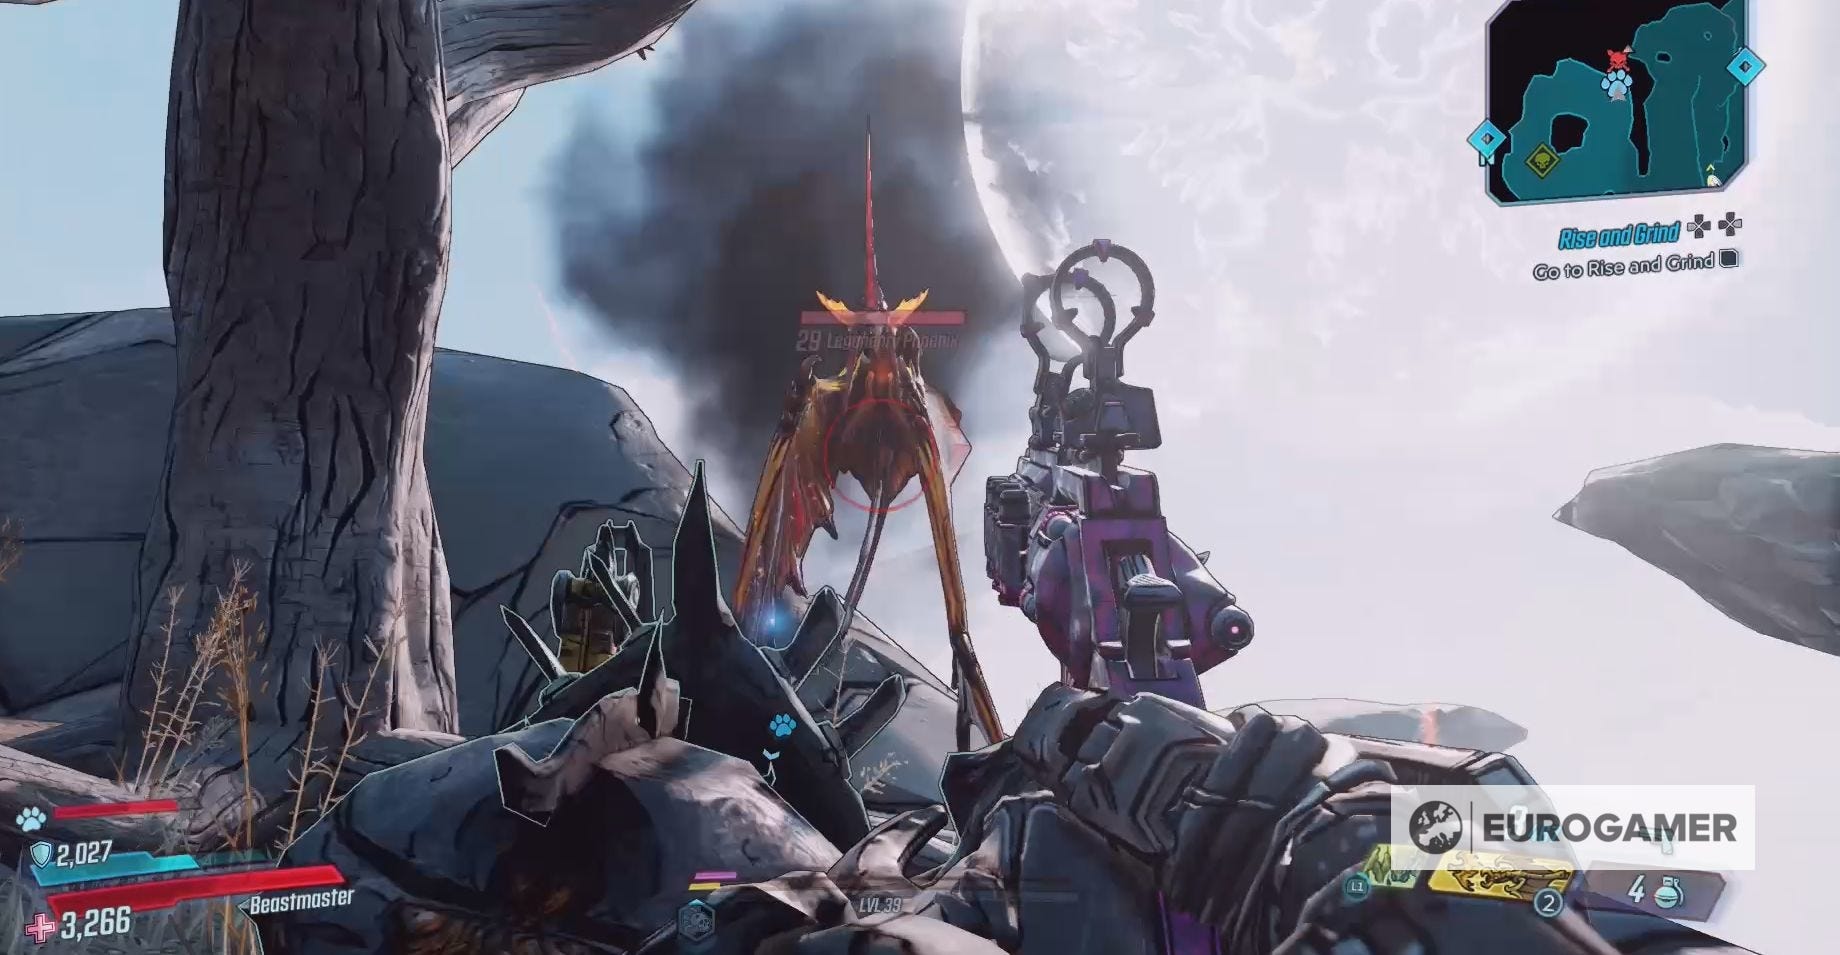
It will attack you by drive bombing, shooting balls of fire at you and with a flamethrower attack.
The Phoenix is immune to the majority of the elemental attacks, especially, unsurprisingly, to Incendiary attacks.
It also flies quite fast, so the best time to attack it is often when it's attacking you. This makes it a good idea to pick up a strong shield before hunting the Phoenix.
When the Phoenix uses its fire attack on you, it will pause in midair. Use this time to fill it with lead.
For killing the Phoenix you'll receive:
- 4,900 XP
- $380
- 15 Eridium
Where to find the Manvark in Konard's Hold in Borderlands 3
The Manvark is found in the area of Konard's Hold you reach after crossing the bridge. Simply continue on through this area and you'll run into the Manvark.
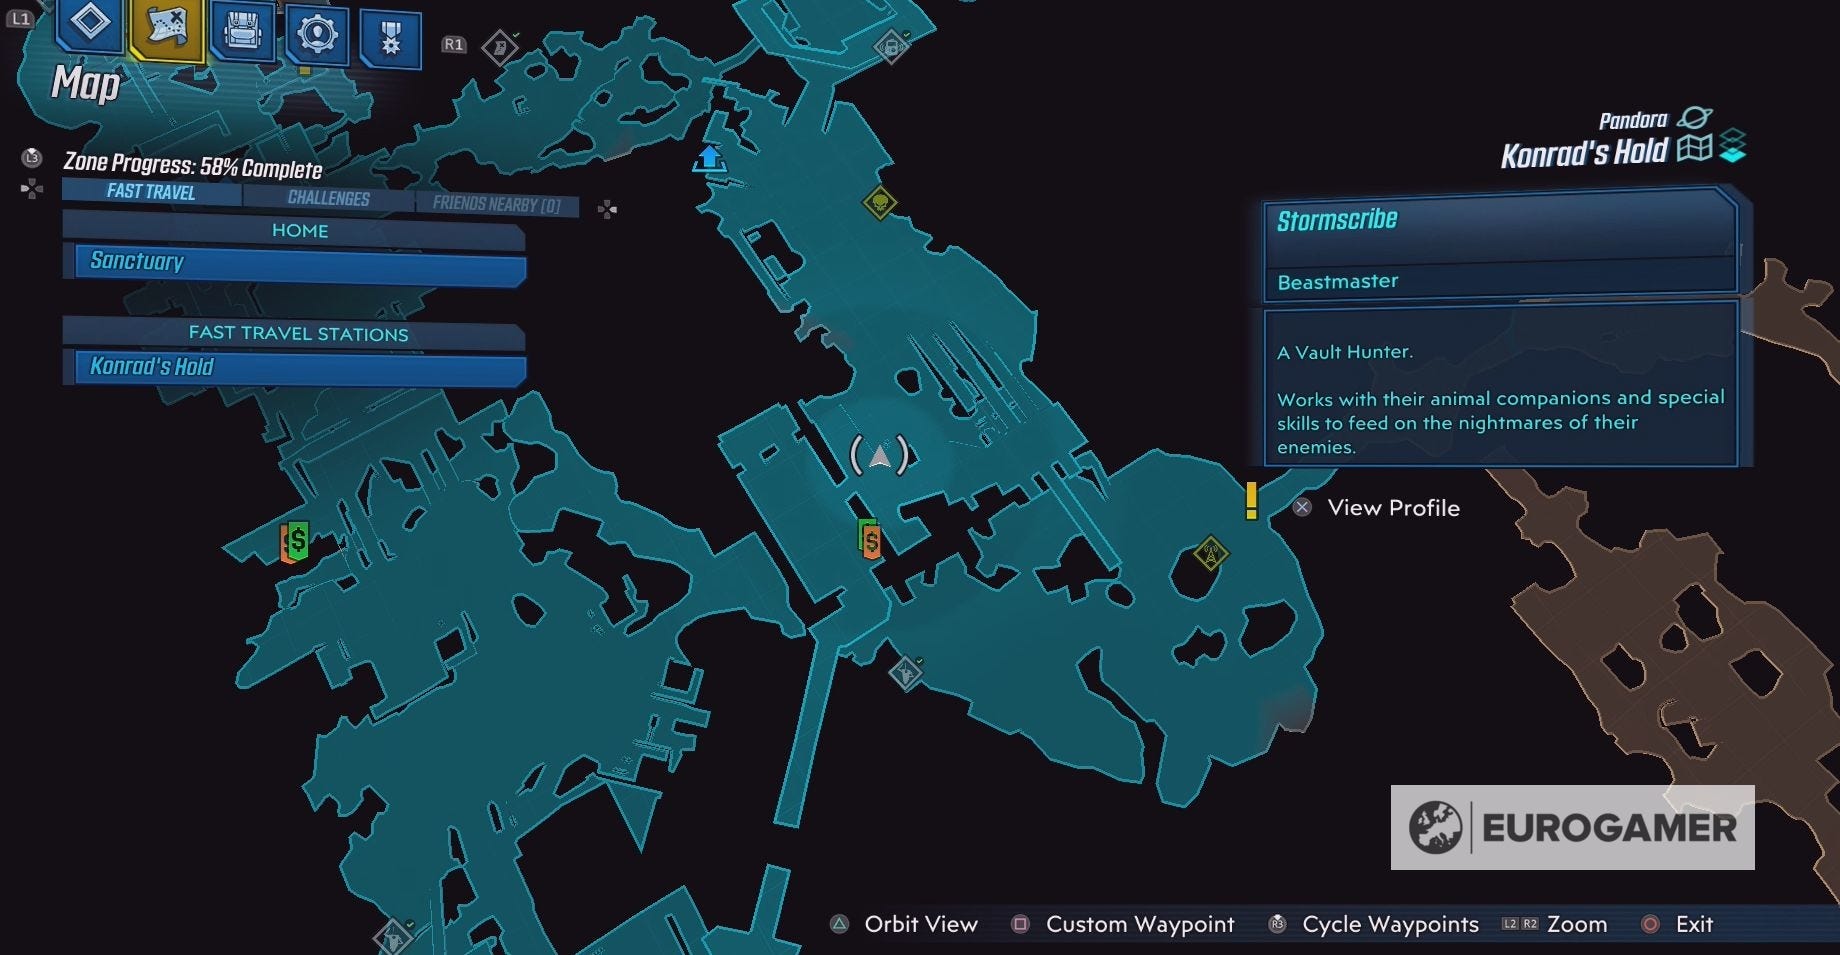
Its nest is also opposite the entrance to The Slaughter Shaft.
Everything you need to know to defeat the Manvark
The Manvark is Level 32.
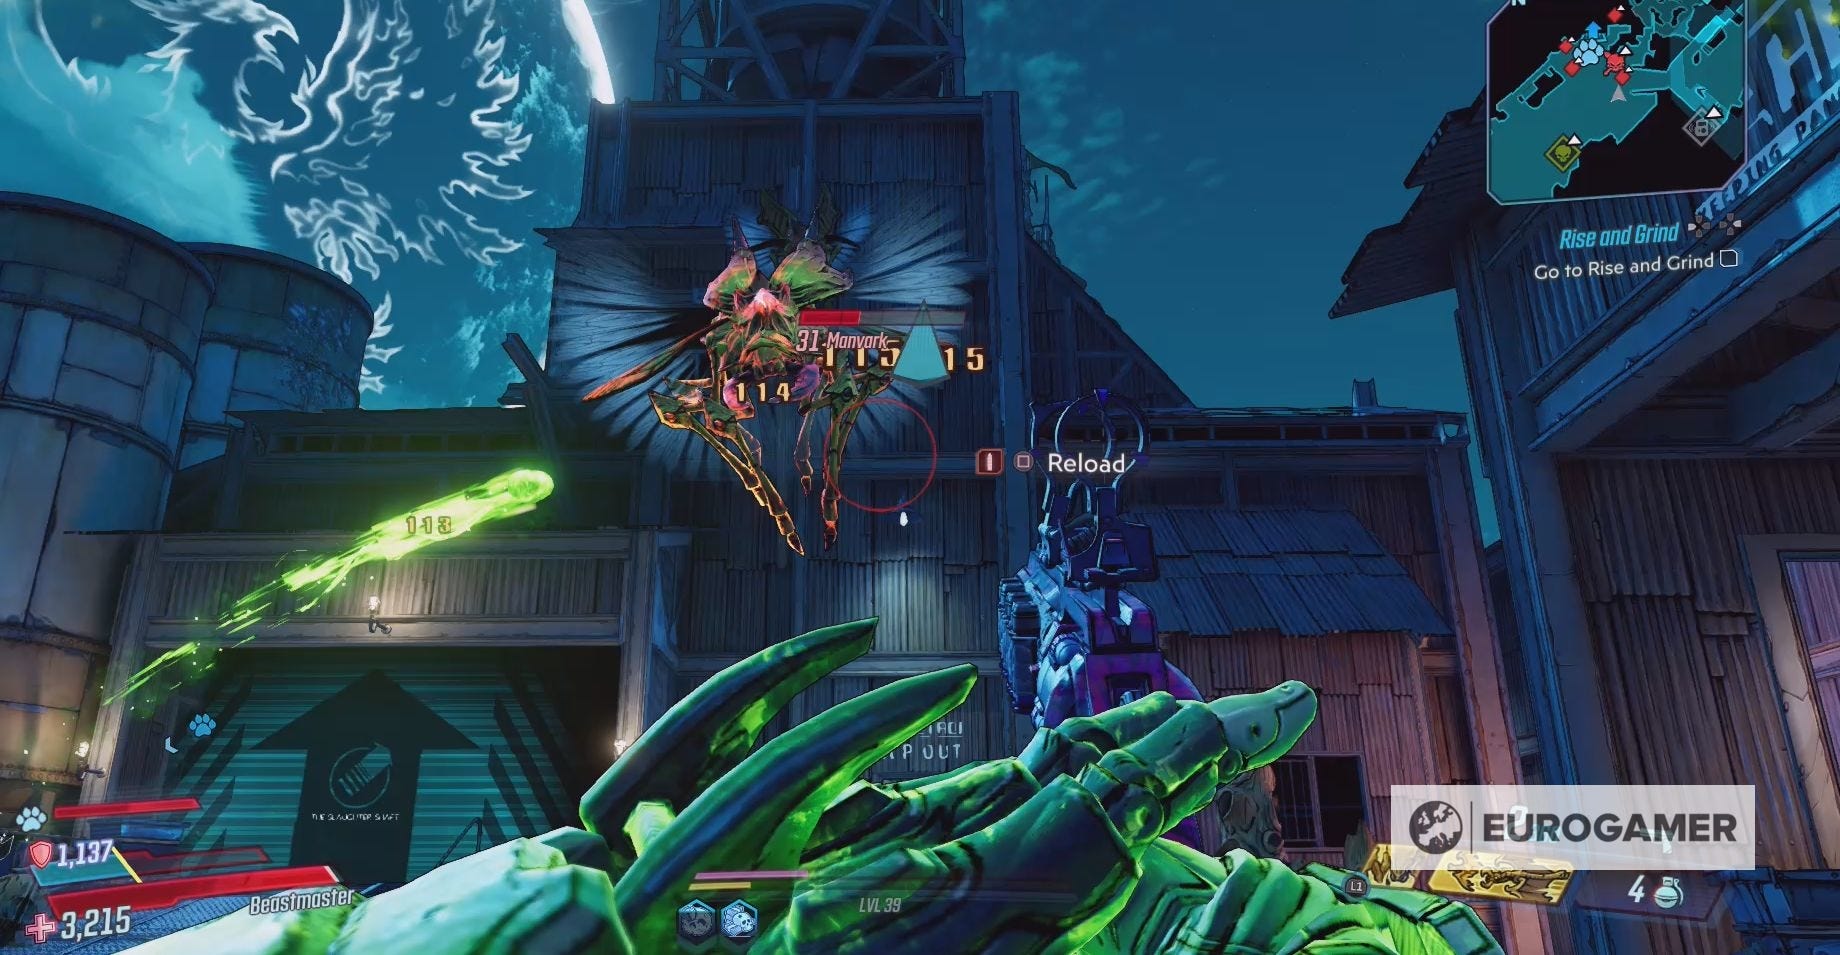
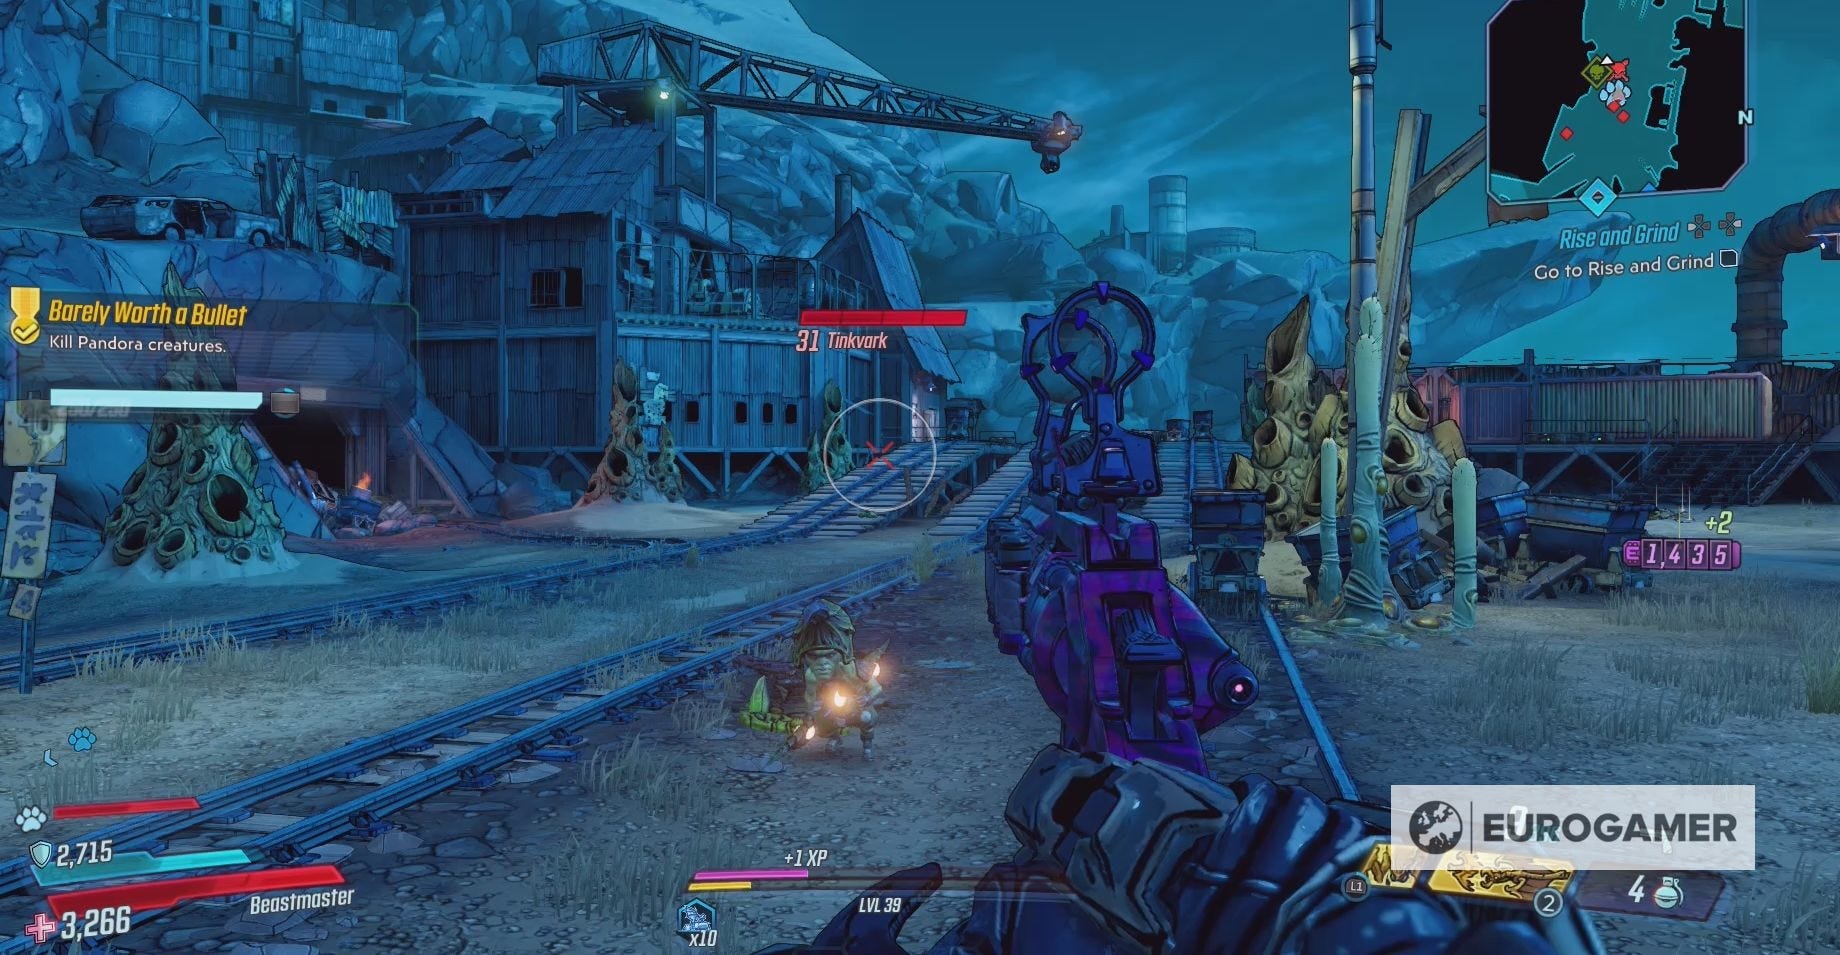
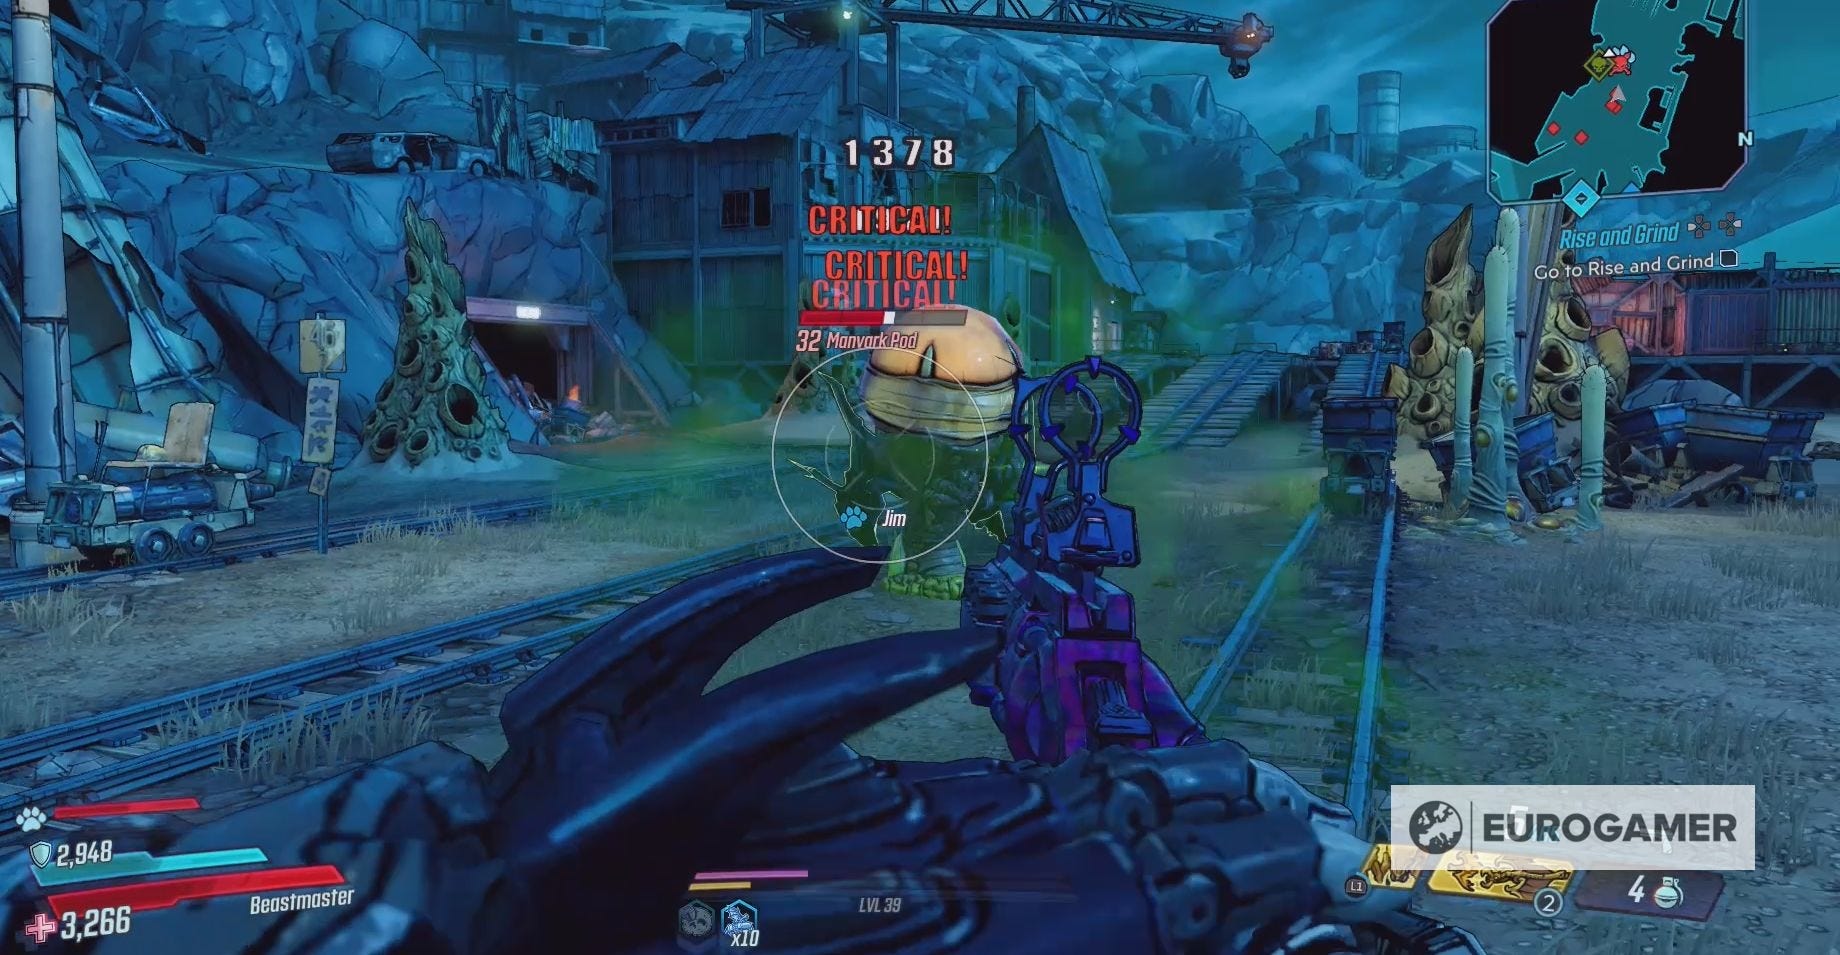
After taking some damage it will transform into a pod and, even if you manage to pop it, a Level 31 Tinkvark will emerge.
Killing the Tinkvark will create a Level 30 Manvark??, which will become a Level 31 Manvark once its defeated.
When its in one of its Varkid forms, the Manvark will attack you with Varkid based attacks, and, when its in its Tink form, the Manvark will have Tink melee attacks.
The Manvark is especially weak to Incendiary attacks, so, if you have an Incendiary gun, then that is your weapon of choice. Other than that a strong normal gun of any time will help you quickly take out the Manvark.
The area is also home to Level 32 Varkid Lava, which have the ability to turn into stronger Varkid enemies. You can stop this from happening by destroying the pods they transform into.
If your level is high enough, then you can get away with ignoring these Varkid, but it's a good idea to kill some of these Varkid before fighting the Manvark. This way you won't get overwhelmed by enemies.
For successfully hunting the Manvark, you'll be rewarded with:
- 6,689 XP
- $671
- 15 Eridium
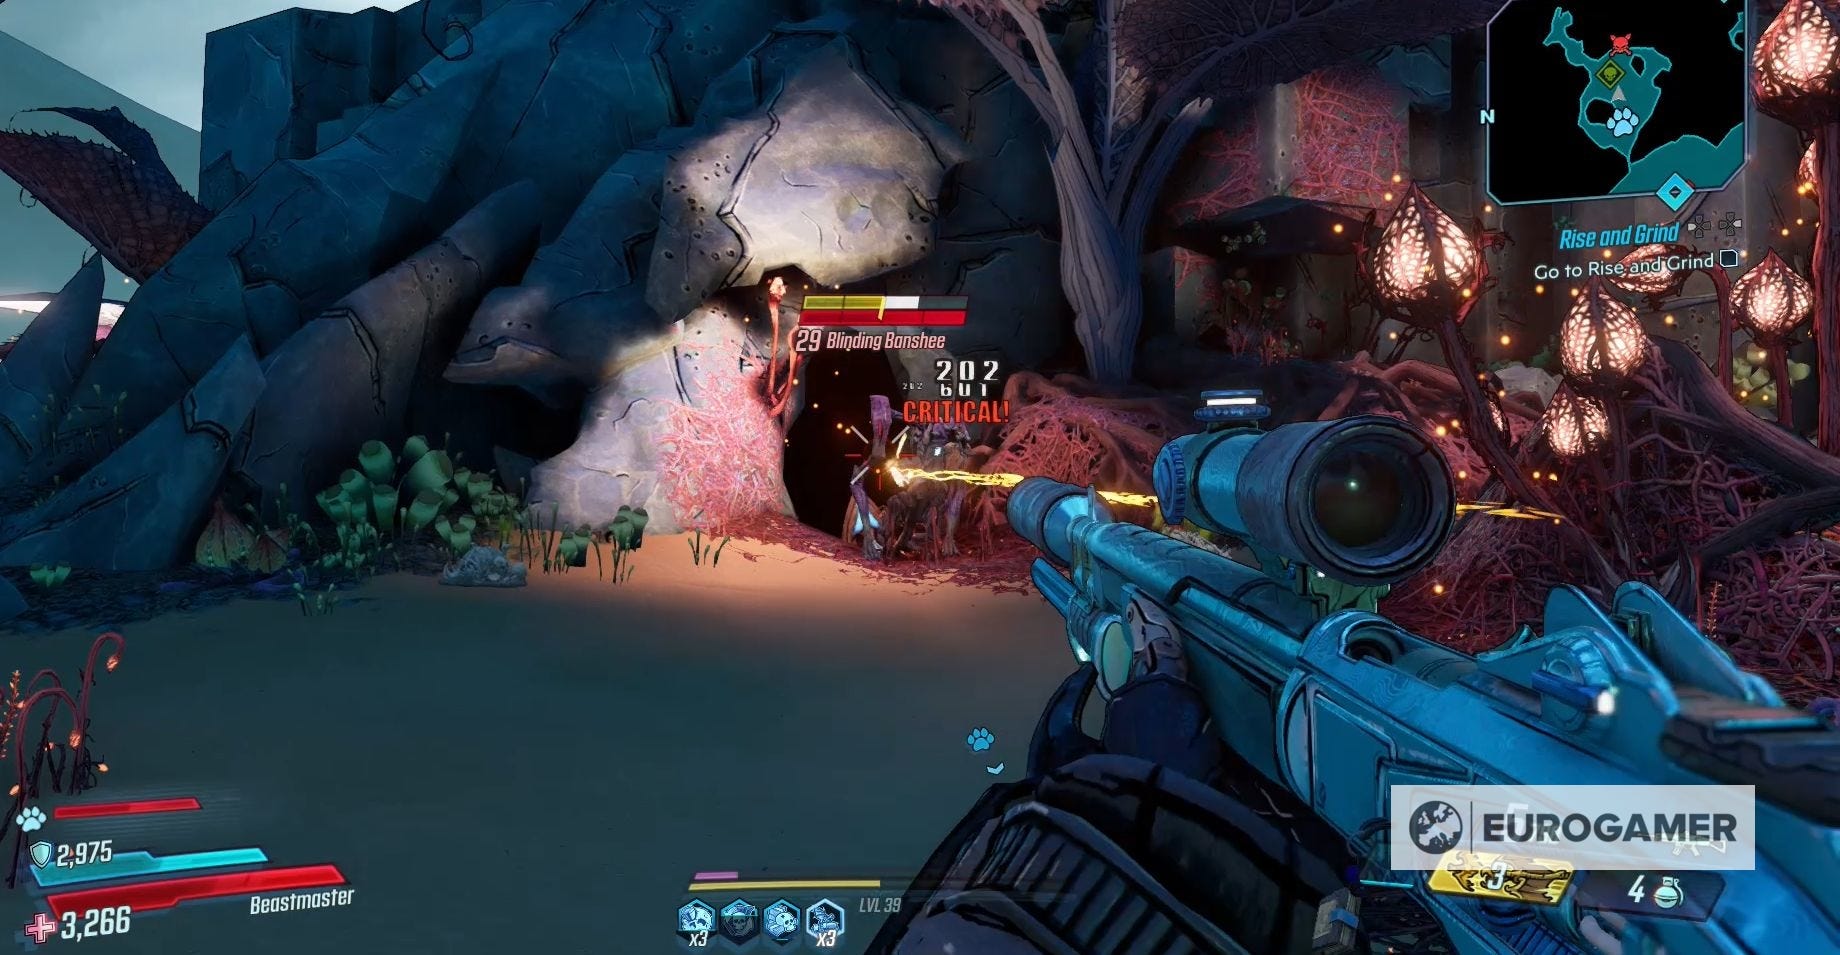
Where to find the Blinding Banshee in Desolation's Edge in Borderlands 3
The Blinding Banshee can be found after the second Catch-A-Ride you walk past during your first visit to Desolation's Edge.
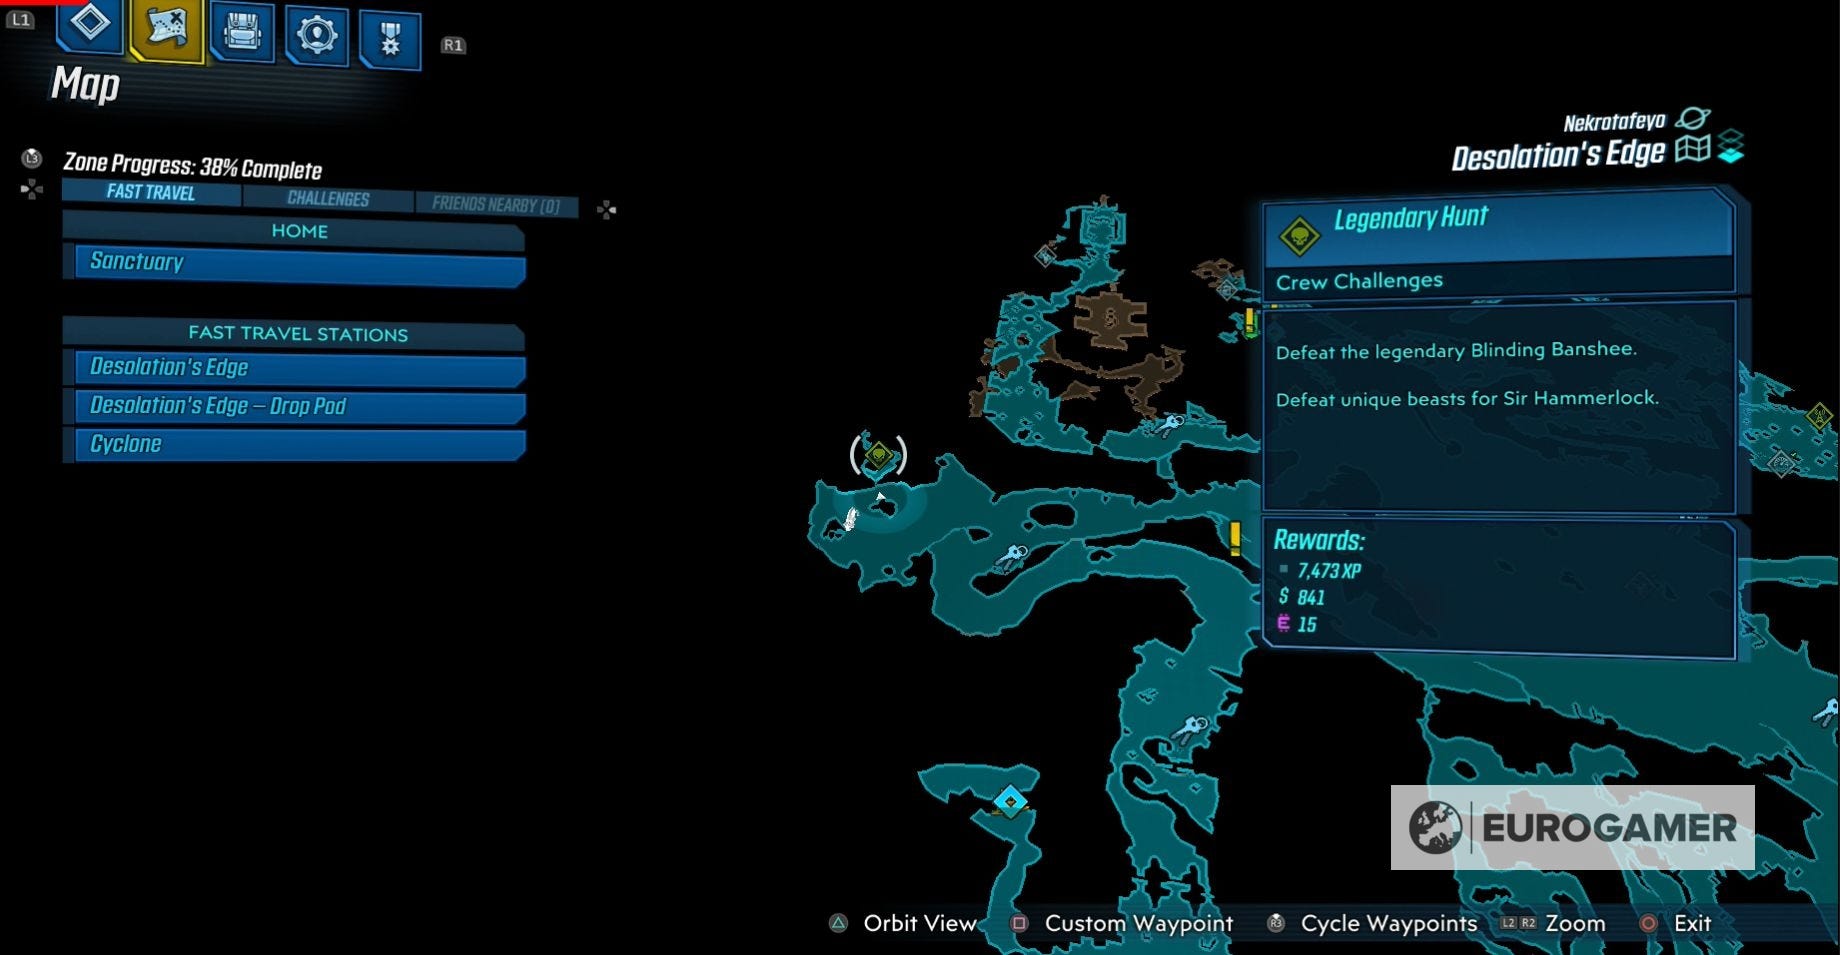
Go left and then look for an entrance to a little area along the northern edge of this section of Desolation's Edge.
Going through this entrance will bring you to the lair of the Blinding Banshee.

Everything you need to know to defeat the Blinding Banshee
The Blinding Banshee is Level 29 and has a shield.
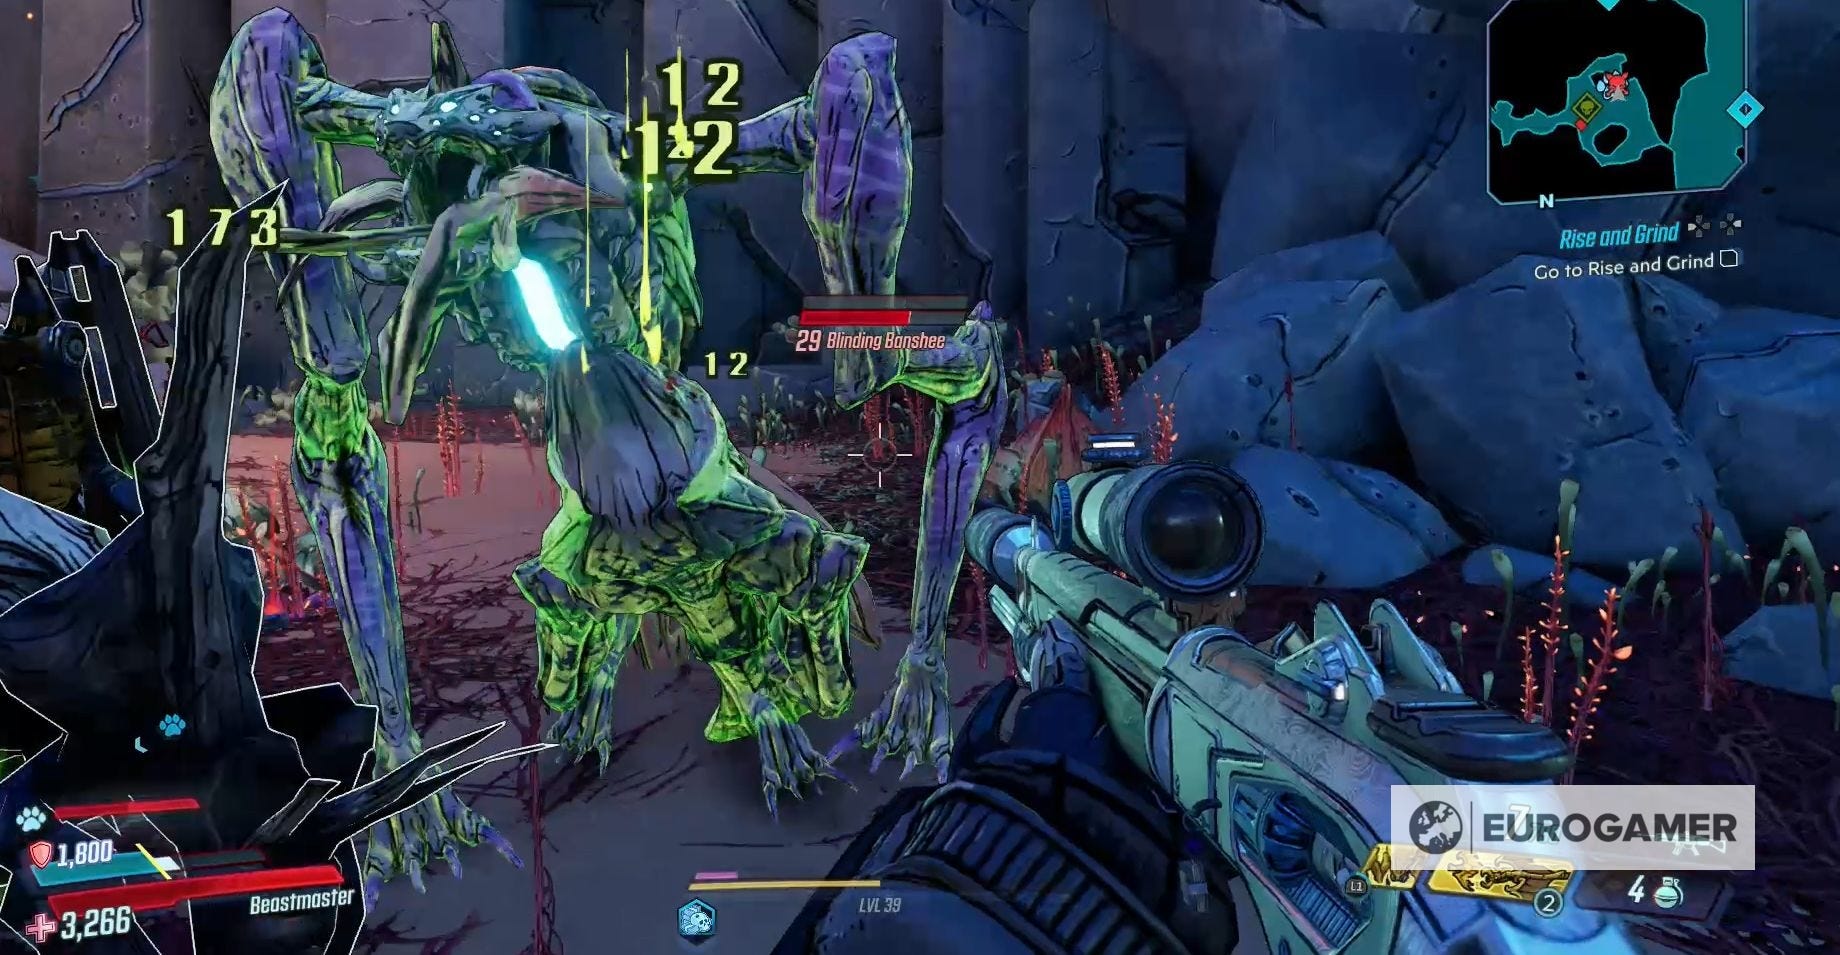
It will attack you using melee attacks and shoot balls of Corrosive damage at you. It will also leave small pods on the floor, which will create pools of Corrosive damage if you destroy them.
The Blinding Banshee is weak to Incendiary damage, but non-elemental weapons will work just as well.
Try your best to quickly take out the Blinding Banshee's shield, so that you can cause it some proper harm.
For killing the Blinding Banshee you'll receive:
- 7,473 XP
- $841
- 15 Eridium
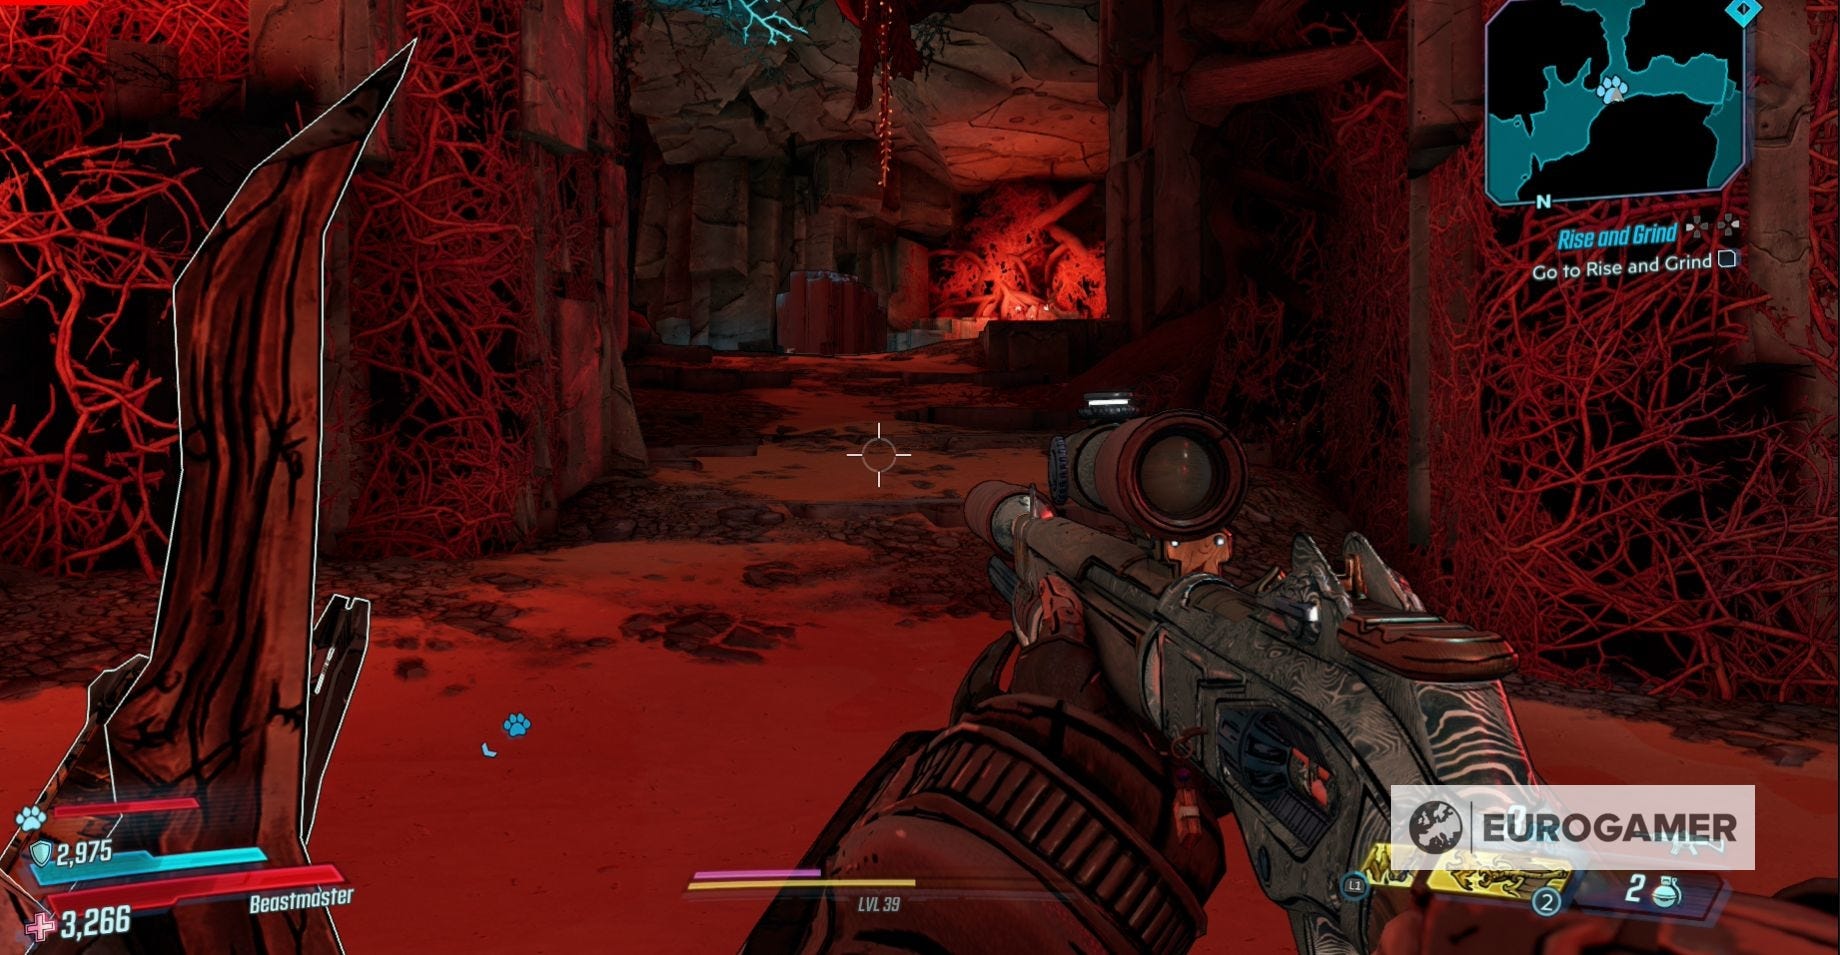
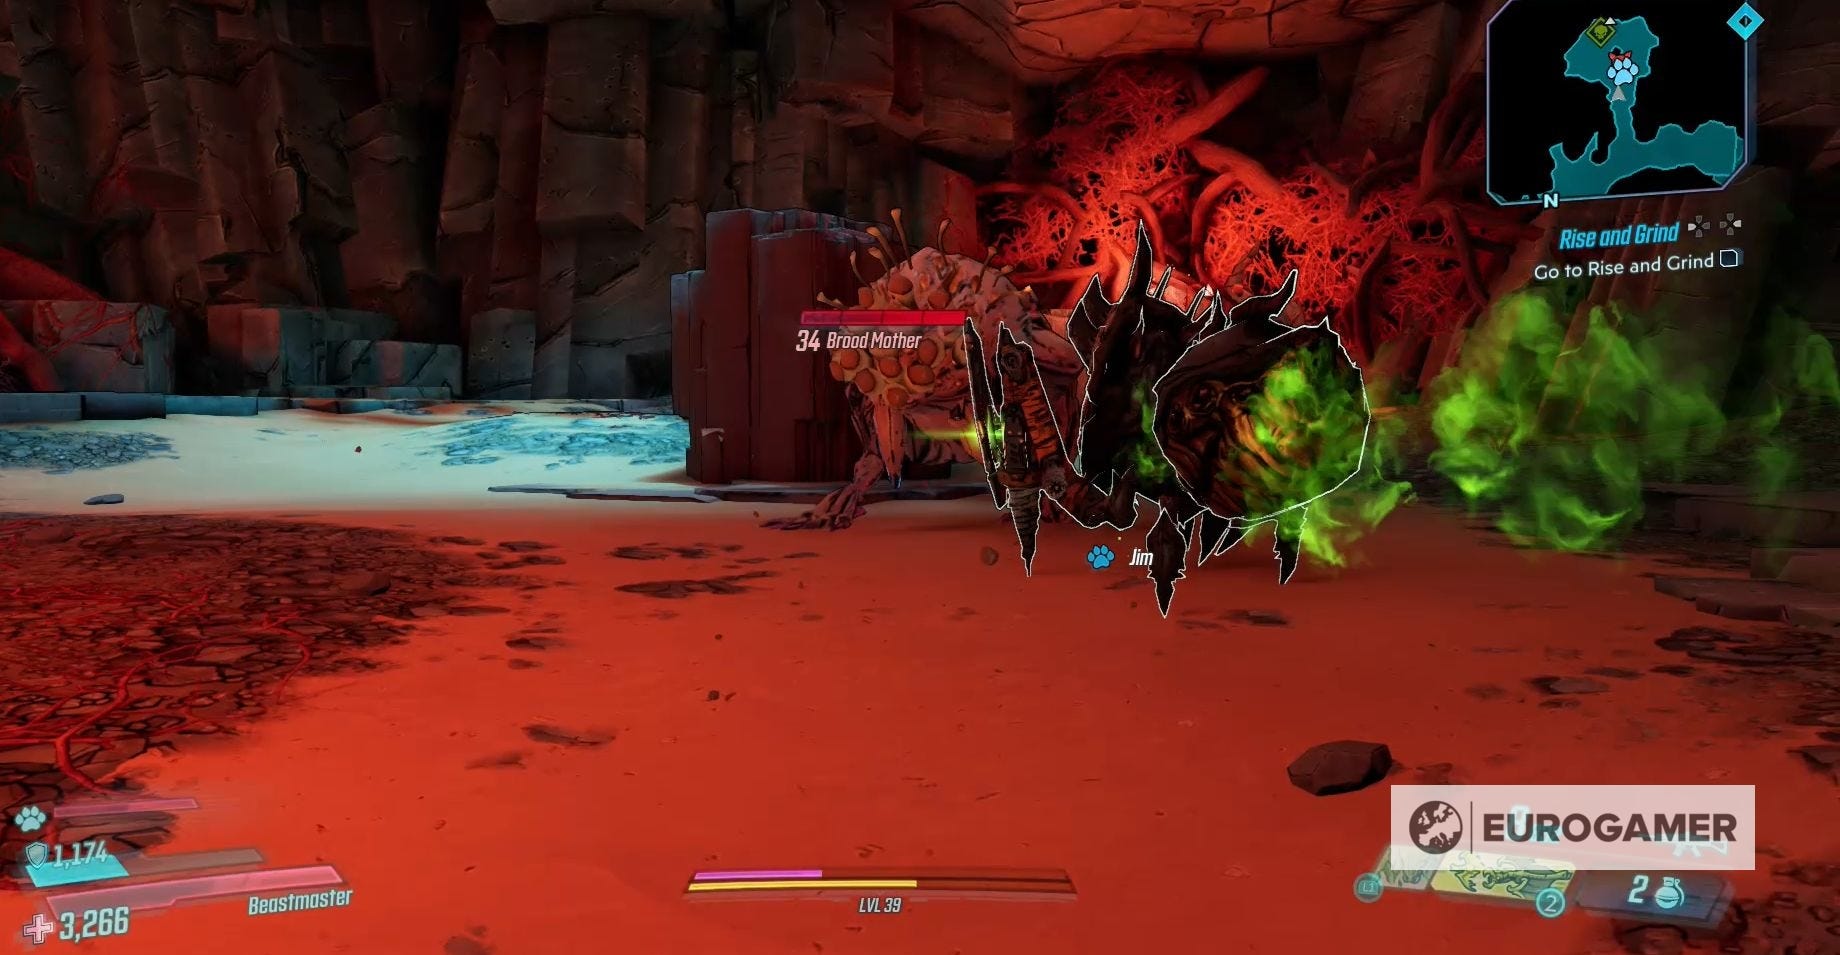
Where to find the Swarm Host in The Pyre of Stars in Borderlands 3
The Swarm Host can be found in a cavern in the tunnel after the pedestal for the Nekrotafeyo Vault Key fragment.
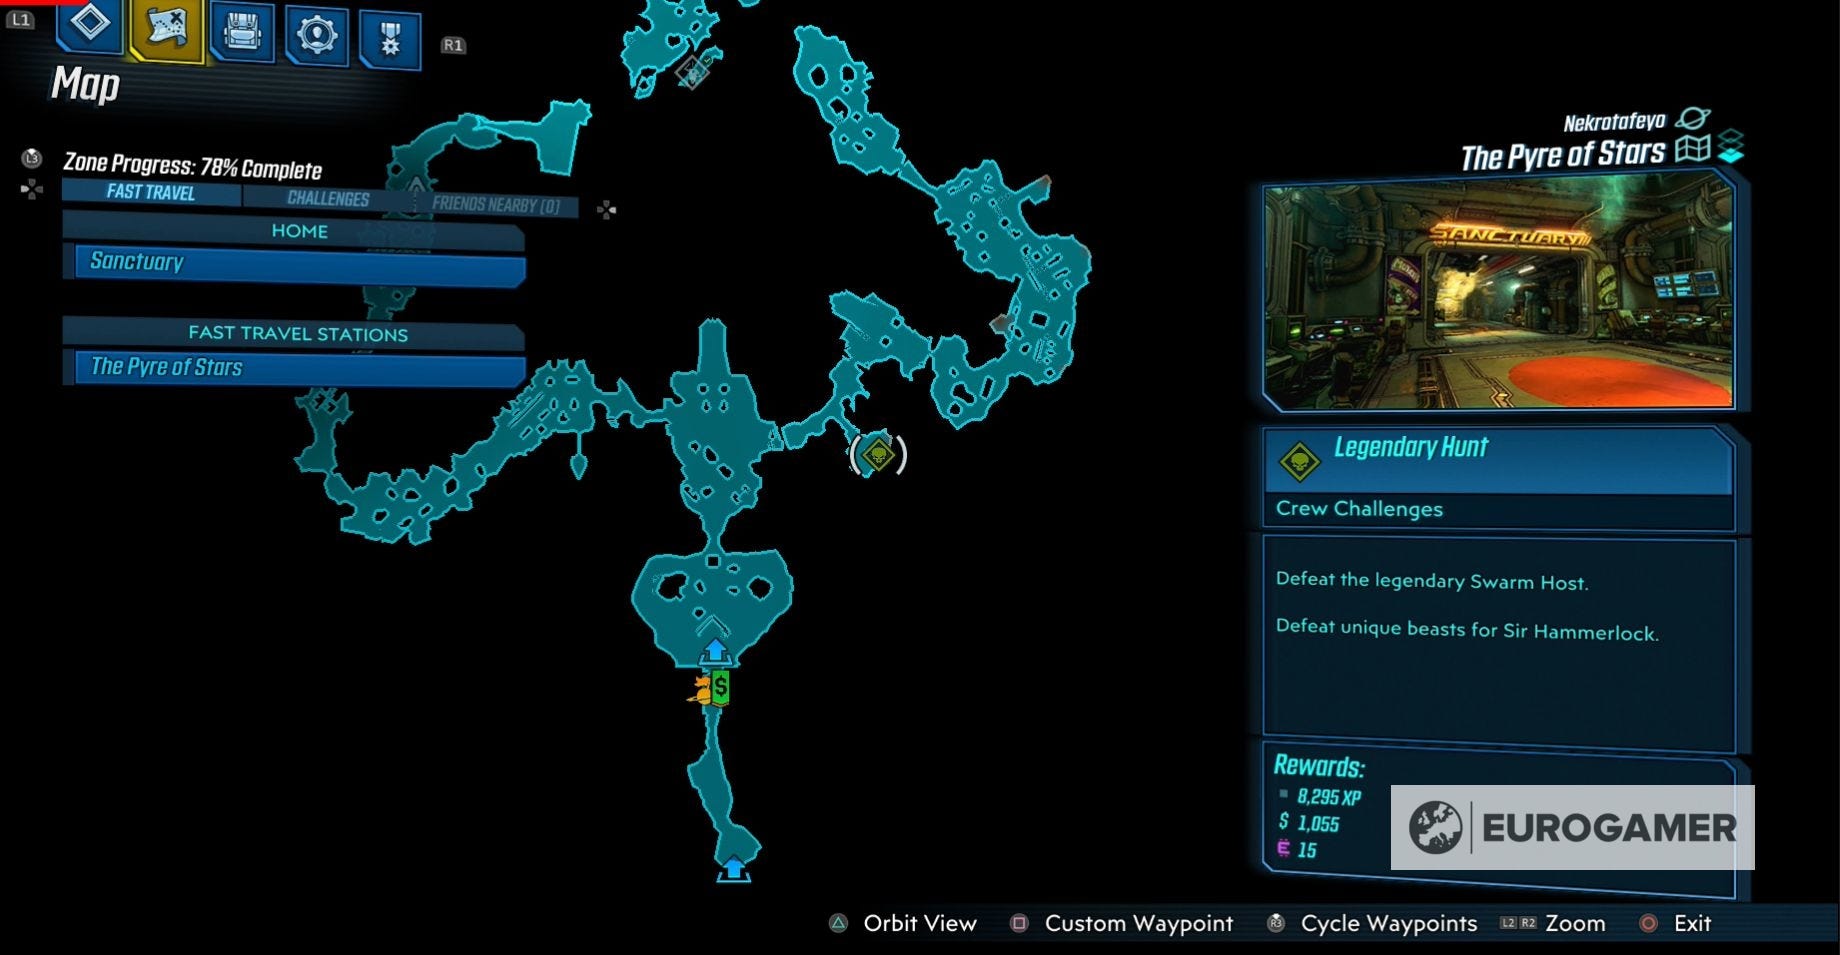
Just keep a lookout on your left-hand side to find its entrance.
Borderlands 3 has arrived! Check out our skill tree guides for Amara, Fl4k, Moze and Zane.
If you're looking for more challenges to complete, check out our guides on the Dead Claptraps, Broadcast Towers, Eridian Writing,Hijack Targets, Legendary Hunts and Typhon Logs and Typhon Dead Drops. If you want some easy rewards, consult our Borderlands 3 Shift Codes and VIP Codes page. When you've finished Borderlands 3, visit our guides on Guardian Rank and Rewards, Mayhem Mode and True Vault Hunter mode to learn more about what you unlock in the post-game.
Everything you need to know to defeat the Swarm Host
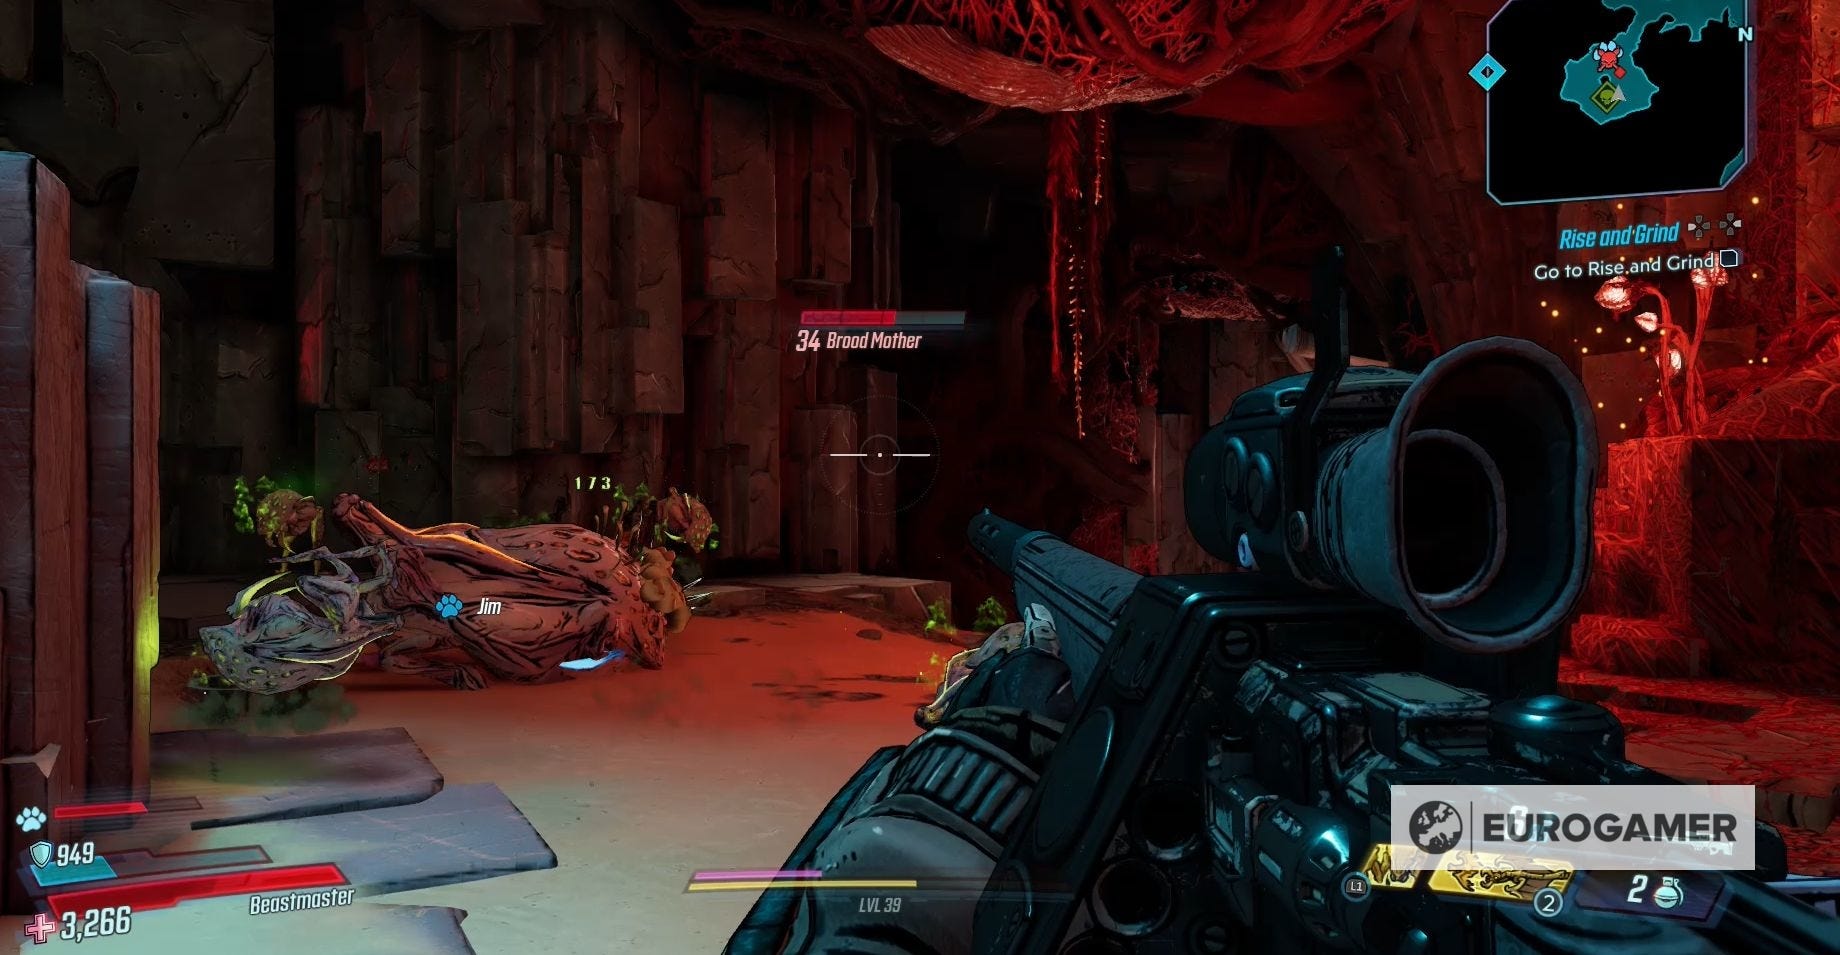
The Swarm Host is a Level 34 Brood Mother.
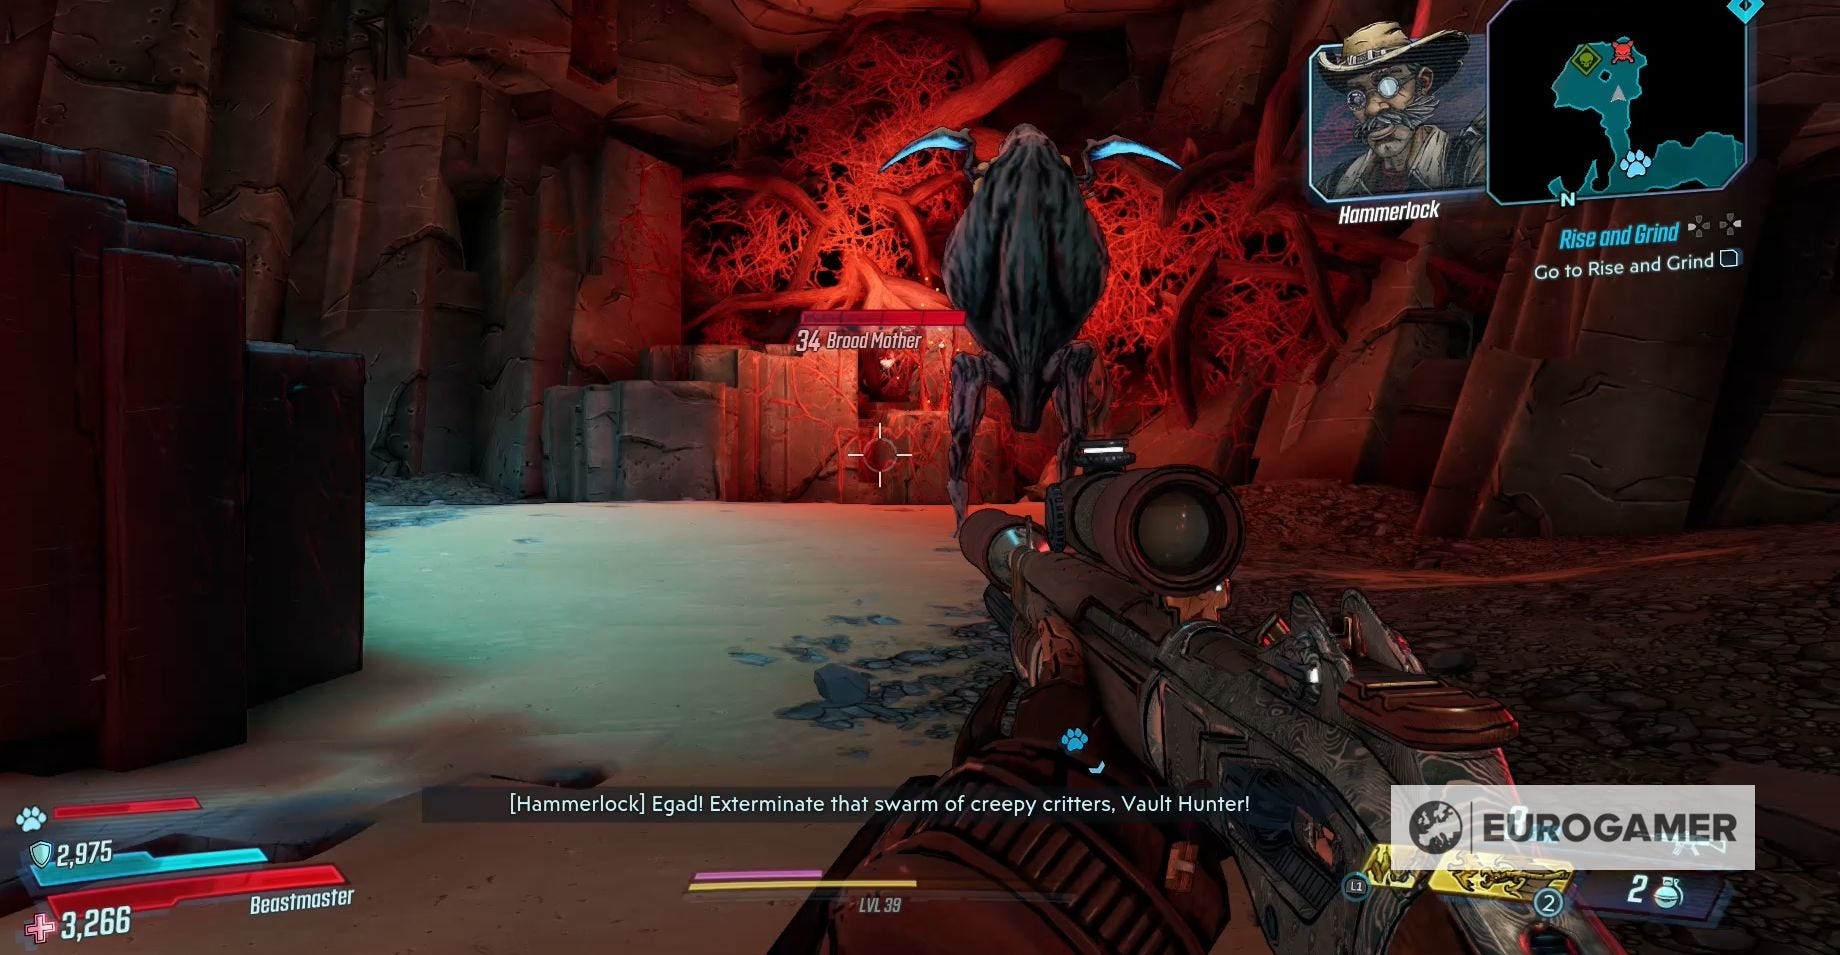
The Brood Mother will attack you using a variety of melee moves. She also has the ability to spawn a number of tiny critters to attack you during the fight.
This includes level 36 Djira. You'll want to kill these monsters killing or else the will run at you and explode, dealing Corrosive damage.
Like all the wildlife and monsters on Nekrotafeyo, the Brood Mother is weak to Incendiary damage. Any high level gun with this effect equipped will help you dispatch her very quickly.
Once you've killed the Brood Mother, then the Swarm Host will be dead and your Legendary Hunts will come to an end.
For defeating the Swarm Host will reward you with:
- 8,295 XP
- $1,055
- 15 Eridium