Control - My Brother's Keeper: Containment Sector, how to reach the Panopticon
How to find your way through the Containment Sector.

After mining a Black Rock Prism, you finally have the information you need to find Dylan. Turns out he's locked up in the Containment Sector, which can't be good for many reasons.
My Brother's Keeper, the sixth mission in Control, sends you to the heart of the Containment Sector - the Panopticon. To reach it you'll need to traverse Logistics, Medical Wing and Security, so you better get going.
On this page:
Need more help in your quest through the Oldest House? Then check out our Control walkthrough hub, with links to all our Control guides.

Find Dylan - Exploring Logistics, Medical Wing and Security in Control
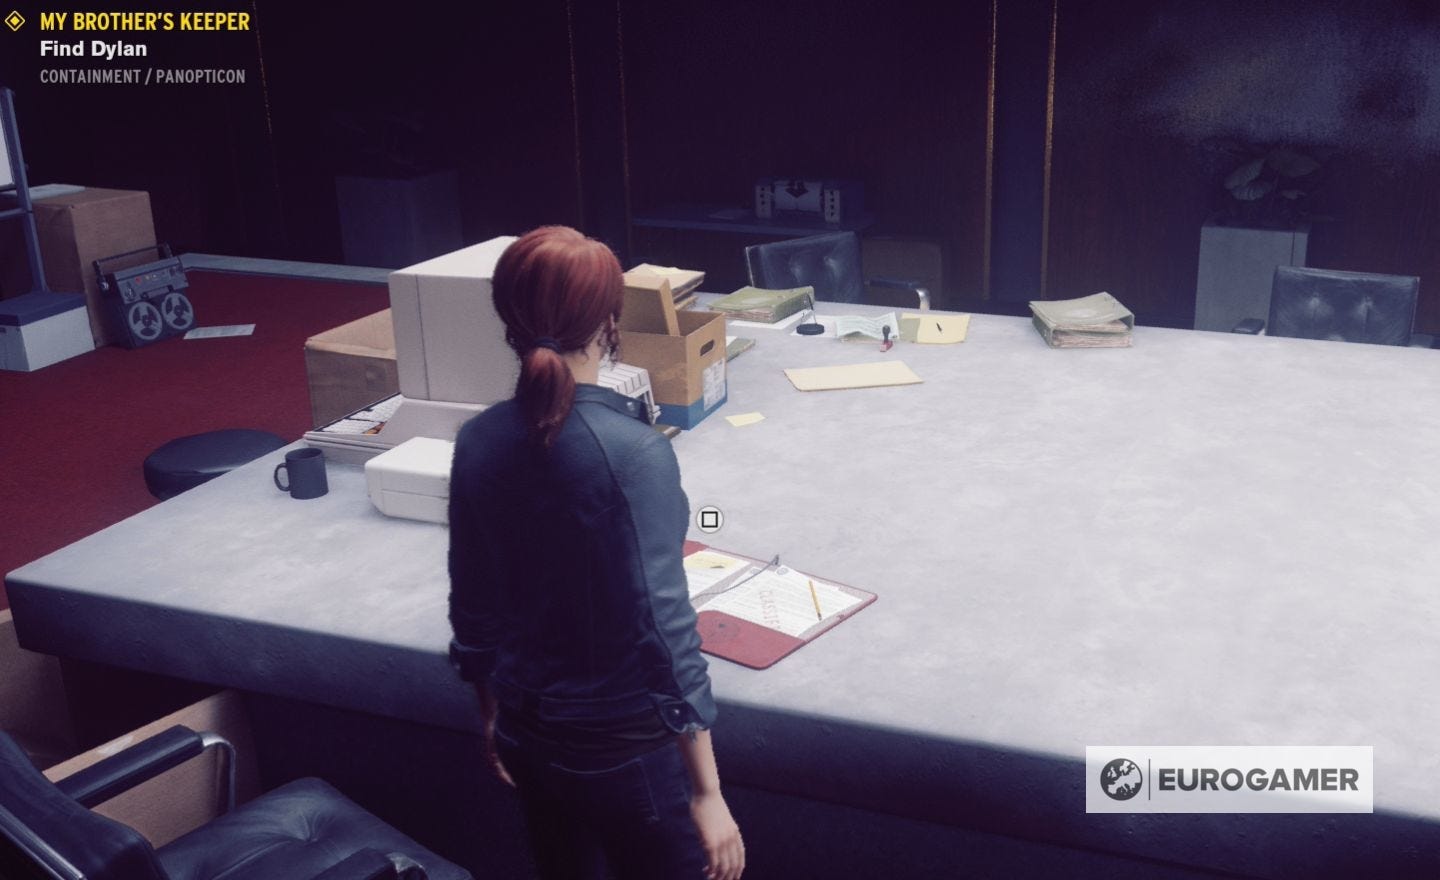
Before you head down to Containment, use the Control Point to upgrade your Abilities. You can also have a quick chat with Emily Pope in the Board Room to start the mission Old Growth.
Ahti also has a new mission waiting for you down in the Maintenance Sector - don't forget, you are his new assistant.
When you're ready, go to the Sector Elevator and head down to the Containment Sector.
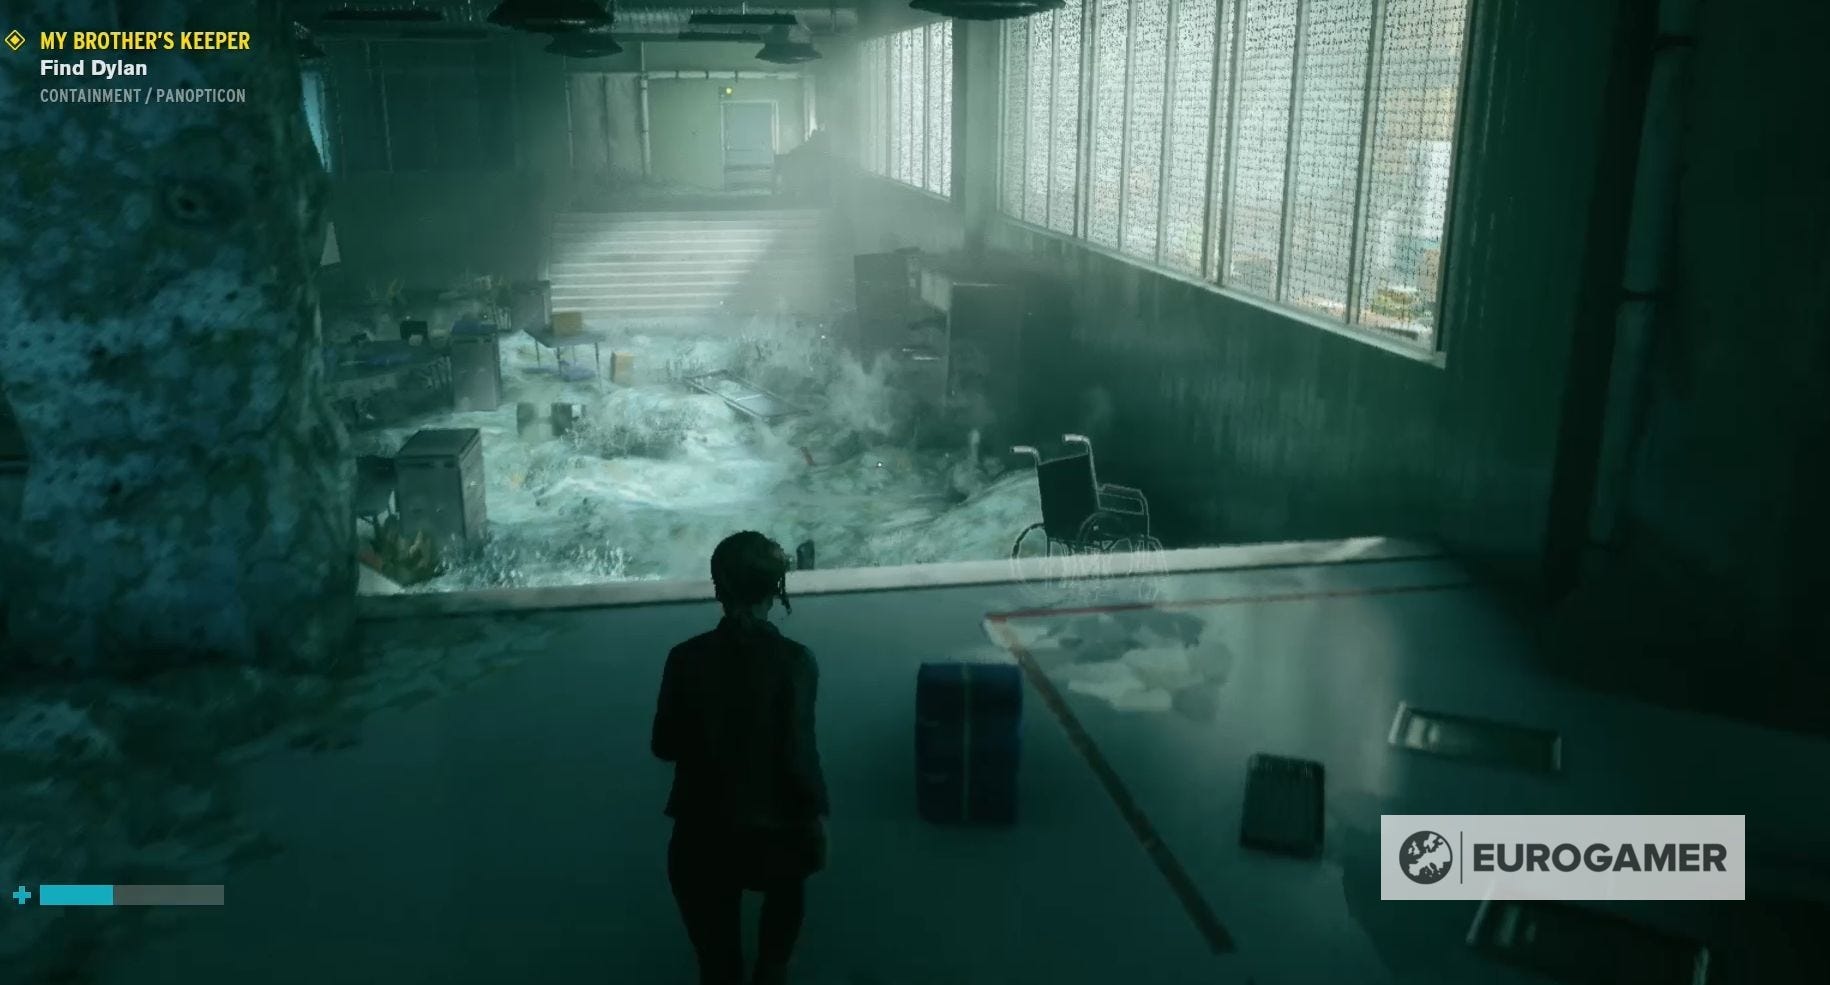
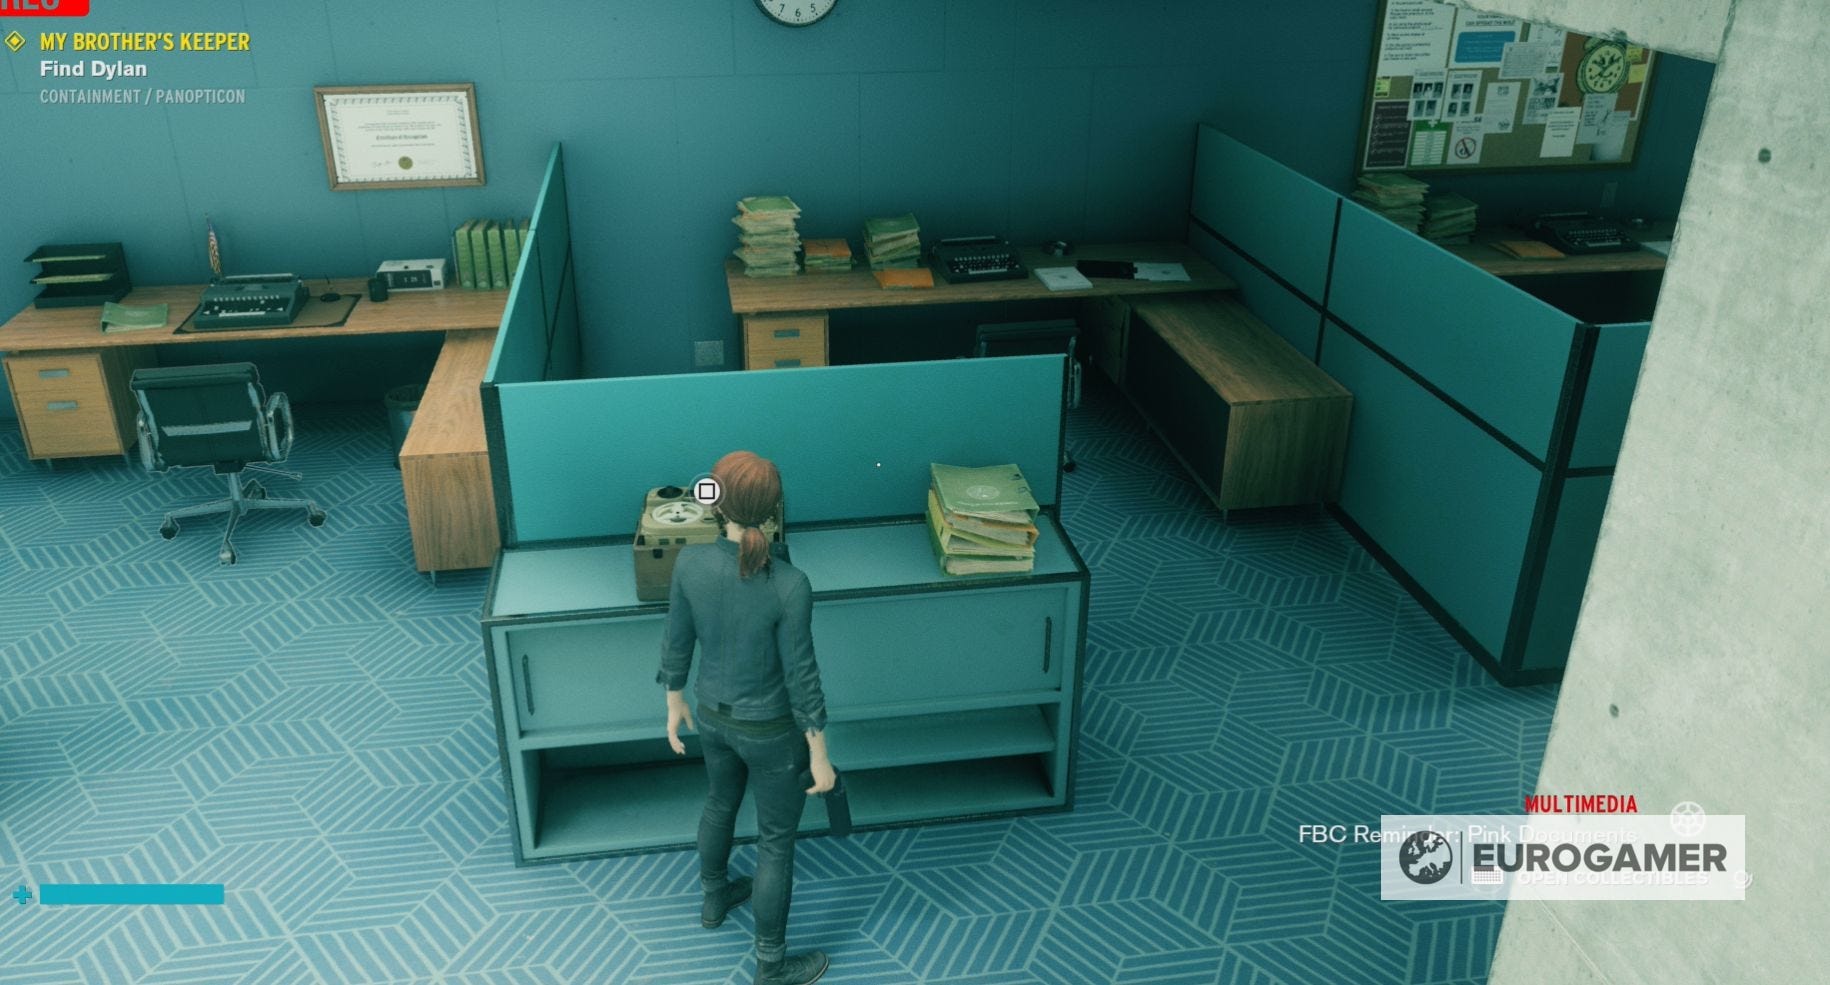
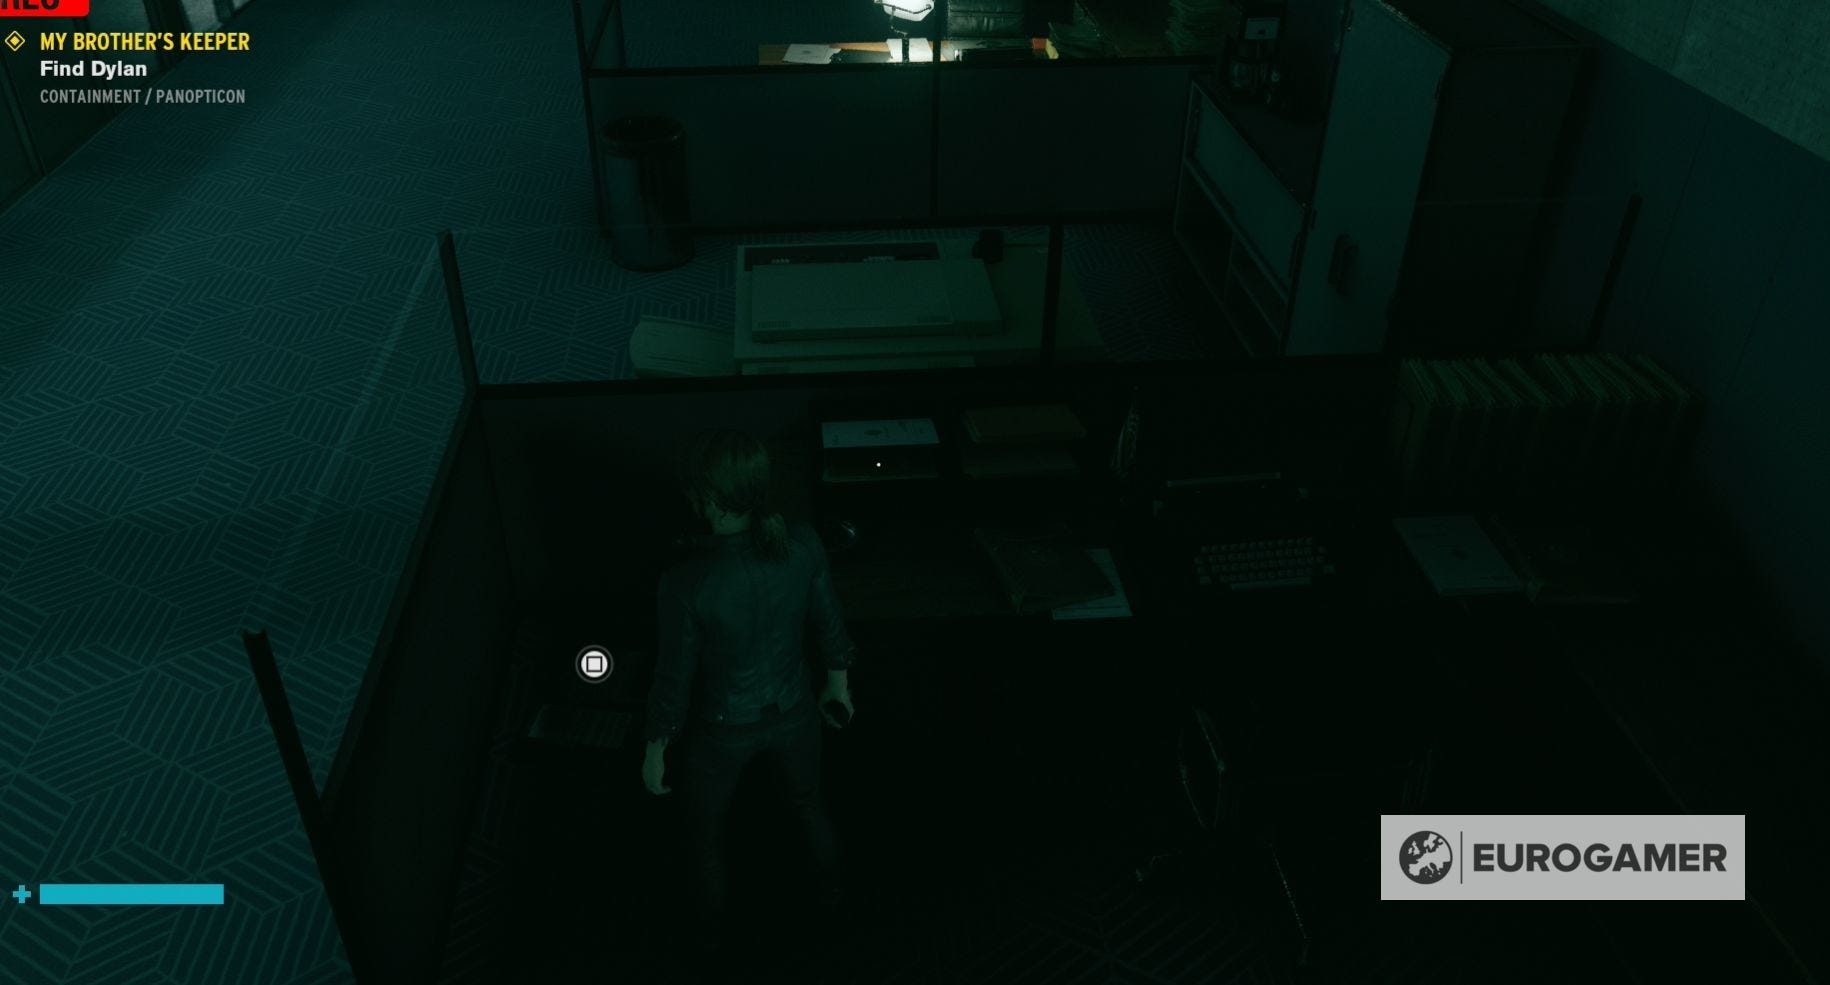
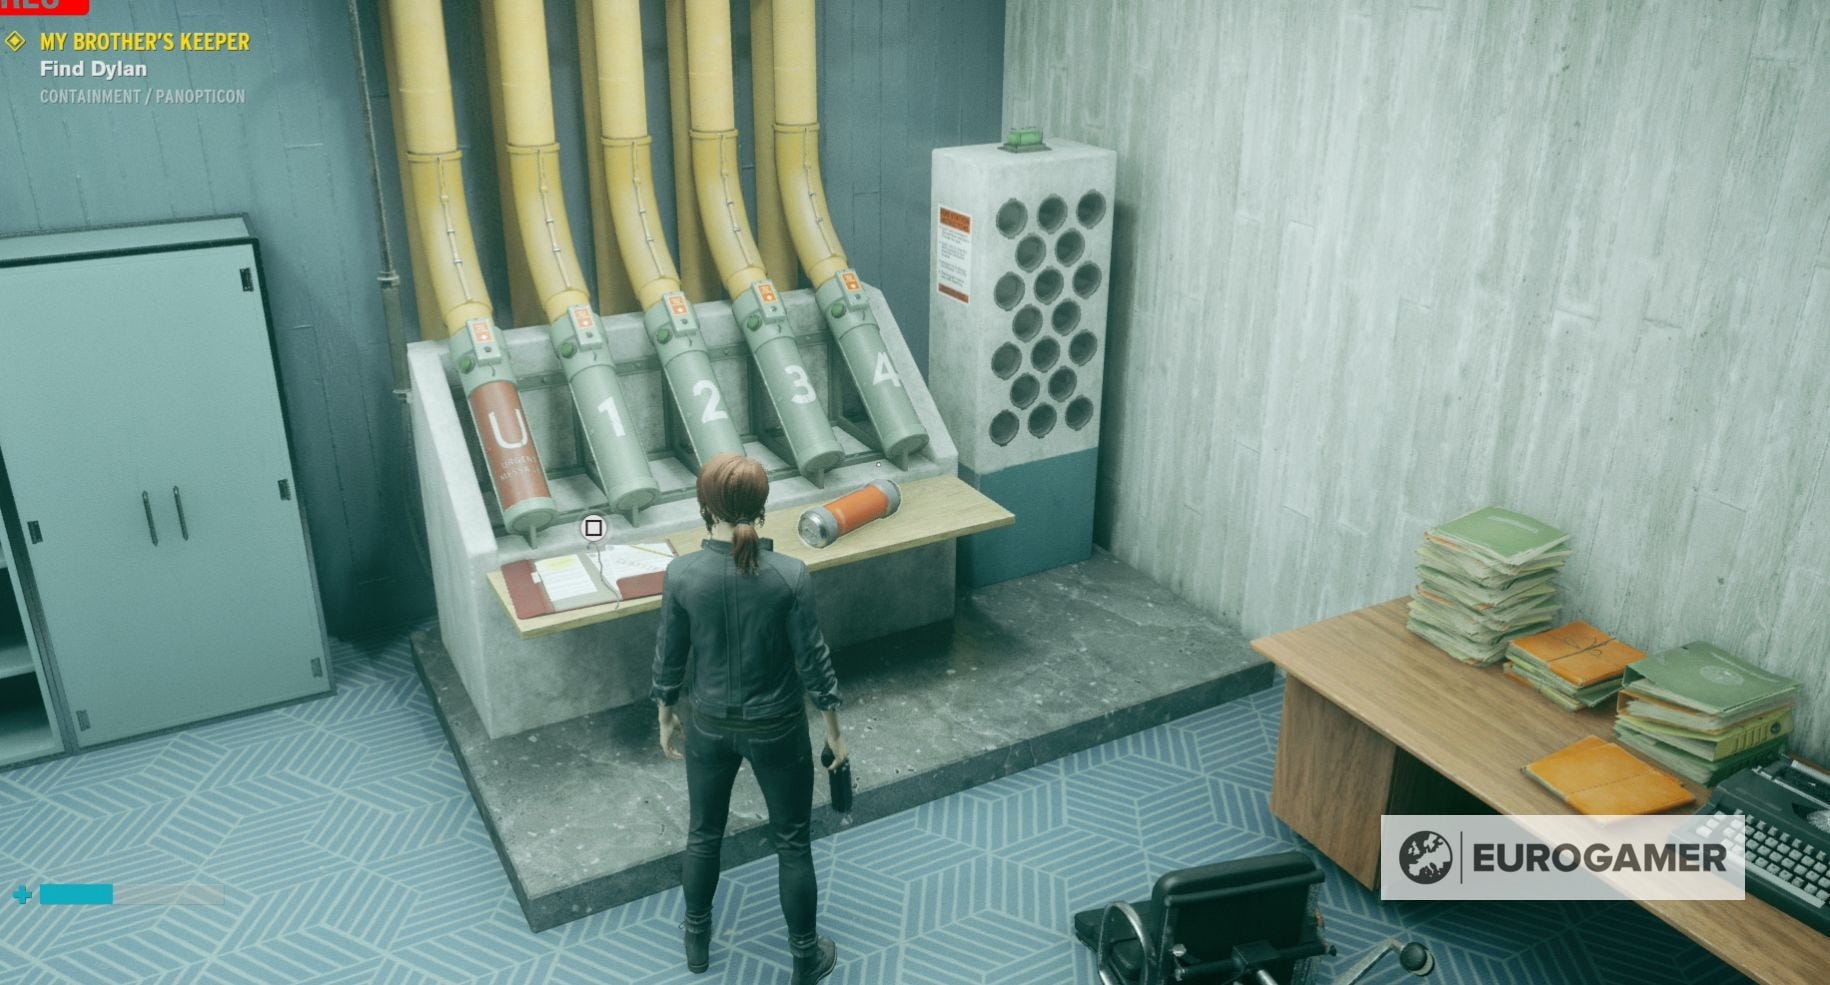
Follow the corridor into the Containment Sector, popping into the first office you see on the right-hand side to open a quick chest.
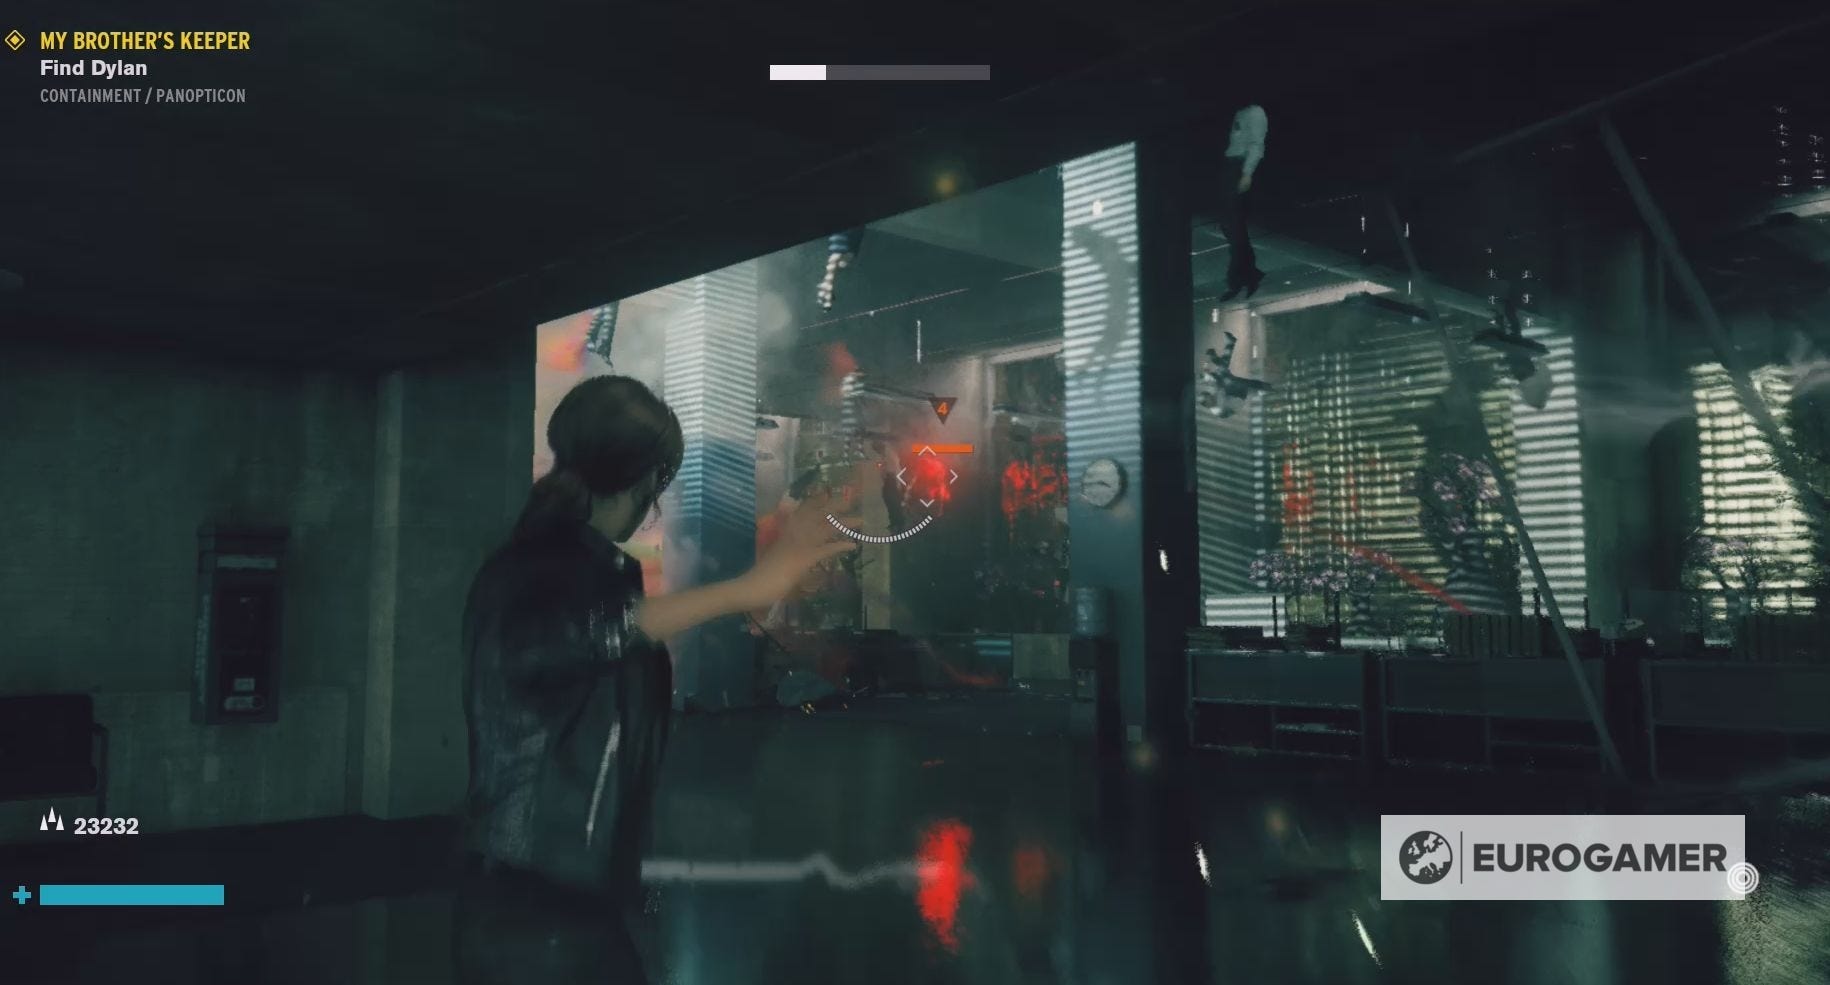
You'll be able to see a number of Hiss Charged floating in the air of the next room. Get ready for a Hiss battle, because the moment you attack a Hiss Charged, more Hiss forces will appear.
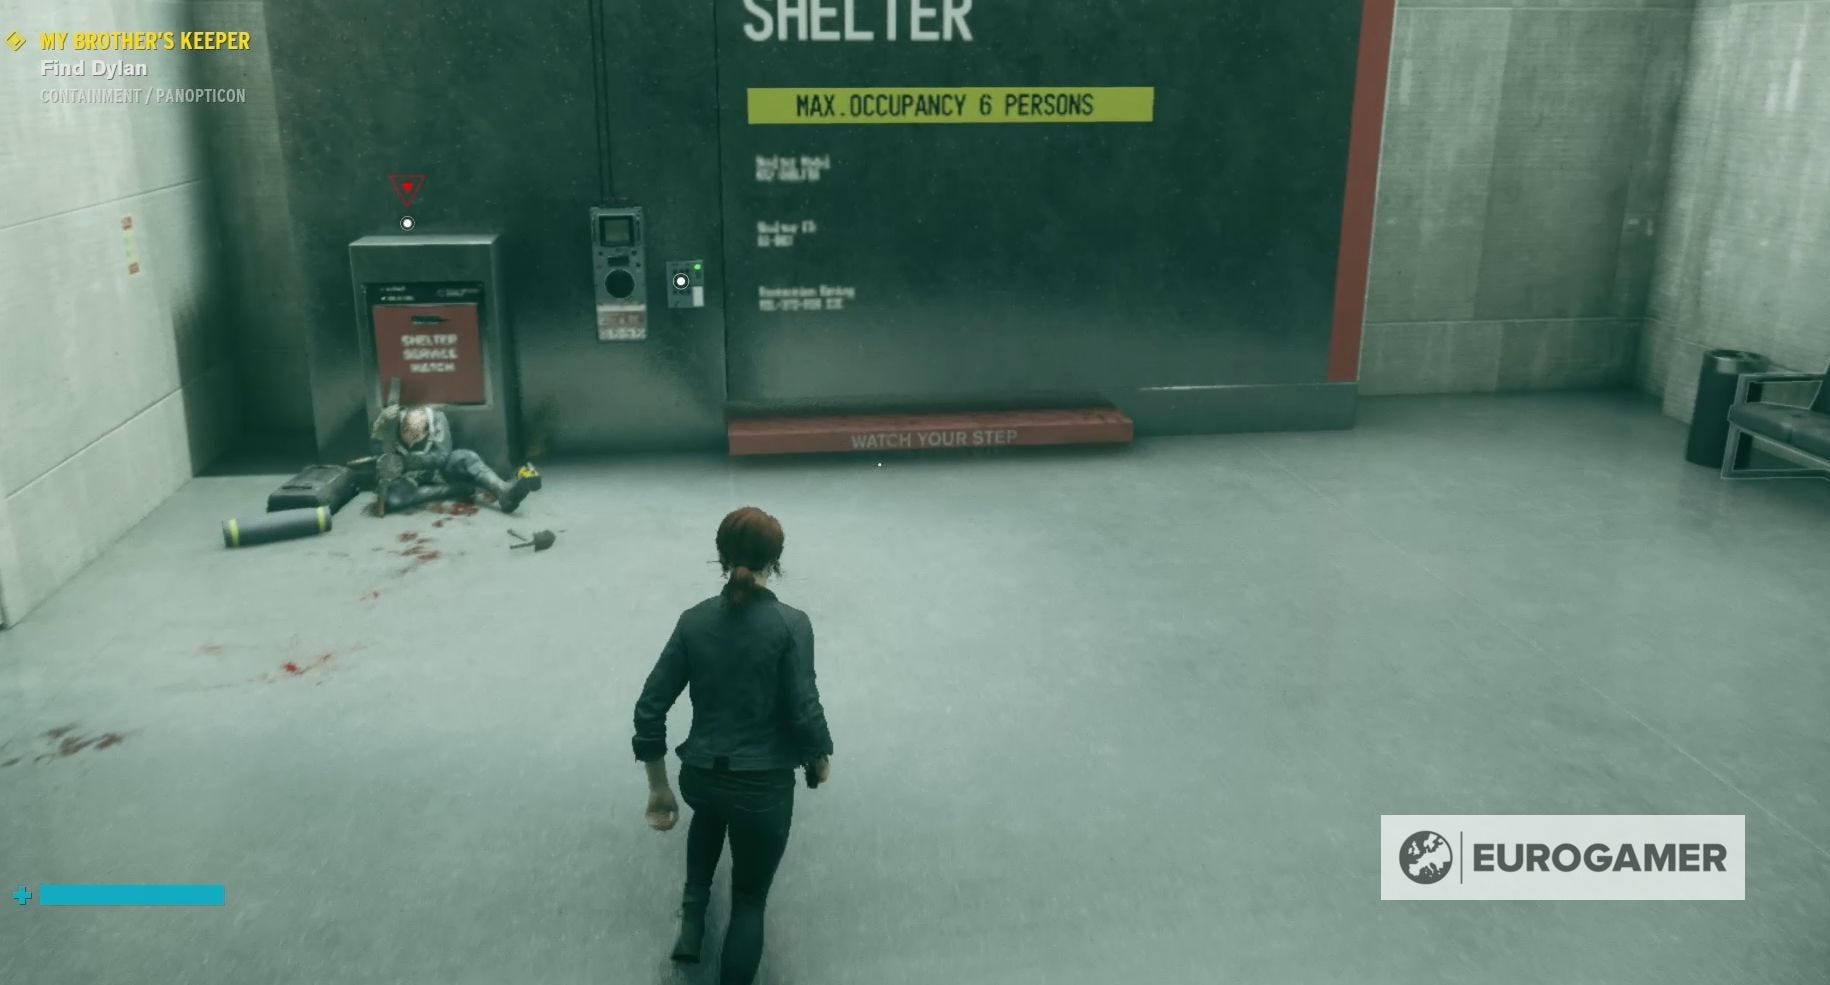
There are two chests hidden in this area - one in the shelter and one on the upper lower of the office space.
After killing the Hiss, head through the doors in the topmost right-hand corner of the foyer you fought them in and enter the Logistics department.
Defeat the Hiss that attack you in this room and then cleanse the Control Point to return Logistics to normal.
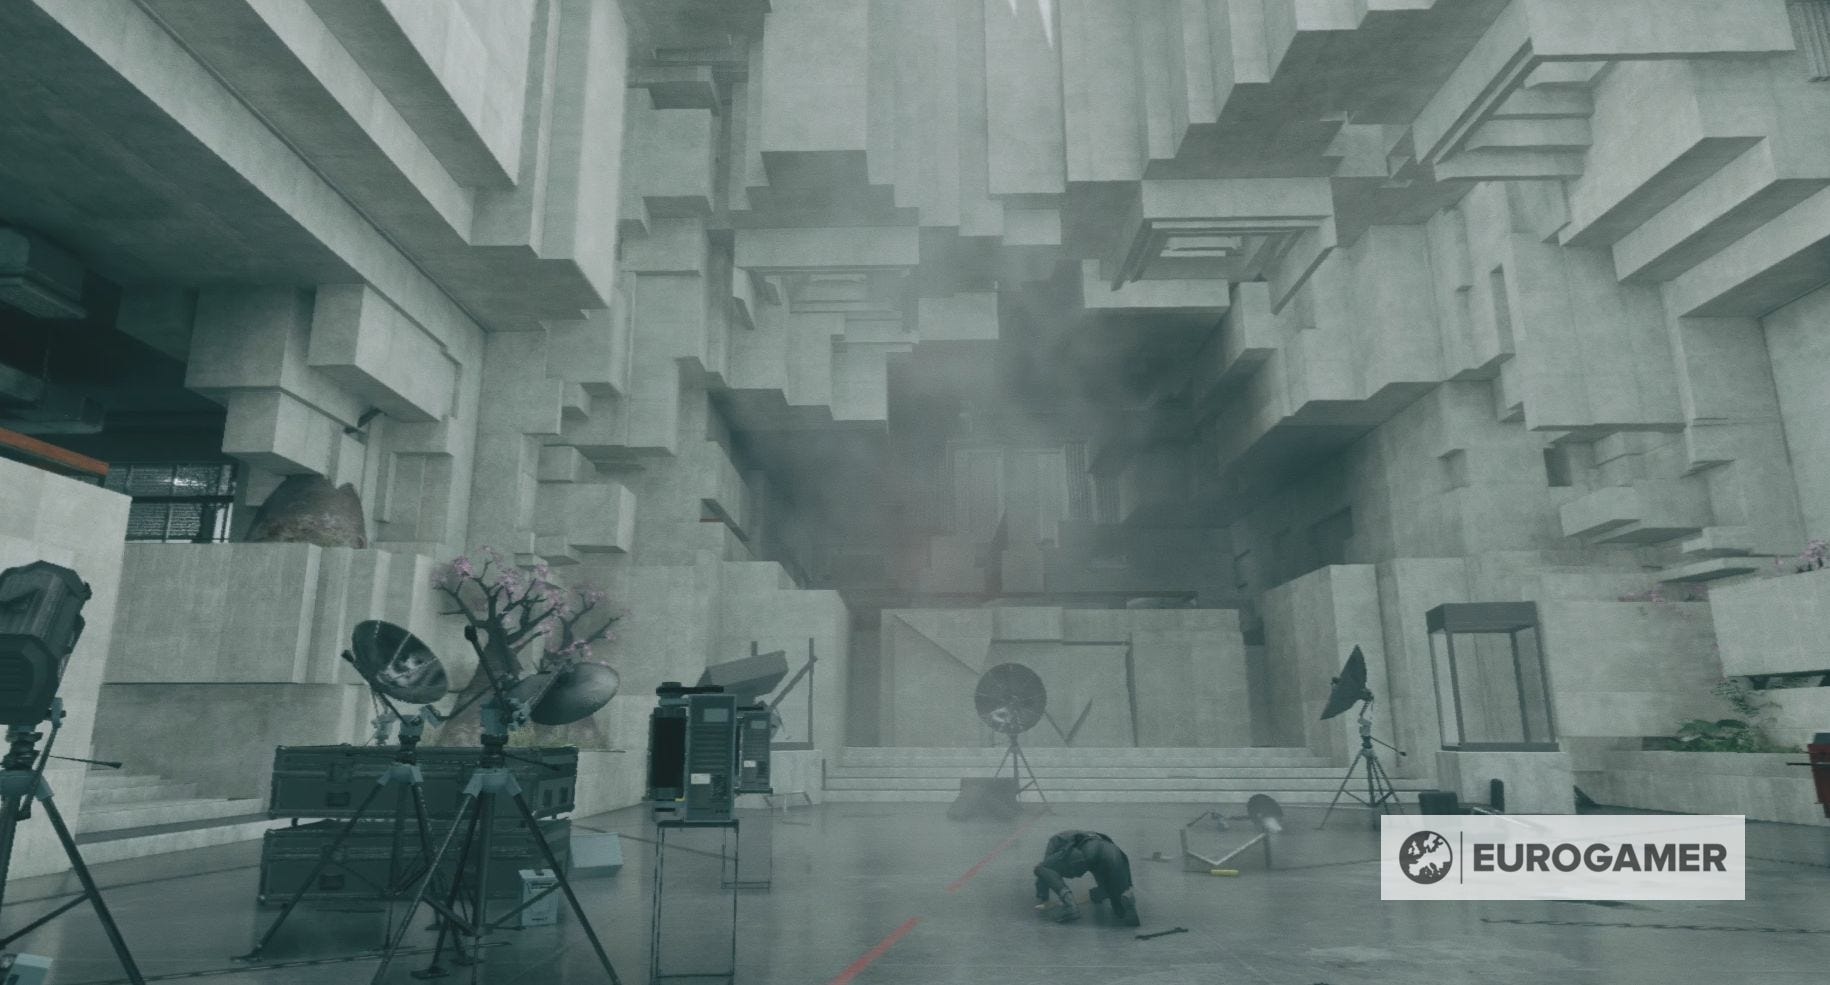
Logistics is a large department with a good number of secrets, so take your time to explore both sides - east and west.
You can find chests on the upper floor of the eastern side of Logistics, behind the Clearance Level 5 door on the western side and on the ground floor of the western offices. There are chests in the two shelters - one in the east side of Logistics and one in the west.
Journeying into the western side of Logistics will also bring you to the wounded soldier, Horowitz. Talking to him will start the mission A Matter of Time. Horowitiz is leaning up against the western shelter.
Once you've finished exploring, head through the northern doors into Security.
While you can't currently get all the way through the security gates, you can slip past the slightly open one to find a chest. After that head down the staircase to your left and enter the Medical Wing.
You will see Hiss forces immediately upon entering the Medical Wing - you know what to do. Once the Hiss are dead, visit each doctor's office to find a chest, then head up the stairs and open the chest in the shelter.
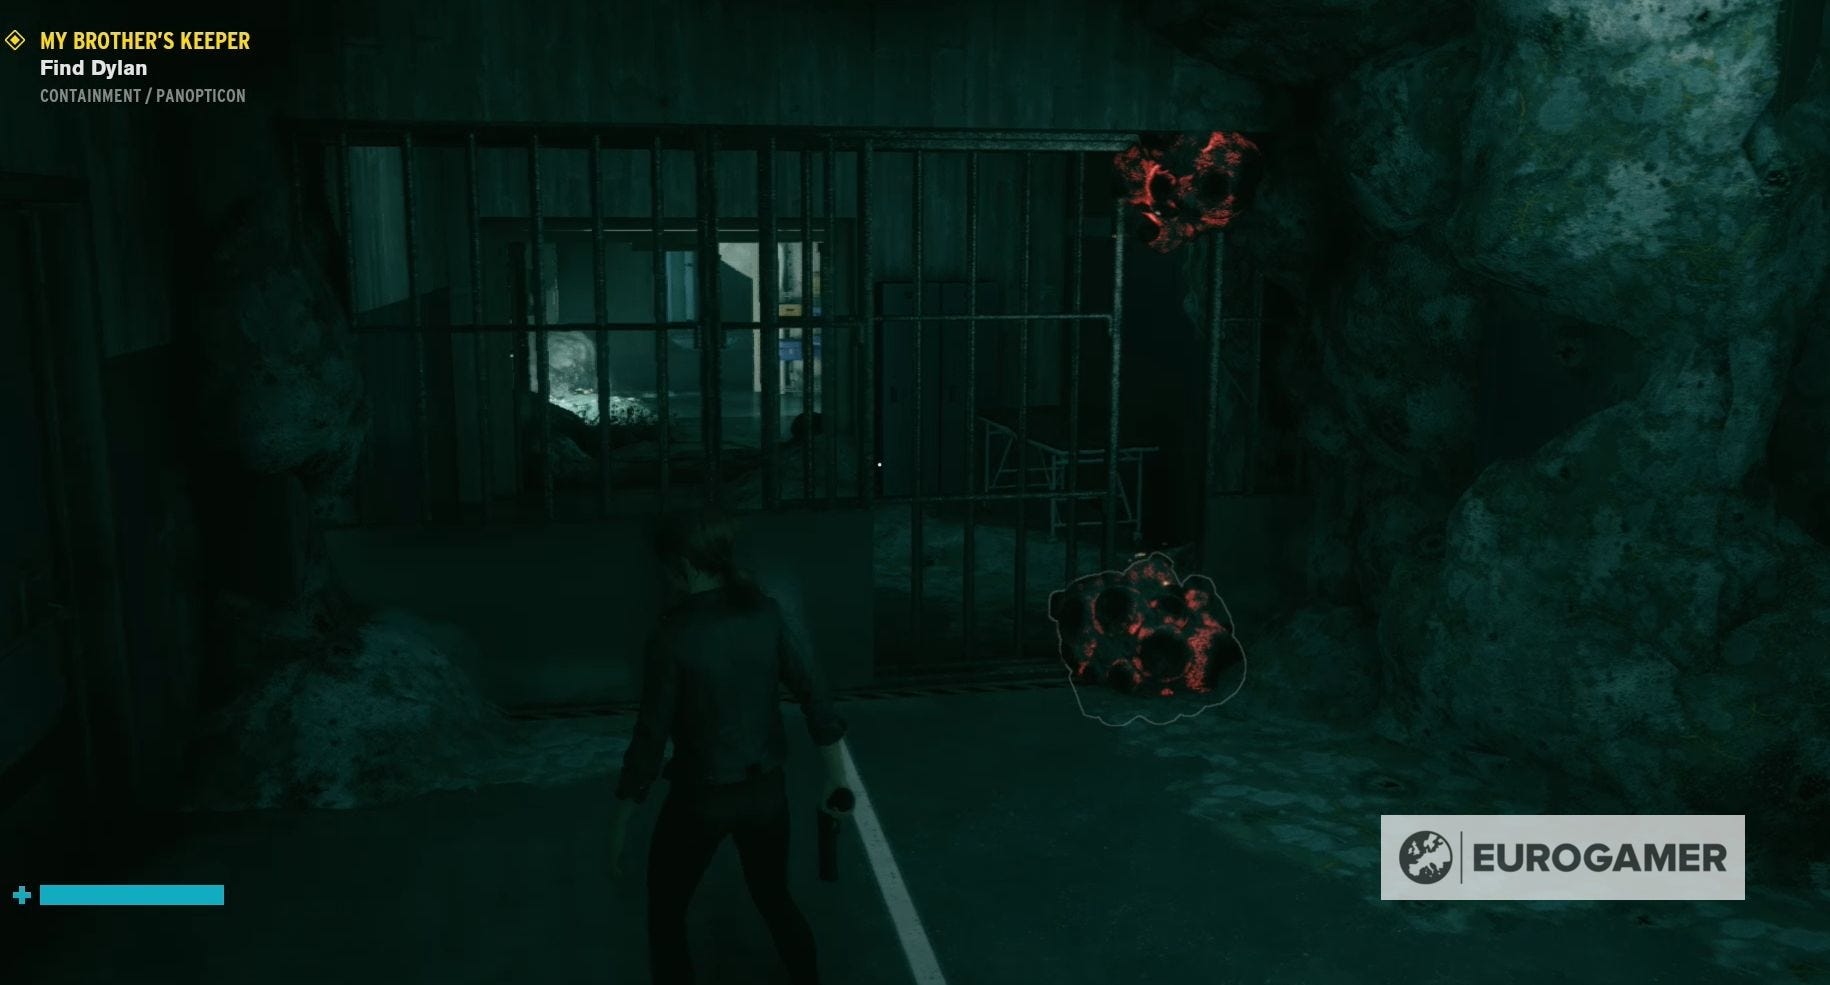
Follow the corridor around, slip through the security gate and continue down the corridor.
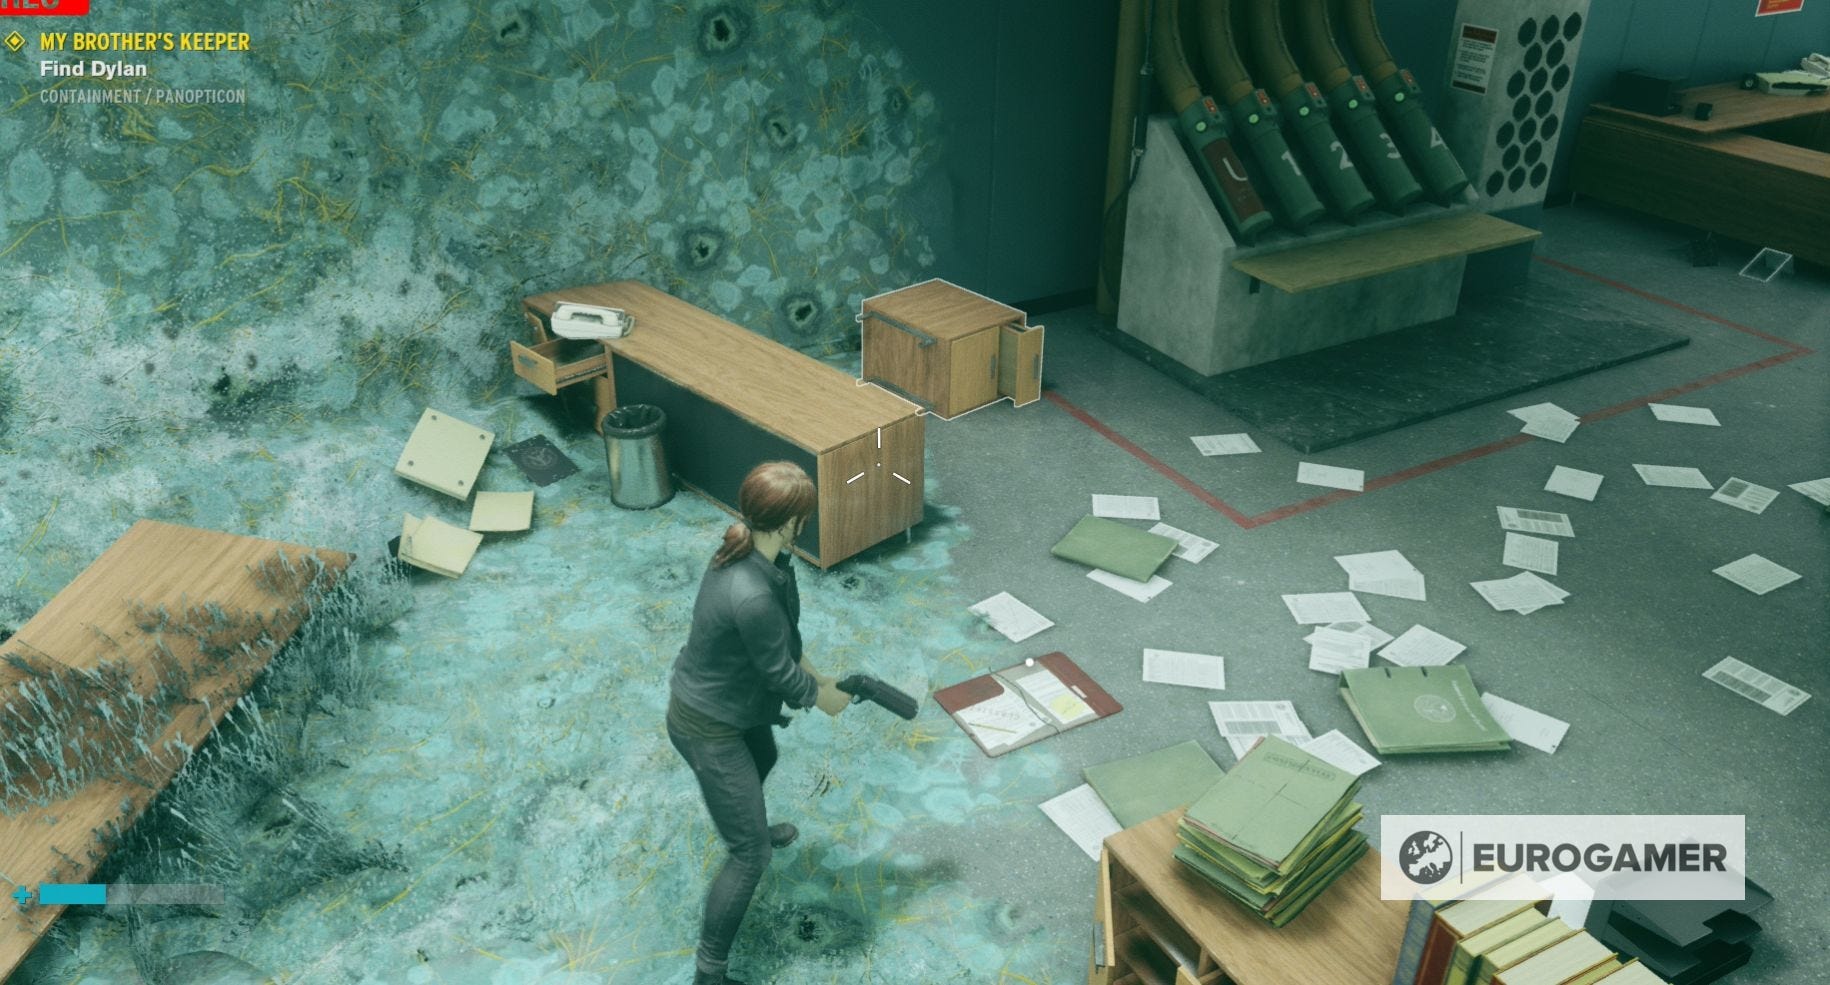
You'll come to another closed security gate. This one, however, has been blocked up some sort of red, blackish, fungus. Take your distance and destroy this fungus with your Service Weapon. If you're too close you could take damage when it explodes.
Fungus cleared, you can continue your way down the corridor. You'll go past a door to an office - go inside to find a chest and a collectable - and enter a wide area around in fungus.
In here you'll find a collection of fungus monsters for you to kill. These monsters will come from both the main floor of this room, the side office you passed to reach it and the small storage room to the left in the main room. There might also be a Hiss Soldier in this room too.
Once you've killed all the monsters you can find a chest in the small storage space to the left of this main room.
Head across to the right-hand side of the main room and go through the door you find there.
Grab the loot from the chest you see before heading up the stairs, which will bring you out into the main foyer for Security.
Security is another area worth exploring.
You can find a chest in one of the offices close to the staircase you emerge from and another one in the offices on the opposite side of the room. You can also find a chest in the Command Room, accessed from the top floor of Security, and there is, of course, another chest in the shelter.
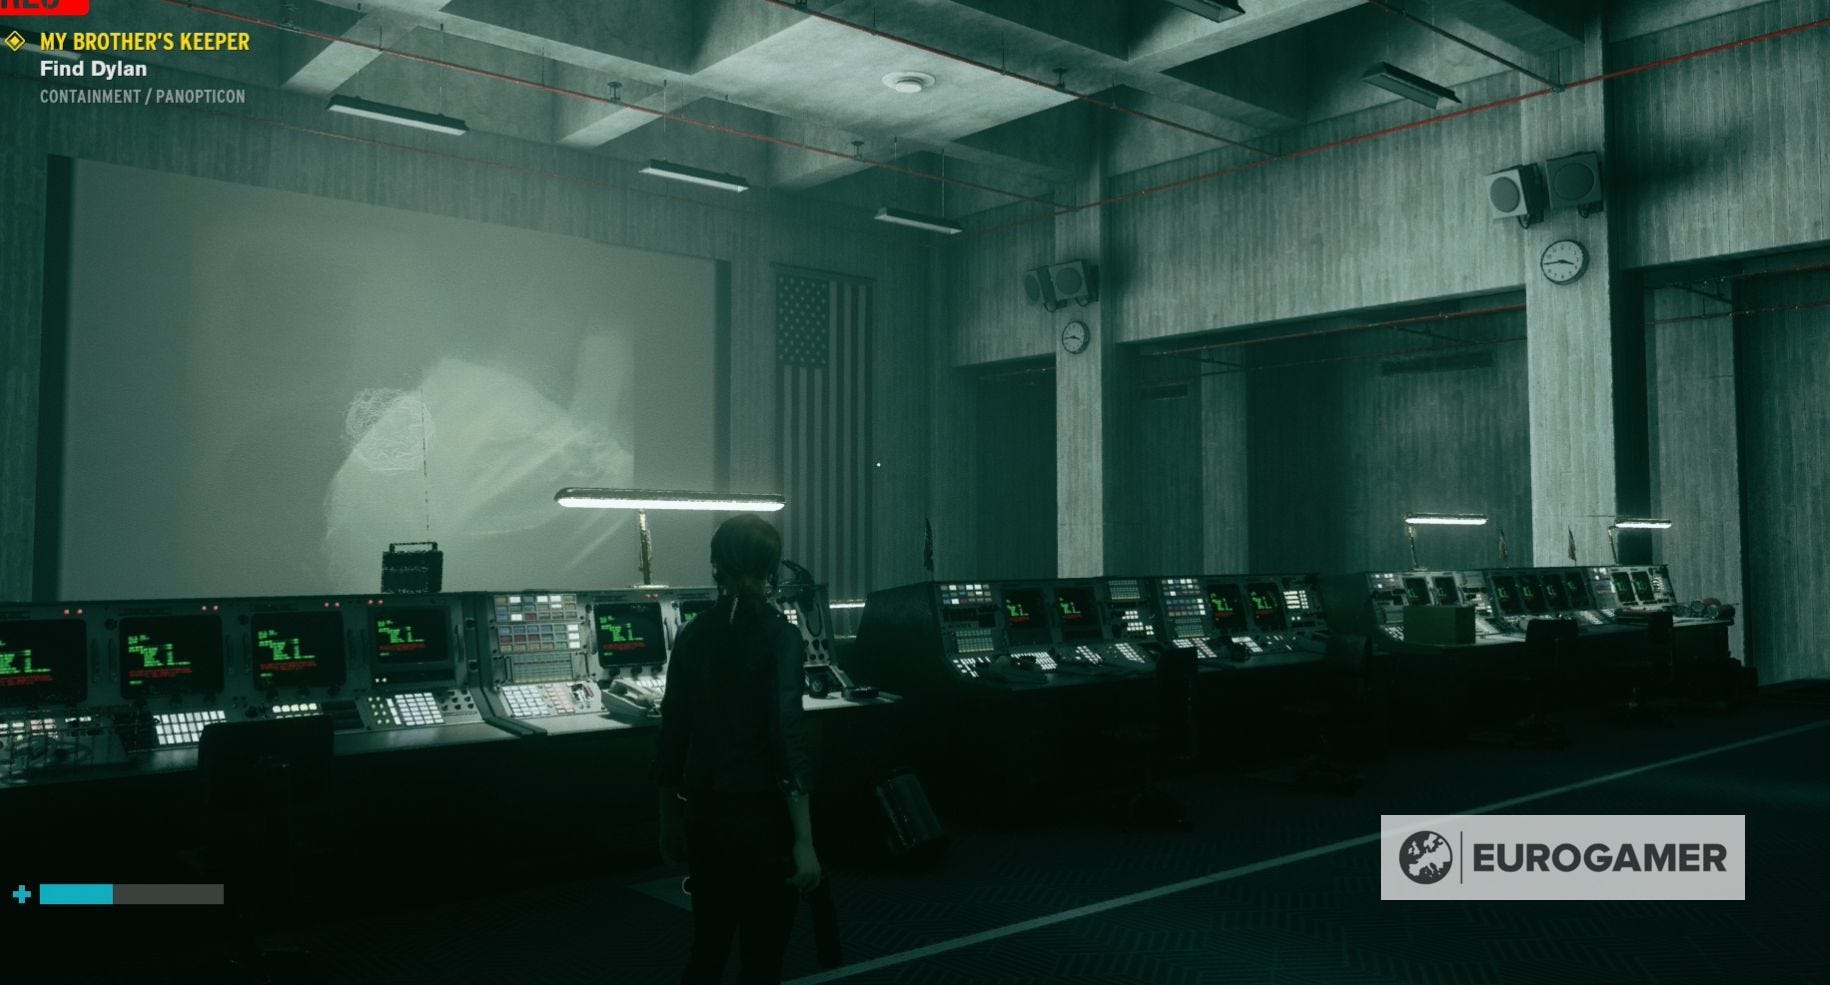
Before you leave Security, make sure you press the red button by the closed security gates to create a shortcut. You can also open the chest stuck between these two gates. You might also want to have a look at the computer monitors in the middle of Security.
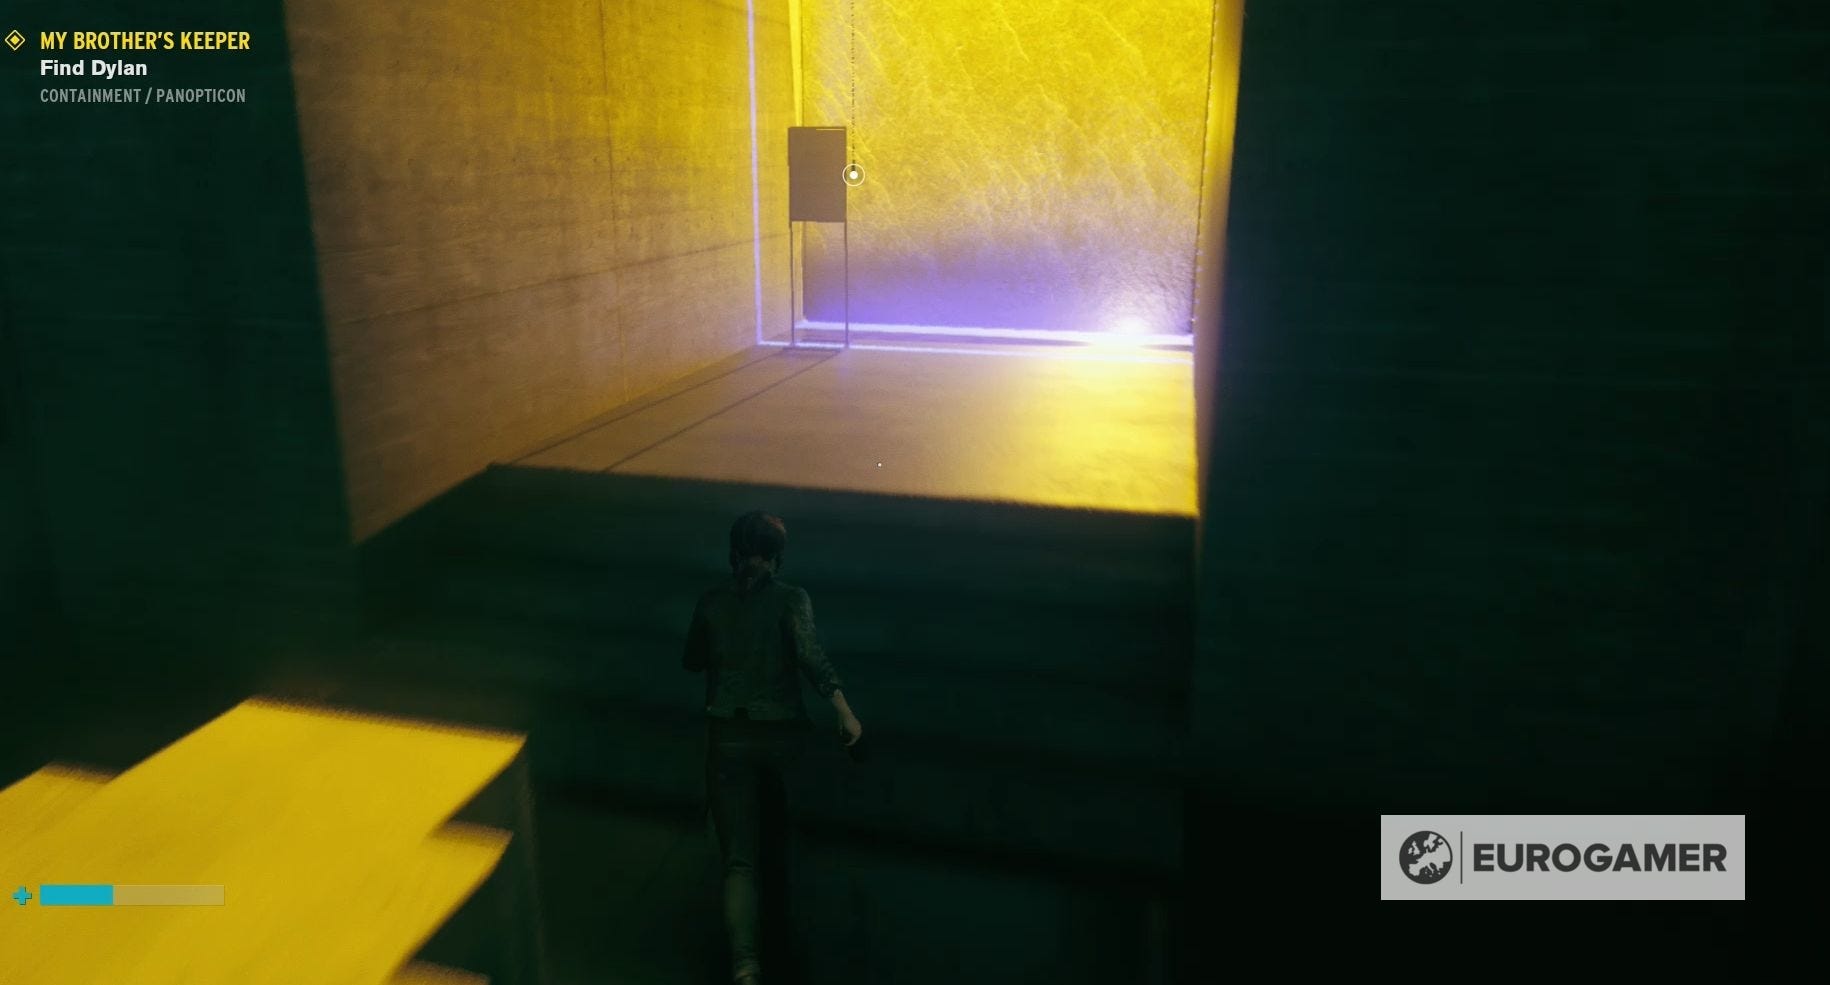
When you're ready, pull the light-switch three times.
Collectables to be found:
- Research & Records - Linguistic Ability
- (Now available in the Board Room.)
- Hotline - Trench - Panopticon
- (Receive upon arriving to the Containment Sector.)
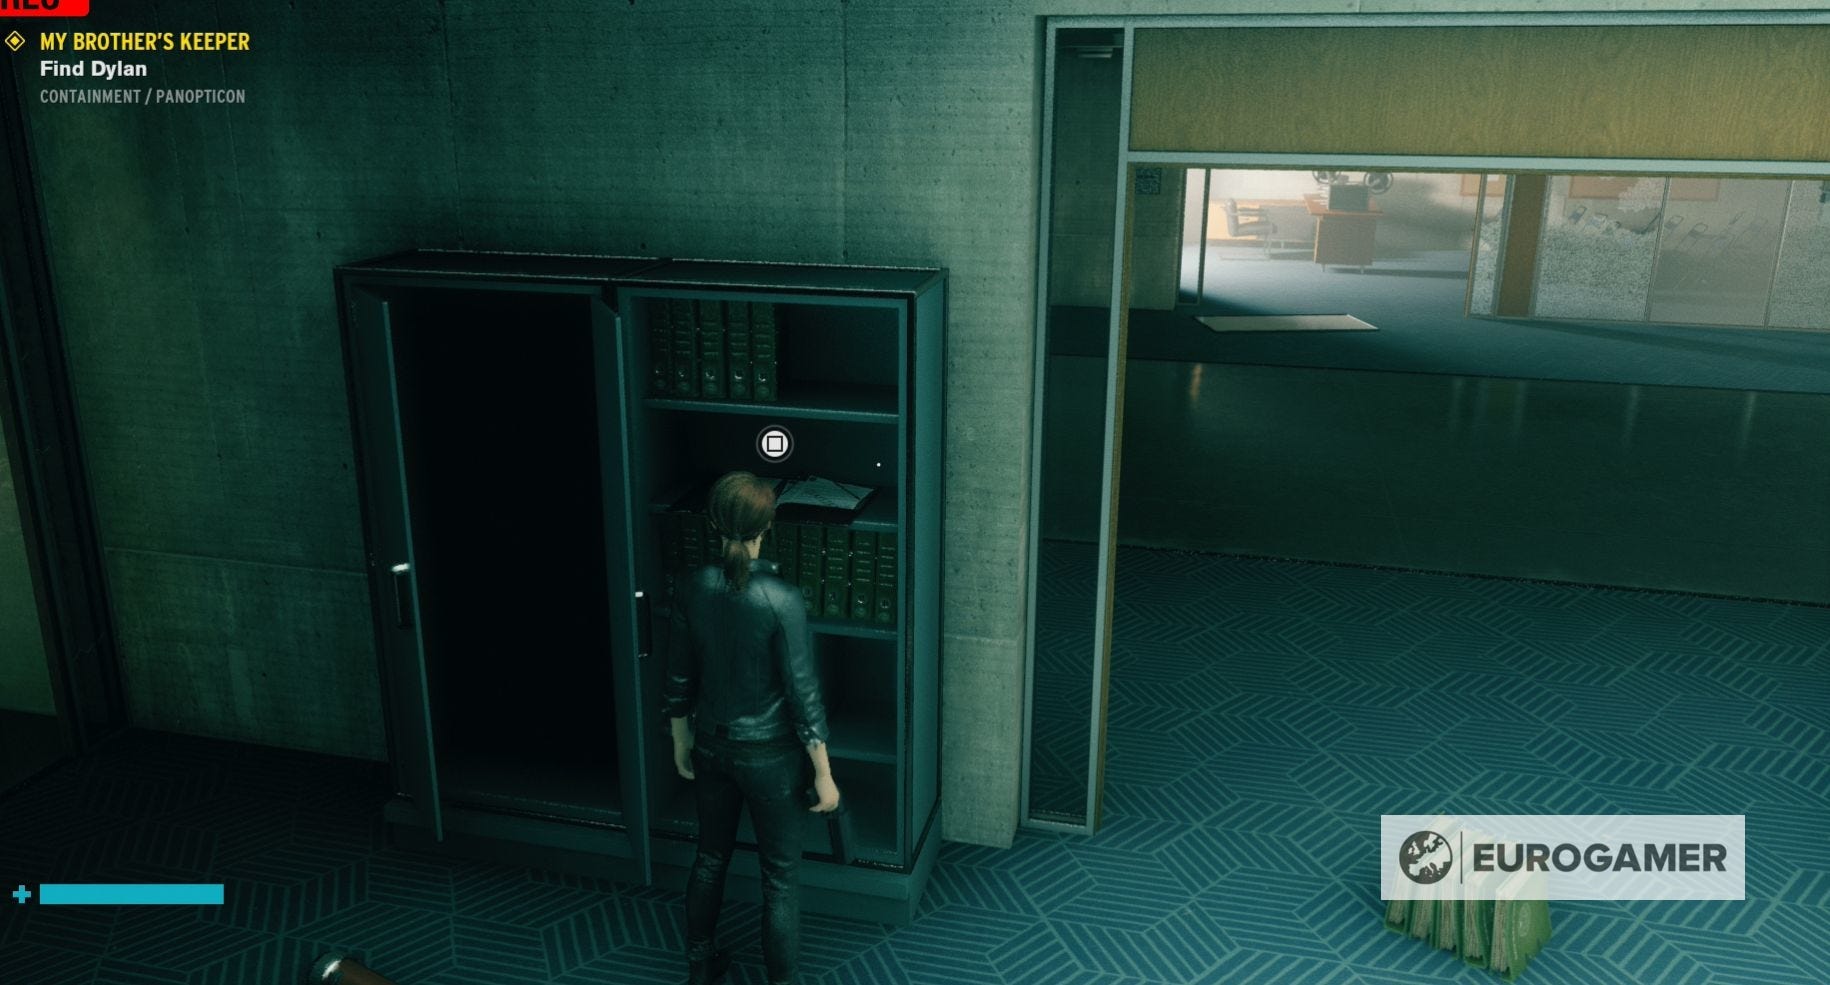
- Research & Records - Research - Object and Item Distinctions
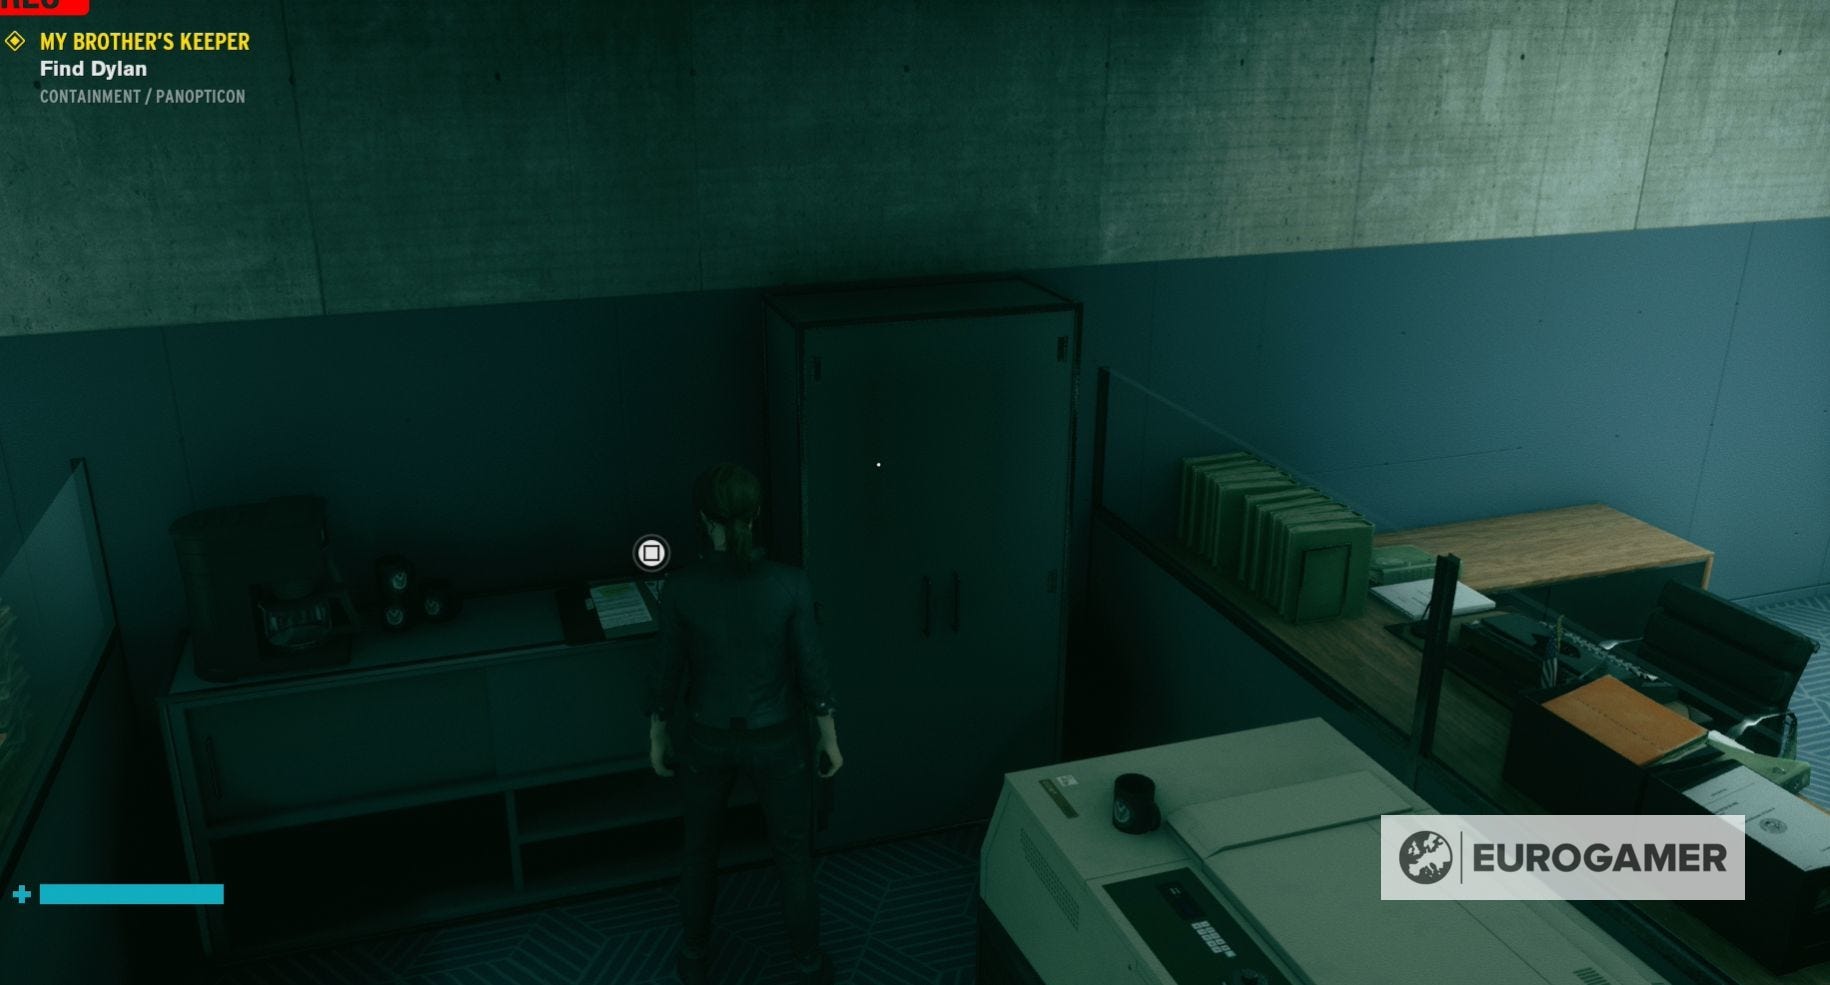
- (In a cupboard in the first main office space in the Containment Sector.)
- Multimedia - FBC Recordings - FBC Reminder: Pink Documents
- (On the upper floor of the first office space you visit in the Containment Sector.)
- Case Files - Altered Items - Mannequin Supplement
- (In the eastern side of Logistics in one of the upper floor offices.)
- Case Files - Altered Items - Pram Procedures
- (In the western side of Logistics in one of the upper floor offices.)
- Research & Records - Reports - AWE Rising Frequency
- (Behind the Clearance Level 5 door in the western side of Logistics.)
- Research & Records - Reports - Mold Autopsy
- (In the side office when you go through the previously blocked security gate in the Medical Wing.)
- Case Files - Altered Items - Globe Procedures
- (On a counter in one of the topmost offices, near the Clearance Level 6 door, in Security.)
- Multimedia - Darling Presentations - The Oldest House
- (Found by entering the Command Room from the main foyer of Security.)

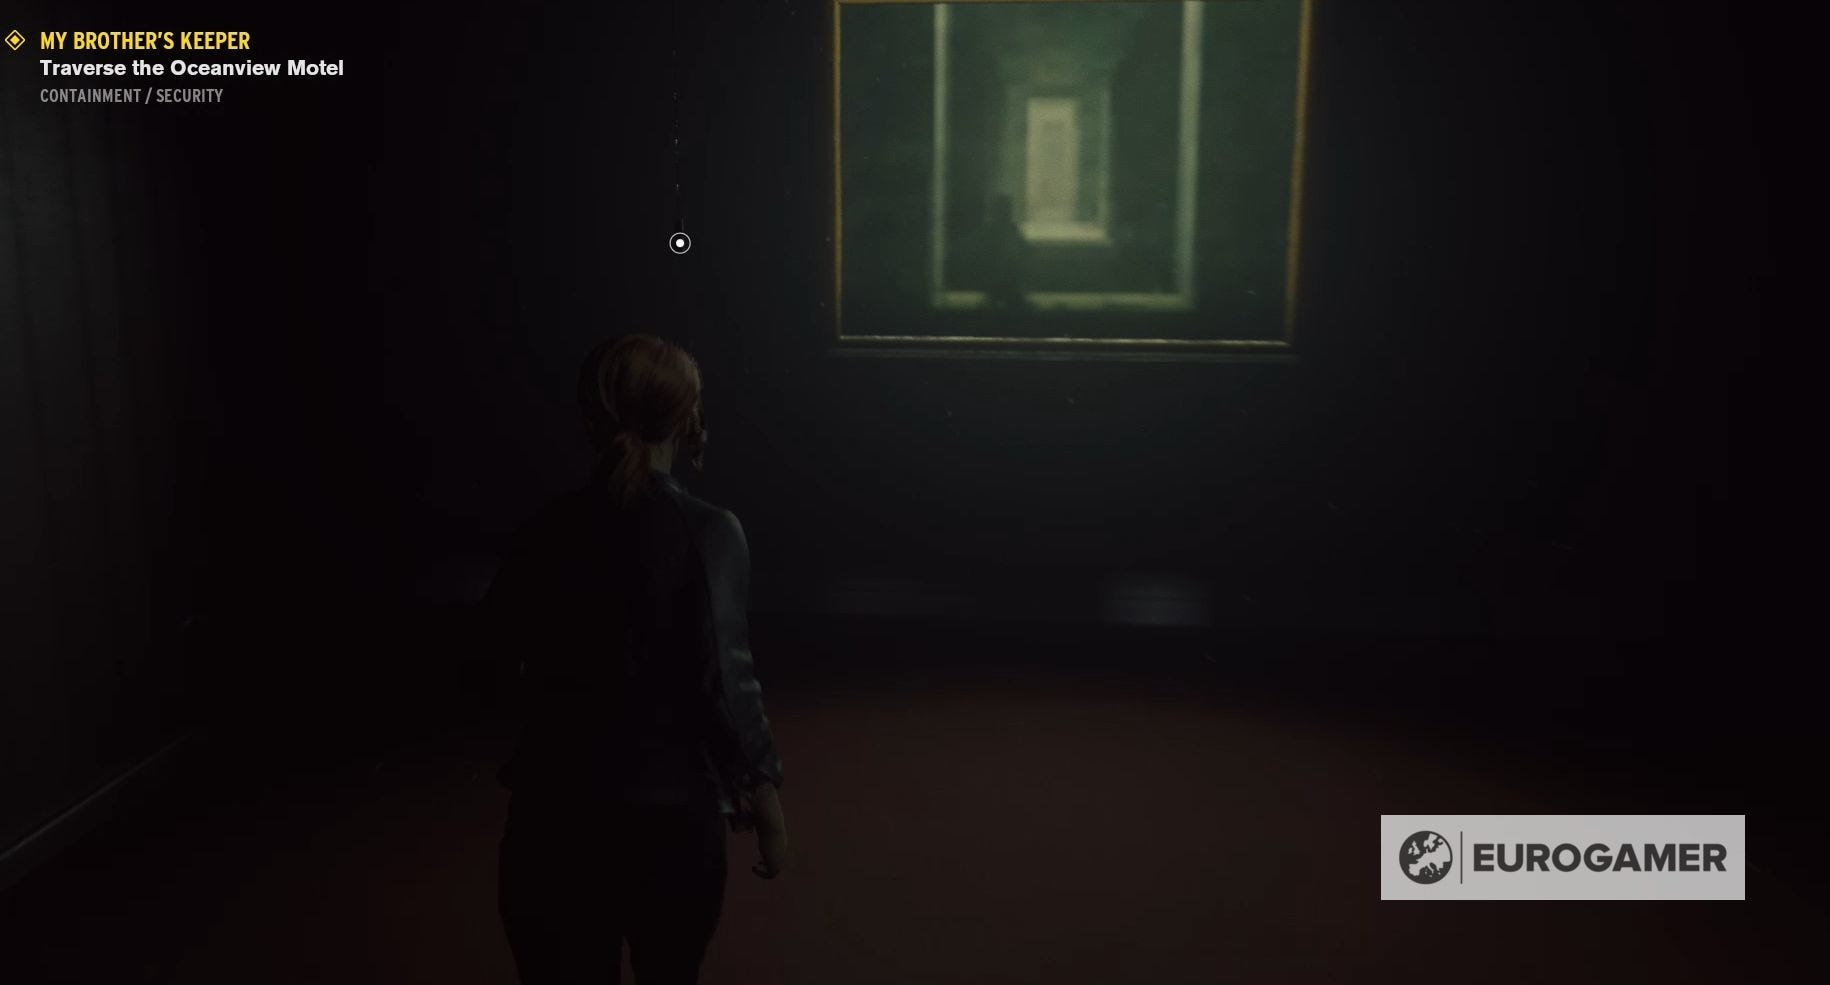
Traverse the Oceanview Motel (again) in Control
You're back in the Oceanview Motel again and not all seems to be well. Nobody was screaming last time - maybe they've finally noticed the charge for the mini fridge?
This time round you'll want to ring the bell until room 226, the last room down the corridor, is open and then inside and spin the picture around three times. After that ring the bell again and the door to room 222 will open. The keys to the black pyramid are in there.
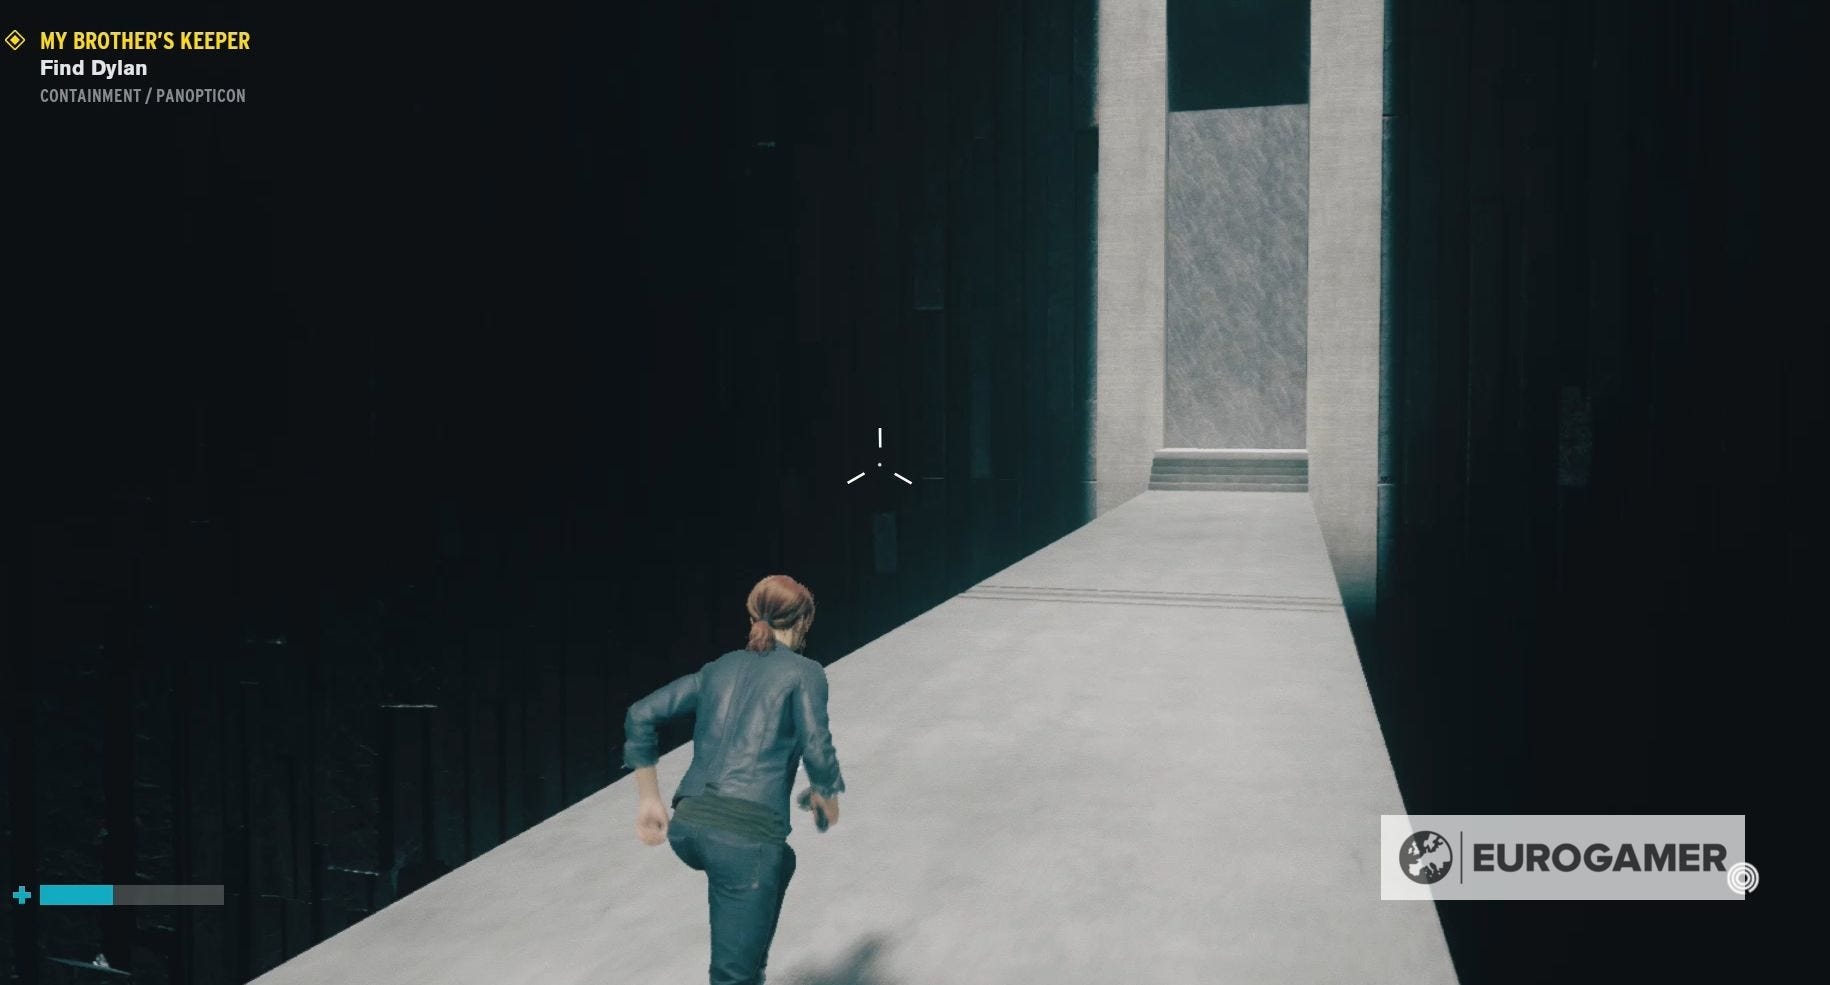
Pick them up and head through the black pyramid door. Pull the light-switch three more times and you'll be returned to the Bureau.
Find Dylan in Control
Visiting the Oceanview Motel will allow you to cross the Firebreak and reach the Panopticon Entrance.
Speak with the Panopticon Supervisor in Control
Talk to Langston, the Panopticon Supervisor, he'll tell you where Dylan has been kept and that a supernatural television is on the loose.
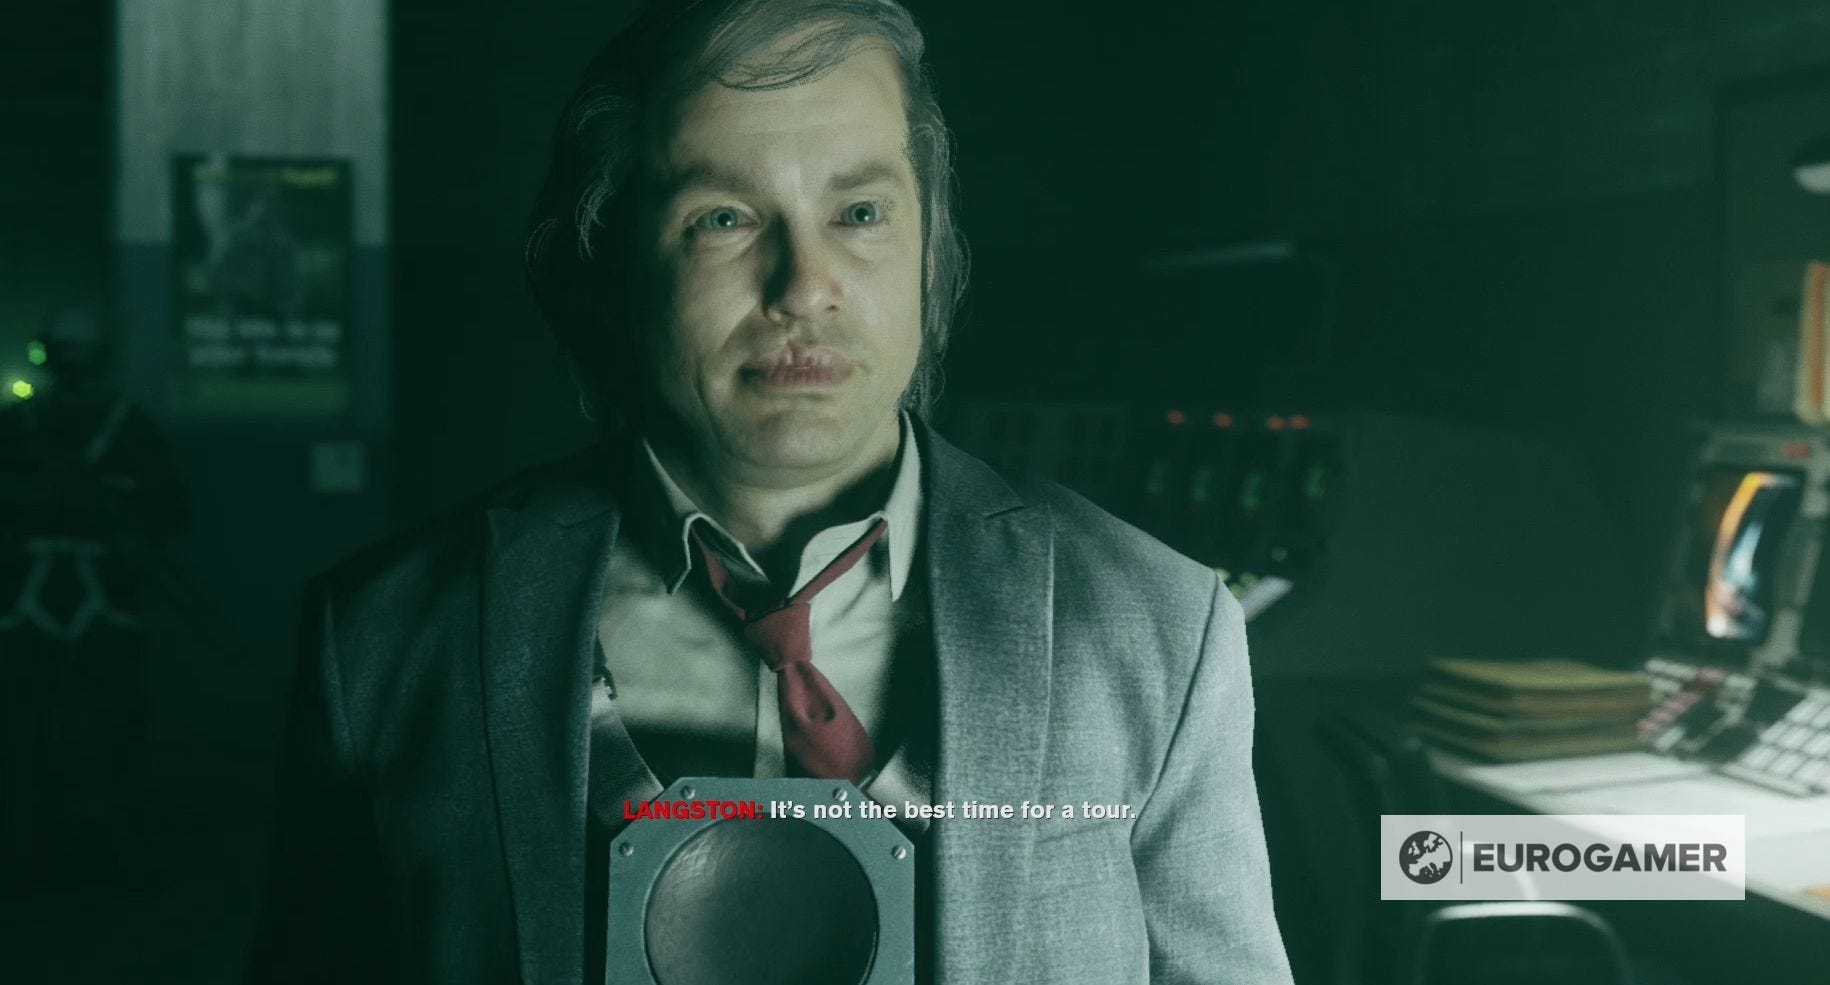
You can talk to Langston to learn more about him and the Bureau of Control.
Subdue the Benicoff TV Object of Power - 4th Floor in Control
Enter the Panopticon and cleanse the Control Point directly in front of you. If you take one of the staircases down to a lower level, you'll find a chest.
Head across the bridge to the other side of the Panopticon, grabbing the chest on the left when you reach here. Follow the walkway till you reach the lift and take it to Floor 4 - Altered Item Units.
Going left quickly when you leave the elevator will bring you to a chest. Once it's opened, follow the new walkway, as you walk you'll hear a voice. Pop into one of the alcoves and you'll find a man staring at a fridge. Using the intercom will allow you to start the mission Fridge Duty.
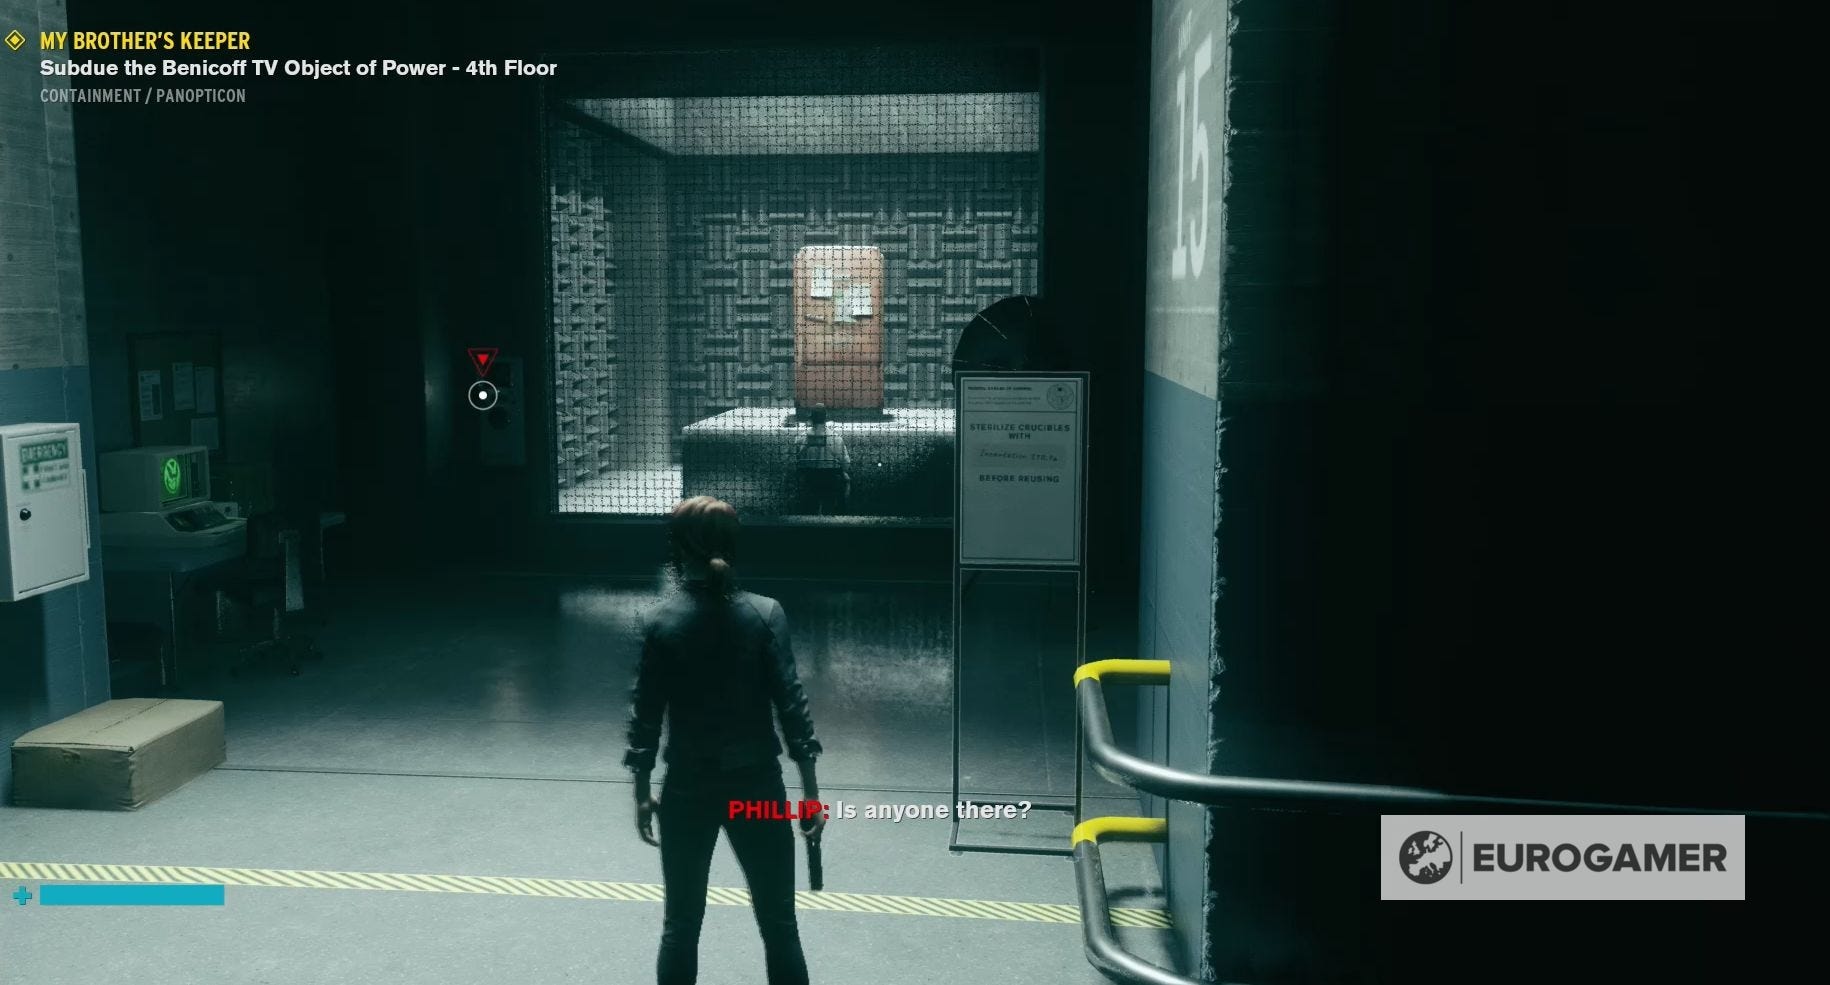
Whether you decide to help the agent staring at the fridge or not, make sure you cleanse the Control Point before moving on.
Continue down the corridor and you'll hear the sounds of fighting. You'll arrive to find some Bureau soldiers fighting a Hiss Elevated. More Hiss will then arrive as you try to cross the walkway.
Once the Hiss have been dealt with head through the broken containment door and try to cleanse the Object of Power.
It’s time to journey into the mysterious Federal Bureau of Control. Our Control walkthrough can help you through the storyline missions, including Welcome to the Oldest House, Unknown Caller, Directorial Override, Old Boy’s Club, Threshold, My Brother's Keeper, The Face of the Enemy, Finnish Tango, Polaris and Take Control. You can also learn new supernatural powers by completing A Merry Chase, A Good Defence and A Captive Audience. We also have guides on upgrading the Service Weapon, your Abilities, how to use Weapon and Personal Mods, how to unlock every outfit and the solution to the Roulette Wheel puzzle.
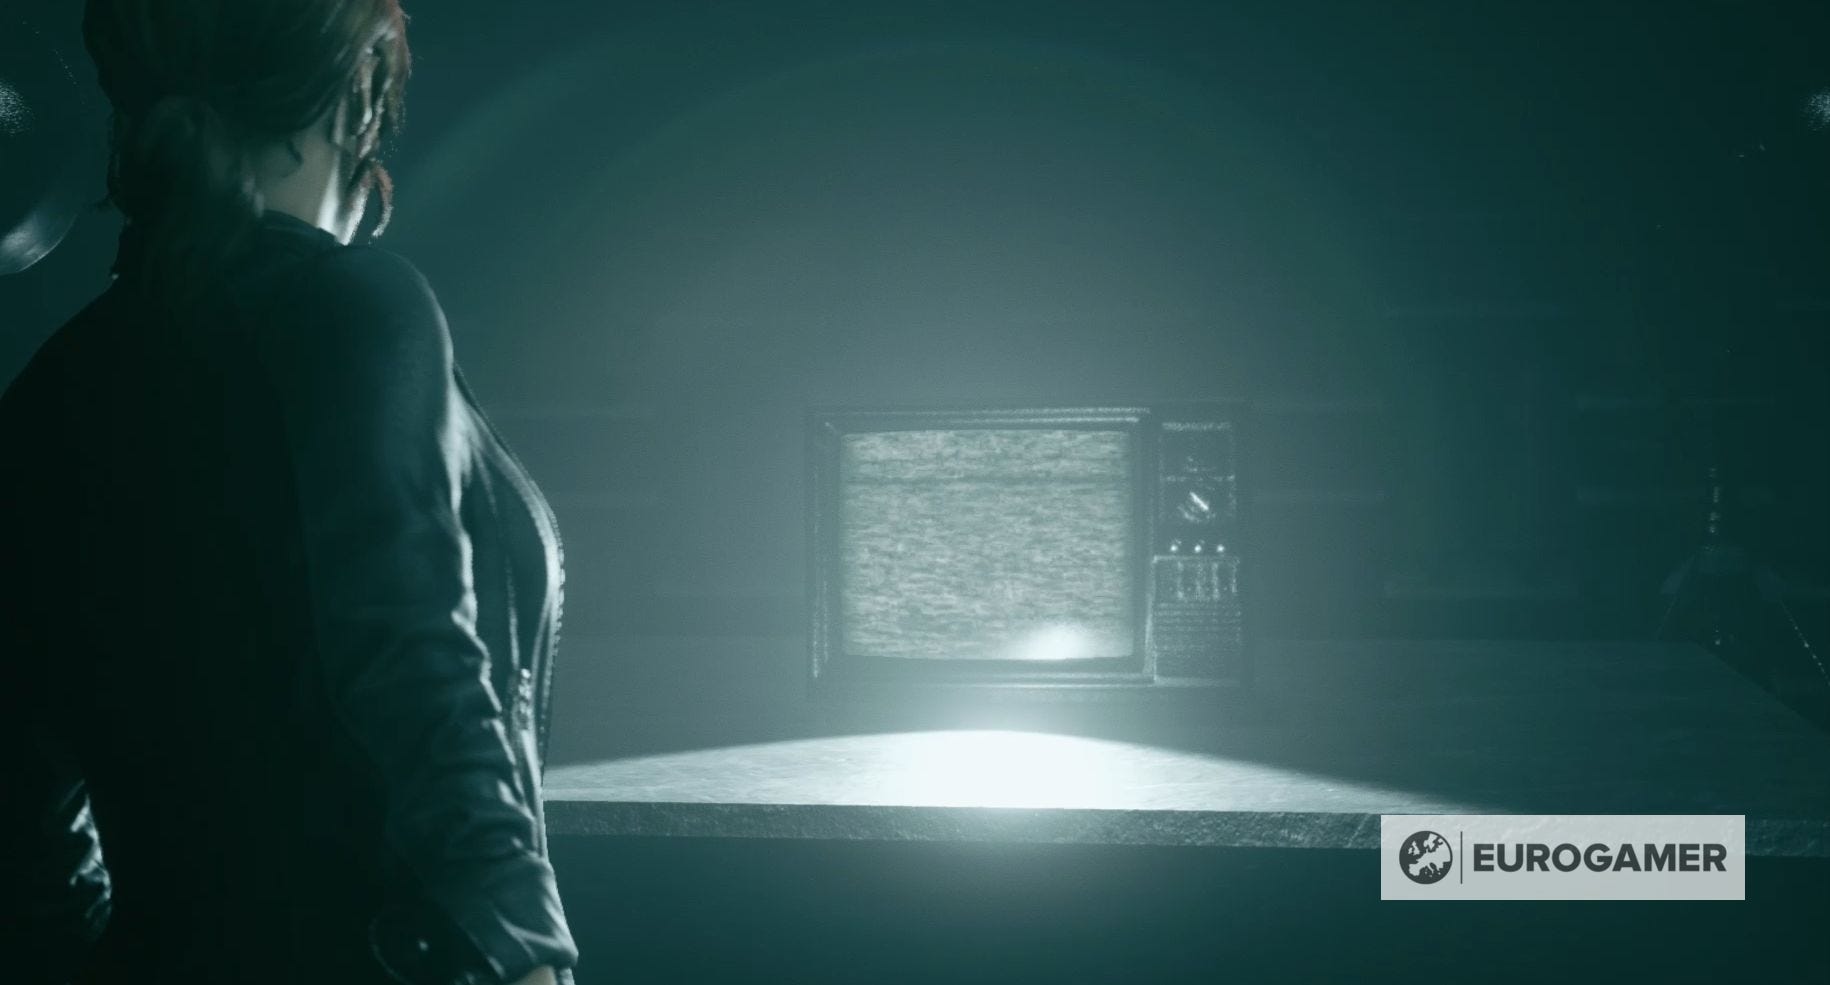
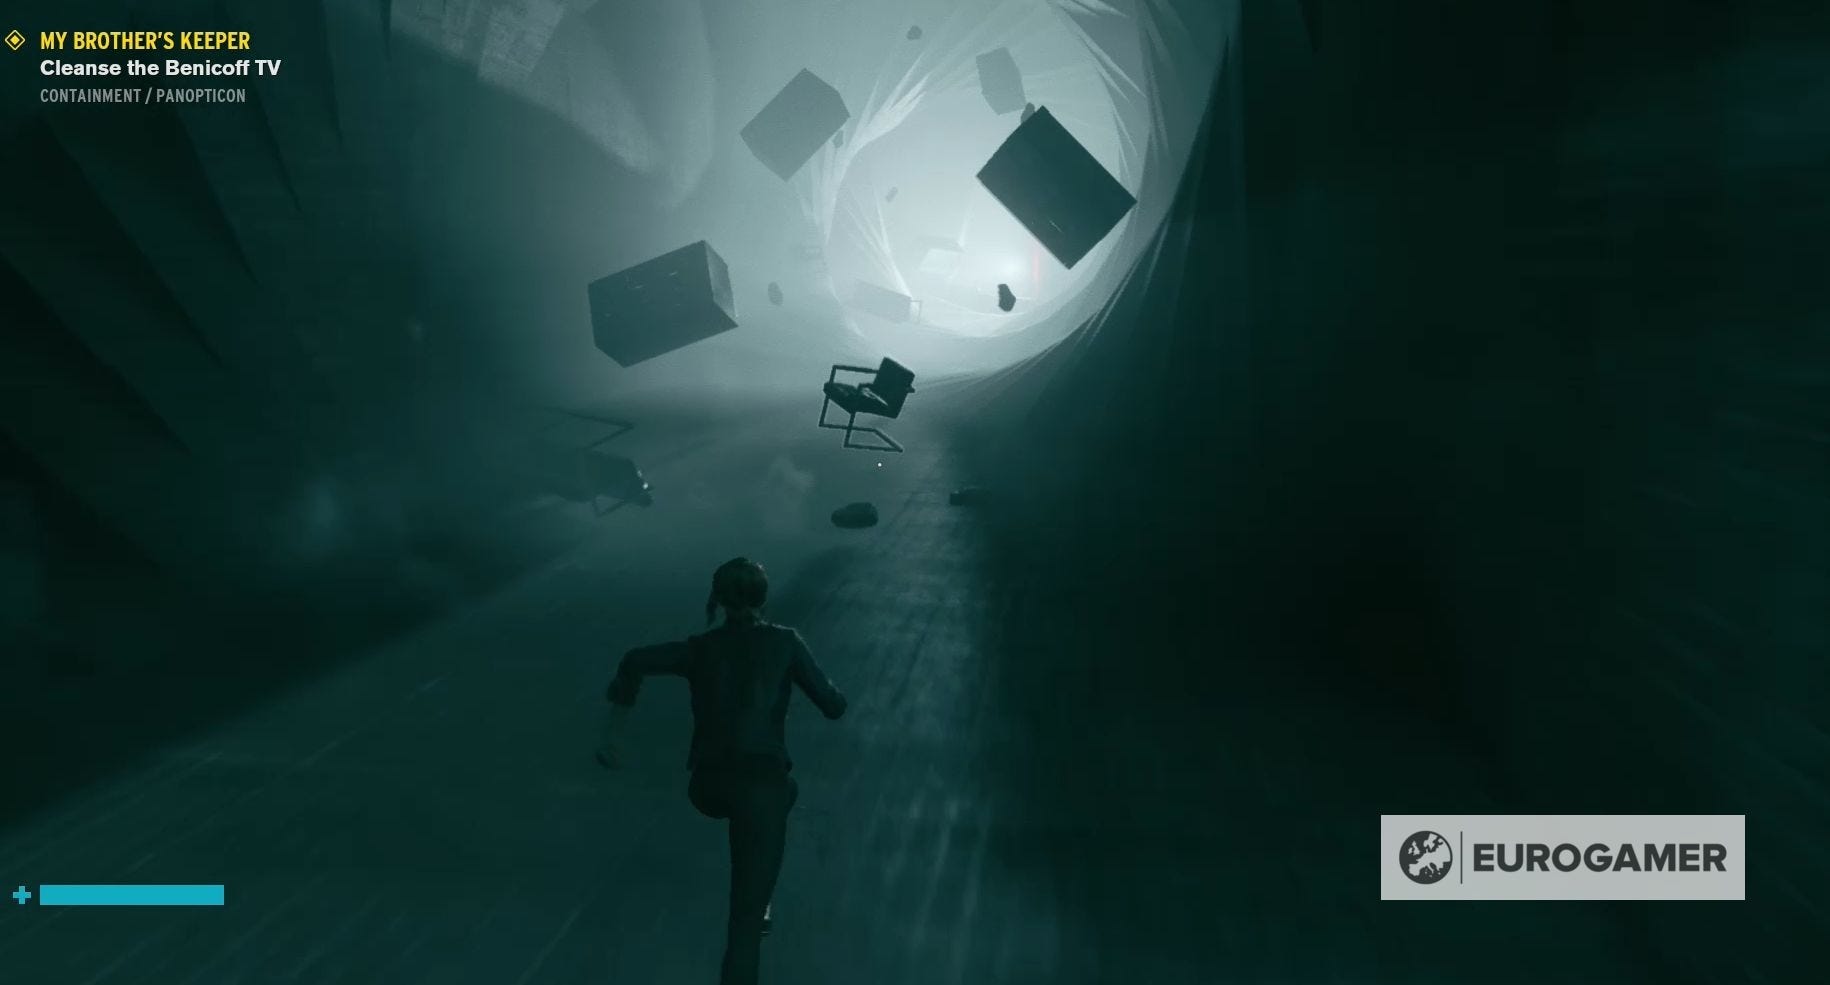
Cleanse the Benicoff TV in Control
The Benicoff TV, however, doesn't want to be cleansed and transports you to the Twisted Pathway.
You need to follow that TV so climb down from where its put you, go up the stairs opposite you and climb up onto the flat, raising, surface. Run through the Twisted Pathway itself and you'll come to the Salvador boss battle.
Take the time to prepare yourself before the Salvador boss battle.