Final Fantasy 12 - Bahamut, Judge Gabranth, Vayne Solidor, Vayne Novus, Sephira A-E and the final boss The Undying
A full companion guide to Final Fantasy 12 The Zodiac Age's final act.

This section of our Final Fantasy 12 walkthrough deals with the game's final act, act 8, including Bahamut and the Judge Gabranth, Vayne Solidor, Vayne Novus, Sephira A-E and The Undying boss fights.
If you're looking for more guides and tips meanwhile, then head to our Final Fantasy 12 The Zodiac Age guide and walkthrough hub, where you'll also find this walkthrough's contents for all the other sections, too.
Bahamut and Judge Gabranth II boss fight
This is it, the big finale. To tackle this having your weakest characters at anywhere above level 50 is advisable, but if you've managed to complete all the optional Espers, finished the Hunt, and done a bit of grinding you may find it laughably easy.
Once you head for Bahamut there's no coming back, so make sure you've got everything you need. We'd recommend the following as a minimum:
- Spells: Curaja, Esuna, Arise, Bubble, Dispel, Protectga, Shellga, Silence, and Blind, and an attack for each element. Having Scathe is extremely useful in the final battle, but it's not a requirement.
- A decent Tank.
- Everyone equipped with the best armour and weapons you can afford.
- A ready supply of curative items - there won't be many status effects so if you're short on cash you're better off spending it on Hi-Potions, Elixirs, and Ethers than Remedies.
If you're ready to go, head for any Anchor or Aerodrome and take the airship to Bahamut.
When you arrive head through either door, then follow the passage around and head up the short flight of steps to the middle of the area - if you took the left door they'll be on your right, and if you took the right door they'll be on your left. A few Imperials will be obstructing your path, but by now they should provide very little in the way of challenge.
Once you reach the circular room don't bother stopping to fight anything - the foes here do nothing but slow you down and potentially cost you some healing items, so just Flee around the catwalk (head to the right if you went through the door to the left in the opening area, and to the left if you went through the door to the right) and you'll come to an elevator.
You're safe here, so prepare for your first fight by setting up Protect, Shell, and any other buffs you fancy, healing, replenishing MP, etc., then use the elevator controls on the left.
Boss fight: Judge Gabranth II
This is essentially a rehash of the last fight with him, only he no longer has Guilt available so if anything it should be easier. He has added Renew to his bag of tricks so Silencing him wouldn't hurt, but he'll only use it once so it's no great calamity if he manages to use it. Use the same tactics as you did last time you faced him and he'll go down like a sack of potatoes.
Do any restoration or prep you need for the next fight, then use the elevator controls again.
Vayne Solidor, Vayne Nvus, and Sephira A-E boss fights
Boss fight: Vayne Solidor
Larsa will pitch in for this fight, but you have no control over him and he doesn't seem to have levelled up any since you last met so he's not quite as useful - his healing still comes in handy, but don't worry about keeping him alive too much.
This first bout with Vayne is pretty straightforward - he sticks to physical attacks and never does more than around 1000HP damage per hit so throwing a Tank and your highest DPS character at him whilst keeping your healer at a safe distance will quickly wear him down, and if you Blind him he's next to useless.
At 50% HP he'll make the customary change of strategies, but his new additions don't help him a great deal - Mach Wave will hit for about 500HP, and Force of Will will deal 1000HP or so of damage and both have a wider reach than his physical attacks, but compared to earlier fights this should provide you with little difficulty.
Boss fight: Vayne Novus, Sephira A-E
After some spectacular pyrotechnics and a gunshow Vayne will return in a new, much more threatening form. Hell also have some minions in tow to make things a little more difficult. To balance it out a bit Gabranth will join in on your side, and unlike Larsa he's pretty useful so try and keep him alive too.
Vayne's Seriphs each have their own elemental weakness, so a couple of shots of your most powerful appropriate elemental attack on each should suffice - they throw out elemental spells of their own, and while they don't do a lot of damage individually it can stack up if all five of them decide to pick on the same person.
Vayne keeps all his attacks from before but hits harder, and he adds elemental magic to his arsenal. For the first part of the fight use Dispel to calm him down a little, and try and keep a Shell up over everyone - as the fight progresses he'll start favouring magic more than physical damage. As with the previous fight, stick to physical damage using your two strongest characters and keep your healer out of trouble - with Gabranth helping out you'll get him down to 50% fairly easily.
At 50% he'll add Tree of Sephira to his list of attacks, and this can take 2500HP from everyone so add Protect and Bubble to your buffs, and be ready with a Curaja. Maintain your attack, and before long he'll come to an undignified end.
For more help with? Final Fantasy 12? Our Final Fantasy 12 The Zodiac Age guide, walkthrough, Switch and Xbox differences gives an overview of the game to get you started. Elsewhere, there's our hidden Espers strategy and locations and Elite Hunts and Marks pages, how to get the best Zodiac Jobs for each character, advice on farming LP from Jellies and even how to get the Zodiac Spear.

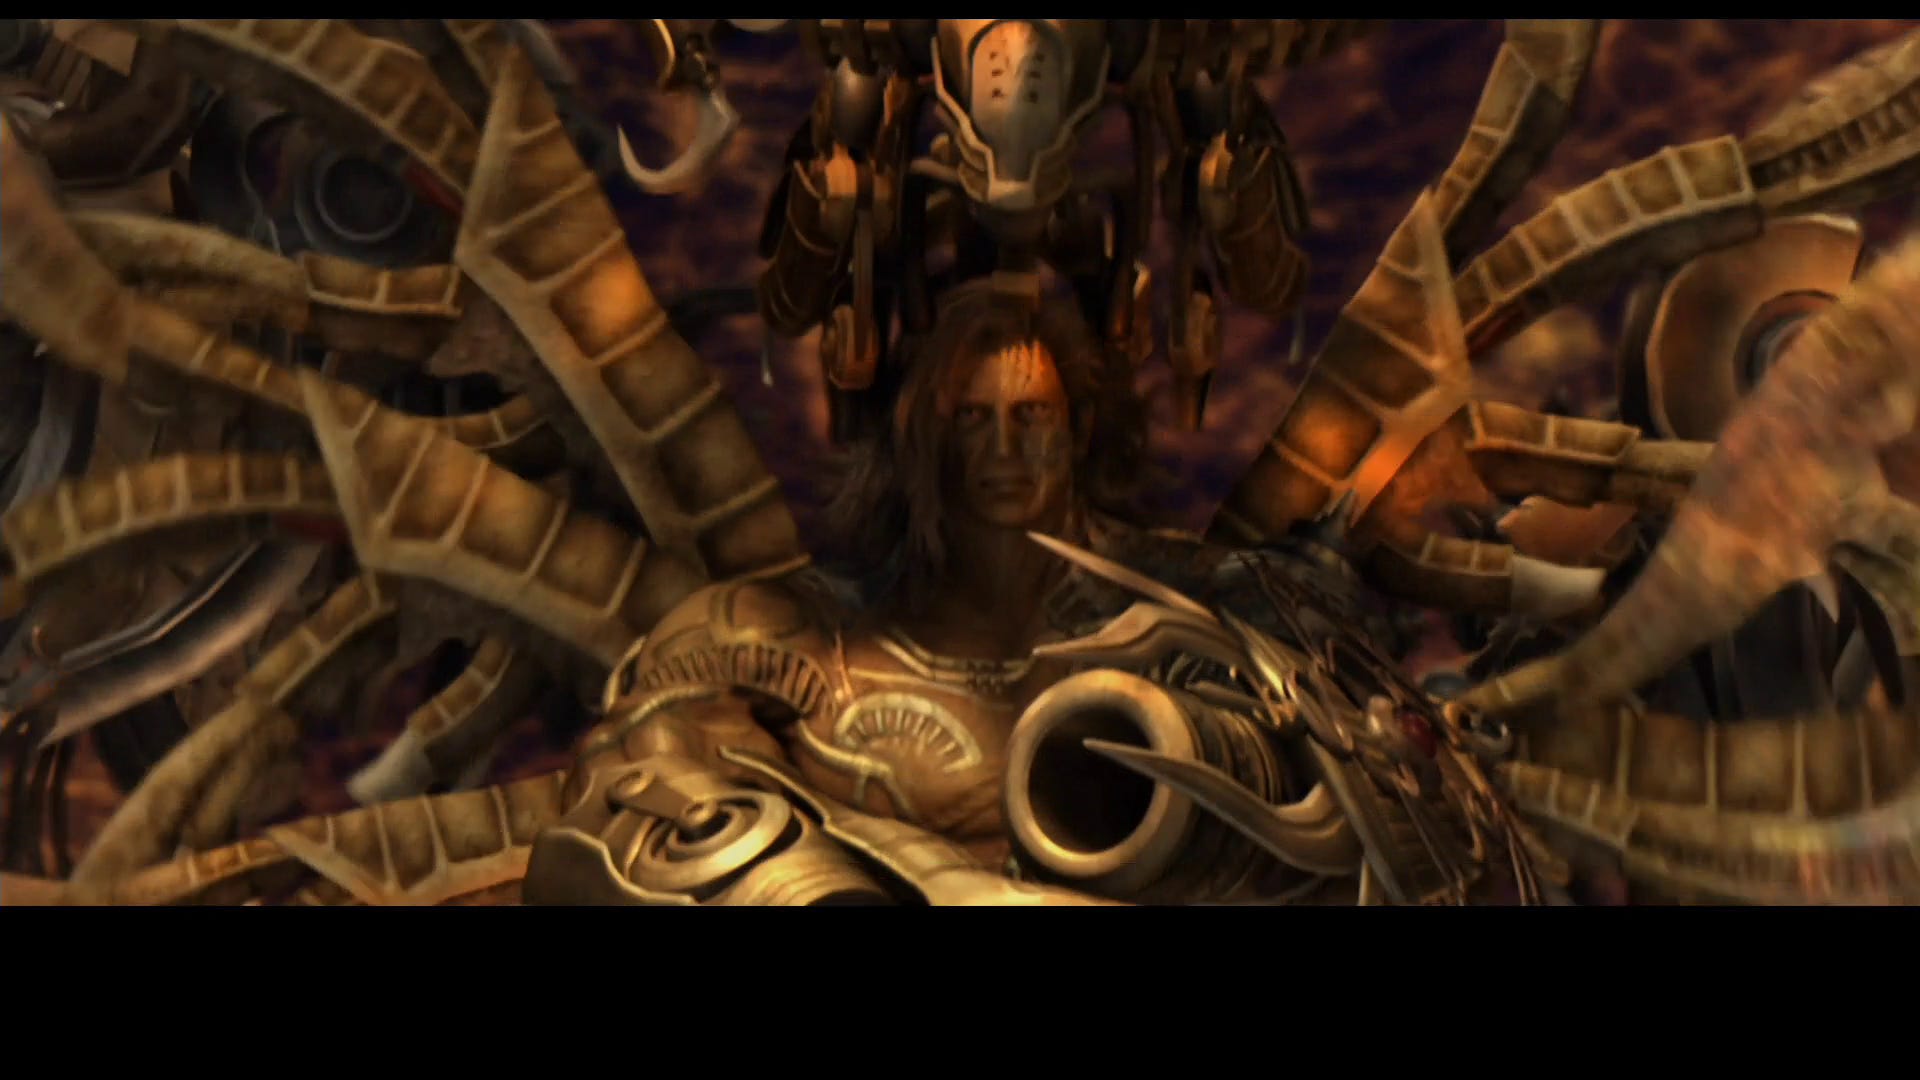
The Undying - Final Fantasy 12's final boss fight
Final boss fight: The Undying
This is what it's been leading up to - the fate of the world (or at least the bit of it you care about) is in your hands! There are two ways to approach this fight, so we'll cover them both.
First, the incredibly easy but unsatisfying way: If you're a bit OP (level 65+, which if you've done the optional Espers is likely) and have Scathe then deploy two healers along with your Black mage, and just spam the spell at The Undying - if you've got battle speed on full and hit fast forward then you can have the fight over in about 30 seconds with zero effort.
If you'd rather end on an epic battle, then the usual opening sequence applies: use Dispel and set up Protect, Shell, and Bubble. Stick to physical attacks with standard weapons and non-elemental magic as he's fairly resistant to every kind of element you can throw at him. He;s also got no health bar, so the only way you can be sure you're doing enough damage is by watching how his behaviour changes which adds an element of tension to proceedings.
His primary attacks will be Divine Sword which hits a single target for about 3000HP, a few Piercing variations of elemental spells, and Megaflare which will take 2000HP from everyone. Heal like you've never healed before, and don't be afraid to burn through healing items if your healer can't keep up - you're not going to need them after this, so those Megalixirs you've been holding on to for a special occasion are just going to go to waste.
He'll start to chain his magical attacks shortly before casting Faith, so Dispel on him again and then throw up Protect as he'll be winding up for Ascension which can hit everyone for 2500HP.
His next move will be Enrage followed by Bravery and a physical shield, so set up another Protect on your party, stop attacking, use Haste if you've got it, and prepare for some quickfire healing as he uses Gigaflare to do 3000HP or more damage to everyone.
Once his physical shield wears off resume your attacks - he'll start using random attacks from his long list, and eventually erect a Perfect Shield. As with the fight with Pandaemonium, all you can really do now is wait for it to pass.
Eventually he'll add one final trick, Teraflare, which is as bad as the name suggests as it can deal 3500HP damage. On the plus side it also means you've got him on the ropes so keep up the attack. As with most bosses his defence will increase at this point, and he'll start usign Dispelga on you in desperation, so it's worth switching your gambits to have one character doing damage, one healing, and one prioritising replacing Protect and Shell whenever they're taken down.

Now sit back and watch as the story concludes. After the credits roll you'll have the option of starting a New Game+ - we'll cover that in more detail elsewhere, but even if you don't want to do it now take the option as you can only do it here; you'll have to play the first couple of minutes of the game again but once you get to the first save crystal in the tutorial you can make a save and then pick up NG+ from there any time you fancy.
And that's it! We still have plenty more guide coverage of Final Fantasy 12 though, so head back to our Final Fantasy 12 The Zodiac Age guides hub for the rest!