Final Fantasy 12 - Ridorana, Hydro, First Ascent, Pandaemonium, Horizon's Peak, and Slyt
A full companion guide to the third part of Final Fantasy 12 The Zodiac Age's seventh act.

This section of our Final Fantasy 12 walkthrough deals with the third part of the game's lengthy seventh act, including the Ridorana areas, the Hydro boss fight, the First Ascent, Horizon's Peak, and the Slyt boss fight.
If you're looking for more guides and tips meanwhile, then head to our Final Fantasy 12 The Zodiac Age guide and walkthrough hub, where you'll also find this walkthrough's contents for all the other sections, too.
Ridorana Cataract, the Pharos at Ridorana, and Hydro boss fight
Head to the western end of Balfonheim and speak to the Manse Watch and he'll take you to see Reddas. After the cutscene he'll join your party as a guest, but he'll be gone at the end of the next story section so you might want to make use of him to do a few Hunts or optional Espers before proceeding.
You'll also notice some Anchor icons have appeared in some locations around the world map - you can travel to and from any of these without using a Teleport stone, and also use the Private Airships desk to travel from any Aerodrome to another for free.
Check the shops around Ivalice for any new swag and buy some Hermes Sandals while you're at it, and when you're ready to continue head to an Aerodrome or anchor and take the airship to Jagd.
The Ridorana Cataract
From the opening area head east into Echoes From Time's Garden. Your shortest way to your destination is north east of here, but a map of the area can be found in the Coliseum in the south east. You'll want to have someone with Libra to avoid the traps that litter the area as you make your way towards the Path of Hidden Blessing, in particular the half dozen right at the entrance to the Coliseum.
The Pharos at Ridorana
It's pretty misty here, but nothing bad has ever happened in the mist so this must be safe!
Boss fight: Hydro

Equip some Bowline Sashes to avoid Confusion, and use Dispel and Slow on Hydro to make him a bit more manageable. His Curse attack can inflict you with a range of status ailments, but Esuna, Remedy, and Regen should keep you moving. Make sure magic users have a "Self: MP less than 10% - Charge" gambit in place as he uses a Fearga attack that can completely drain your MP. Unfortunately he has a habit of using that right after his status spells so you may need to fall back on Remedy while your healer gets some MP back.
The fight can be slightly cheesed by equipping everyone with Mirror Mail and using Curaja. It's a somewhat risky strategy as if you get unlucky with some of his attacks you'll be injured, low on MP, and won't be able to heal your party quickly, but with a lucky roll of the dice this can take him down very quickly.
First Ascent and Pandaemonium boss fight
First Ascent
The Way Stone is currently non-functional so ignore it and examine the Carven Pillars (carven?) for a clue what to do here. Defeating enemies may cause them to drop a Black Orb which you can grab, and there are three altars arrayed around the central spout of water which each need an orb depositing. The drop rate for the Orbs is pretty high (90% or more) but they despawn quickly so grab them as soon as you can. You only need three, but it doesn't hurt to have spares.
The area is a bit of a maze, but there's no compulsion to explore it all. Start by heading through the exit south of the Way Stone and turn left; follow the passage as it goes south east, east, and then north east, making sure to grab a couple of Orbs on the way. Exit through the door back into the circular chamber and head north east to find the first altar, then retrace your steps.
You can find the second Altar in the south portion of the main area which you can just get to by walking south east from the Way Stone.
Repeat this for the door to the north of the Way Stone - follow the passage as it goes north east, east, and south east, grab a couple of Black Orbs on the way, and then take the exit back into the circular area and make your way west to find another altar.
Head back into the labyrinth, take the door on your left, then right, then left, then right, right again, and head straight through the next two to find a staircase. Climb to the top and open the door into Blackrock Vault which will whisk you away to a boss fight.
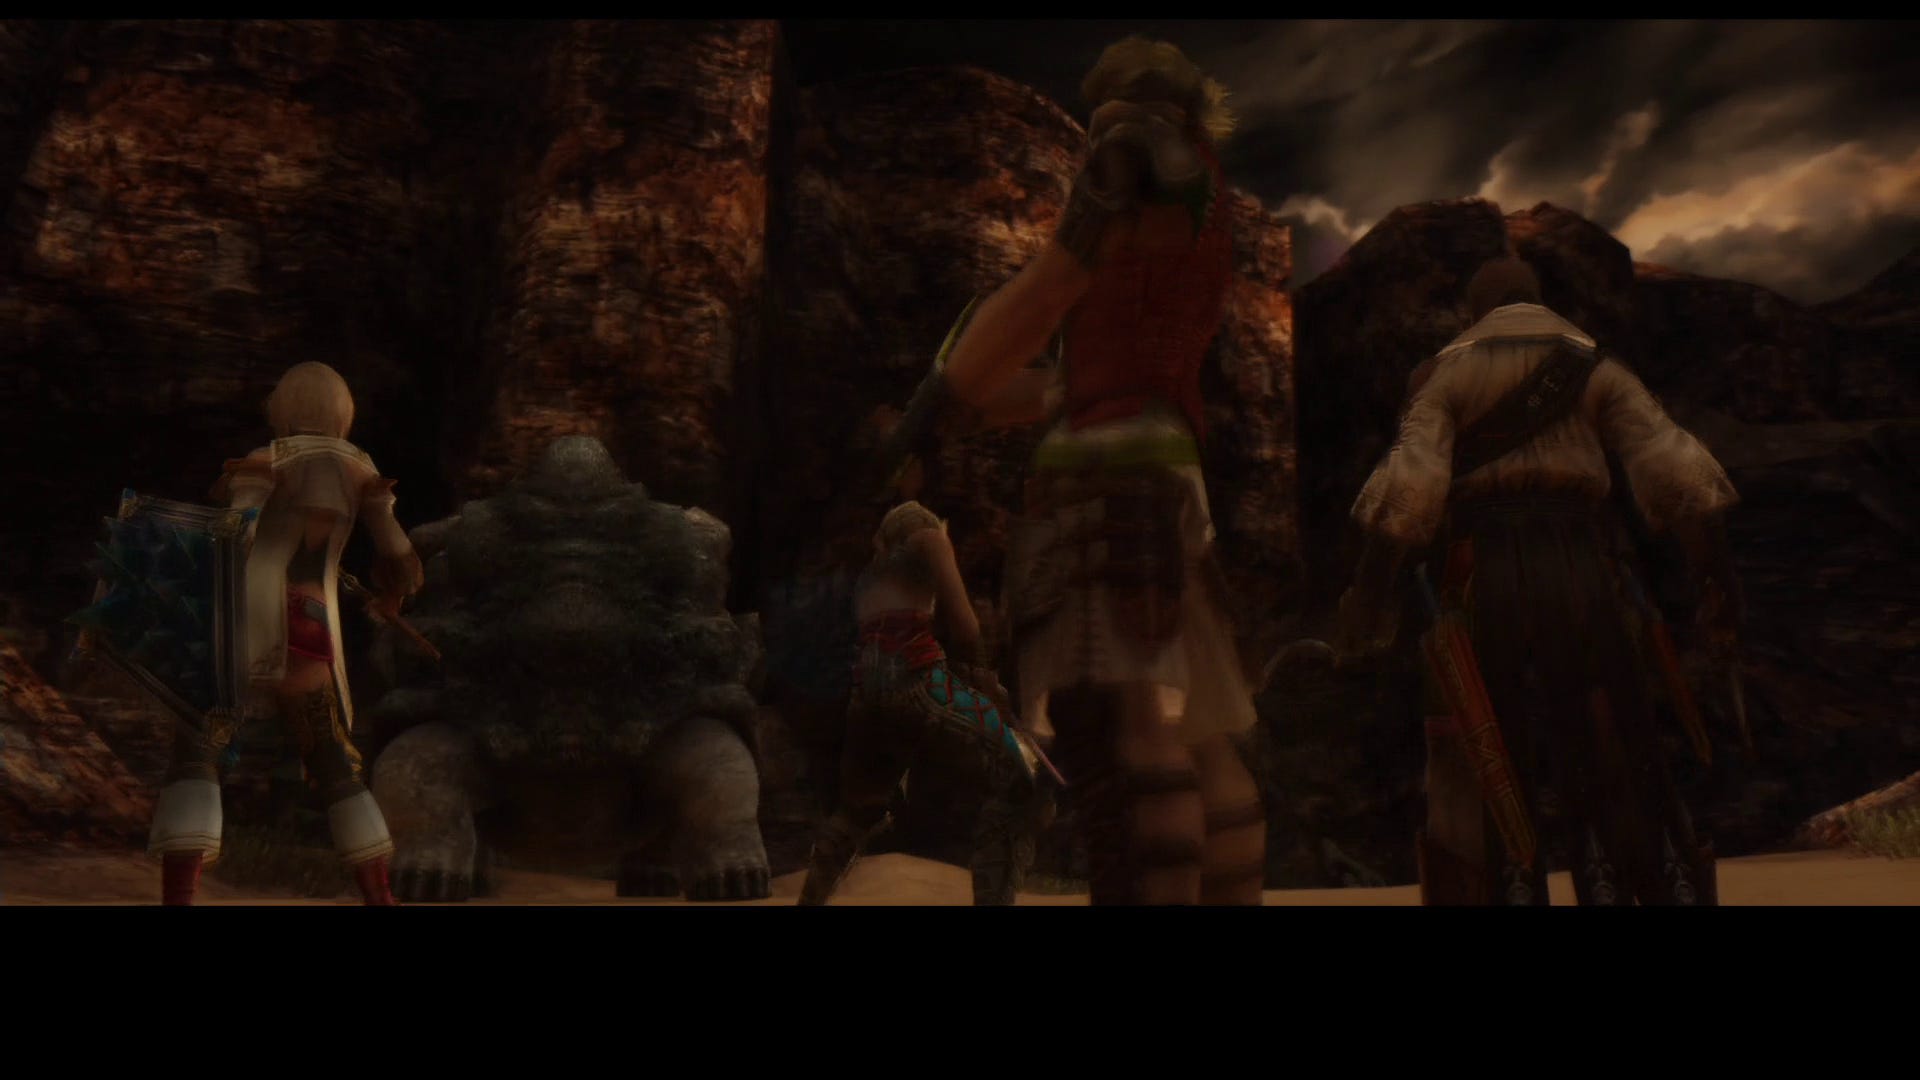
Dunes of Profaning Wind
A wrong turning here will teleport you right back to the start but thankfully it's a short trip - just head up the slope just ahead to your right, take the right hand path, and walk towards the large… rock?
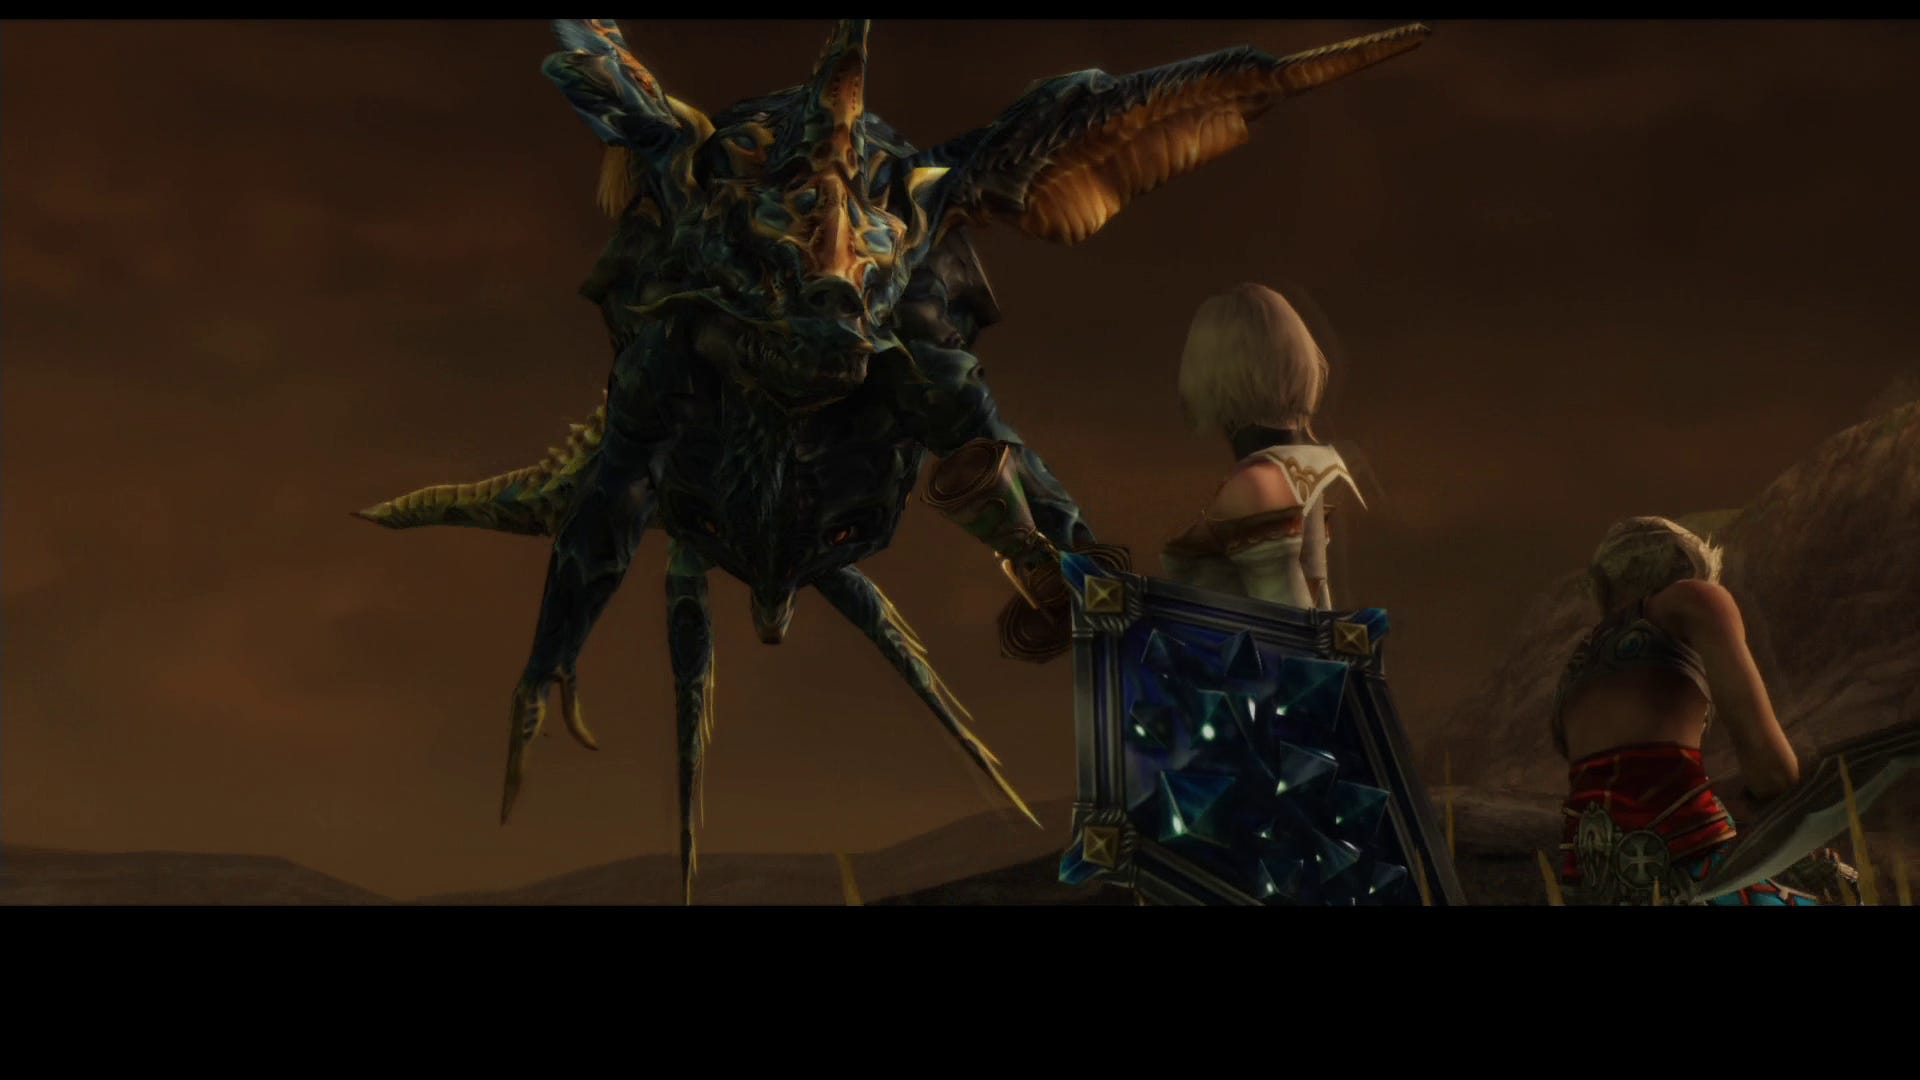
Boss fight: Pandaemonium
This guy will use Flash and Stone Gaze to inflict Blind and Petrify, so wear an accessory that protects against one and deal with the other as it comes. Berzerk Reddas and then attack the boss with conventional or wind-based weapons and Aeroga. If you have the Expose Technick he seems particularly vulnerable to it. The rest of his moves are straight from the tortoise playbook, so keep your weakest character at a safe distance.
At around 50% HP Pandaemonium will use Perfect Defence and will be completely impervious to assault while it lasts - as he's slow moving you can easily run away and keep your distance as there's nothing else you can do until it wears off. Once his defences are back down resume the attack - he's got no more tricks to pull.
Once the fight is over the Way Stone will be activated, so head back to it and give it a nudge.
For more help with? Final Fantasy 12? Our Final Fantasy 12 The Zodiac Age guide, walkthrough, Switch and Xbox differences gives an overview of the game to get you started. Elsewhere, there's our hidden Espers strategy and locations and Elite Hunts and Marks pages, how to get the best Zodiac Jobs for each character, advice on farming LP from Jellies and even how to get the Zodiac Spear.

Horizon's Break, Horizon's Cusp, and Slyt boss fight
First Ascent
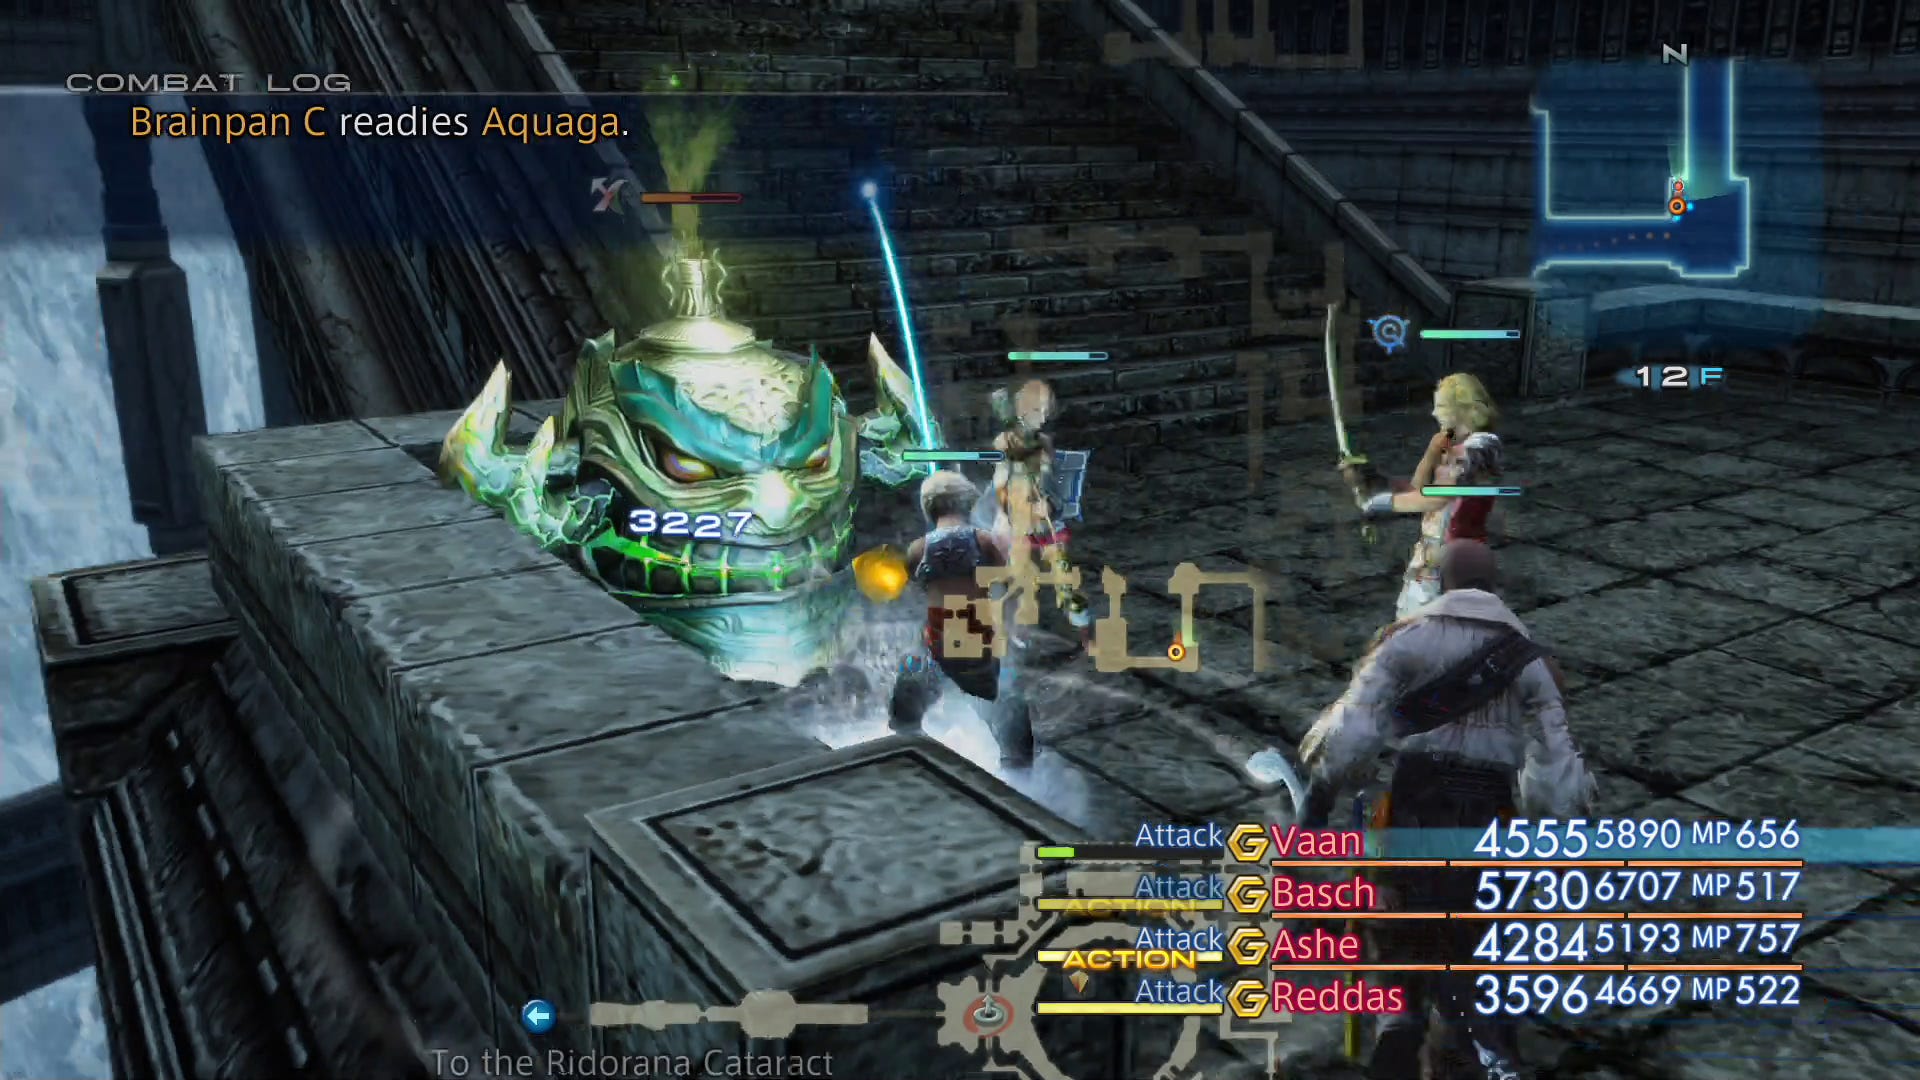
For this section we recommend adjusting your party's gambits so they only attack the leader's target - there are a couple of enemies you don't want to kill so you don't want one of your companions getting strange notions of their own.
The goal here is to kill all the green Brainpans in each section to create a bridge to the next. Killing a red Deidar, however, will cause a green one to respawn and you'll have to backtrack to find it; if you're red/green colour blind you'll have to pay close attention to their names as, other than the colour, they're identical.
The path is fairly linear and there's no way of taking a wrong turn, but it's worth investigating all the dead ends as some have a false wall at the end called a Fool's Facade - hit X at the prompt and you'll usually find a treasure of some sort behind it.
Make your way through the area killing all the green Brainpans in your path, and when you reach the end you should find a green glowing bridge ahead. Stepping on it will turn it into a solid bridge, but if it stays green you've missed a green guy somewhere.
When you reach 32F/Third Flight there's a loop of stairs in the south east corner that you'll need to go around a couple of times - there aren't quite enough Brainpans but they will respawn every time you go around the loop.
Horizon's Break
There's a save crystal in the north west, and the stairs up to the next floor in in the south west, but other than that there's nothing of interest here. Don't forget to readjust your gambits if you changed them for the previous section.
Horizon's Cusp - Marsh of the Profaning Wind
Head up the stairs and open the door, then run to the right when you arrive in the marsh.
Boss fight: Slyt
This guy is quick on his fins, and he opens with Enrage to boost himself even further so, as always, open with Dispel.
Cast Decoy on your strongest character and have your healer focus on keeping them alive, cast Haste on your Black Mage, and then spam the boss with your best fire magic - if you have Oil then even better as it can double the damage you do. His only trick at critical HP is an increased defence, but fire (or oily fire) will still hit him for big damage.
Once the battle is done open the door ahead and foolow the passge to a Way Stone that will take you to the next area.
Next up is part 14 of our Final Fantasy 12 The Zodiac Age walkthrough: Fenrir, Hashmal, Judge Gabranth, Doctor Cid and Famfrit.