Final Fantasy 12 - The Water Steps, Tyrant, The Great Crystal, and Shemhazai boss fight
A full companion guide to the second part of Final Fantasy 12 The Zodiac Age's seventh act.

This section of our Final Fantasy 12 walkthrough deals with the second part of the game's lengthy seventh act, including the Water Steps, the Tyrant boss fight, The Great crystal, and the Shemhazai boss fight.
If you're looking for more guides and tips meanwhile, then head to our Final Fantasy 12 The Zodiac Age guide and walkthrough hub, where you'll also find this walkthrough's contents for all the other sections, too.
The Water steps and the Tyrant boss fight
The Water-Steps
Along with a motley assortment of foes, one of your enemies here is the camera - the ramps are very steep and difficult to see, and it's a slightly complicated area, so we'd recommend pulling the camera back and keeping your overlay map enabled so you can see where the paths go. Here's a breakdown of directions:
- Head south down the ramp, and try not to let the Behemoths mob you - move slowly and tackle them in small groups.
- Keep heading down until you reach the Avrio Gate Stone.
- Keep heading south until you then reach the Cthes Gate Stone guarded by a couple of Golems, clear the area, use the stone.
- Then head back up the previous ramp and then head north west.
- Then, head down the ramp to the north, turn left, and keep going down to find a tresure orb.
- Grab the treasure, then double back and head up the next two ramps.
- Then down the ramps to the south.
- Deal with the Behemoths then take the ramp heading down to the north.
- Then the next one heading down to the south - yt looks like a dead end, but you can step off into the empty space ahead and a glowing path will open up.
- In the next area touch the Paron Gate Stone. Make your way down the ramps as they twist and turn until you reach the Parelthon Gate Stone.
- Touch it, and then move up the ramp to the left of the closed gate.
- Head up the ramps to the south and you'll find the Tychi gate stone - use it, then double back to the Parelthon Gate Stone and once again step out into the void
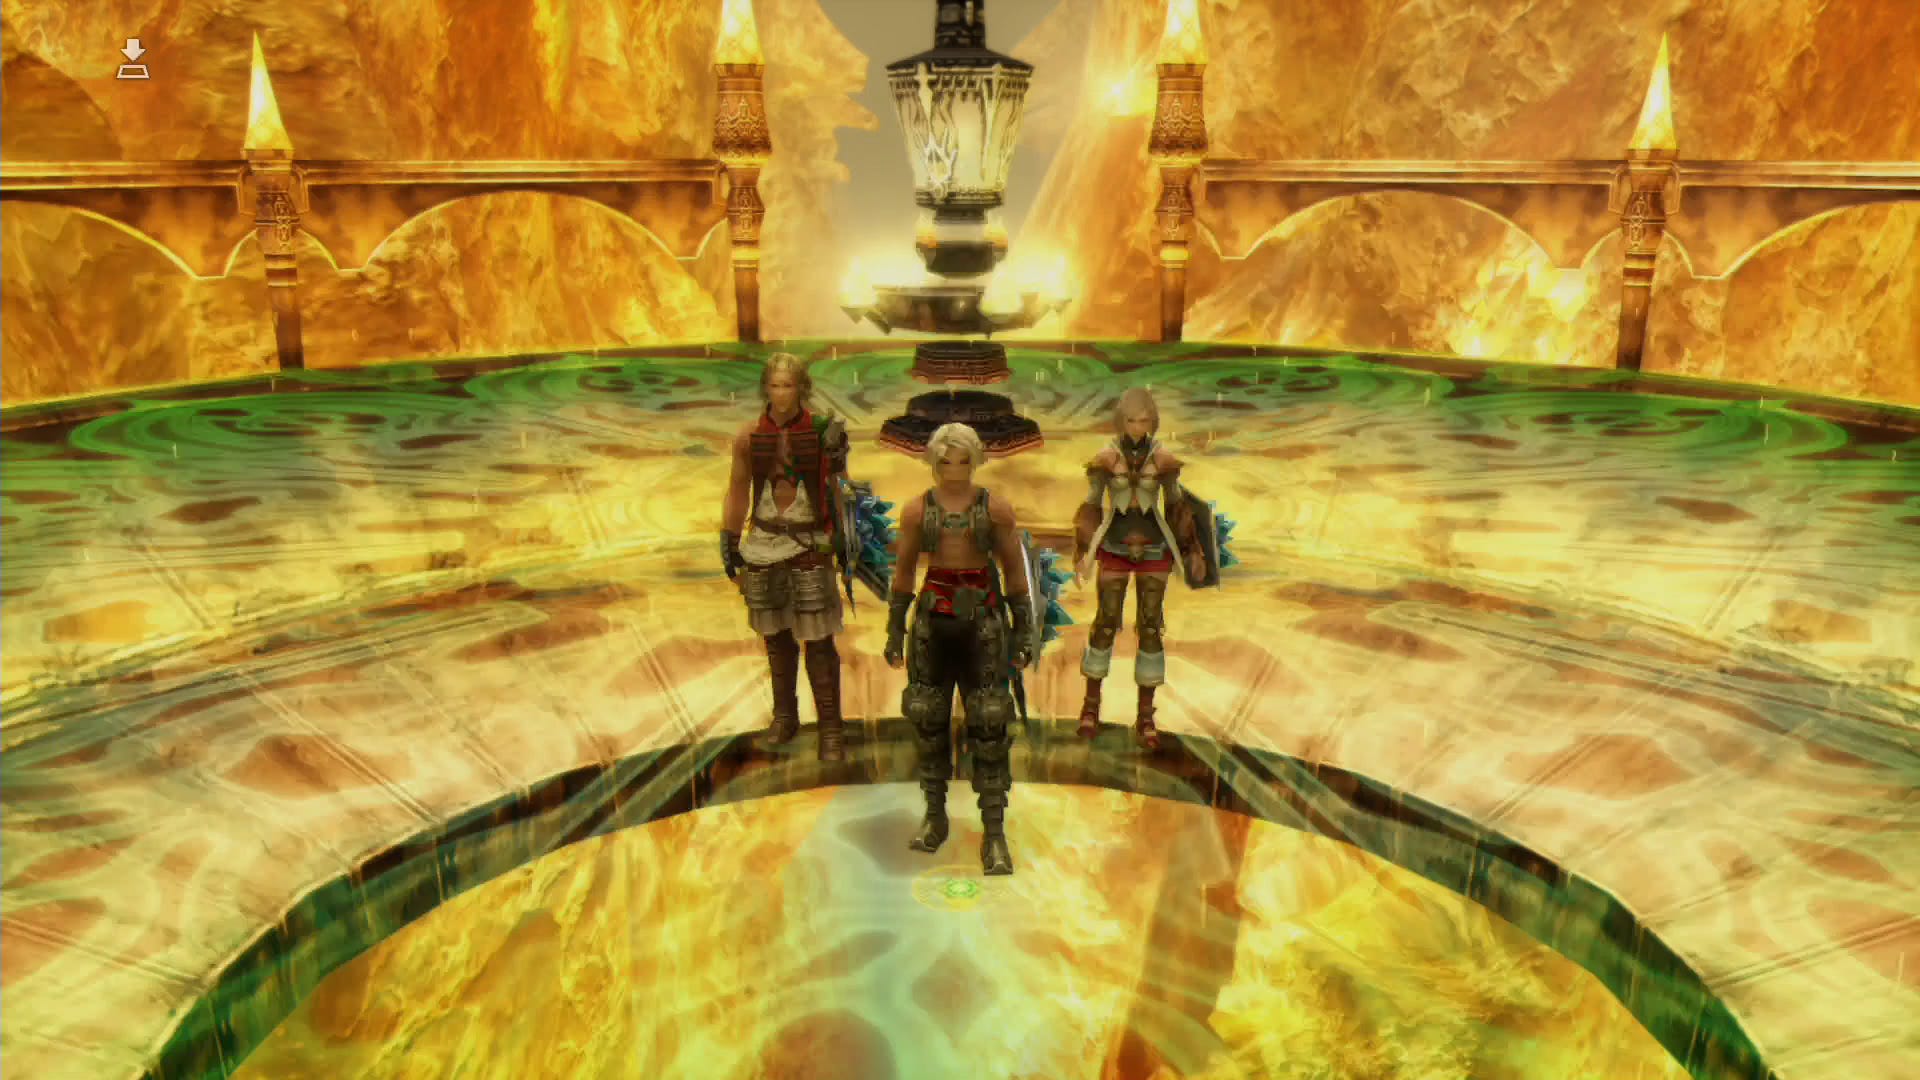
The next area is a safe haven with a save crystal. Take a moment to regroup, then open the two large doors ahead to reach the Gate of Fire.
Take the ramp to your left, and turn right at the top. Head along the walkway and look to your right until you can see a large gap and a huge glowing shape in the distance and once more walk out into thin air…
Boss fight: Tyrant
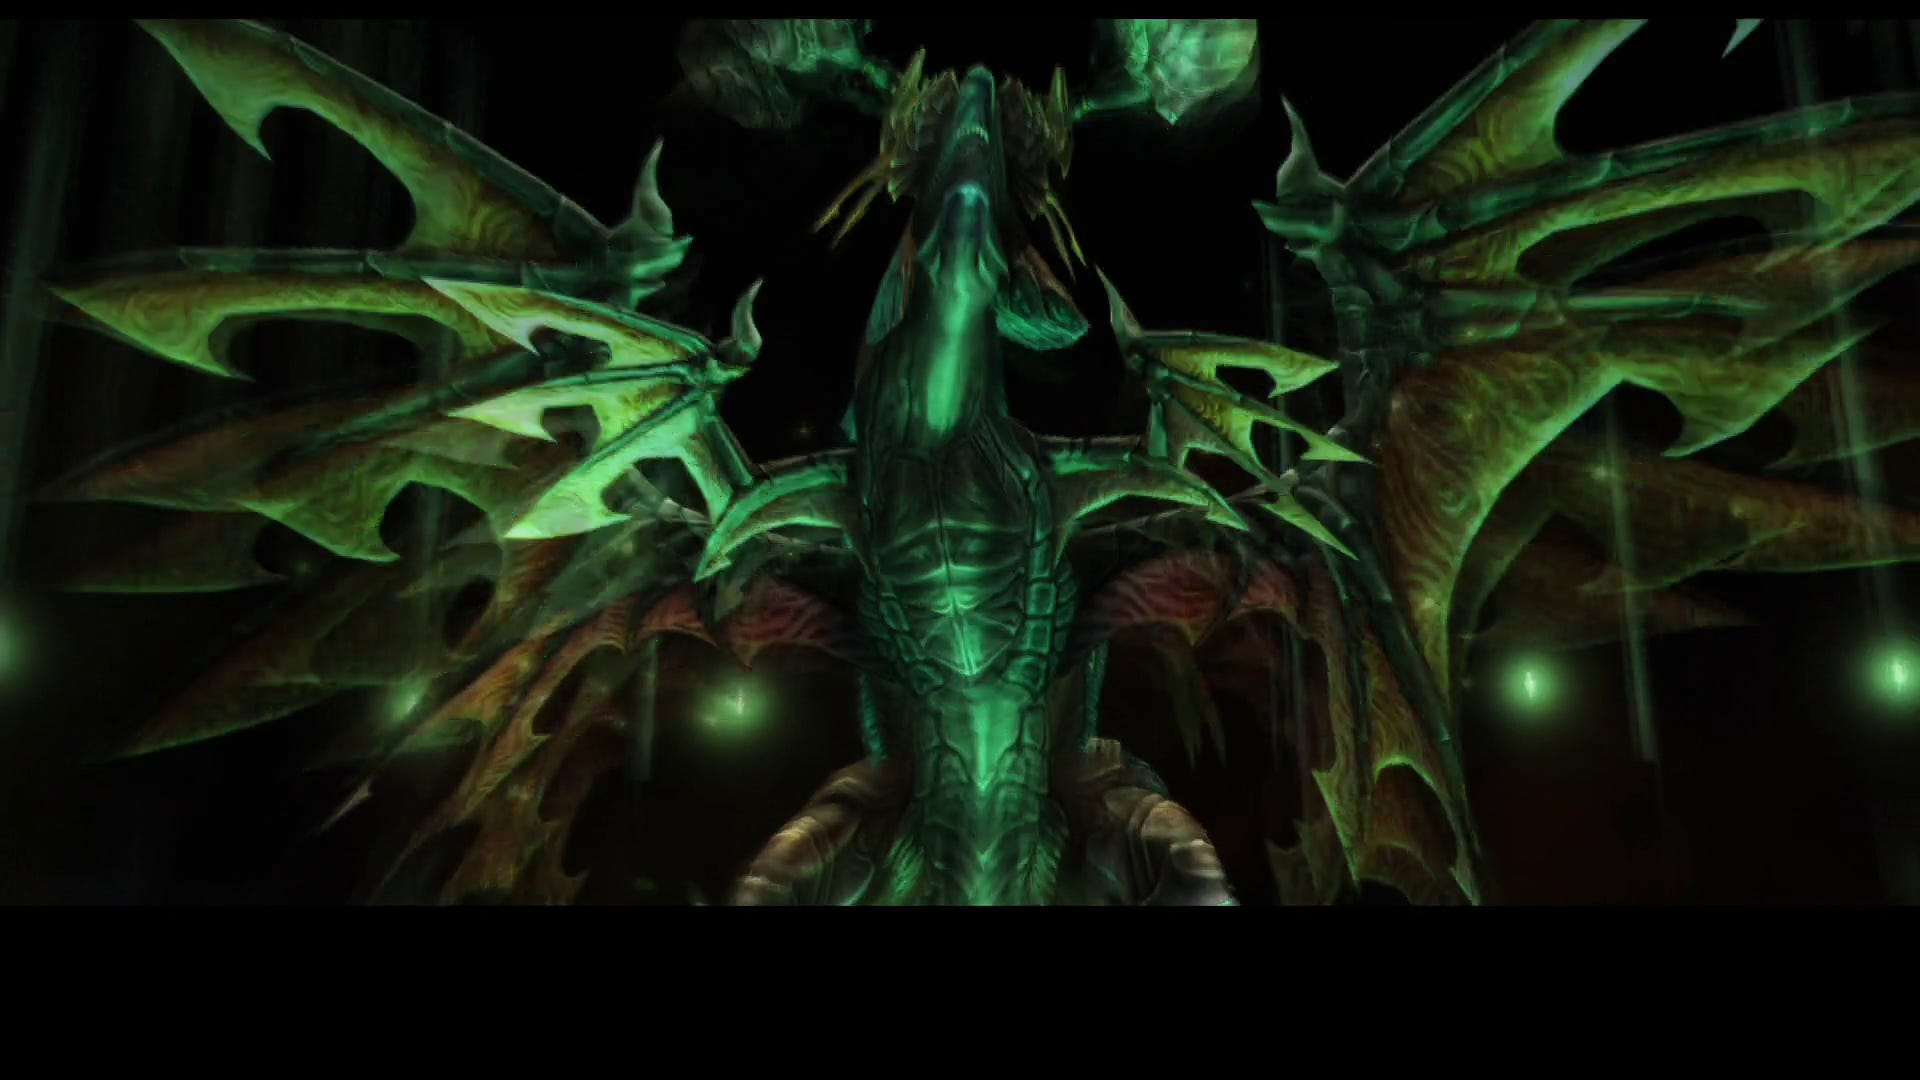
Technicks are unavailable for this fight, but of all the restrictions this is probably the least problematic. Start the fight with the usual Dispel, and be prepared for a long fight - he has a very high defence so no matter what you hit him with it won't do much damage.
He'll use Piercing Graviga which will eat 25% of the HP of anyone it hits, so be sure to keep everyone well healed, and the rest of his attacks will be similar to the other wyrms you've faced. If you've got Quasimodo Boots they'll protect you from Sap to save your healer from playing catch up for the whole fight.
Blizzaga is his weak spot, so having one character do nothing but spam that, whilst the others deal with keeping everyone alive, will slowly wear him down - he's got nothing up his sleeve for the end of the fight, so if your Gambits are working you may want to just hit fast forward and watch his health bar slowly but surely diminish.
After the fight you may want to backtrack and use the save point - you won't be seeing another for a while, and as the next section is very easy to get lost in it's possibly simpler to just start over rather than try and find your way again. When you're ready, use the Way Stone.
The Great Crystal and the Shemhazai boss fight
Gamers of a certain age may find the phrase "you are in a maze of twisty little passages, all alike" strikes fear into their hearts, but that has nothing on this area.
There's no map, no compass to get your bearings, and all the locations look the same, so a wrong turn can lead to an awful lot of aimless wandering. The enemies here can be extremely troublesome, so a fairly safe tactic is to Flee through areas where there's nothing to do, and in areas with a switch or Way Stone just Flee towards it and interact as quickly as you can - enemies are frozen whilst you're using them, so while you may take a hit or two as you transition from and to Flee mode it's probably less damage than you'd take in a straight up fight.
Turning off any combat-related Gambits is advisable if you take this strategy. Here's the directions:
- A Prama Vikaari - From your starting point take the exit on the right.
- Kabonii Jilaam Pratii'vaa - There's only one exit here, so take it.
- Kabonii Jilaam Avaa - Also only one exit.
- Dha Vikaari Bhrum - Use Way Stone VII.
- A Vikaari Kabonii - Take the left path.
- Sthaana Cancer - Touch the stone then double back.
- A Vikaari Kabonii - Take the exit furthest from the way you just entered.
- Bhrum Pis Praati - There's only one other exit.
- Dah Vikaari Trahk - Use Way Stone V.
- A Bikaari Bhrum - Take the left path.
- Trahk Praa'dii - Only one other way out!
- Sthaana Aries - Touch the Aries Stone then return to A Bikaari Bhrum.
- A Bikaari Bhrum - Take the exit closest to the way you just entered.
- Trahk Pis Praa - Of the two exits ahead, take the leftmost one.
- Sthaana Pisces - Touch the Pisces Stone to open the gate, then head through it.
- Dha Vikaari Jula - Use Way Stone III.
- Crystal Core - Save, then use Way Stone I.
- Ancient City of Giruvegan - Gate of Wind...
For more help with? Final Fantasy 12? Our Final Fantasy 12 The Zodiac Age guide, walkthrough, Switch and Xbox differences gives an overview of the game to get you started. Elsewhere, there's our hidden Espers strategy and locations and Elite Hunts and Marks pages, how to get the best Zodiac Jobs for each character, advice on farming LP from Jellies and even how to get the Zodiac Spear.

Boss fight: Shemhazai
Equip Rose Corsages for your magic users, and have something ready to cure Disease (a Remedy with Remedy Lore 3, Serum, or Cleanse) - it will lower your max HP, and anyone who dies with Disease will only have 1HP maximum when resurrected so if you can't cure it you're done for. Have as many characters as possible with "Ally: status = Disease - Cleanse/Remedy/Serum" as their first Gambit.
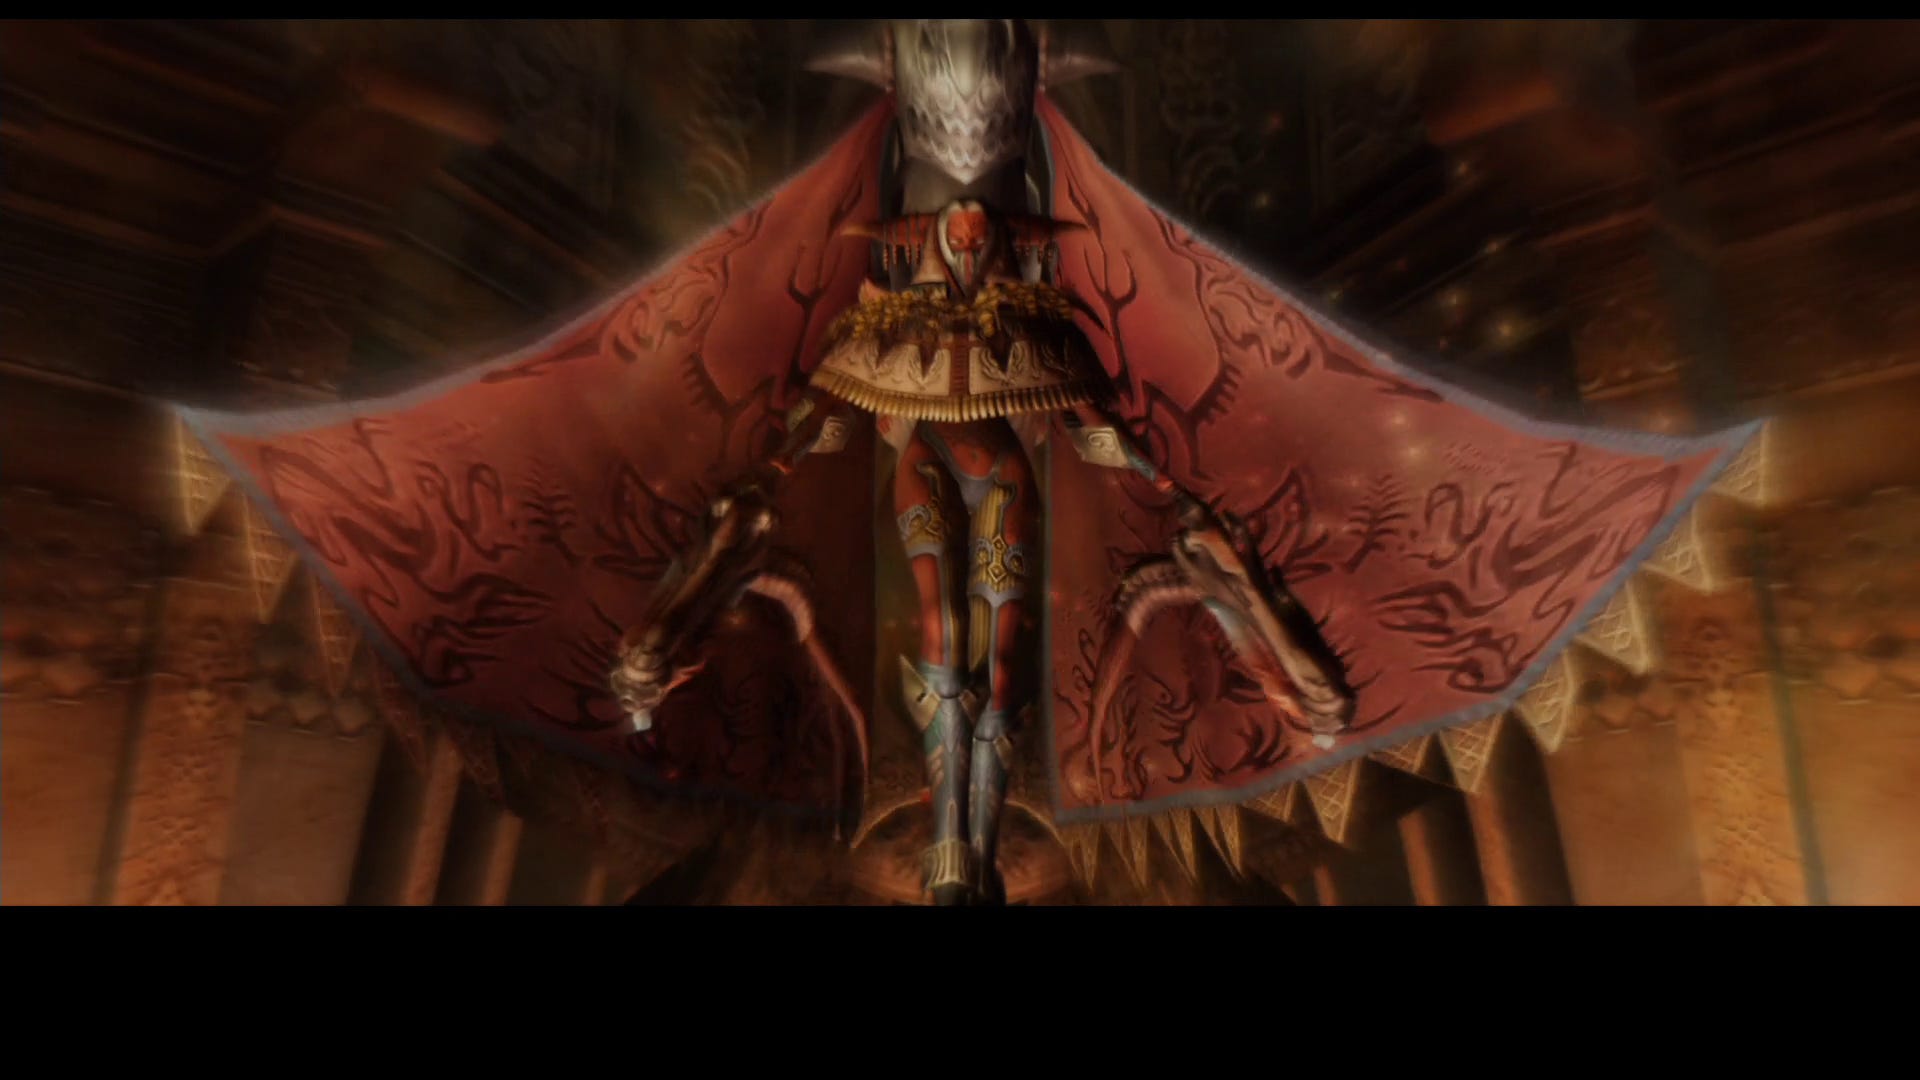
It probably goes without saying by now, but open the fight with Dispel. Shemhazai has a random elemental weakness and will absorb all others, and her weak element will change several times during the battle so elemental magic and weapons are an unsafe bet - you've got a 5:6 chance of healing her rather than hurting her. Bio and non-elemental weapons are the safest bet.
Keep a Shell up as much as possible, use items to regain your MP if she uses Syphon, and just stay alive. At critical HP she'll use Enrage to increase her damage, so a Quickening Chain is advisable to keep the end of the fight as short as possible.
After the fight head through the huge door ad down one of the ramps either side. Read the inscription then use the Empyrean Way Stone. After the cutscenes read the new inscription, touch the Tellurian Way Stone, and you're back at the start of Giruvegan.
Next up is part 13 of our Final Fantasy 12 The Zodiac Age walkthrough: Ridorana, Hydro, First Ascent, Pandaemonium, Horizon's Peak, and Slyt.