Final Fantasy 12 - Ahriman, Archades, Cab Guide pairs, Draklor Laboratory, and Doctor Cid boss fight
A full companion guide to the second half of Final Fantasy 12 The Zodiac Age's sixth act.

This section of our Final Fantasy 12 walkthrough deals with the second half of the game's sixth act, including the Ahriman boss fight, Old Archades and the Imperial City of Archades, the Cab Guide pairs, Draklor Laboratory, and Doctor Cid boss fight.
If you're looking for more guides and tips meanwhile, then head to our Final Fantasy 12 The Zodiac Age guide and walkthrough hub, where you'll also find this walkthrough's contents for all the other sections, too.
Ahriman and Old Archades
Boss fight: Ahriman
The fight will generall start with Ahriman throwing Doom and some elemental attacks on your party. If you've got Remedy Lore 3 then you can cure Doom with a Remedy, but alternatively you can just let it run its course and then Raise the KOed party member. Later in the fight hel'll try and immobilise you so equipping Jackboots is a bonus if you have them.
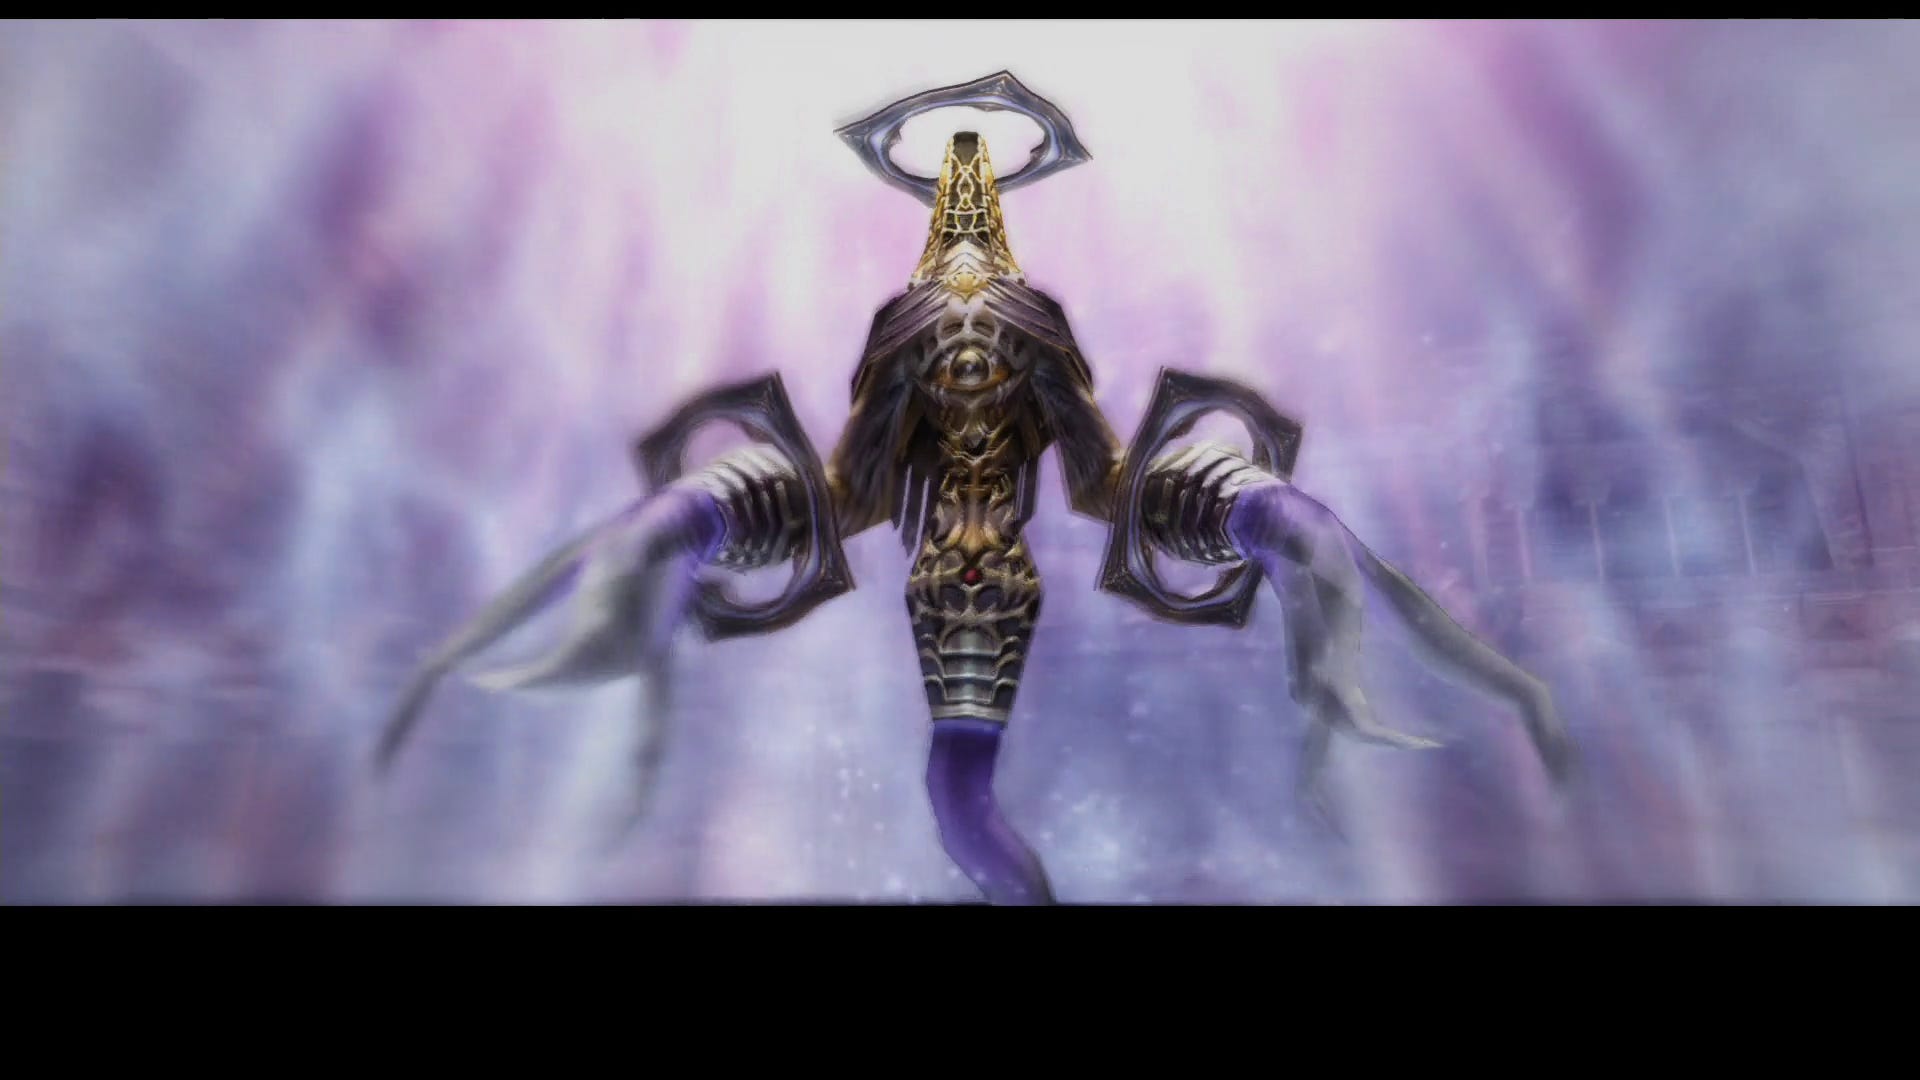
He's an Undead so your White Mage can actually deal some significant damage to him, and everyone else can just use regular attacks, but avoid using weapons with a Dark element as you'll only end up healing him.
Once his health is depleted he'll teleport away from you and create an Image of himself - break off your attack and focus on the image as he can create up to six of them at which point all hope is lost. The images have the same abilities as him but aren't very strong, so a single shot of Bio should do the trick.
Once he gets to around 40% HP he'll start to Confuse anyone that gets too close, so try and keep at least one party member at a safe distance so that they can clear that before it causes problems. At 25% he'll unleash Maser Eye which will deal around 1500HP damage, so a Quickening Chain to finish him off at about 30% can save you some heartache.
Once he's down loot the chests in the room then leave through the eastern door. Follow the curved path round, exit through the north, and activate the lift. Welcome to Archades!
Old Archades
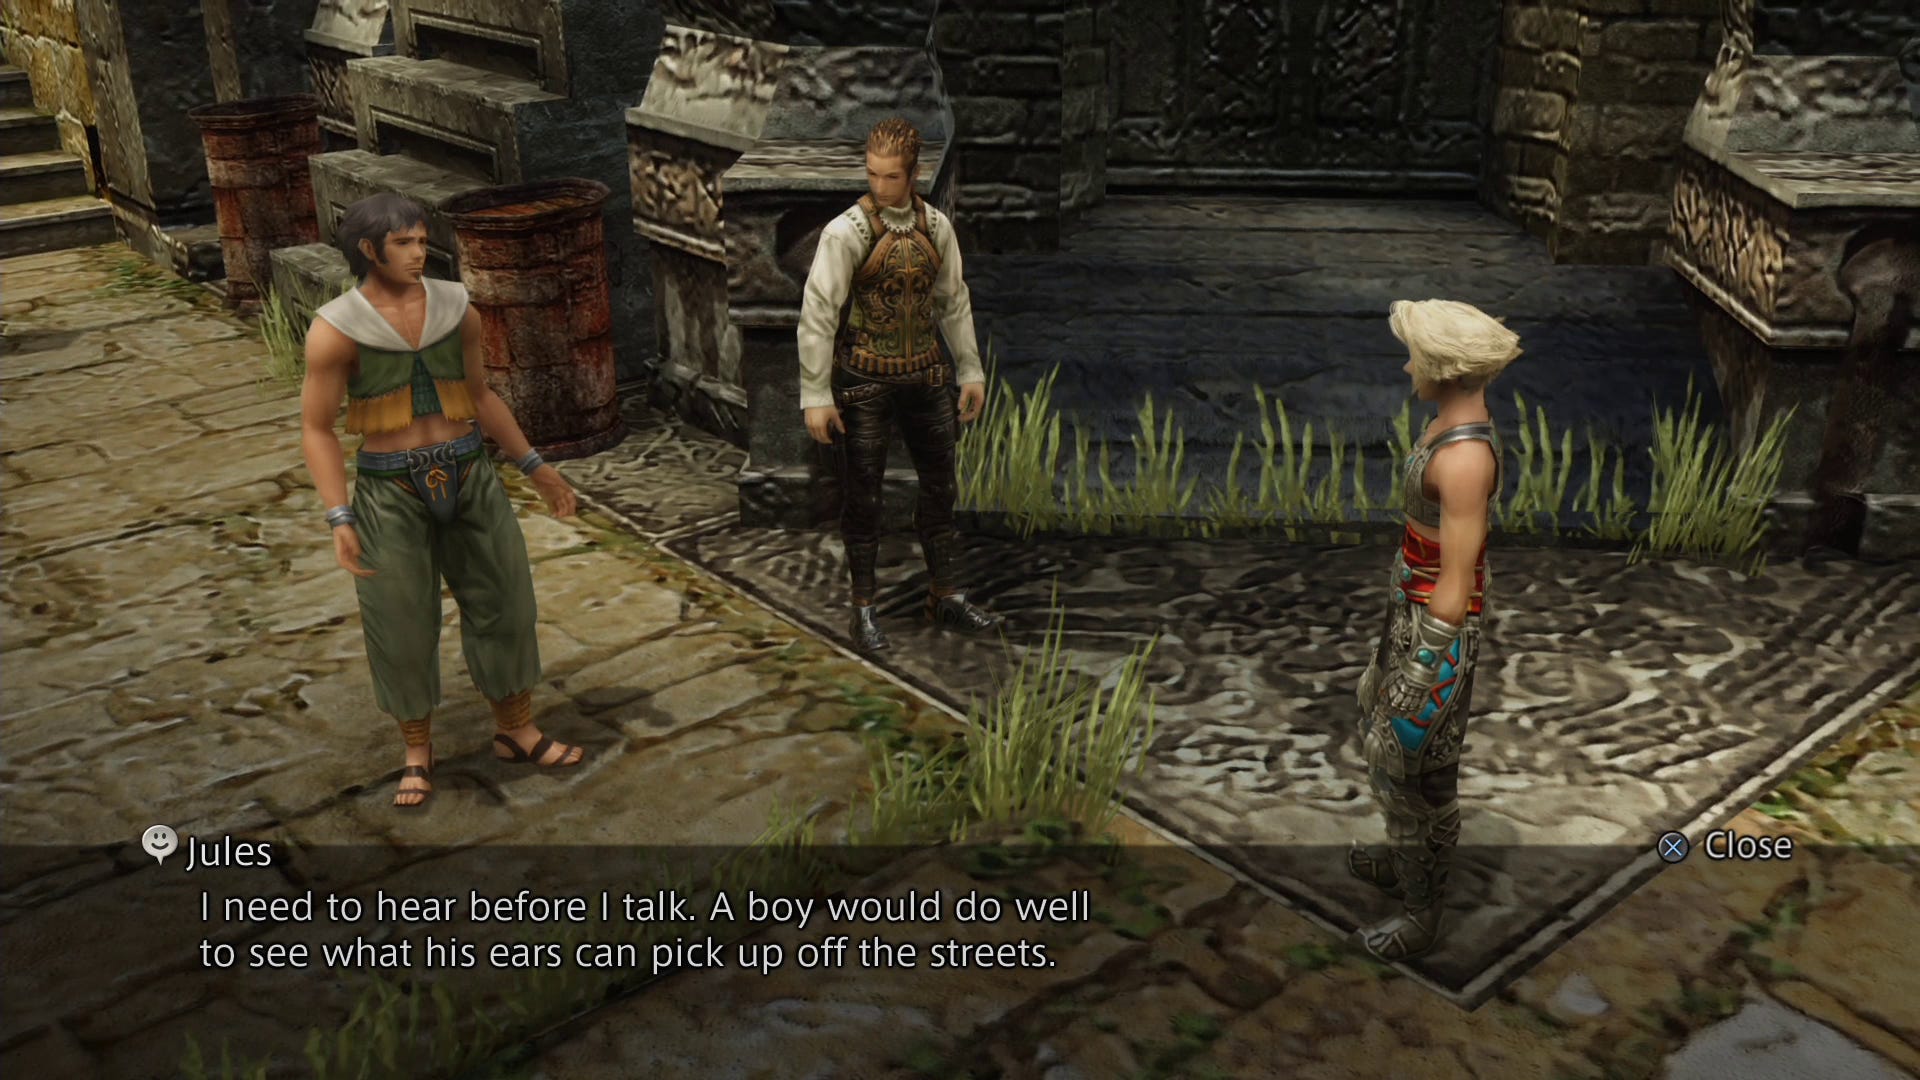
You're going to need 4000 Gil shortly, so sell some loot if you have to then make your way through Alley of Low Whispers and into Alley of Muted Sighs. As you approach the Imperials guarding the exit in the south west a short conversation will ensue, and Jules will ask for 1500 Gil; you have no choice but to pay him, so hand over the money and he'll have a fresh demand - he wants some gossip.
There are three options:
- Speak to the Lucky Man near the bridge leading east out of Alley of Muted Sighs, return to Jules, then speak to Beasley - he's sat on the ground leaning against the wall close to the Lucky Man. (This is the quickest due to not needing to leave the area and go through loading screens.)
- Head for the north west corner of Alley of Low Whispers and speak to the Ex-Broker. Return to Jules, then back to Alley of Low Whispers and speak to the Fresh Ardent on the steps in the middle of the area.
- Talk to the Shady Seeq south east of the Moogles Eight in Alley of the Low Whispers, head back to Jules, then speak to the Moogles Eight.
Whichever you pick, Jules will now be sitting on a pile of boxes near the save crystal. Speak to him to start a ruckus, and in the confusion you'll end up in the Imperial City.
Imperial City of Archades and where to find Cab Guide pairs of people
The Imperical City of Archades
As you head west Balthier will announce he's got personal business to attend to and will be leaving the party for a while; he doesn't actually leave, and if you head off elsewhere he'll still be available.
Check out the shops in the area (remembering you still need 2500 Gil) then head to the south west area of the city and speak to the Cab Guide - he'll tell you you need 3 Chops or 1,000,000 Gil to ride the cab (although if you actually have the Gil there's no option to pay up). Jules will show up and demand 2500 Gil from you which, again, you can't avoid giving him, so hand over the bunce and he'll fill you in on the Chop situation.
Your task is to basically match up pairs of people and pass a message from one to the other. There are 28 pairs of people available around several areas of town, but all the pairs are confined to a single area.
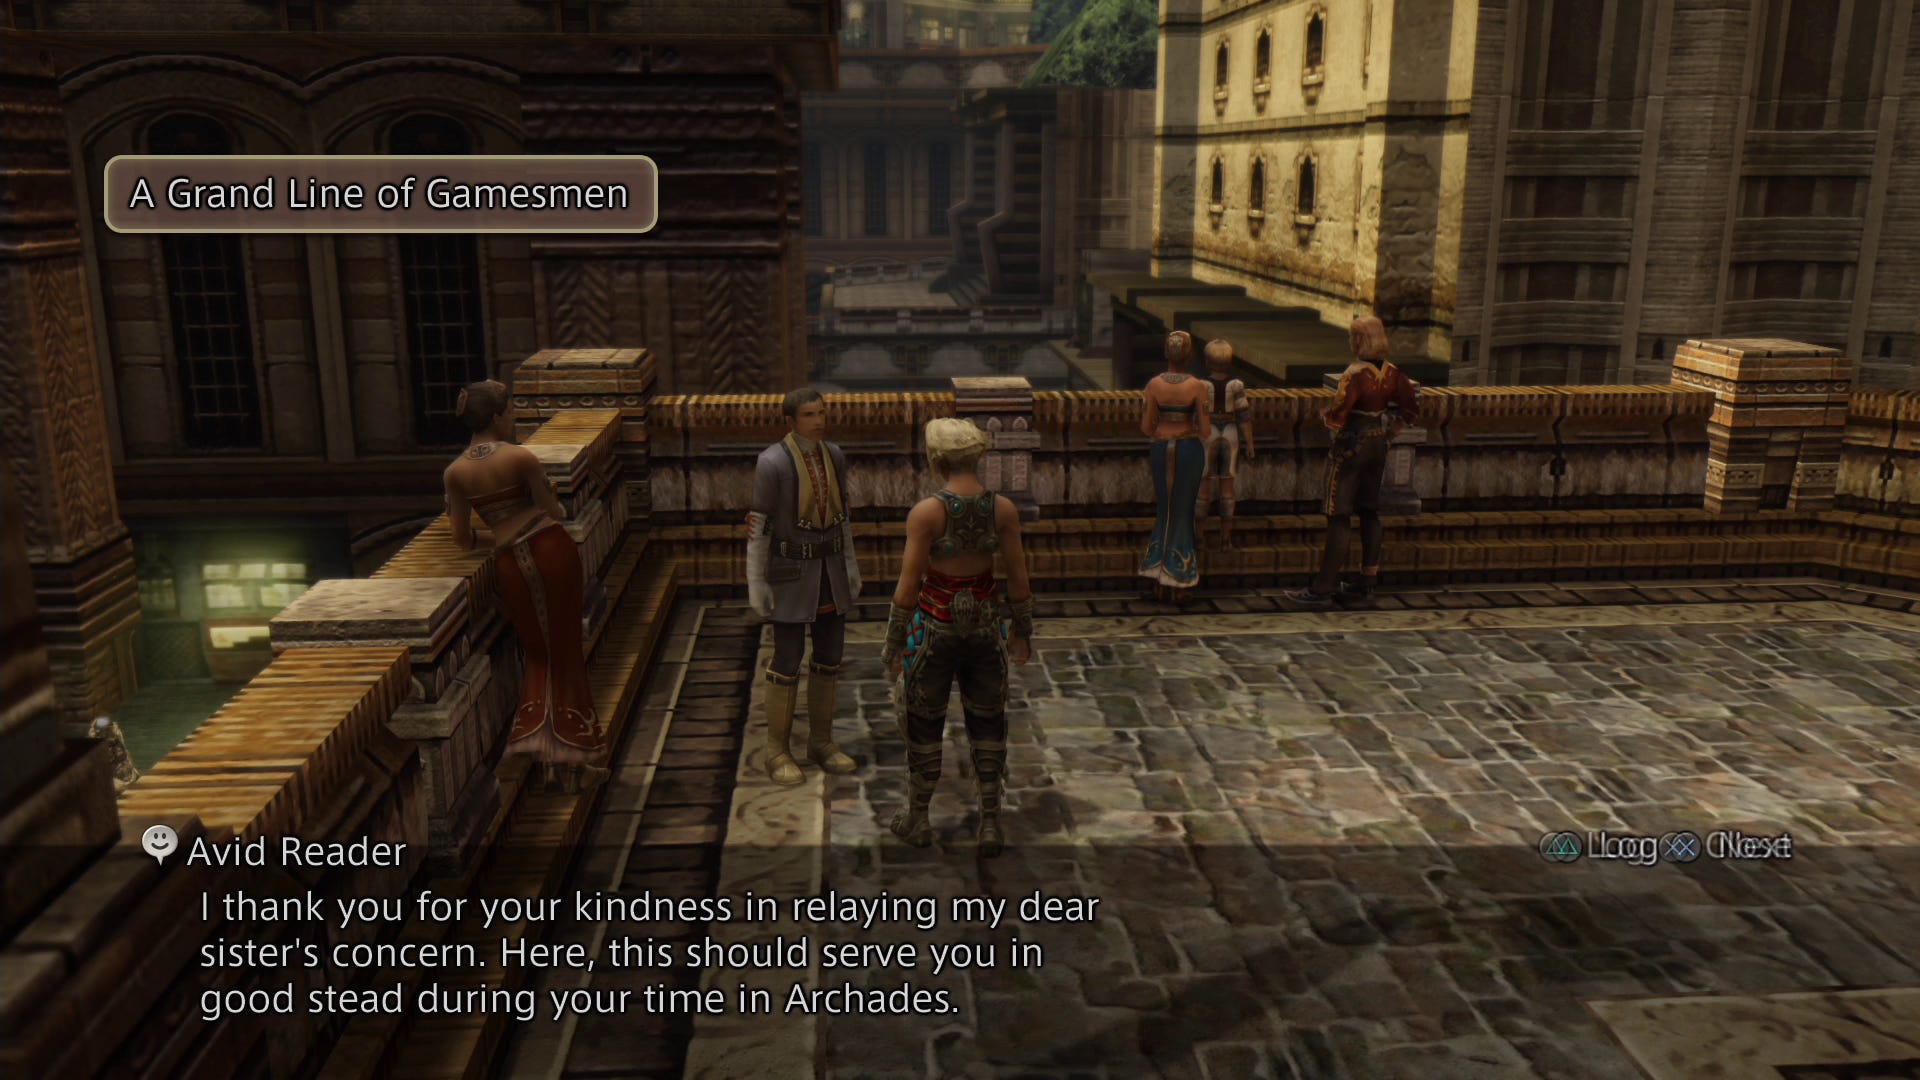
We've provided a list of all the pairs and the message that each wants conveying, and the easiest way to tackle the problem is to speak to everyone in an area so that their names are revealed, then pick your pairs - three are needed to progress the story, but doing all 28 opens up a sidequest later so it's up to you whether you do them all now, or come back and finish the job another time.
Nilbasse:
- "Working up a Sweat": Gentleman Onlooker to Eager Crier
- "Words of Encouragement": Senior Researcher to Failed Researcher
- "Wages Halved": Worried Husband to Materialistic Woman
- "A Grand Line of Gamesmen": Athletic Woman to Avid Reader
- "The Path to Stardom": Aspiring Starlet to Faded Star
- "Time To Leave": Determined Researcher to Ex-Researcher
Rienna
- "A Revolutionary Dish": Philosopher of Cuisine to Dangerous Chef
- "A Gambit for the Market": Lazy Profiteer to Reseacher's Wife
- "Out of Ears": Greenseller to Vegetable Seller
- "What She Wants": Good Brother to Waiting Woman
- "The Misfortune Teller": Tarot Reader to Happy Novelist
- "An Epistle to Love": Lucky Man to Romantic Lady
- "The Aerial Gardens": Tour Leader to Bhujerban Lady
Trant
- "The Boutique": Boutiquiere to Moneyed Gentleman
- "A Ticket to the Farce": Farce-Goer to Girl on an Errand
- "The Lutenist": Music Appreciator to Lutenist
- "A History of Empire": Historian to Perceptive Man
- "The Artisan Architect": Builder to Artisan Architect
- "The Client's Daughter": Smitten Man to Smitten Woman
Molberry
- "The Mummer": Reminiscing Lady to Family-minded Girl
- "A Trinket From Giza": Daughter-in-Law to Man from Giza
- "The Master of Disguises": Look-Alike to Look-Alike
- "To be a Judge": Would-be Judge to Judge's Wife
- "A Knack for Magick": Talented Woman to Akademician
- "The Eight and Twenty Chops": Ardent Woman to Ardent Man
- "The Tutor": Proud Mother to Tutor
- "The Anniversary": Poor Husband to Poor Wife
- "The Traveller": Avid Traveller to Travelling Gentleman
When you've got three chops return to the Cab Guide and he'll take you to Tsenoble. There's an orange crystal to the east, and your destination is to the west - talk to the Imperial guarding the exit and you'll be told that your name's not down and you're not going in. As you walk back to the taxi Jules will reappear, and finally the 4000 Gil you handed to him will pay off. Speak to the Cab Guide and say "You know where to go" to move on.
For more help with? Final Fantasy 12? Our Final Fantasy 12 The Zodiac Age guide, walkthrough, Switch and Xbox differences gives an overview of the game to get you started. Elsewhere, there's our hidden Espers strategy and locations and Elite Hunts and Marks pages, how to get the best Zodiac Jobs for each character, advice on farming LP from Jellies and even how to get the Zodiac Spear.

Draklor Laboratory and Doctor Cid boss fight
Draklor Laboratory: 66F
This floor is safe, but the rest of the building will be swarming with Imperials. They'll give chase if you flee and if you move around too quickly without dealing with any that show up you can end up being surrounded by large numbers, so proceed slowly and tackle each threat there and then.
The lift in the middle of the building doesn't work, so head for the one in the north and select 67F as your destination.
67F
Head north east to the C.D.B. room and you'll find an access key and a map of the building. Your minimap is now out of commission, but the overlay map accessible by hitting L3 still works, so use that to navigate by if you need.
Locate Room 6704 East to find a save crystal - it's worth making a new save here as there's no way out other than finishing this area. Head to Room 6711 East to find out where Cid is, then enter Room 6703 East. Use the controls to change the locked doors from blue to red then head to the elevator and go to 68F.
68F
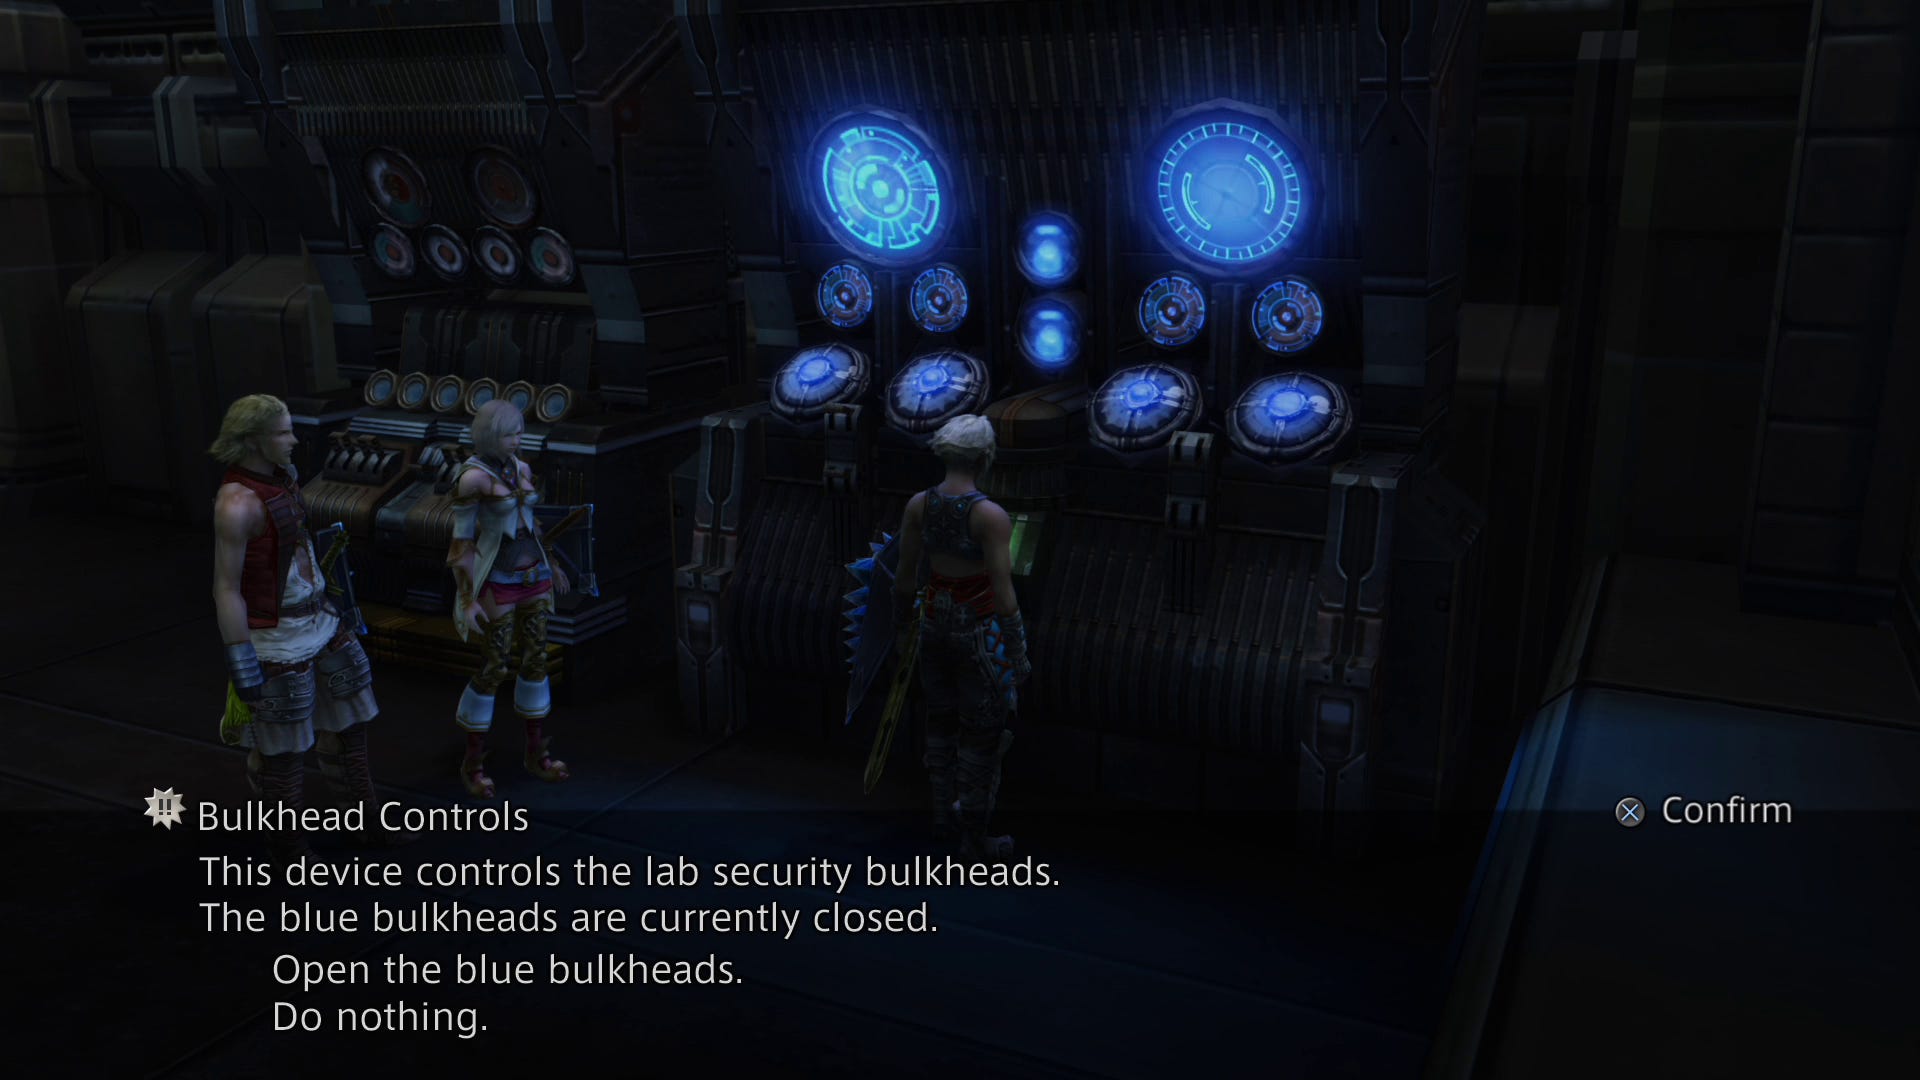
Head to the west side of the floor and enter Room 6804 West. Change the bulkhead controls to red, then head to Room 6811 West in the far south west of the floor and change the controls back to blue and then make your way to the central area of the floor. Several Imperials and a couple of Judges will be lying in wait, but you can kite them into the corridor to make it harder for them to surround you, or you can just run to the lift control and hit the button while they're attacking. Head for 70F, and prepare for another fight.
70F
Pop into Room 7002 East to find a chest, then use the save crystal. As you climb the stairs a cutscene will start, and you'll now be facing off against Doctor Cid.
Boss fight: Doctor Cid
Your first job is to get rid of the five Rooks that surround Cid - they'll constantly be throwing defensive buffs onto him and there's not much you can do until they're gone.
You'll have to stick to conventional attacks as they'll cast Reflect on each other and only take half damage from elemental weapons - a good old fashioned pounding is your only option.
Once the Rooks are down focus your attacks on Gid - he'll completely ignore you and won't retaliate as he walks across the room, but he'll then unleash his S-27 Tokamak on you. This will only hit party members directly in front of him, so beating a retreat before he fires it off can spare you from the 1000HP+ damage. Aside from that he has no attacks, and when his health hits 25% the fight is over, so you should make short work of him.
Next up is part 11 of our Final Fantasy 12 The Zodiac Age walkthrough: The Feywood, Rafflesia, Ancient City of Girguvegan, and Daedalus.