Sekiro Armored Warrior fight - how to beat and kill the Armored Warrior
How to beat the Armored Warrior in Sekiro: Shadows Die Twice.

Armored Warrior is the next mni boss in Sekiro, found in the game's Senpou Temple area, following on from Genichiro Ashina Way of Tomoe in our walkthrough of the game's bosses and mini-bosses.
You'll find Armored Warrior waiting for you on a long bridge, after you've climbed past some small enemies on the cliffs after the Senpou Temple - Shugendo Idol.
Below, we'll cover how to beat Sekiro's Armored Warrior, including any particularly strong methods or weaknesses they might have and any handy things to bear in mind.
For more guides and pages like this, meanwhile, cycle back to our main Sekiro walkthrough and boss guide hub.
Sekiro Armored Warrior fight - how to beat and kill the Armored Warrior
The Armored Warrior is one of Sekiro's simpler mini boss fights - although a lot of people are easily wrongfooted by some eavesdroppable advice you could pick up earlier on.
That advice is to use the Loaded Spear Shinobi Prosthetic to yank off some of the Warrior's Armour - but that actually won't work.
Instead, this fight is really about one thing: Posture.
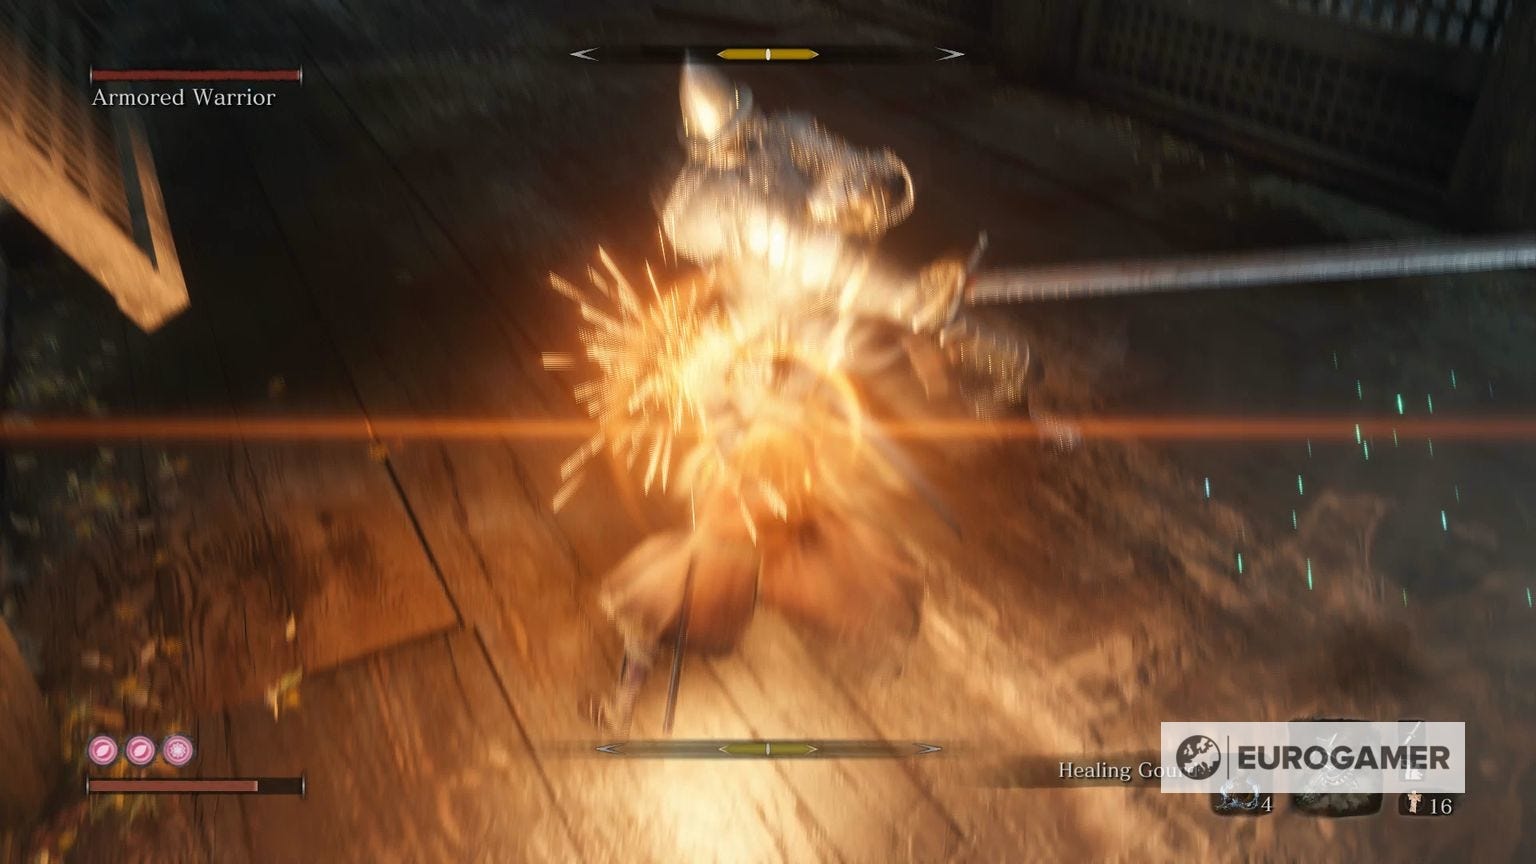
Approach the Armored Warrior on the bridge shortly after the Shugendo Idol and open with the Shinobi Axe Prosthetic for some hefty Posture damage, because the Armored Warrior is invulnerable to Vitality damage for the entire fight.
Parry his attacks - he has two main cycles: slower, very predictable swings of the sword and a faster 'flurry' where he gets angry and bashes away intensely - and his Posture will build up very quickly.
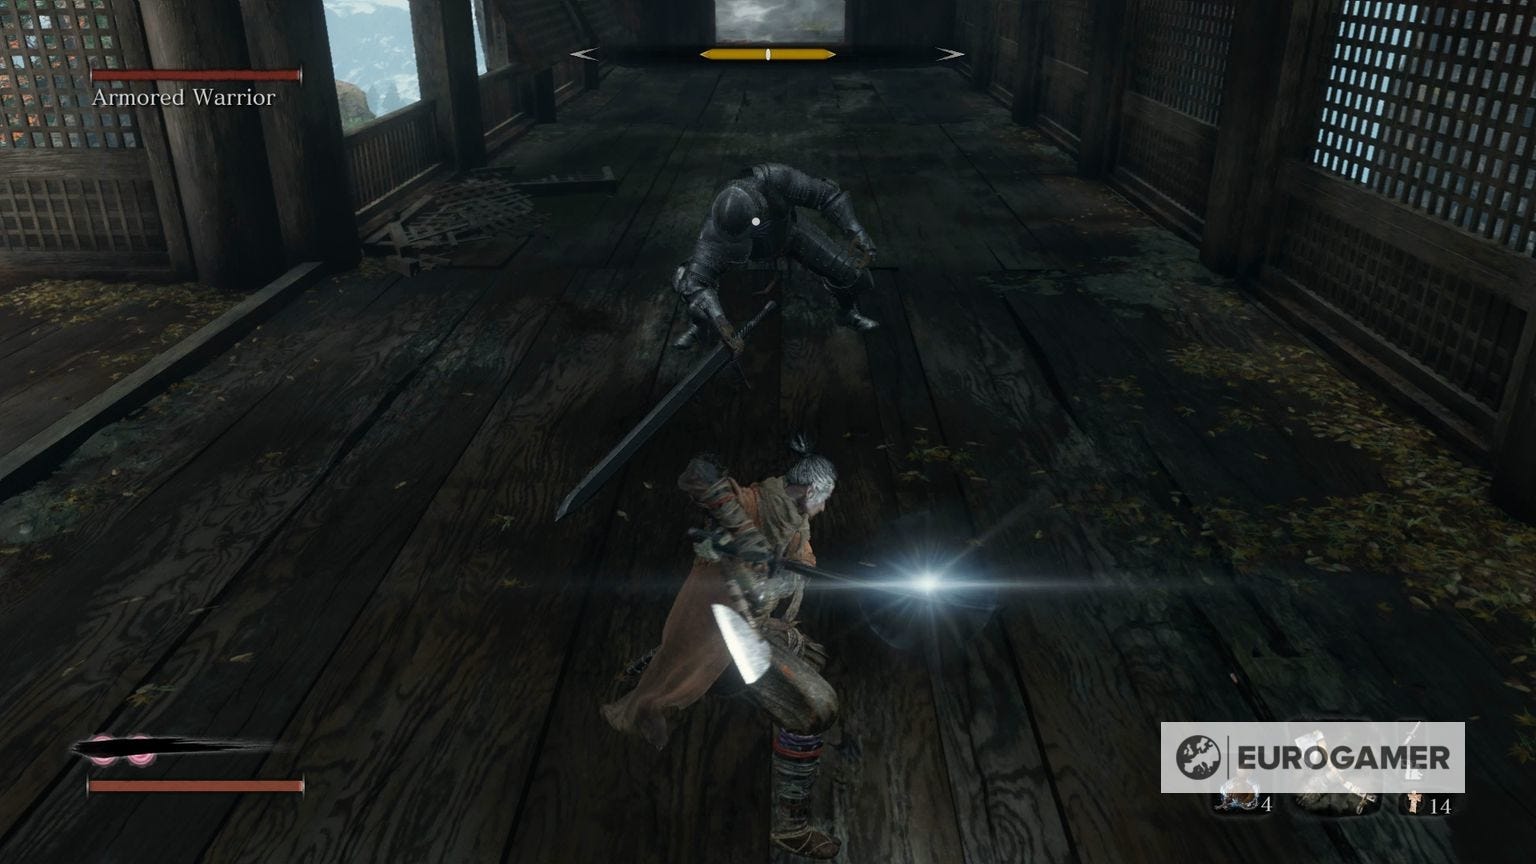
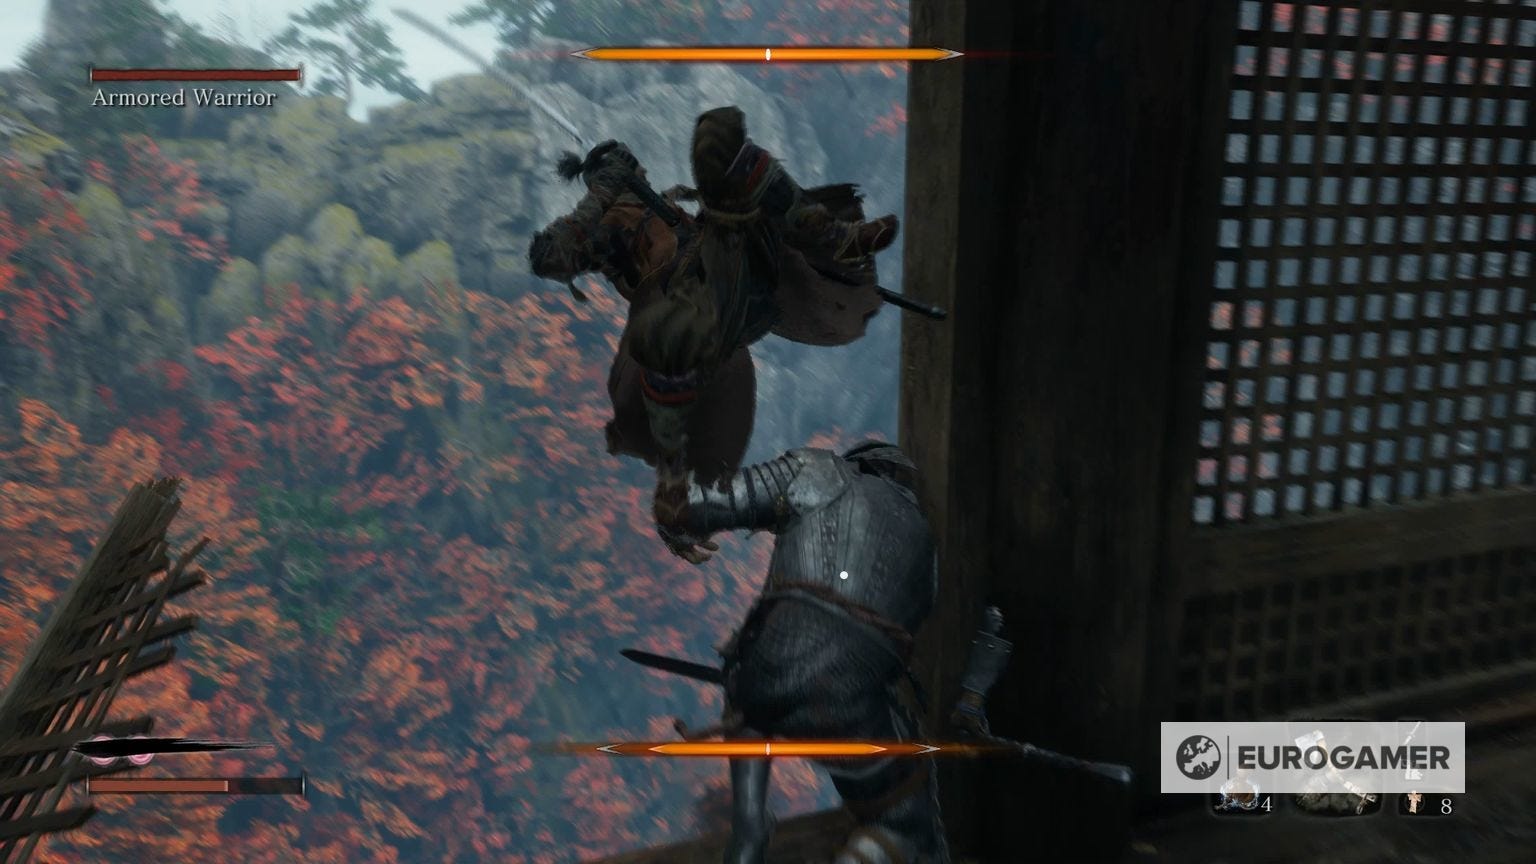
When his Posture bar's filling up, you then have to bait him over to the side of the bridge. The panels on the sides are breakable, and you have to kick him off when his Deathblow marker appears to actually kill him - there's no way to execute him without pushing him off the side.
Looking for more Sekiro pages like this? First up, the first main Sekiro patch notes for update 1.03 are live. Otherwise, our Sekiro boss guide, boss list and walkthrough hub has everything in one place, including pages on Lady Butterfly, Genichiro Ashina Way of Tomoe, Folding Screen Monkeys, Corrupted Monk, Guardian Ape, Great Shinobi Owl, Emma and Isshin Ashina, True Corrupted Monk, and Divine Dragon. We also have in-depth pages like Sekiro tips and tricks to get you started, Sekiro Skills, skill tree and Esoteric Text locations explained, our deep dive on the Sekiro combat system, Posture, and Perilous Attacks, or details on all Sekiro Prosthetic Tool locations, how to cure Dragonrot and Rot Essence in Sekiro, Gourd Seed locations, a Divine Confetti farm route method, all Treasure Carp Scale locations, all, Prayer Beads locations and all Snap Seed locations, too. And when you're ready - the how to beat Isshin Sword Saint and an Isshin Sword Saint cheese, plus the many Sekiro endings.

Try to get to a position where you're facing him, and he's close to the edge, and then land the final few parries - or swings of the Axe when he's tired after a flurry - and then, still facing towards the side, perform a Deathblow in the usual way (R1/RB) to jump up on him and kick him backwards, sending him falling to his death.
You'll pick up a Prayer Bead and a new Skill - Breath of Nature: Shadow - for your efforts. There's the Temple Grounds Sculptor's Idol just outside the far end of the bridge for you to rest at, too.
That's all you'll hopefully need for tackling this encounter. Next up in our guide is Long-arm Centipede Sen'un, or you can cycle back to our main Sekiro walkthrough and boss guide hub for much more explainers and advice.