Sekiro Great Shinobi Owl fight - how to beat and kill the Owl
How to beat the Great Shinobi Owl in Sekiro: Shadows Die Twice.

Great Shinobi Owl is the next fight in Sekiro, found back in the Ashina Castle area, following on from Guardian Ape in our walkthrough of the game's bosses and mini-bosses.
You'll find Great Shinobi Owl waiting for you on top of Ashina Castle, where you previously fought Genichiro Ashina. There are a few specfiics to bear in mind though - we'll outline those in the section below.
We'll also of course cover how to beat Sekiro's Great Shinobi Owl, including any particularly strong methods or weaknesses they might have and any handy things to bear in mind.
For more guides and pages like this, meanwhile, cycle back to our main Sekiro walkthrough and boss guide hub.
On this page:
Sekiro Great Shinobi Owl - how to find and fight the Owl
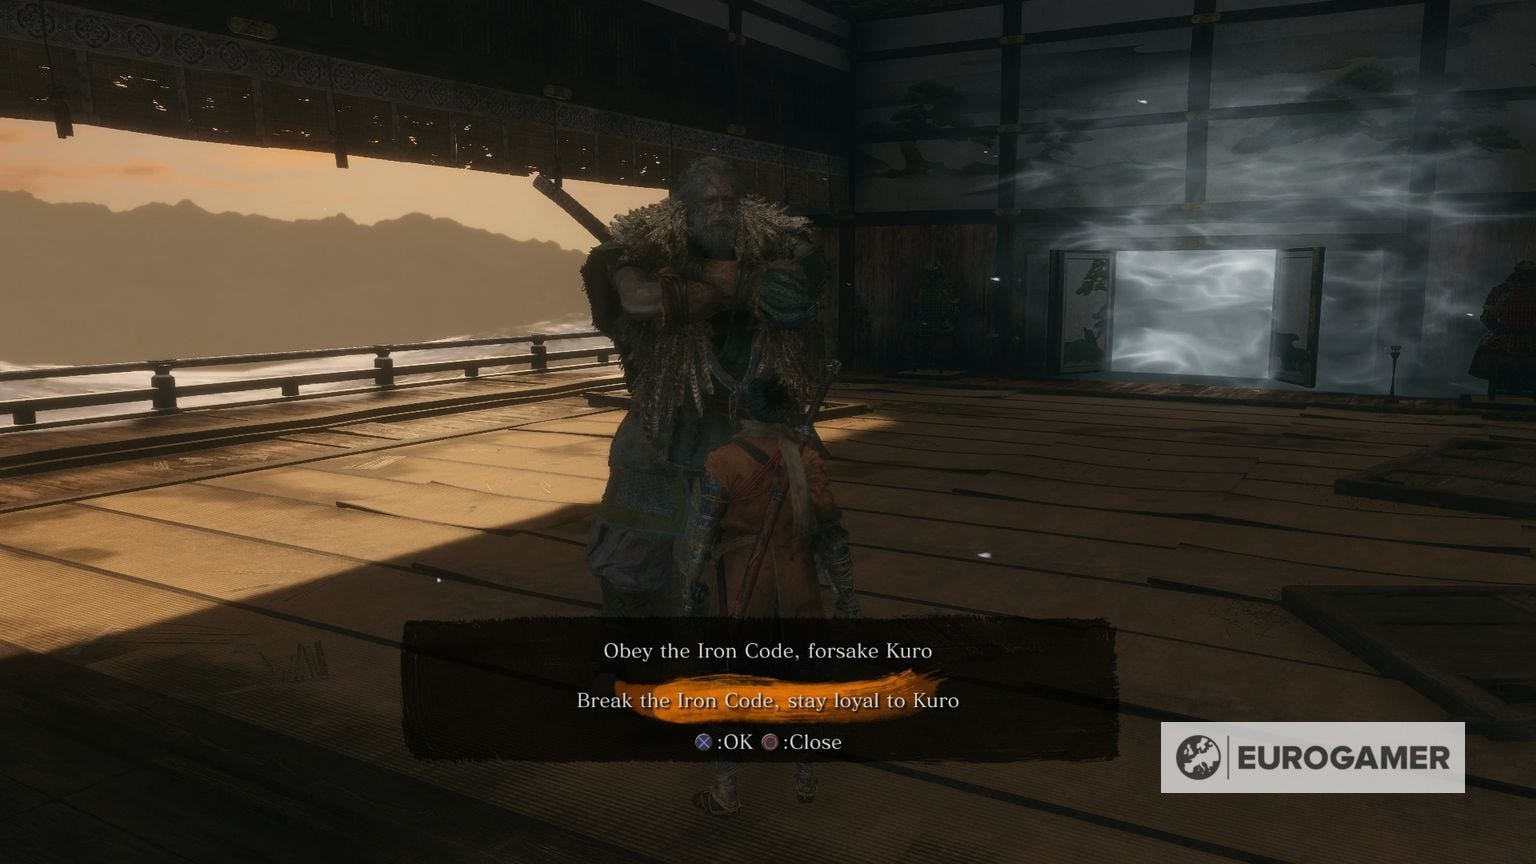
As we mentioned above there are a few specifics you need to bear in mind if you want to actually fight the Great Shinobi Owl atop Ashina Castle - because it's actually tied to your choice of ending.
We've explained how all that works in our dedicated Sekiro endings guide, but the key, non-spoilery info you need to know about fighting the Great Shinobi Owl is this:
- You have to collect all the key story items that Lord Kuro asked you to get first - the ones you get for beating the Folding Screen Monkeys, the Corrupted Monk and the Guardian Ape.
- Ashina Castle's Sculptor's Idols will then all be locked off from fast travel, apart from the Abandoned Dungeon Entrance. When you're ready for a fight, go there and work your way back to the top of Ashina Castle like you did for Genichiro Ashina before.
- At the top, you'll be faced with a choice. One option leads to the 'bad' ending and Emma and Isshin Ashina. The other, "Break the Iron Code", leads to this fight with Great Shinobi Owl.
So, head back to the castle after the mid-game bosses, get to the top, choose to Break the Iron Code, and you'll face this boss fight.
How to beat the Great Shinobi Owl
Beating the Great Shinobi Owl is extremely tough if you try to go toe-to-toe with sword combat like you did with Genichiro the last time you were here.
Instead, you're going to win this fight with good positioning, a lot of patience, and a lot of concentration.
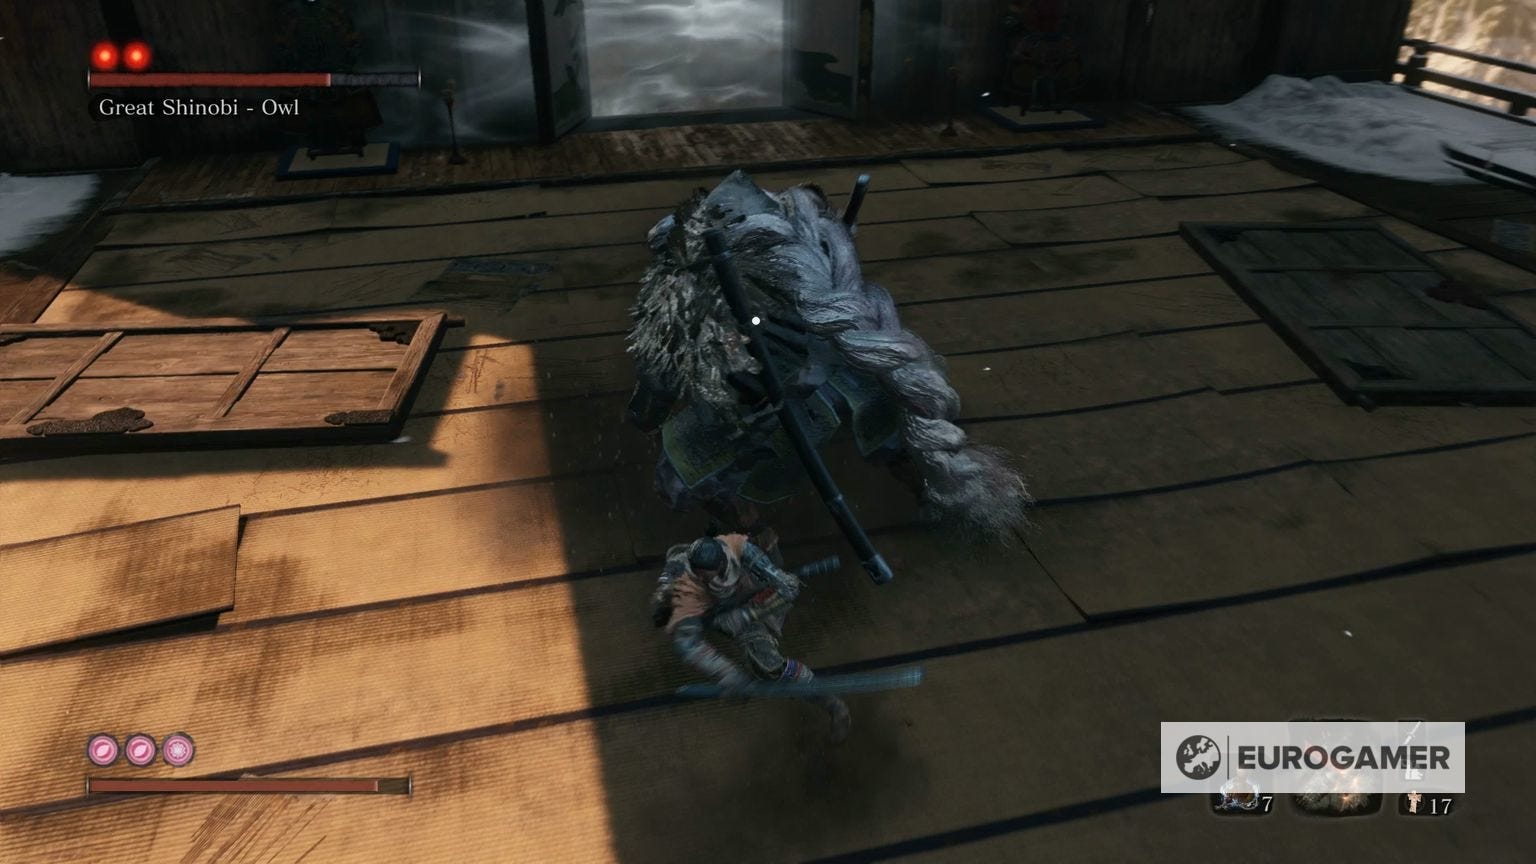
To prepare, equip the Whirlwind combat art - it's essential here - and the Firecracker Prosthetic if you're a fan of it, although that's optional.
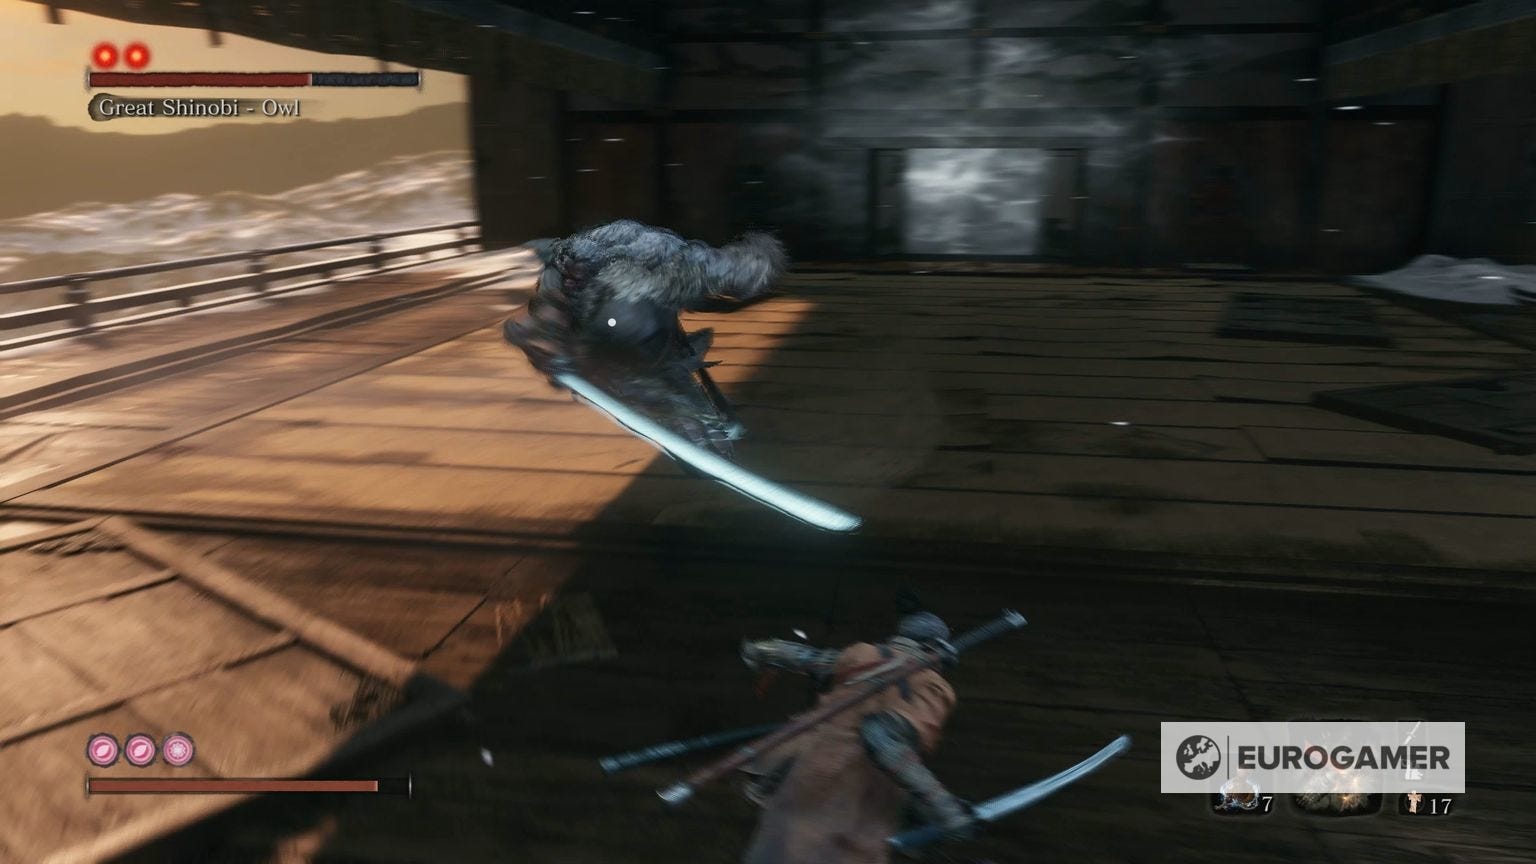
Your main goal is to try and bait him into one of two specific gap-closer attacks, where he throws either one or two shuriken and then either darts towards you for one or two slashes, or does a frontflip attack. They're similar, but not exactly the same and need to be handled differently.
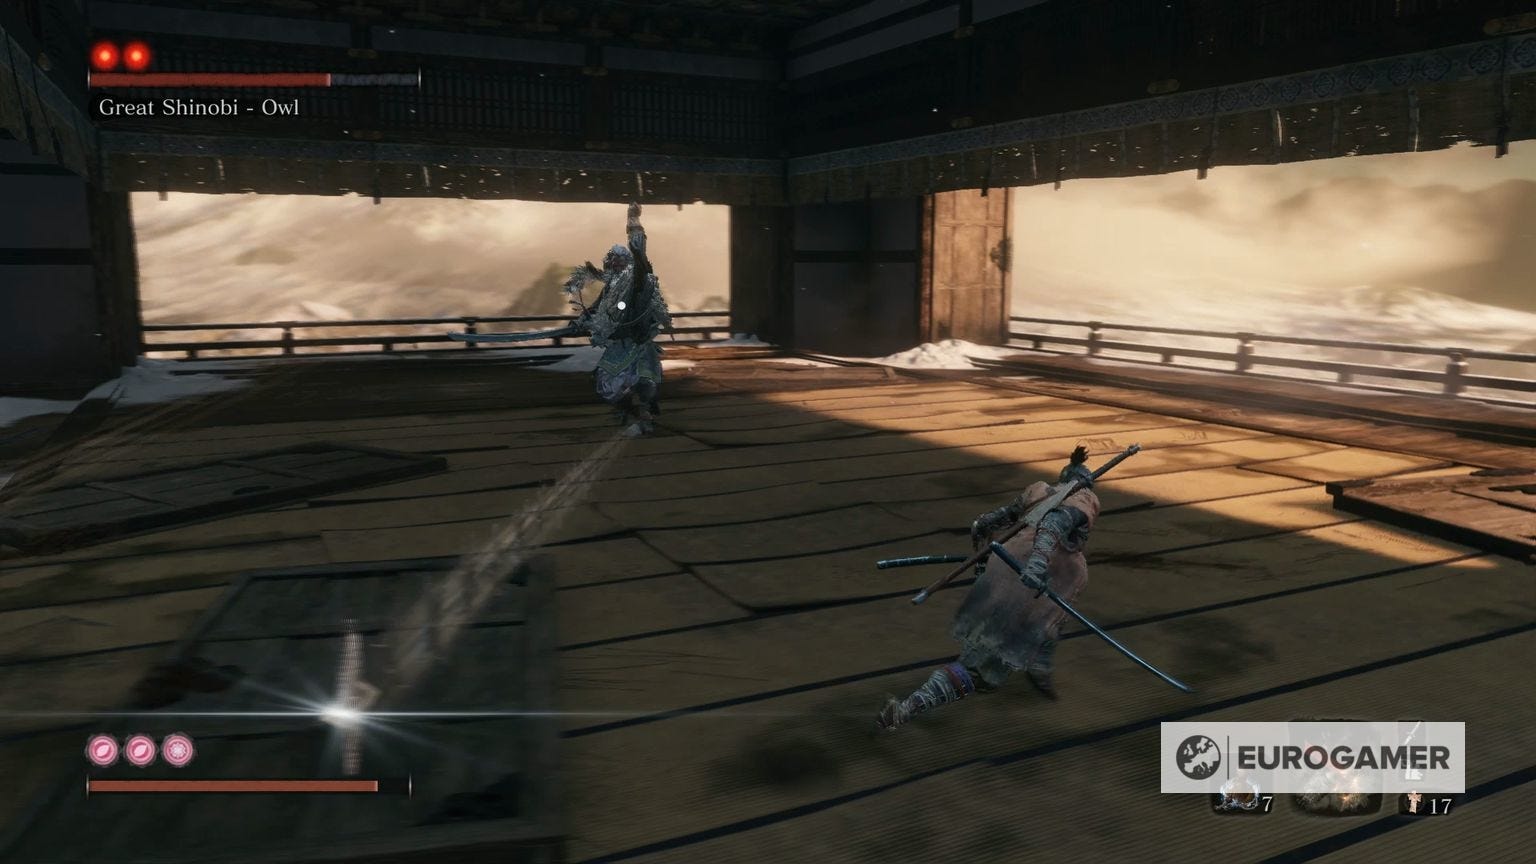
The one you're after is the frontflip. He'll normally throw two shuriken (occasionally one just to mix it up) and then jump up in the air and frontflip towards you, slamming his sword down on the ground. Bait him into it by sprinting sideways in front of him, about half to two-thirds of the arena's distance away from him.
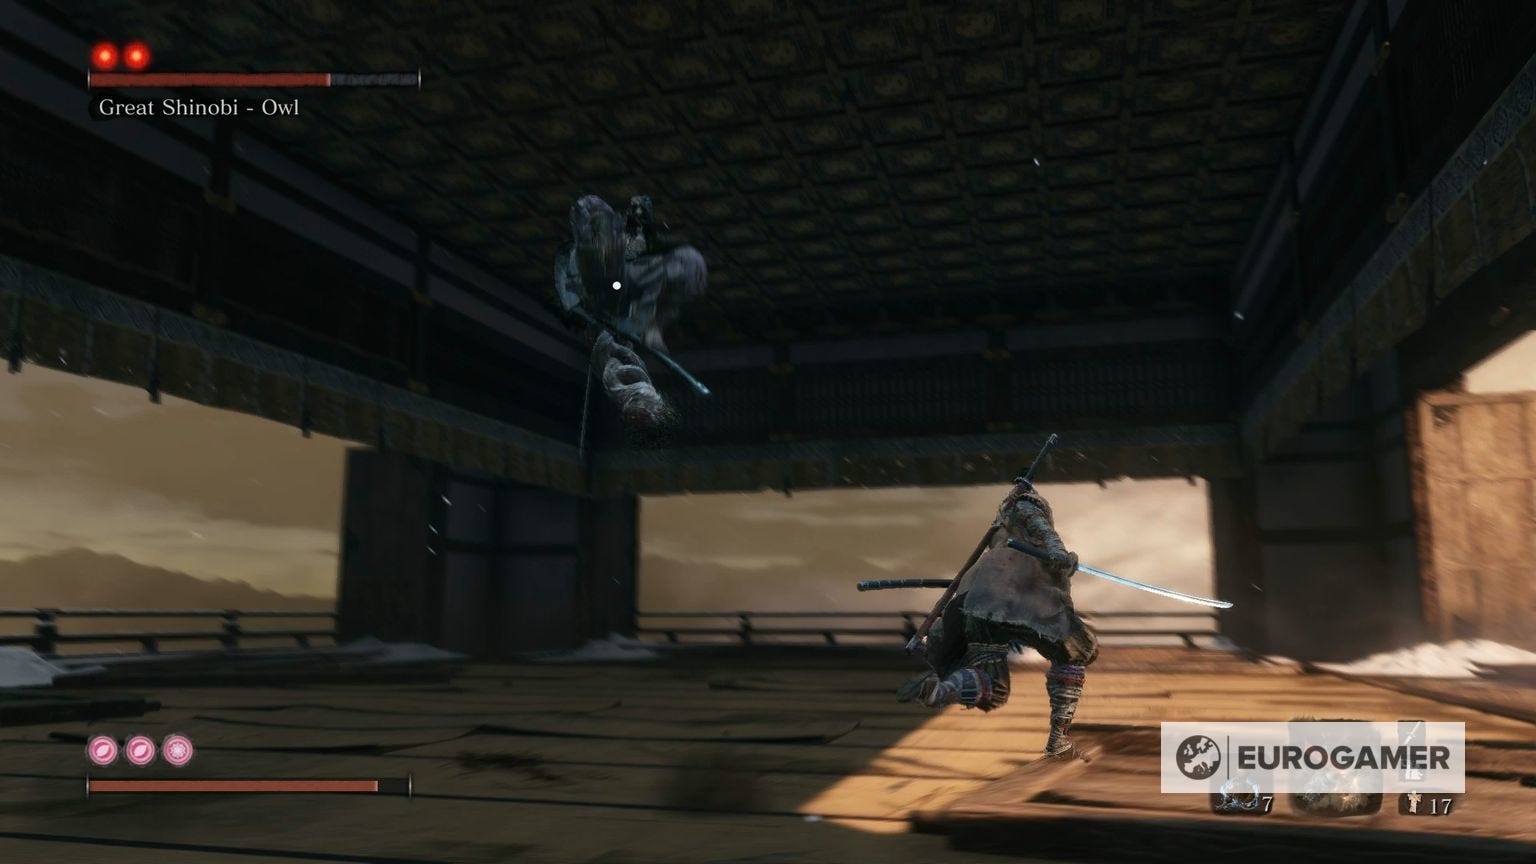
Keep sprinting sideways in the same direction and he'll miss you, landing where you were instead of where you are, and that's your opening: quickly sprint to the side or back of him and perform the Whirlwind strike combat art, and then back off and repeat.
There are some other moments where you can get a free hit or two in as well, if you want to speed things up.
The first is when he does a two-slash gap-closer attack. After the second slash he'll pause for a moment - you can't get a free hit here, but it is a long enough pause for a Firecracker to be safely performed, and then you have two or three free hits before you can back off again.
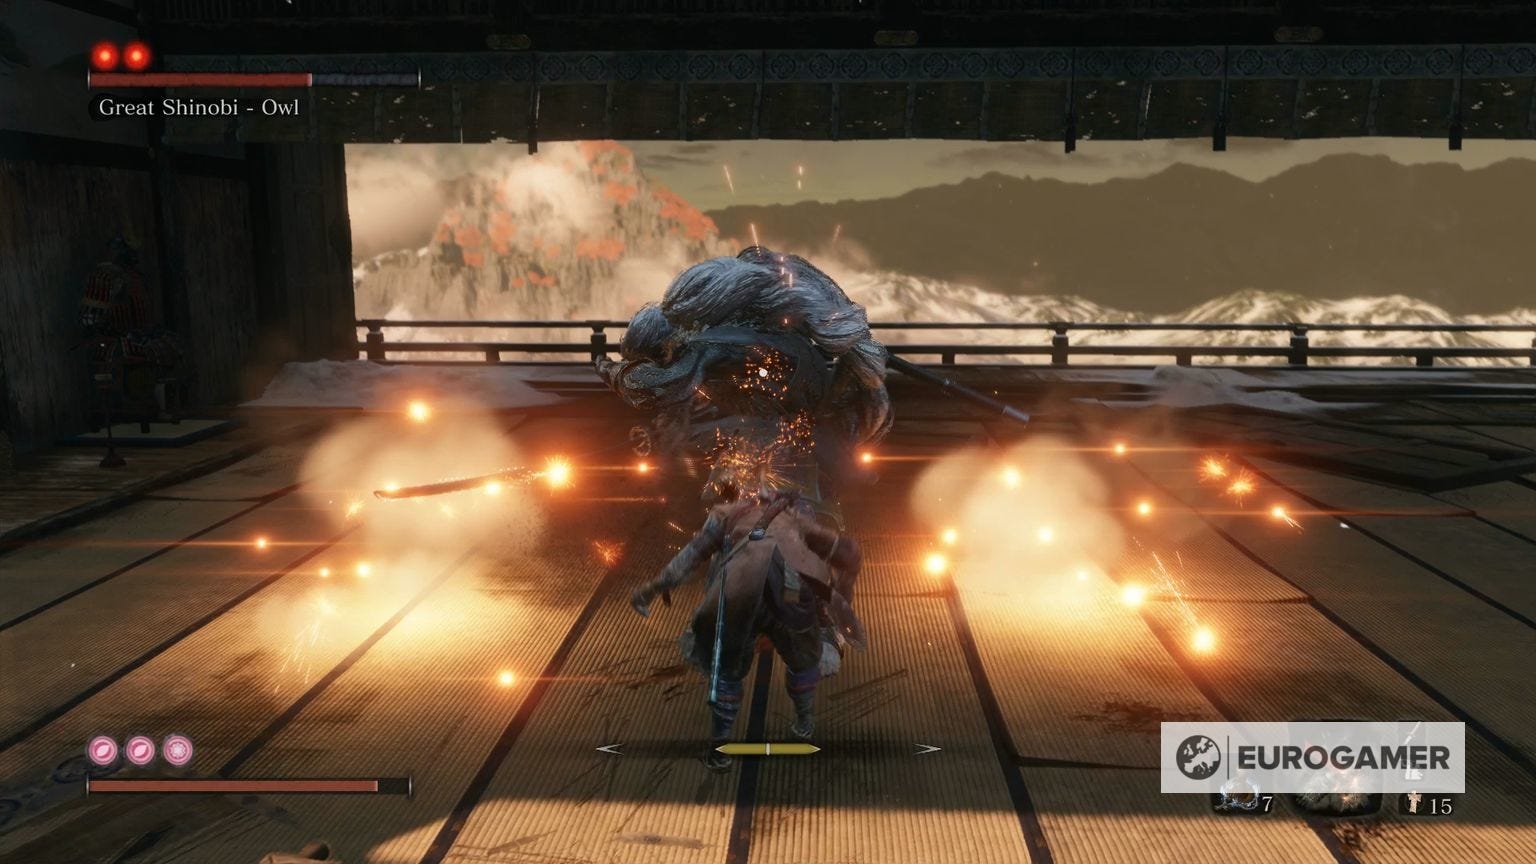
The other is when he does his poison cloud attack, where he pops up a little stink bomb and a gas cloud appears - when he throws up the little ball you can get one and only one free hit in before backing away.
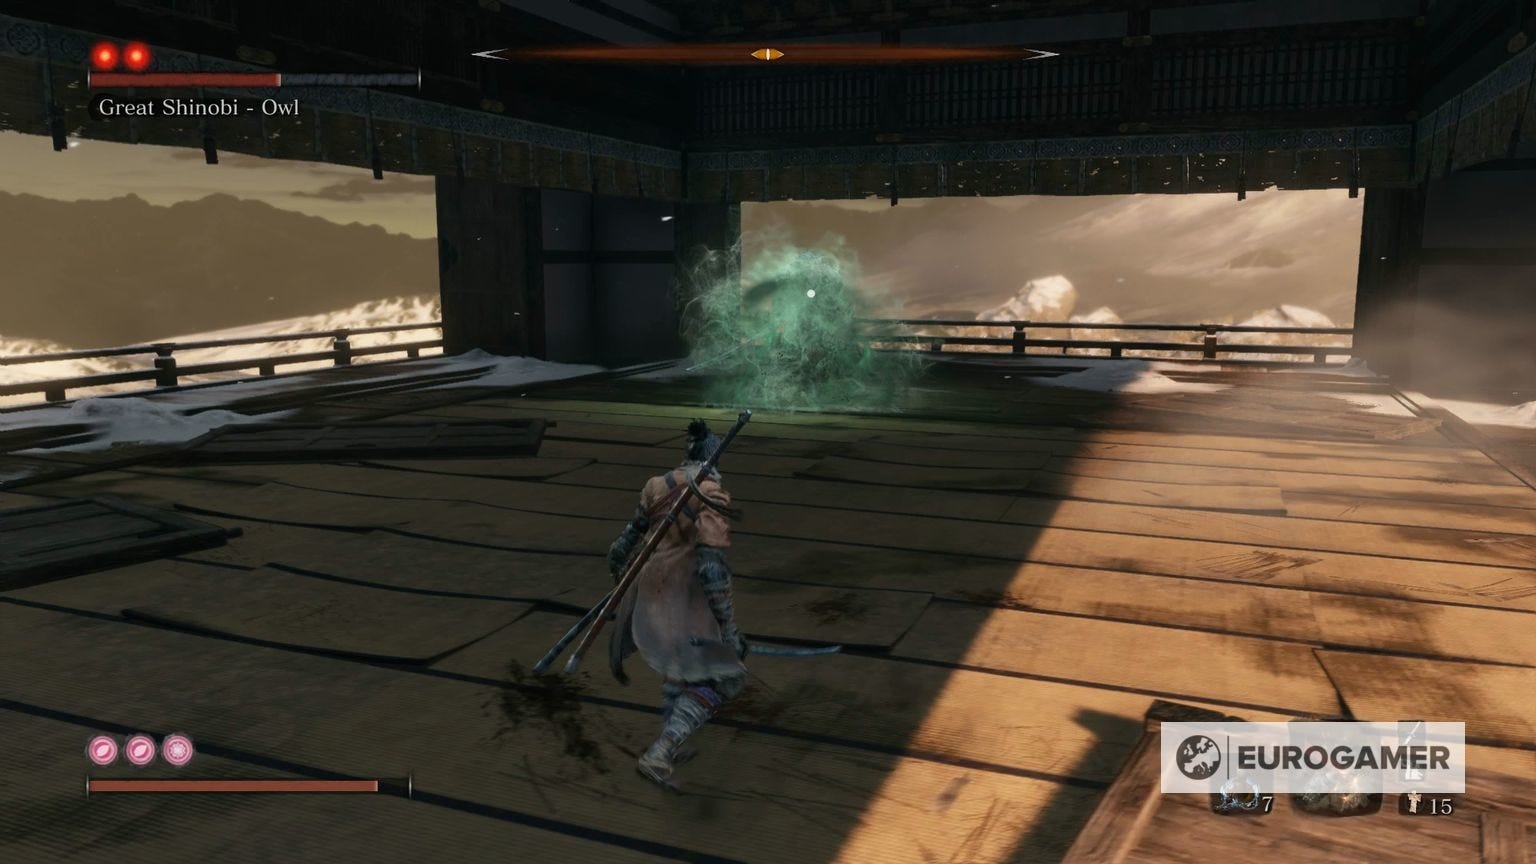
Beware that will 'curse' you for a short period, not dealing any damage but preventing you from using any items or prosthetics, so you can't heal or use Firecrackers, but it doesn't last long and, if you're confident of rinsing and repeating the above methods for free hits, you won't need to be doing any healing anyway.
Looking for more Sekiro pages like this? First up, the first main Sekiro patch notes for update 1.03 are live. Otherwise, our Sekiro boss guide, boss list and walkthrough hub has everything in one place, including pages on Lady Butterfly, Genichiro Ashina Way of Tomoe, Folding Screen Monkeys, Corrupted Monk, Guardian Ape, Great Shinobi Owl, Emma and Isshin Ashina, True Corrupted Monk, and Divine Dragon. We also have in-depth pages like Sekiro tips and tricks to get you started, Sekiro Skills, skill tree and Esoteric Text locations explained, our deep dive on the Sekiro combat system, Posture, and Perilous Attacks, or details on all Sekiro Prosthetic Tool locations, how to cure Dragonrot and Rot Essence in Sekiro, Gourd Seed locations, a Divine Confetti farm route method, all Treasure Carp Scale locations, all, Prayer Beads locations and all Snap Seed locations, too. And when you're ready - the how to beat Isshin Sword Saint and an Isshin Sword Saint cheese, plus the many Sekiro endings.

Finally, beware he slightly changes his roster of attacks for the second phase after his first Deathblow's down. The main thing to worry about is the cloud of grey-black smoke - that means he's about to use a Firecracker of his own, or that he's using smoke as an evasive tool that'll remove your lock-on from him and impair your vision. Just avoid it and use the above methods though, as all of them work exactly the same.
And that's it! Be patient and don't get over-excited trying to get more hits in than you know you can safely land, and he'll go down surprisingly fast. Just try to get a good feel of the range you want to be at when sprinting around the arena to safely bate his gap-closers, and respond accordingly, and you'll be just fine.
That's all you'll hopefully need for tackling this encounter. Next up in our guide is Emma and Isshin Ashina for those who instead chose the bad ending, or True Corrupted Monk in Fountainhead Palace for those who completed this fight with the Owl.
Or, you can cycle back to our main Sekiro walkthrough and boss guide hub for much more explainers and advice.