Sekiro Genichiro Ashina fight - how to beat and kill Genichiro Ashina Way of Tomoe
How to beat Genirchi Ashina, Way of Tomoe in Sekiro: Shadows Die Twice.

Genichiro Ashina, Way of Tomoe is the next main boss fight in Sekiro, found in the game's Ashina Castle area, following on from Lone Shadow Longswordsman, Seven Ashina Spears, and Ashina Elite Jinsuke Saze in our walkthrough of the game's bosses and mini-bosses.
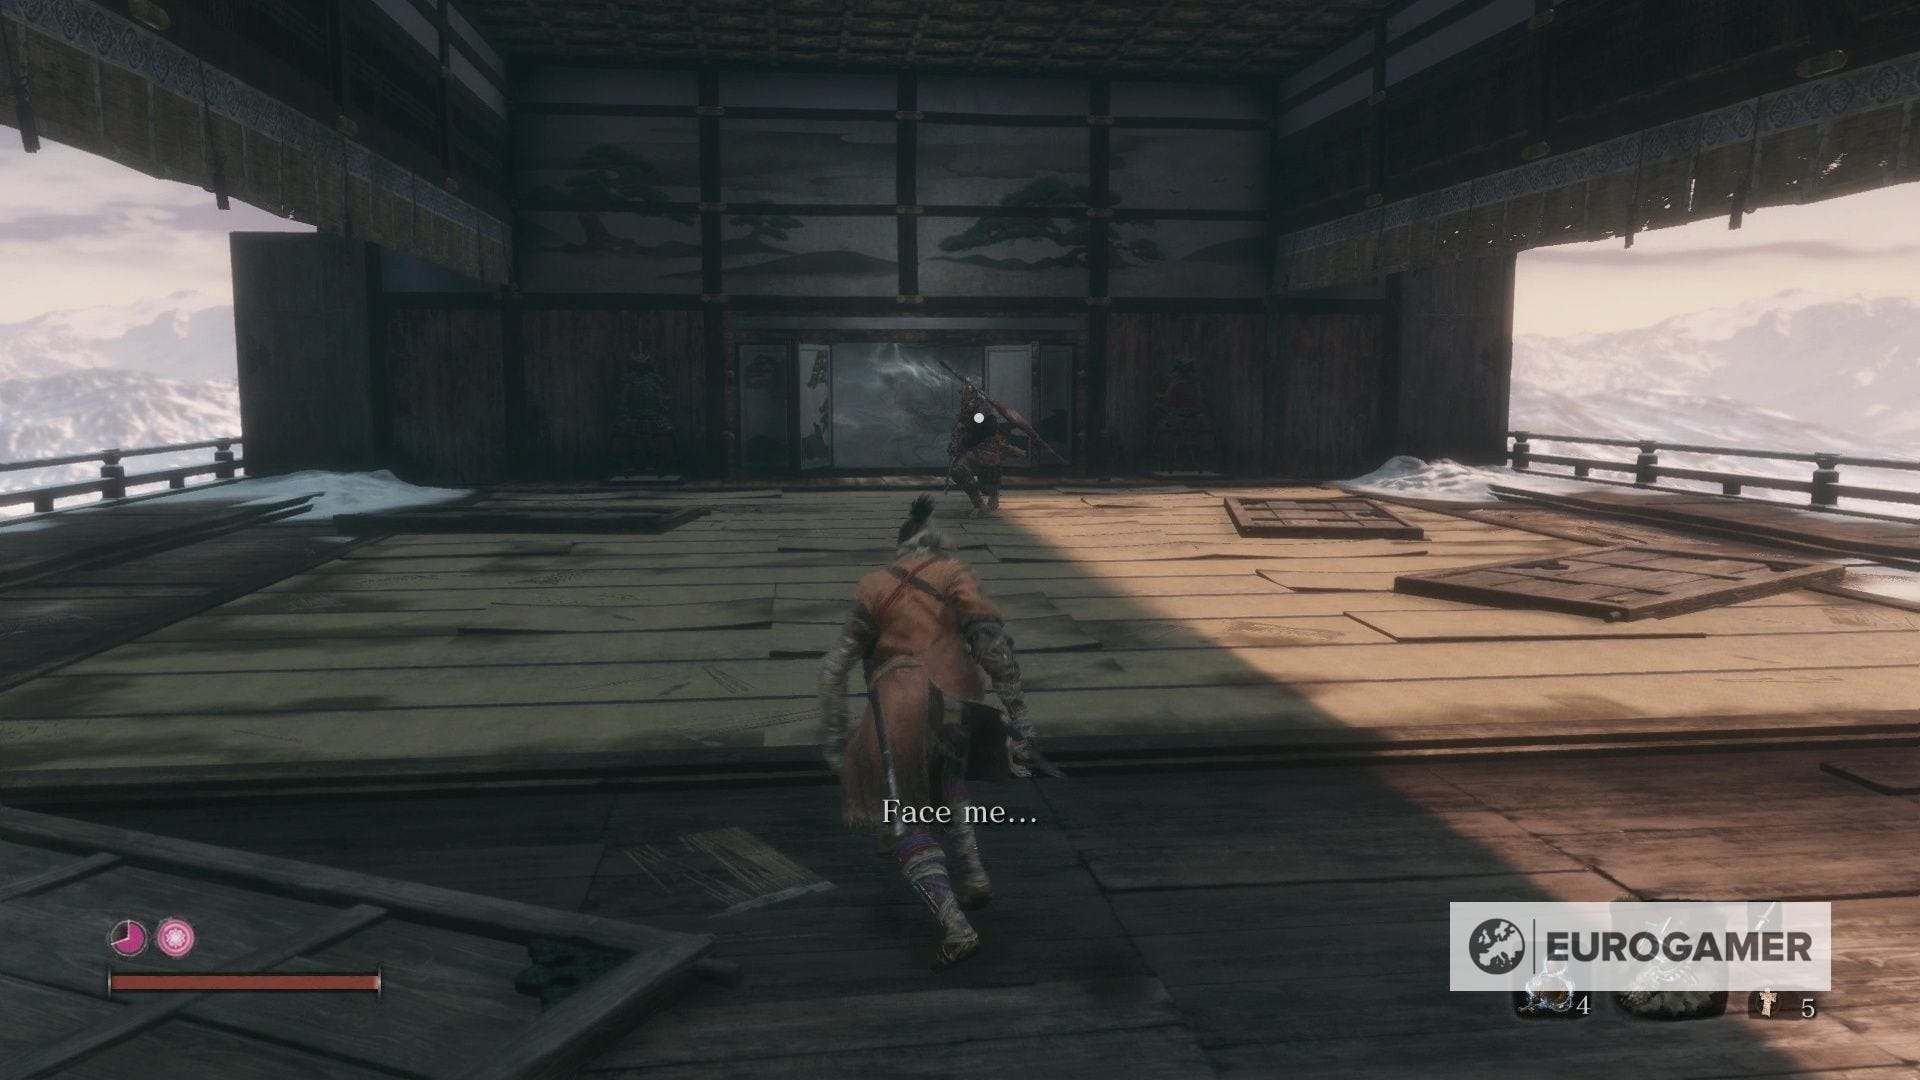
You'll find Genichiro Ashina at the very top of Ashina Castle - head through the open window left of the Ashina Elite and grapple up to start the cutscene and reach him - and note that the cutscene is skippable if you find yourself repeating it a few times (which you probably will).
Below, we'll cover how to beat Sekiro's Genichiro Ashina, including any particularly strong methods or weaknesses they might have and any handy things to bear in mind.
For more guides and pages like this, meanwhile, cycle back to our main Sekiro walkthrough and boss guide hub.
Sekiro Genichiro Ashina - how to beat and kill Genichiro Ashina
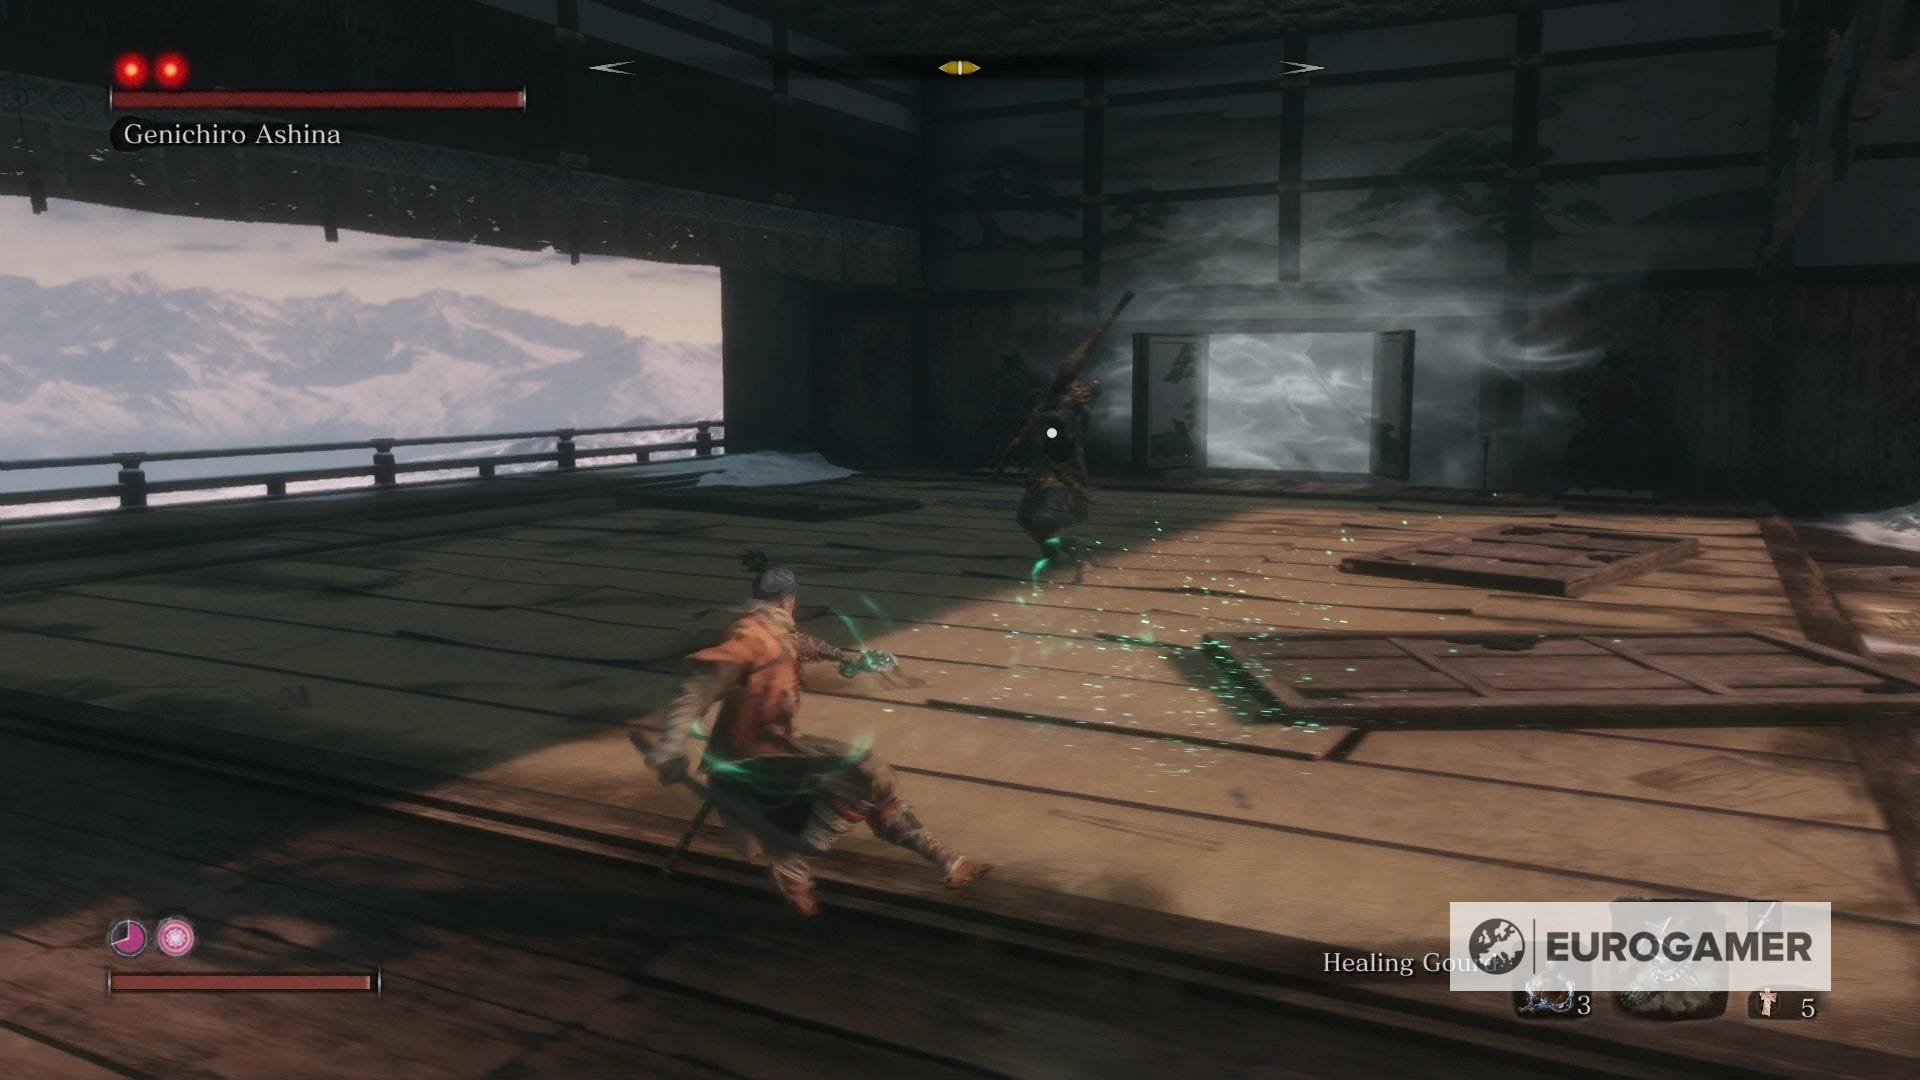
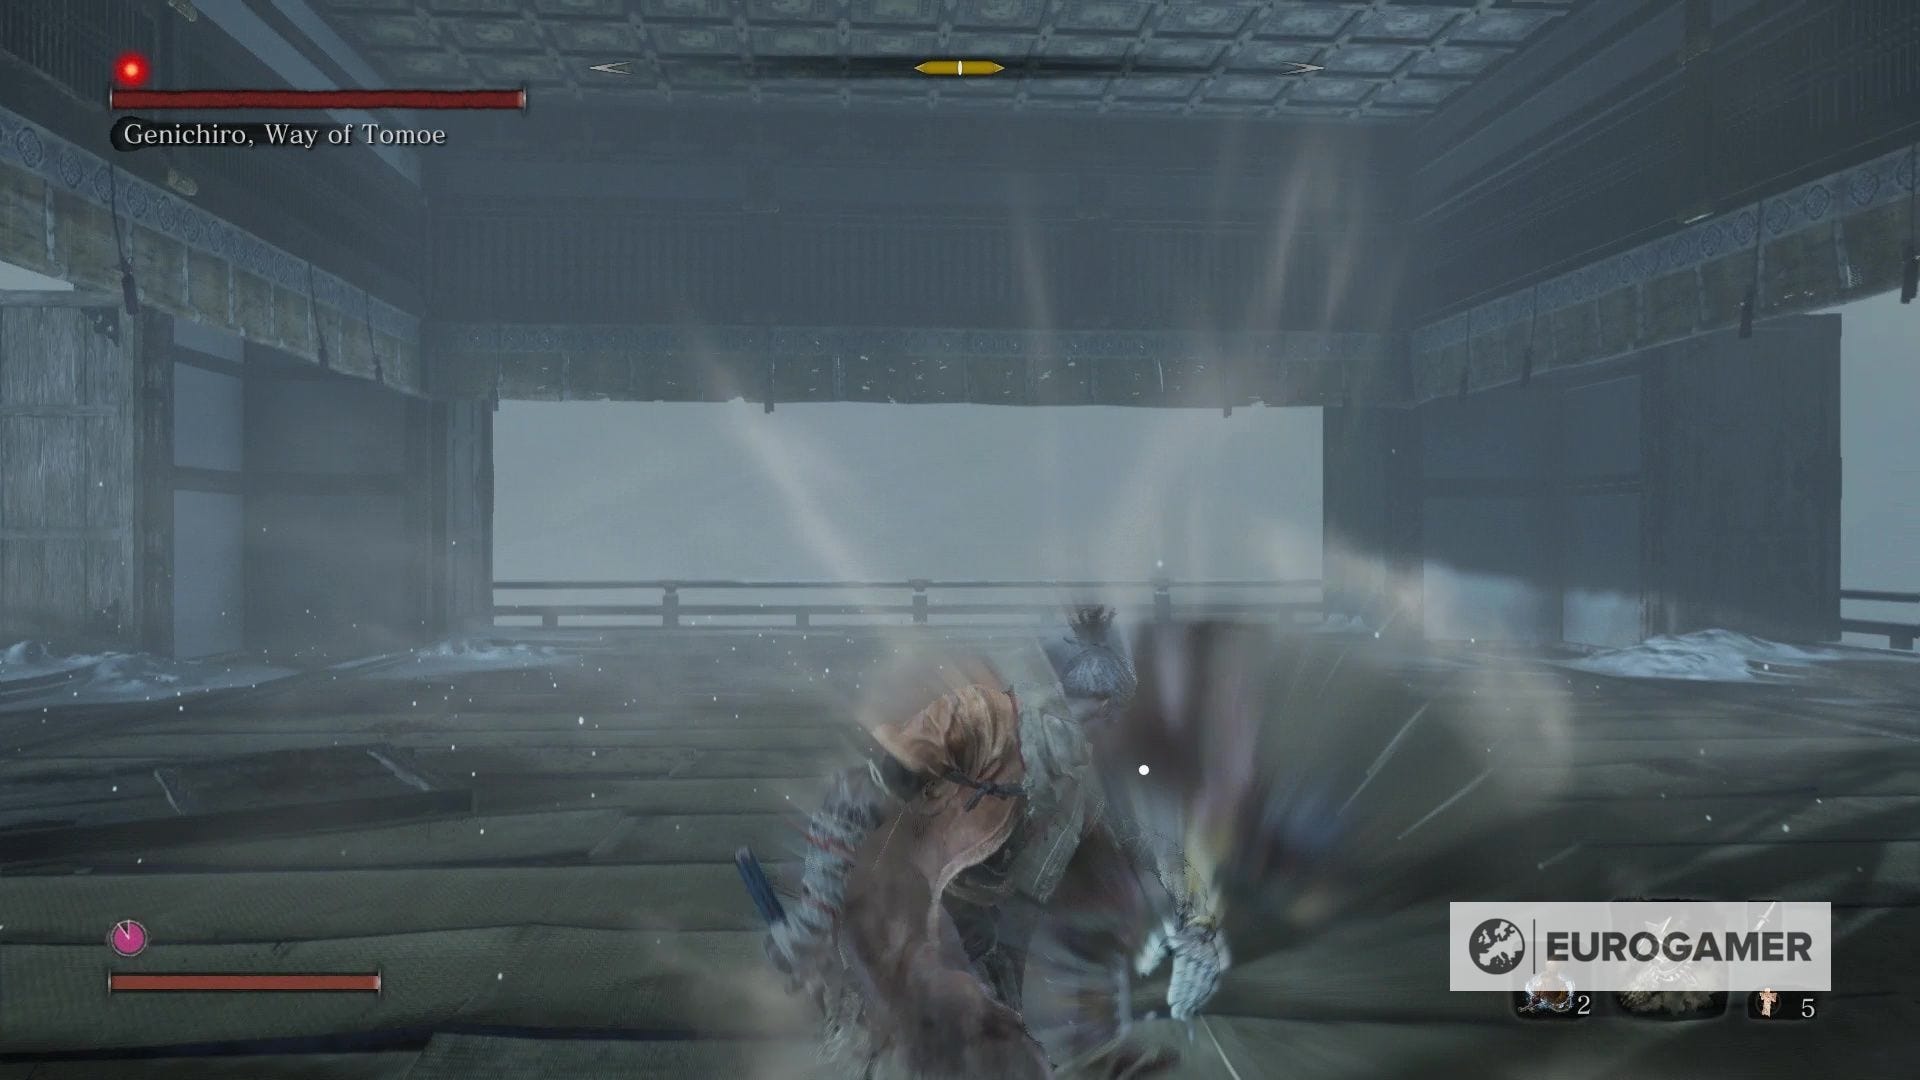
Buckle up, because Genichiro Ashina is probably the toughest - and at least certainly the most mechanically complex - boss you'll have faced in the game so far. You'll almost certainly need to beat him with Posture damage, rather than actual Vitality damage, too.
He has three Deathblow Marks, not just the two: somewhat like Lady Butterfly earlier on, he has a hidden phase that gives him the third Mark after you "kill" him by getting rid of the first two. Defeating him all three times will take patience, and muscle memory: you're going to need to learn how each of his attack patterns pan out, and how to respond to them in kind.
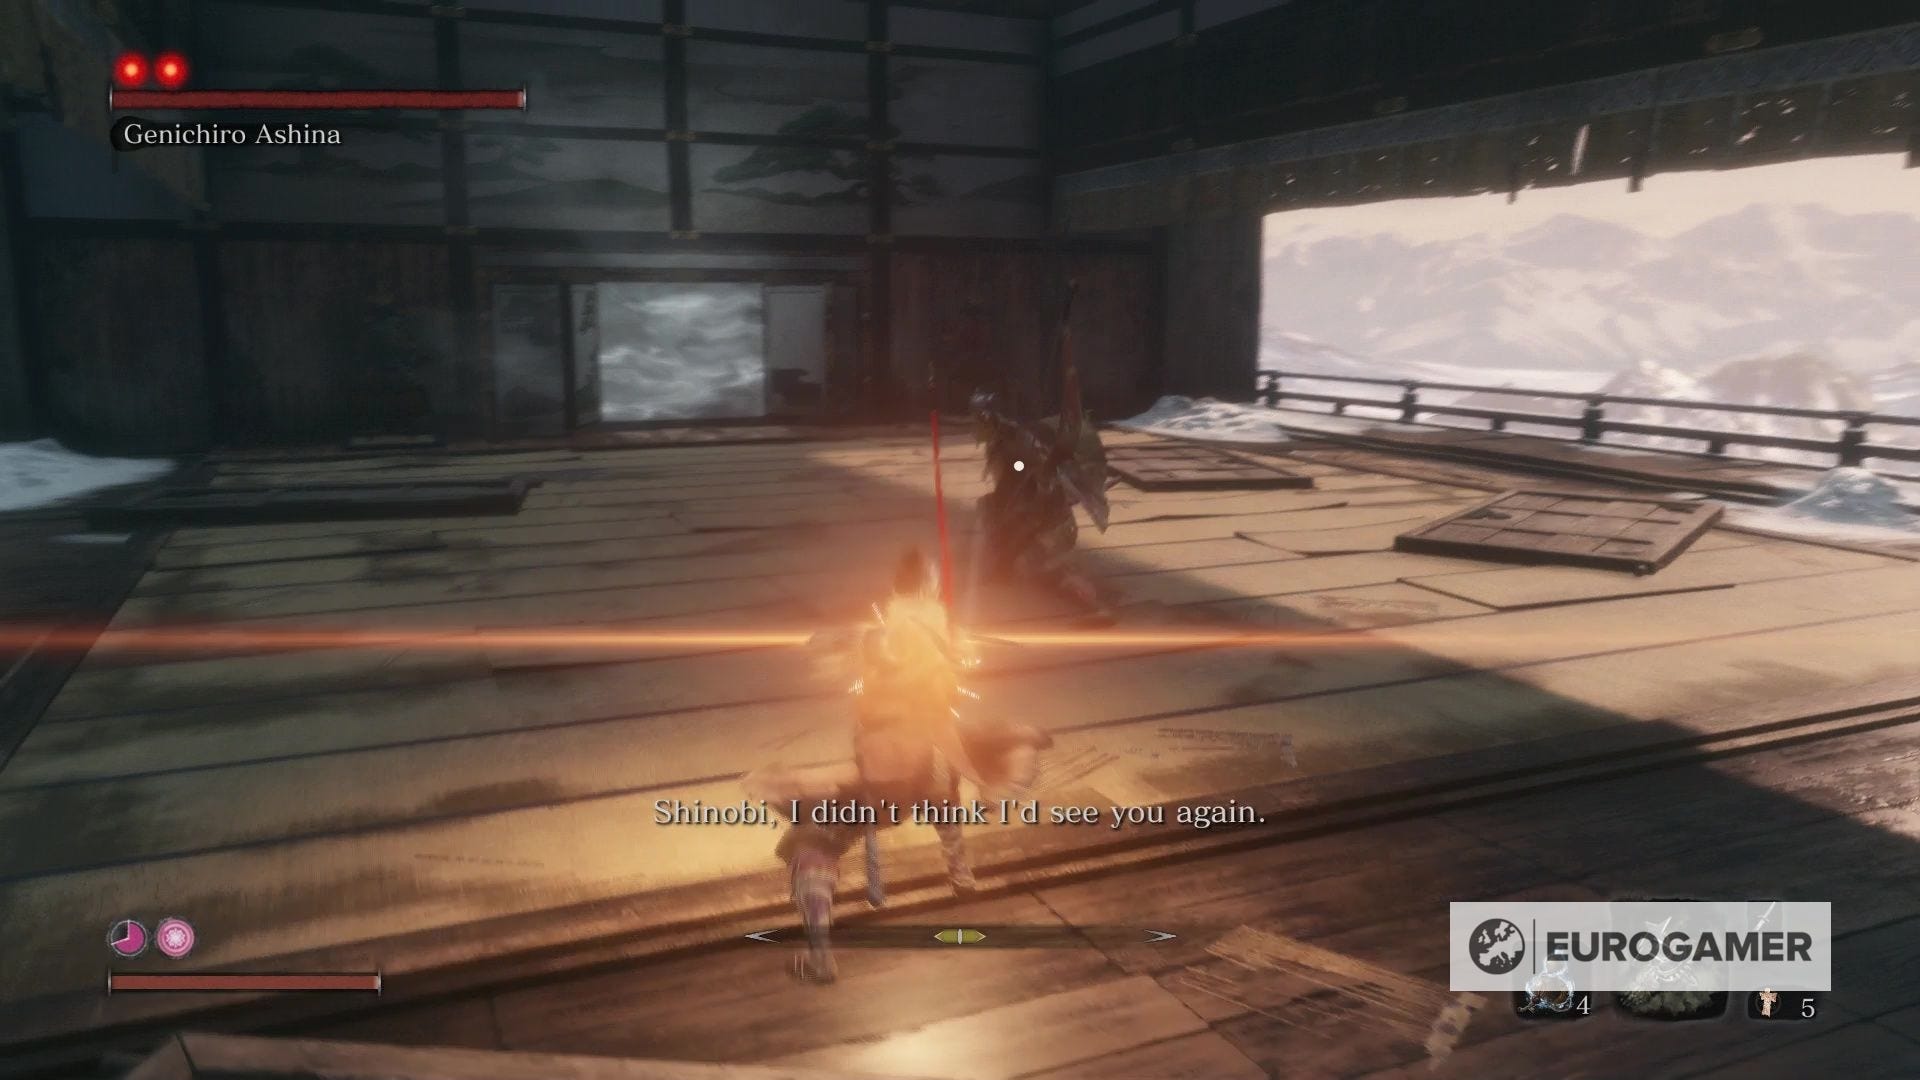
Phase 1 - how to defeat Genichiro Ashina's first phase
Genichiro Ashina has several attacks that he'll use in this phase. The first is his opener, which he occasionally uses throughout all phases of the fight, too. This is a bow shot, followed by a sprint towards you, a roll, and a single strike. Deflect the bow shot, wait for a beat, and deflect the forward-roll strike for a nice start on his Posture (remember, that's your focus here - Vitality damage is just for helping slow down his Posture recovery).
After that, you need to attack. Knowing how many hits you can land is going to come down to practise, but take our word for it that it's absolutely possible to learn, and relatively quick to learn too.
Start trading blows: when you're toe-to-toe with Ashina, in any phase, there's a set number of reactions he'll have which will determine how many times you can hit him (and remember he'll be blocking 90 per cent of these hits too, but you don't care because you're working on his Posture). You can either:
- Hit him twice, then instantly deflect his return attack.
- Hit him twice, then pause and deflect his two, more sideways-swiping return attacks.
- Hit him twice, then hit him for actual Vitality damage when he turns to pull out his bow; this normally happens twice in a row, so do it again.
- Hit him twice and he'll try to pull off a Perilous Attack (jumping first - this is much more frequent).
- Or, hit him twice and he'll try to pull off a Perilous Attack (without jumping - this is much rarer).
Learning him many times you can hit him and which response he's going to have is only possible to learn through practice. Turn the volume up, focus on the sound of his attacks, focus on his body language, and really look at him. If he starts to turn his body and you see a bit of bow, get that three third hit in and repeat it again for another free third hit soon after. Repeat!
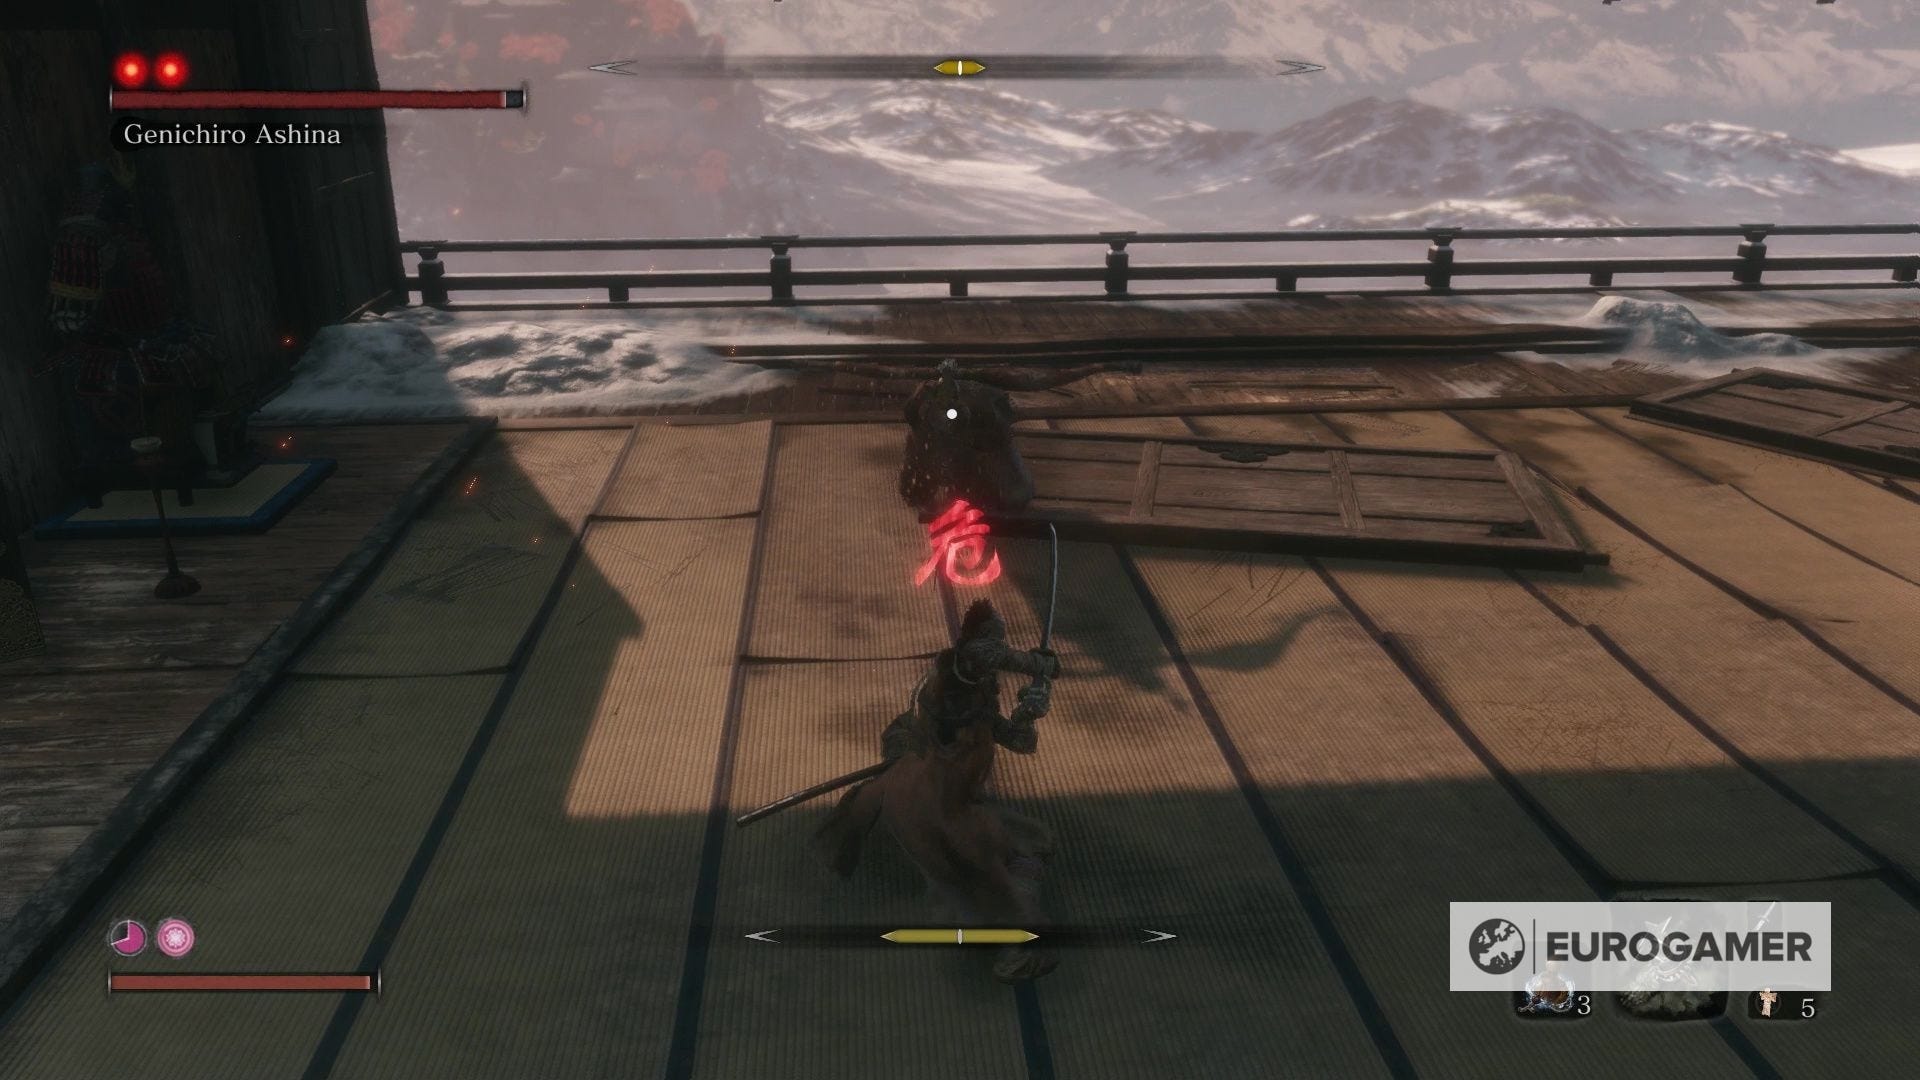
His Perilous Attacks will depend on the phase. In this first phase, he only uses a Thrust attack. That means you can always counter it with a Mikiri Counter for some great Posture Damage. Remember there's a Skill - Shinobi Eyes - which lets you increase the posture damage done by this move, too.
How he actually performs the Perilous Attack varies. Most of the time, at least in phases 1 and 2, he jumps first. If you're confident in your ability you can actually get one free hit on him for both Posture and Vitality damage while he's in the air, before backing away or countering. Do that or not, you always need to back away or counter when he jumps or you'll take heavy damage and be caught in the immediate Perilous Attack follow up.
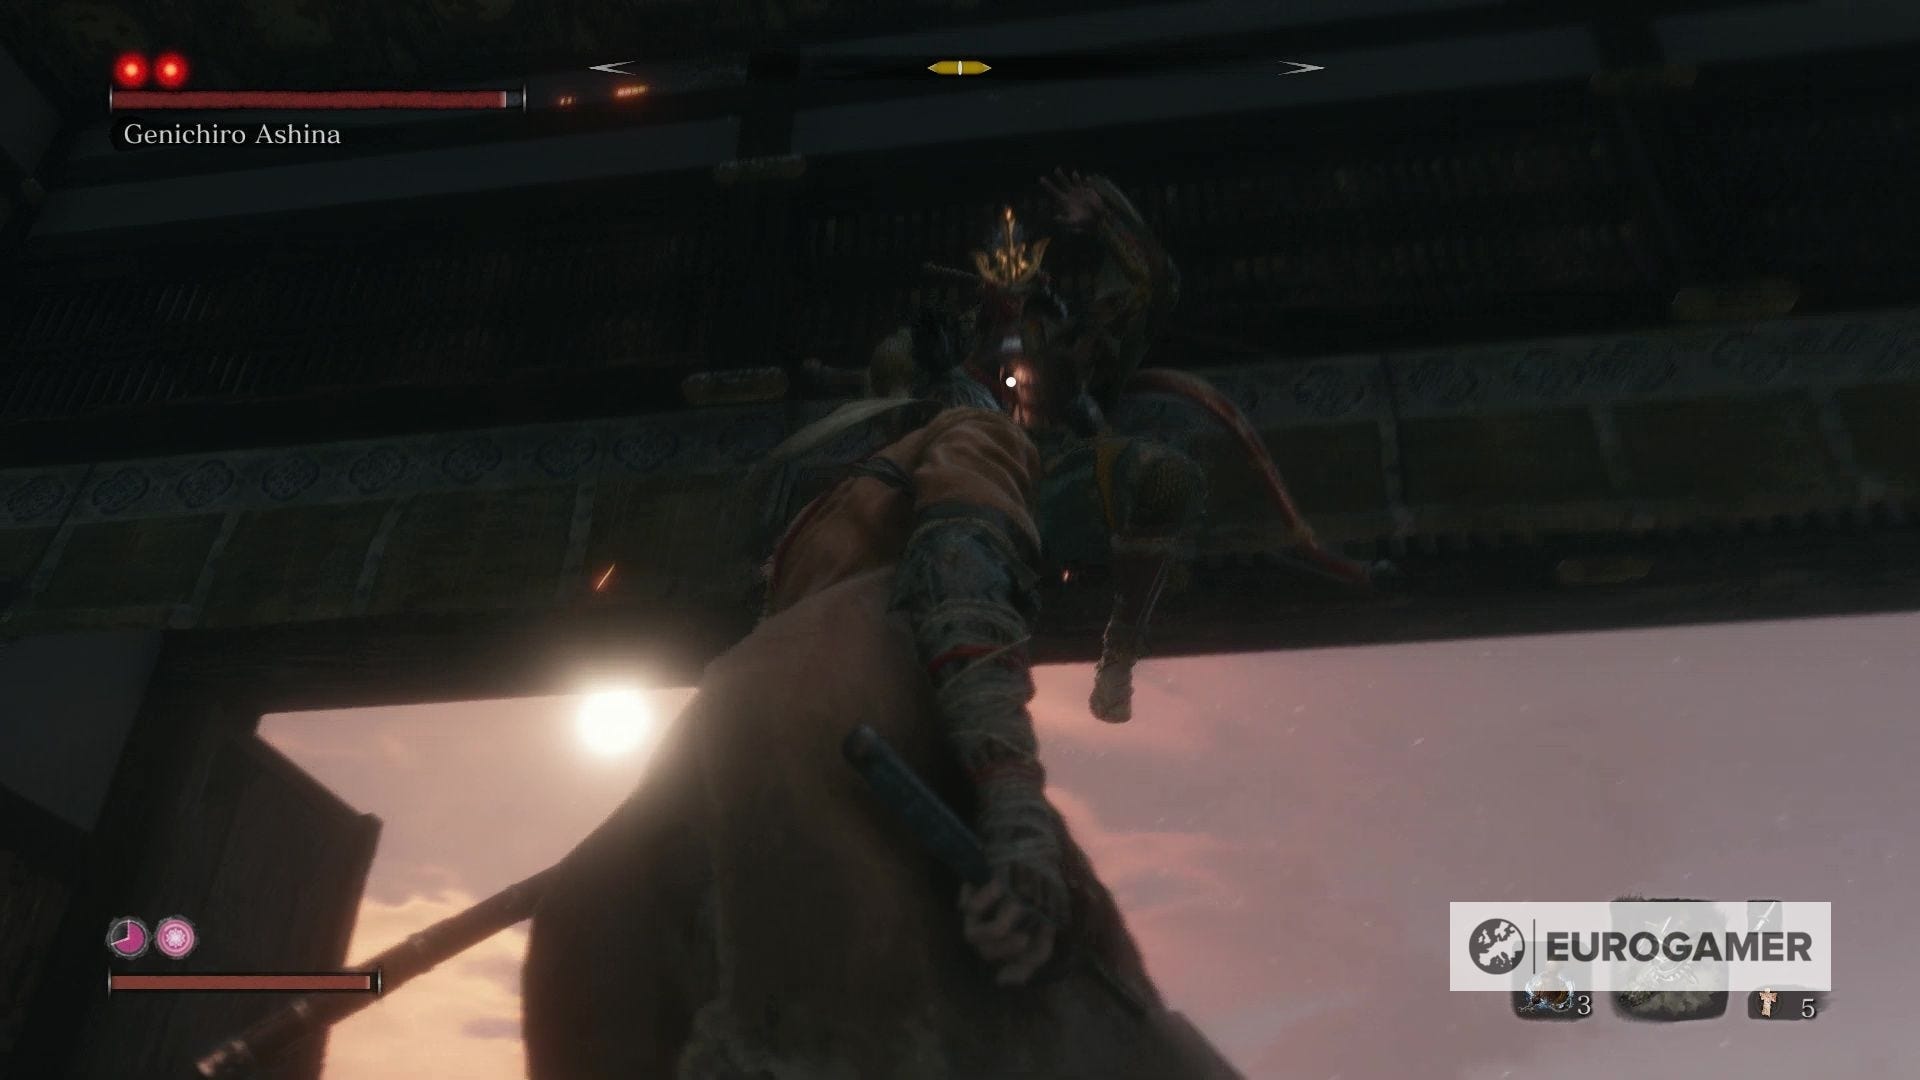
Once he lands, wait for a moment, don't instantly do the Mikiri Counter or you'll do it too soon. He takes a little half-second pause before lunging, so it's essential you practice that timing and try to build up your muscle memory so it's automatic!
When you're not right up in his face trading blows, he has several other attacks.
- Jump with a flurry of several bow shots - this is one of the hardest to deal with. Get caught by one and you'll get caught by several of the others. When in doubt, just hold block when he jumps in the air whilst not in melee-range from you, as that always means he's doing this attack. You can just block all of them and move on. Deflecting only helps keep your Posture low, it won't build up his.
- Flurry attack - this is the other tough one, and it's essential that you learn to beat it. Again, hold block the first few times you fight, and listen. Hear the rhythm, and then next time, tap deflect to the sound of that rhythm and you can deflect all of them. We also found that often, button mashing block as quick as you could actually worked for most of this too, although it's not a brilliant habit!
- Single or double bow shot - he does this every now and then at range. Master the timing and just block/deflect it. If you're sprinting and don't stop, it'll always miss, going where you were instead of where you are.
The final thing to bear in mind is how to heal safely, because it's actually surprisingly easy when you know how. Get away from Genichiro Ashina and use your Gourd - but while you're standing still and drinking, hold sprint and a sideways direction, hard left or hard right, and you will always start moving that way just in time to get out of the way of his arrow (and he always fires an arrow when you drink from your Gourd).
Phase 2 - how to defeat Genichiro Ashina's second phase
After the first Deathblow, it's time for phase 2.
This is surprisingly similar to phase 1, and you should go about it in the same way. Get right up in his face as quickly as possible, hammer away at him (not mindlessly but with the above set responses in mind, responding in your own way as appropriate), and you'll get pretty far.
There are a couple differences, though. First, the Perilous Attacks: he now has three. A grab, which is rare, and you should dodge when you see it or take heavy damage; a Thrust, as before, used both in standard combat or after a jump (normally after a jump), or a Sweep, which comes after the jump attack about half of the time.
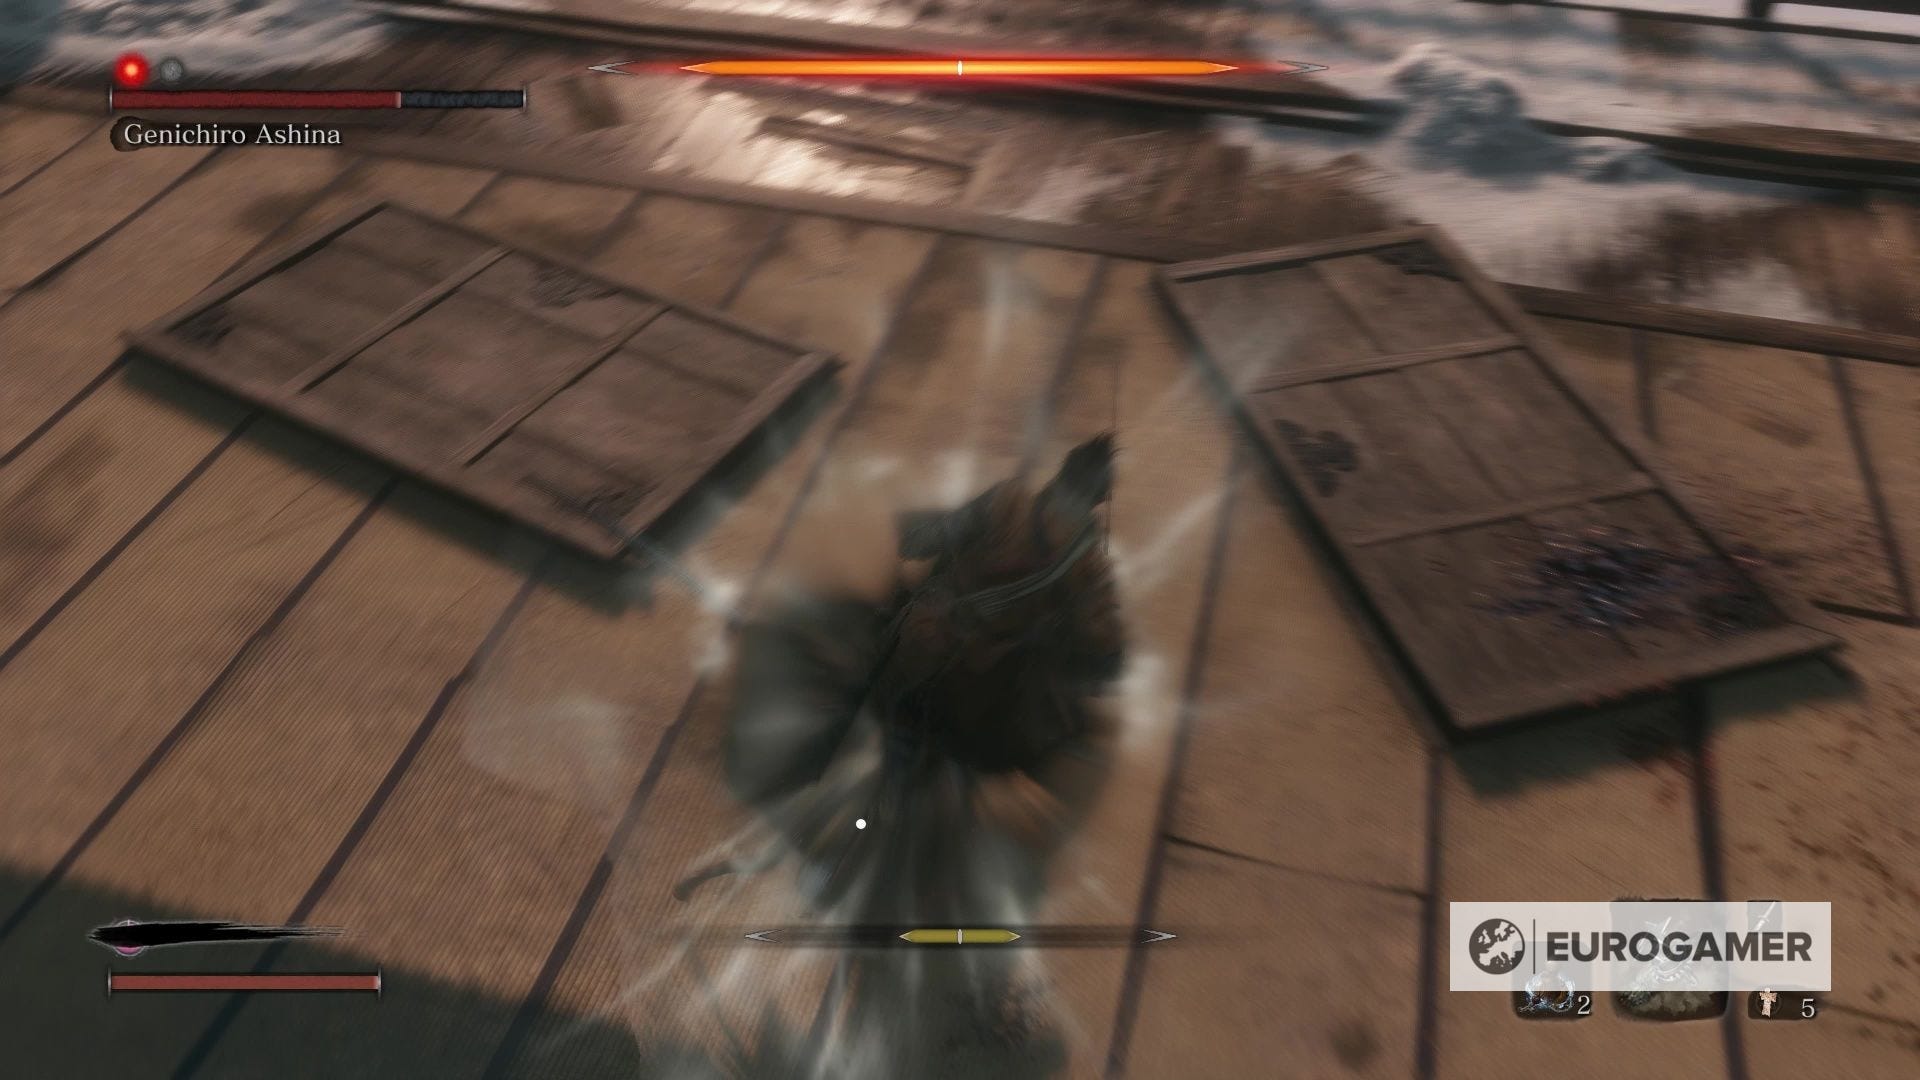
It's that jump-and-Perilous Attack combo that's the tough one. It's quite hard to read whether he's going for a Sweep or a Thrust, but there's little you can do here other than watch him closely and learn to read the signs. He'll tuck his sword in close under his body, centrally, when he's about to Thrust, or he'll fan himself out a bit more and pull his sword to either side when he's going to Sweep.
Mikiri Counter the Thrust and jump and bop him on the head (and follow up with two hits of your sword too) when he does a Sweep, and you'll be just fine.
He has one other, quite rare, Perilous Attack combo that he uses in this phase too, where he goes for a Perilous Sweep and then does a kind of sliding lunge step to the side, and fires a shot of his bow. Watch out for that, as the timing is a bit odd, but the bow shot is blockable as always.
Looking for more Sekiro pages like this? First up, the first main Sekiro patch notes for update 1.03 are live. Otherwise, our Sekiro boss guide, boss list and walkthrough hub has everything in one place, including pages on Lady Butterfly, Genichiro Ashina Way of Tomoe, Folding Screen Monkeys, Corrupted Monk, Guardian Ape, Great Shinobi Owl, Emma and Isshin Ashina, True Corrupted Monk, and Divine Dragon. We also have in-depth pages like Sekiro tips and tricks to get you started, Sekiro Skills, skill tree and Esoteric Text locations explained, our deep dive on the Sekiro combat system, Posture, and Perilous Attacks, or details on all Sekiro Prosthetic Tool locations, how to cure Dragonrot and Rot Essence in Sekiro, Gourd Seed locations, a Divine Confetti farm route method, all Treasure Carp Scale locations, all, Prayer Beads locations and all Snap Seed locations, too. And when you're ready - the how to beat Isshin Sword Saint and an Isshin Sword Saint cheese, plus the many Sekiro endings.

How to catch lightning and beat Genichiro Ashina's Way of Tomoe phase
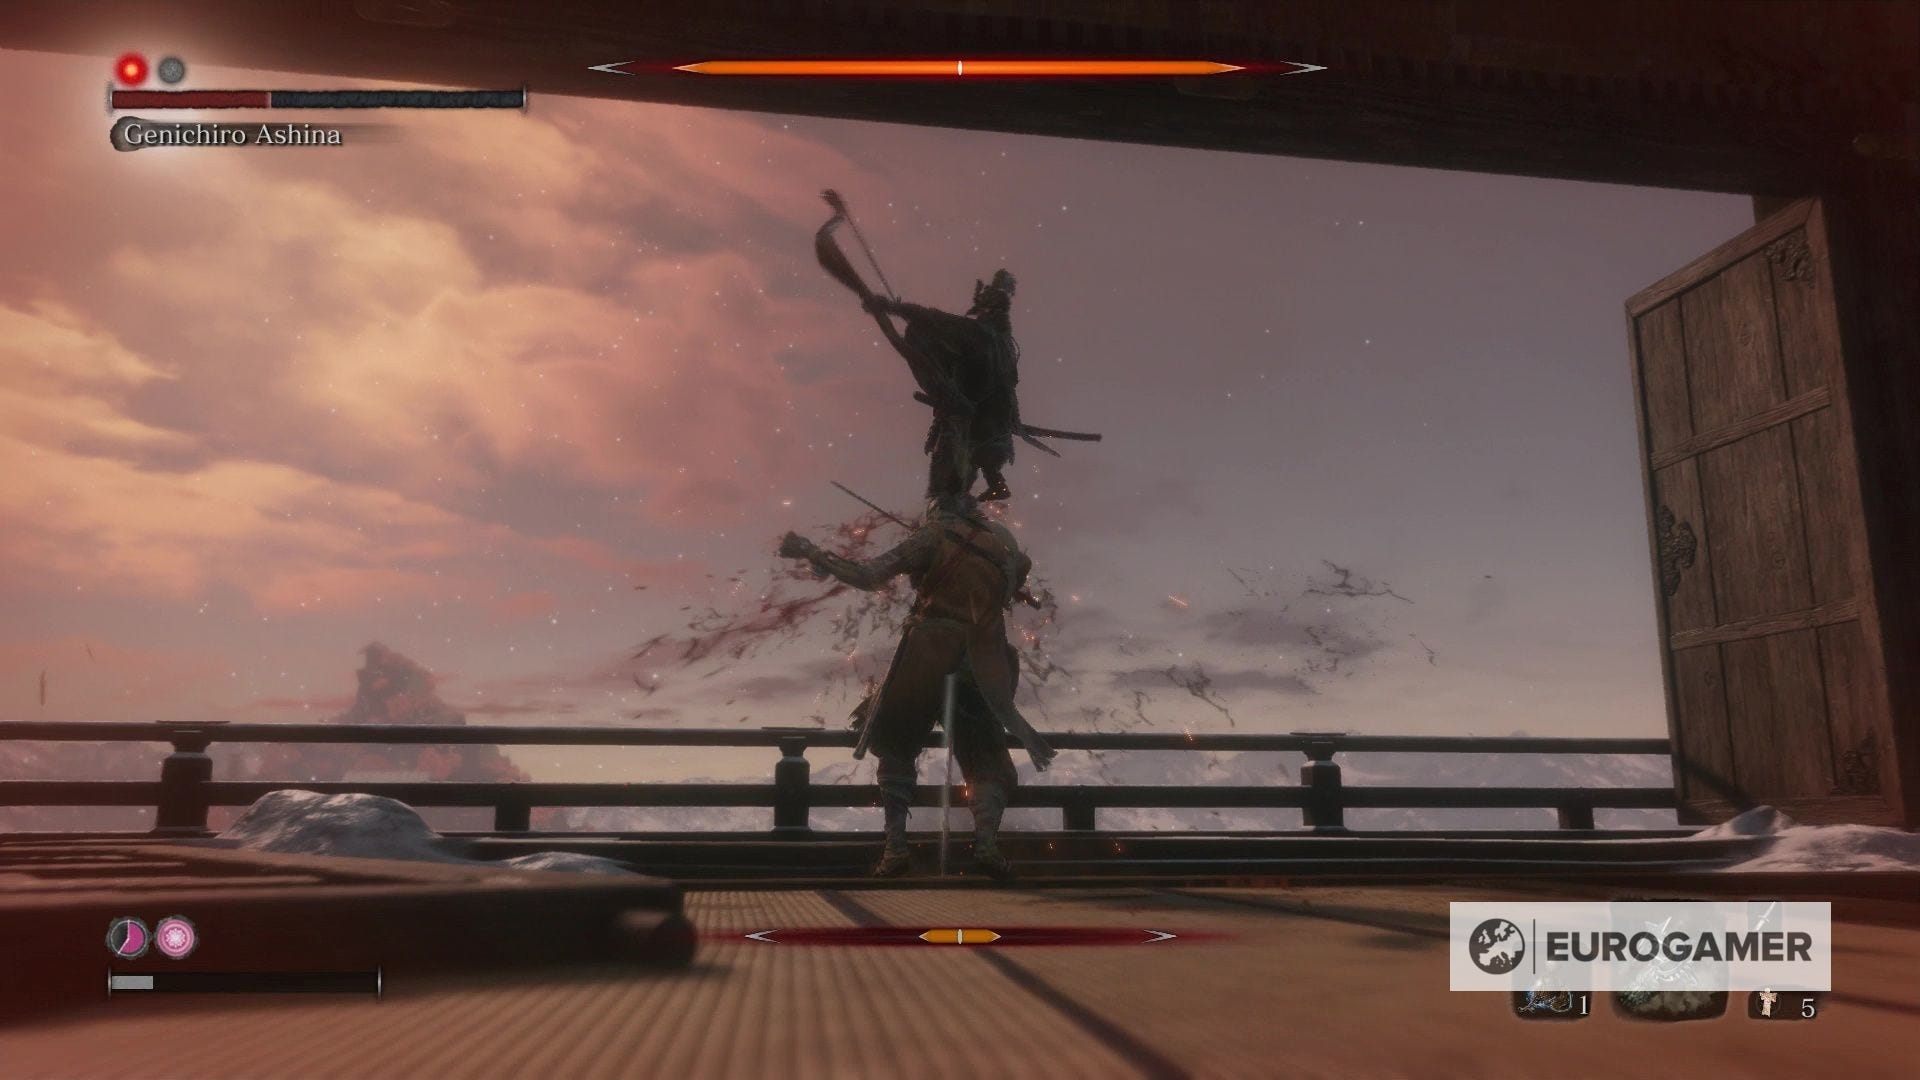
Successfully work your way through his first two Deathblow Marks and it's time for another cutscene - which is again skippable by the way - before Genichiro Ashina reveals his 'true' form, Way of Tomoe.
This phases is another one of those boss counters where he looks incredibly intimidating - and can do huge, instant damage - but is actually fairly flimsy when you know what to do, and can stay calm enough to do it.
First, he will always open with a Perilous Lunge, which looks like a bit of a Sheev Palatine corkscrew attack: he'll jump and spin towards you from across the arena. Brilliantly though, you can counter this intimidating attack with a simple Mikiri Counter for a reliable chunk of Posture Damage from the off.
After that, get one the front foot as soon as possible. He has the same responses as he did in his first two phases to your standard sword combat attacks. Respond in the right way - you'll be good at reading him by now - and then be prepared for the tough part.
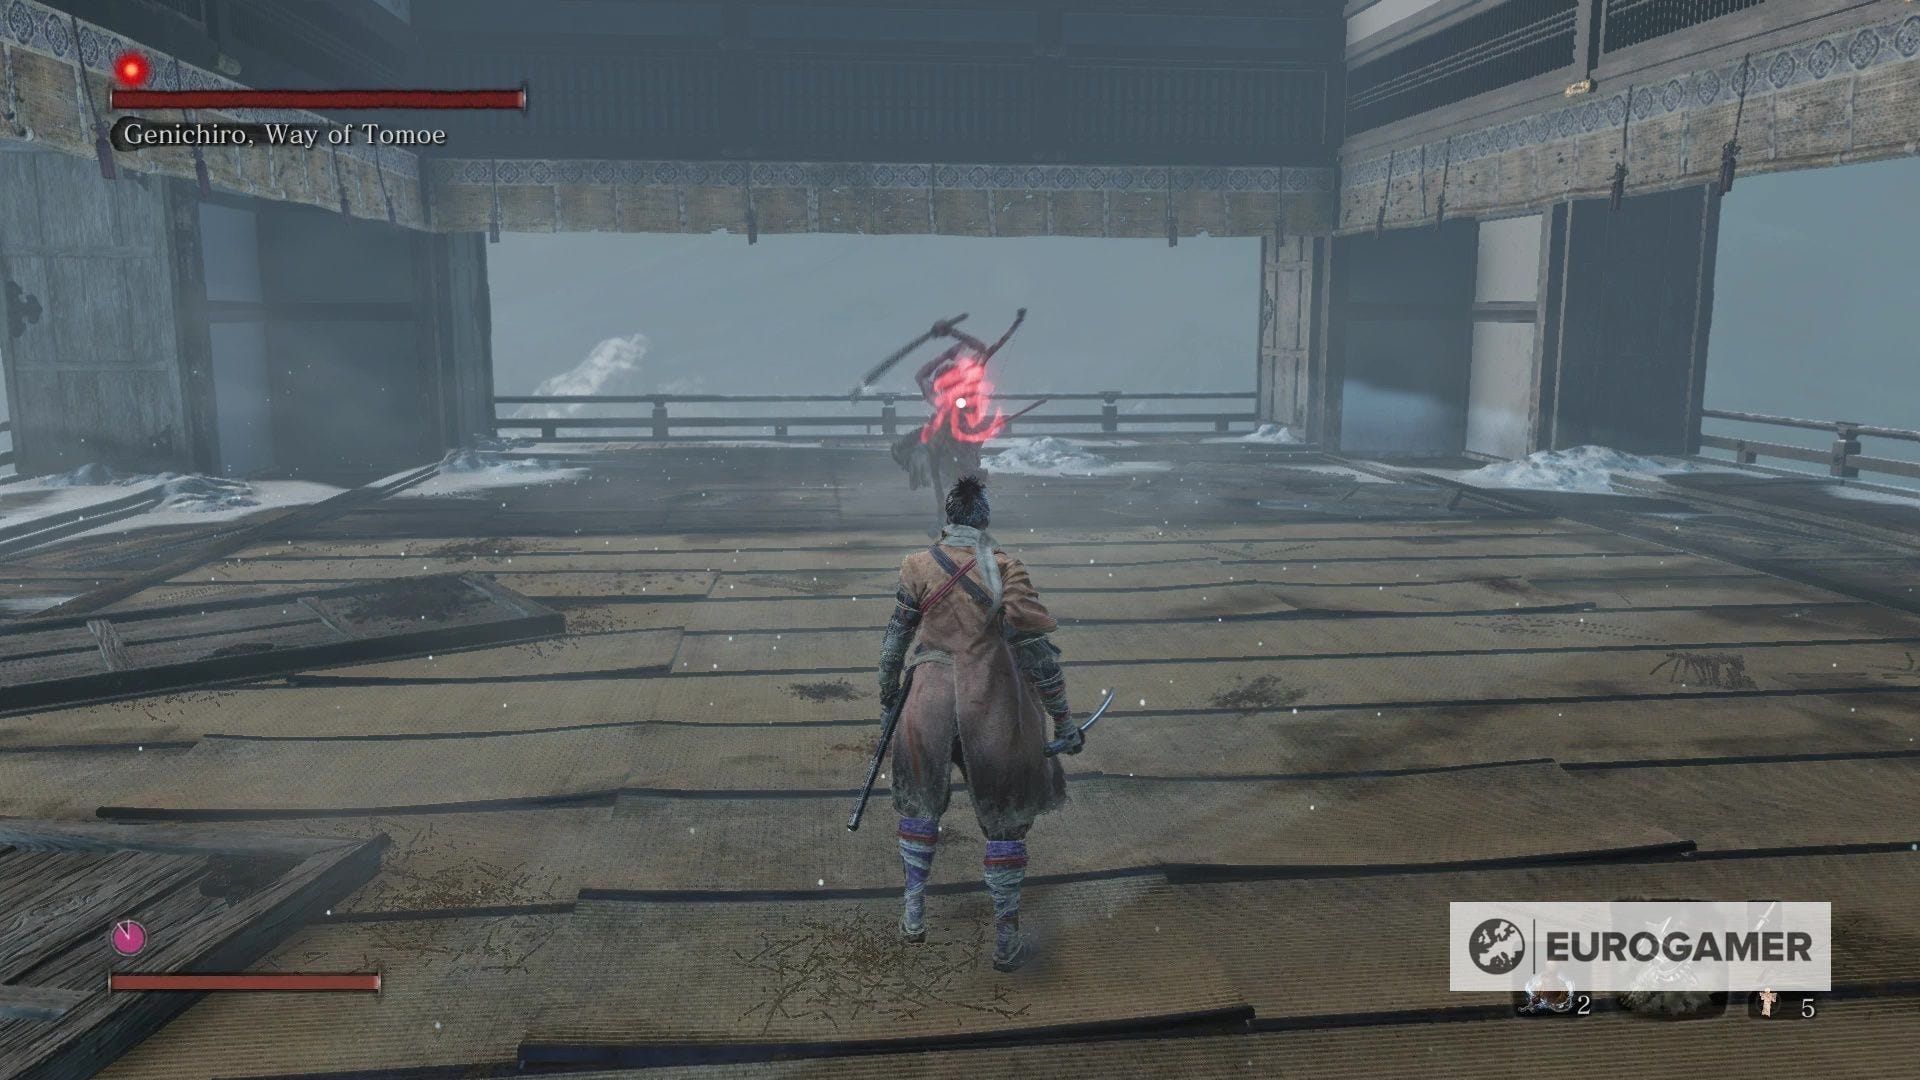
How to catch lightning to beat Way of Tomoe form Genichiro Ashina
Fairly regularly - especially after you've had a successful little bout of sword fighting - when Ashina's in his Way of Tomoe phase he'll jump up and summon a bolt of lighting. It actually spins around him in a semi-circle, and then strikes where you're standing at the time.
There are a few ways to respond. You can avoid it altogether, fairly reliably, by rolling or sprinting towards him, getting really close to him as he does this. But this will mean you're not keeping the pressure up on his Posture and make the fight much longer, and harder, in the long run.
Ideally what you need to do is catch the lighting and then throw it back at him. How simple.
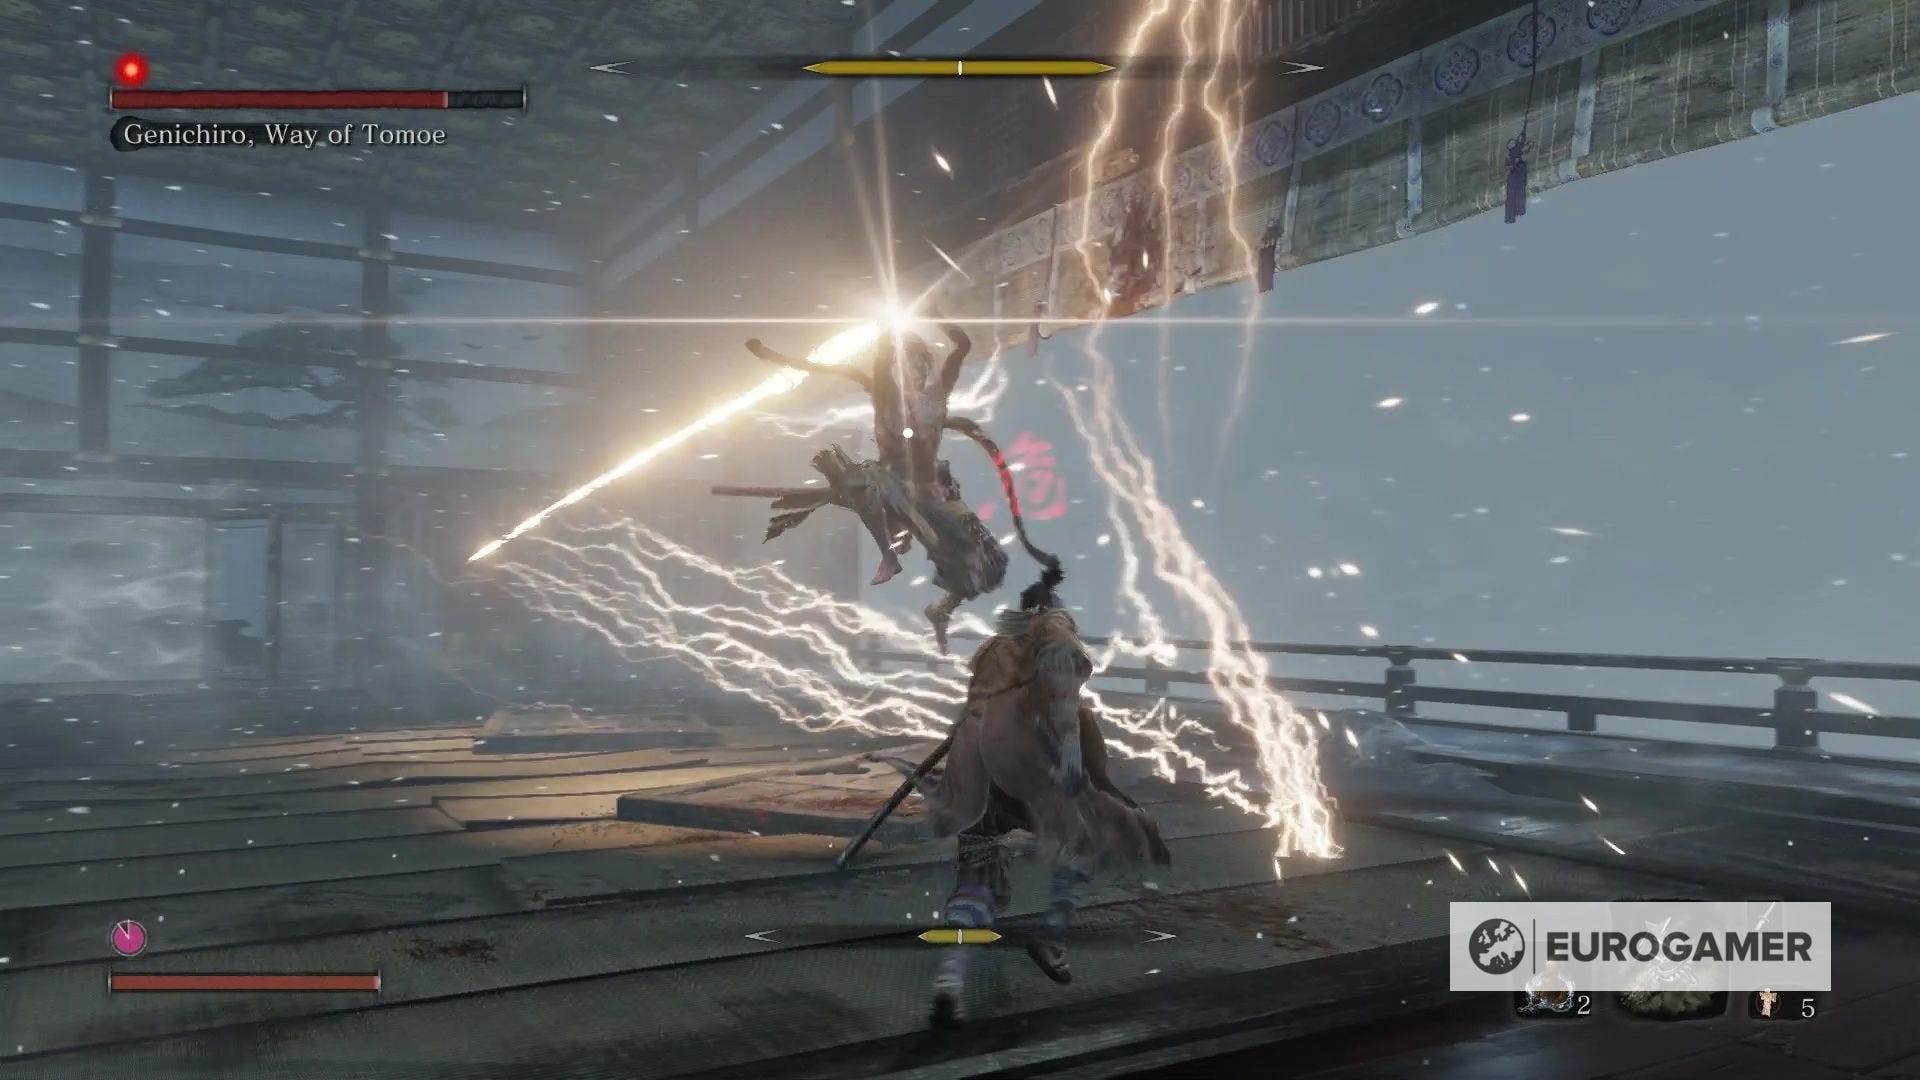
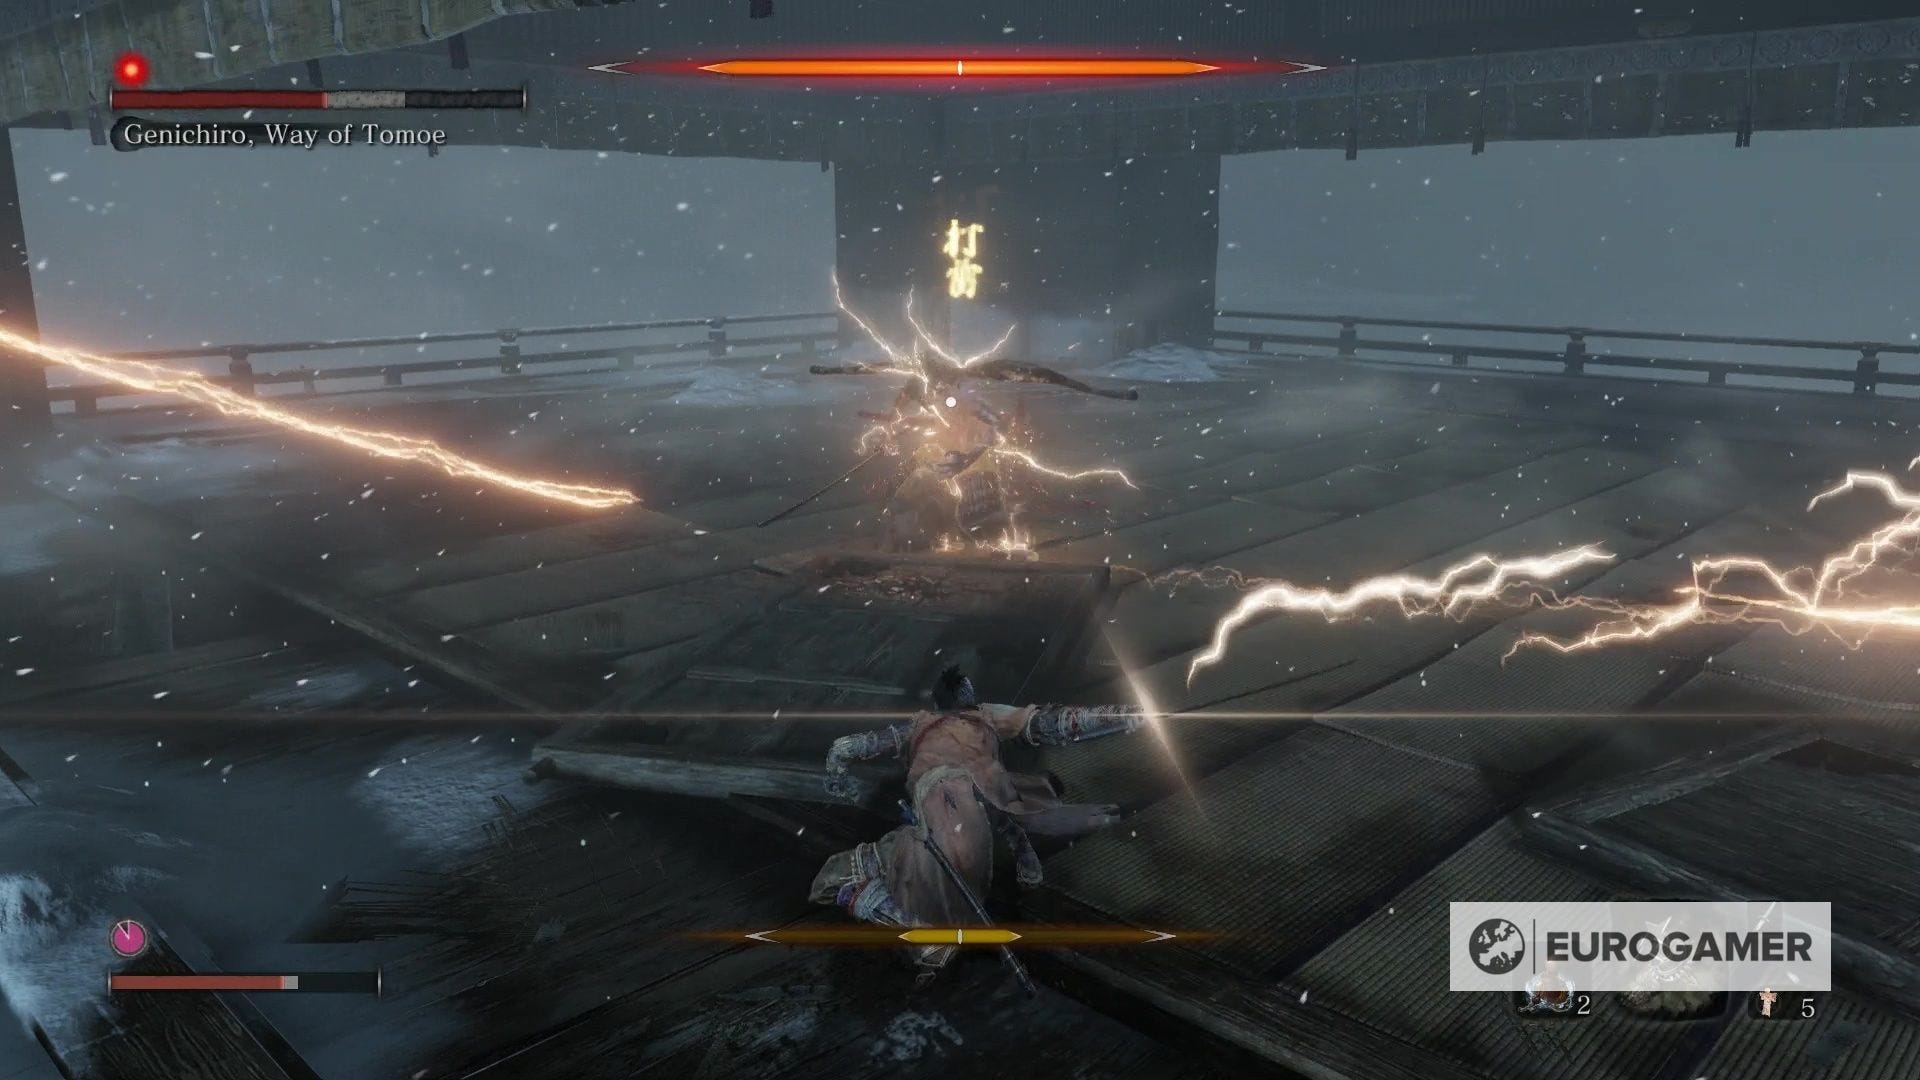
This is done by jumping into the lighting as it spins around in the air. When you're "in" the bolt, as it hits you whilst airborn, tap R1/RB to catch it and tap it again to throw it back at Mr. Way of Tomoe, to freeze him in place and open him up for a flurry of your attacks.
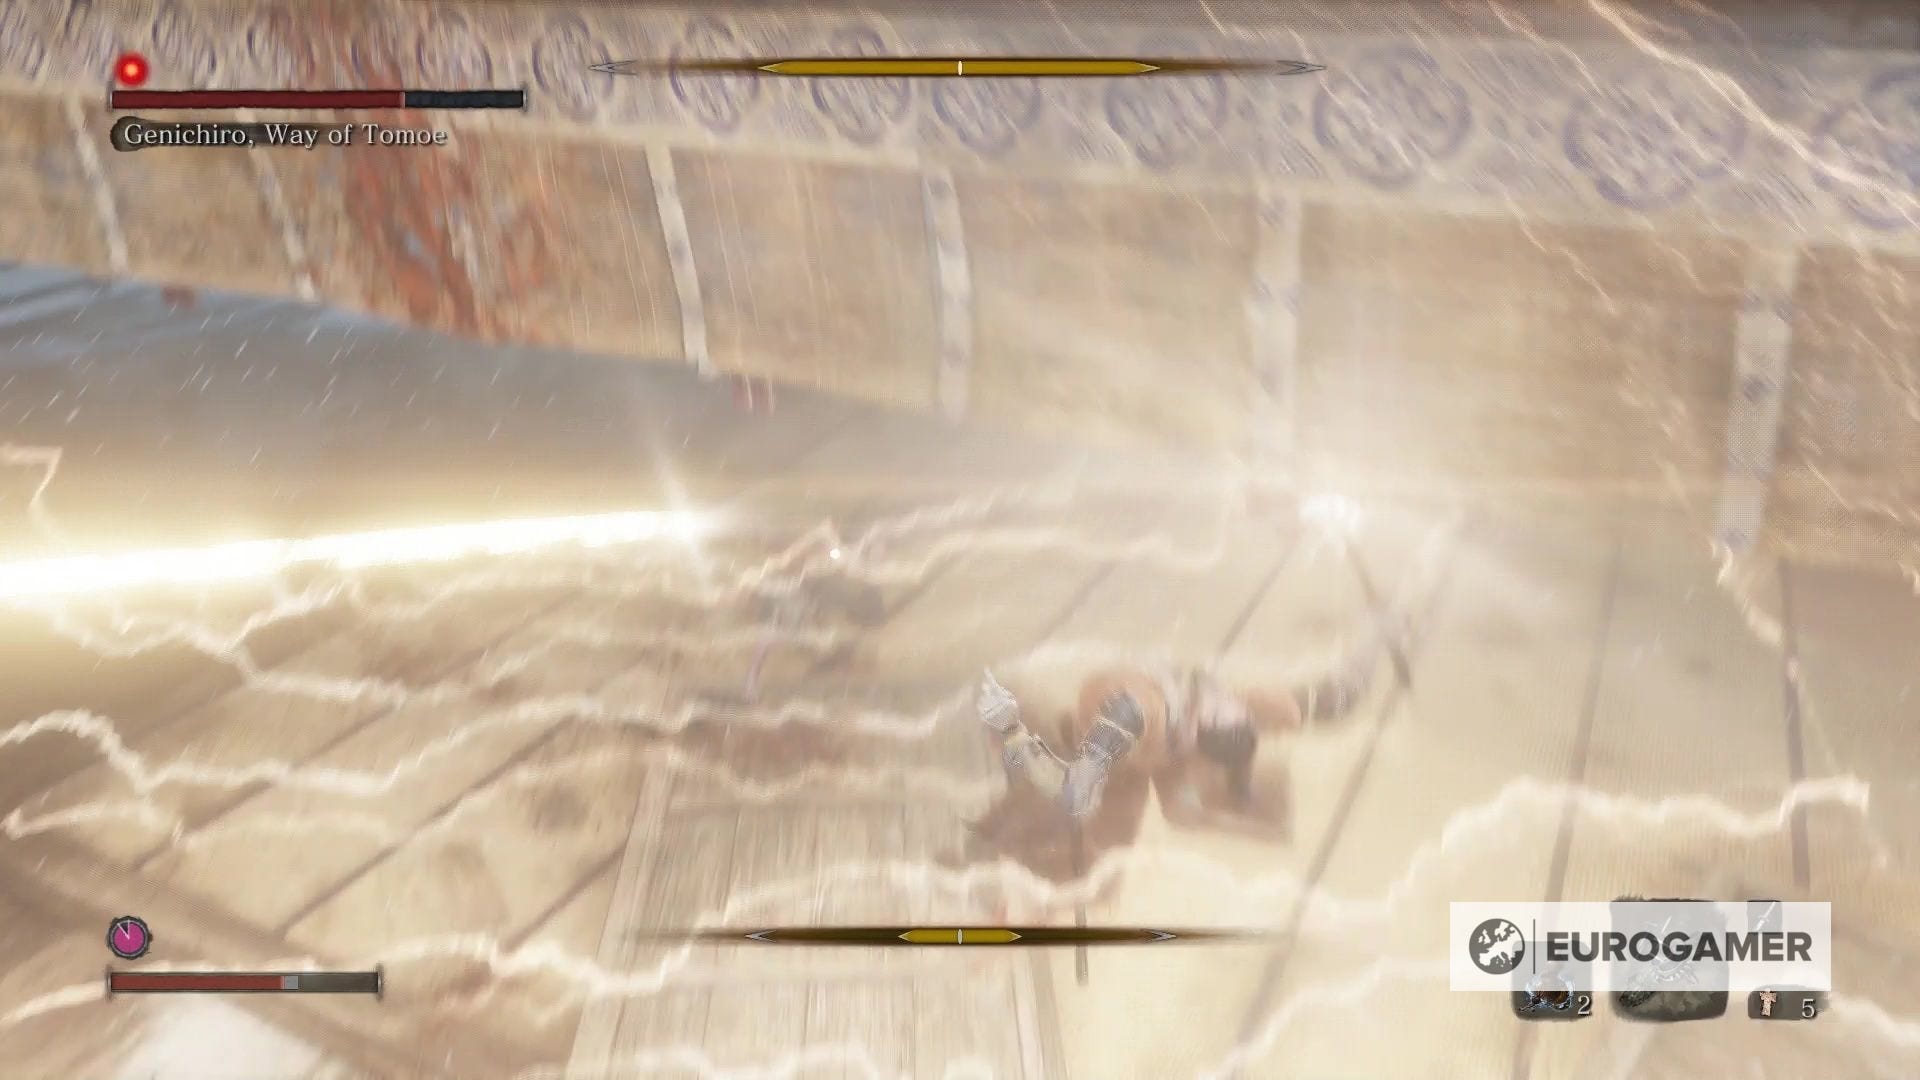
The key to it is that you need to throw the bolt of lightning back at him before you land back on the ground. If you land, you'll get shocked yourself and be frozen in place, and he'll probably then kill you with a single shot.
Honestly, it will take some practice if you're anything like us, so be patient and be prepared to work your way through his three stages several times before success (or... a lot more than several times, if you're like us).
Once you do get the hand of the timing though, it'll feel bizarrely easy. We soon reached a point where his attacks were pretty much blockable from hearing the sound design alone, and you'll actually be happy to see him do a regular flurry attack in this third phase because you know it's just free Posture damage on him. So trust us when we say this: you can do it!
One last thing, too: healing in this third Way of Tomoe phase is incredibly risky, but you can do it if you're far enough away. The difference is that rather than a bow show you need to dodge, he'll do that corkscrew Thrust attack that you need to instantly Mikiri Counter. It's very satisfying when you pull it off, if you fancy taking the risk.
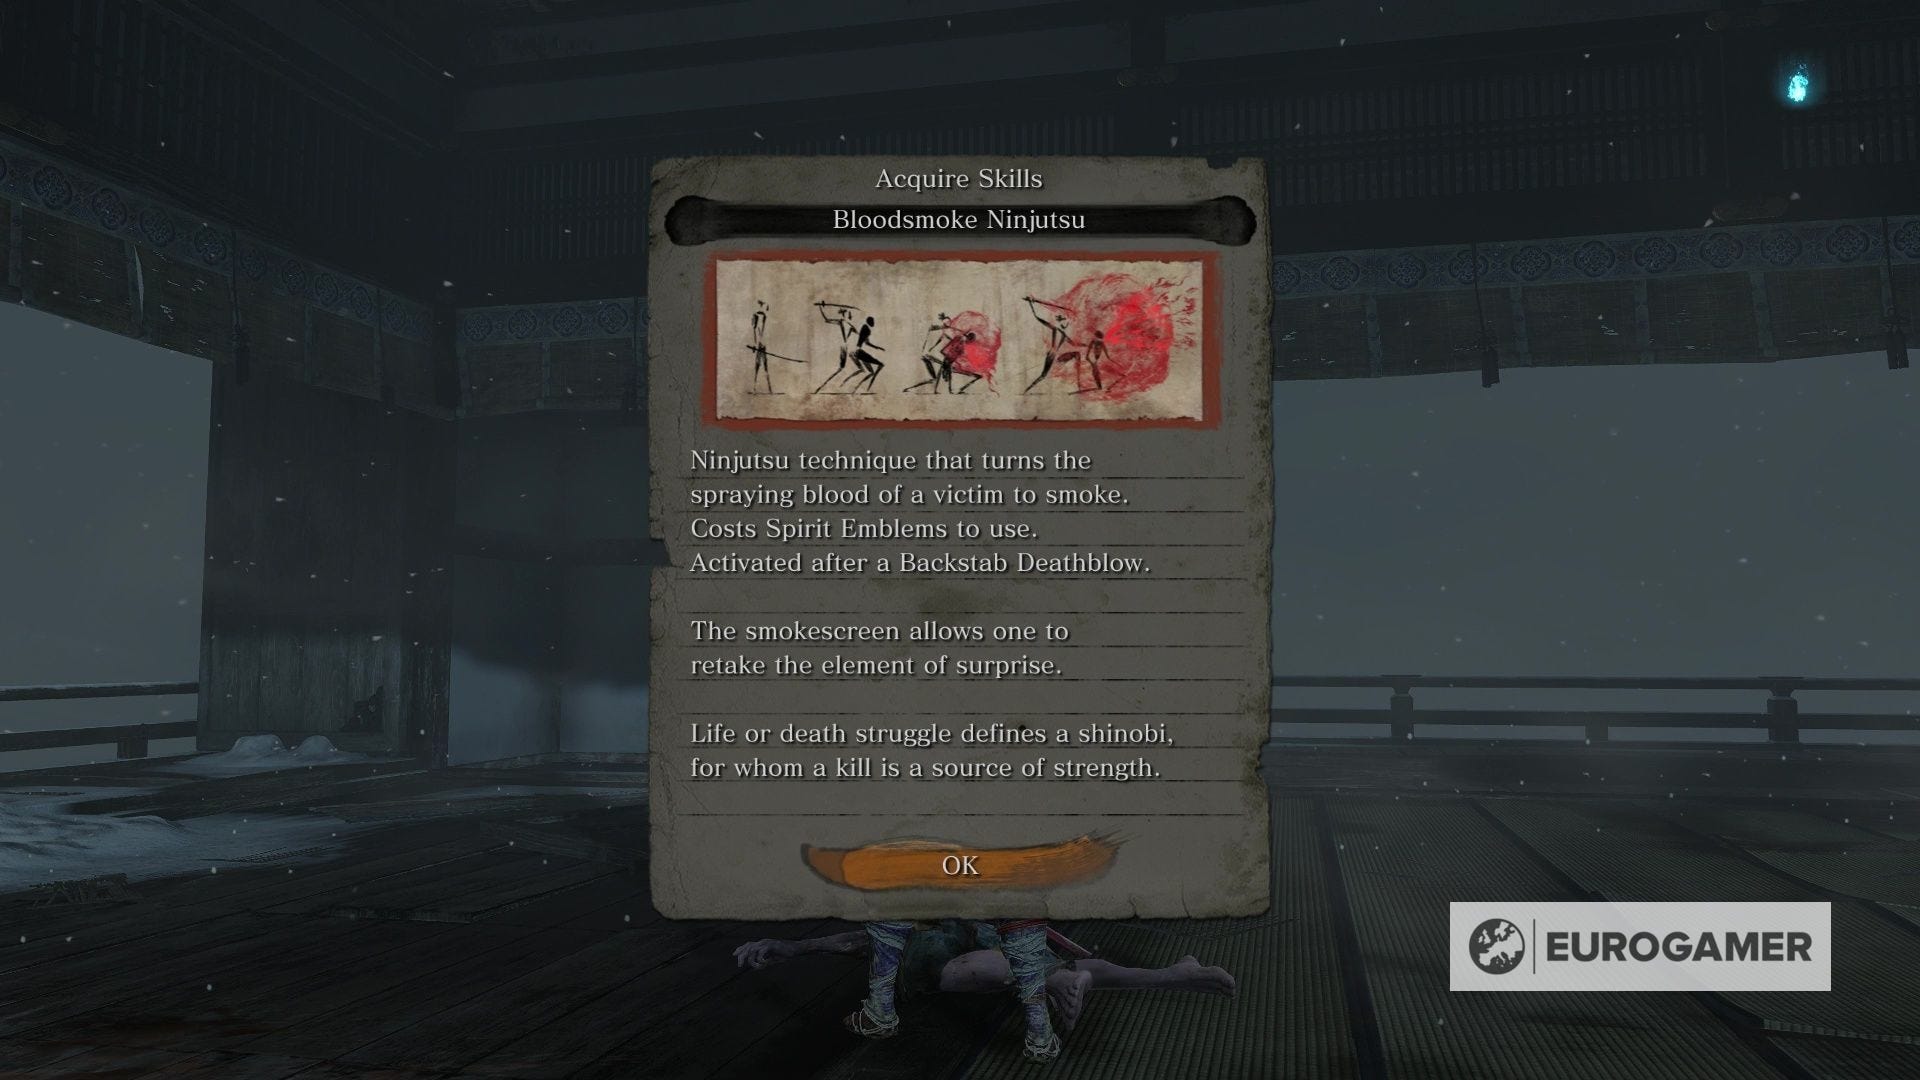
Defeat Genichiro Ashina Way of Tomoe and you'll be handsomely rewarded with new abilities and items alike. Be sure to step inside and use the nearby Sculptor's Icon and save your progress - good job!

That's all you'll hopefully need for tackling this encounter, and the end of our in-progress walkthrough for now. You can cycle back to our main Sekiro walkthrough and boss guide hub for much more explainers and advice, however!