Sekiro Lone Shadow Longswordsman fight - how to beat and kill the Lone Shadow Longswordsman
How to beat the Lone Shadow Longswordsman in Sekiro: Shadows Die Twice.

Lone Shadow Longswordsman is the next nearby mini boss in Sekiro, found in the game's Ashina Reservoir area, following on from Seven Ashina Spears Shikibu Toshikatsu Yamauchi in our walkthrough of the game's bosses and mini-bosses.
You'll find Lone Shadow Longswordsman at the bottom of that pit where you first woke up, right at the beginning of the game's prologue - but don't jump in right away without a plan, as there's something to bear in mind first.
Below, we'll cover how to beat Sekiro's Lone Shadow Longswordsman, including any particularly strong methods or weaknesses they might have and any handy things to bear in mind.
For more guides and pages like this, meanwhile, cycle back to our main Sekiro walkthrough and boss guide hub.
Sekiro Lone Shadow Longswordsman - how to beat and kill the Lone Shadow Longswordsman
The Lone Shadow Longswordsman is waiting for you right where you first began your playthrough of Sekiro, at the bottom of the pit where you first woke up.
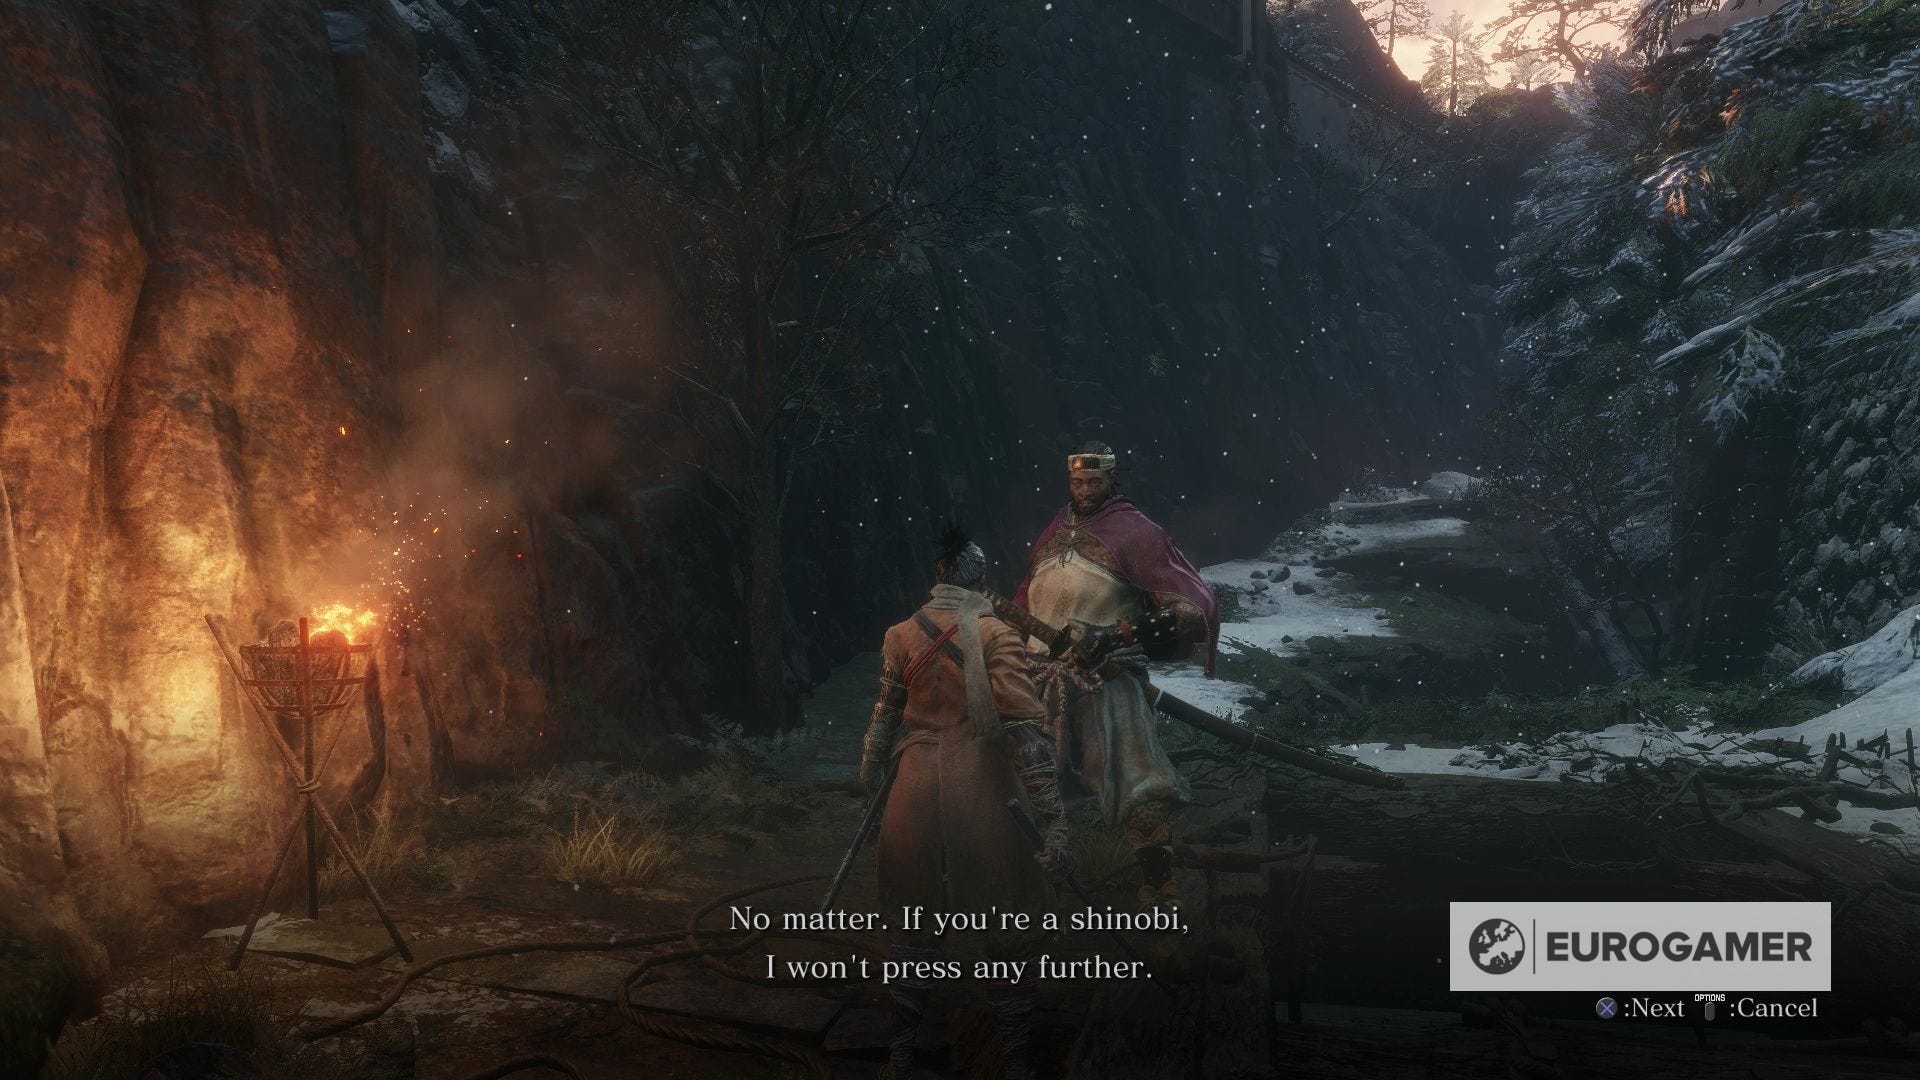
There'll be a friendly Samurai NPC waiting outside when you first go back there, by the entrance. Talk to him for some backstory - but don't go in this way. Head up to the hole in the ground further back instead.
Drop down that second hole and, if your timing's okay, you can get a Deathblow on the Lone Shadow Longswordsman, claiming one of his two Deathblow Marks for free.
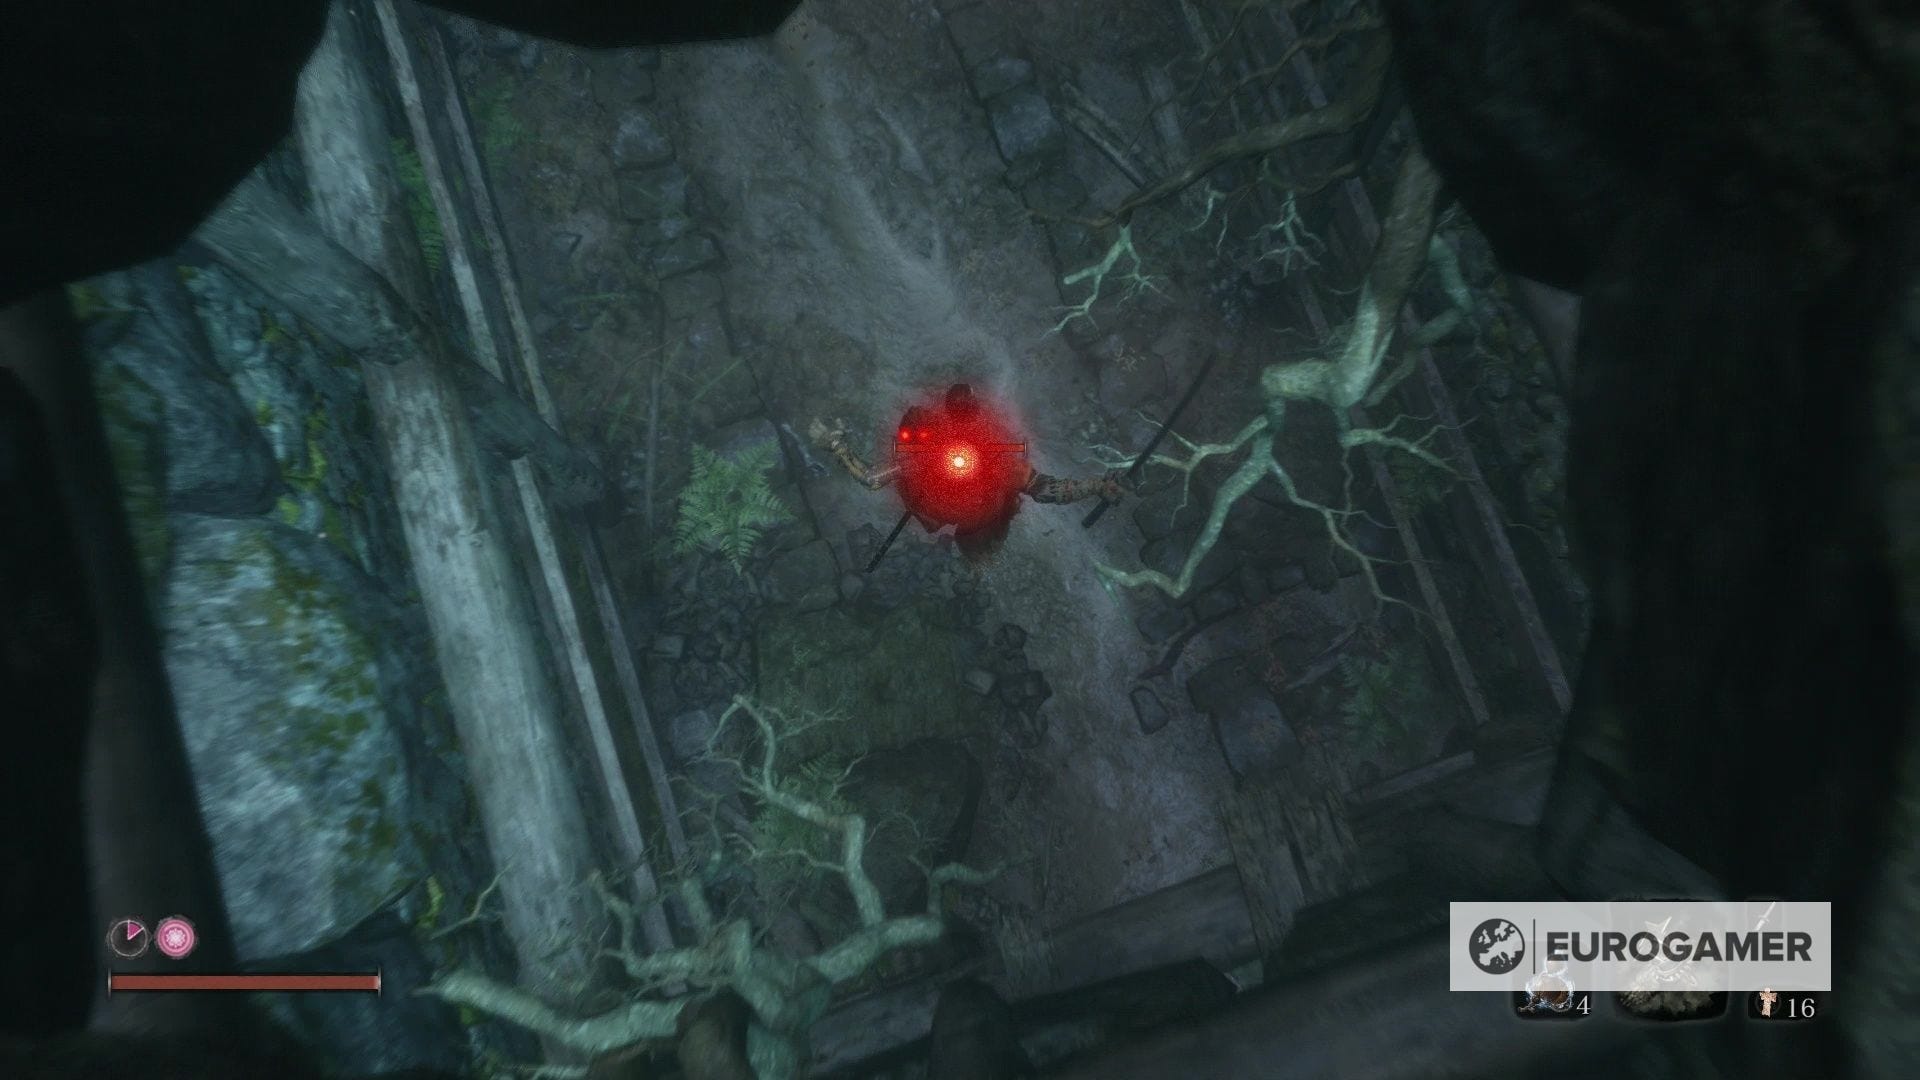
From then, it's a straight fight.
How to beat the Lone Shadow Longswordsman
The area you need to fight the Lone Shadow in is pretty small - the smallest area you've had for a boss fight so far, probably - and at first that seems like a disadvantage.
Actually though, it isn't. You need to be aggressive, and brave - as is always the case with bosses really - and this will force you to stand and fight rather than running away.
The Lone Shadow Longswordsman has pretty low Vitality and Posture, meaning that if you can get through his slightly hard-to-read attacks, he won't take too long to put down.
The main thing to concern yourself with is his main Perilous Attack: a kind of slow wind-up kick, that counts as a Thrust attack.
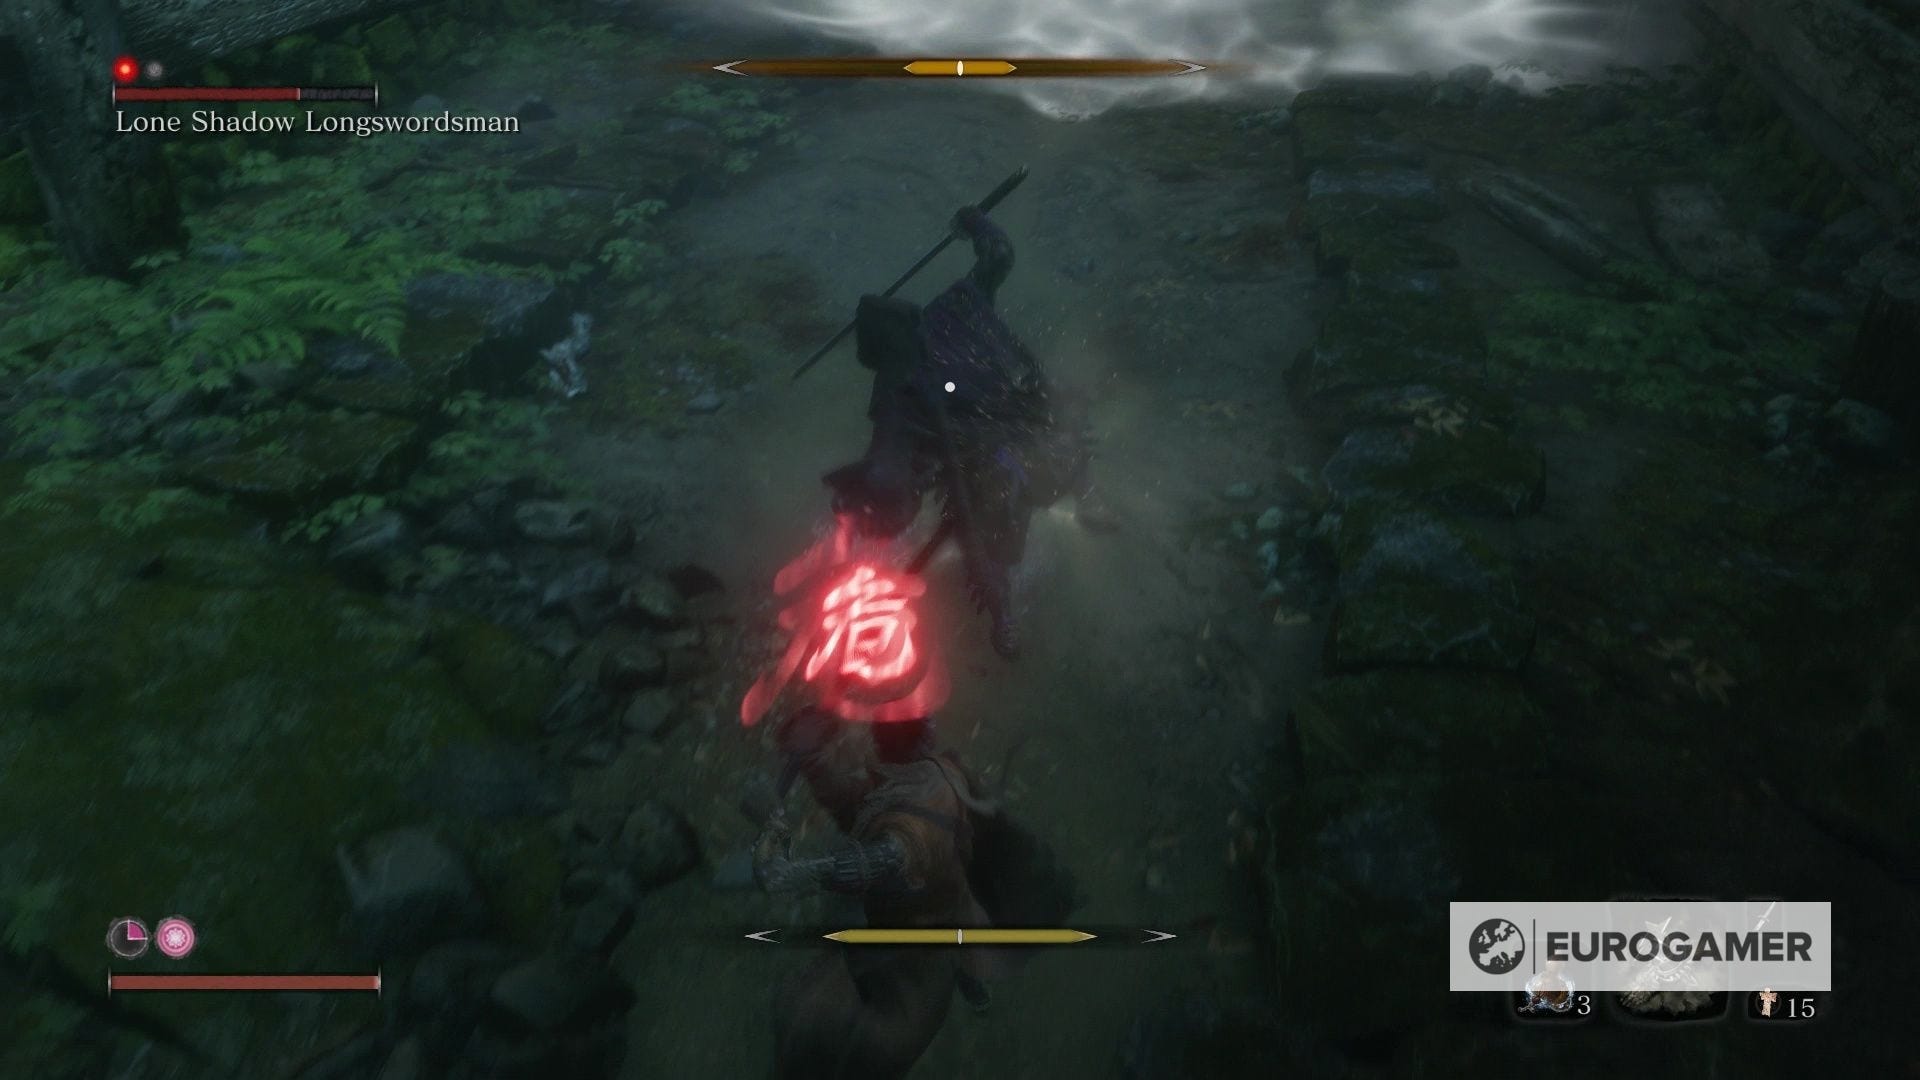
Counter it with a Mikiri Counter and you'll do some hefty Posture damage to him right away. You can normally follow that up with one or two hits of your own, too.
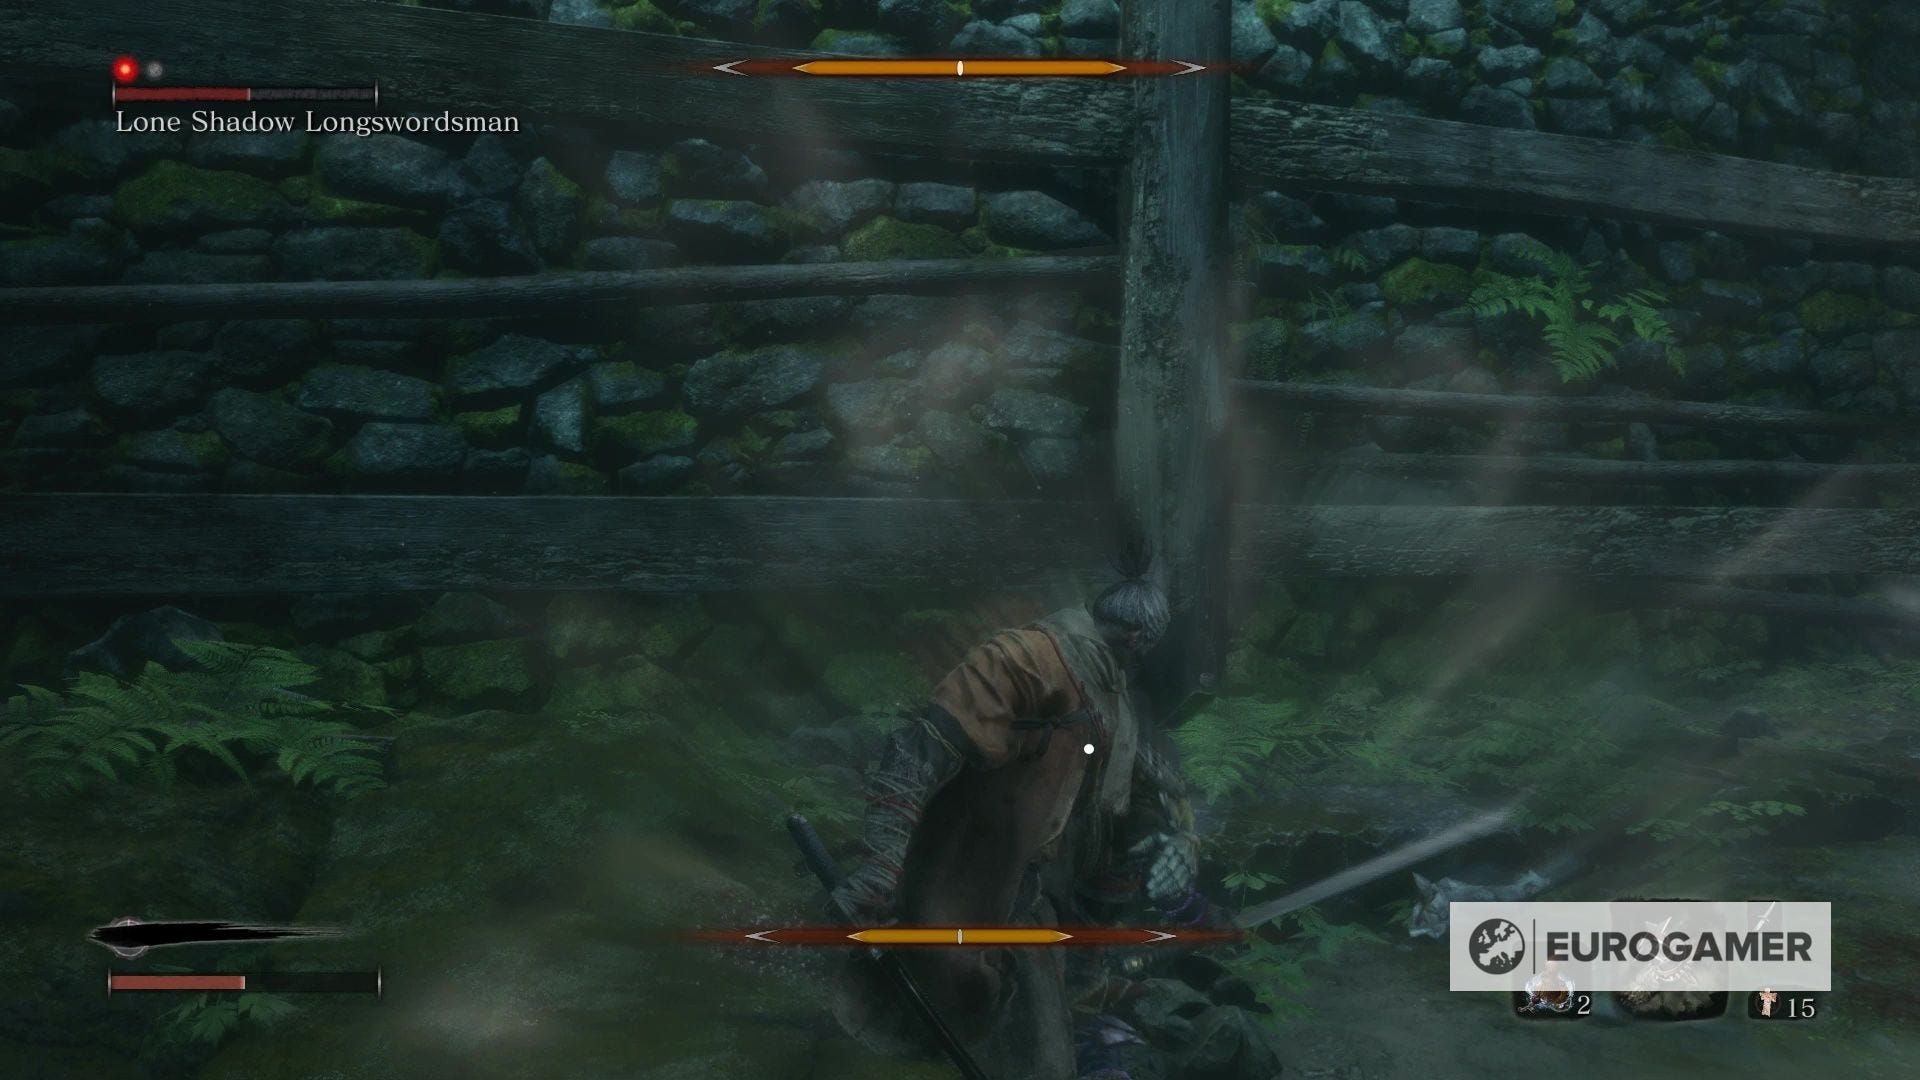
He also has a kind of "flurry" attack, where he spins and kicks several times in a row. Ideally, you want to counter this by standing your ground and deflecting, which is easier than you think.
Looking for more Sekiro pages like this? First up, the first main Sekiro patch notes for update 1.03 are live. Otherwise, our Sekiro boss guide, boss list and walkthrough hub has everything in one place, including pages on Lady Butterfly, Genichiro Ashina Way of Tomoe, Folding Screen Monkeys, Corrupted Monk, Guardian Ape, Great Shinobi Owl, Emma and Isshin Ashina, True Corrupted Monk, and Divine Dragon. We also have in-depth pages like Sekiro tips and tricks to get you started, Sekiro Skills, skill tree and Esoteric Text locations explained, our deep dive on the Sekiro combat system, Posture, and Perilous Attacks, or details on all Sekiro Prosthetic Tool locations, how to cure Dragonrot and Rot Essence in Sekiro, Gourd Seed locations, a Divine Confetti farm route method, all Treasure Carp Scale locations, all, Prayer Beads locations and all Snap Seed locations, too. And when you're ready - the how to beat Isshin Sword Saint and an Isshin Sword Saint cheese, plus the many Sekiro endings.

The first time he does this attack, just hold block, or "guard", and listen: hear the rhythm of his attacks as they hit your guard. The next time he does it - you can tell its coming from the kind of "wind" streams that appear around him, like in your Whirlwind Strike attack - try to tap the block button to that same rhythm.
Even if you deflect four out of every five of his attacks in those flurries and general attacks towards you, if that's combined with a couple of Mikiri Counters on the Perilous Attack kick, he'll go down incredibly quickly. Just don't get flustered by the flurry, and stay aggressive, hitting him even when he's blocking to keep that Posture damage rolling!
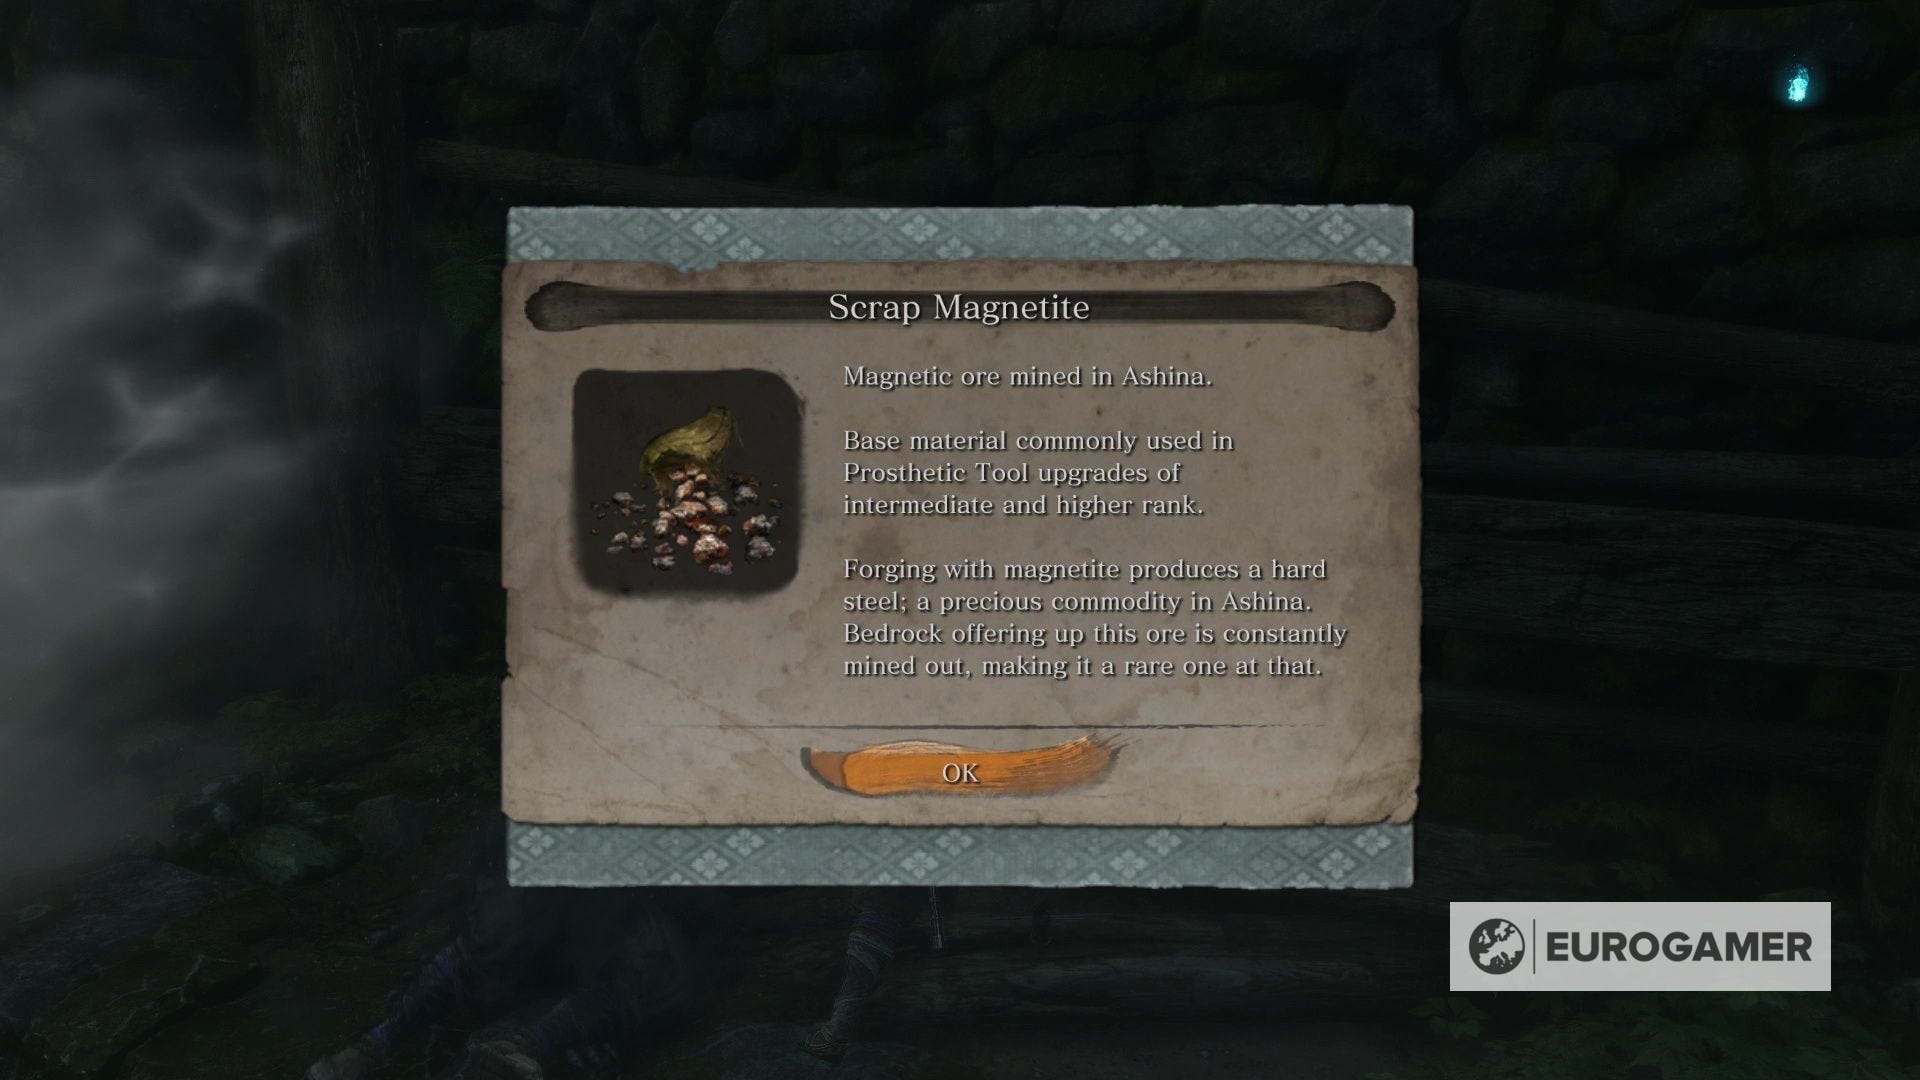
He's worth tackling, too - not just for the Prayer Bead, but for the Scrap Magnite he drops, which is a rare crafting item, and for the tunnel that opens up behind him, which leads to a spooky late game area worth exploring after your next fight.
That's all you'll hopefully need for tackling this encounter. Next up in our guide is Genichiro Ashina, or you can cycle back to our main Sekiro walkthrough and boss guide hub for much more explainers and advice.