Pokémon Let's Go Seafoam Islands and how to find Articuno - available Pokémon, items and trainers
Our complete Pokémon Let's Go walkthrough and guide to your big adventure with Pikachu or Eevee.

Seafoam Islands and finding out its tricky push puzzle solutions, as well as your reward of Articuno, are your next objectives, following on from Route 20 east in your quest through Pokémon Let's Go's main story.
Below, we'll cover any and all of the obtainable Pokémon, item locations, trainers and their squads that you might encounter in the area, as well as walking you through any key steps of the story along the way.
We've also opted to break out walkthrough pages down into sections, referring to each of your visits to a given location, seeing as you often backtrack or revisit various places in your quest to become Champion! Where applicable, we'll split our page into one section for each visit, and of course if there are any, clearly mark any spoilers, too!
For more like this, be it specific systems explainers or walkthrough pages on more locations, head back to our main Pokémon Let's Go walkthrough and guide hub.
On this page:
- Pokémon Let's Go: how to get through Seafoam Islands
- Seafoam Islands Entrance: 1F ladders, Pokémon, items and trainers
- Seafoam Islands Basement 1: B1F ladders, Pokémon, items and trainers
- Seafoam Islands Basement 2: B2F ladders, Pokémon, items and trainers
- Seafoam Islands Basement 3: B3F ladders, Pokémon, items and trainers
- Seafoam Islands Basement 4: B 4F ladders, Pokémon, items and trainers
- Pokémon Let's Go Seafoam Islands - how to get Articuno
Pokémon Let's Go: how to get through Seafoam Islands
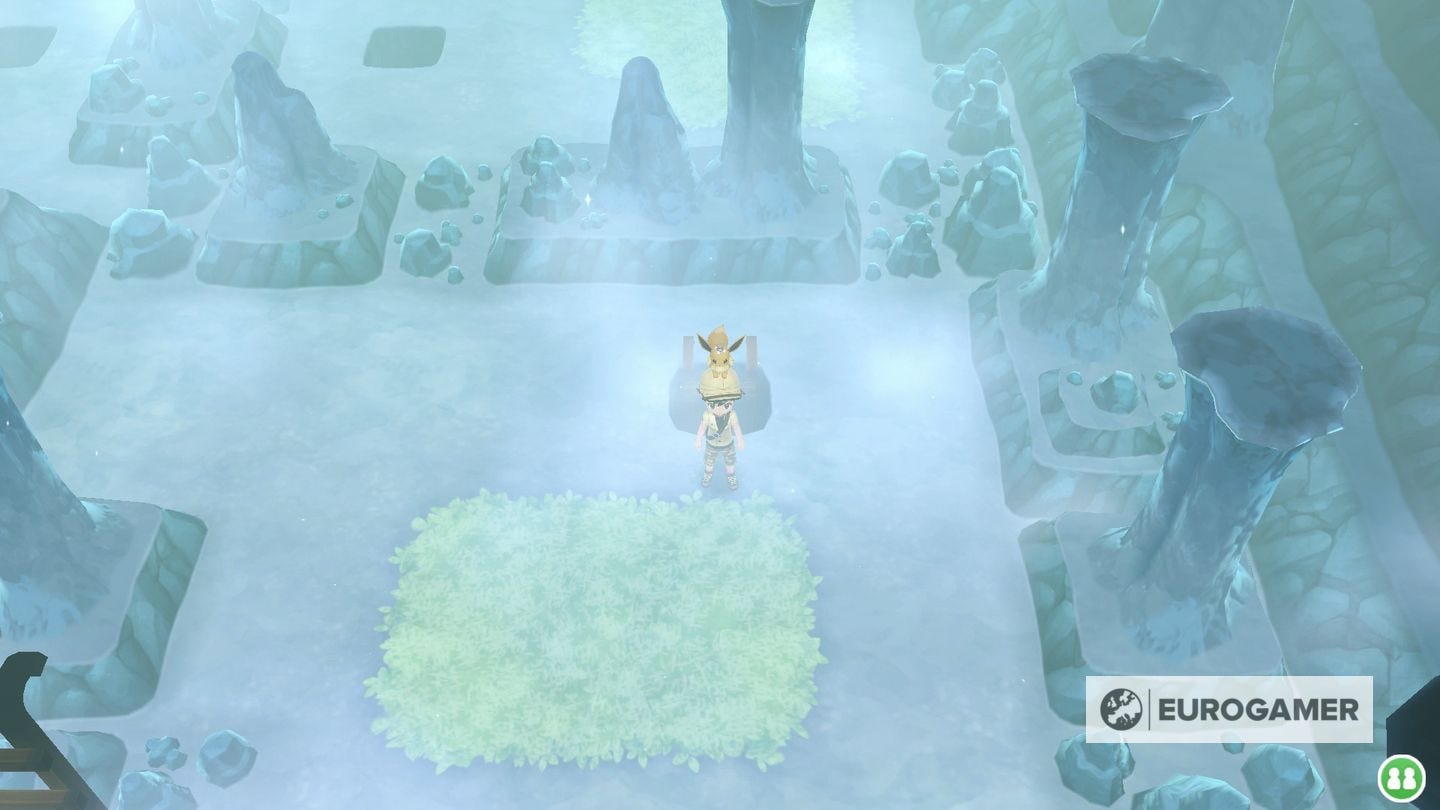
The Seafoam Islands cave is probably the most complex dungeon you'll have enountered so far in Pokémon Let's Go, and in fact it's one of the most complex in the game in general - but don't let that put you off! There are some wonderful Pokémon to catch here, as well as the legendary Articuno that we explain how to reach in the section down below.
In this first section we'll give you a quick cheat sheet for the fastest route through the dungeon and out the other side. In the sections below, we'll map out the cave's various levels one by one, including where each and every ladder goes, and walk you through them from start to finish, as well as, of course, noting all the available items, Pokémon, and trainers you can find along the way.
A couple notes as you head inside: There's a woman on the left of the entrance to Seafoam Islands who'll heal your Pokémon for free, which is nice! You might want to pack some Repels to clear all the wild Pokémon that get in the way.
Note that the below is the fastest route, but you'll miss several items along the way, as well as the entirety of B4F, meaning you'll also miss out on Articuno! Head to the bottom section on this page (there are shortcuts in the contents above) to see how to catch Articuno and clear B4F along the way.
Push puzzle solutions and the fastest way through Seafoam Islands
- Enter 1F and push the first stone, found to the right, down the nearby hole.
- Drop down the hole you pushed it into, down next to it onto B1F, and push it into the next hole nearby there.
- Drop into that hole too, taking you down to B2F, and push it into the nearby hole once more. Don't drop in after it this time.
- Instead, once you've pushed it down the hole, go left over to the ladder we've marked as B2F-A, which takes you up to B1F again.
- From B1F, take the nearby ladder, marked B1F-A, up to 1F entrance level again.
- Back on the entrance, go over to the top-right hand side now and push the boulder there down the nearby hole. Go down the ladder 1F-B after it, to B1F.
- There on B1F, push the dropped stone down the nearby hole. Drop in after it, to B2F
- Push it down the nearby hole on B2F, and follow it again down to B3F - you'll land in the water.
- If you've done this correctly, there'll be two boulders in the water just above you - the two you've been pushing down the holes from the entrance level 1F. This stops the fast-flowing water that would normally whisk you away, allowing you to surf normally.
- Surf to the right and go back onto land, and take the bottom-right corner ladder, B3F-D up to B2F.
- Take the nearby ladder there, B2F-D, up again, to B1F.
- Take the nearby ladder there, B1F-G, up one last time to top level 1F.
- There, you'll be in the bottom right corner of 1F, and just downwards in the lower wall is the exit!
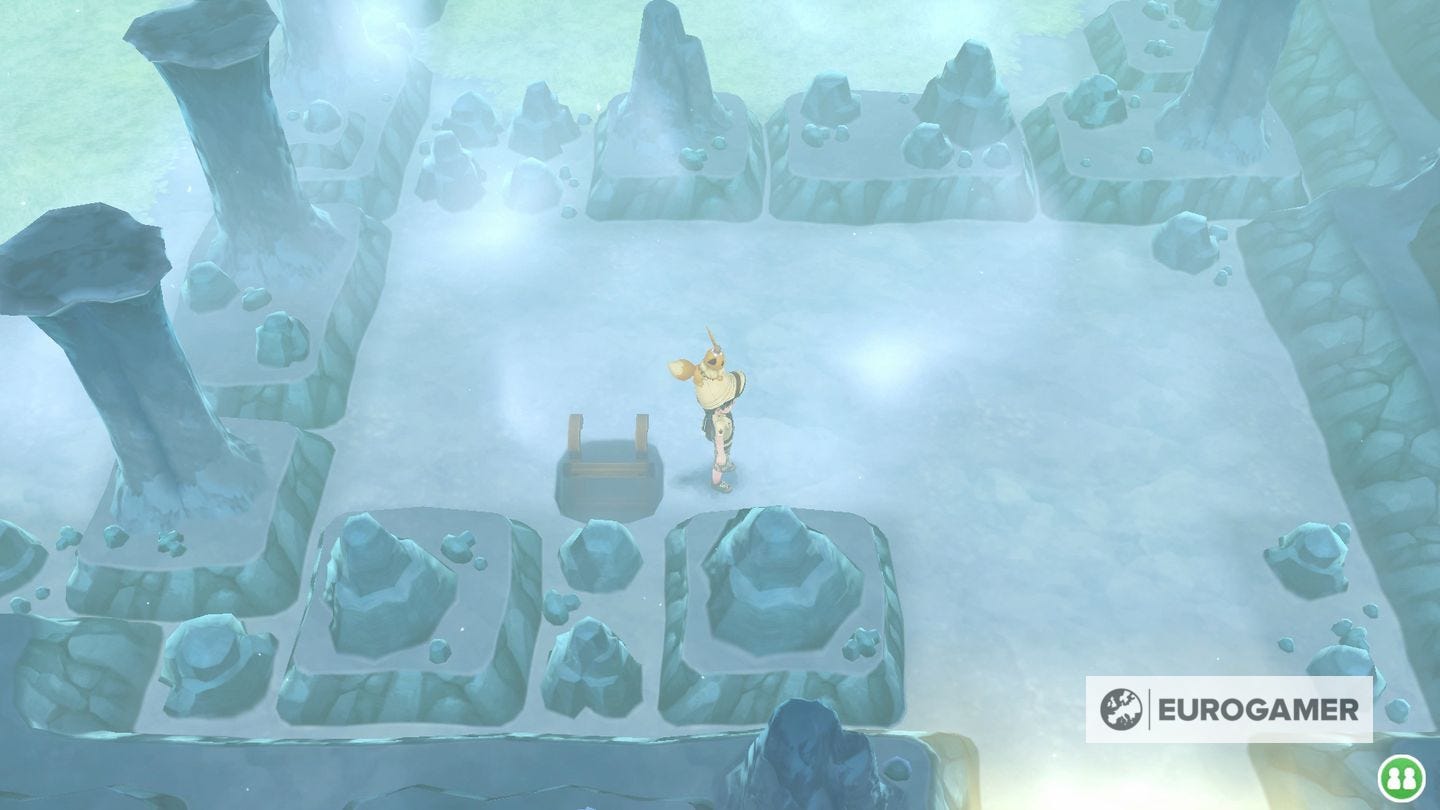
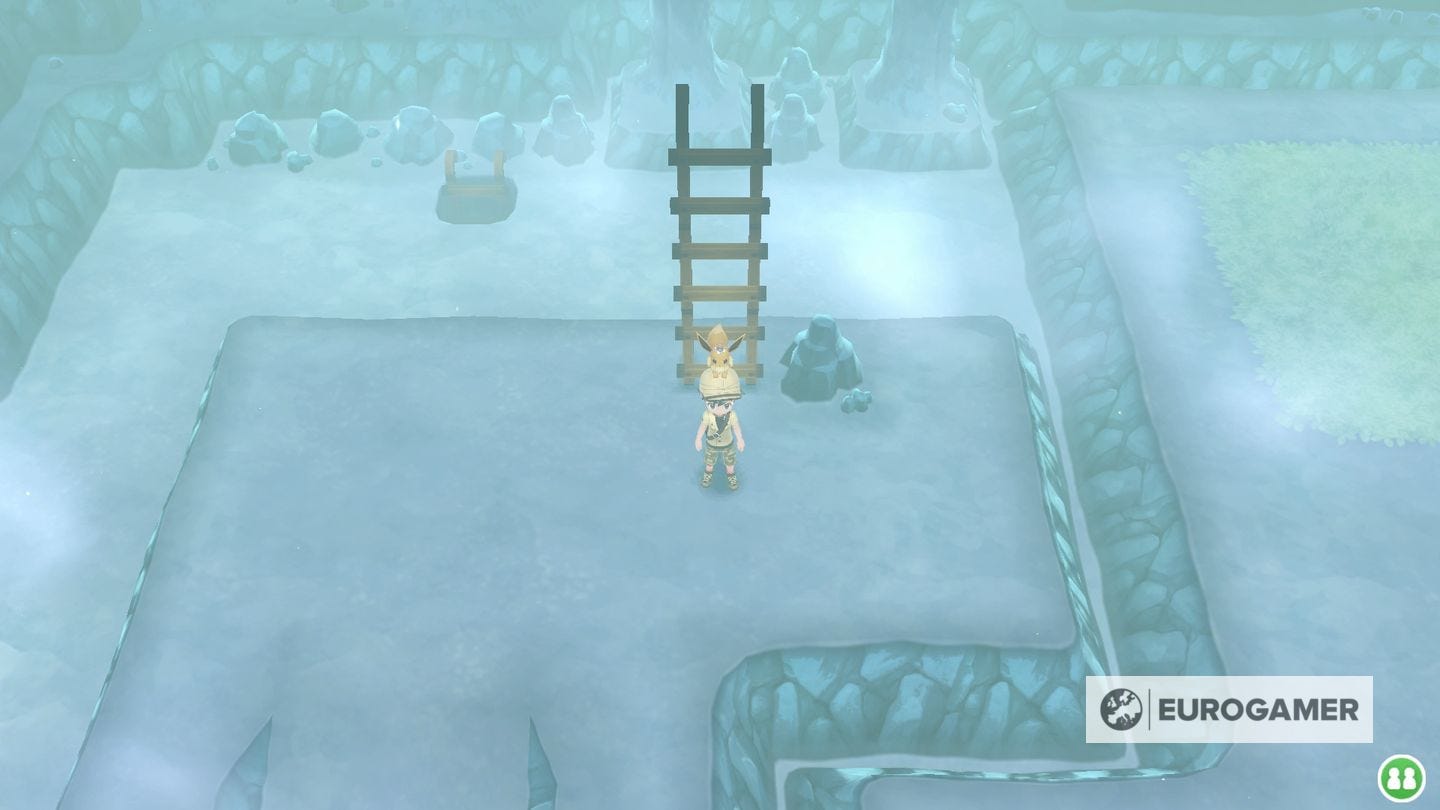
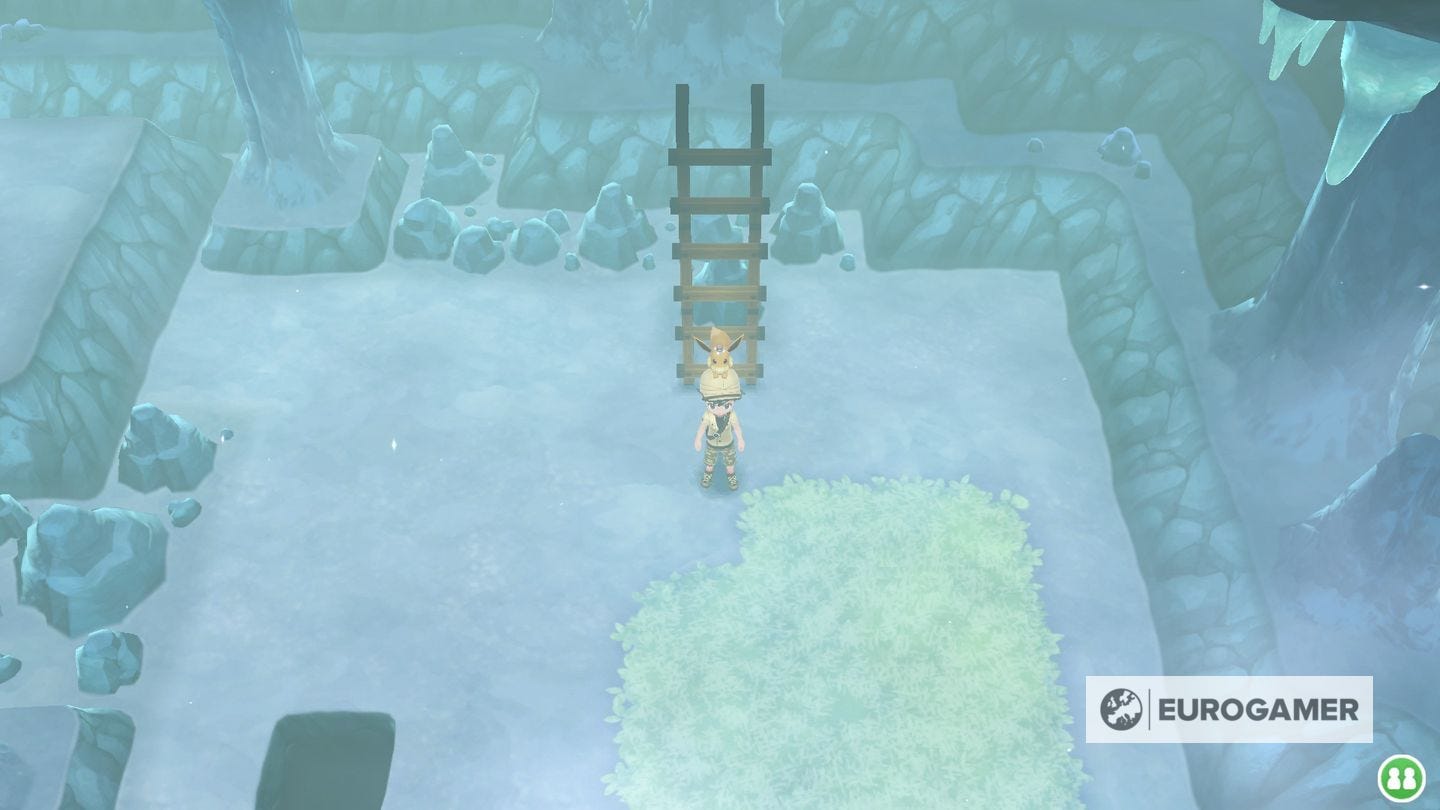
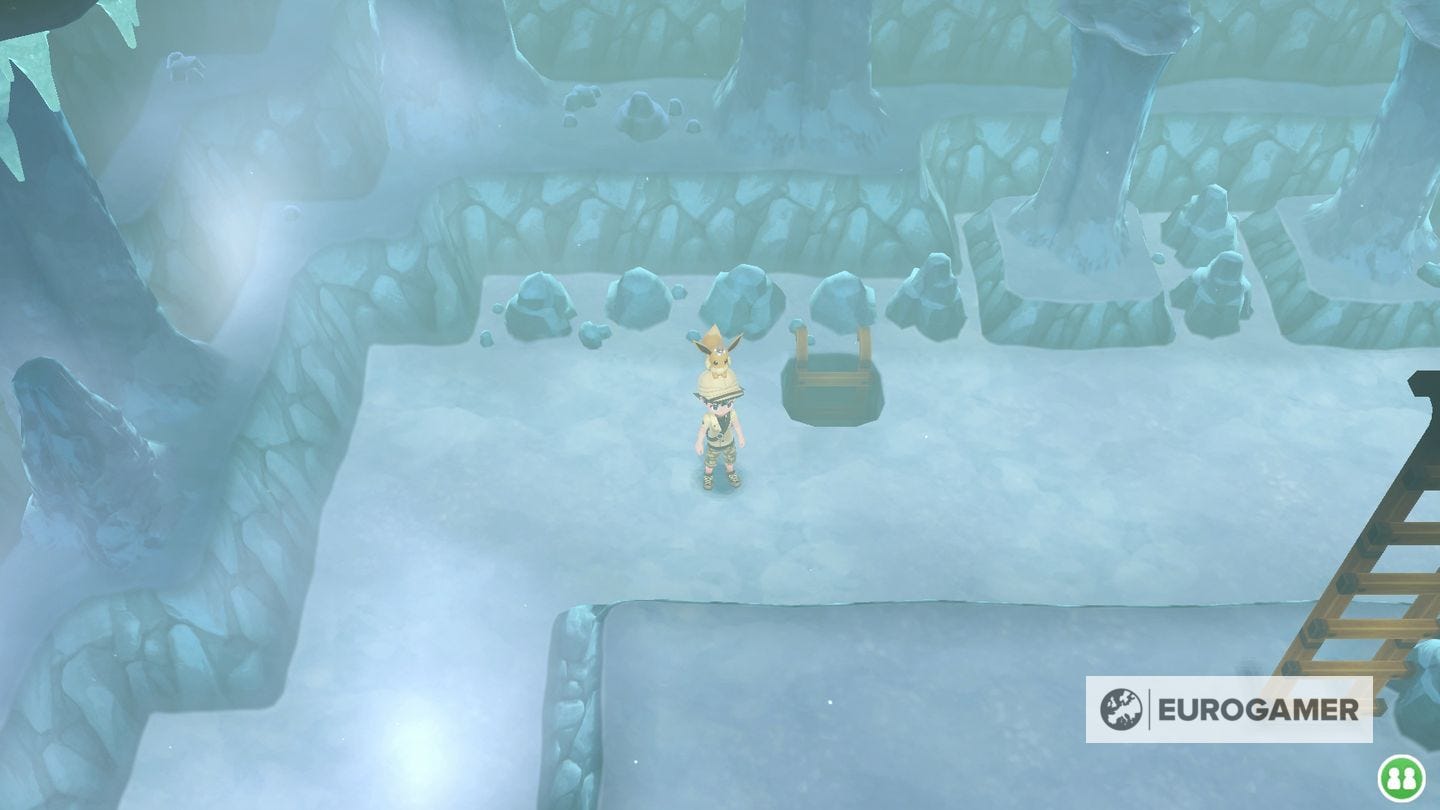
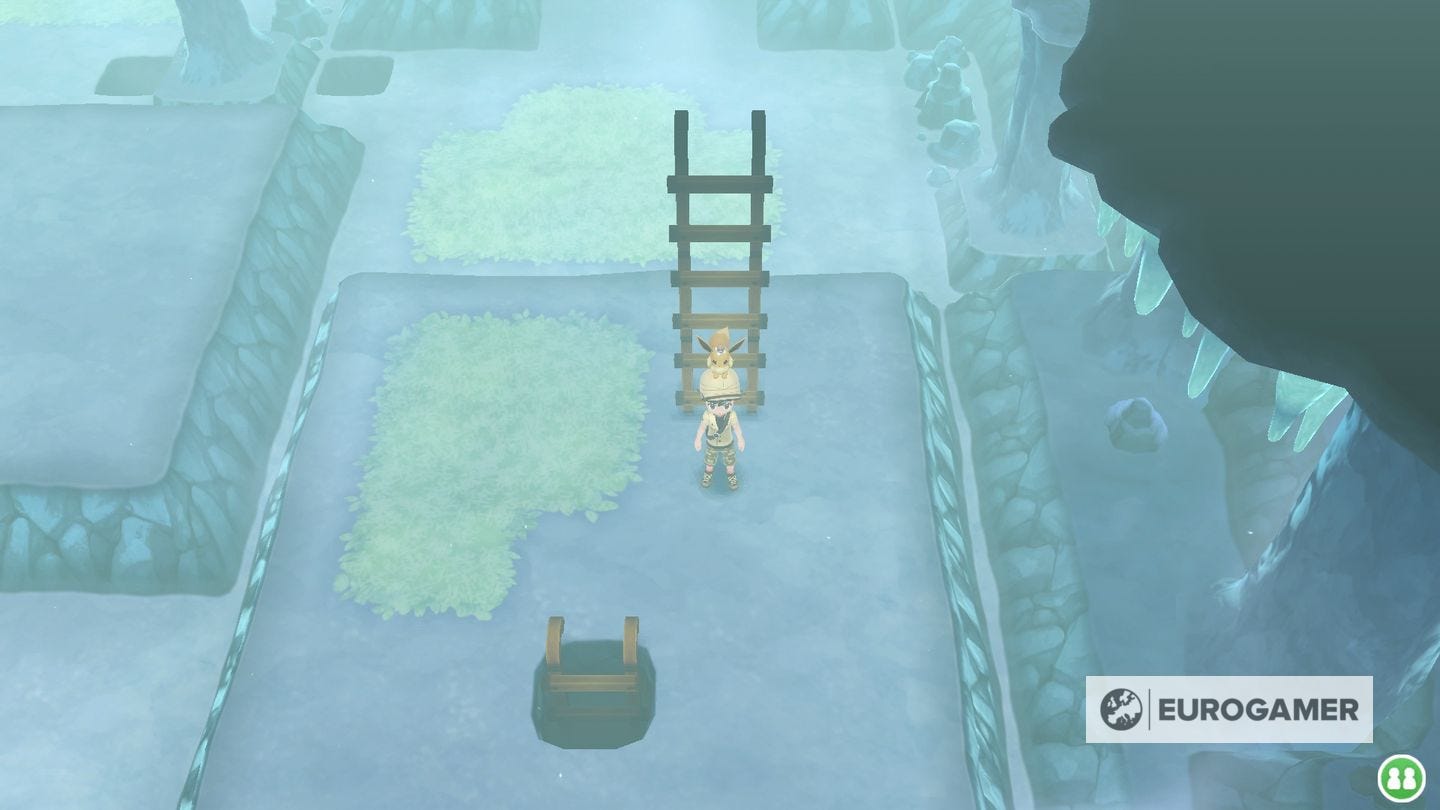
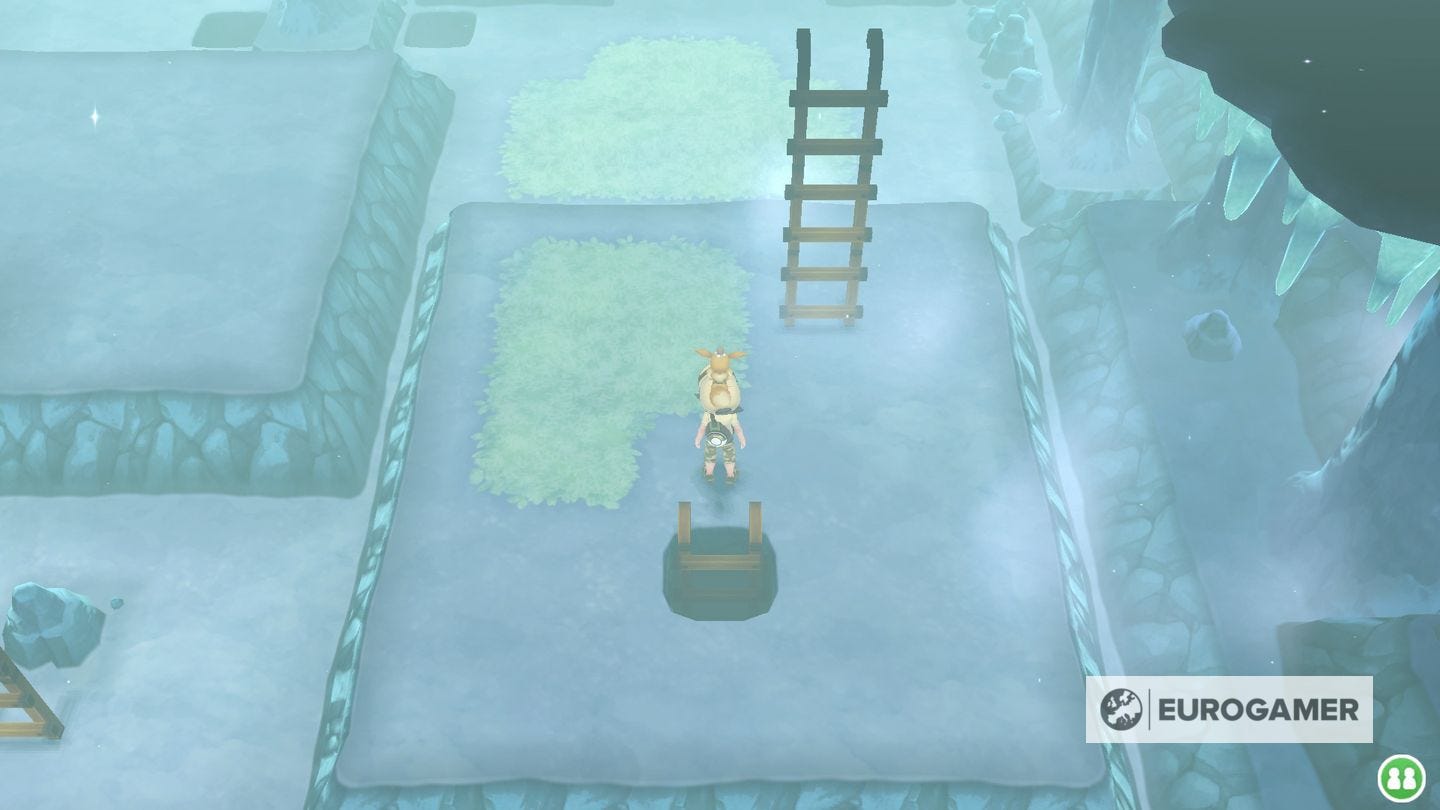
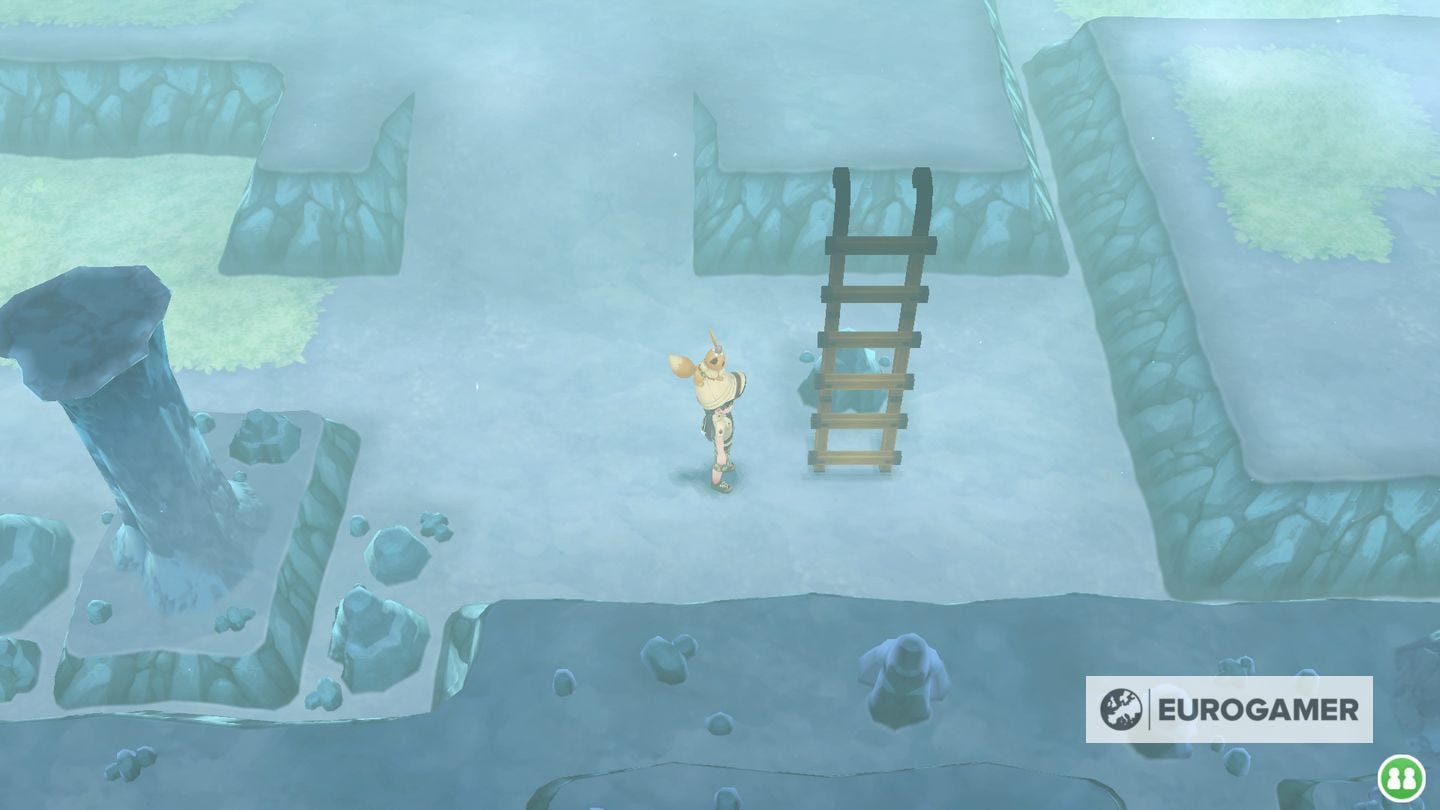
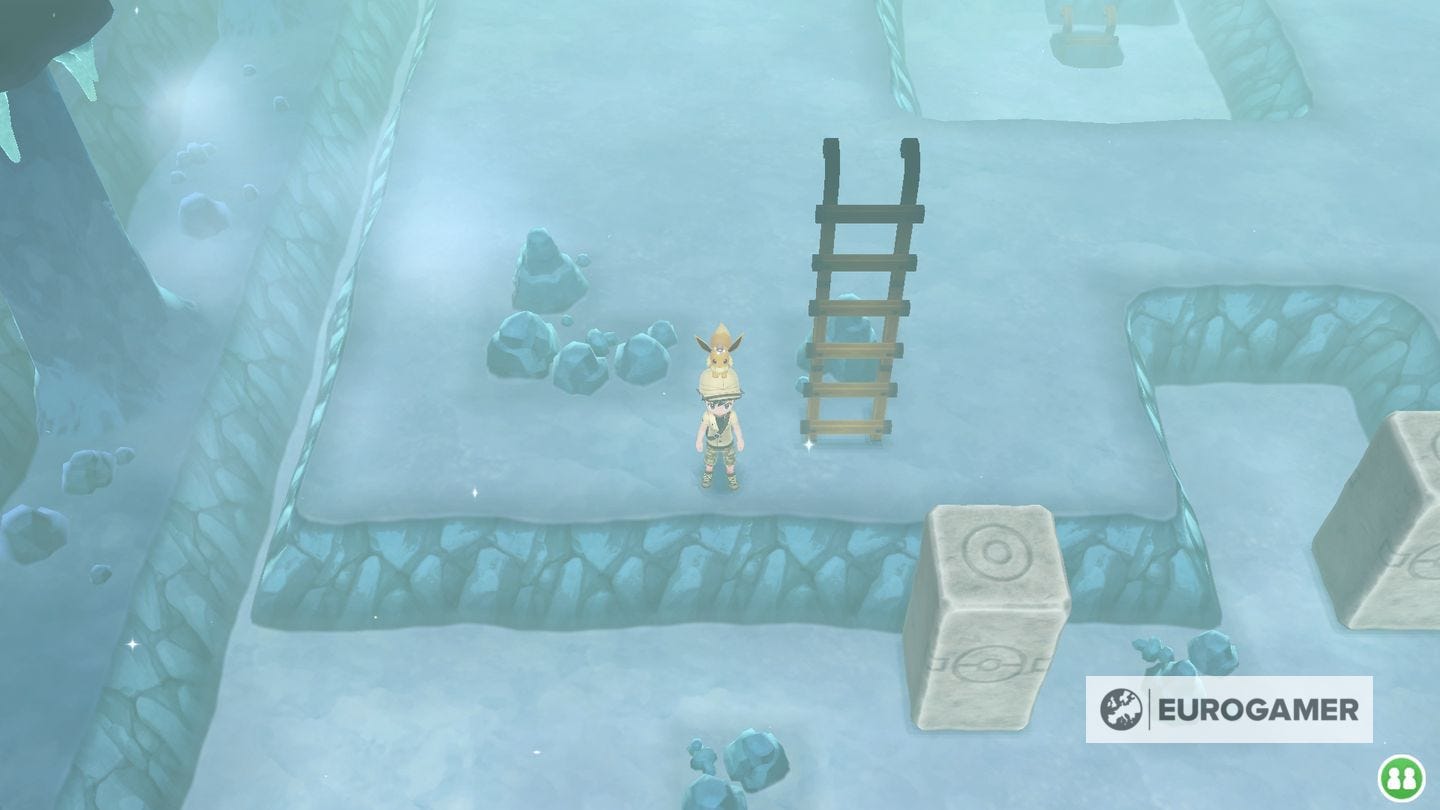
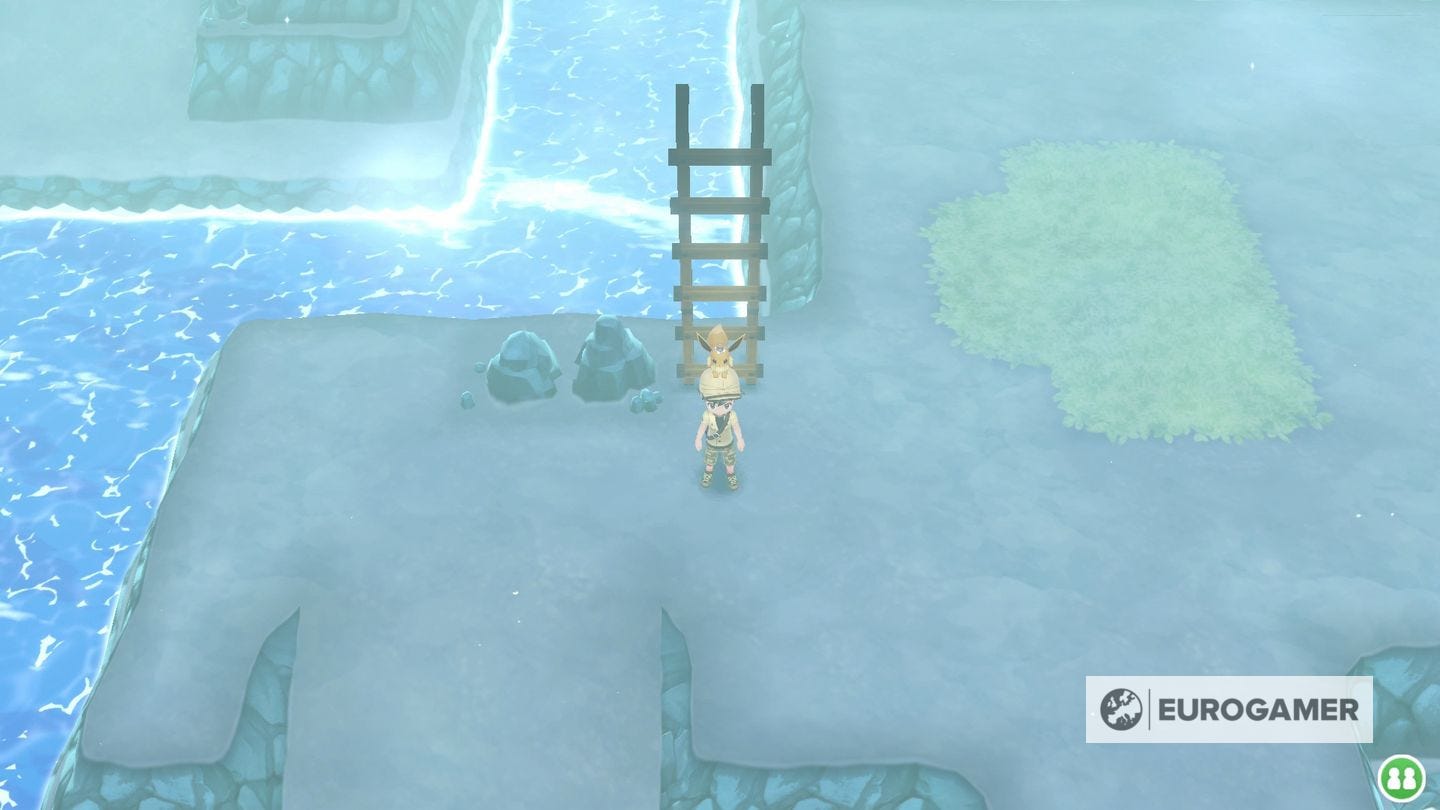
Seafoam Islands Entrance: 1F ladders, Pokémon, items and trainers
The entrance level, which we'll call 1F, is one of five in Seafoam Islands, gradually descending to the lowest level, B4F. It also has another man who'll give you more Poké Balls up ramp and on the right, which is worth bearing in mind.
Remember your goal is to push the movable stones into the nearby holes in order to progress throughout the dungeon. The first one on the entrance level is simple. The second, over on the right, requires you to push it downwards first before then pushing it across and back upwards into the hole.
1F Entrance ladders
| Image | Ladder Label | Up or Down | Location | Destination |
|---|---|---|---|---|
| 1F-A | Down | Upper left, by Coach Trainer, up the ramp from the Route 20 east entrance | B1F-A |
| 1F-B | Down | Top right ladder downwards | B1F-B |
| 1F-C | Down | Bottom right walled off area, by the Route 20 west exit! | B1F-D |
Available Pokémon
| Pokémon | Notes |
|---|---|
| Zubat | Cave |
| Golbat | Cave |
| Jinx | Cave |
| Seel | Cave |
| Dewgong | Cave |
| Slowpoke | Cave |
| Slowbro | Cave |
| Squirtle | Catch Combo |
Available Items
| Item | Location |
|---|---|
| Ice Heal | Straight ahead on a ledge |
| 5x Rare Candies | Coach Trainer Yas |
| Heart Scale | Hidden, in pointy rock in bottom right of entrance area |
| Escape Rope | Up ramp and on the right |
Trainers and Battles
| Trainer Name | Pokémon | Level |
|---|---|---|
| Coach Trainer Yas | Jolteon Flareon Vaporeon | 46 47 46 |
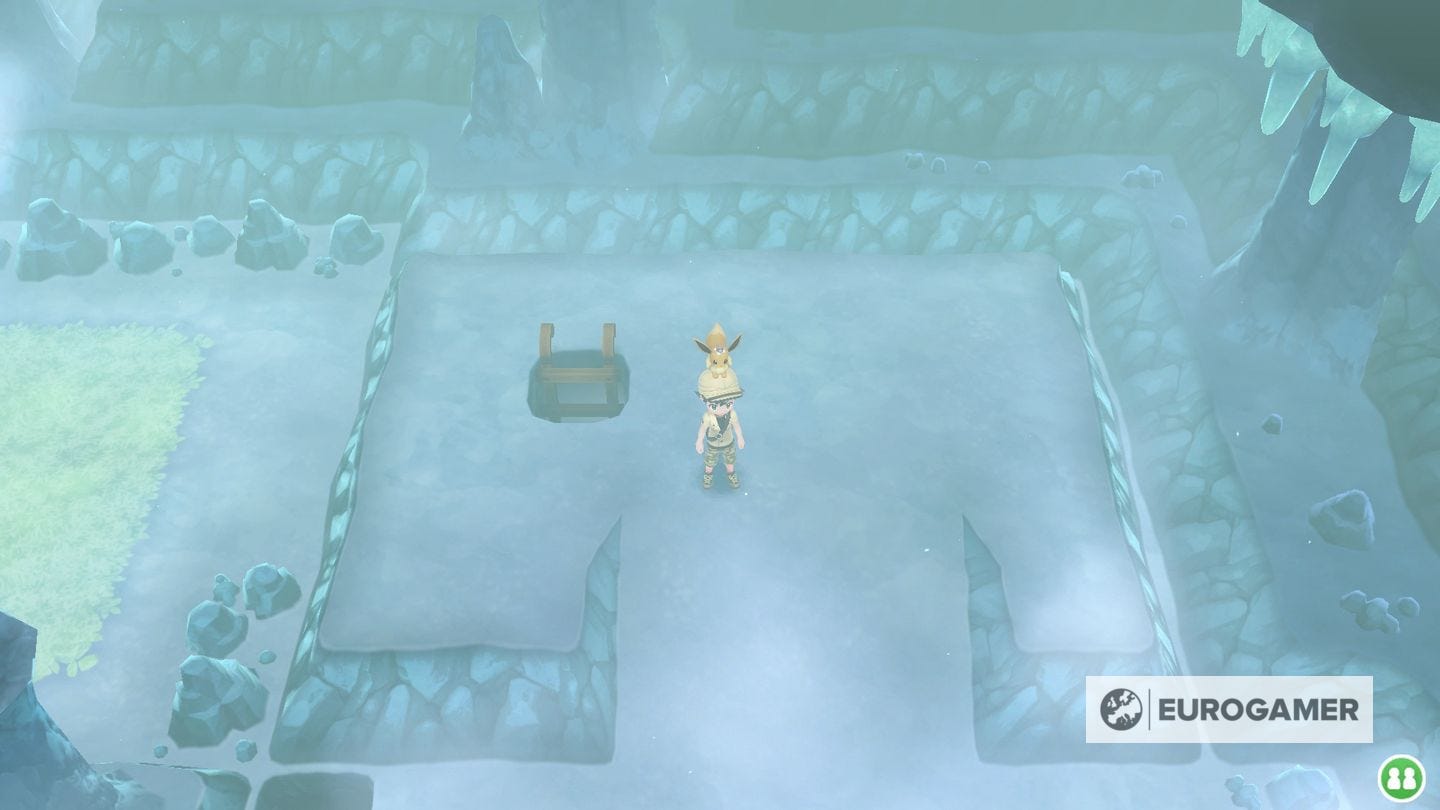
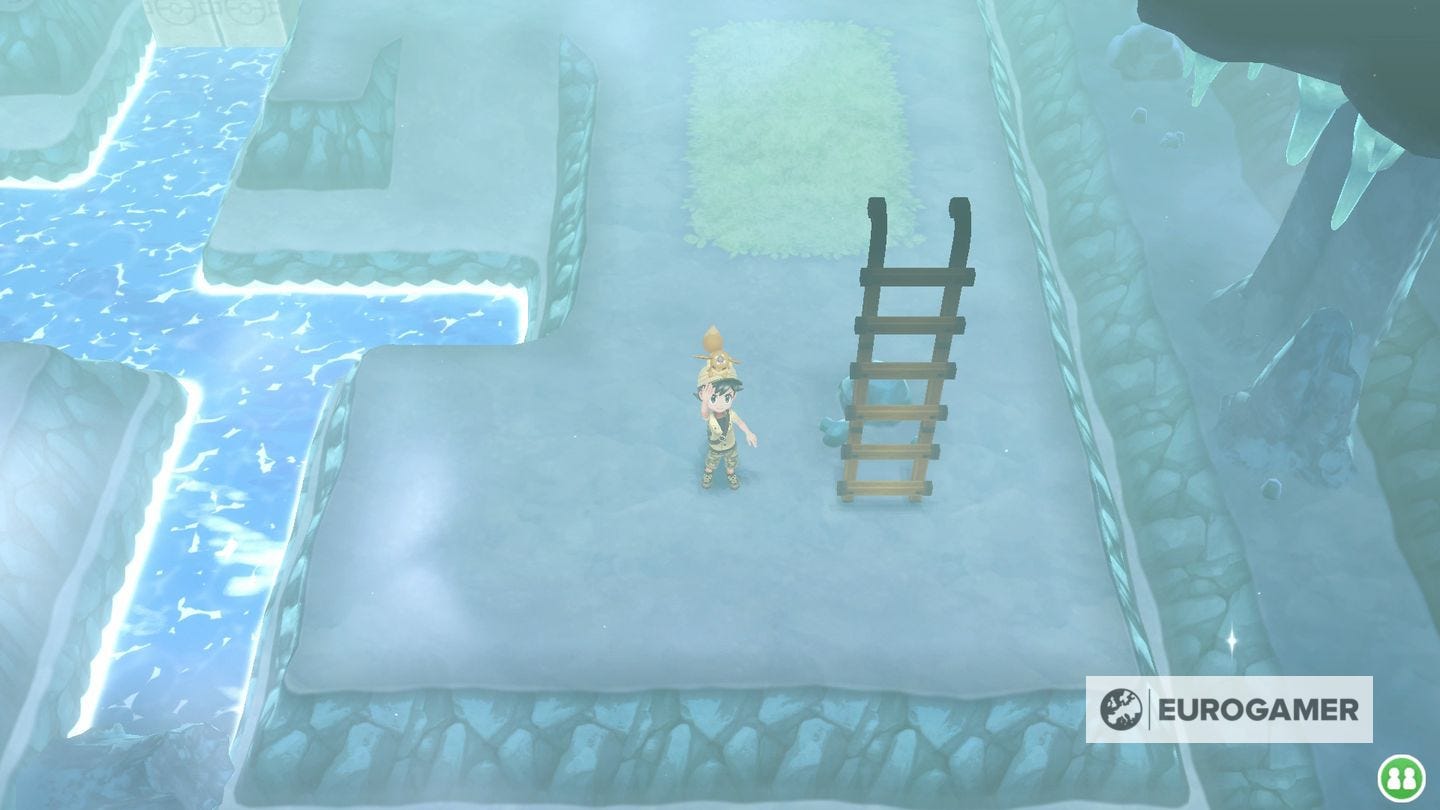
Seafoam Islands Basement 1: B1F ladders, Pokémon, items and trainers
The Pokémon here are the same as 1F, and there are no trainers, but there are plenty of items to gather still.
B1F Basement 1 Ladders
| Image | Ladder Label | Up or Down | Location | Destination |
|---|---|---|---|---|
| B1F-A | Up | Top left ladder upwards | 1F-A |
| B1F-B | Up | Top right walled-off area. | 1F-B |
| B1F-C | Down | Very top left ladder downwards | B2F-A |
| B1F-D | Down | Bottom right walled off area | B2F-B |
| B1F-E | Down | Central large platform | B2F-D |
| B1F-F | Down | Walled-off lower central-right area, only accessible via B2F | B2F-F |

| B1F-G | Up | Bottom right corner, only accessible via exit or B2F. | 1F-C |
Available Pokémon
| Pokémon | Notes |
|---|---|
| Zubat | Cave |
| Golbat | Cave |
| Jinx | Cave |
| Seel | Cave |
| Dewgong | Cave |
| Slowpoke | Cave |
| Slowbro | Cave |
| Squirtle | Catch Combo |
Available Items
| Item | Location |
|---|---|
| Max Potion | Enter B1F from the first ladder on Entrance level, and it's around the back of the platform you come down to |
| Super Repel | As you work your way over to the right from the left hand ladder |
| Max Revive | Hidden, in the rock in the bottom right of the area with the pushable stone and hole |
| 5x Great Balls | Area by the ladder that takes you down on the right. |
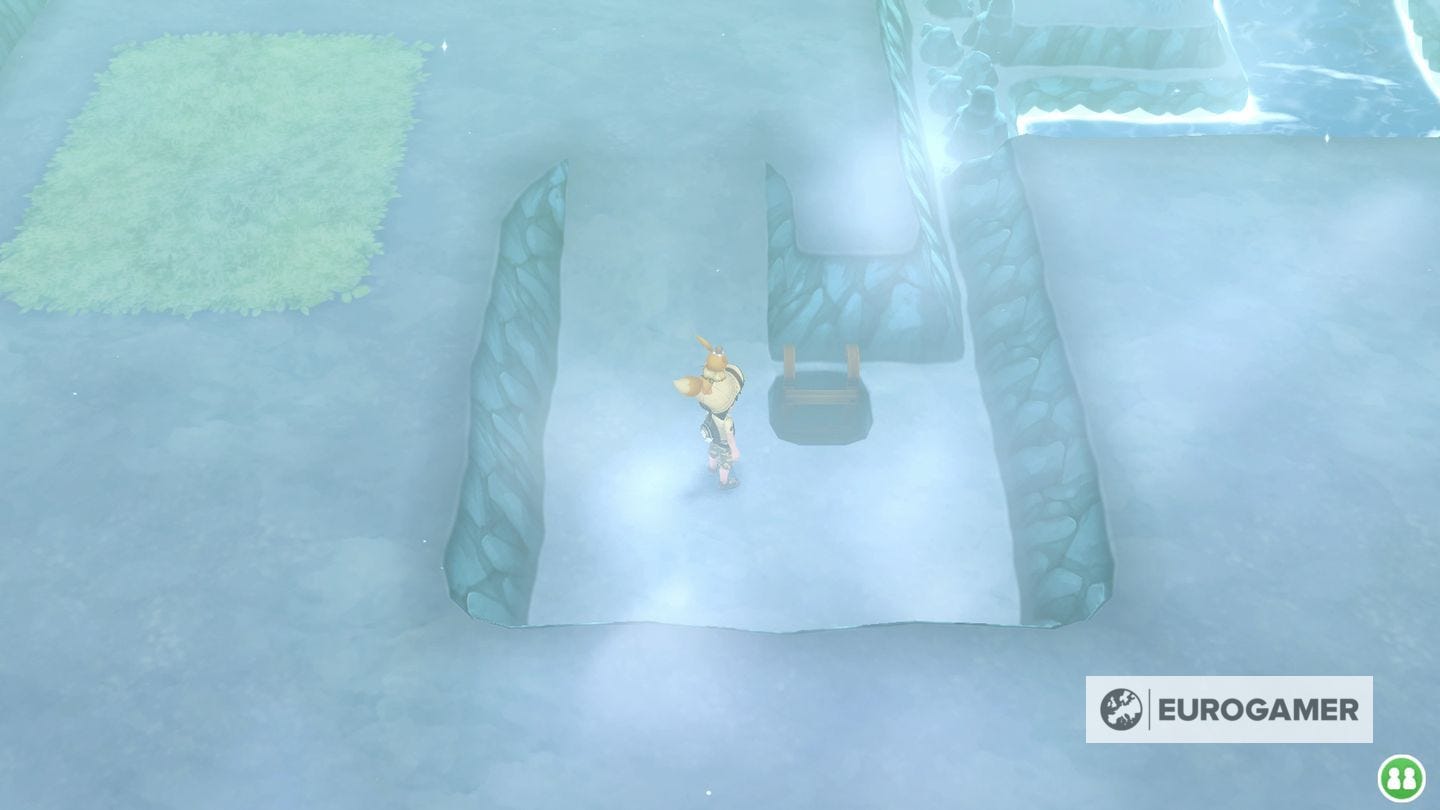
Seafoam Islands Basement 2: B2F ladders, Pokémon, items and trainers
Again, the Pokémon remain the same here on B2F and again there are no trainers, but more items to collect as you pass through.
B2F Basement 2 Ladders
| Image | Ladder Label | Up or Down | Location | Destination |
|---|---|---|---|---|
| B2F-A | Up | Top-left walled-off area with push stone and hole. | B1F-C |
| B2F-B | Up | Bottom right square platform area. | B1F-D |
| B2F-C | Down | Bottom right square platformed area | B3F-D |
| B2F-D | Up | Central ladder on main platform | B1F-E |
| B2F-E | Down | Bottom left of main area | B3F-C |
| B2F-F | Up | Bottom right of main area | B1F-F |
| B2F-G | Down | Top right, raised platform in walled-off area, only accessible from B3F. | B3F-B |
Available Pokémon
| Pokémon | Notes |
|---|---|
| Zubat | Cave |
| Golbat | Cave |
| Jinx | Cave |
| Seel | Cave |
| Dewgong | Cave |
| Slowpoke | Cave |
| Slowbro | Cave |
| Squirtle | Catch Combo |
Available Items
| Item | Location |
|---|---|
| Heart Scale | Hidden in the cluser of rocks to the left of the left-side ladder down from B1F |
| Super Lure | Area in the bottom right, only accessed from below. |
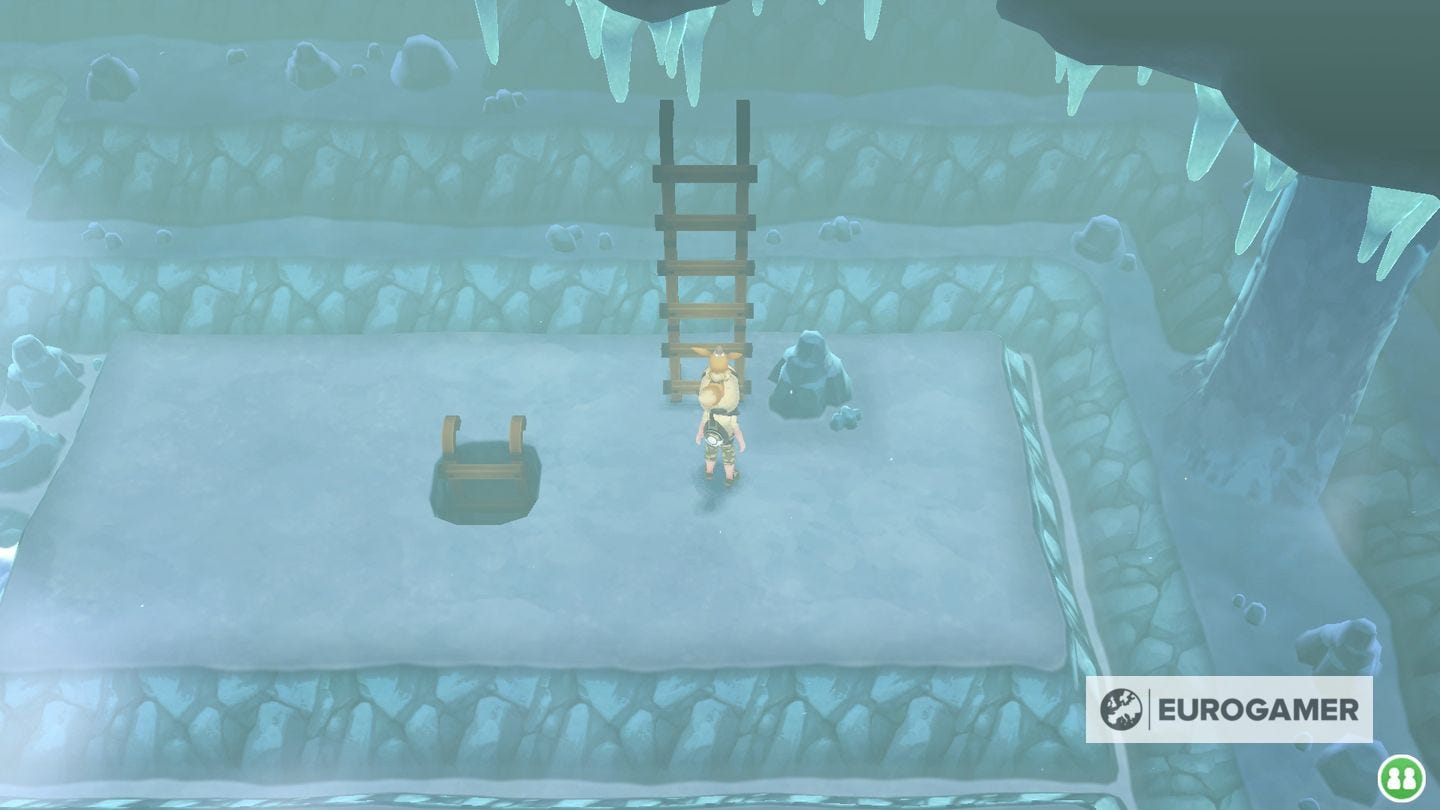
Seafoam Islands Basement 3: B3F ladders, Pokémon, items and trainers
Once again B3F has no trainers, but with the addition of some surfable water it introduces some more Pokémon at least, as well as more items.
B3F Basement 3 Ladders
| Image | Ladder Label | Up or Down | Location | Destination |
|---|---|---|---|---|
| B3F-A | Down | Upper left in a little lower square, left of the river | B4F |
| B3F-B | Up | Top right, small rectangular platform only accessible from B4F | B2F-G |
| B3F-C | Up | Bottom left above push puzzle | B2F-E |
| B3F-D | Up | Bottom right corner on right of the river | B2F-C |
| B3F-E | Down | Top right, small rectangular platform only accessible from B4F | B4F-A |
Available Pokémon
| Pokémon | Notes |
|---|---|
| Zubat | Cave |
| Golbat | Cave |
| Jinx | Cave |
| Seel | Cave |
| Dewgong | Cave |
| Slowpoke | Cave |
| Slowbro | Cave |
| Squirtle | Catch Combo |
| Tentacool | Surfing on water |
| Tentacruel | Surfing on water |
| Magikarp | Surfing on water |
| Shellder | Surfing on water |
| Cloyster | Surfing on water - Rare |
Available Items
| Item | Location |
|---|---|
| TM55 Ice Beam | Down the ladder from B2F, it's on the lower level just in front of you |
| Super Repel | Small area on the far right between two ladders, as you head up from the far right of B4F |
| 3x Ultra Balls | On the right of the river, after you stop the flow by dropping the stones down. |
| Ice Stone | Small platform with two ladders in the very bottom right corner, only accessed from below. |
| Hyper Potion | On the left side of the flowing river, accessible after you've dropped both stones down to block the flow of water |
| Super Lure | On the left side of the flowing river, accessible after you've dropped both stones down to block the flow of water |
| X Speed | On the left side of the flowing river, accessible after you've dropped both stones down to block the flow of water |
Seafoam Islands Basement 4: B 4F ladders, Pokémon, items and trainers
The lowest level, B4F, has no trainers and the same wild Pokémon as B3F, but with the added inclusion of some good items and, of course, the Legendary Articuno!
B4F Basement 4 Ladders
| Image | Ladder Label | Up or Down | Location | Destination |
|---|---|---|---|---|
| B4F-A | Up | Top right, just above the pool you get sent to by the moving river. | B3FE |
| B4F-B | Up | Central, near ramp down to the water | B3FA |
Available Pokémon
| Pokémon | Notes |
|---|---|
| Zubat | Cave |
| Golbat | Cave |
| Jinx | Cave |
| Seel | Cave |
| Dewgong | Cave |
| Slowpoke | Cave |
| Slowbro | Cave |
| Squirtle | Catch Combo |
| Tentacool | Surfing on water |
| Tentacruel | Surfing on water |
| Magikarp | Surfing on water |
| Shellder | Surfing on water |
| Cloyster | Surfing on water - Rare |
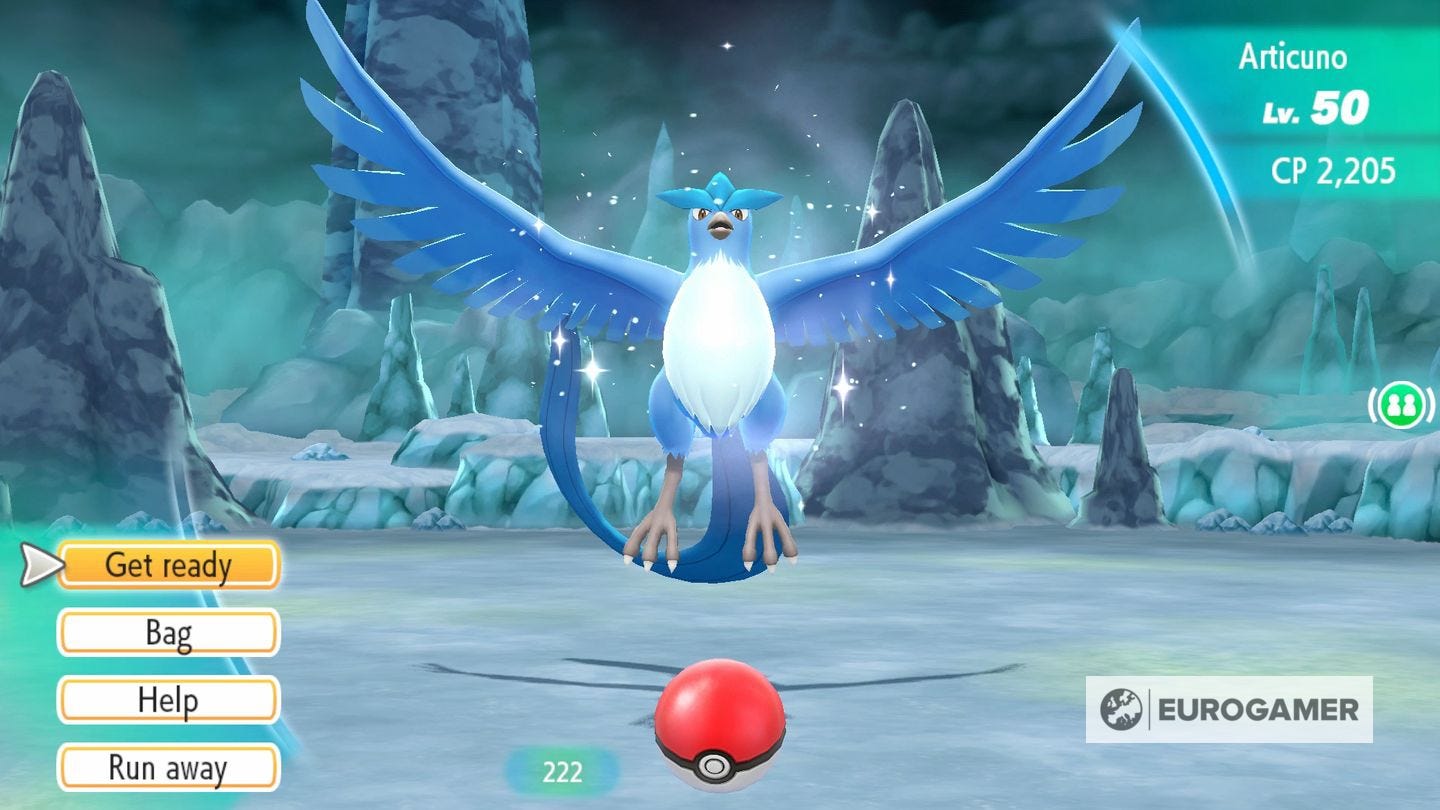
| Articuno | Interact and defeat in battle. |
Available Items
| Item | Location |
|---|---|
| Big Pearl | On land on the left, after being swept downstream to the room with the pool of water |
| Pretty Wing | Hidden on the right, opposite the Big Pearl in the area with the pool of water |
| Big Pearl | Down a ramp near one of the ladders back up to B3F |
| Big Pearl | On the left of the island at the top back of the area. |
Trainers and Battles
| Trainer Name | Pokémon | Level |
|---|---|---|
| Wild Articuno | Articuno | 50 |

Head back to our main Pokémon Let's Go walkthrough and guide hub for all our pages in one place, including detailed, step-by-step help for tough spots like Cerulean Cave, and the Elite Four, plus tough dungeons like Silph Co., Seafoam Islands and Victory Road. Otherwise, take a peek(achu) at our Pokémon Let's Go TM list and all TM locations, Let's Go's starter locations and how to get Bulbasaur, Charmander and Squirtle, along with how to get Mew in Let's Go, and how to get Meltan in Let's Go and Go too. Beyond that we also explain how connect Pokémon Go to Let's Go on Nintendo Switch and transfer Pokémon, Catching, catch combos, and how to catch Pokémon, a quick collection of our best Pokémon Let's Go tips and tricks to get you off to a great start, and finally what we know about the Pokémon Pass app distribution event too.
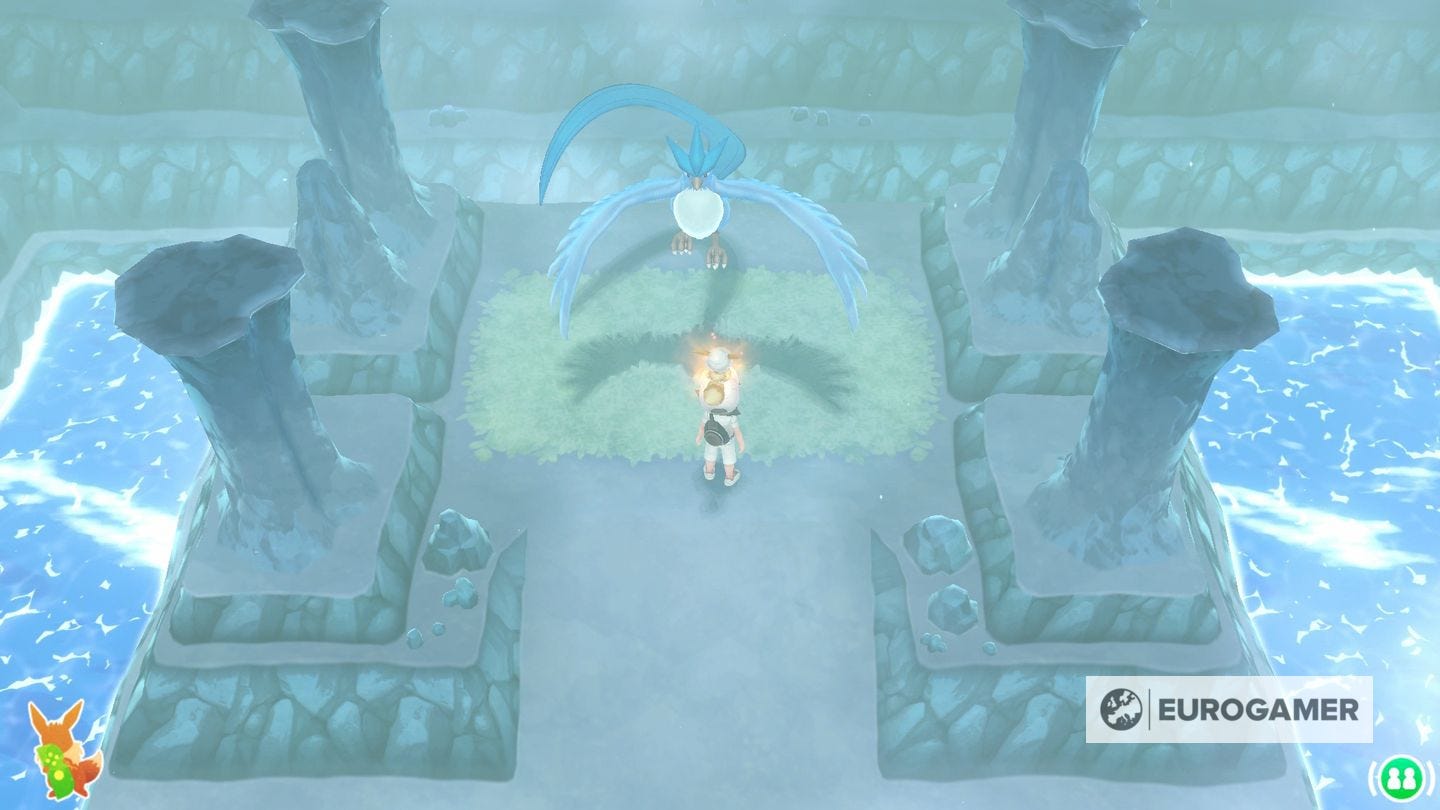
Pokémon Let's Go Seafoam Islands - how to get Articuno
Articuno resides on Seafoam Islands' lowest level, B4F. This level is entirely optional - as you'll have seen in our walkthrough of the fastest way to the exit, you can skip it entirely on your way through from Route 20 east to Route 20 west and beyond.
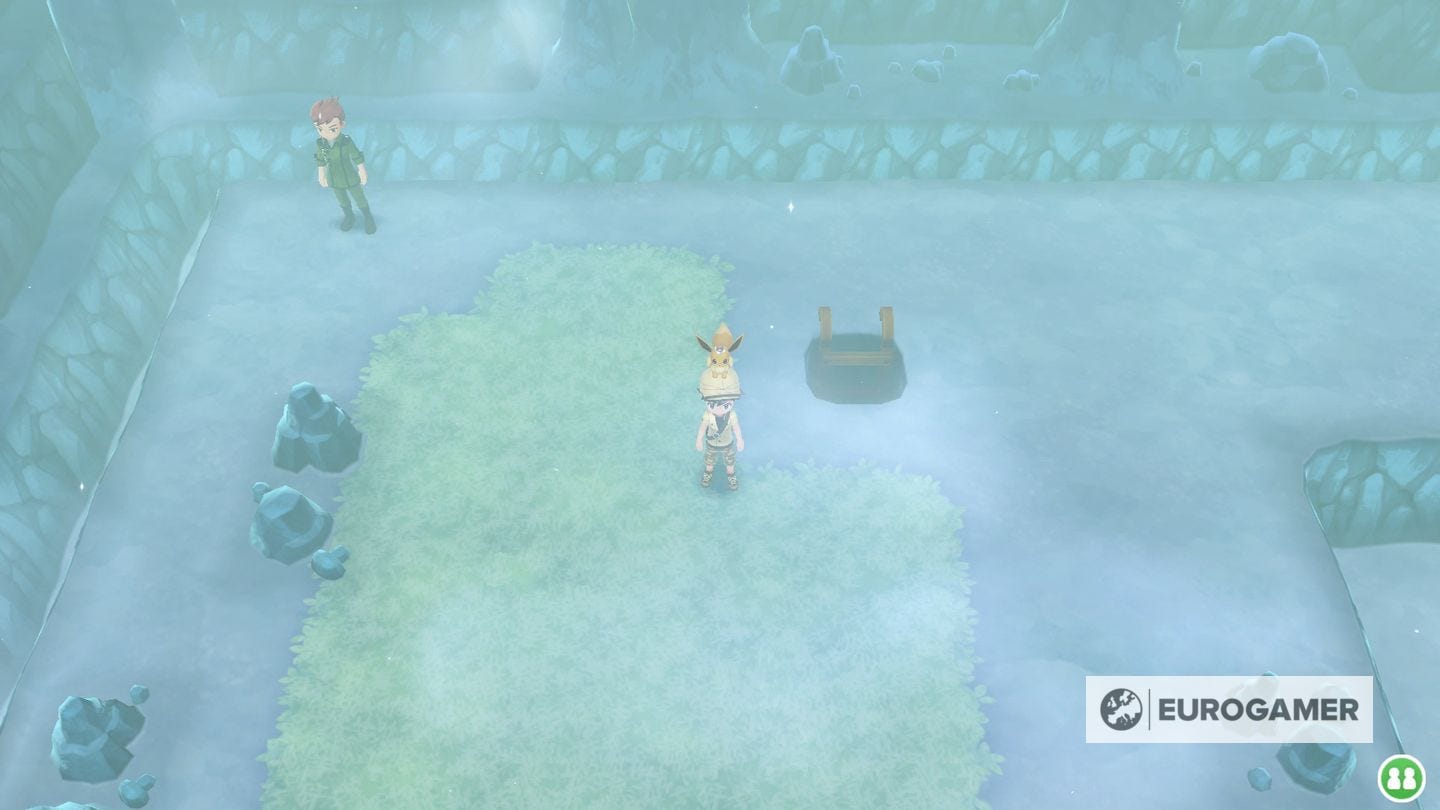
Thankfully, it's not too much more work to get to Articuno. You just have to solve one more push puzzle, on B3F, to push a couple more boulders down to the lowest level and stop another fast-moving current. Do that, and you can surf up to Articuno on the top-left corner of B4F to catch it.
How to get Articuno - push puzzle solution
- Complete all of the steps listed at the top of the page, but this time when you get to B3F having pushed both boulders into the water from the top floor, don't go right to the ladder upwards which takes you to the exit.
- Instead, when you drop into the now-still river, surf left, to the other part of B3F.
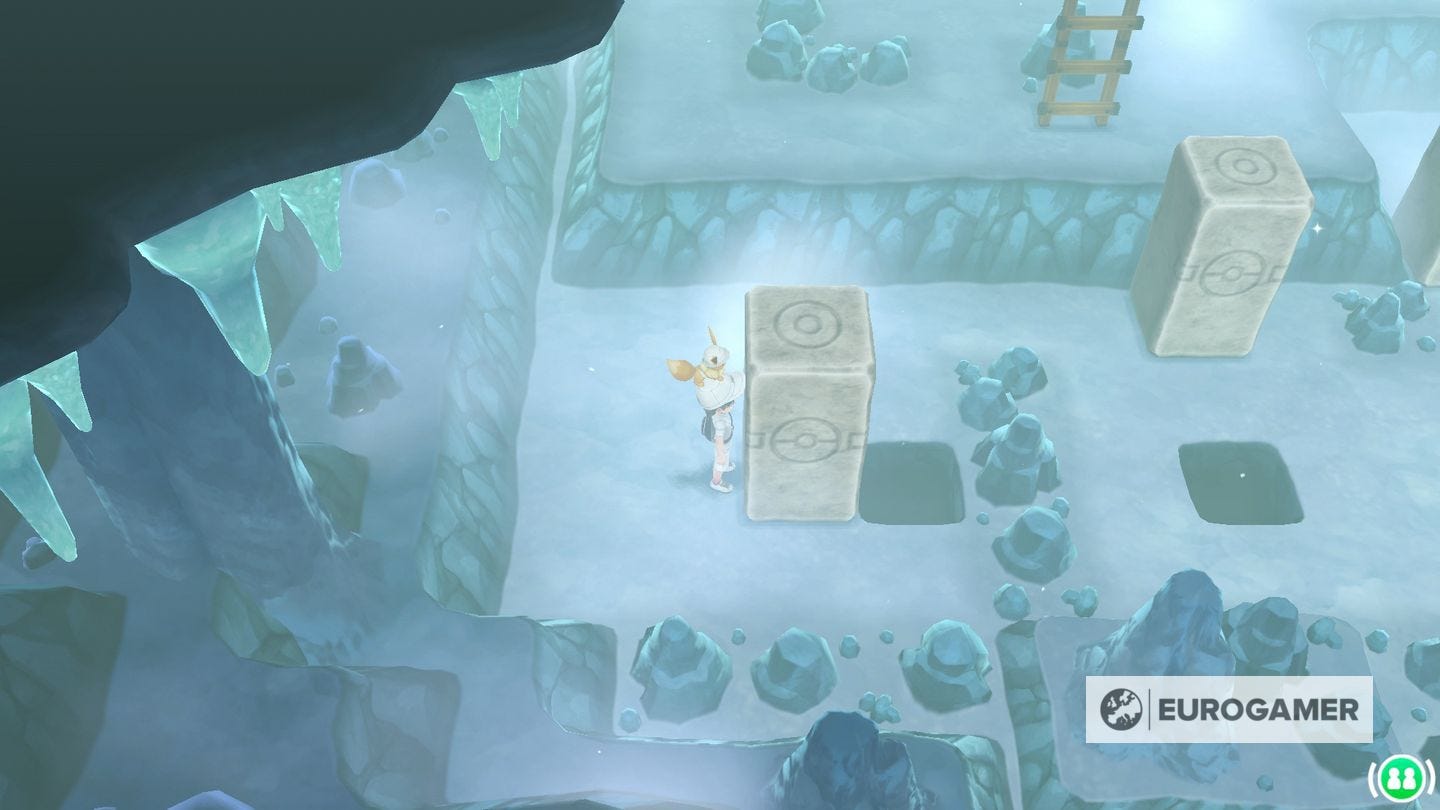
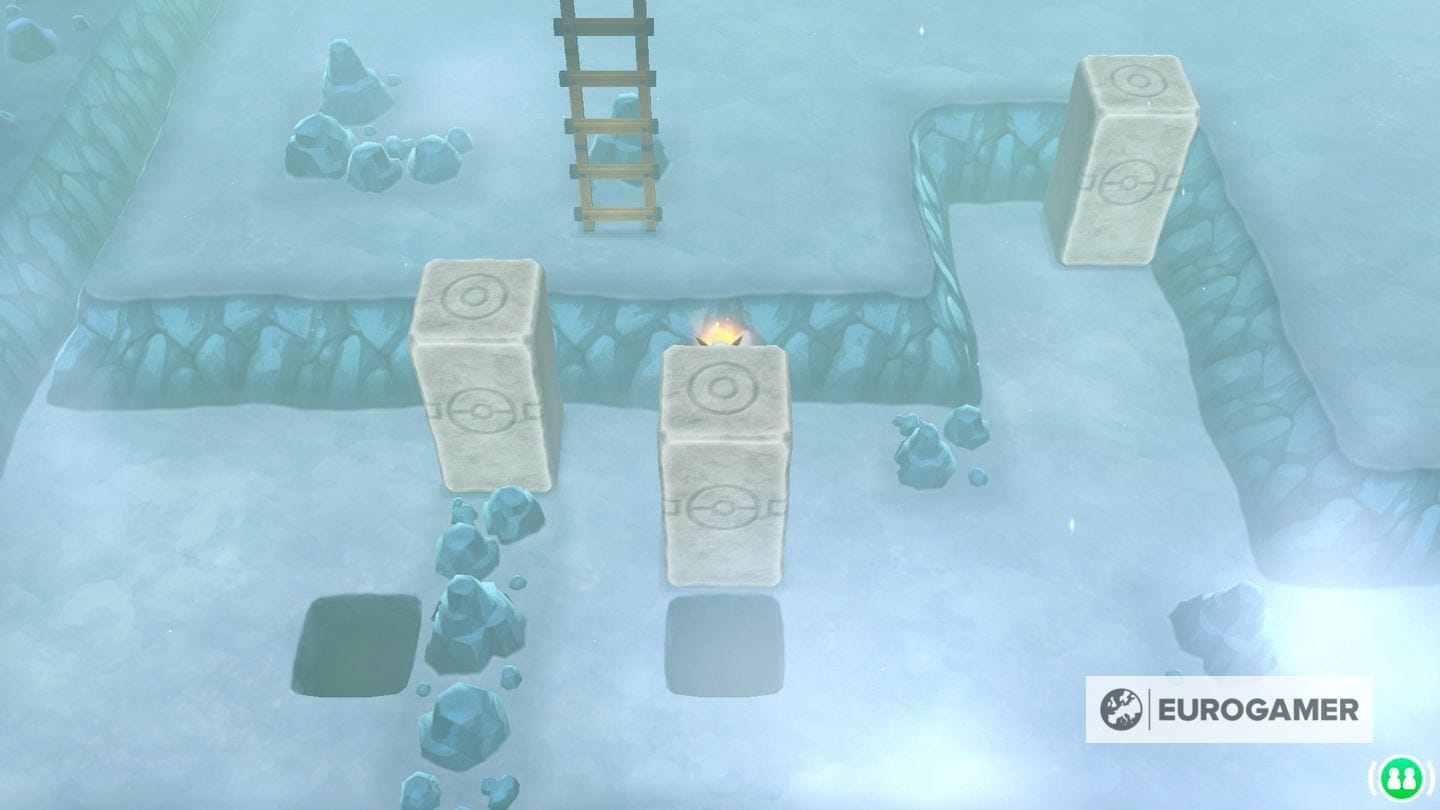
- From there, go to the bottom-left area where you'll see several more stones in another more complex push puzzle. There are 4 stones to push and two holes, with two stones next to each other on the top right of the little area. Here's the solution:
- First, go to the far left and push the far left stone into the hole next to it.
- Then, come back over to the right, and push the middle stone - the single one - a few places to the left, to get it out of the way.
- Then push the top right stone - the right-side one of the two next to each other - all the way up to the wall above it.
- Then, walk up and behind the left of those two stones, and push it down two places. You can then get to the right of it, in order to push it left until it's above the right-hand hole.
- The second hole, on the left, is simple - just push the stone to the left of it into the hole.
- You can now get above it, having cleared the other stones out of the way, and push it down into that hole.
- With that second stone pushed down the holes, drop in after it, to go down into the water on 4F, that has now stopped flowing, letting you surf upwards!
- Surf upwards to the top left corner where you'll find an island, with an item on it and more importantly, Articuno!
Once you reach Articuno, things will work in the same way as they did with Snorlax - so save first, while you have a chance, just in case. Interact with it when you're ready and expect a fairly tricky battle - it's level 50 and can be lightning-quick after it uses Agility a couple of times - and then once it's knocked out, you go to the catch phase like ususal.
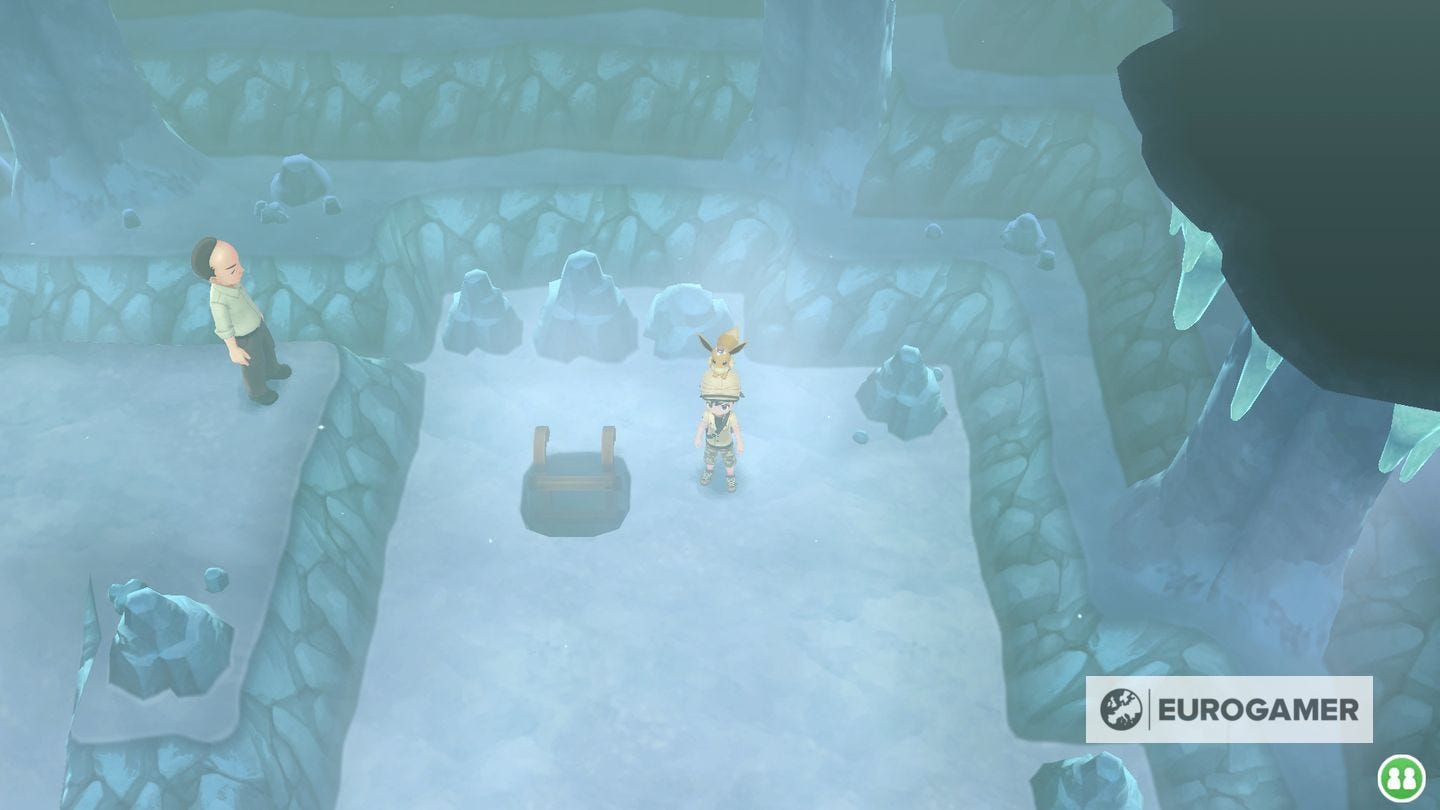
To exit from there, surf back to dry land and take the first ladder you come across, which we labelled B4F-B in the table above. This'll take you back to B3F, where you can head to the river again, surf over to the right hand side, and take that bottom right ladder up (through several more ladders) to the bottom right of the cave and the exit.
Congratulations - that's a tricky dungeon to complete! Continue on to Route 20 west and onwards beyond that for the next steps in your quest, or cycle back to our main Pokémon Let's Go walkthrough and guide hub for all the other pages we have like this.