Nine tips to get you started in Dead Cells
Tips for exploring, finding secrets, and much more in Dead Cells.

Dead Cells, like any roguelike worth its salt, has more going on in its ever-changing labyrinths than first meets the eye.
Though it does a great job at explaining new concepts, there are things that take time to get your head around - whether it's how secret rooms work, or which unlockables are worth paying attention to - which is where this list of early game Dead Cells tips can come in handy.
There are, of course, some light spoilers for how progression and other basics work ahead, so have a few runs under your belt first if you'd rather learn about that first-hand. Otherwise, there should be something here to help, no how much time you've put into the game.
Update (August 10th) - We've added a handful more Dead Cells tips towards the end of the article featuring some extra details you might have missed. Good luck!
Learn to roll
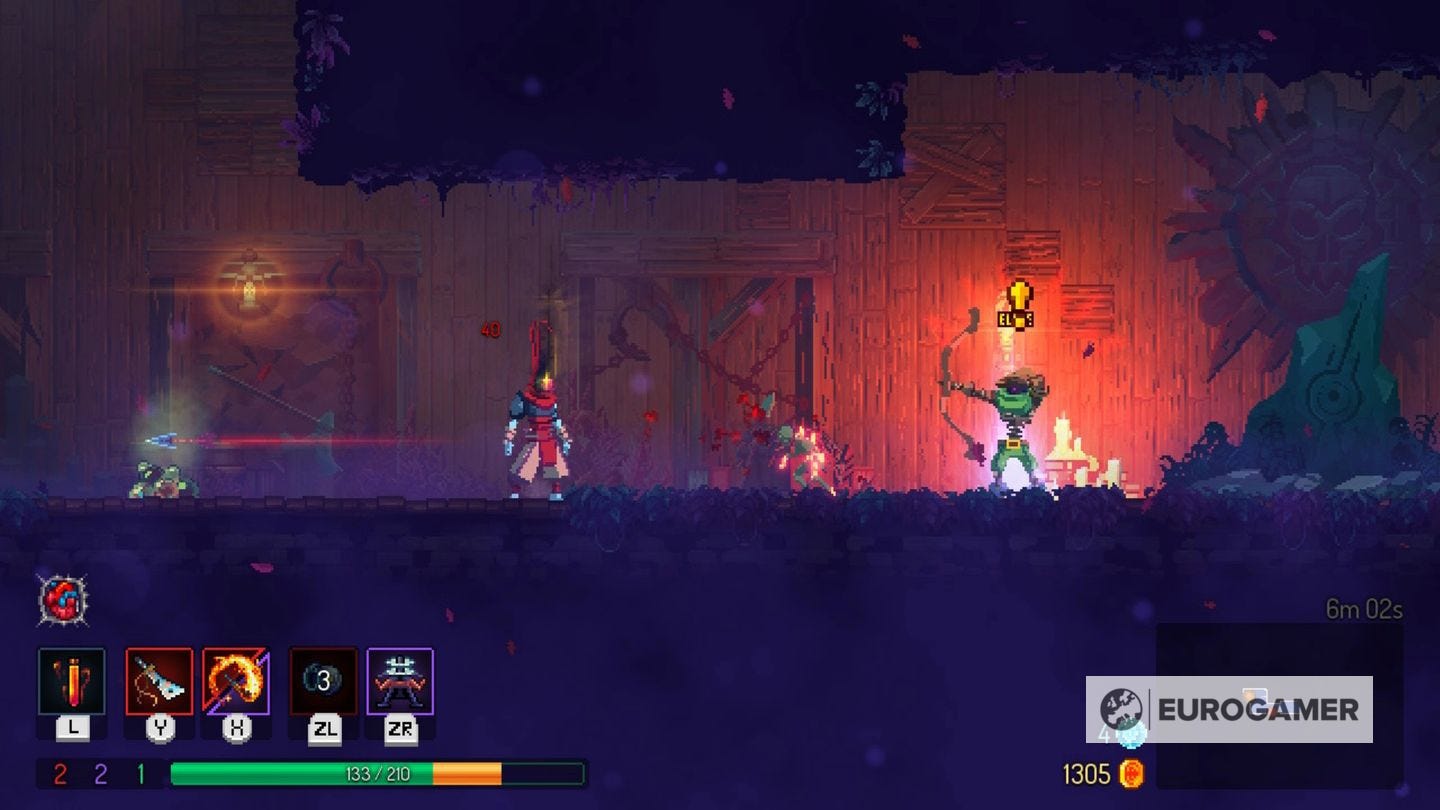
The roll ability in Dead Cells is probably the most important tool in your arsenal. If you see an enemy with a yellow exclamation mark, that's your invitation to roll and avoid the attack. Not only that, almost everything in the game can be dodged this way, helping you move past enemies unfazed to blindside them, or simply get past them without losing any health.
It's also useful in a variety of other ways. Rolling through doors is faster than opening them (and can stun enemies on the other side), jumping then rolling can help you land on awkwardly positioned platforms (and on flat ground, is faster than running if you are in a rush), and many of the game's secret rooms have even more secret compartments found by rolling through passages in the wall.

There's more than one route to take through Dead Cells
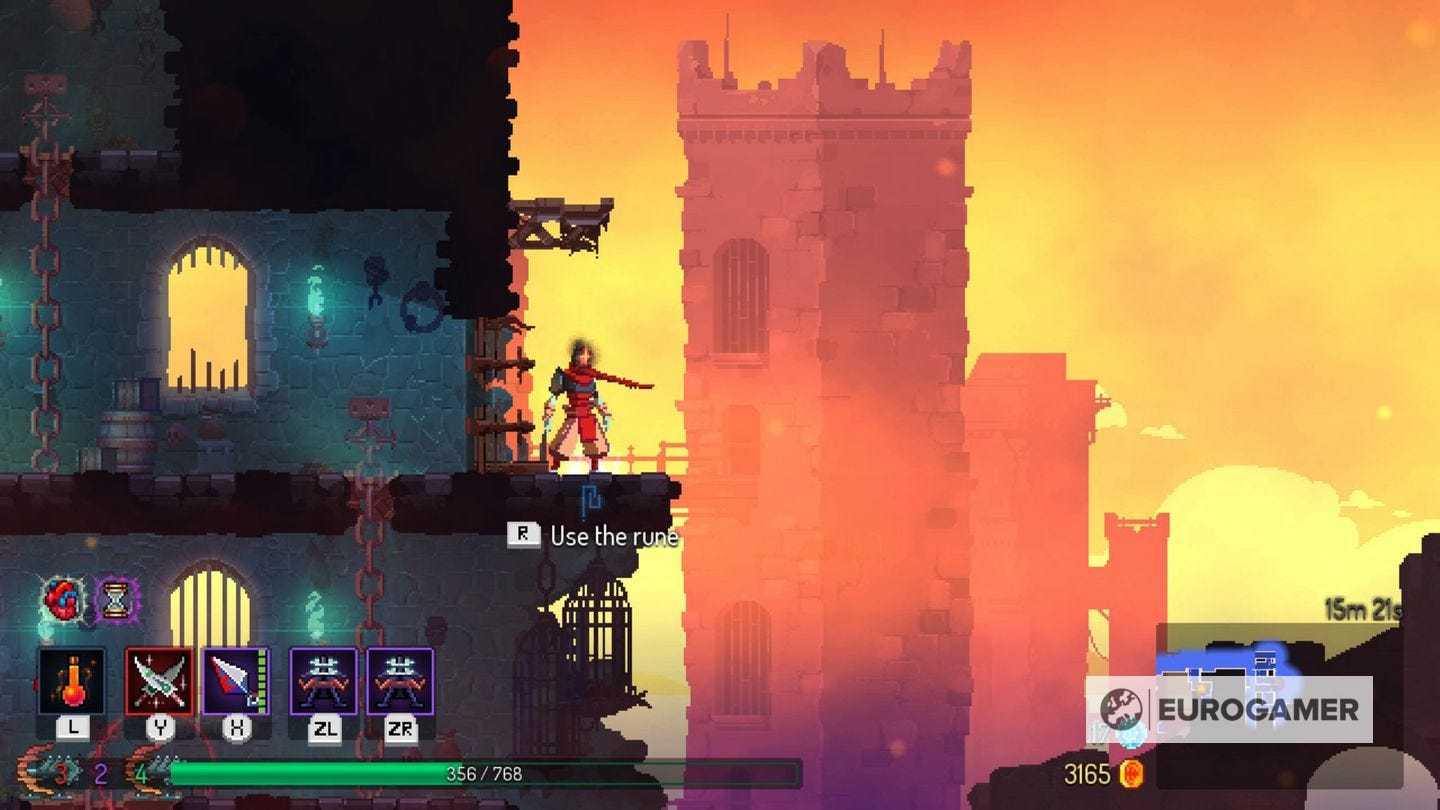
As you start unlocking Runes by defeating specific powerful enemies and bosses, you'll learn there are alternate routes you can take to the end game.
For example, defeating the Elite Archer in the second area, the Promenade of the Condemned, gives you the Vine rune, allowing you to 'tickle' the green masses you'll find on the ground, turning them into giant, green beanstalks you can climb.
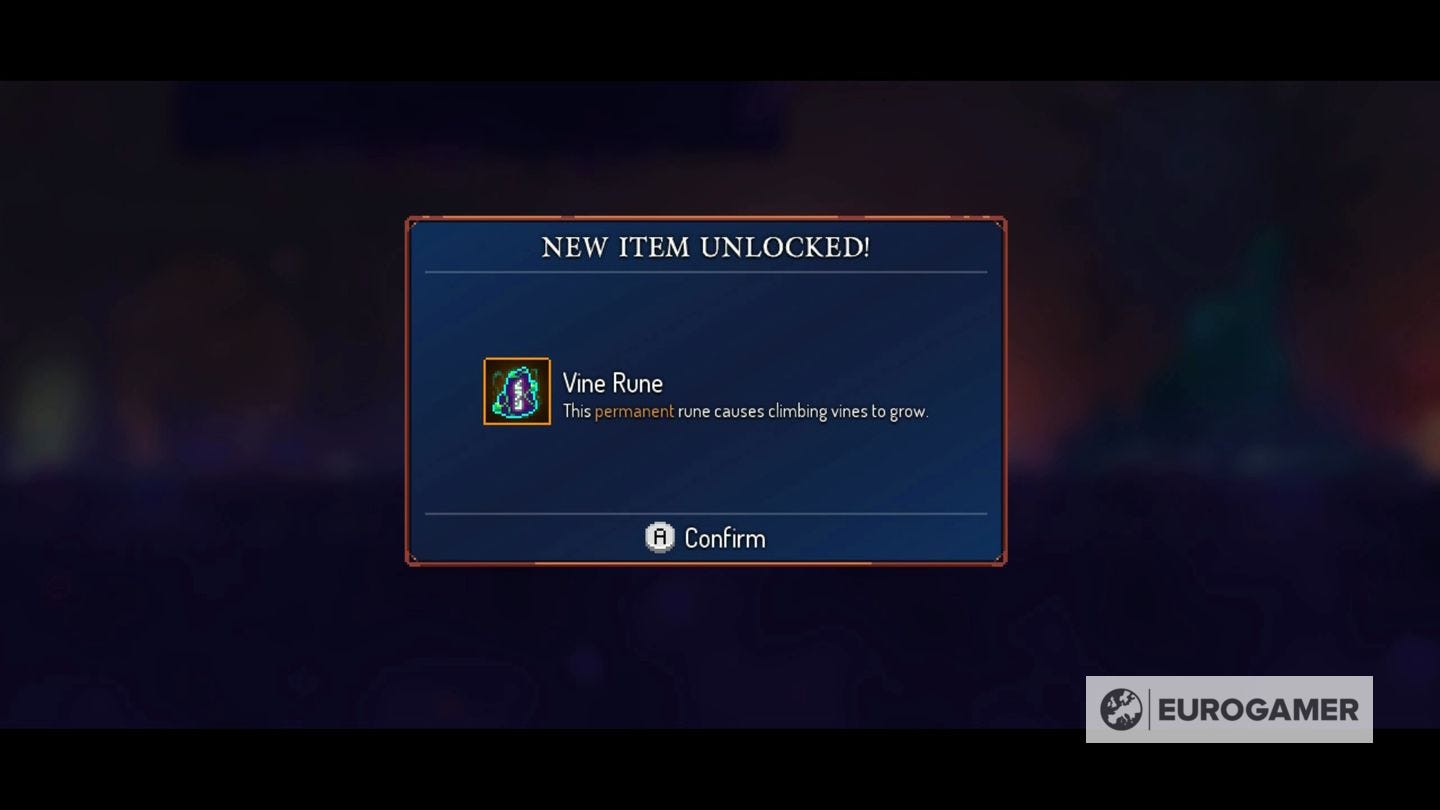

Not only does this mean you can progress to the subsequent Ramparts area, you can use it back in the game's first area - the Prisoners' Quarters - to reach the Toxic Sewers. This, in turn, has a Rune of its own (Teleportation), allowing you to 'rub' statues.
If you reach a dead end with seemingly no way forward, remember there's probably a Rune later in the game to help you progress.
Focus first on unlocking Potions and starting equipment
Like most modern roguelikes, only certain things will carry over between runs. Runes - as described above - are one of them, and another are upgrades.
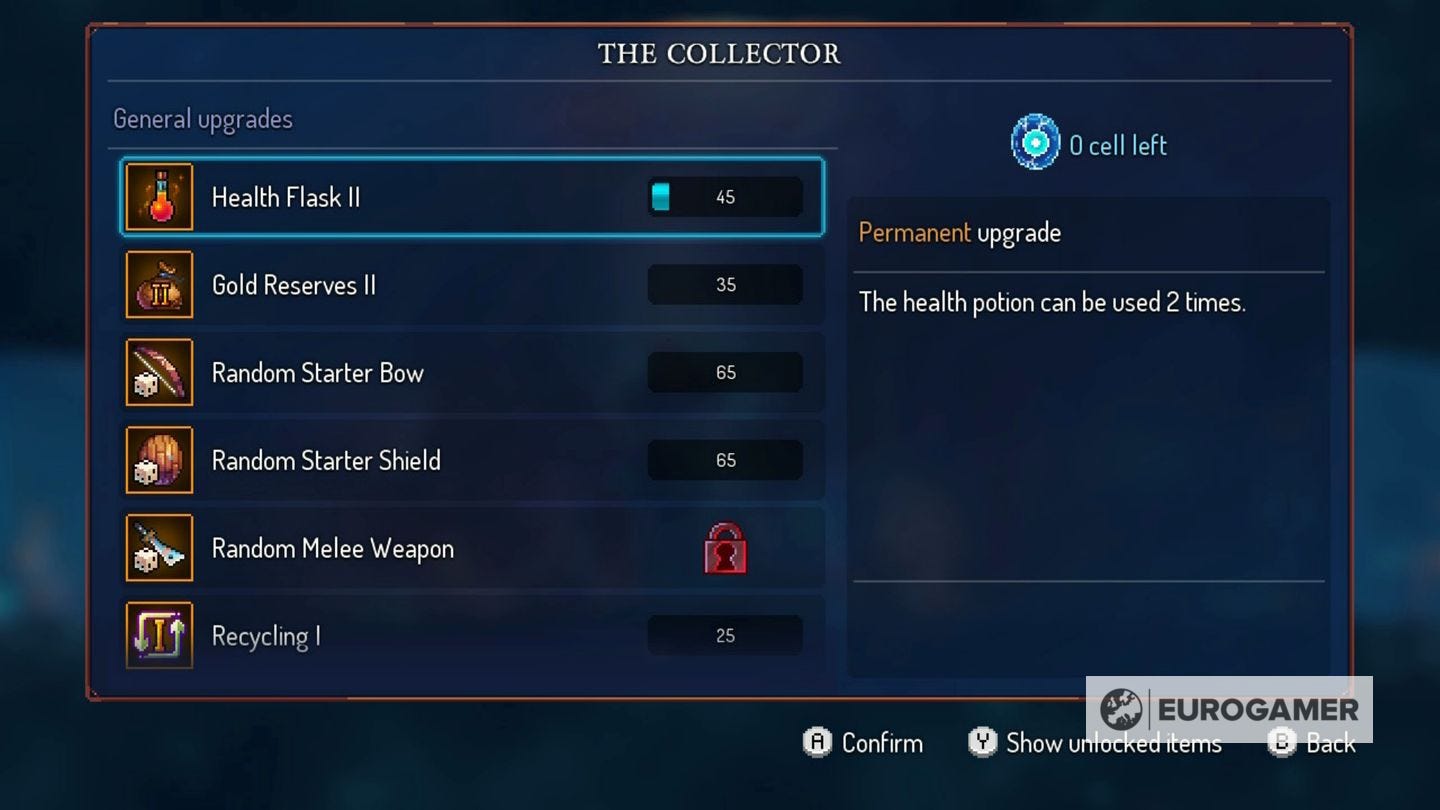
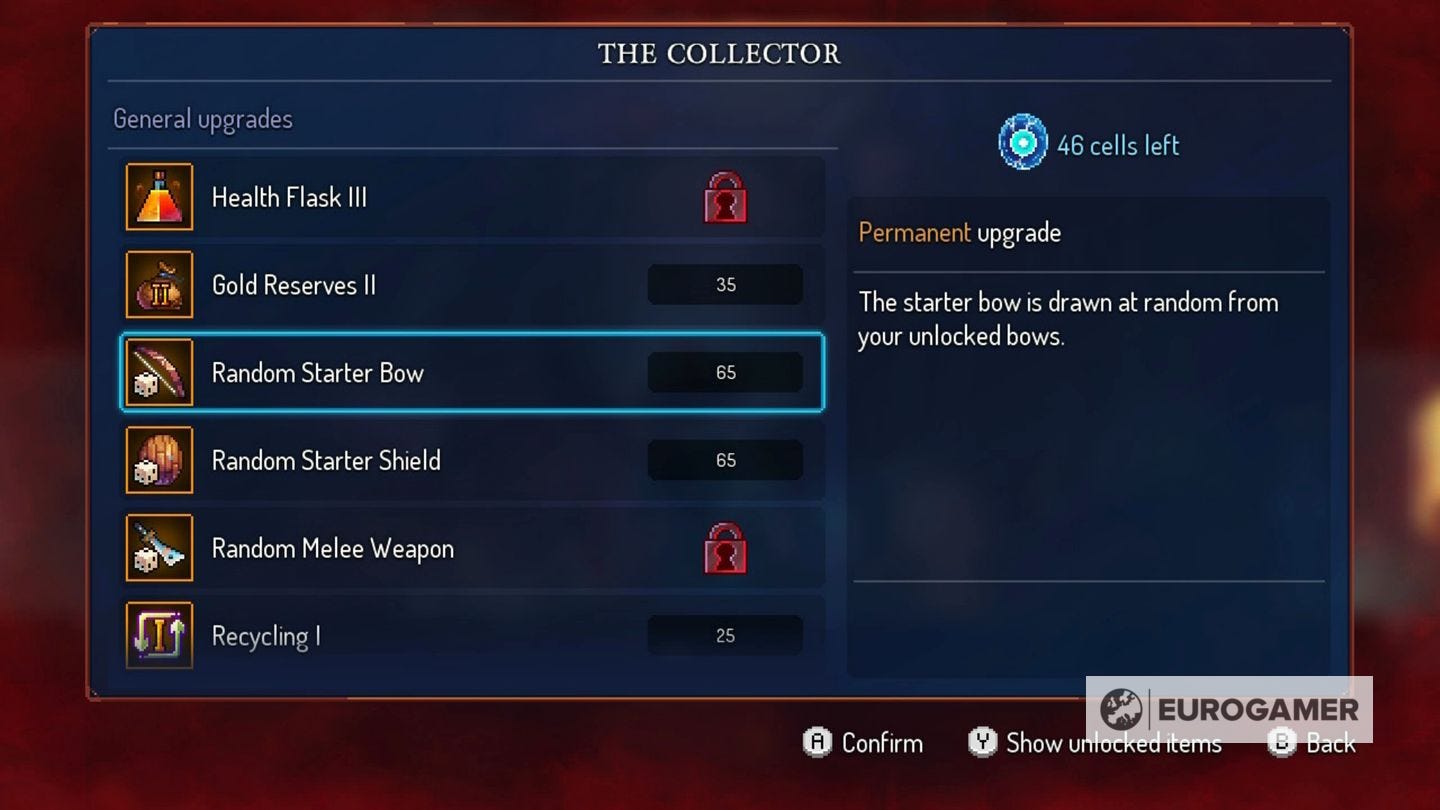
Upgrades are purchased with Cells, which are blue orbs you earn primarily by killing enemies. These are wiped when you run is over, but the game encourages you to spend them when you visit the Collector.
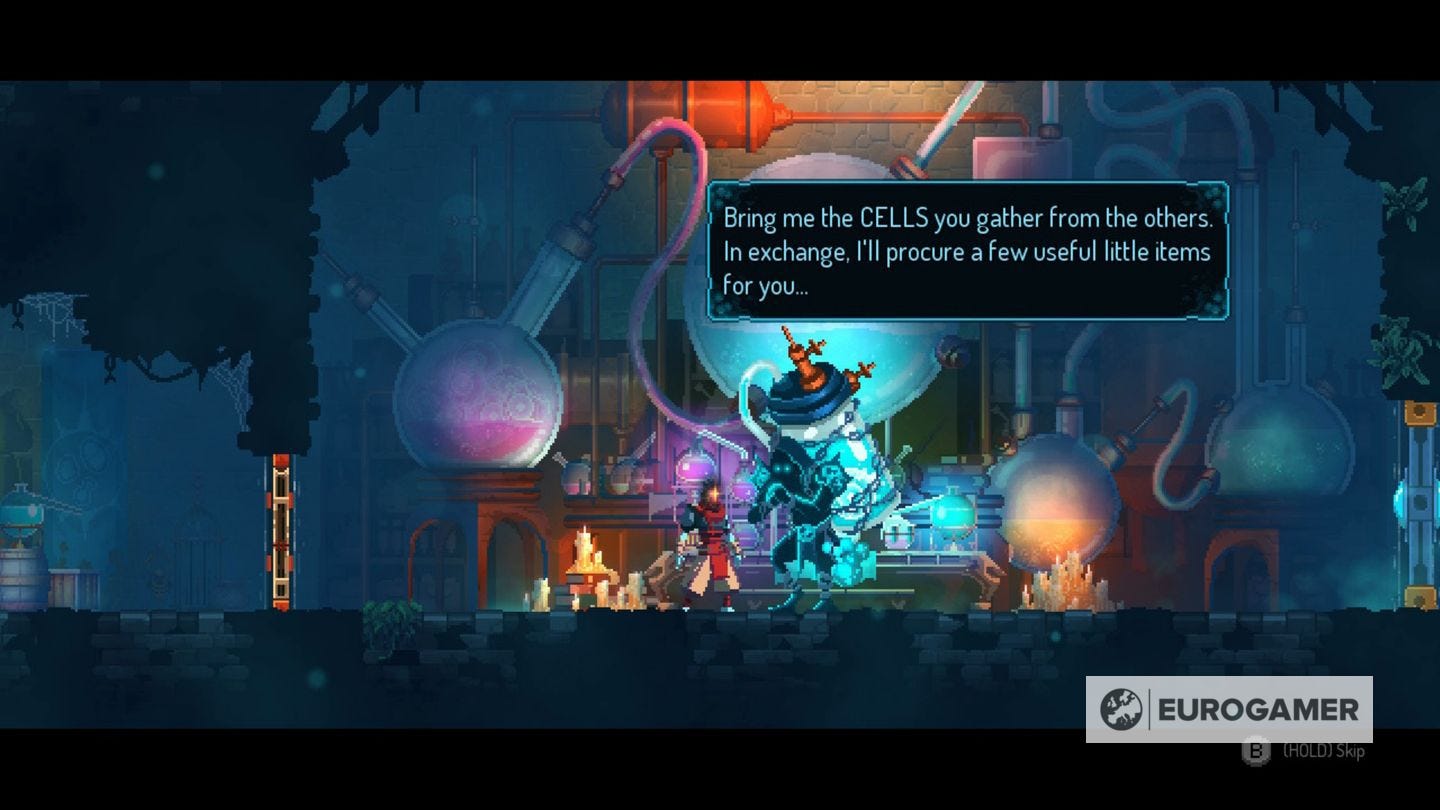
Our recommendation for your first upgrades? Level up your Potion as soon as you can, which lets you top up your health during a run. The added benefit is each visit to the Collector between areas refills not only your HP but your Potion too - making it one of the best investments in the game.
Next, grab the upgrade that allows you to hold on to some gold between runs, then go for upgrades that give you a random bow, shield or sword when you start the game, as the sooner you pick up powerful equipment, the better subsequent upgrades in a run will be.
Finally, if you're looking for a choice of Mutation (a powerful modifier to aid you on your current run) we recommend the Ygdar Orus Li Ox, which gives you the safety net of a second life. Even if you are experienced, you should never underestimate how even the most common enemies can give you a rough time if you're not paying attention.
In a rush? Aim to open Timed Doors
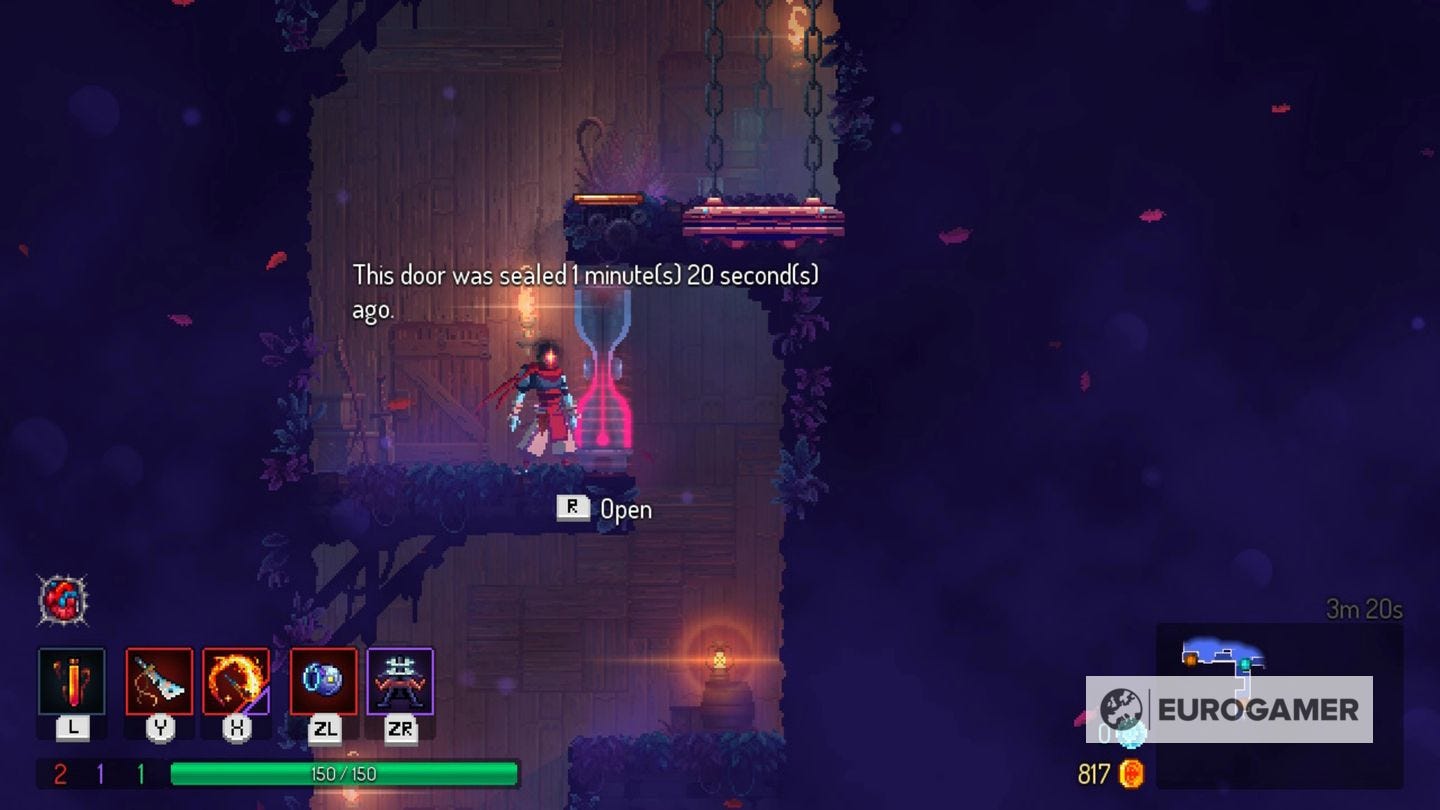
Though exploring levels thoroughly and killing enemies to gather Blueprints, Cells and equipment is generally the best way to play, once you're comfortable with Dead Cells, we recommend speeding through stages to reach the many sets of Timed Doors.
These guard rooms with all kinds of riches - upgrades, Cells, Gold and occasionally Blueprints - that become inaccessible if not reached in time.
Getting to the first Timed Door in the game's second area (which, by the way, will always appear next to the first teleporter) by the two minute mark sounds strict, but if you roll and ignore everything on the way, it's easily doable.
There's another near the start of the Ramparts if you can get there within eight minutes, and another after you beat The Concierge boss within 15 minutes.
Not only is it an extra challenge after you've explored those early stages, the Cells you earn behind each Timed Door is a useful way to grind those unlocks quickly.
Find some easy Blueprints at the start of the game
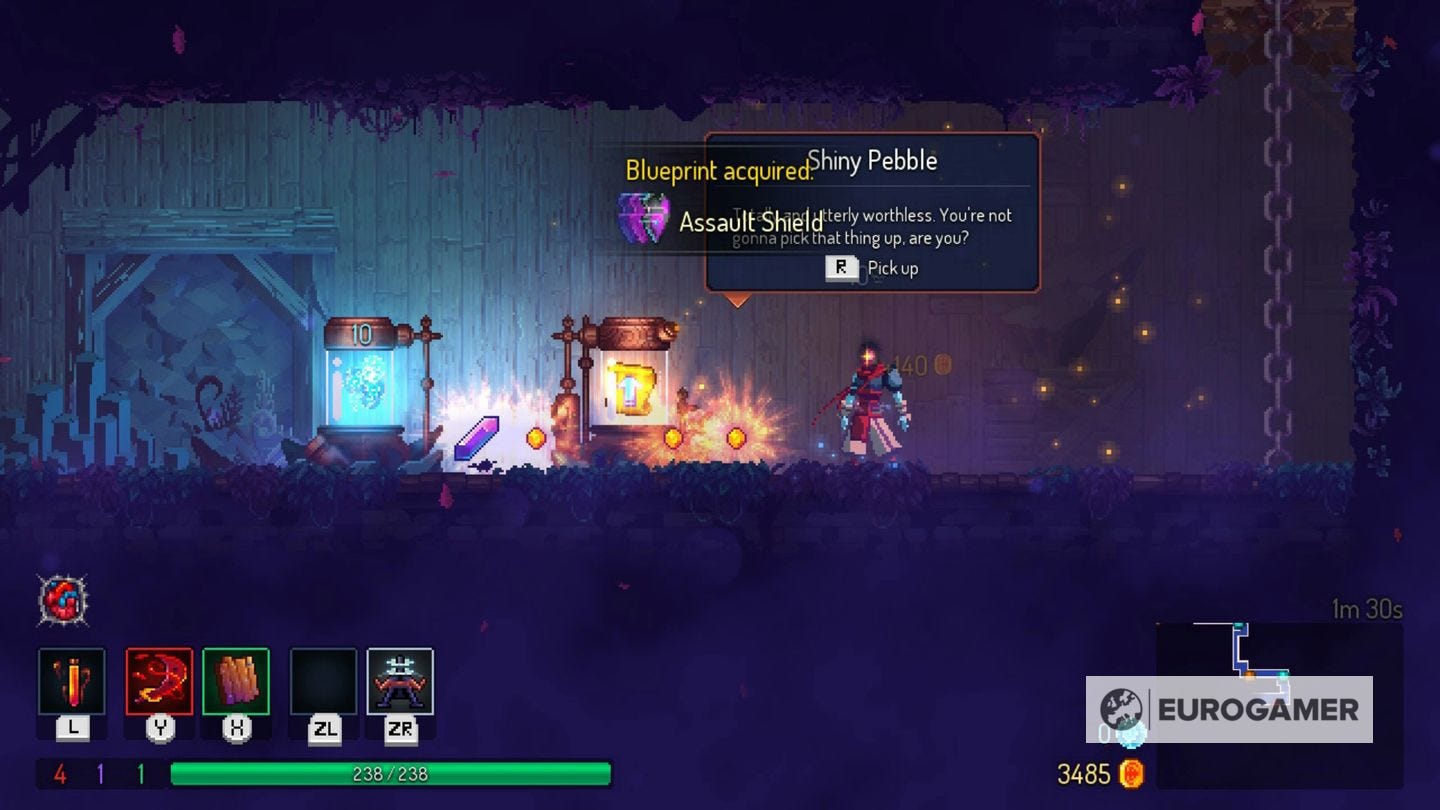
Blueprints - which add new bow, shield or sword types to find as you play - are found as a rare drop from killing enemies, opening chests or killing bosses.
There are also some Blueprints you find while exploring - if you know where to look.
The first is right under your nose at the very start of the game - jump left up the wall, then roll to enter the secret area. (There is also another at the top of room, above the jars, which we believe is inaccessible.)


Another Blueprint is at the start of the Promenade of the Condemned, again, above and left of where you begin.
Then there's one at start of the Toxic Sewers. As you drop down, there is a secret area in the left wall, with another Blueprint inside.
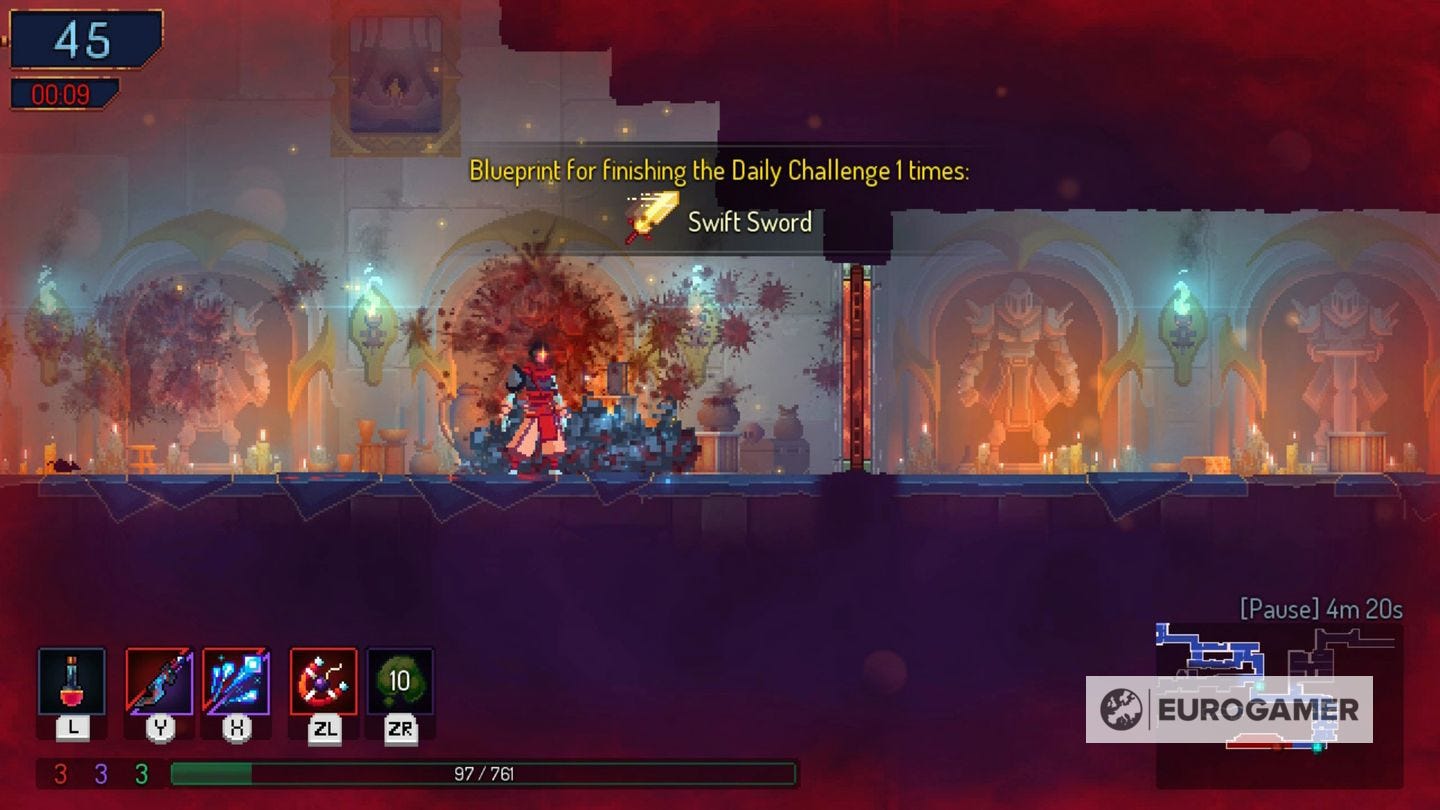
Make a habit of playing the Daily Challenge
Once you have taken down The Concierge boss for the first time, you'll unlock a Rune to open the strange clock door in the game's opening area.
This is the Daily Challenge, a timed dungeon that changes every day. Not only is this a welcome opportunity to practice encountering enemies and bosses you only face later in the game, but after a certain number of completions - once, five and 10 times - you'll unlock Blueprints you won't find anywhere else.
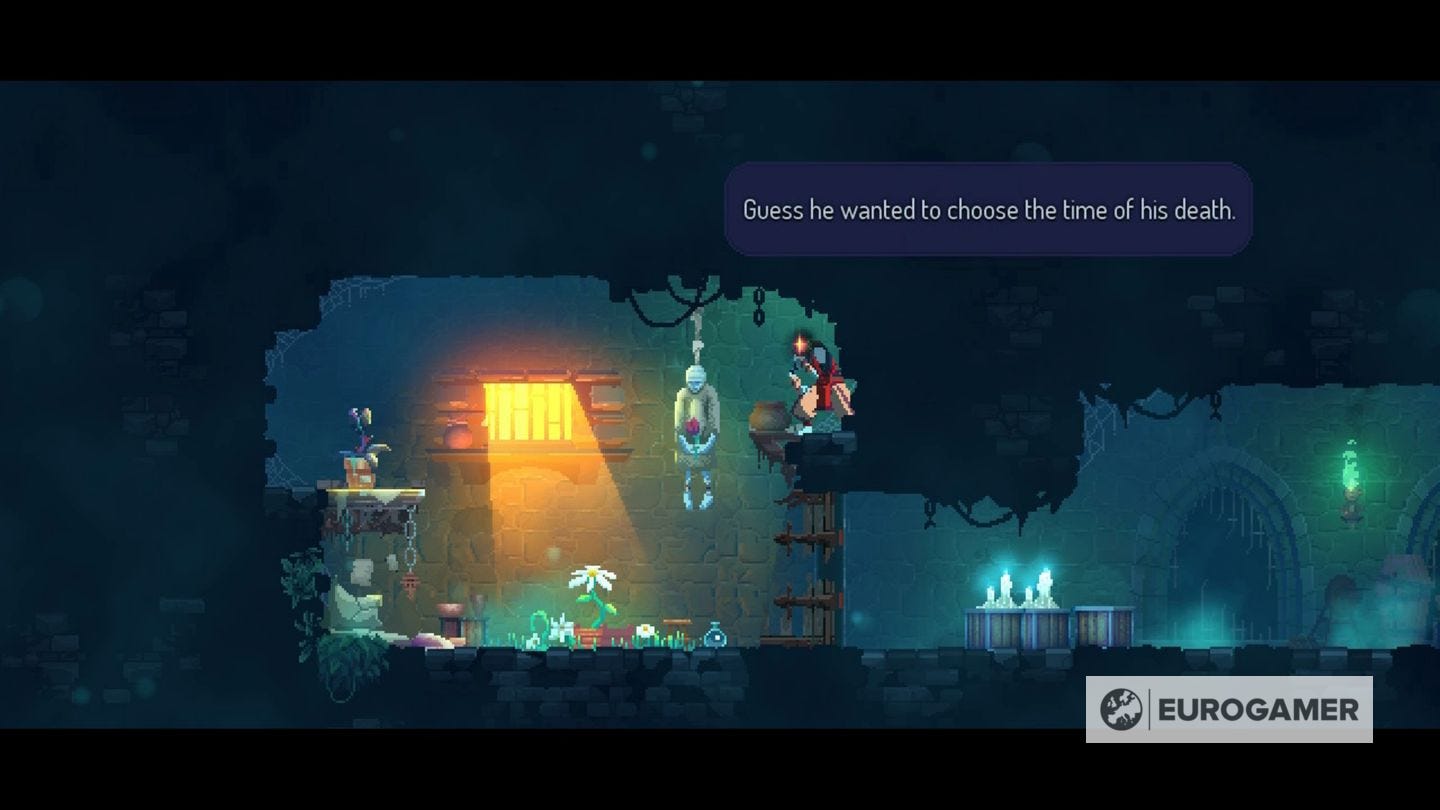
Pay attention to story rooms
Dotted throughout each stage are a variety of 'story' rooms, allowing you to rummage around prisoner cells, wells and statues, and give you a little more backstory with each discovery.
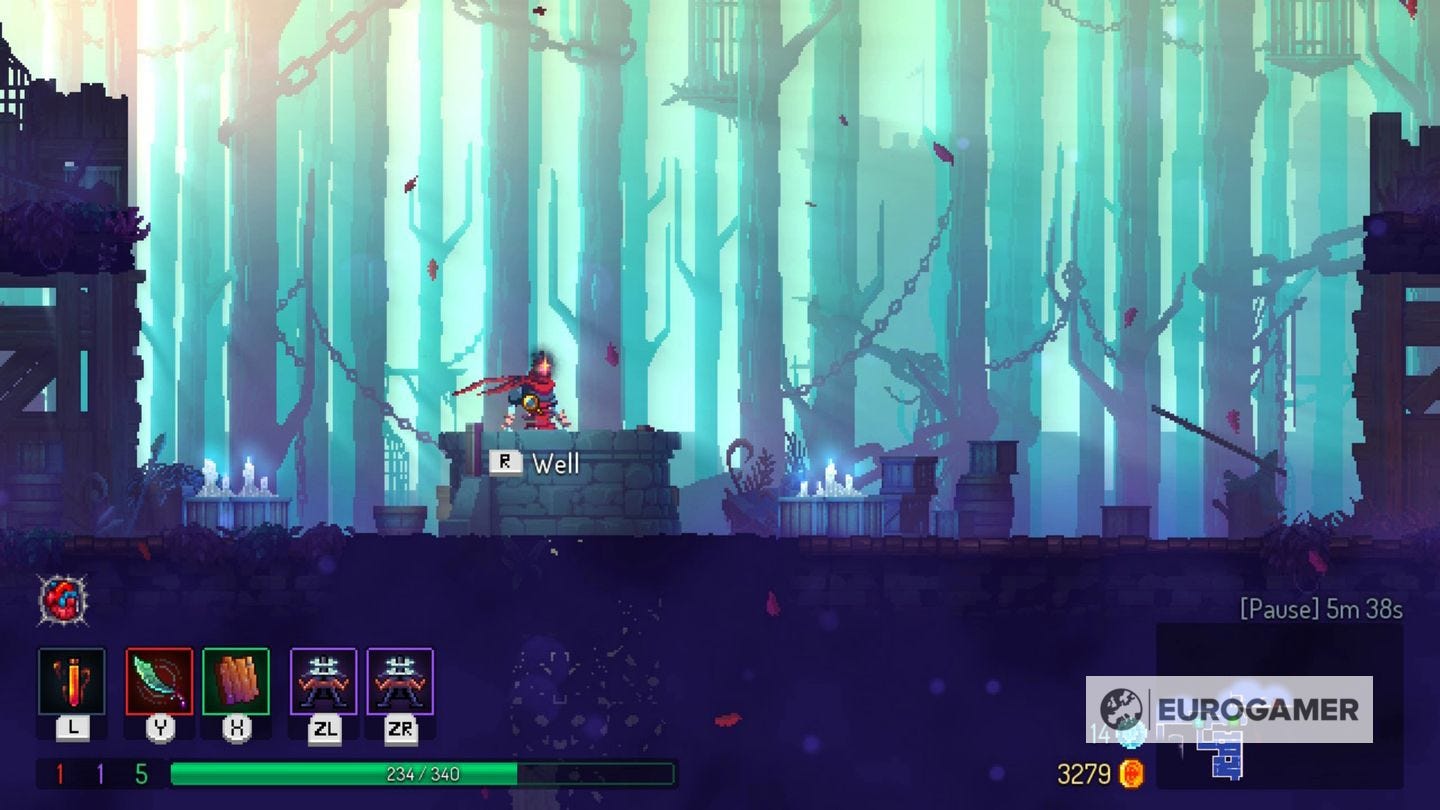
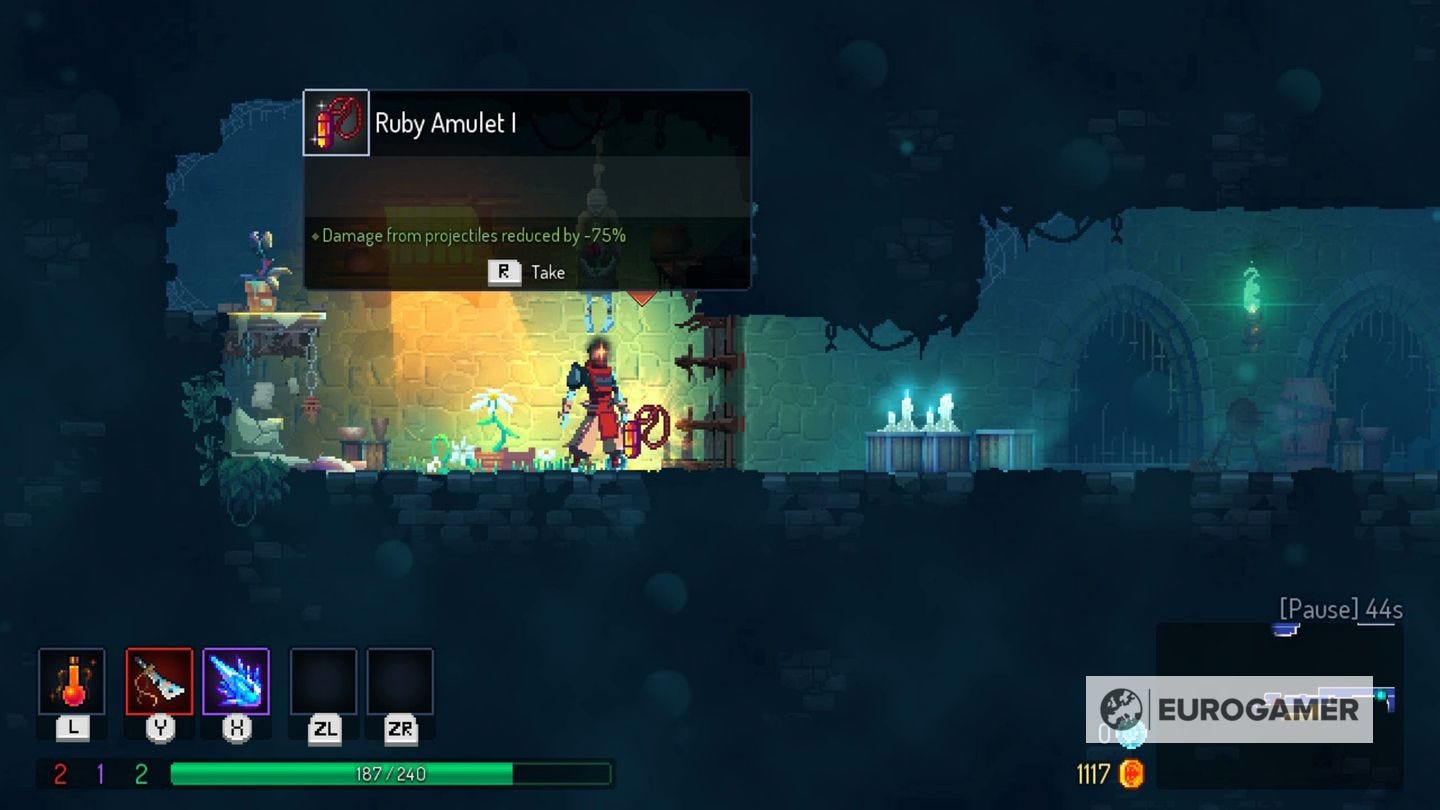
These rooms have a practical use too, with the chance to occasionally find health, gold or equipment. These rooms are one of the few sources of Amulets, giving you useful abilities like extra defence or a triple jump, so be sure to investigate every inch, or try rolling into walls to find secret compartments.
In a rush? The good news is your timer stops when you happen upon them - and you'll know when you've found a story room when nearby white and blue candles glisten in the background. So take a breather, and explore your surroundings without worrying about the clock.
Don't overlook equipment - or their cheesing possibilities
Though your melee weapon is probably the best way of taking down enemies, don't overlook stocking up on equipment, which are assigned to each of the shoulder buttons.
For example, Sinew Slicers are contraptions that shoot blades at the nearest enemies. As long as you stand within range, you can hide in a nearby room or hang from a chain while they do all the work.
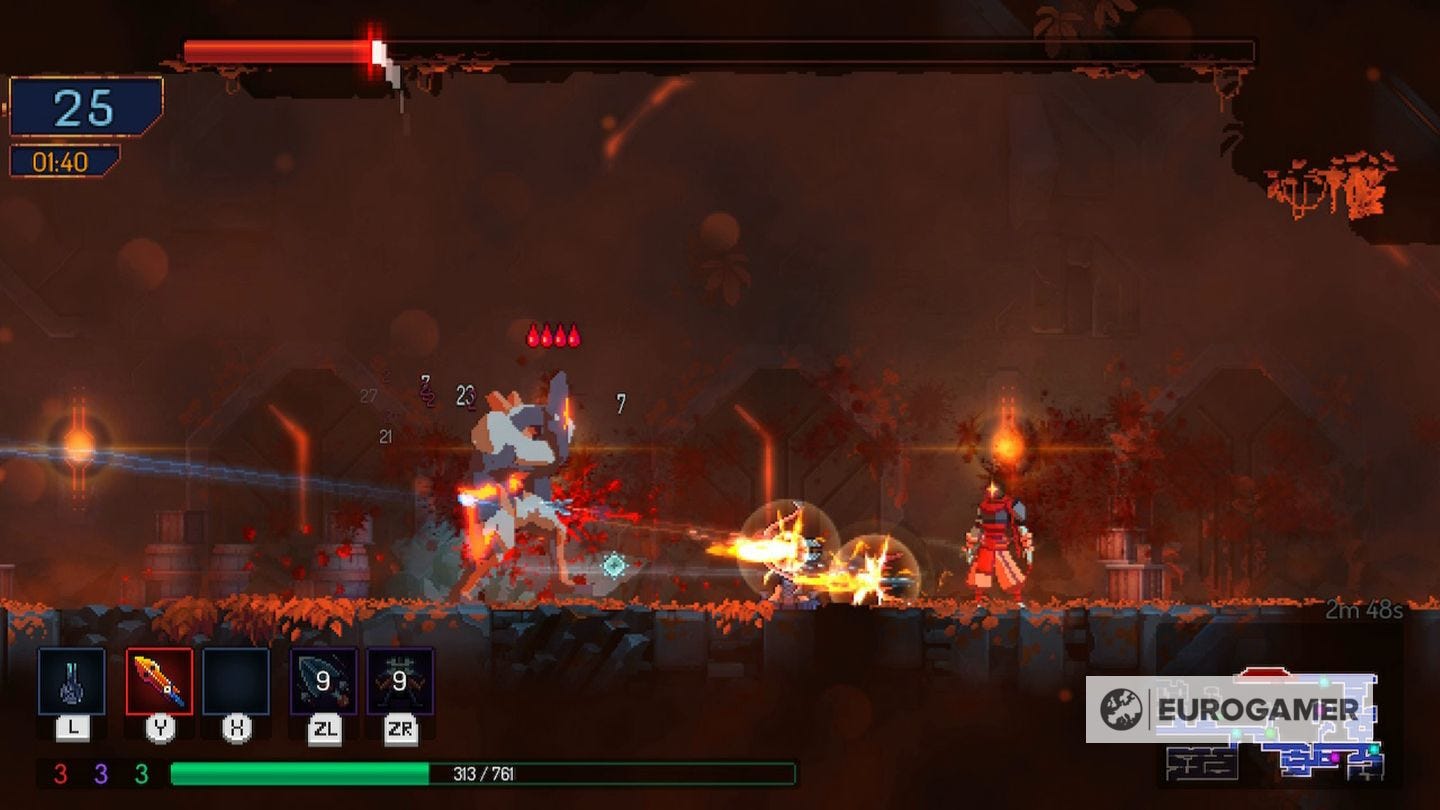
Meanwhile, if you can combine Wolf Traps - which immobilize enemies - with Ice Grenades or Arrows, you can hack away at enemies freely while they are stopped in their tracks.
Even if you haven't upgraded your Tactics stat to make them particularly potent, these are a useful way of cheesing areas you're unfamiliar with room-by-room, or simply evening the score against Elite enemies.
Other Dead Cells tips
As well as the above Dead Cells tips, here are a handful of other tidbits that can help as you get to grips with the game:
- Like Bloodborne, if you are injured, you can recoup some of your health while it is depleting by attacking enemies.
- When falling, you can slam into the ground by pressing jump and down. The slam can damage and stun enemies.
- There is no fall damage, but if you fall from a sufficient height, you will be stunned momentarily. Use the double jump to stagger your descent.
- Later stages require keys and more thorough exploration before you can progress. If you are stuck, pull up your map - it will note important points of interest if you managed to walk past them, or show routes you've yet to explore.
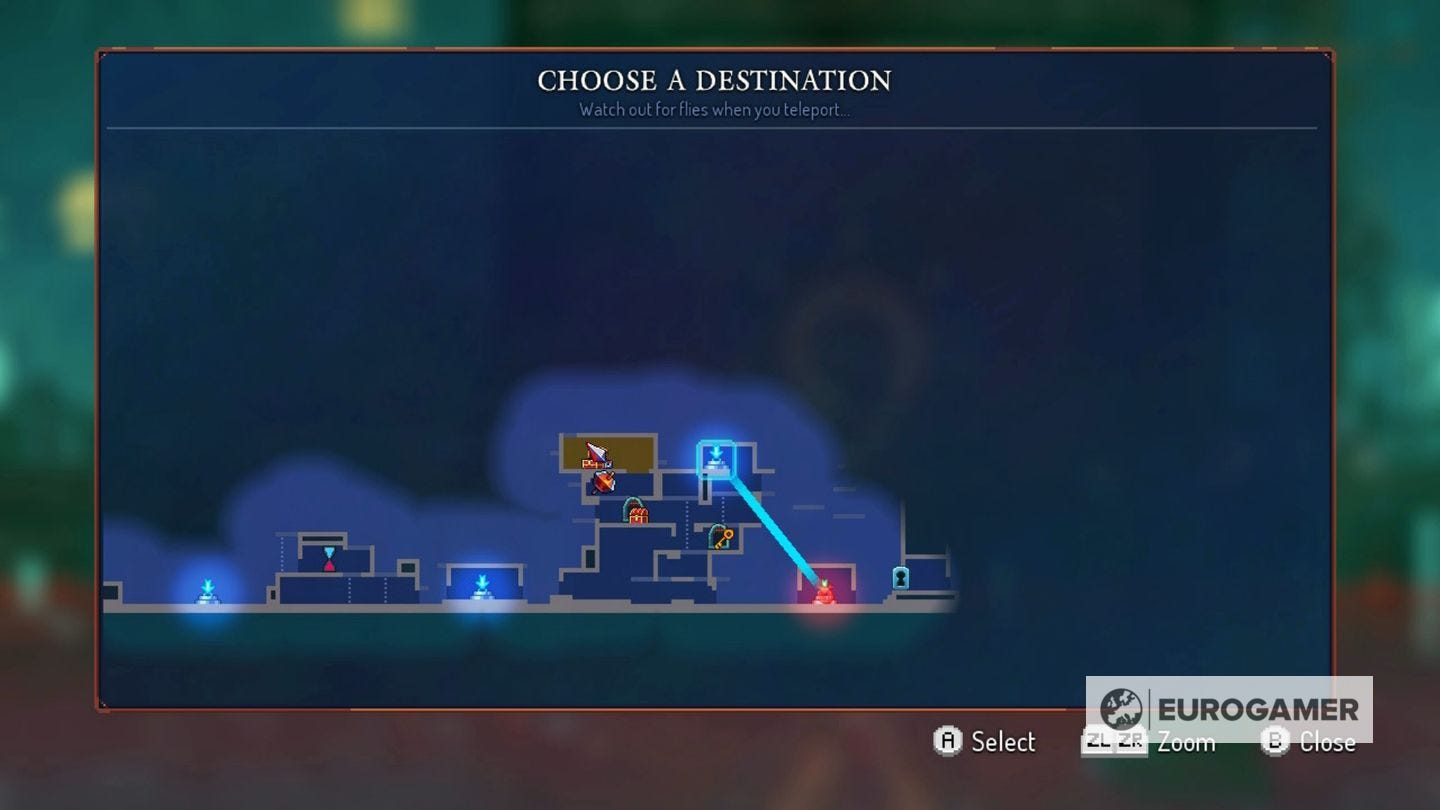
- If you see a tiny star on your map, it means an enemy has an upgrade or item you might be interested in.
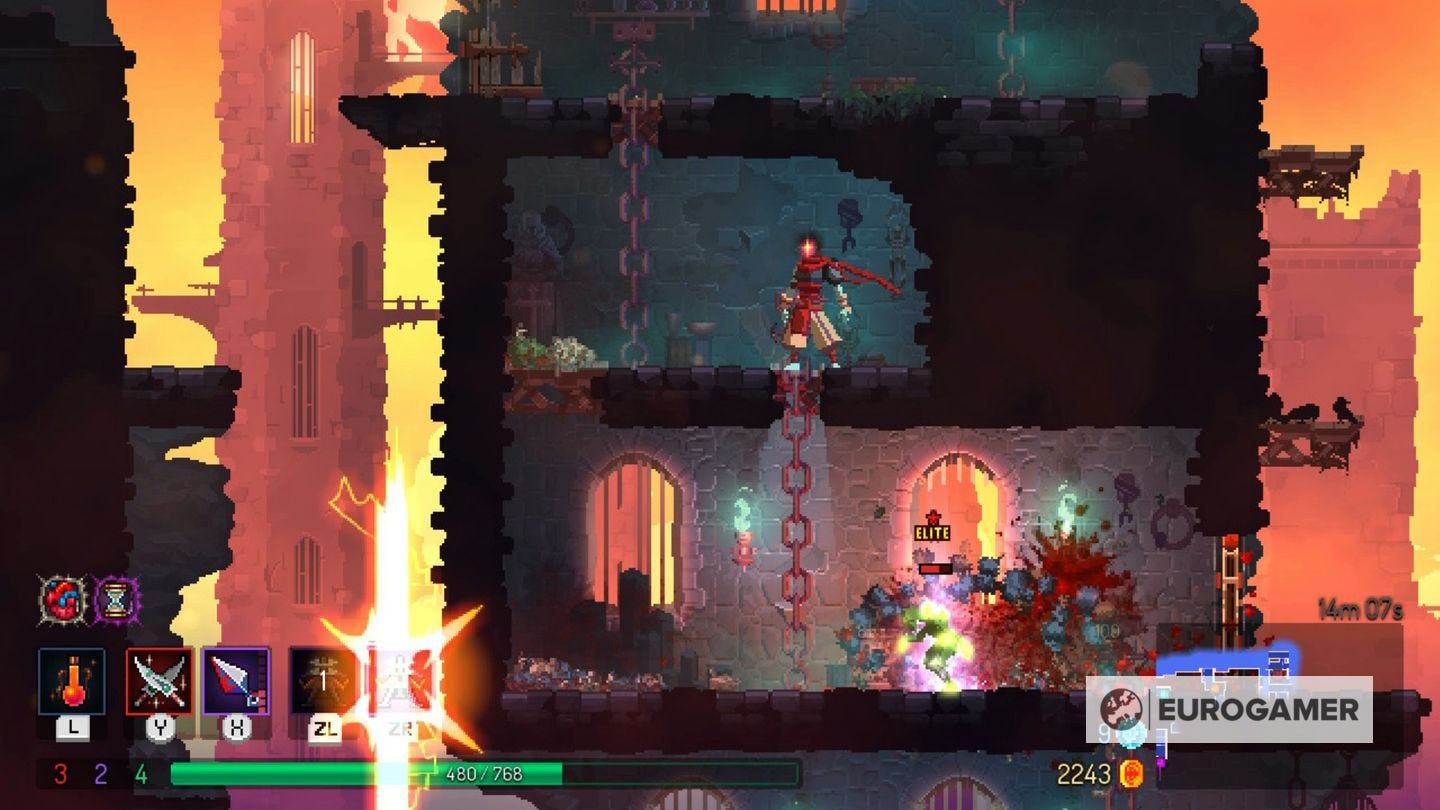
- Elite enemies are more powerful versions of existing foes. You have to defeat some in specific locations for Runes, otherwise they are completely optional - you can even walk past them if you like. If you decide to fight one, note they will continuously spawn other monsters to make your life difficult. If you can, contraptions such as Sinew Slicers, Wolf Traps or ranged weapons allow you to get out of the melee and keep a safe enough distance while the Elite's health is whittled down. Your reward will be a bunch of Cells and a powerful equipment upgrade.
- Don't blindly unlock every weapon Blueprint you come across, as doing so will 'dilute' the pool of items that will appear in your run. Only unlock what you think will be useful, and invest your Cells into potions and random starter items instead.
- There are three Mutations you can use at a time, and if you want to change your mind, you can pay to reset them. To clarify, this will unlock your choices, and doesn't pull up a fresh list of mutations to choose from. Note that once you use the second life Mutation Ygdar Orus Li Ox, you cannot get another on that run.
- Once you unlock the Blacksmith (by beating The Concierge boss) you'll also unlock the ability to perform minor forges on your weapons and equipment, increasing their stats for that run. You can also adjust their modifiers. This is particularly useful if you want to run an loadout that ties together elements or status effects - by say having equipment that burns or poisons, with similar modifiers on your melee and bow that are more powerful on enemies inflicted by that status effect. The rolls are random, though, and the costs increase with every attempt, so if you have something that works, think twice about changing it!
- Speaking of elements - ice grenades and other ice attacks will freeze water - and any other enemies standing there.
- This doesn't impact how items work but is a nice little tidbit nonetheless; going into the game's options allows you to choose the appearance of your in-game diet, from vegetarian to the more alluring monster and 'baguette'.
- Be on the look out for small squiggles on the floor, as these reveal secrets. One requires a 'ground pound' with the Ram Rune to access new areas, while those in the corners can be attacked to reveal items. Another type requires a button prompt. Pressing this opens a Challenge Rift. These are platforming challenges free of enemies, which not only give you a respite from combat, give you a giant chest as a reward.
- Cursed treasure is much like large chests, but with better rewards. The catch? You must kill a certain number of enemies to lift a curse, which sees you die on your next hit. And no, having Ygdar Orus Li Ox (the extra life mutation) doesn't count here. Open it at your own risk!
Okay, so we lied - there are technically more than nine Dead Cells tips on this page, but the way we see it, the more help the better. Hopefully all the above advice cuts through some of the game's more obtuse elements and helps your runs last that little bit longer. Good luck!