Dark Souls - Painted World of Ariamis strategy
How to tackle the Painted World of Ariamis in Dark Souls.
Valley of Drakes is an optional area you can visit while exploring Anor Londo in Dark Souls.
If you're looking for more help, our Dark Souls walkthrough and guide can help with all other areas of the game, including the dreaded Taurus Demon, Capra Demon, Ornstein and Smough bosses.
How to find The Painted World of Ariamis
To get to The Painted World of Ariamis, first, you are going to want to ensure that you have beaten the Stray Demon and got the Peculiar Doll item, as you will need it in order to access the Painted World.
When you're ready, turn the lift in Anor Londo all the way anticlockwise and take the exit that is left up the stairs.
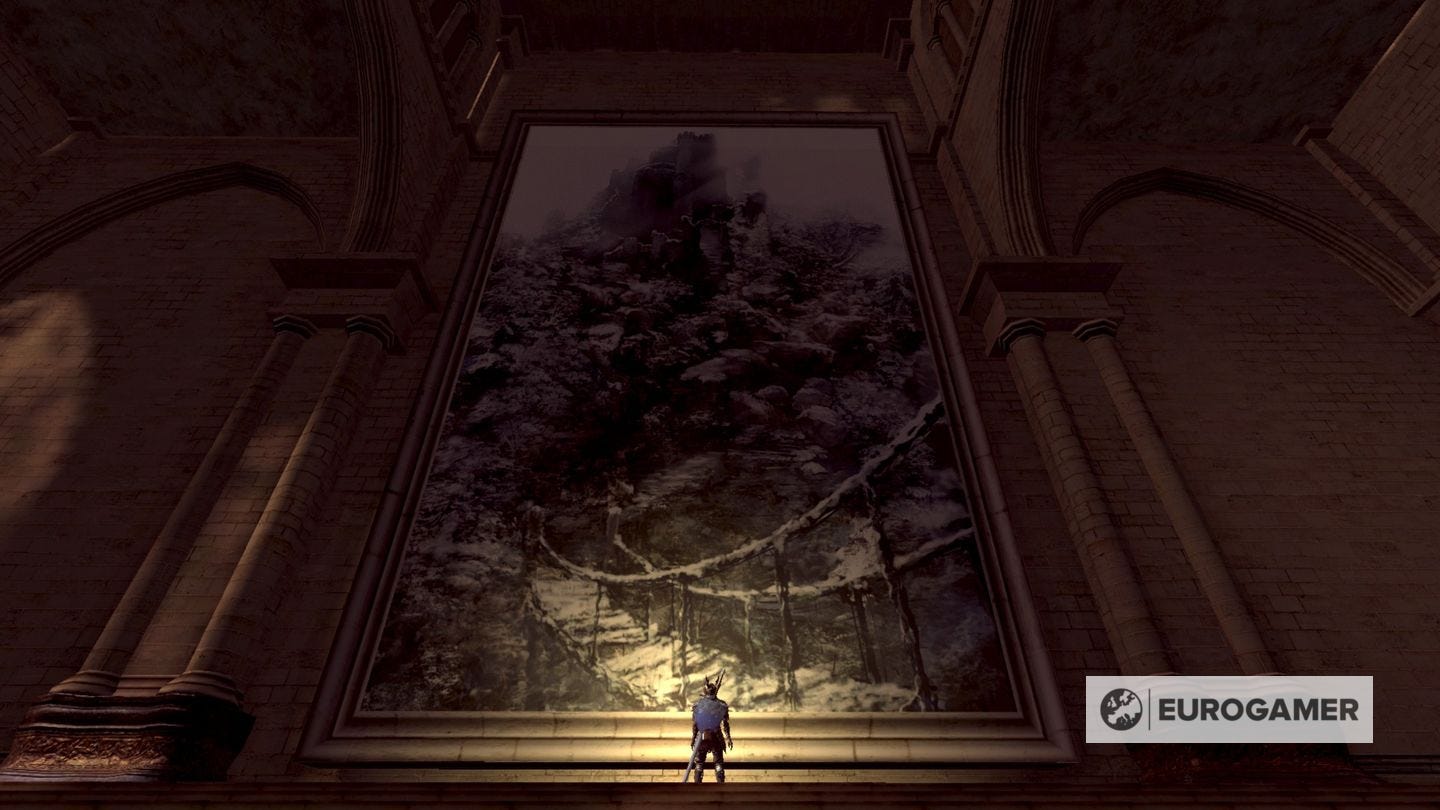
Go into the room with all of the Painting Guardians where you found the Black Iron armour set and examine the painting. Be warned, once you are in the painting, you cannot warp out until you have cleared the boss.
Exploring The Painted World of Ariamis
Head past the bridge and all the way up the stairs to get to the first and only bonfire in this area, like we mentioned before, you cannot warp out of The Painted World. Ensure you have your weapons fully upgraded before heading in, as this is a challenging area.
Head up the stairs to encounter three Hollows, deal with them and hang right. Head up the staircase, where you will encounter four more Hollows, with one of them being an archer. Head up the staircase to deal with the last archer, where two infected hollows with torches will ambush you.
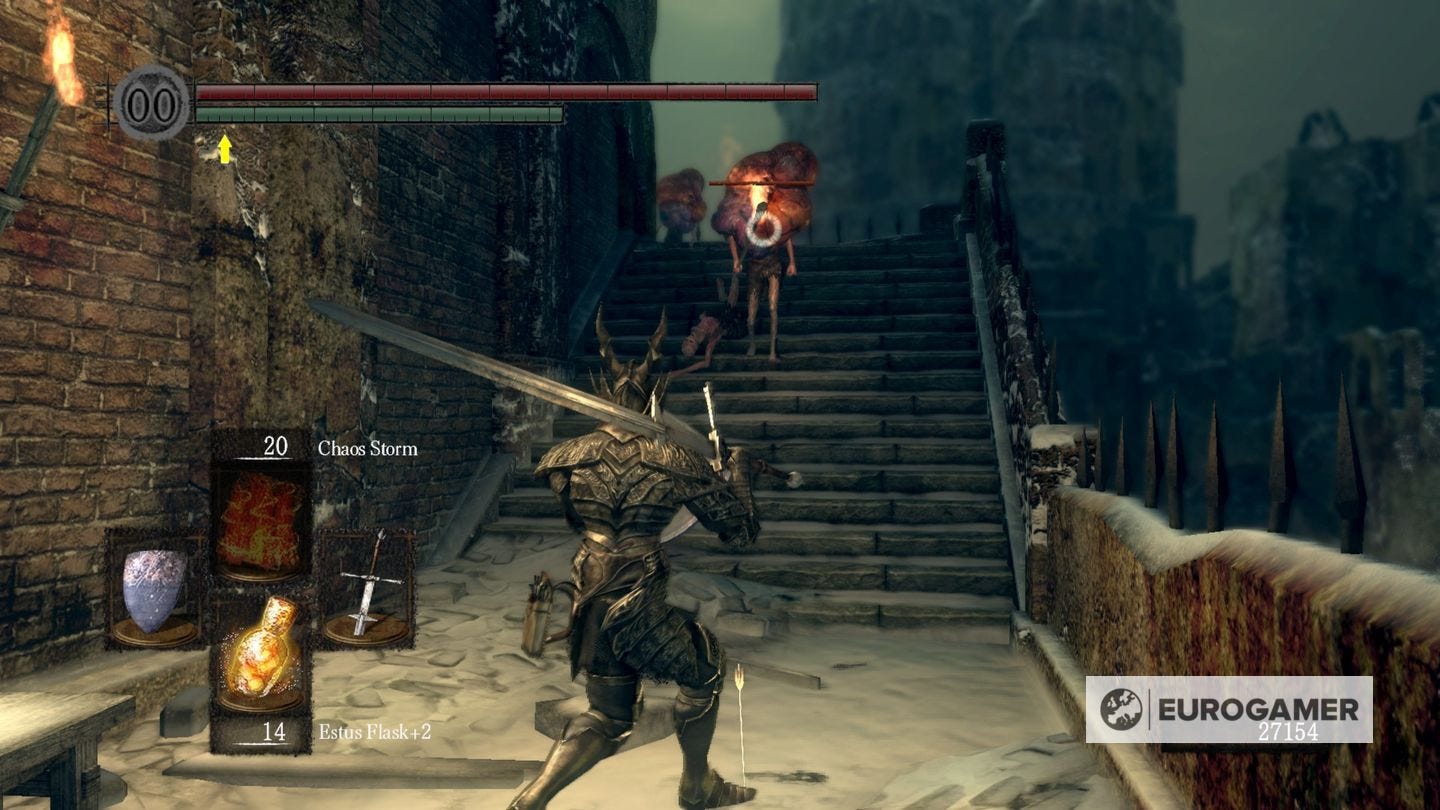
Here, you want to retreat and use ranged attacks to dispatch of these two infected hollows, as if you melee them you will become Toxic and lose your health very quickly. In addition to this, you will want to watch out for their ranged Fire Attacks. Once dealt with turn around and head towards the gap between the two building and head right and up the stairs.
You'll find three more Hollows on the way up, then on the platform you see ahead, drop down to get a Charred Finger on a corpse. Then, head into the building. Drop down and you will immediately be ambushed by a hollow, then, head down and kill two rats guarding a Soul of Proud Knight. Then head all the way up.
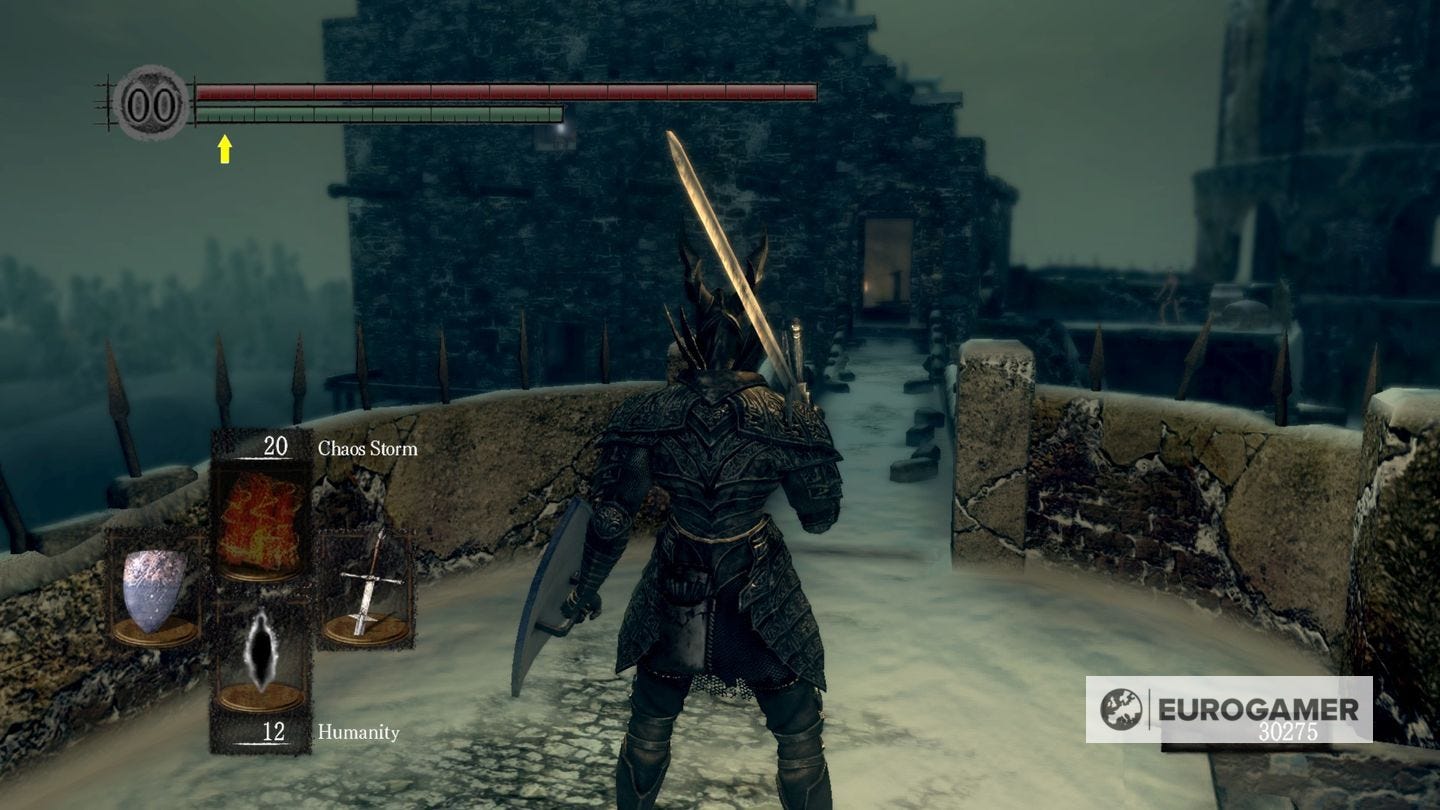
Cross the bridge with your shield up, and deal with the three infected hollows and normal hollow. Then, take out the archer, where you will be ambushed by two more Hollows and another infected Hollow. Then head left and cut down the corpse that is suspended by a rope. Exit this room, then head up the staircase and right.
To your left will be a Large Soul of Proud Knight Guarded by a Hollow, then turn around and head towards the building, them, hang a left and towards the broken bridge with The Undead Dragon. This is a lot larger than the Undead Dragon that we saw in the Valley of Drakes, but it's moves remain the same, you should be able to take this out pretty quickly.
Across this bridge are a few decent items such as the Blood Shield and a few Souls. But you will want to save this for later- across the bridge is the boss, which we will come back to after getting a few helpful items. Turn back and head to the left and down the stairs, on an opening to the right to fight a Harpy. Head down the stairs here and through the fog door.
Here, you will find a Phalanx. The best approach is that it's not actually a singular being but multiple, and you can only harm them from behind. We recommend getting an AoE Pyromancy like Chaos Storm to kill them all in one hit. Otherwise, you will want to kits them out individually or use ranged attacks to deal with them.
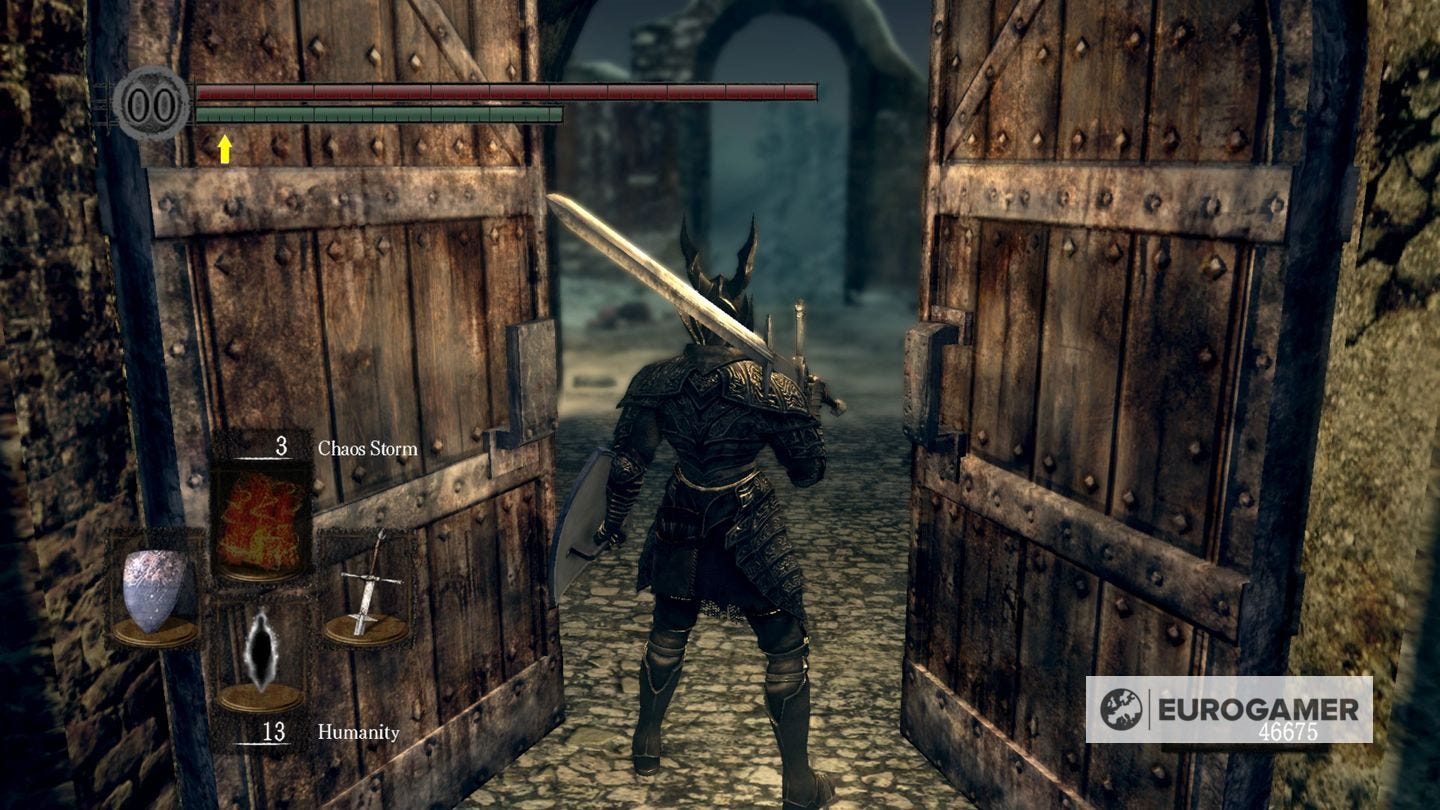
Once defeated, head to the right for a Humanity. Then, head to the middle and forward to open up the gate which gives you a shortcut to the bonfire. Head to the left of the gate that you just opened to deal with some Souls of Proud Knight and the Acid Surge Pyromancy, just be sure to dispatch of all the Hollows before getting the items.
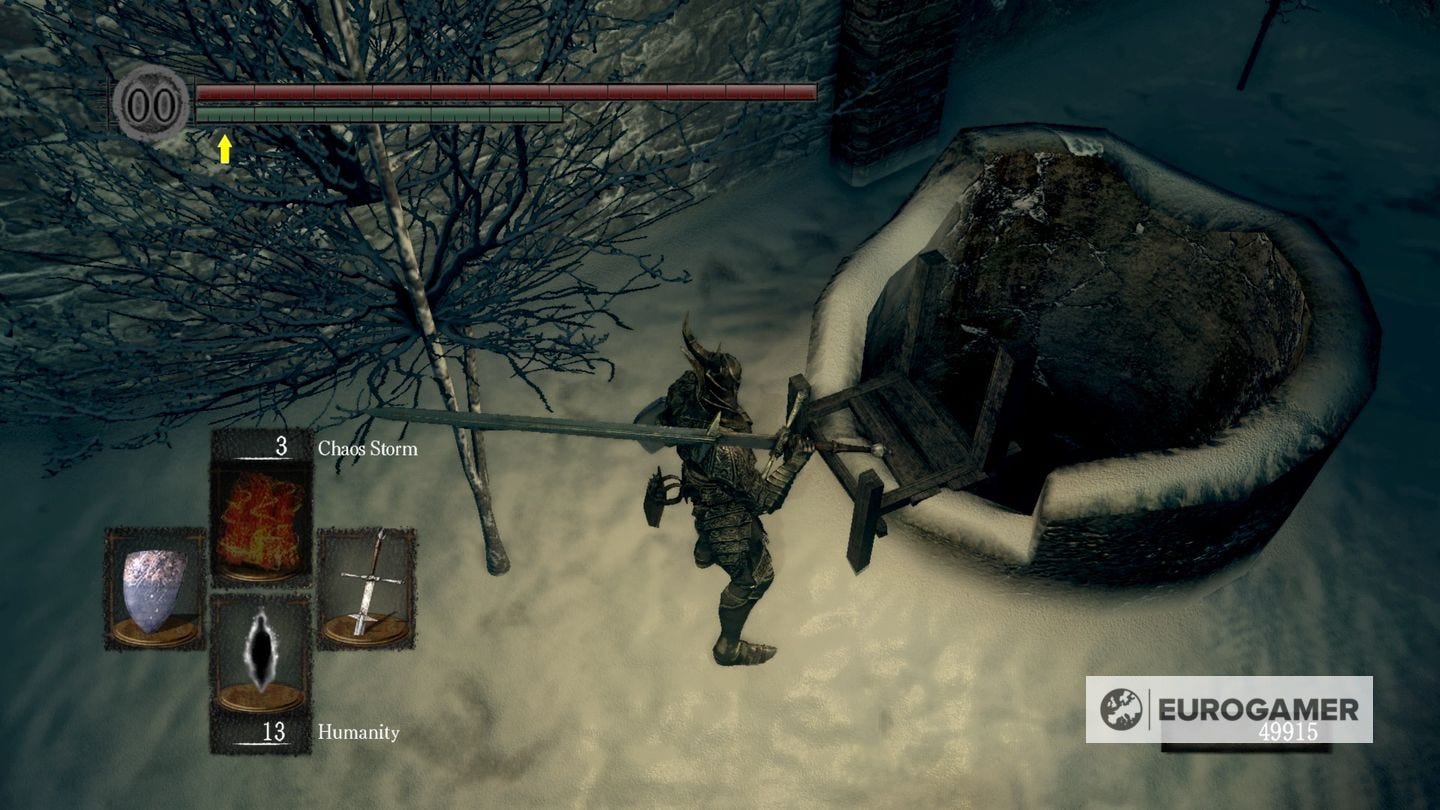
Then, head back to the courtyard where you fought the Phalanx. To the right is a well leading down. Head down and prepare to fight some Bonewheel Skeletons
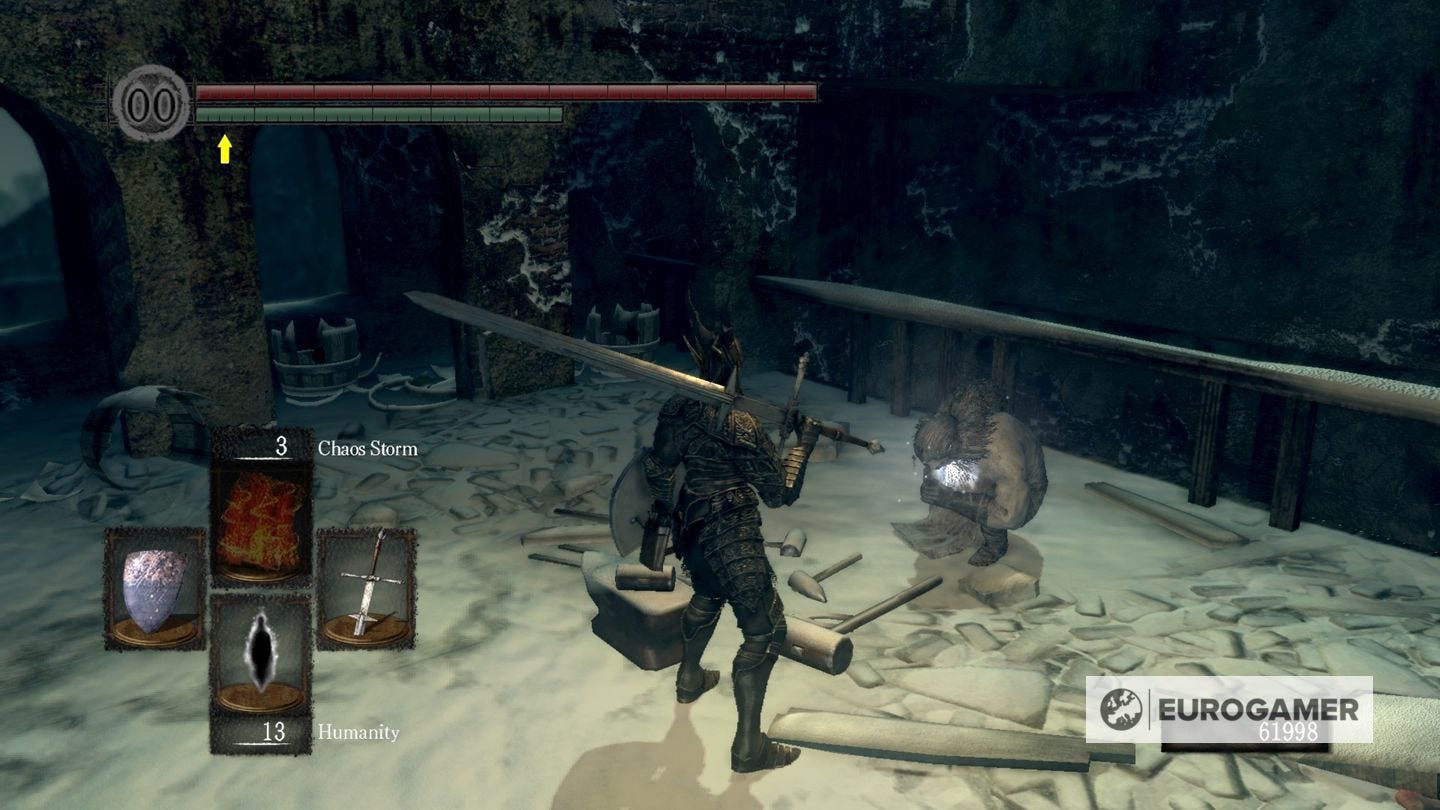
Upon entering there will be a Bonewheel to your right, kill this and head left, where another Bonewheel will come for you. Then, go into the room where you can see the item ahead. There are a lot of Bonewheels here, so keep your shield up and get some high-poise armour on.
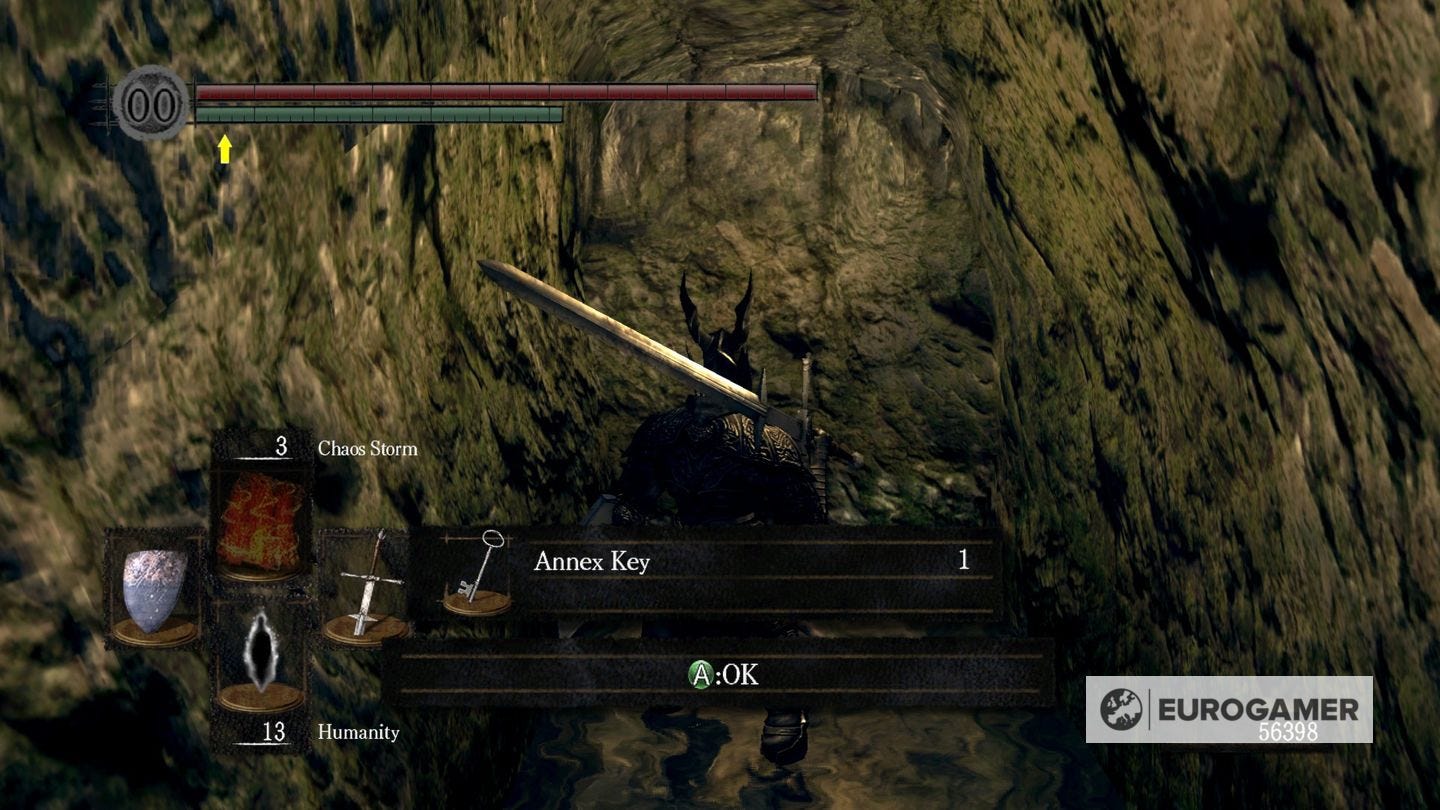
Kill these, get all the items and turn a lever on the wall to open up another shortcut. Then, leave the room the same way you came in and directly to your right on an archway will be an illusory wall. Follow this path up and kill the Bonewheel along the way for the Annex Key. Now, head back up to the Courtyard.
If you're looking for more help, our Dark Souls walkthrough and guide can help with all other areas of the game, including the dreaded Taurus Demon, Capra Demon, Ornstein and Smough bosses. Meanwhile, we have explainers on how to access DLC Artorias of the Abyss, the best gift and best class in Dark Souls, Dark Souls' best weapons, Dark Souls Covenants, Dark Souls Estus Flasks locations, Dark Souls Titanite Slab locations and NPC quests including Lautrec of Carim.
Head to the building on the right and use the Annex Key to open the locked door. Head up and directly left. Follow the stairs up and deal with the Infected Hollow and Harpy along the way until you get to the uppermost platform.
Here you will be swamped by four harpies, but on the corpse ahead will be the Miracle Vow of Silence. Head down and to the room to the left to get the Velka's Set. Then, head back down the stairs and break the wooden door ahead of you to reach a path towards Velka's Rapier.
Turn back and head along the path, killing the infected hollow along the way. Then you will reach a room with two infected hollows. Kill these and loot the Blacksmith to get the Dark Ember.
Now, head back to the courtyard and towards the long pathway we opened up. You'll be ambushed by hollows here, and at the end will be a Berenike Knight you will need to take down, be careful of the narrow pathway, and use a 100% Physical Shield to kill it. Then, head towards the Fog Gate and towards the fog gate.
Here, we encounter the boss Crossbreed Priscilla.