God of War - Return to the Summit
A walkthrough for the God of War story mission, Return to the Summit.

Return to the Summit comes towards the end of God of War PS4's main story.
Here on this page, we'll take you through everything you need to know about this section of your quest, including how to solve any puzzles, take down any bosses and find any useful loot along the way. For guides to specific collectibles we also have pages on Valkyrie locations and how to open Hidden Chambers, Lost and Found locations and Faces of Magic locations, too.
This page follows on from The Black Rune, Tyr's Vault Water Puzzle solution, Grendels boss fight.

Otherwise, you can always cycle back to our main God of War walkthrough and guide hub, too.
Return to the Summit
Make your way back up to the mountain Foothills, via Tyr's Bridge and the usual short route through the base of the mountain, until you reach Sindri's shop out the other side.
Atreus is... being a bit of a douche, in case you hadn't noticed. Clearly something's a bit up with him, and it has been ever since he discovered he was a god. Also you should probably discipline him more but you're a bit of a rubbish dad. Anyway! After the cutscene where he's horrible to Sindri, continue on up the Mountain again, by foot this time, as the lift's apparently broken.
Follow the waypoint over the steps you've already traced before, defeating the multiple waves of enemies as you go - you can take a moment to detour here in the foothills and open a few more chests but we're going to plow on wtih the story.
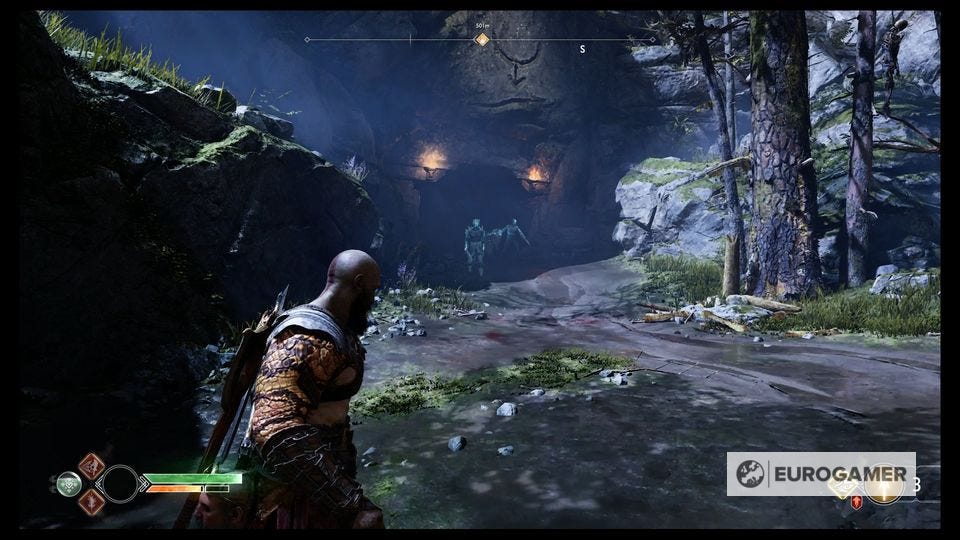
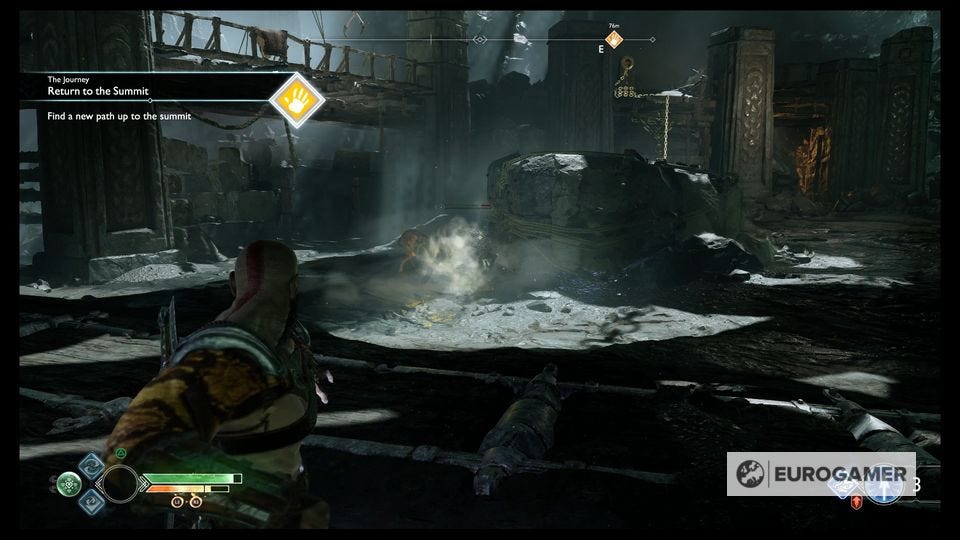
Soon enough you'll reach that area where you fought your first Ogre, and waves of new enemies, called Broods, will come charging out of a couple of Realm Tears that are opening up around you. After you've cleared a couple waves of this fodder, go through the big doors and remember to turn right to get rid of that Hel's Bramble - this is the first Coffin chest you encountered that was covered in the stuff, way back when.
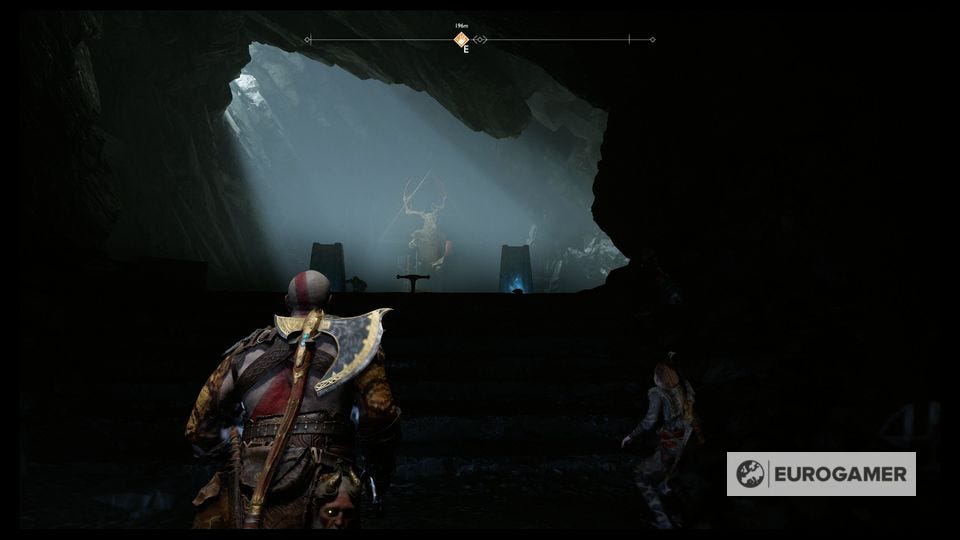
Just before the stony steps turn right to get another Hacksilver chest behind some Bramble, then charge up the steps, and climb up the mountain once more, to the interal area of the mountain by that statue of the golden Stag.
Inside, you'll be ambushed by Modi once more - only Atreus, disobeying a direct command from you - decides to kill him where he stands!
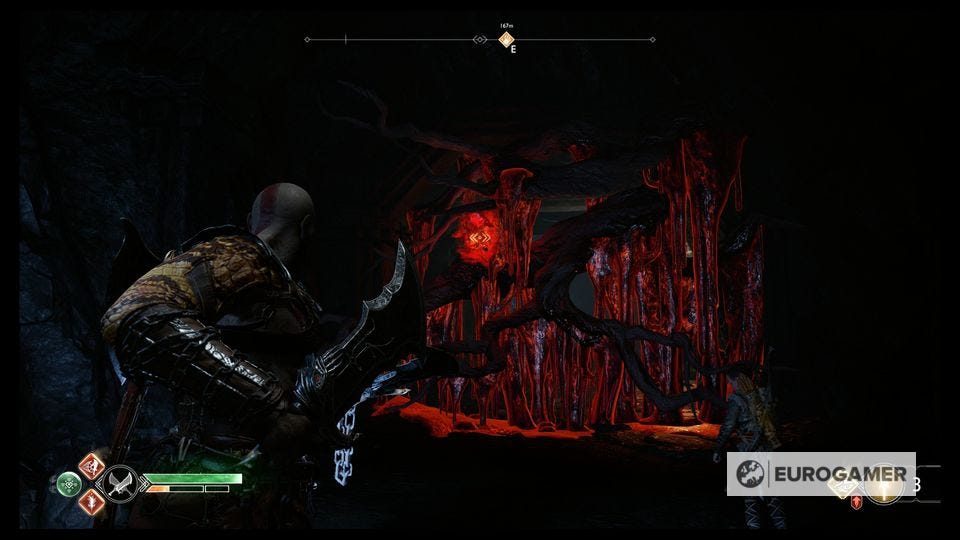
Boy has properly lost it! Hang left from this room, smashing through the red sap that once blocked you on your first approach.
Before you go too far, just grab a crystal from the entrance room you were just in and carry it through where the red sap was blocking your path to a Lore Marker nearby to read it.
Press on, following your waypoint to take the shortest route through the various doors you unlocked on your last visit, and soon enough you'll be back at that big puzzle room with the minecart you had to push around once before.
You'll encounter new enemies along the way, and more in this room, but it's all fairly simple fodder for you at this point - plus Atreus, is popping off handling them himself now he's so full of "confidence", shall we say.
There are one or two bits of red sap you can clear in this room for a Coffin chest or two (one to your left as you enter, by the big gate you once had to open, and one inside the Hidden Chamber locked door on the right, along with a Mystic Gateway, but worry about clearing that room later really).
To progress, go over to the back right corner of the big room and clear the glowing Hel's Bramble that's there. This'll allow you to access a new lift up to the top of the mountain - handy!
You're not quite at the top when you get off though - you're just at a higher level, and there are enemies right in front of you!
Wipe them out, and then head to the Southern wall and climb up the gold chain to reach a little arena (you can guess what's coming).
Red the runes on the back wall and the door will burst open, revealing a big angry Ogre and some assorted other enemies. This is bread and butter for you now though. Dodge its attacks, counter when it's open, and hop on the Ogre's back at the button prompt, as you always do.
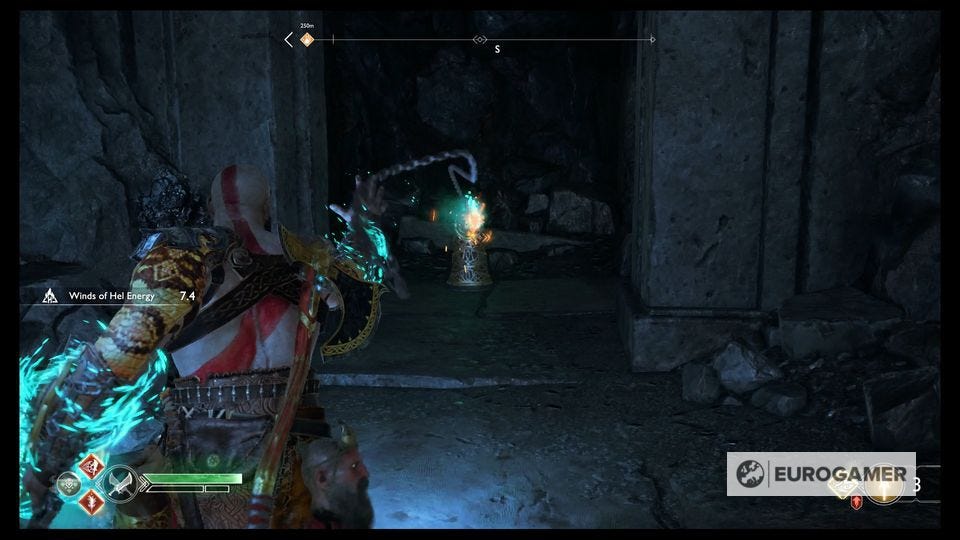
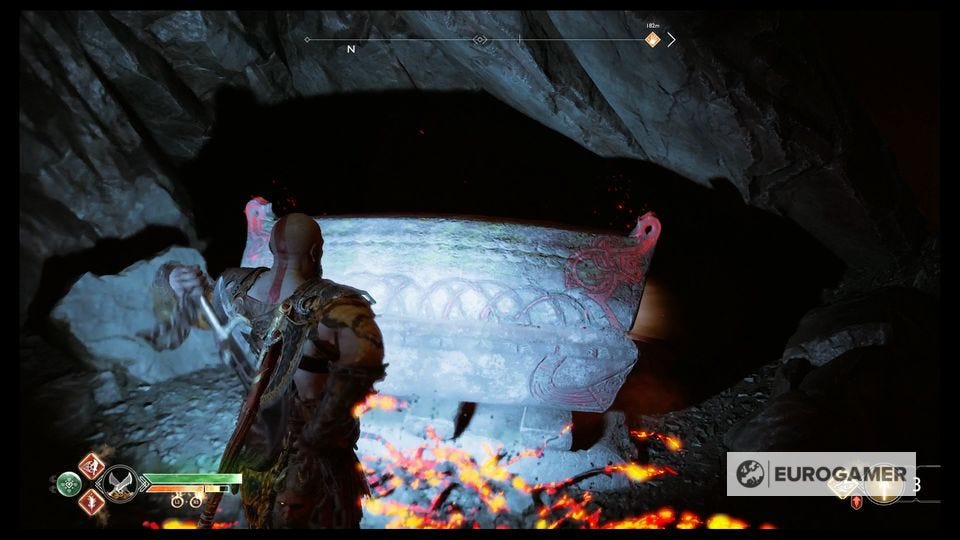
Once it's down, there's a Winds of Hel puzzle to solve to get to the locked door behind the Ogre's place of entrance. The secret is picking up the little podium with a wind trap in it, that you can find back down the ledge in an alcove on the Southern wall, with an Artifact just beside it, and carrying that across to the bottom of that gold chain so you can climb up and sprint over to the Mausoleum in time. Note that the moveable wind trap has to be empty for you to carry it!
Press on, following your waypoint around the corner and through an archway to the South, where just ahead of you you'll find a Treasure Map, called The Last Place They'd Look on the floor.
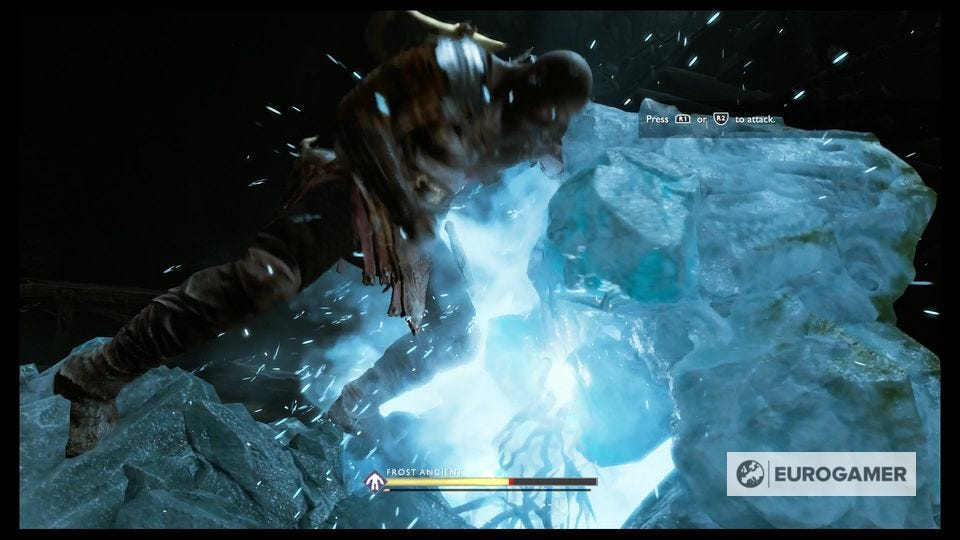
Press on, up a little ledge, and into another cavernous room with a Frost Ancient waiting for you.
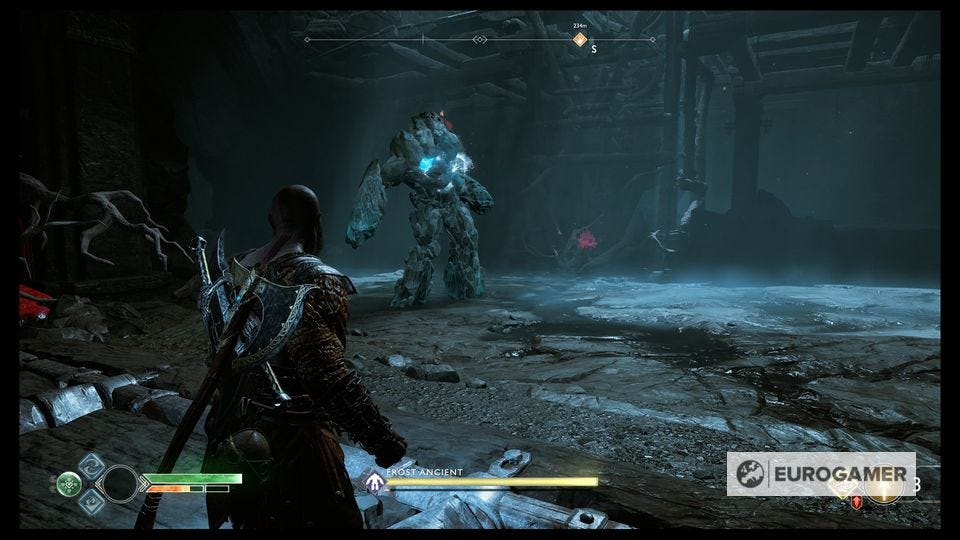
Defeat the Frost Ancient
You know the drill: block the ice beams, dodge the attacks, throw your axe at the glowing part of its chest when it opens up to knock some chunks free. Lob the chunks back at the Ancient's chest to cause some hefty damage, and repeat!
After the Frost Ancient's down, theres a bit of loot to gather in the area:
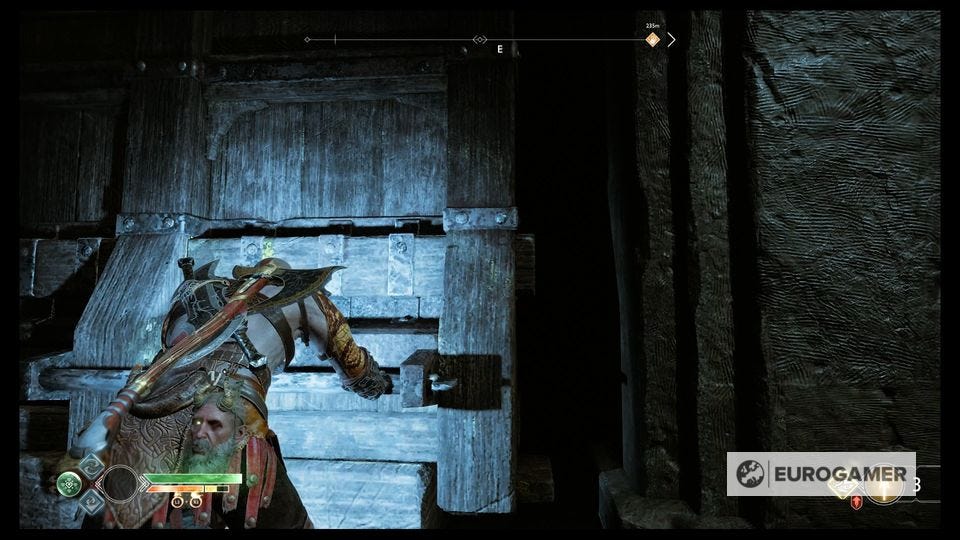
- To the left as you entered is a Coffin chest.
- Near that is some red sap, clear it by using the red crystal stump that's near the Frost Ancient, pull the minecart back that's behind it, and pick up some loot in there.
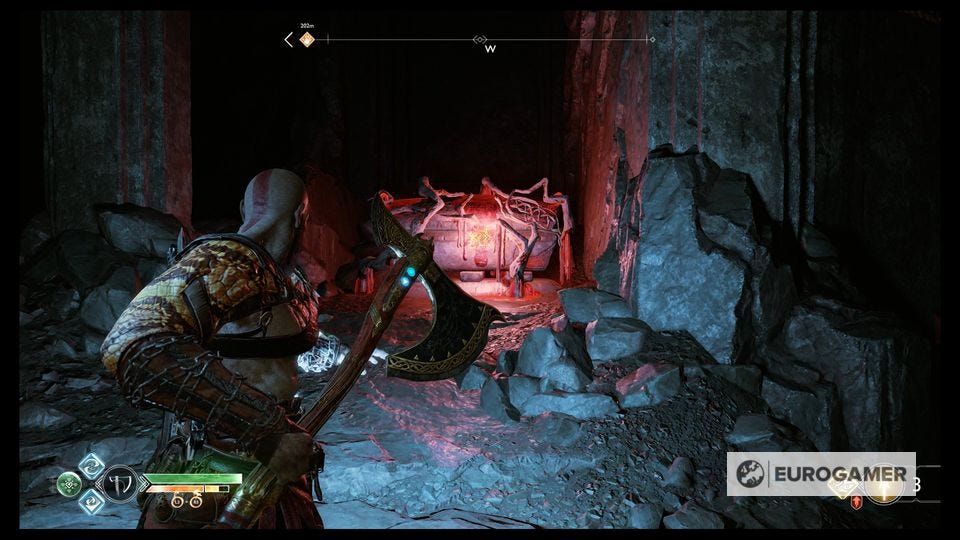
- To the West is another Coffin chest wrapped in sap that needs mroe red crystal to open.
Exit to the south for more loot as you near your escape to the Summit. On the ground is another Artefact and a Lore Scroll, just in front of you.
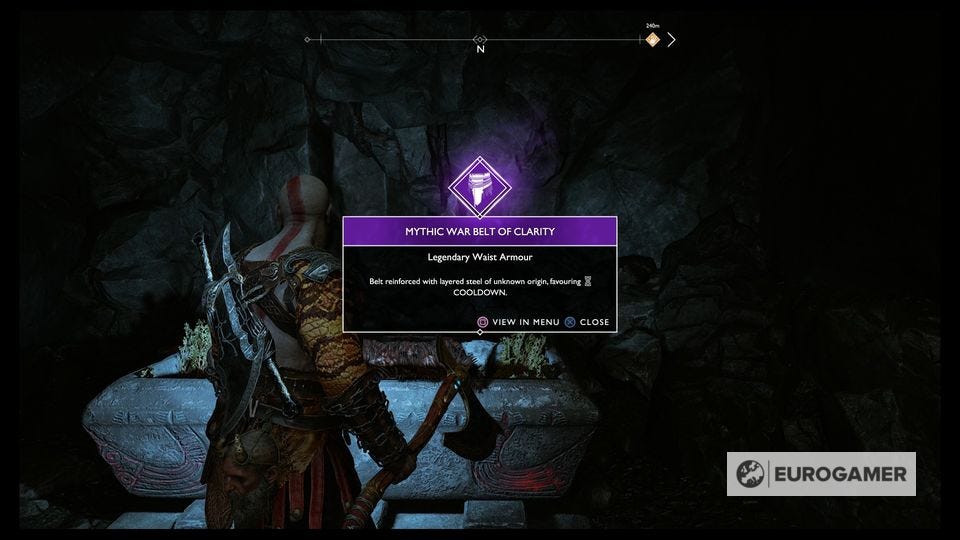
Shimmy along the ledge to the right to cross the gap, then burn the Hel's Bramble blocking a Coffin chest nearby that has some great Legendary armour inside.
Press on and you'll find Sindri at a shop just nearby. Upgrade everything you can - at this point you want to stay maxed out at all times, really - and then continue out through the doors.
The Summit
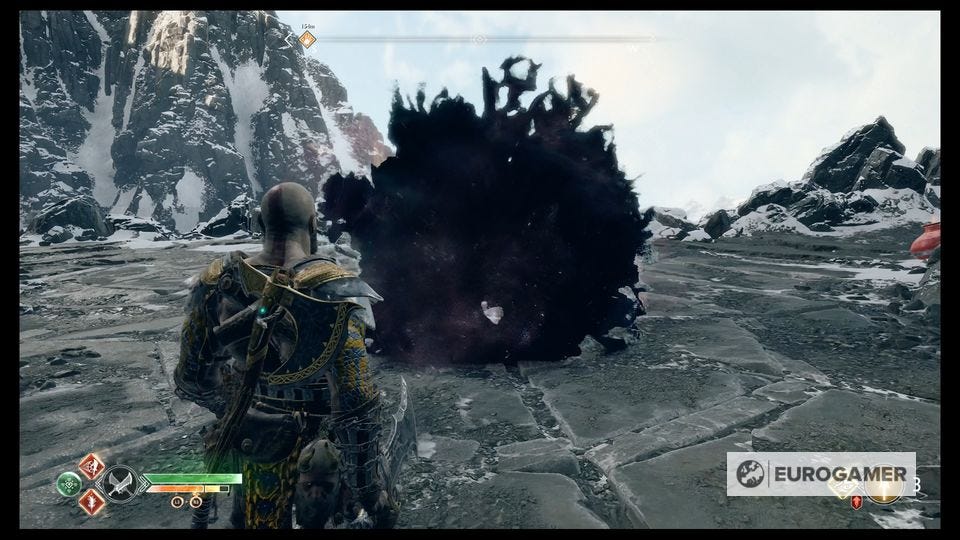
Outside is a Realm Tear - ignore it to speed by, or interact with it for a damn tough battle with a huge number of middleweight enemies (there's a small sloping path to the North-West with some health at the end of it if you need it!).
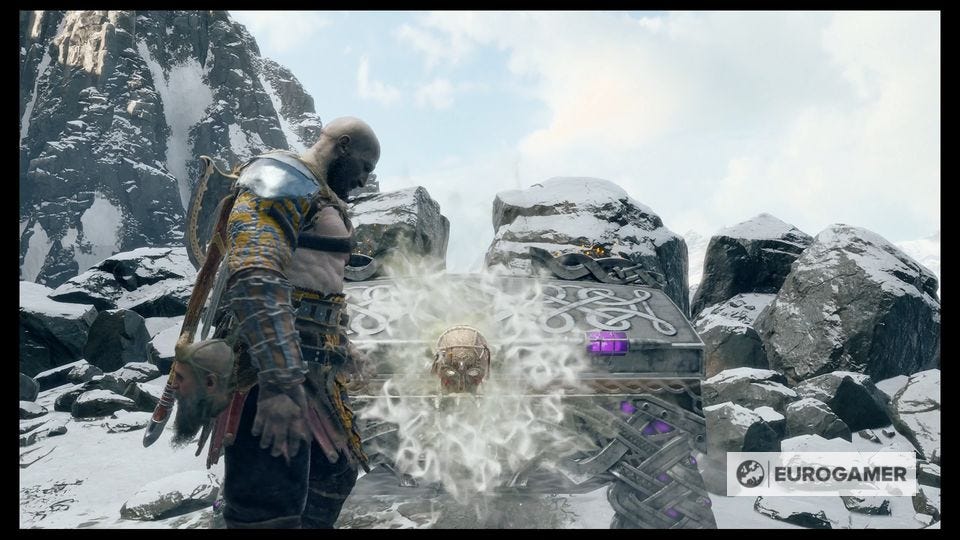
When you've ignored or dealt with that, open the nearby Cipher chest in that arena before pressing on, for a Niflheim Cipher.
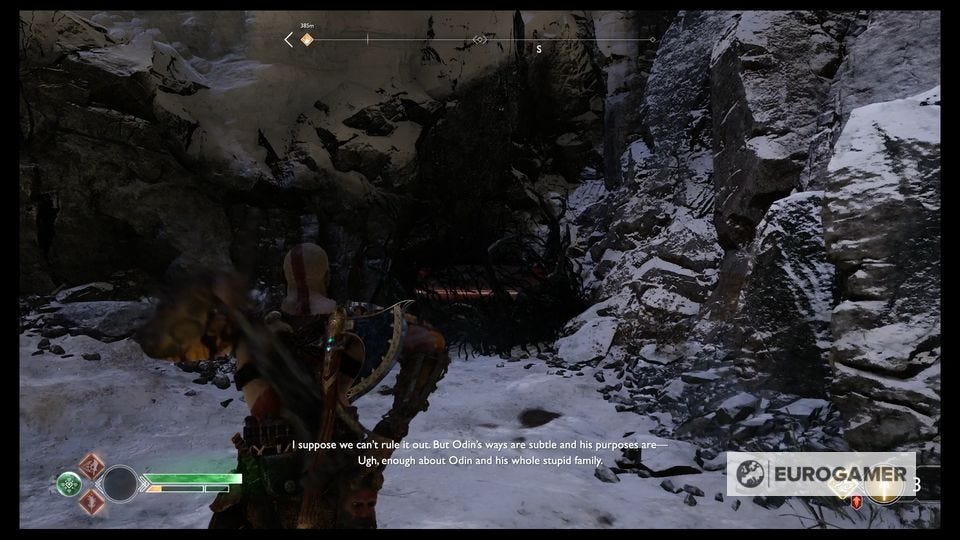
Now press on, climbing where prompted, and soon enough you'll be in familiar surroundings again - the snowy path along the mountain peaks, with some Hel's Bramble at the end which you can burn before climbing up the final wall to the Summit itself, where you first met Mimir.
Open the Bridge to Jotunheim
At last!
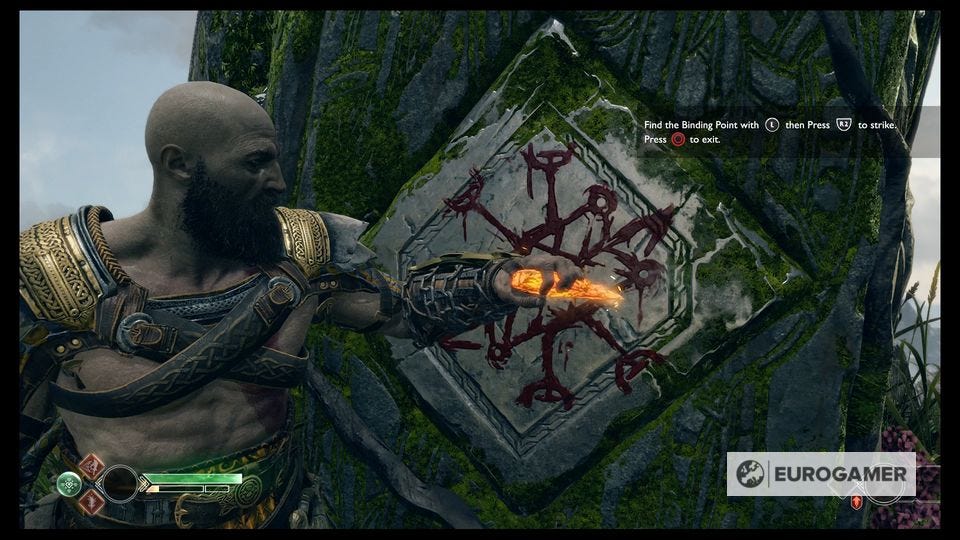
Head over to the big archway and carve the rune into the wall with the Chisel. This works like opening those locked Hidden Chamber doors does, only this time there are four sensative points to whack with the Chisel, rather than two or three. (If you're struggling, each point is marked with a little circle on the rune that's written there for you.)
The bridge to Jotunheim is open...
...and Baldur attacks! You were so close.
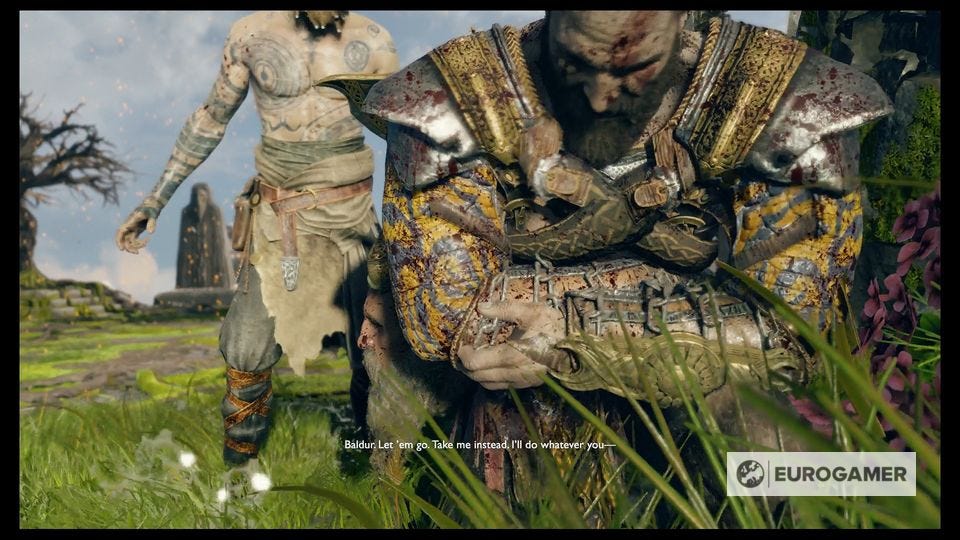
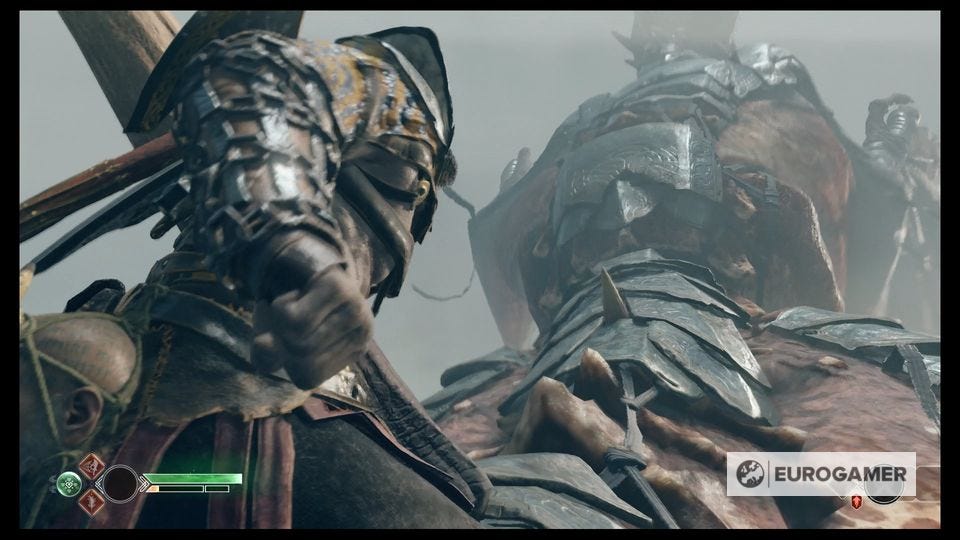
It's time for a dramatic, cutscene-heavy fight with a few quick-time events.
Follow the flow of battle and duke it out with Baldur when you get the opportunity to swing punches. There'll be times where you're prompted, such as when he pins you down, and you'll need to lean to one side to dodge and throw some punches to counter, but it's all explained for you right there on the screen.
It's all very cinematic, but not at all helpful for the two of you when it comes to trying to reach Jotunheim - because when the fight ends, you've been dumped out in probably the worst place imaginable: Hel. Again.
Next up: God of War - Escape from Helheim, Helheim Landing, Helheim Ship and Skies of Helheim