God of War - Ringed Temple, Interior and Break into the Hive puzzle
A walkthrough for the third part of the Alfheim God of War story mission, a The Light of Alheim.

Ringed Temple, and the Ringed Temple Interior are the next key locations on the Light of Alfheim quest in God of War PS4's main story.
Here on this page, we'll take you through everything you need to know about this section of your quest, including how to solve any puzzles, take down any bosses and find any useful loot along the way. For guides to specific collectibles we also have pages on Valkyrie locations and how to open Hidden Chambers, Lost and Found locations and Faces of Magic locations, too.
This page follows on from God of War - Ringed Temple Trench and how to defeat the Stone Ancient boss.

Otherwise, you can always cycle back to our main God of War walkthrough and guide hub, or our guide to God of War Valkyrie locations and how to open Hidden Chambers, too.
Ringed Temple
After dealing with that troublesome Stone Ancient and hacking away at the strangle plant stalk nearby, a new light bridge will have appeared to the West.
Go back up to the Ringed Temple Bridge
Follow Atreus across and into the next chamber on the other side.

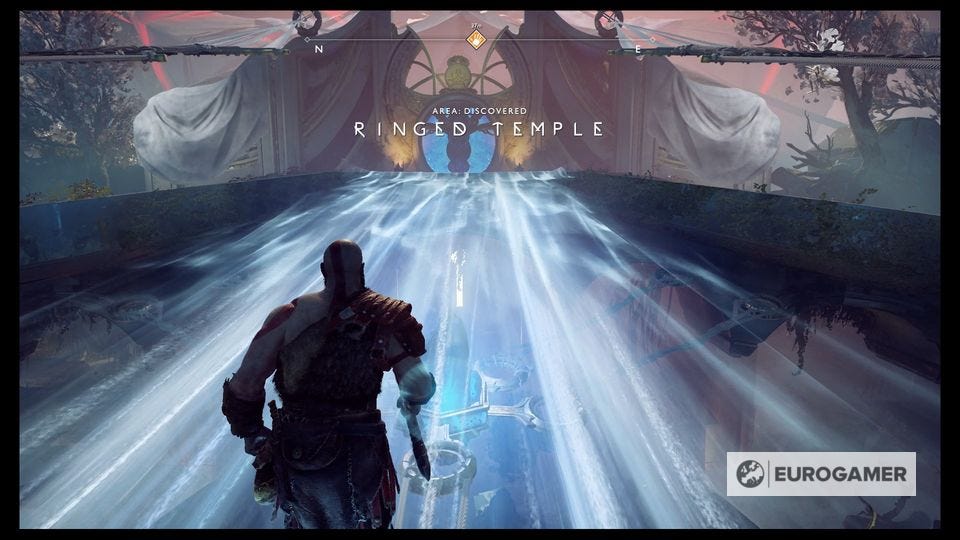
Inside is a lift - take it, and you'll arrive back up at the exterior of the temple by the lake - only this time, the light bridge into the temple itself has opened up once more.
Enter the Temple
Cross the Ringed Temple Bridge to the door - where you'll find it's locked, of course.
Find another way into the Temple
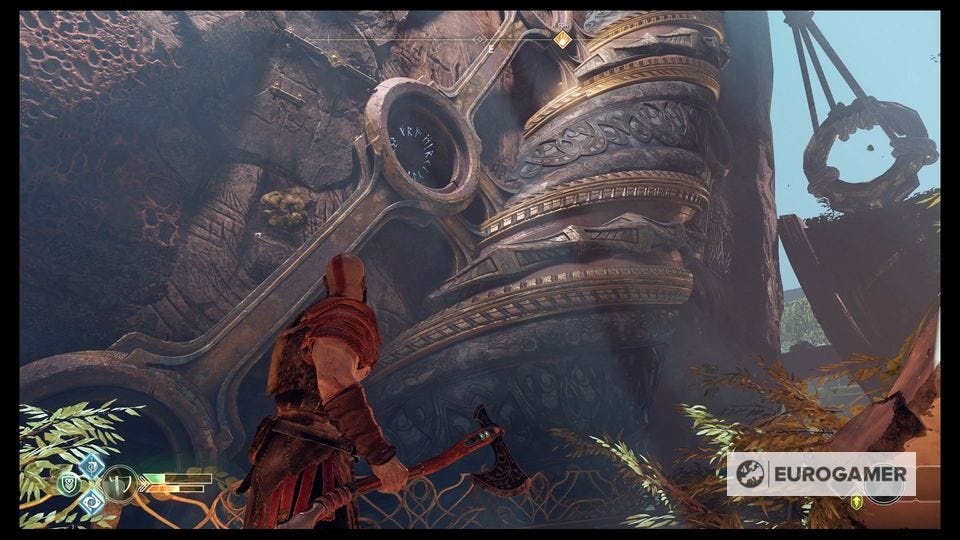
Before scuttling off, turn left and head down the ramp to a lower level. There's a Nornir rune chest here, behind some glowing vines.
First, take out the vines - you need to hit a few in one go, so try to get the right angle as we do here.

You can now hit the runes to open the chest - this one's a bell-ringing task, so it needs to be done quickly. Stand between the two exterior bells that are right by you from where you would have thrown your axe to cut the vines, and do those two first.
Then quickly get a bit closer to the doors you just cleared and hit the bell in there to unlock the chest.

Inside, you'll be rewarded with a Horn of Blood Mead - three of these will increase your maximum Rage, similarly to how those special apples increase your health.

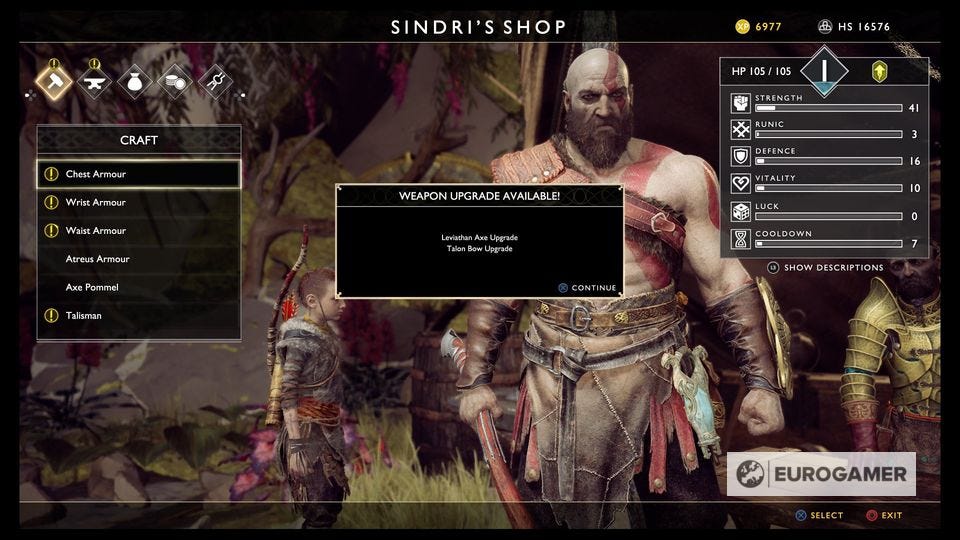
Now go back up the ramp and down the opposite side of the bridge, where there's yet another dwarven shop. What is with these guys?! Talk to Sindri there to complete your Labour (for killing that Ancient) and work on any gear of your that you feel like upgrading or tweaking.
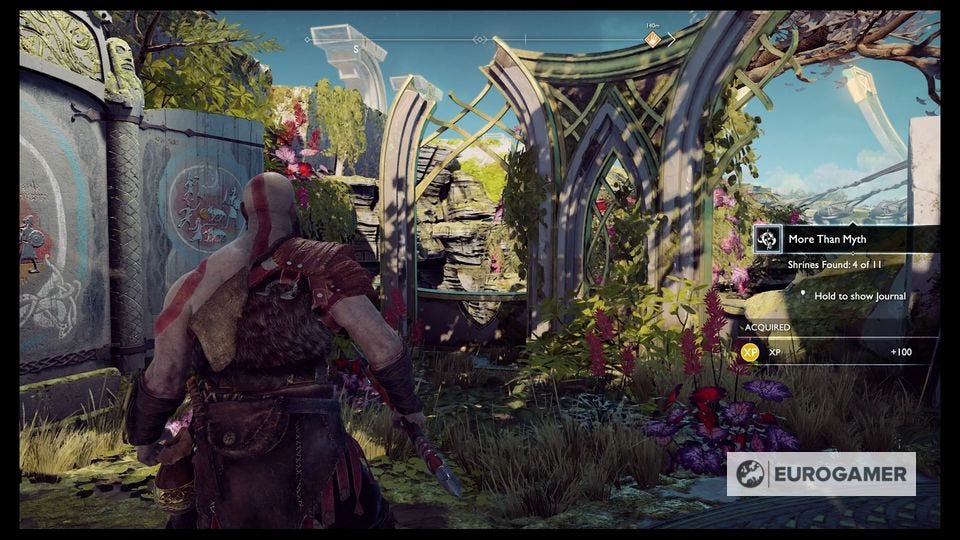
Right next to Sindri is another lore door (a Shrine), for you to read with Atreus.
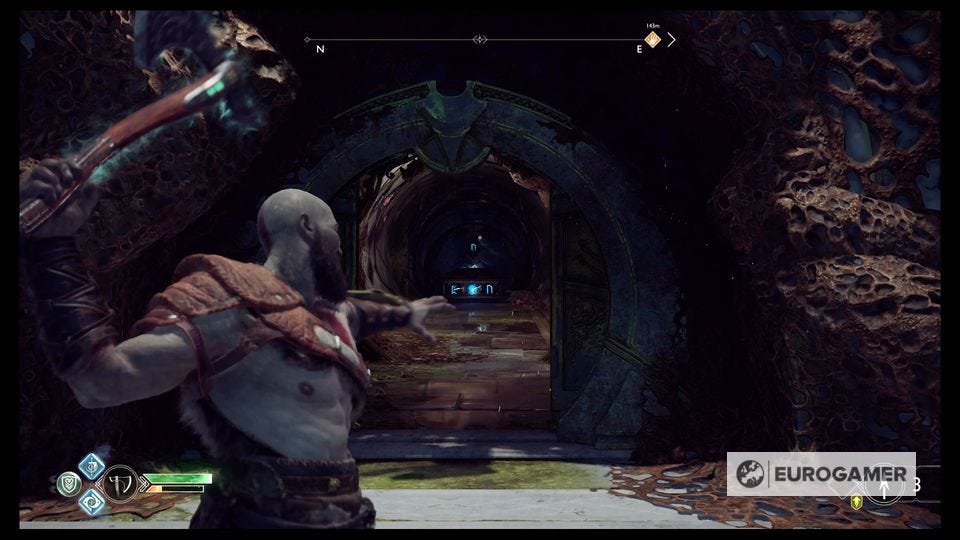
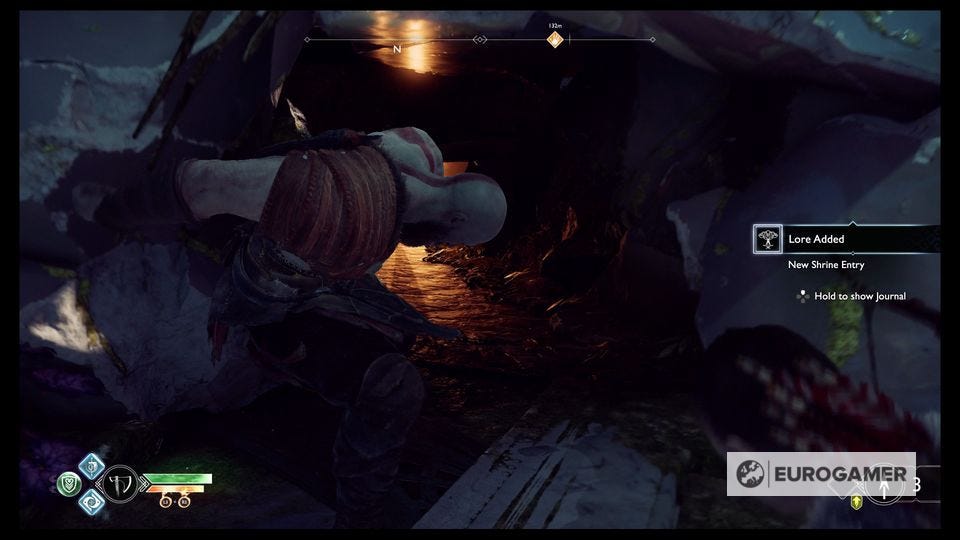
Then, crawl into the tunnel glowing in orange light just to the North, to sneak back inside the Temple. Drop down from the ledge and prepare to fight.
Work your away this long corridor, killing the waves of Dark Elves as you go, and beware of the trickier red-coloured ones which, if left unattended, will continue to summon reinforcements until killed.
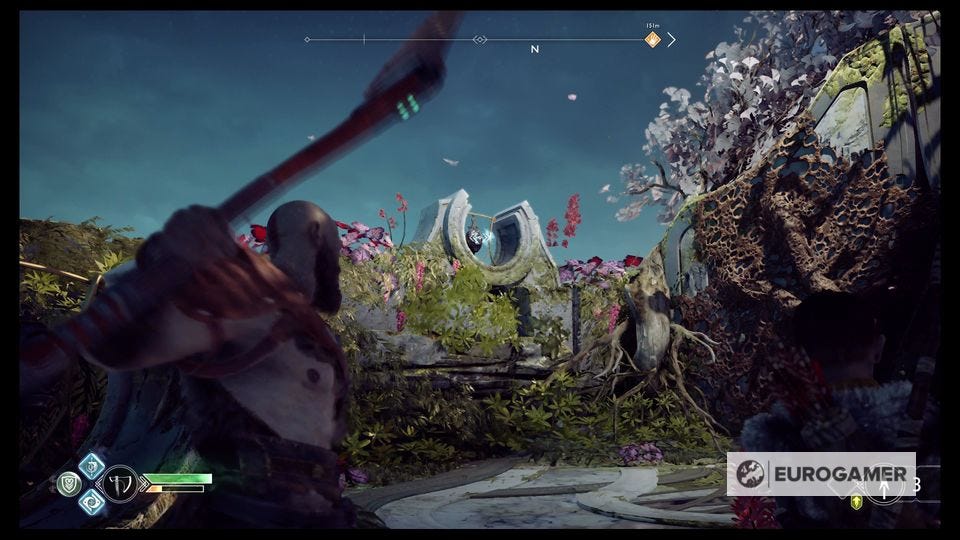
Shortly you'll see some vines above you - you need to line up three here to continue.
Next up you'll find some Nightmares - take them out as usual from range, along with the Dark Elves.
At the end of the corridor is a chest, wrapped in vines, to the right and a spot to the left which, when you look up towards the carved wall ahead, will give you another prompt to read some runes with Atreus.
Hop through the gap in that wall ahead, and on the far platform turn to the right to find a spot where you can line up a shot on multiple vines and free up that chest you just saw - go back to collect the loot (a Runic War Belt) then continue on.
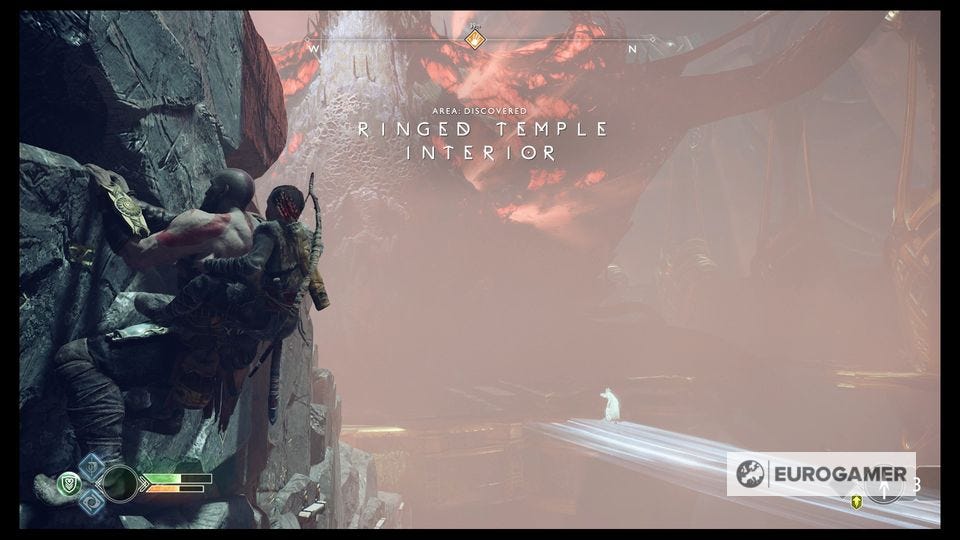
Follow Atreus up the ledge and up, and across, the wall with the gold markings on it, to reach the next area: the Ringed Temple Interior.
Ringed Temple Interior
Continue to shimmy along the wall to the ledge up ahead, and climb up onto the next platform.
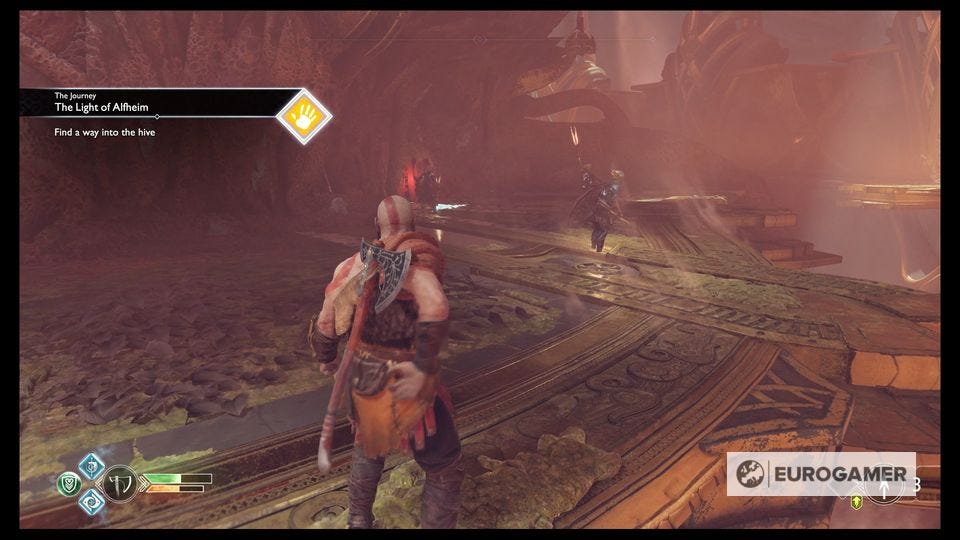
Find a way into the hive
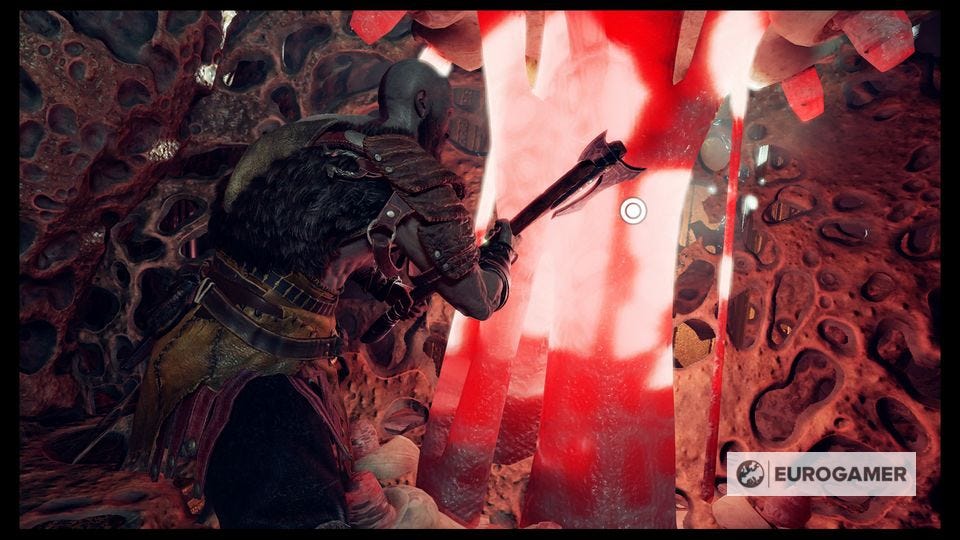
There are quite a few enemies here - even more if you let the red Dark Elves continue to summon reinforcements, so focus them hard as quick as you can. When they're dealt with hack away at another glowing red plant stem in the middle of the wall to clear a path.
Cross the new light bridge, hang left, and take out the Nightmares nearby. Then follow the bridge to another platform like the last, with some enemies and another red stem to hack at.
Looking for more help? Our God of War walkthrough and guide helps with the main story progress, including The Witch's Cave puzzle solutions. We also have articles on God of War Valkyrie locations and how to open Hidden Chambers, plus collectables including God of War Faces of Magic locations,God of War Lost and Found locations, God of War Treasure Map locations and God of War Nornir chest locations.
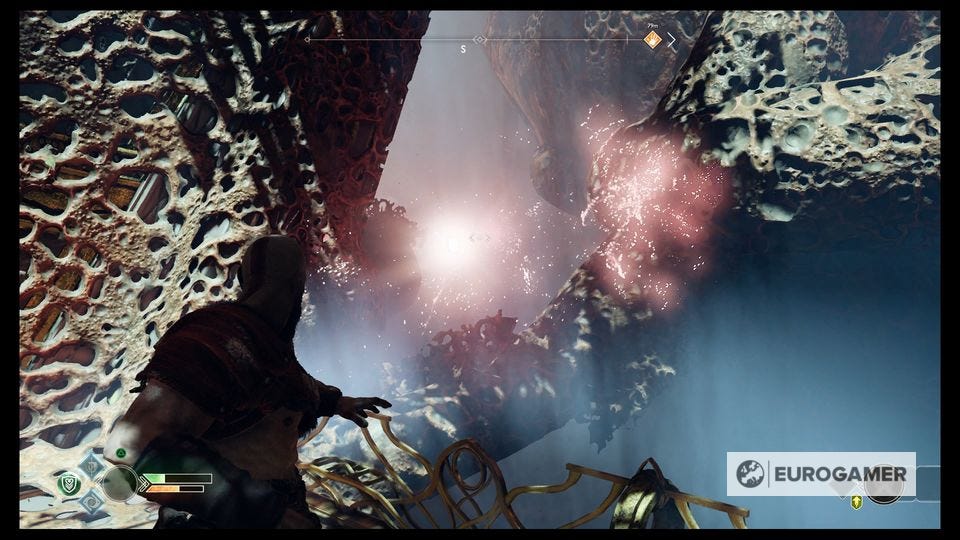
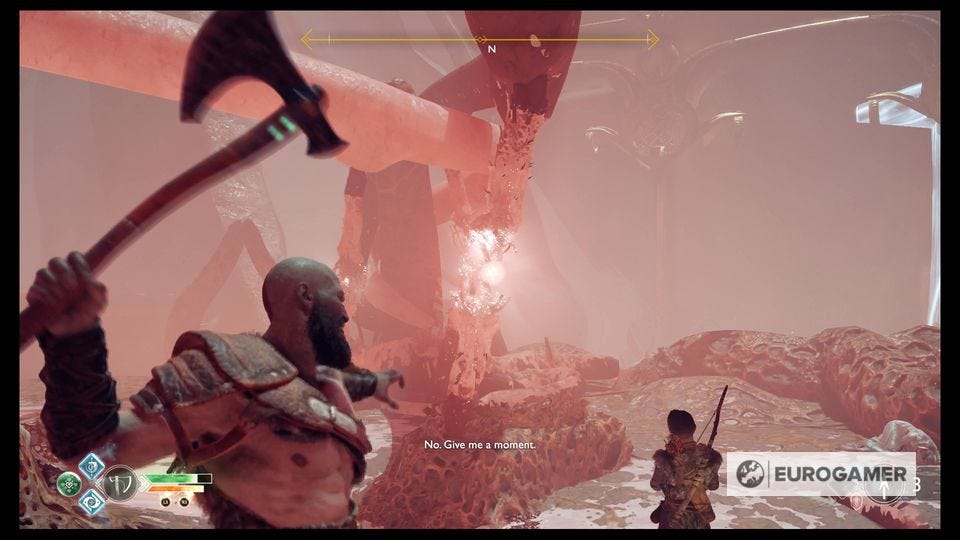
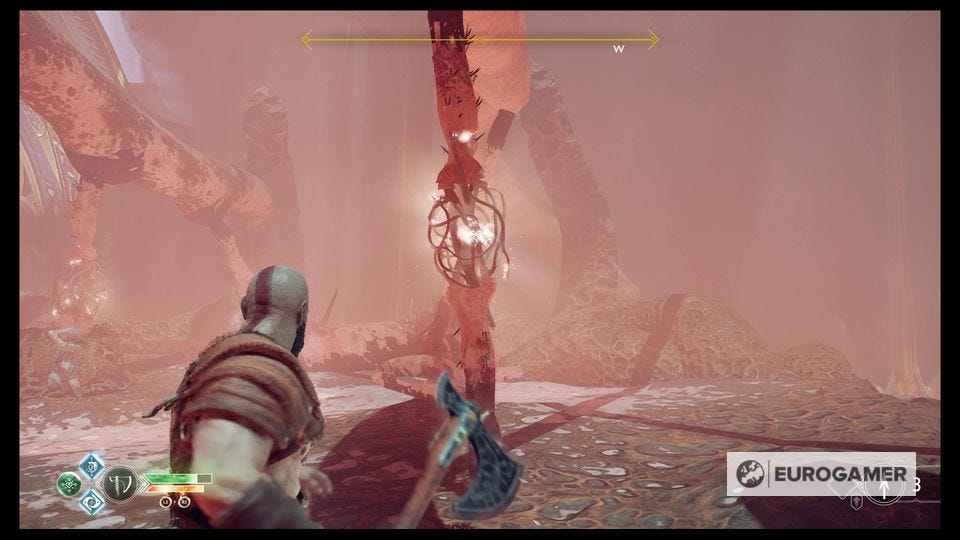
Break into the Hive puzzle
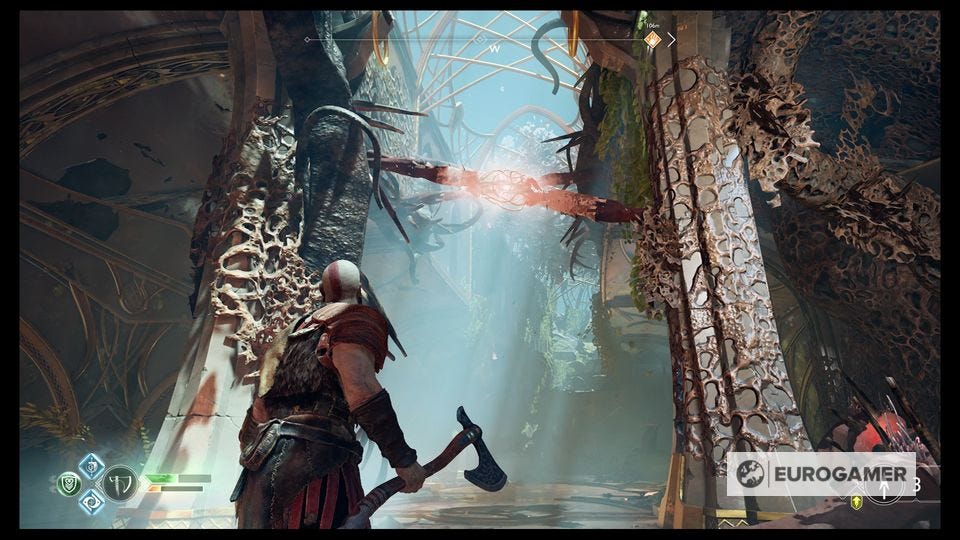
Another light bridge appears. Follow it across and up the ramp to the left, to a level with a load of glowing vines.
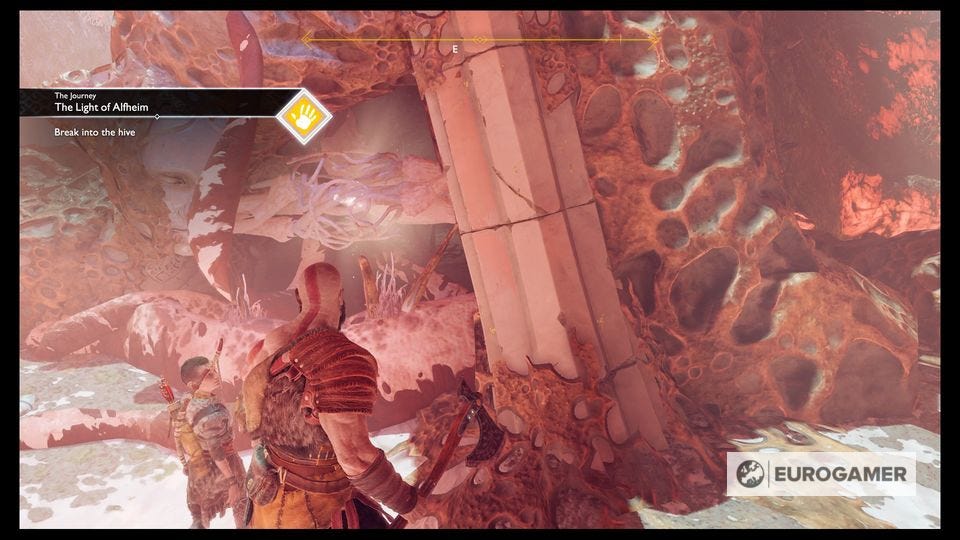
Break into the Hive puzzle
Here, you need to line up several shots to clear the vines - but only specific vines hit together will work. Here are the angles you need to hit (click the images to expand them if need be):

Investigate the Hive
Dive into the ominous looking entrance by the weird carved face - creepy - to continue on. Climb up the wall ahead and follow the button prompts as you sneak through.
Next up: God of War - Destroy the Hive, claim the Light, Escape the Temple
Out on the other side, you'll reach a new area, the Light of Alfheim itself.
Other The Light of Alfheim walkthrough pages:
- God of War - Alfheim, The Light of Alfheim, Lake of Light, and how to enter the Temple
- God of War - Ringed Temple Trench and how to defeat the Stone Ancient boss
- God of War - Destroy the Hive, claim the Light, Escape the Temple
- God of War - Svartaljofurr boss fight
- God of War - Return to Tyr's Temple, Return to the Mountain and Go Back Through the Tower