Sea of Thieves sailing: How to sail, sailing into and against the wind and sailing terms explained
How to sail faster, sink more ships and rule the oceans in Sea of Thieves.

Sea of Thieves' sailing is wonderful, but part of why it's so wonderful is that it's also pretty difficult to get right.
Dealing with the wind, the weather, and even just easily-forgettable sailing terms can be tricky enough, even without other rival ships coming into the equation.
This page explains some of the more complex aspects, like how to sail into or against the wind, as well as the basics of how to sail in Sea of Thieves.
On this page:
If you're looking to learn the essentials of Sea of Thieves, first take part in the Maiden Voyage, and read more about ship battles, and how to survive fights with skeletons and the kraken.
Sea of Thieves sailing terms explained
To start with the very basics, here are are some handy terms relating to sailing on the Sea of Thieves; you'll find that all-important crew communication is much easier when everyone is on the same page.
Sea of Thieves sailing terms:
- Galleon - The three- or four-player ship, also referred to as a Galley.
- Brigantine - The mid-tier ship, ideal for three players, but can be sailed solo or as a duo for a greater challenge.
- Sloop - The smallest boat, designed for one or two players.
- Port - The left side of the ship, as you look forward from the wheel.
- Starboard - The right side of the ship, as you look forward from the wheel.
- Bow - The front end of the ship.
- Stern - The rear end of the ship.
- Helm - Where you steer the boat from. In Sea of Theives this is always the wheel.
- Crow's Nest - The little circular platform at the very top of the main mast, used for viewing long distances.
- Mast - The large vertical pole holding the sail.
- Boom - The horizontal beam attached to the main mast which holds up the sail.
- Capstan - The large rotating wheel used to raise and lower your anchor.
With those out of the way, let's dive into the basics of how sailing works, and some starter tips for improving your time on the waves.
How to sail in Sea of Thieves
Sailing well is about coordinating and communicating effectively with your crew - or, if you're on your own, it's about understanding all ship functions and multitasking effectively.
A well-organised crew will almost always come out on top against disorganised rivals, so the first thing to know is how to divide crew members to effectively handle key roles:
- Steering.
- Managing sail length and direction.
- Managing the anchor.
- Repairing holes, mast, capstan, wheel, bucketing out flooding water, extinguishing fire.
- Loading and firing cannons.
- Scouting and managing direction, especially on bigger ships, where the helm's view is obscured by the sails and the map is out of view.
- Fighting off invaders.
How you manage these various activities will ultimately depend on the size of your ship and crew, and the situation you're currently in - there's no point sticking someone on cannon-loading duty when you're in an empty stretch of ocean, but likewise there's no need to house someone in the crow's nest when you're locked in a ship battle with a load of enemy vessels.

As such, when manning a four-person galleon, you'll probably want to have one person steering, two people going between the sails and anchor as required (the anchor is deadly slow to raise on the larger vessel, but faster when more people push it round), and one person relaying directions using the map and scouting the horizon for threats.
On three-person galleon or brigantine, crew mates will need to be a bit more flexible in their roles, but its generally useful to keep on person steering, one handling the sails to maximise speed with the wind, and a third navigating and on scouting duties.
On a two-person sloop or brigantine, communication and preparedness is key, but you'll likely find that one crew member remains largely responsible for steering while the other handles other duties. If you do need a second pair of hands for anything, however, it's generally safe to step away from the wheel when you're in wide open water - just be mindful of ship drift caused by waves and adjust your direction as necessary.
On a one-person sloop, you'll definitely have you hands full, but there are a couple of tricks that can make your life easier. For instance, rather than heading down to the map room each time you need directions, simply peer through the gap immediately behind the capstan. Meanwhile, immediately sailing into the wind when being pursued by larger boats will widen the gap between you leaving time to focus on any repairs or adjustments needed elsewhere. Oh, and don't panic too much about holes in ship sloop when things are frantic - water comes in extremely slowly and can easily be managed by bailing the occasional bucket.
To dive into a little more detail, here's how everything actually works, and the best practice for managing it.
Steering
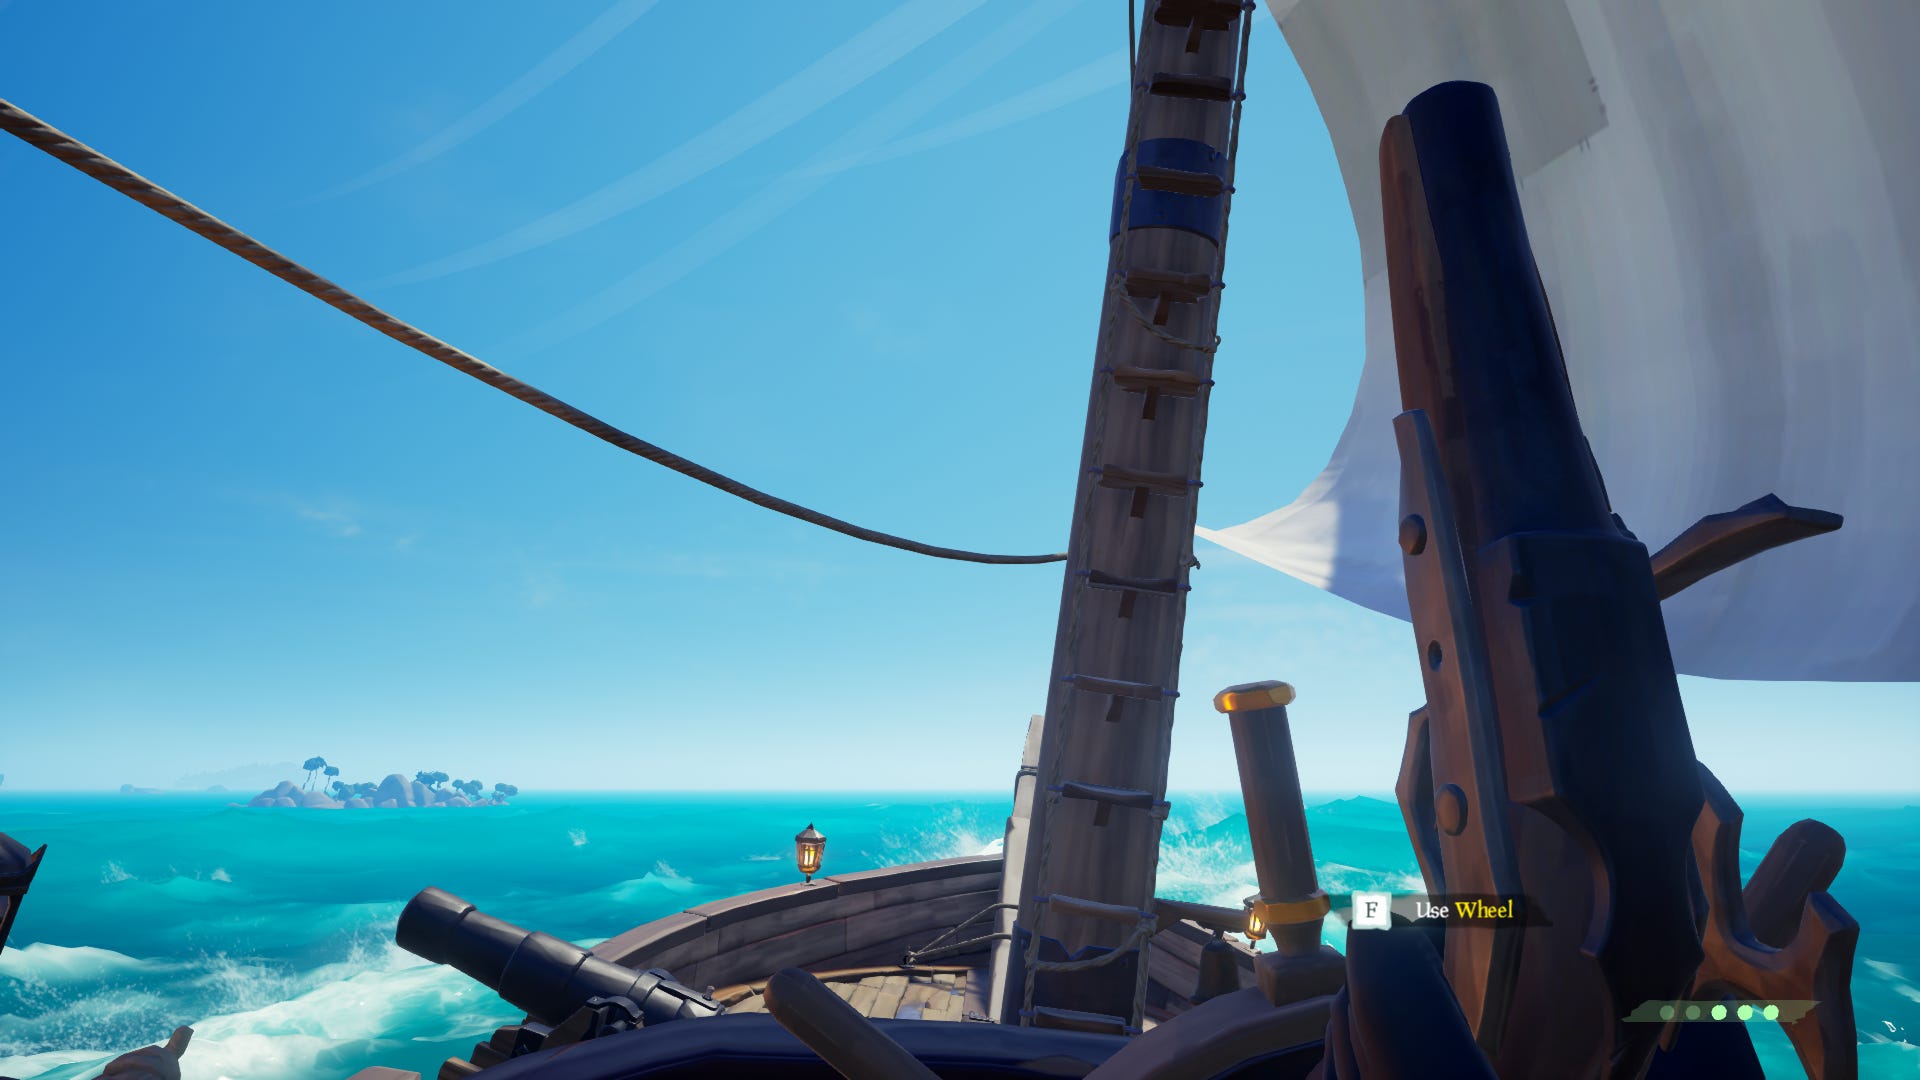
Steering is something you'll grow more skilled at over time once you get a feel for the wheel, but one important thing to bear in mind is its default position. The wheel will have its most prominent handle pointing directly upward in its neutral position, meaning the ship will move directly ahead. If you need to find neutral again while turning the wheel, keep spinning until you hear a slight clunk, which lets you know it's back in its starting position again.
That's important because the prominent handle will point straight up at numerous other times as the wheel is turned clockwise or anticlockwise toward a fully locked position. If the wheel doesn't clunk as the prominent handle reaches the top, you'll need to reposition to head directly forward again.

Remember that it takes a long time to turn the wheel (particularly on bigger ships), so you'll need to get used to steering early to ensure you hit the correct trajectory to avoid obstacles.
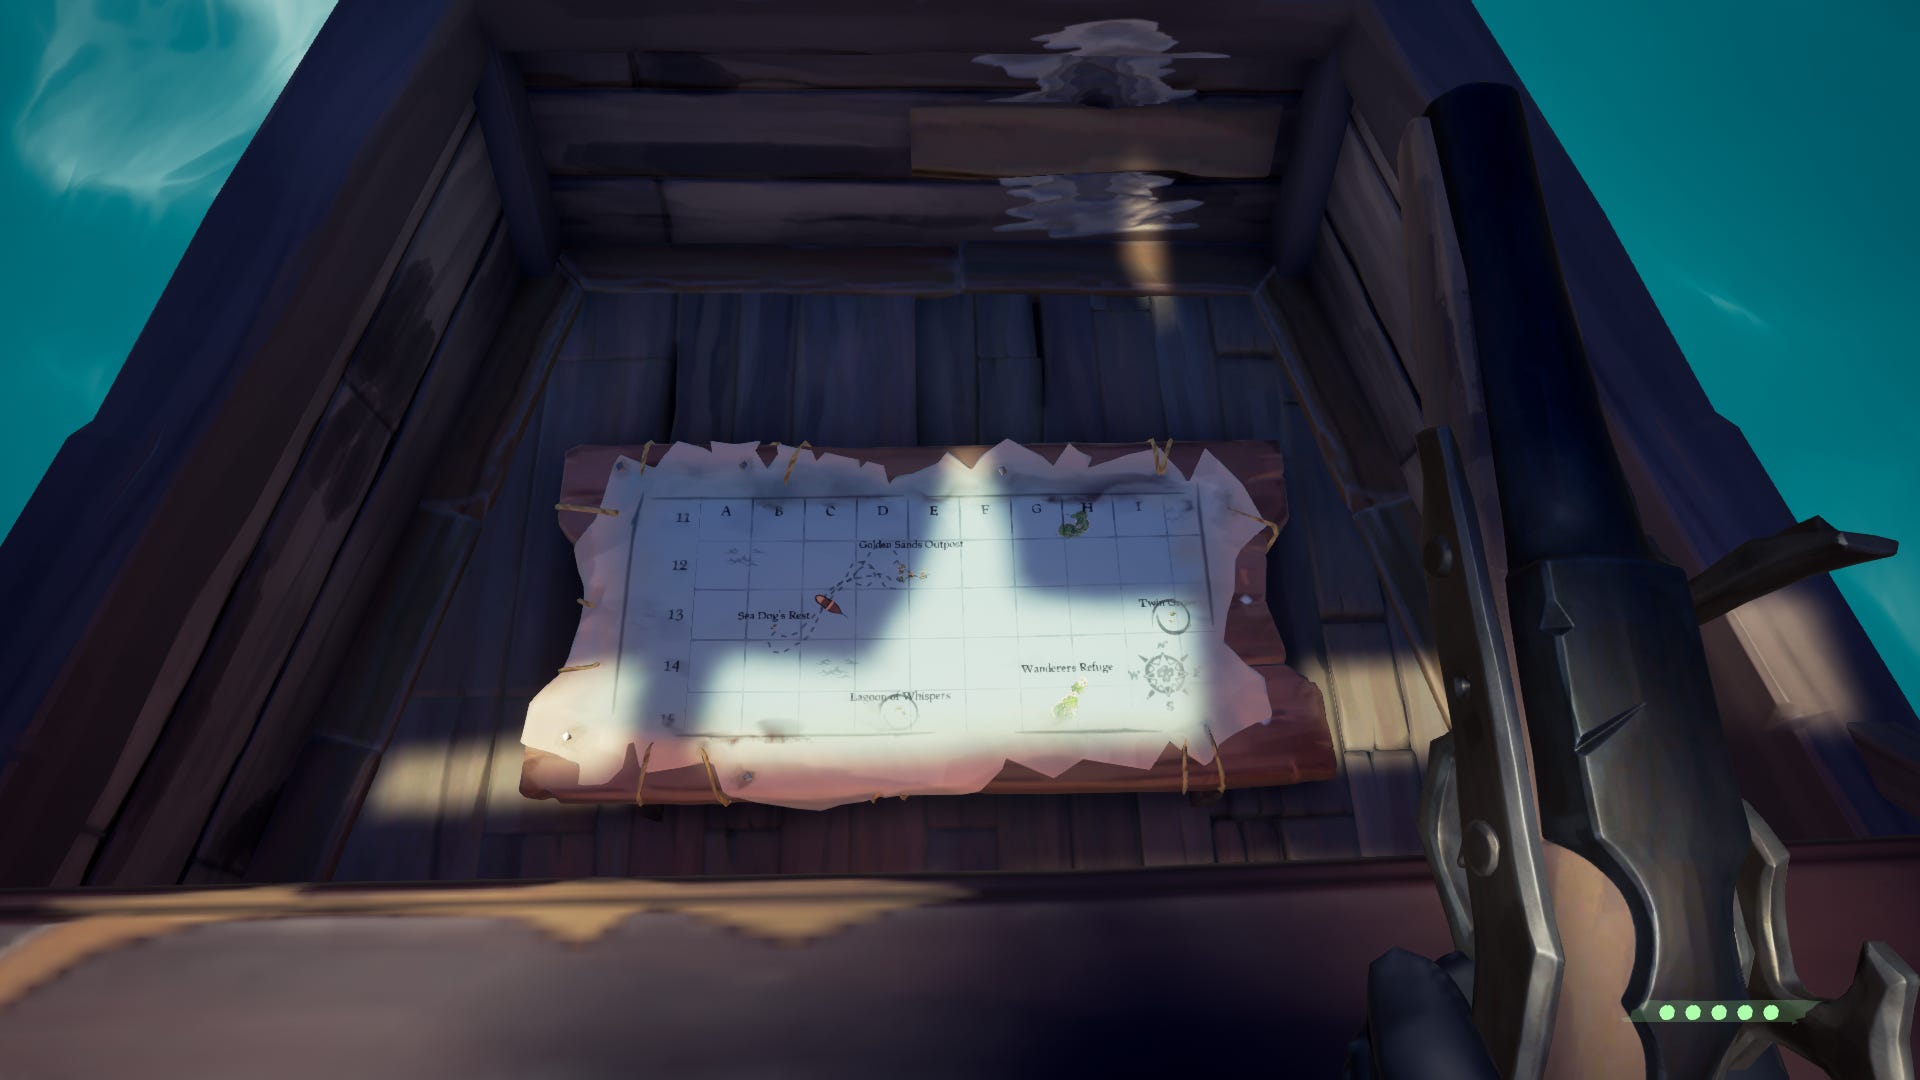
Direction, maps and tables
Each ship features a quest table for initiating and cancelling Voyages and Tall Tales, as well as a large map used to navigate the entire Sea of Thieves - the latter enables you to zoom in and out, mark points of interest, and track your direction and previous route.
These are located on the mid deck toward the back of the ship on a sloop, on the lower deck of a brigantine, and in different places on the galleon - you'll find the map table immediately below deck, and the quest table in the lavish Captain's Quarters beneath the wheel.
Sailing speeds and sailing into and out of the wind for ship speed explained
Different ships have different sail configurations - the sloop has one, the brigantine has two, and the galleon has three - but they all work in the same way.
Each sail is connected to two ropes on either side of the hull; the rope closest to the bow is used to set the sail's length, and the other to set its angle.
Changing the sail's length affects your speed and turning angle; you'll go faster and turn in a wider arc at full sail, and more slowly and in a tighter arc as you raise your sails. Note that possible to turn much faster by putting your wheel into a full lock either left or right and dropping anchor, which will perform the equivalent of a handbrake U-turn, sometimes spinning your ship a full 180 degrees.
This is particularly handy during a chase as your pursuers will likely sail straight on by when you come to an unexpected halt - but do make sure that all hands are ready on the capstan to raise anchor and resume movement as quickly as possible.
Additionally, it's possible to increase your turn speed by latching one of the harpoons at the front of the ship onto a passing solid surface - whether that be a rock or enemy ship - and rapidly reeling it in to swing tightly, and thrillingly, around that object. It's a tricky manoeuvre to pull off, but can be as handy in a pinch as it is satisfying.
How to get a boat to full speed
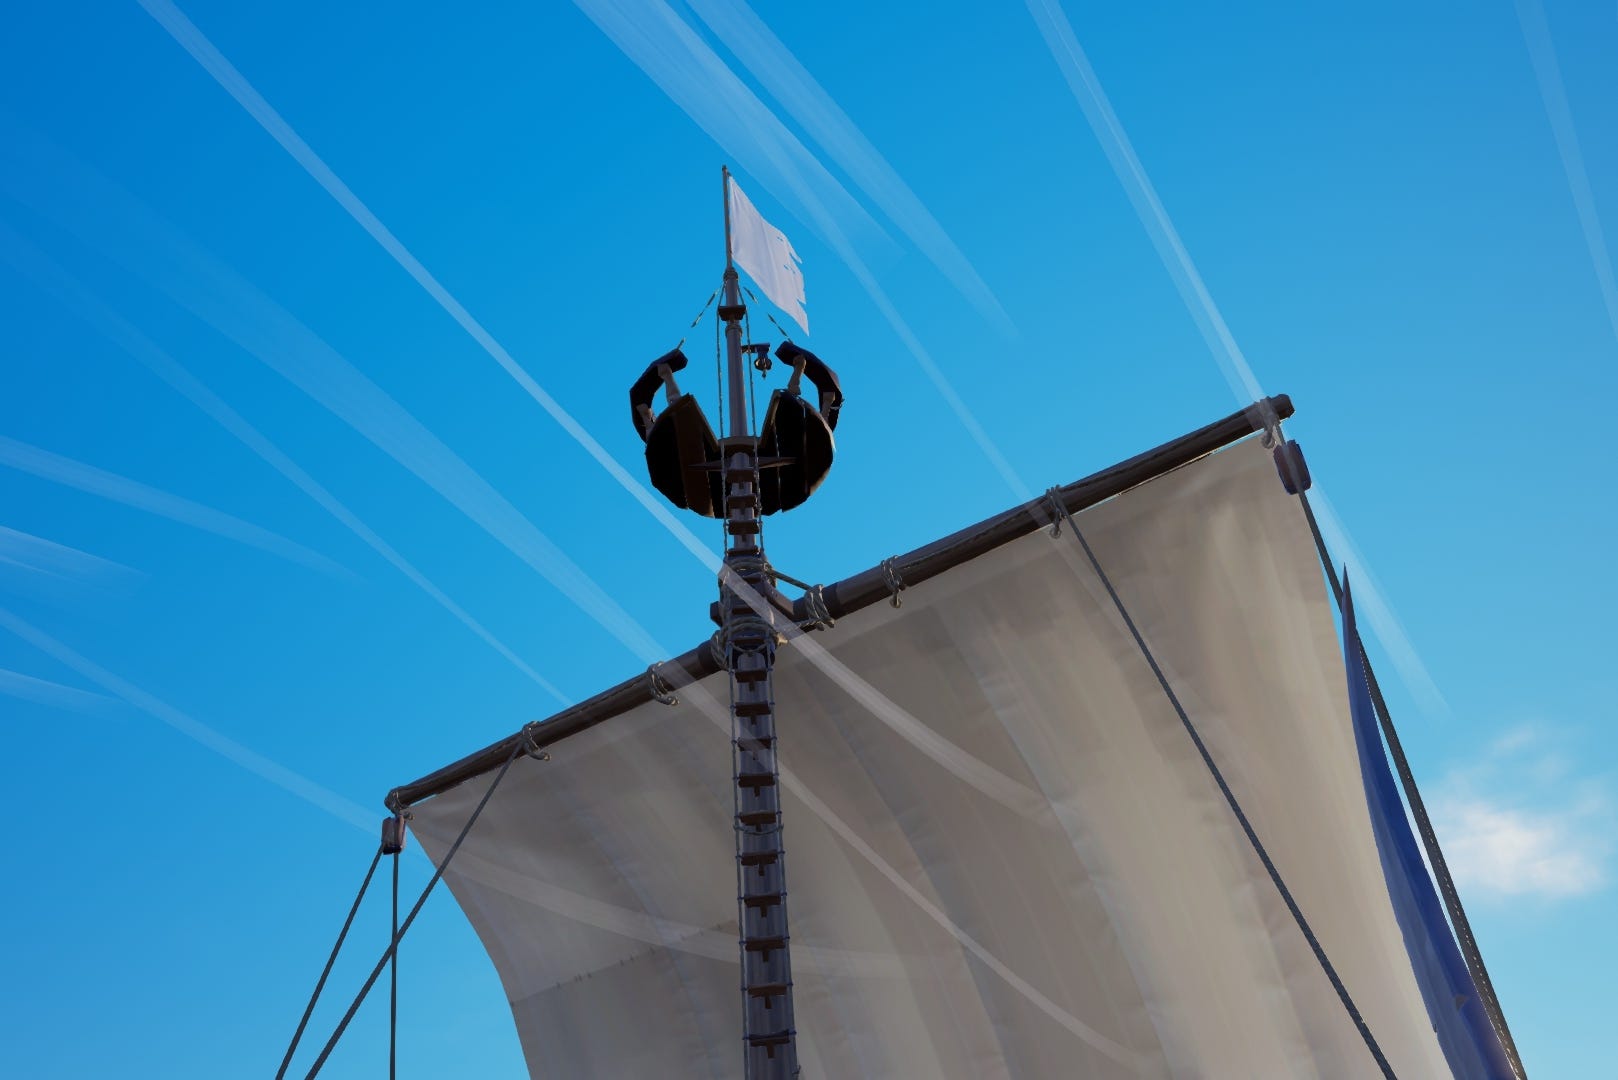
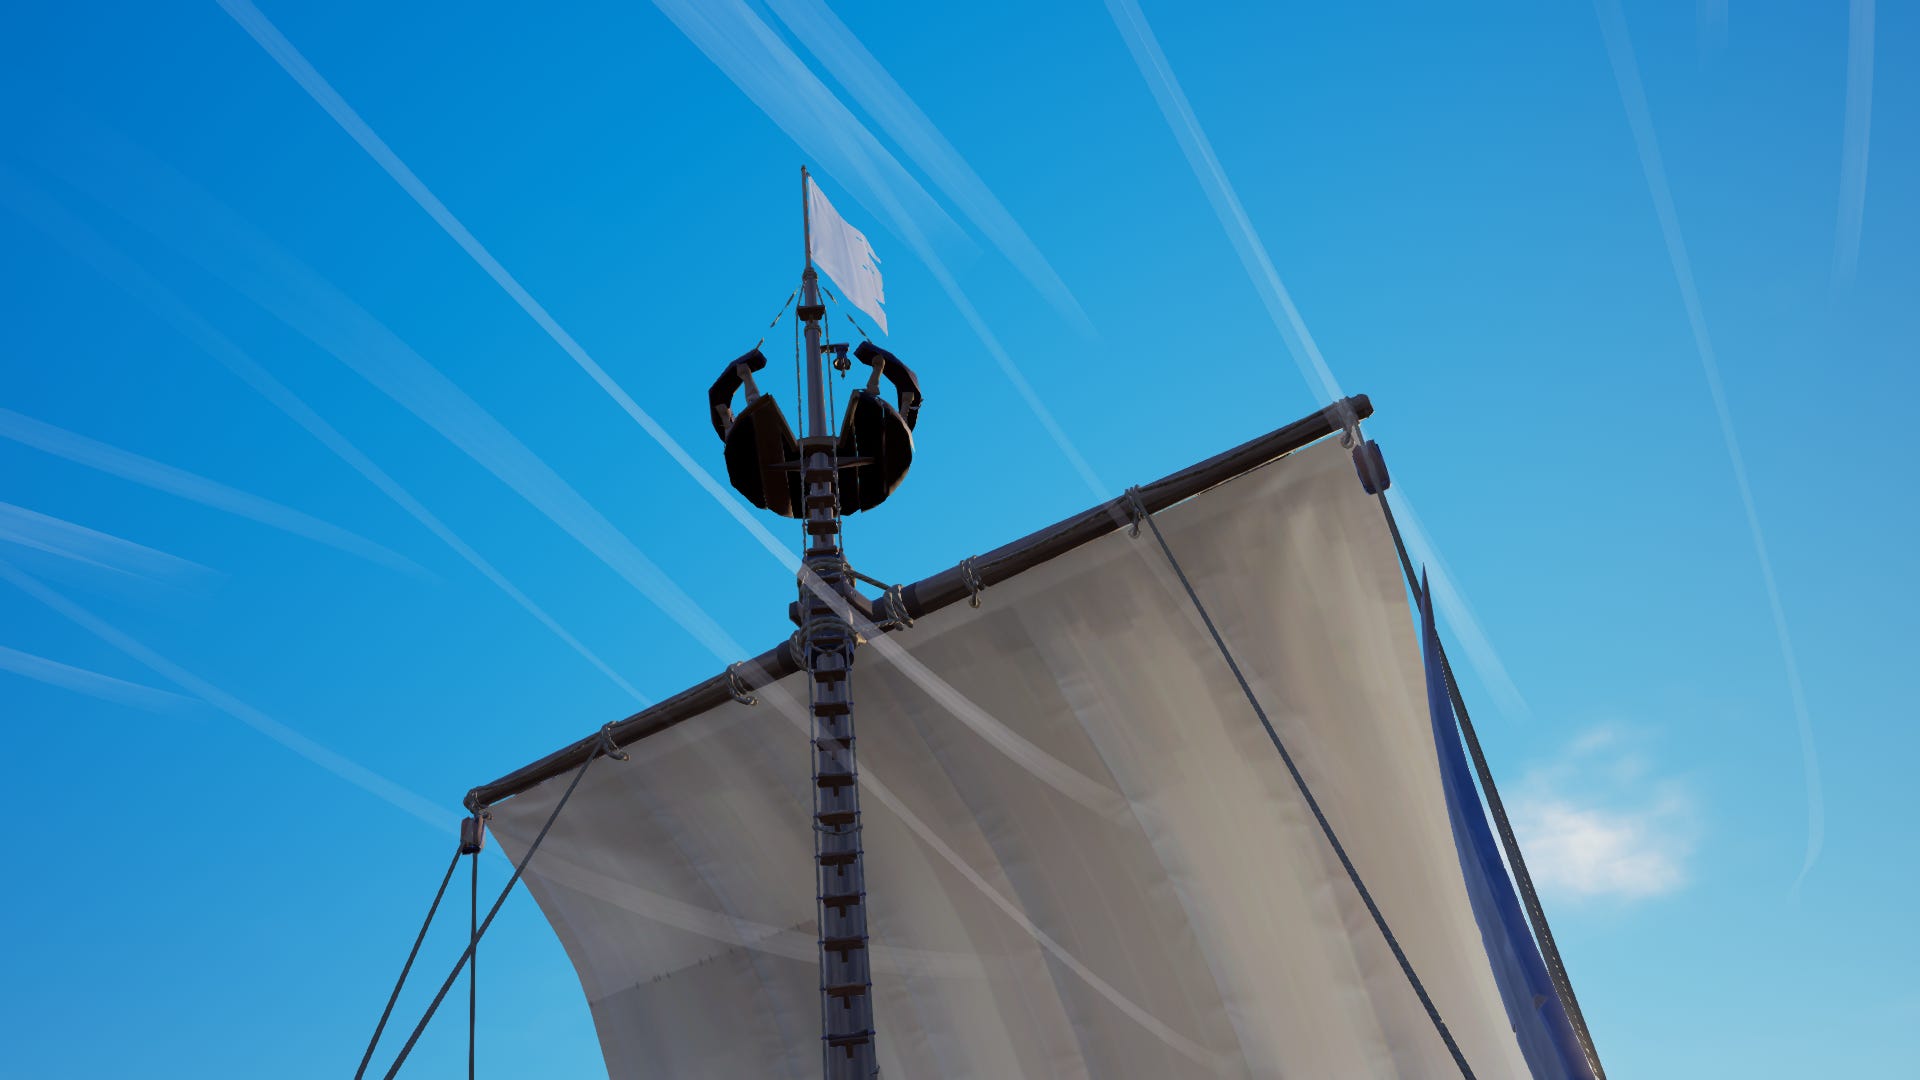
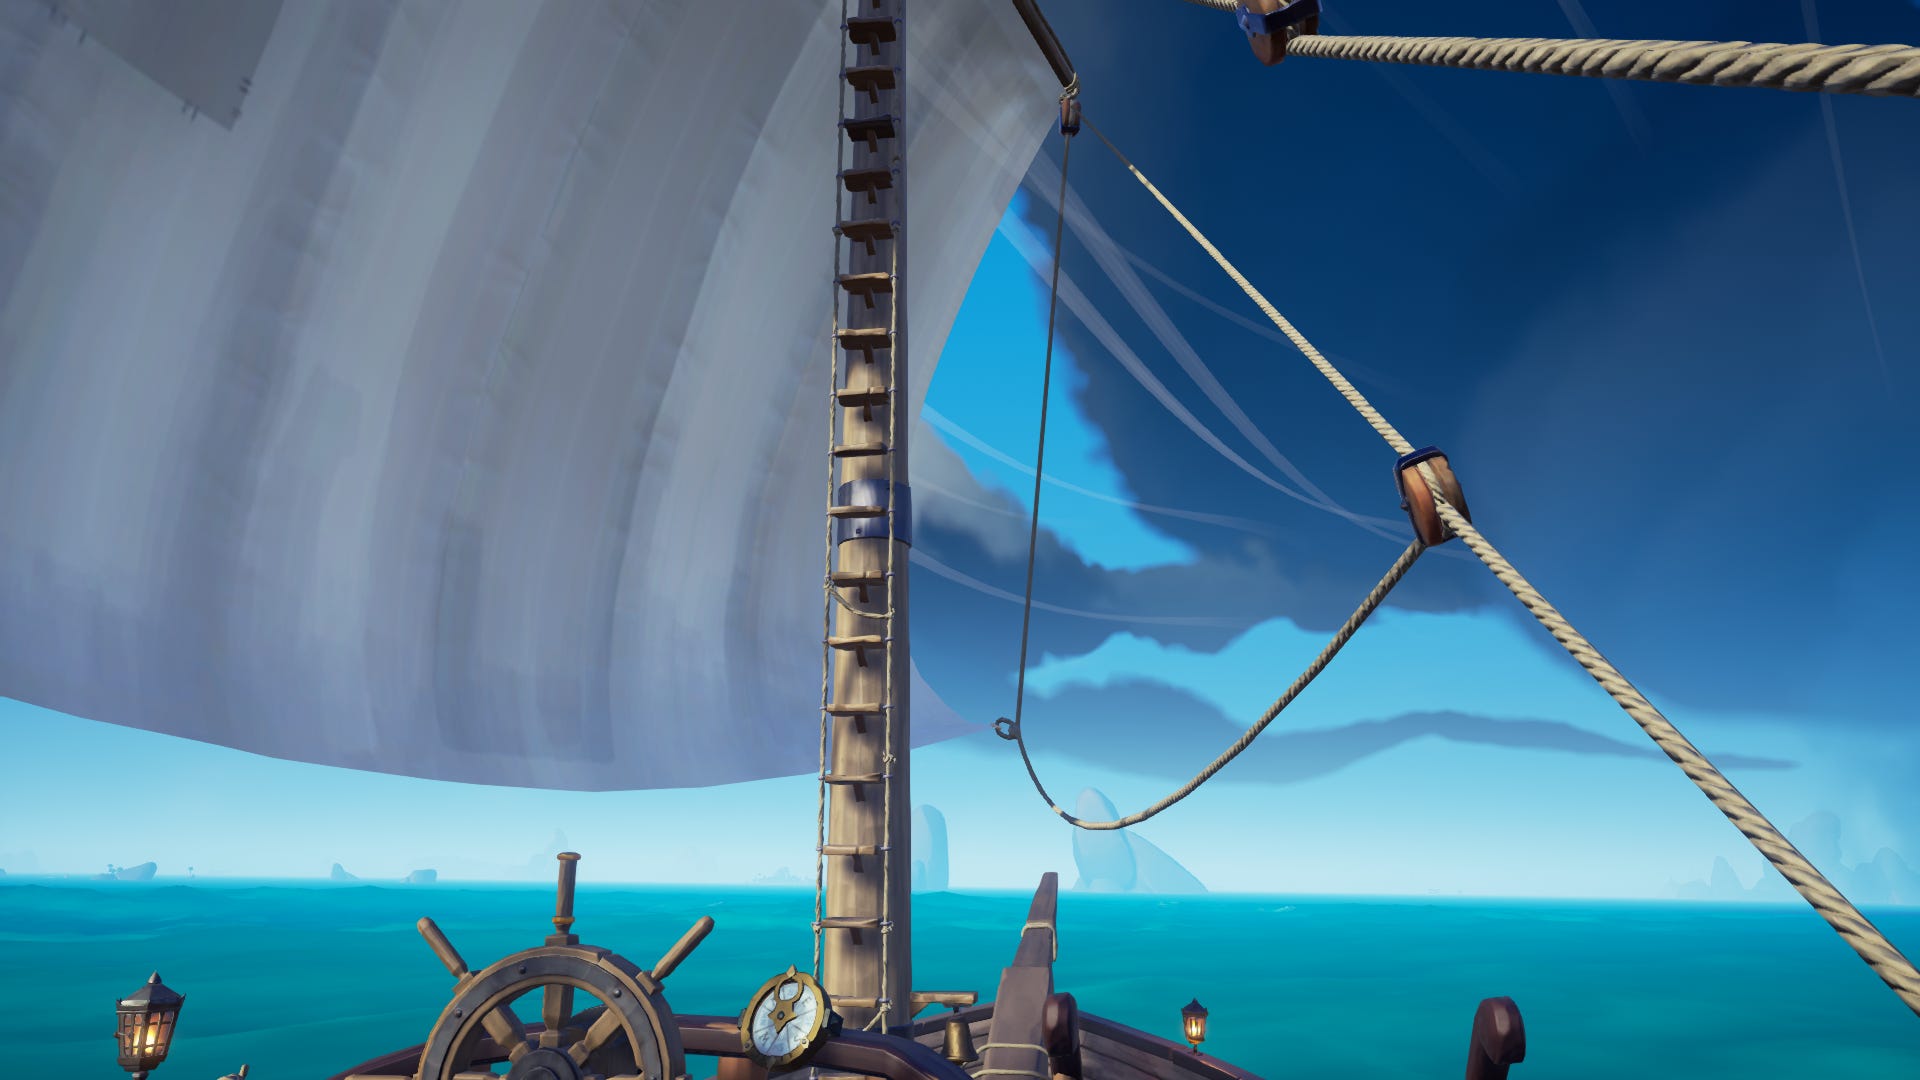
To reach maximum speed, you'll need to be at full mast and position the angle of your sails to catch the wind. To gauge the direction of the wind, glance up into the sky while on your ship and look at the flag atop your mast or the swirling lines in the air. Next, position the front of your sails so they're facing in the same direction the wind is blowing toward - for instance, turn them to face north-west if the wind is blowing from the south-east to the north-west.
As sails successfully catch the wind, they'll puff outward with a satisfying billowing noise. The more sails that catch the wind on larger boats, the faster you'll go. On the galleon and brigantine, you'll know that all sails are appropriately positioned and you've reached maximum speed when you hear a short musical fanfare.
How to sail into the wind
Sometimes the wind's direction won't be in your favour, and you won't be able to take advantage of the maximum speed boost provided by full billow sails. In these instances - when you're forced to sail directly into a headwind or crosswind - there are different sail configurations you can deploy to ensure you're moving as fast as possible.
As confirmed by YouTuber Kiwhen, all ships travel faster when sailing directly into a headwind if their sails are positioned to face straight forward. Things differ, however, when sailing directly into a crosswind - that is, when the wind blows diagonally from bow to stern across your ship.
In these instances, a sloop's sails should remain facing directly ahead to gain a speed boost. However, all sails on a galleon or brigantine should be positioned so they face away at a 90-degree angle (or as close as possible) from the incoming wind, essentially enabling it to travel between the masts unhindered.
That might be difficult to imagine, so here are a couple of examples. Let's assume, for the sake of simplicity, that your ship is sailing north and there's a crosswind blowing from the north-east to the south-west. In this instance, you can gain a speed boost on the galleon or brigantine by positioning their sails so that they face north-west and the wind can pass through freely. Similarly, if you're sailing south-west, with a crosswind coming from the west, you should position your sails so they all point south to get a speed advantage.
You'll find more details in the following video by kiwhen on YouTube:

Which ships are faster?
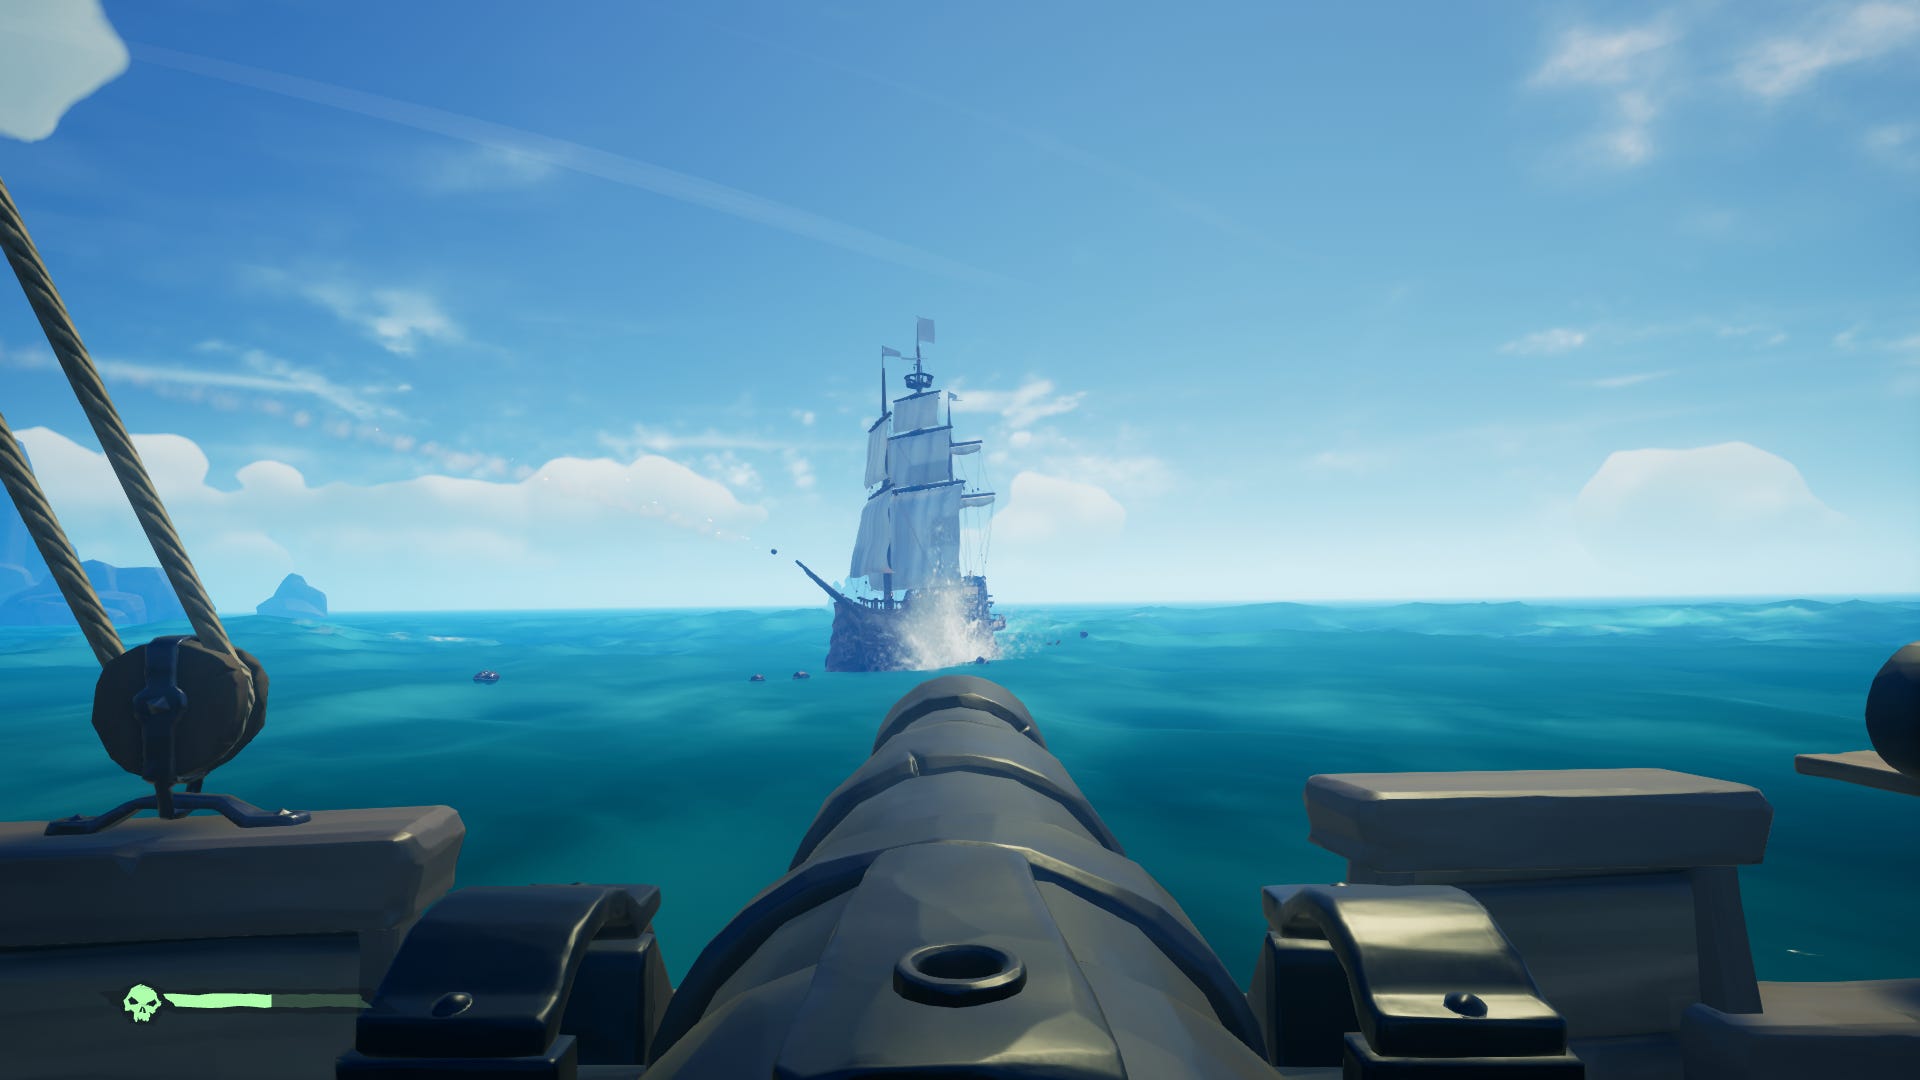
As you might imagine, a galleon with all three sails catching the wind is faster than a brigantine with two full sails, which in turn is faster than a sloop with its single sail billowing fully. However, sloops will travel faster than galleons and brigantines when moving directly into the wind, and brigantines will travel faster than galleons. As such, smaller ships should always aim themselves into the wind to escape larger vessels during a pursuit, while larger ships should attempt to gain the advantage and close the gap by manoeuvring to get full wind in their sails.
The first season has arrived! Learn about all Season 1 Battle Pass rewards and everything else added in the Sea of Thieves patch notes. New to the game? Learn what to do in Sea of Thieves and take take part in the Maiden Voyage tutorial, which teaches you the essentials of sailing and ship battles. It's also useful for beginners to know how to survive fights with skeletons and the kraken. Elsewhere we have advice on how to get easy gold and doubloons, complete skeleton forts and The Shroudbreaker, take part in fishing in Sea of Thieves and Sea of Thieves island maps.
What else you need to consider when sailing in Sea of Thieves
As well as our page dedicated to ship battles in Sea of Thieves, here are some other Sea of Thieves sailing pointers; little things which don't quite fit into the above which are worth knowing:
- Before setting on off an adventure, always take a moment to stock up on supplies - food, cannonballs, planks - found in barrels at the starting outpost. Store them in the associated barrels on your ship so that you're always adequately prepared for what the Sea of Thieves might throw at you.
- Always, always be aware of your surroundings; scan the horizon constantly and scout island coastlines for enemy vessels. This way you're considerably less likely to be caught by unawares when attempting to complete quests.
- If you want to decrease your chances of being bothered further, always turn off your ship's lanterns before setting sail, as these are visible on the horizon from huge distances, giving your position away to PvP-hungry players.
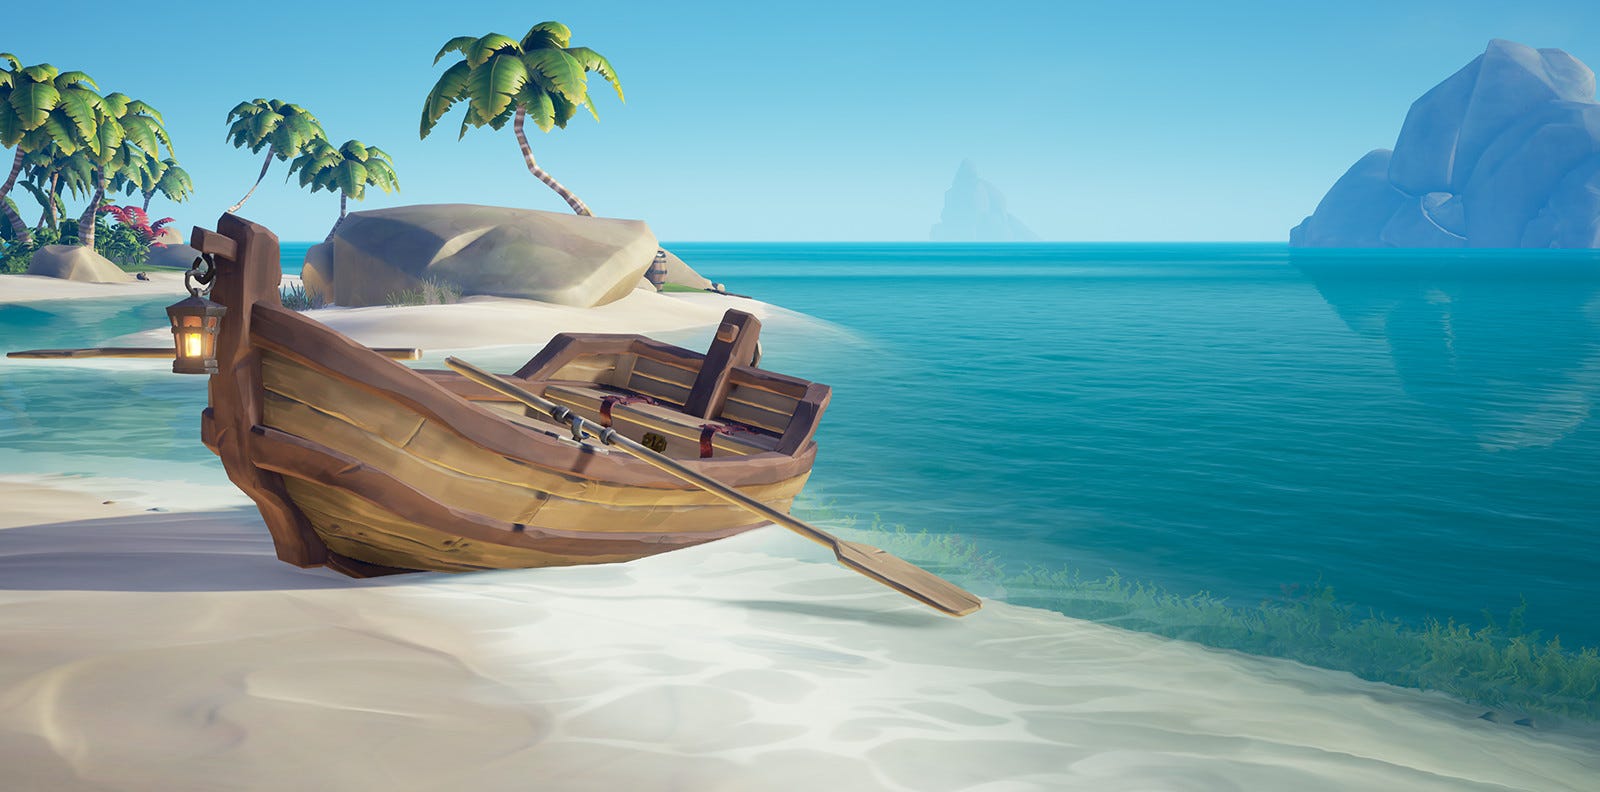
- Should you spot a rowboat at an island on your travels, be sure to stop and attach it to the back of your ship. They can be piled high with treasure, reducing the amount of back-and-forth required to load your boat, and can even be used to sneakily carry treasure to a nearby outpost if your ship is attacked by enemy players.
- If you stop your ship but don't leave the wheel locked in neutral position, it will continue to slowly rotate. Get into the habit of returning it to neutral so you don't find yourself pointing in the wrong direction if you ever need to make a sudden escape.
- If you're on a larger boat, you might prefer to come to a halt by raising your sails rather than lowering anchor, as it enables you to make a speedier getaway when necessary.
- Waves in the Sea of Thieves flow from north-west to south-east and will gently nudge your boat off-course as you sail the open oceans. As such, you'll need to make constant small adjustments to maintain your correct course.
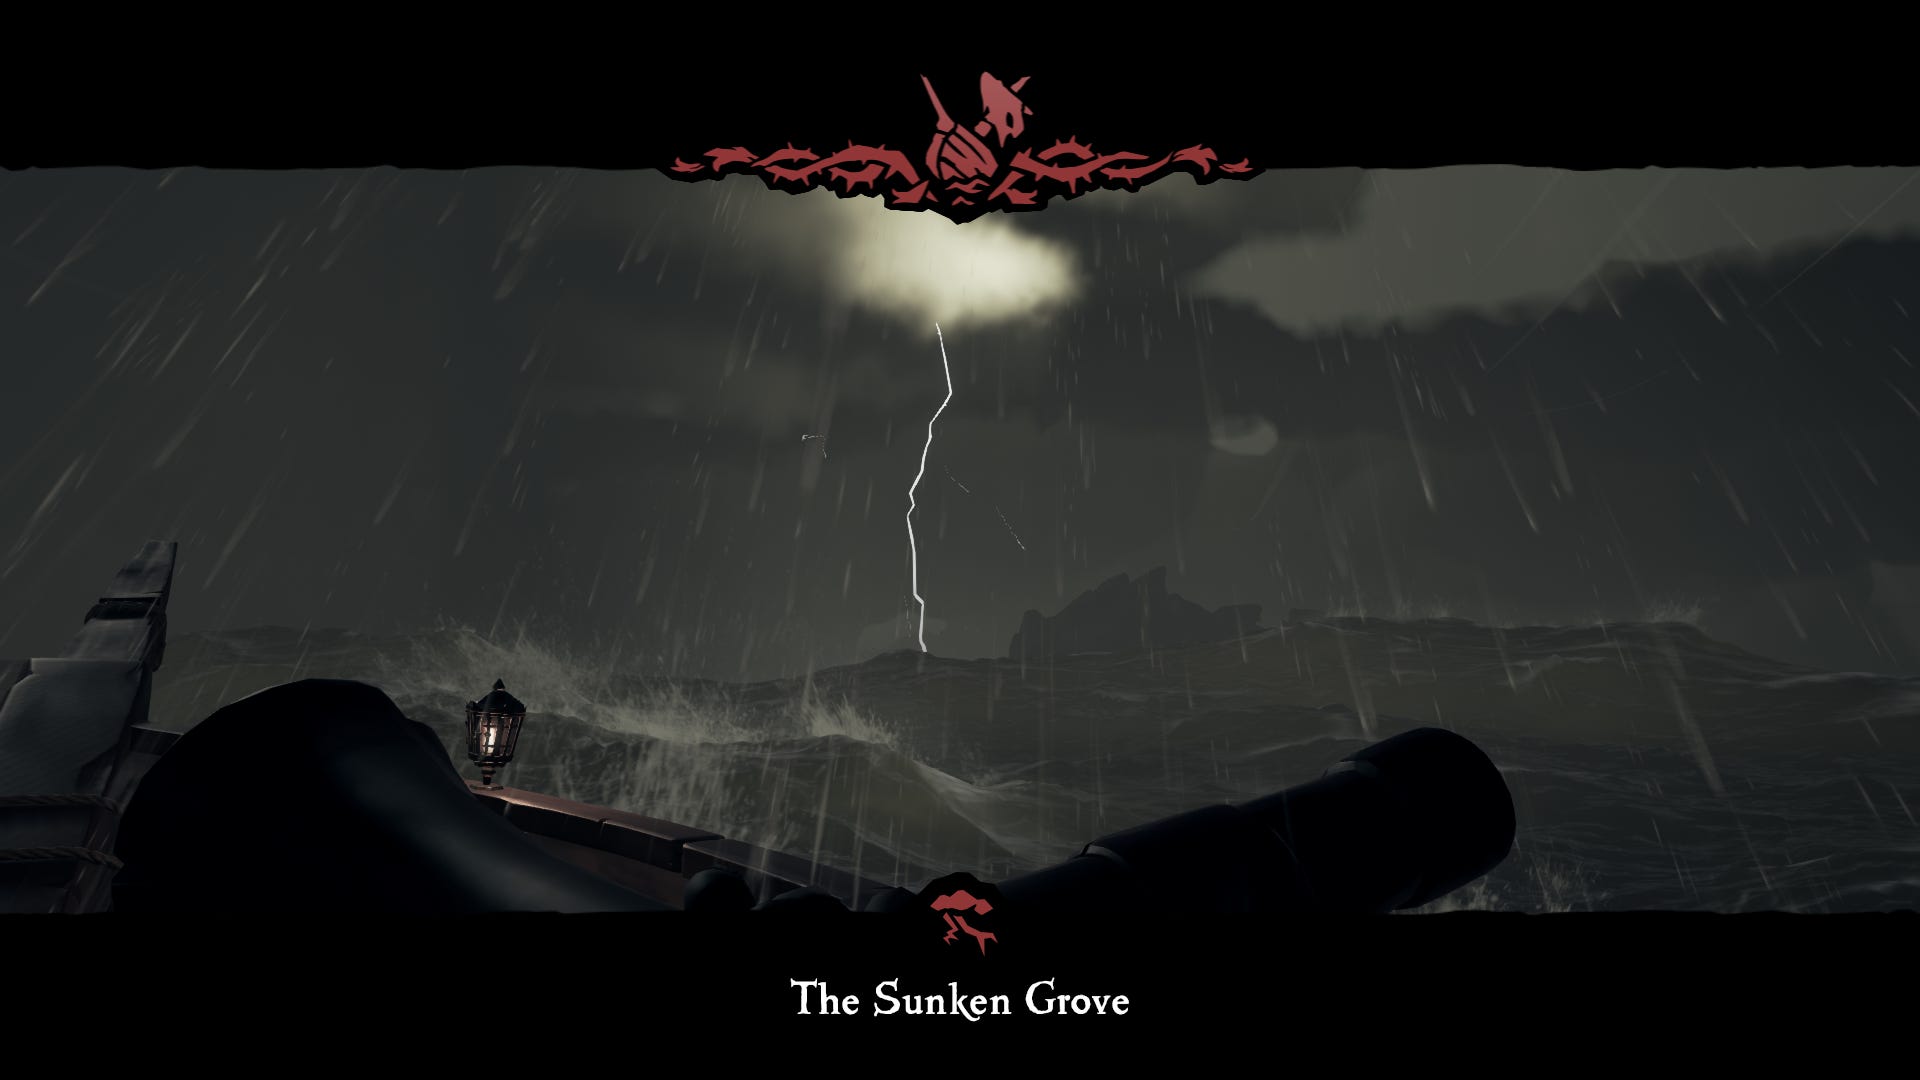
- Storms (the giant funnel-like black clouds) make great cover if you need to escape pursuit, but be sure to stay on top of repairs - the rough waves will intermittently smash holes in the side of your boat, and rain will steadily fill the lower deck. Additionally, your wheel will spin frantically of its own accord inside a storm, and your compass will regularly fail, making it difficult to stay on-course. To counter this, point your ship to face your desired direction before entering the storm and then, once inside, wrestle with the spinning wheel to keep it as close to neutral position as possible by listening for the clunk.
- Fog banks are a similarly effective means of losing pursuers, but visibility is reduced almost to zero at their centre. As such, send an available crew member up to the crow's nest, above the fog bank, to shout out directions.
- Rocks from active volcanoes in the Devil's Roar and skeleton-manned cannons around islands aim their shots based on your current direction and speed. As such, you can throw off their aim by changing direction regularly, zig-zagging back and forth in the water.
- If you find your ship on fire (it happens), you can use the water pump on the lower deck to fill your bucket and douse the flames. Pump again to refill then repeat.
- Finally, if you need to escape another crew - perhaps they won't stop pursuing you or insist on camping a ship's spawn points during battle - the Scuttle Ship option in the Crew menu can be a real sanity saver. It'll sink your ship (meaning you'll forfeit your treasure, unfortunately), then spawn a new one on a distant island so you can hitch a mermaid over and hopefully continue your adventure undisturbed.