Final Fantasy 15 Episode Prompto - Life in Captivity, Find a Way Out, Confront Verstael and Escape the Base
Escape the base and discover the open-world that lies beyond.

Life in Captivity is the first part of Final Fantasy 15 Episode Prompto, and sees you become captured and escape a mysterious facility.
It's a tutorial for the more combat-heavy later stages, getting you to grips with the shooter-like fighting mechanics and the Final Fantasy touches layered on top.
If you're after help for parts of the DLC, consult our Final Fantasy 15 Episode Prompto DLC guide and walkthrough.
Life in Captivity
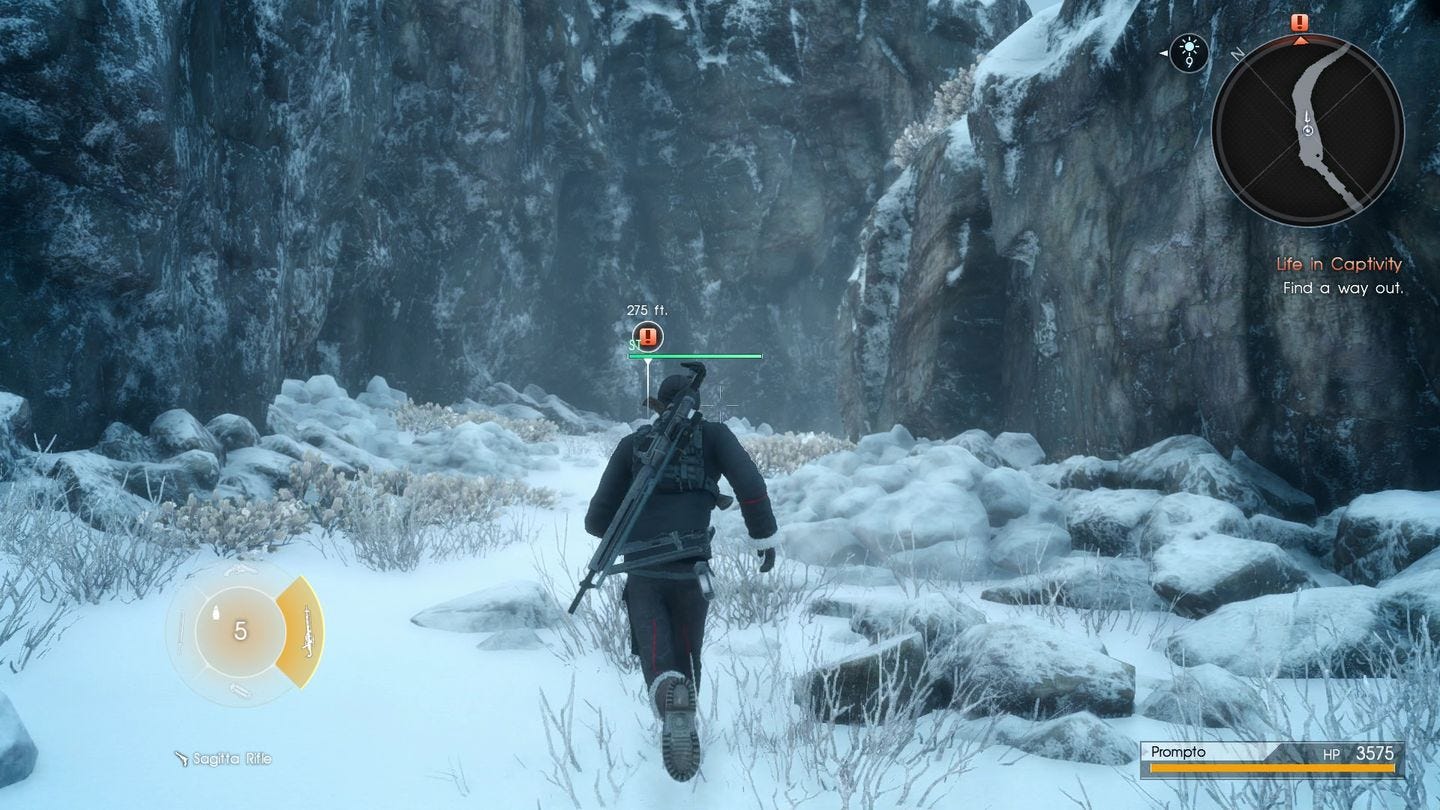
To begin with, hold up and trudge your way through the snow until Prompto collapses and a cutscene plays out.

Investigate your surroundings
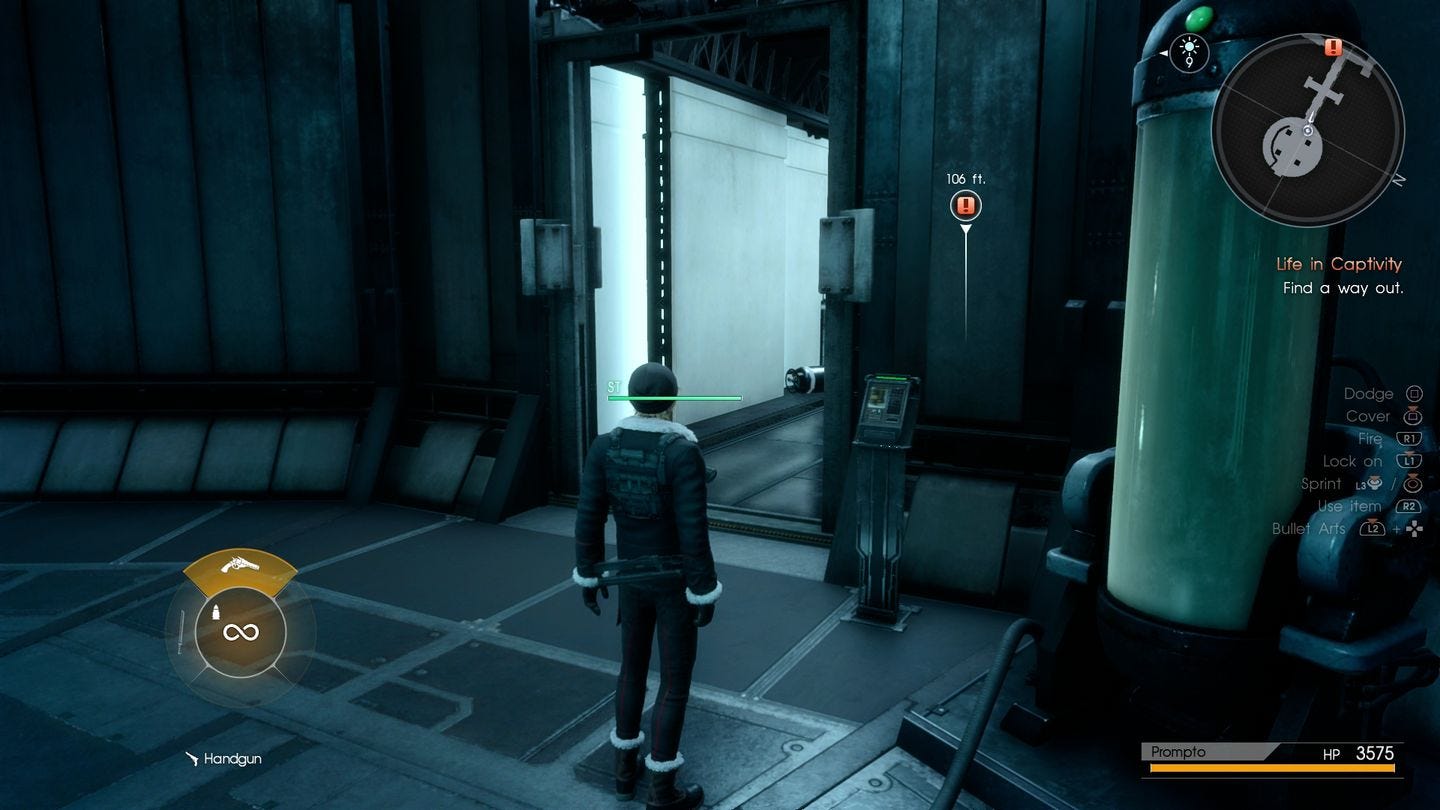
When you wake up in the facility, you can investigate around you to find various non-key items to your right, including a newspaper and a research log. Whenever you're ready, activate the panel by the door behind where you begin next to the test tubes for a cutscene.
Find a Way Out
Head down the corridor, then take a right at the fork to find a Hi-Potion and a vending machine, which acts as a campsite in this episode.
Head back to the fork then go left, where you'll find your first enemy and a taste of how different combat is in this episode. Approach the foe and tap R1 / Right Bumper to fire bullets. When you get close, feel free to tap left on the D-pad to change to a truncheon to dispatch him quicker.
Go through the door, and after a cutscene, get the Phoenix Down on the ground ahead, and the Research log on the left. Going through the doors will initiate another tutorial, this time showing you how you do a Stealth Kill.
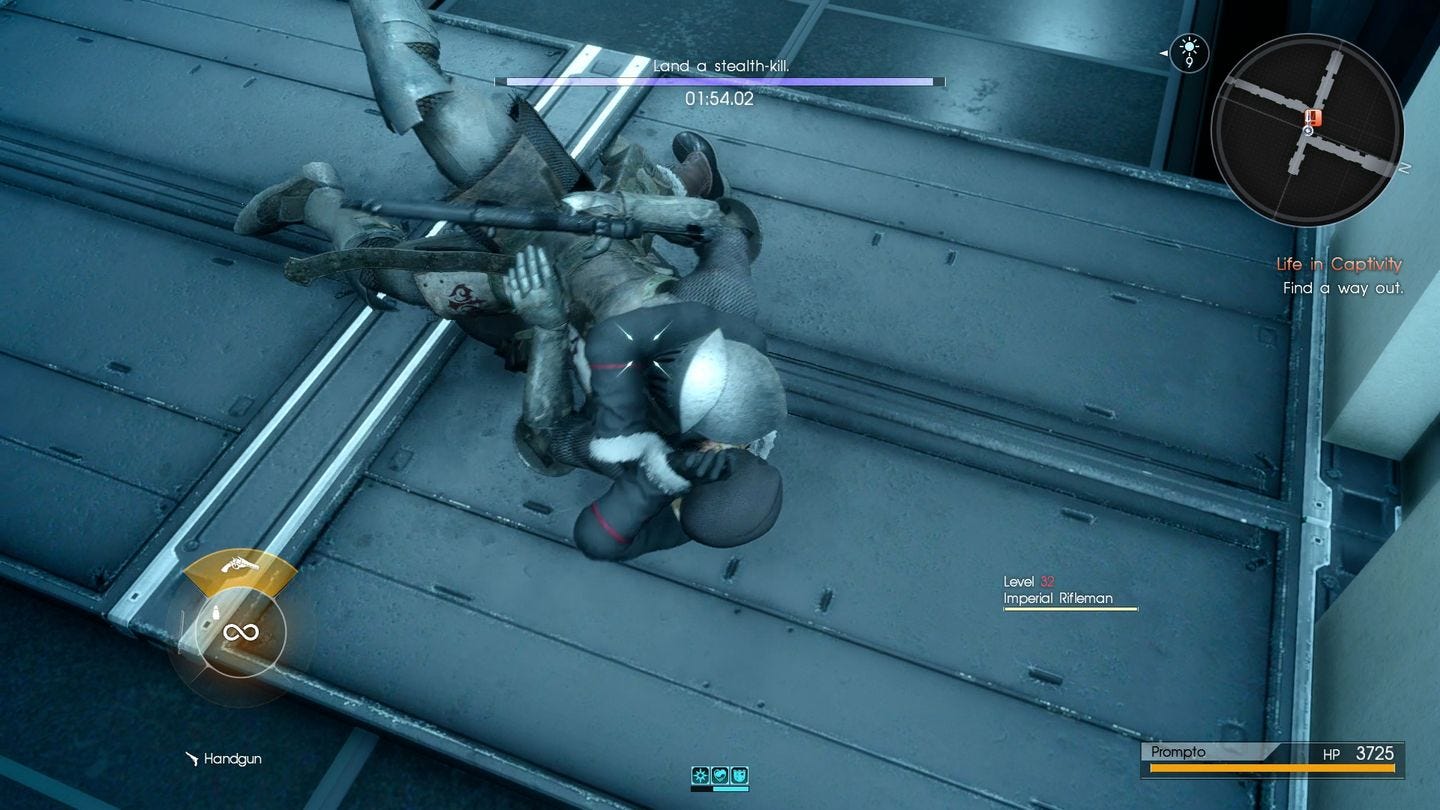
Simply follow the guard round the corner right, and press the button when the on-screen prompt appears. Doing so gives you a new rifle, which you can aim using L1 / Left Bumper and firing with R1 / Right Bumper - much like a traditional third-person shooter. Final Fantasy does Gears of War, eh?
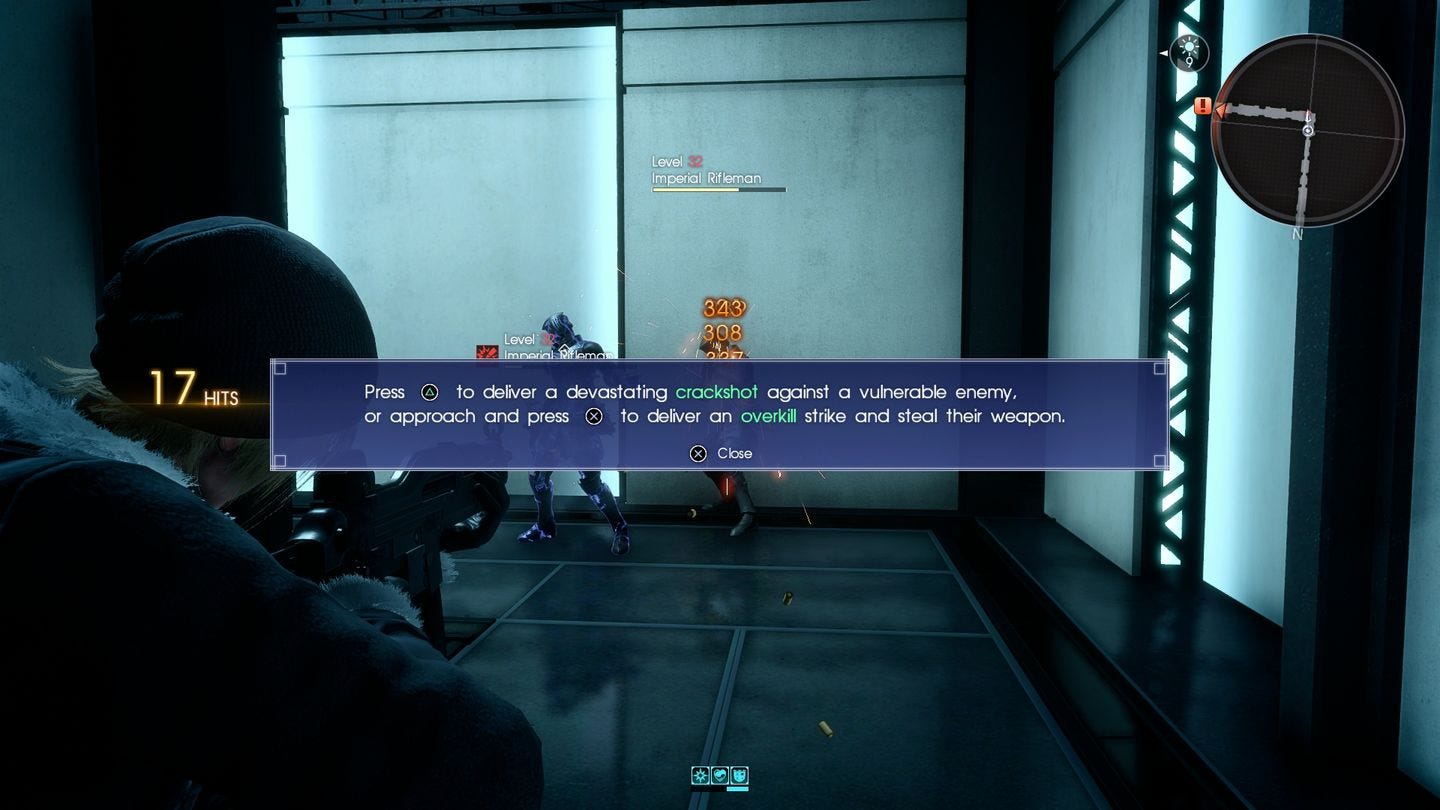
Continue down the corridor, up the stairs, and you'll encounter more foes, where you'll be introduced to more mechanics, including finishers while they are stunned (press Triangle / Y from a distance, or X / A up close to steal their weapon).
We'd particularly recommend using Crackshot, especially in combination with long distance attacks, allowing you to dispatch enemies pretty quickly.
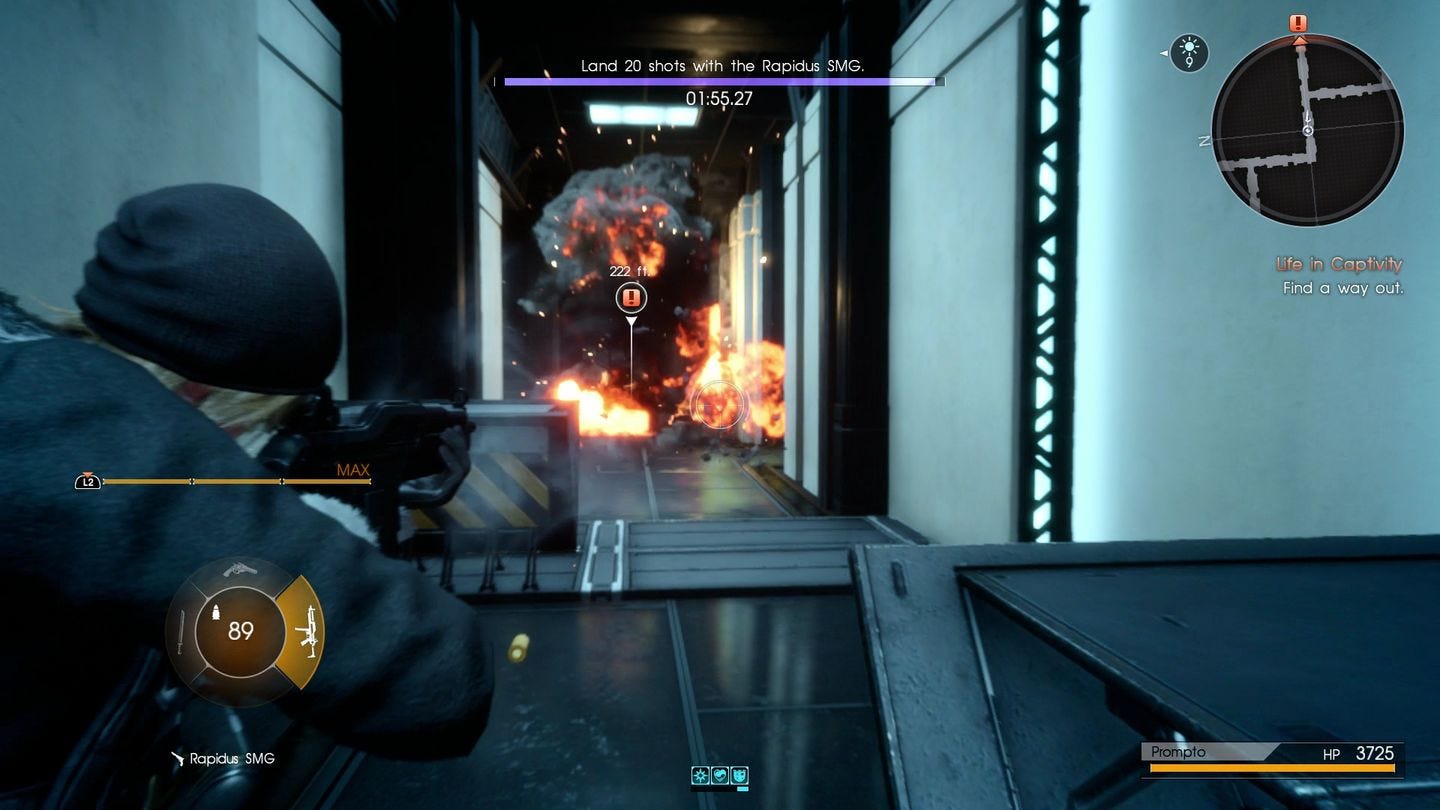
There are more groups ahead, which you can easily dispatch by blowing up the Magitek energy barrels, or by using your Bullet Arts.
Follow the marker on your screen, grab another SMG from the left wall before the doorway, and head through.
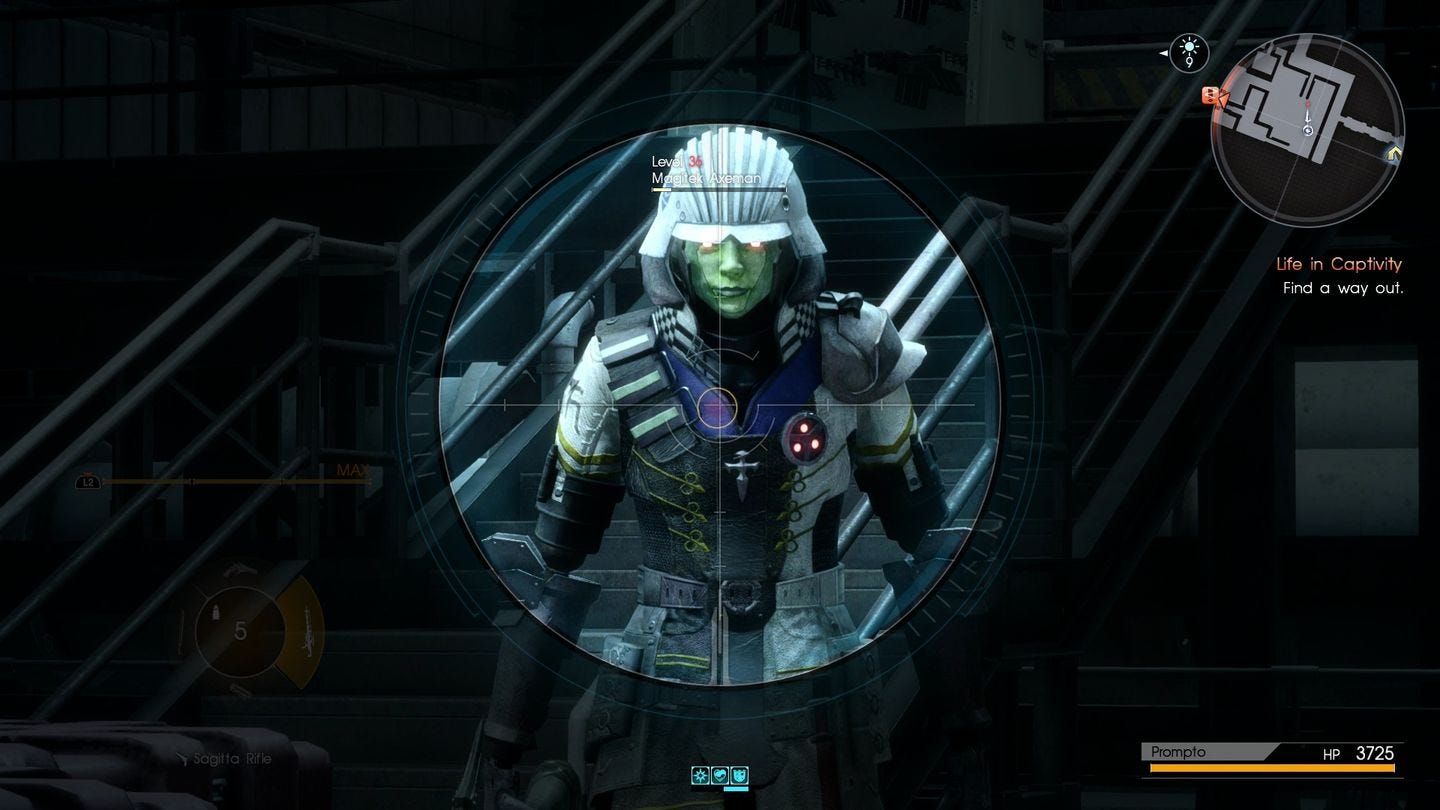
This section has you use a sniper rifle to take down nearby foes. Grab one from the gun rack ahead, and use the same zoom and fire controls as before, followed up by a tap of Triangle / Y for a long distance finisher.
There are other patrols on the far side and right of the room. Continue round the catwalk in a clockwise fashion, and you'll be spotted by a drone, activating further waves coming in.

Immediately shoot the Magitek energy barrel on the lower area to take out the four advancing guards, and pick off the ones on the catwalks that arrive. You can grab a Bazooka if you so please from the far corner gun rack.
When done, head out the far door to a long corridor; turn left where you can to come back to an upper catwalk in the prior room for a few restoratives, then head back and out the end door to reach the snowy outdoors, before being back indoors again.
Need more help? Our Final Fantasy 15 guide and walkthrough can provide tips on main story, as well as the open-world's many quests and activities. Learning how to get AP fast, EXP fast and money or Gil fast will aid you in many optional dungeons and tombs - including how to open and explore their locked doors. There's also plenty of interesting side-quests, too, such as the Scraps of Mystery and Professors Protege frog locations. And if you want to get around easier, you can rent a Chocobo, learn the infinite sprint trick and later in the game, get the flying car Regalia Type F. There's also more to see and do with DLC, such as Episode Gladiolus and Episode Prompto.
Production Hangar - Reference Room
Get the Hi-Potion from the floor, read the document on the table and the audio log from the left before resting at the vending machine.
As soon as you go through the door expect a QTE, and another set of battles in the room beyond. Our best bet here - and with all encounters - is to use the Sagitta sniper rifle, which will one-shot most enemies or require a simple Crackshot (the Triangle / Y button) follow up to clear them. You can get one from the rack to your right as you enter.
You then need to kill more waves as you explore; head right to the looping corridor to get curatives, coming out on an upper walkway for a good vantage point, which you can jump from whenever you're ready to progress. If you're struggling to find enemies, we recommend using the mini-map, showing any lingering foes hiding behind cover or in nooks and crannies below.
Whenever you're done, head to the north west doorway, scan yourself in then proceed onto a laboratory with test tubes. Read the paper on the floor before the steps, then work your way round for a cutscene. Before you confront Verstael, you have the opportunity to save and collect some more items.
Confront Verstael and Escape the Base
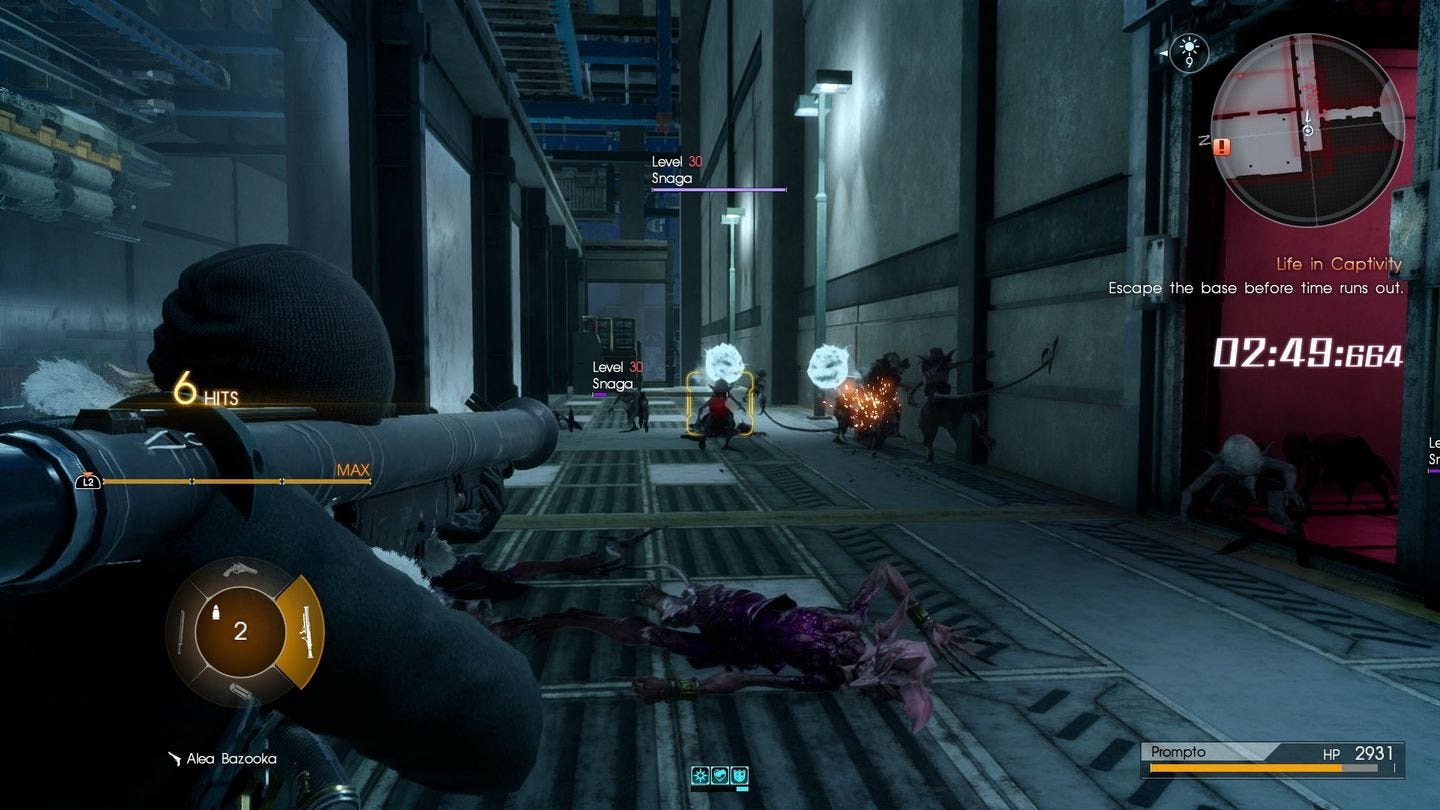
After the cutscene, you'll get a help from a familiar face. Clear the enemies in this laboratory room, then run to the next area, where a countdown will begin.
Grab the bazooka from the left rack to help clear the way, but otherwise just sprint out into the hangar and to the snowmobile corner.
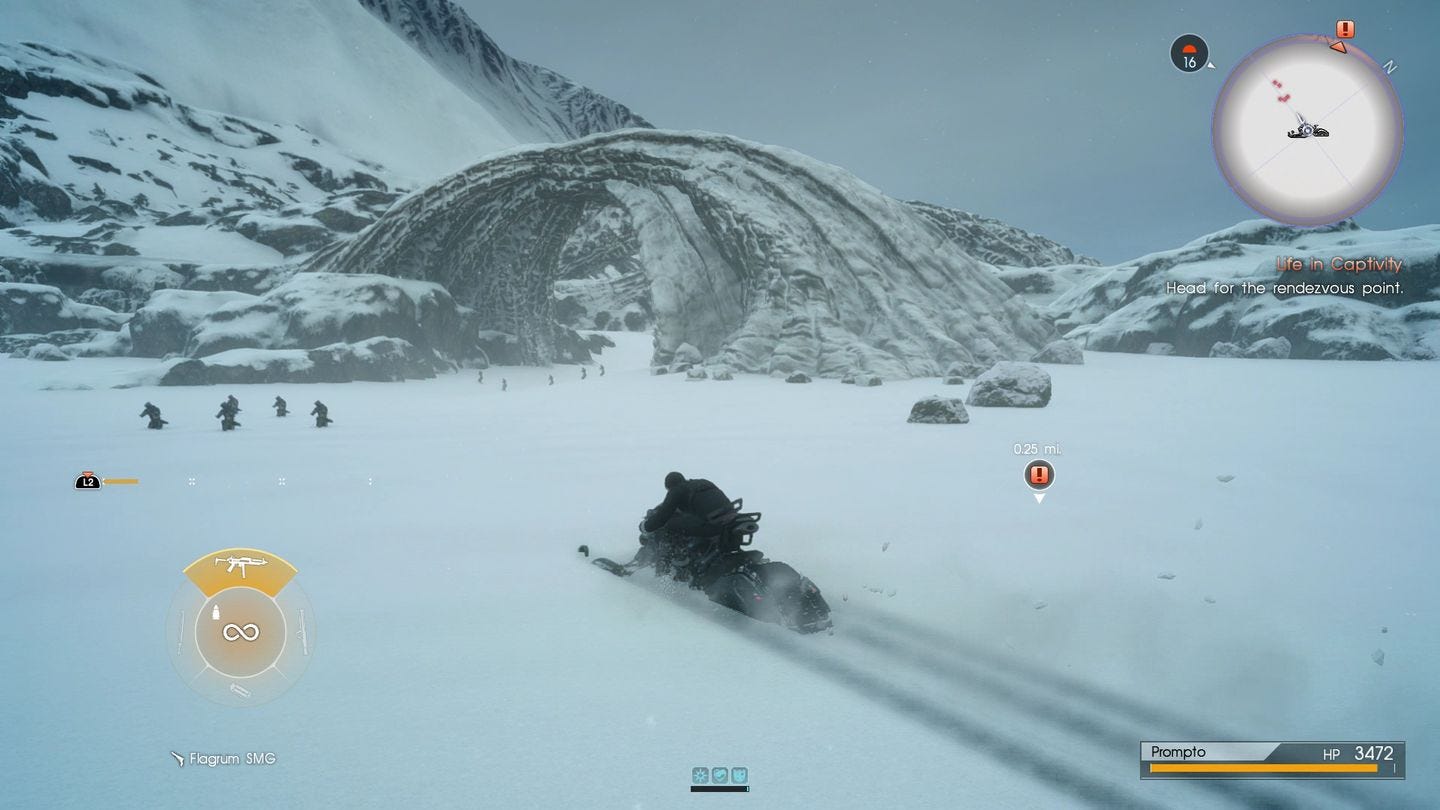
What's next is a snowmobile section. Use the triggers to accelerate and brake, and essentially zip past all the enemies towards the on-screen marker.
The only real nuisance are the rockets raining down from above; if you get caught by one and are thrown from the snowmobile, you may enter a loop of climbing back on, getting hit and thrown off, and so on.

We just kept trying to continue until we were thrown off close enough that we could get enough speed to dodge the next barrage, so hopefully it won't be too bothersome.
Once you hit the marker, it'll move ahead one or two more times, until a cutscene plays, concluding the section.
What follows next are two story-filled chapters - Loss of Self and Moving Forward. Both are easy to complete; head to the markers in each case and choose whichever dialogue choices you like to progress.
There are also a few side-quests and other activities to investigate, which we talk about a little more alongside the episode's concluding chapter in our Sins of the Father page.