Zelda - Shae Loya and Aim for the Moment trial solution in Breath of the Wild
How to solve the Ridgeland region trial.

Shae Loya is one of the many Shrines located throughout Zelda: Breath of the Wild. The challenge inside, named the Aim for the Moment trial, is a puzzle that has you use Stasis to freeze objects and then shoot them with arrows. Get it right, and you'll walk out a success.
If you need help finding and solving other Shrines, our Shrine location maps page can help, while our Zelda: Breath of the Wild walkthrough and guide covers other aspects of the game.
Where to find Shae Loya
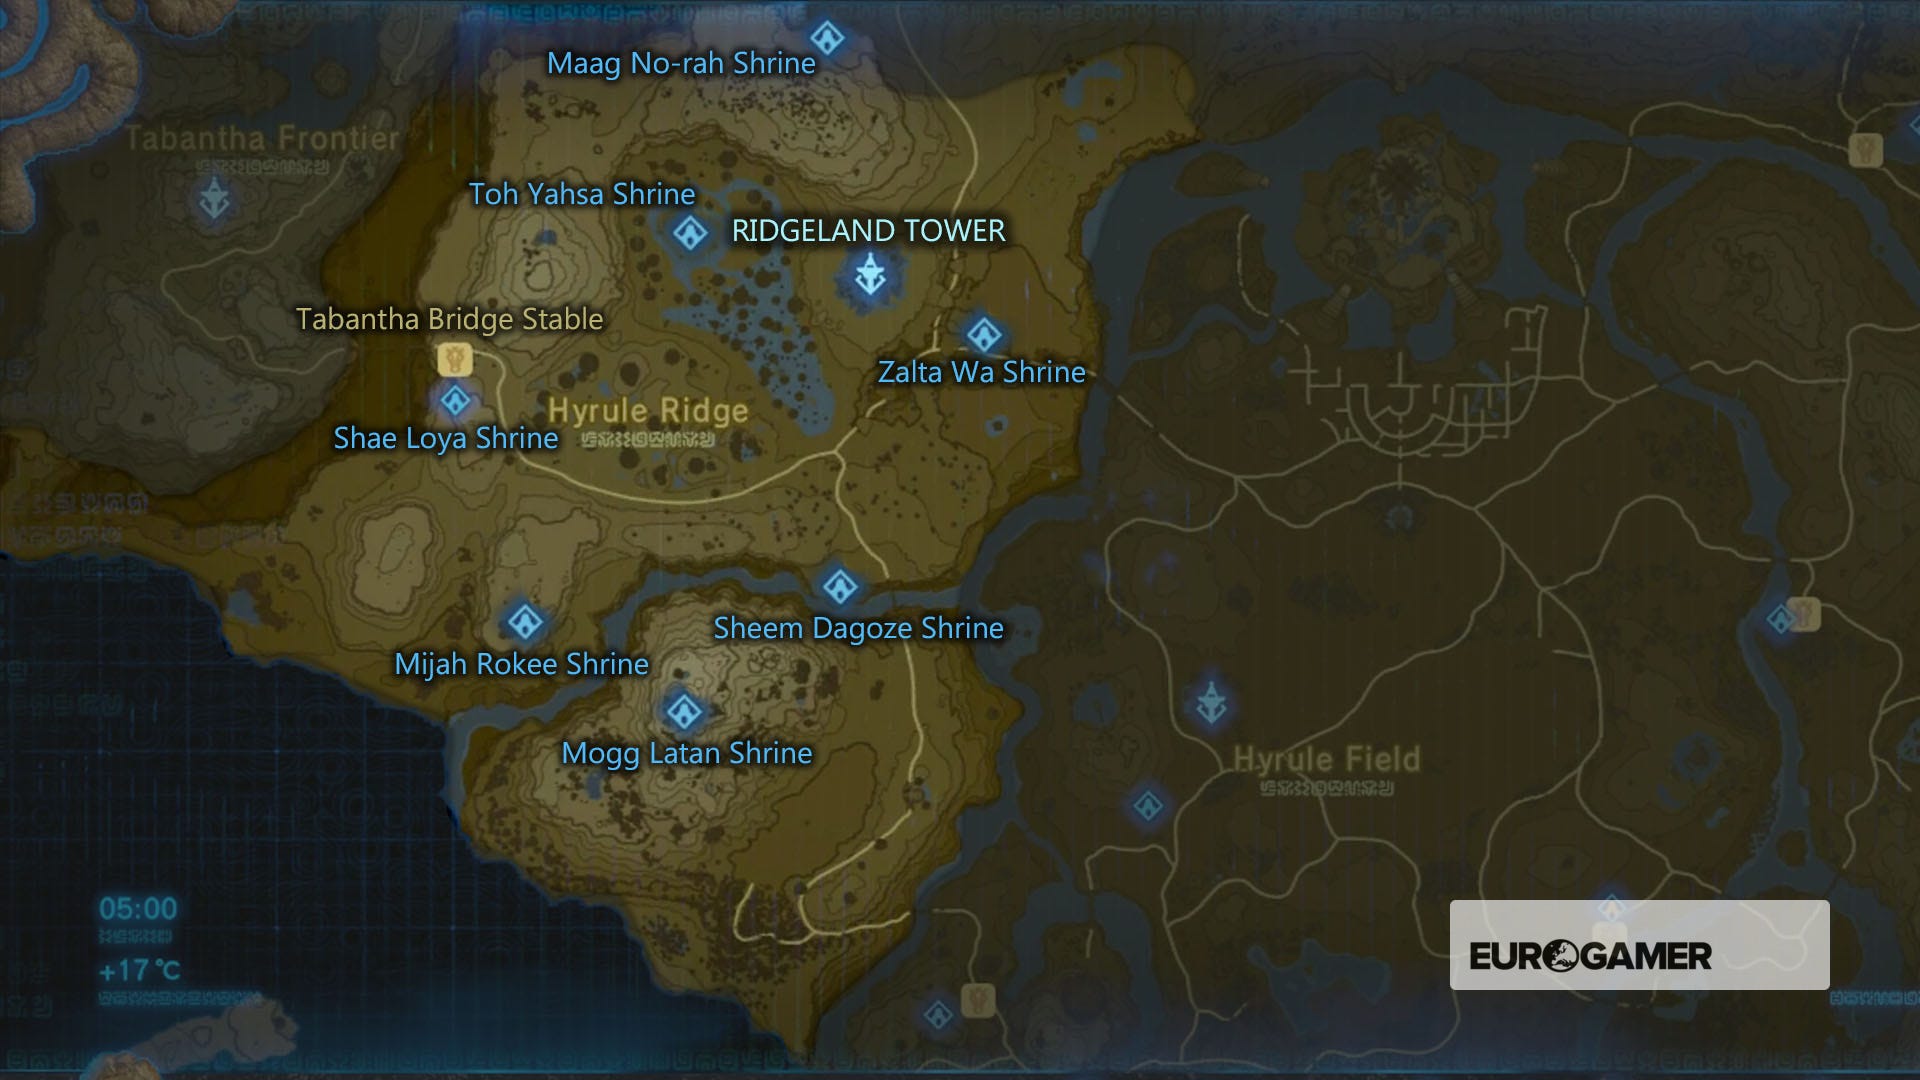
The Shae Loya shrine is located within the Ridgeland region, specifically just to the south of Tabantha Bridge Stable. To get there, paraglide south west from Ridgeland Tower and follow the road west towards the canyon.
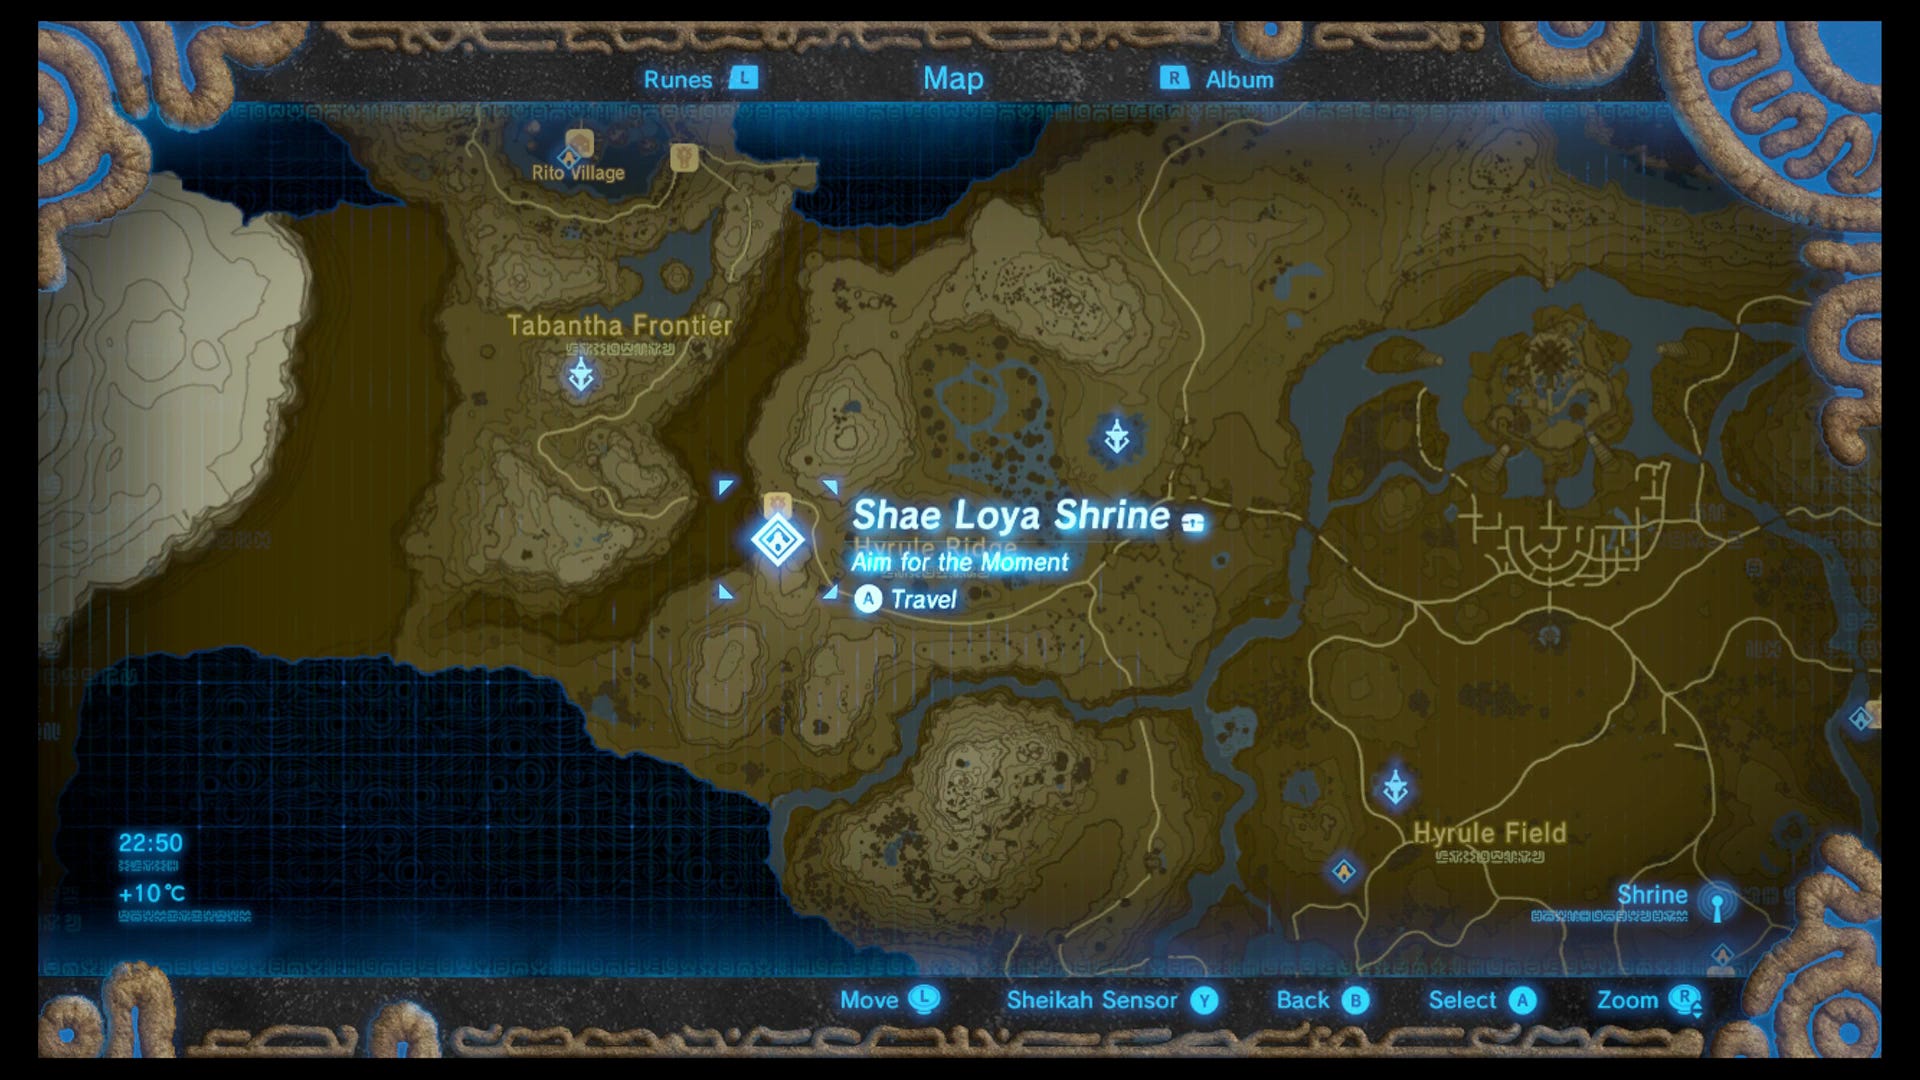
The shrine is located on top of a ledge just above the stable, out of eyeline. It's directly south of it though and not far, so should be easy to find. You can alternatively approach it by heading south east from Tabantha Tower and crossing the Tabantha Bridge across the canyon, as this is techincally a little closer.
There's no puzzle to solve here in order to access the shrine, so simply dive in when you're ready.

Shae Loya and Aim for the Moment trial solution
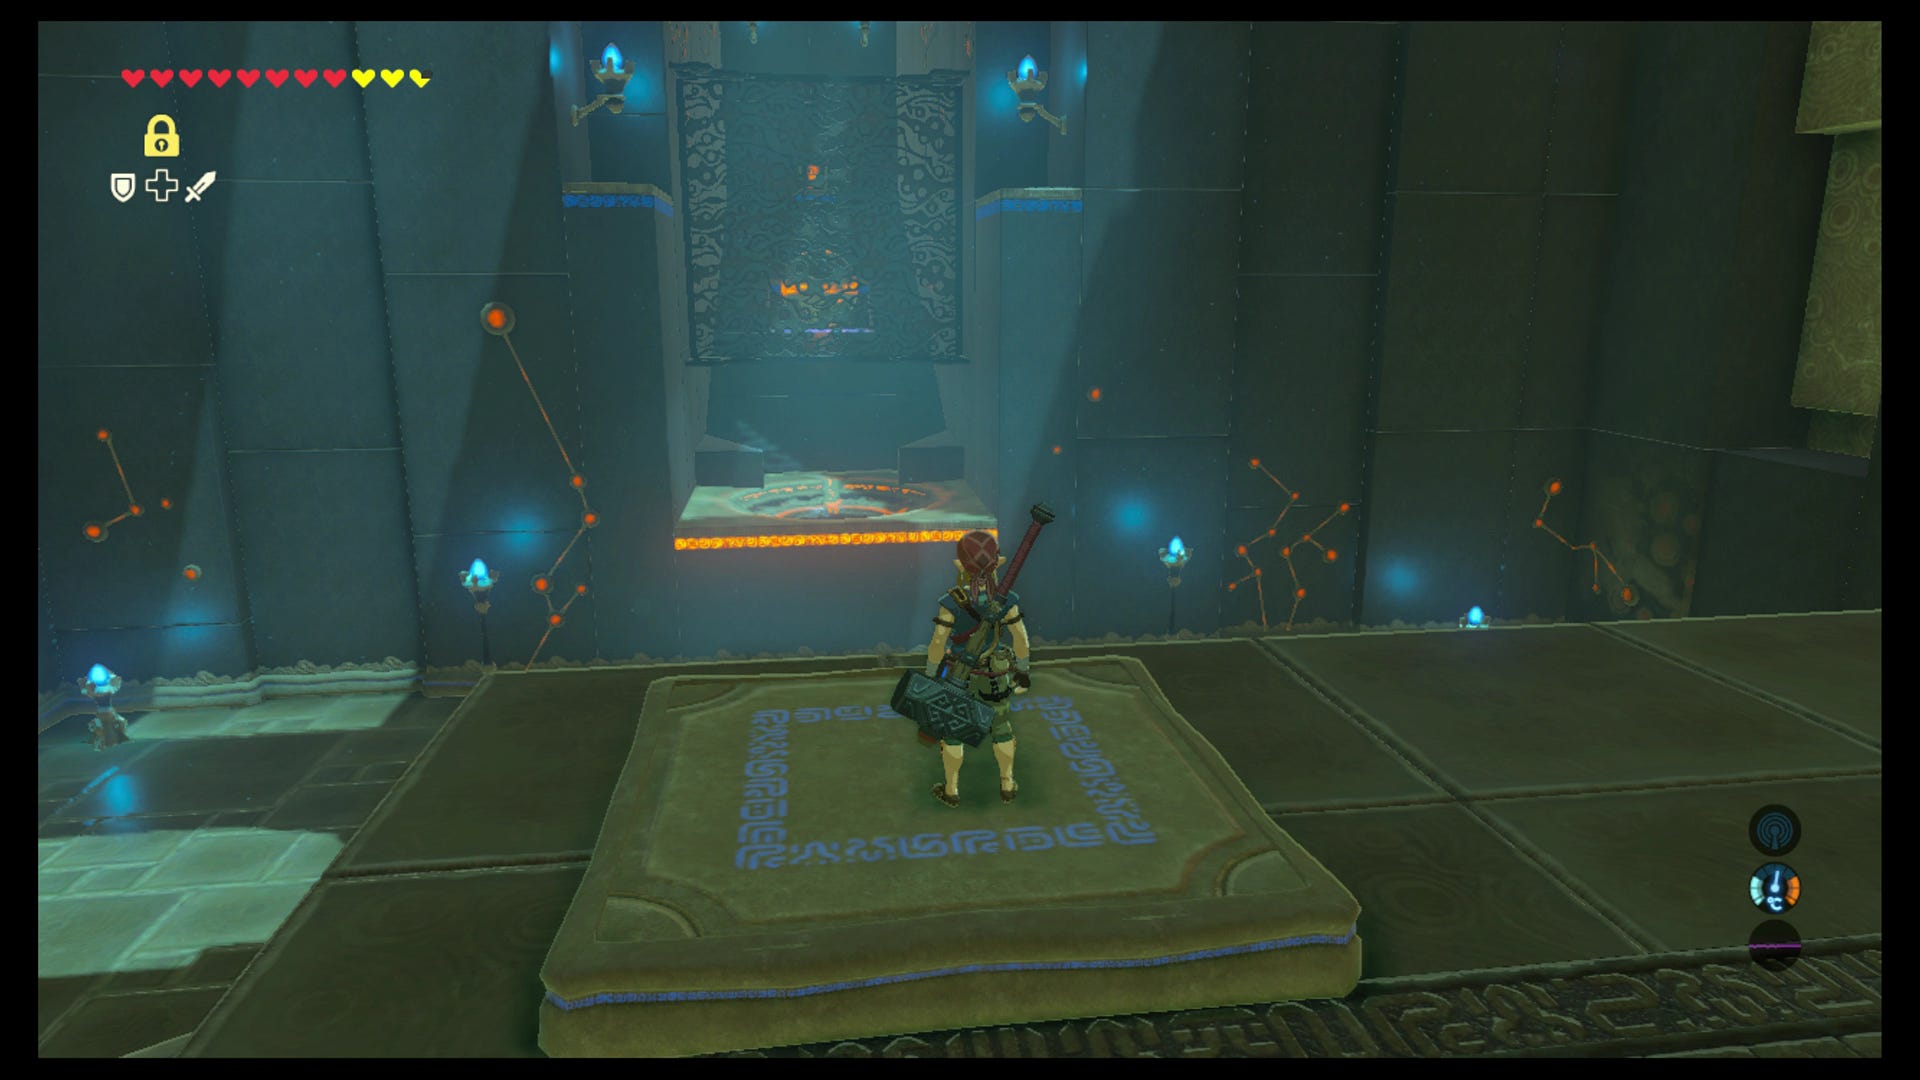
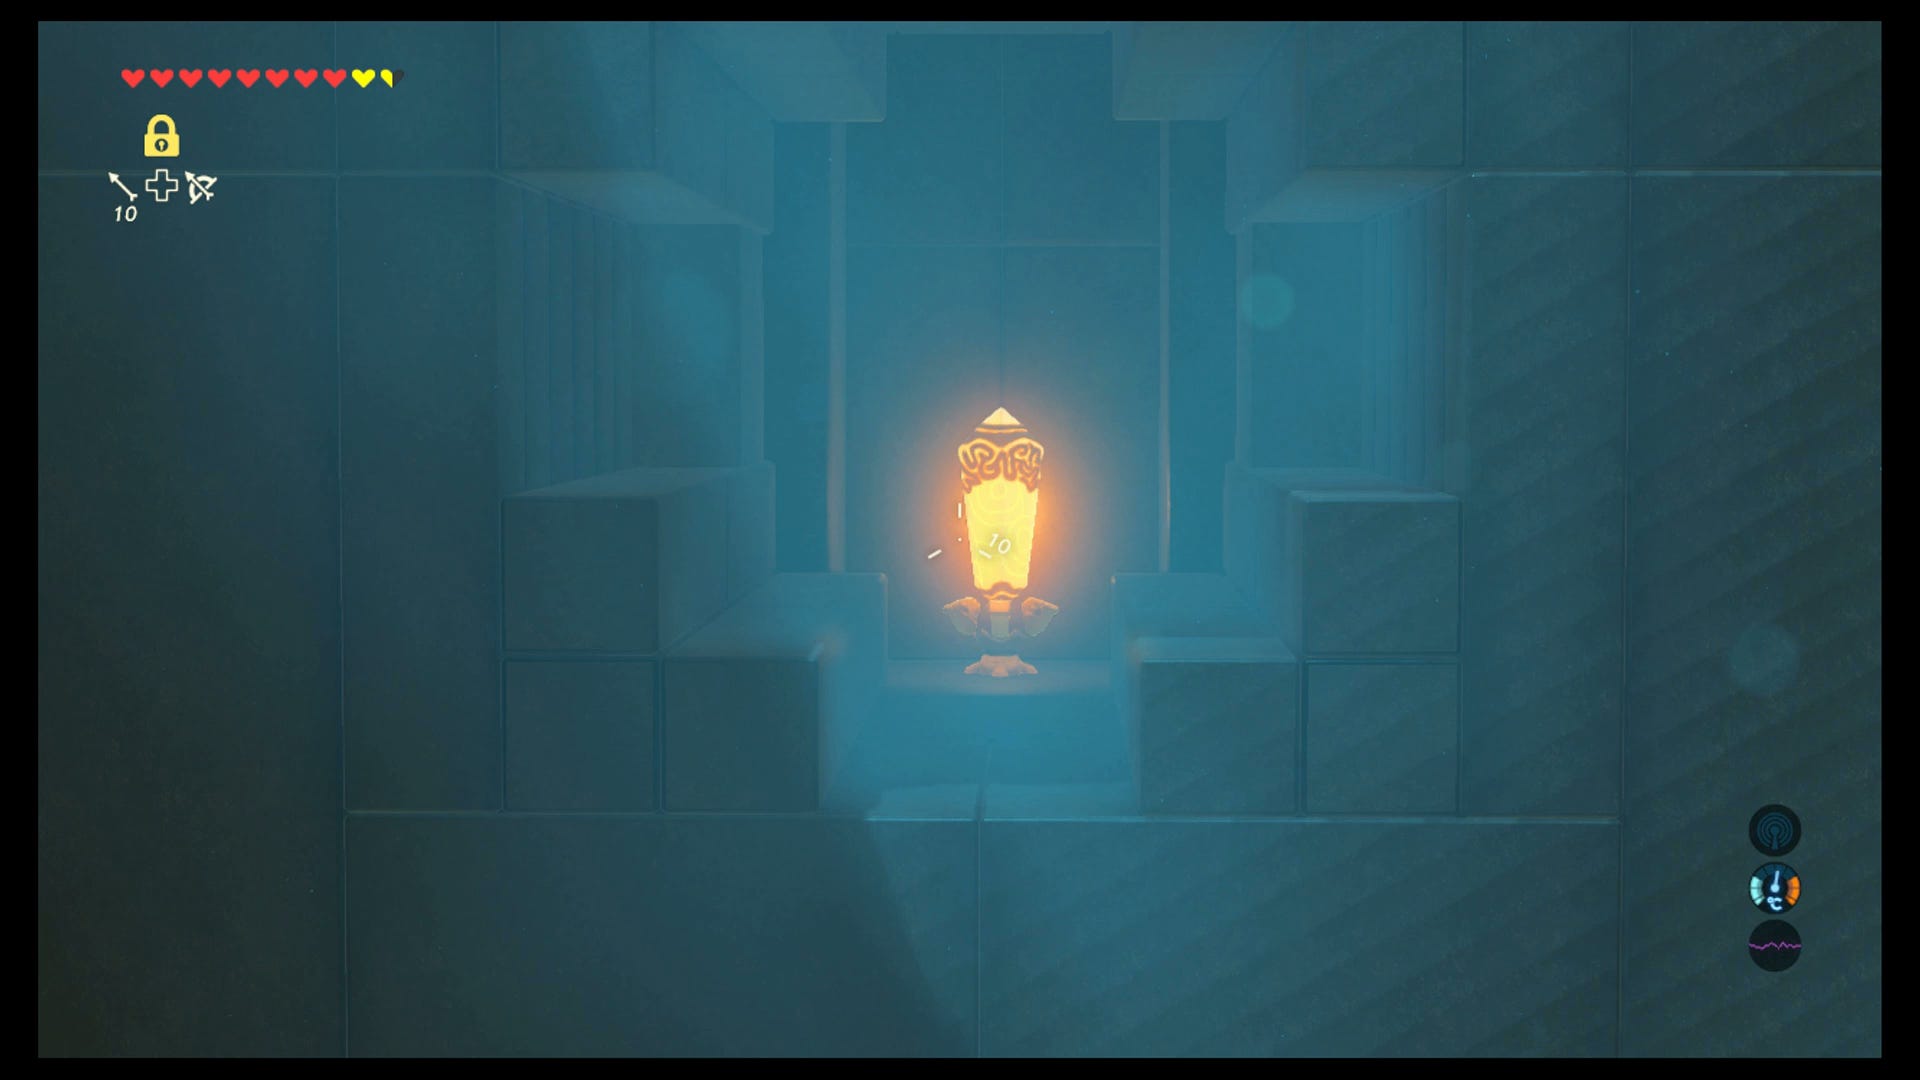
The Shae Loya shrine is a short but sweet one, focusing on your ability to cast a well-timed Stasis and a well-aimed arrow. On entering, you'll see a bouncing orb in front of you, and a chest on a wooden platform high up to the right.
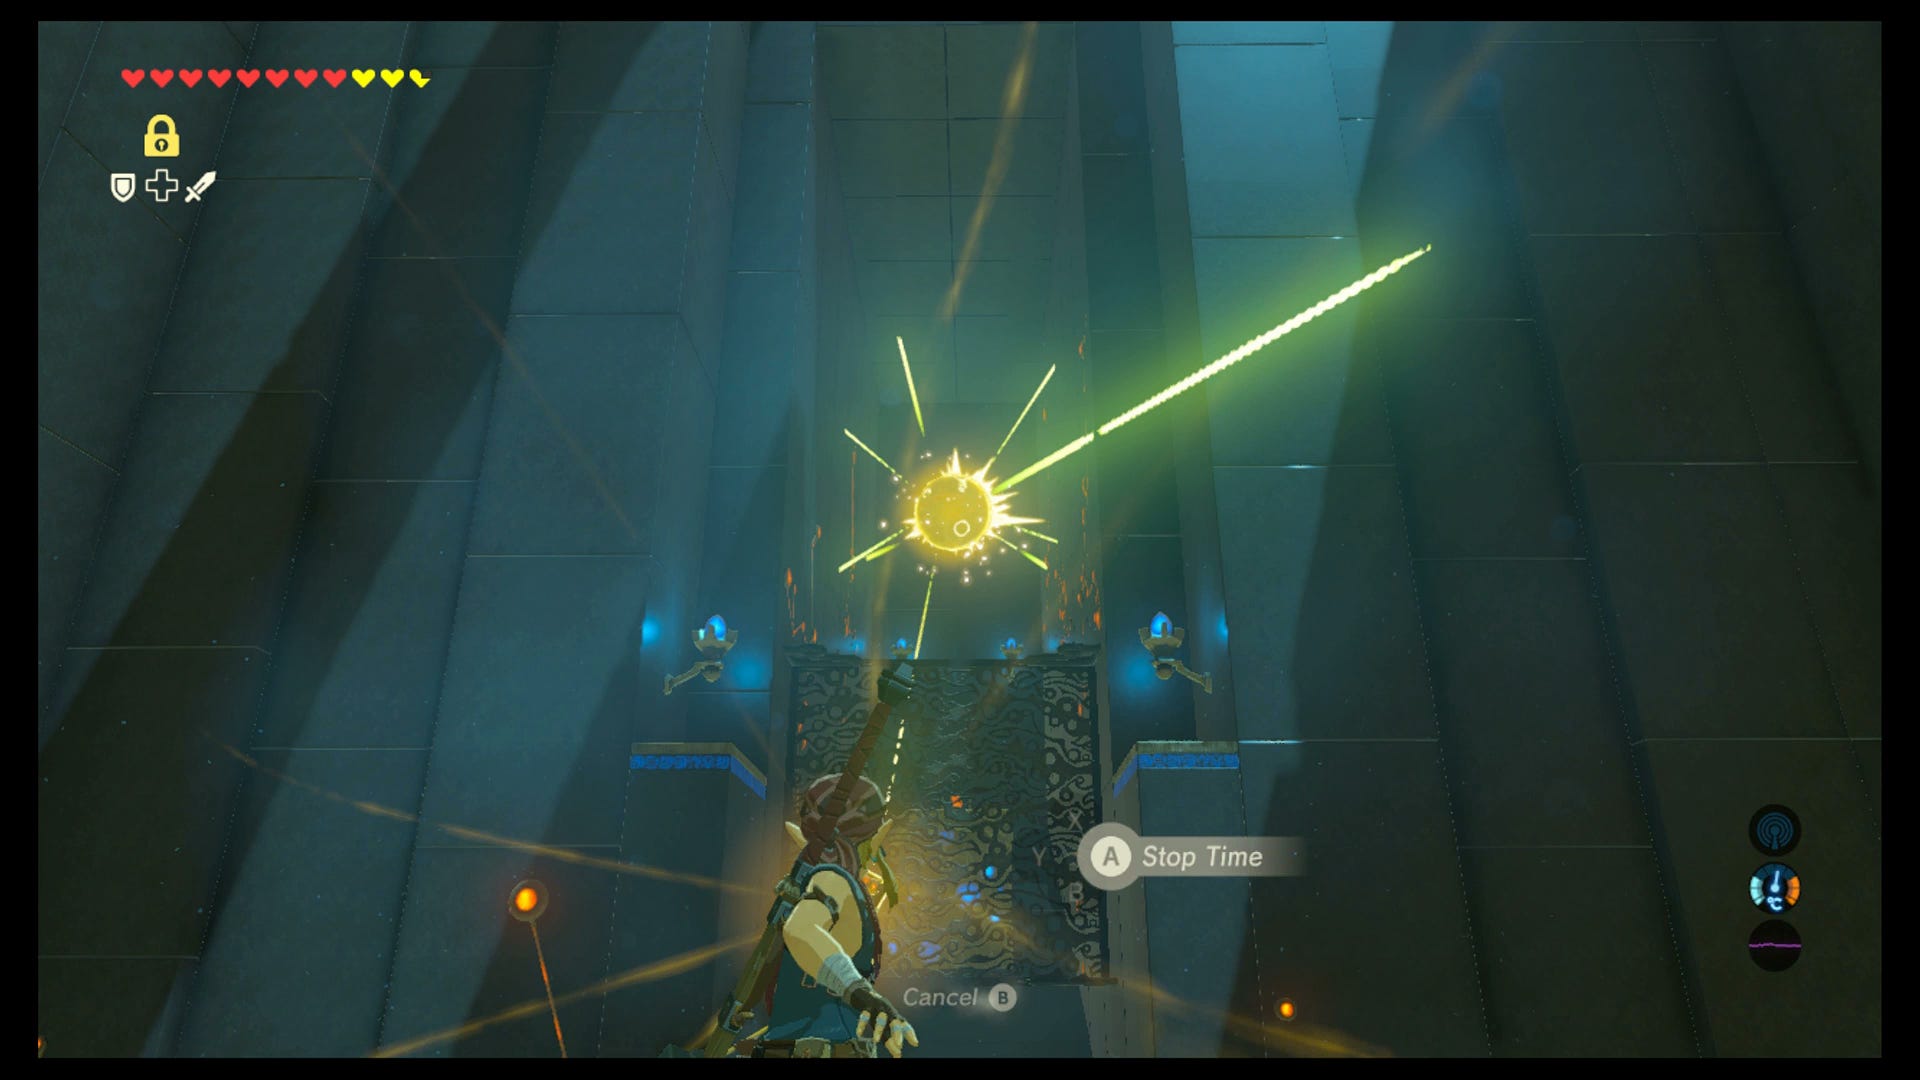
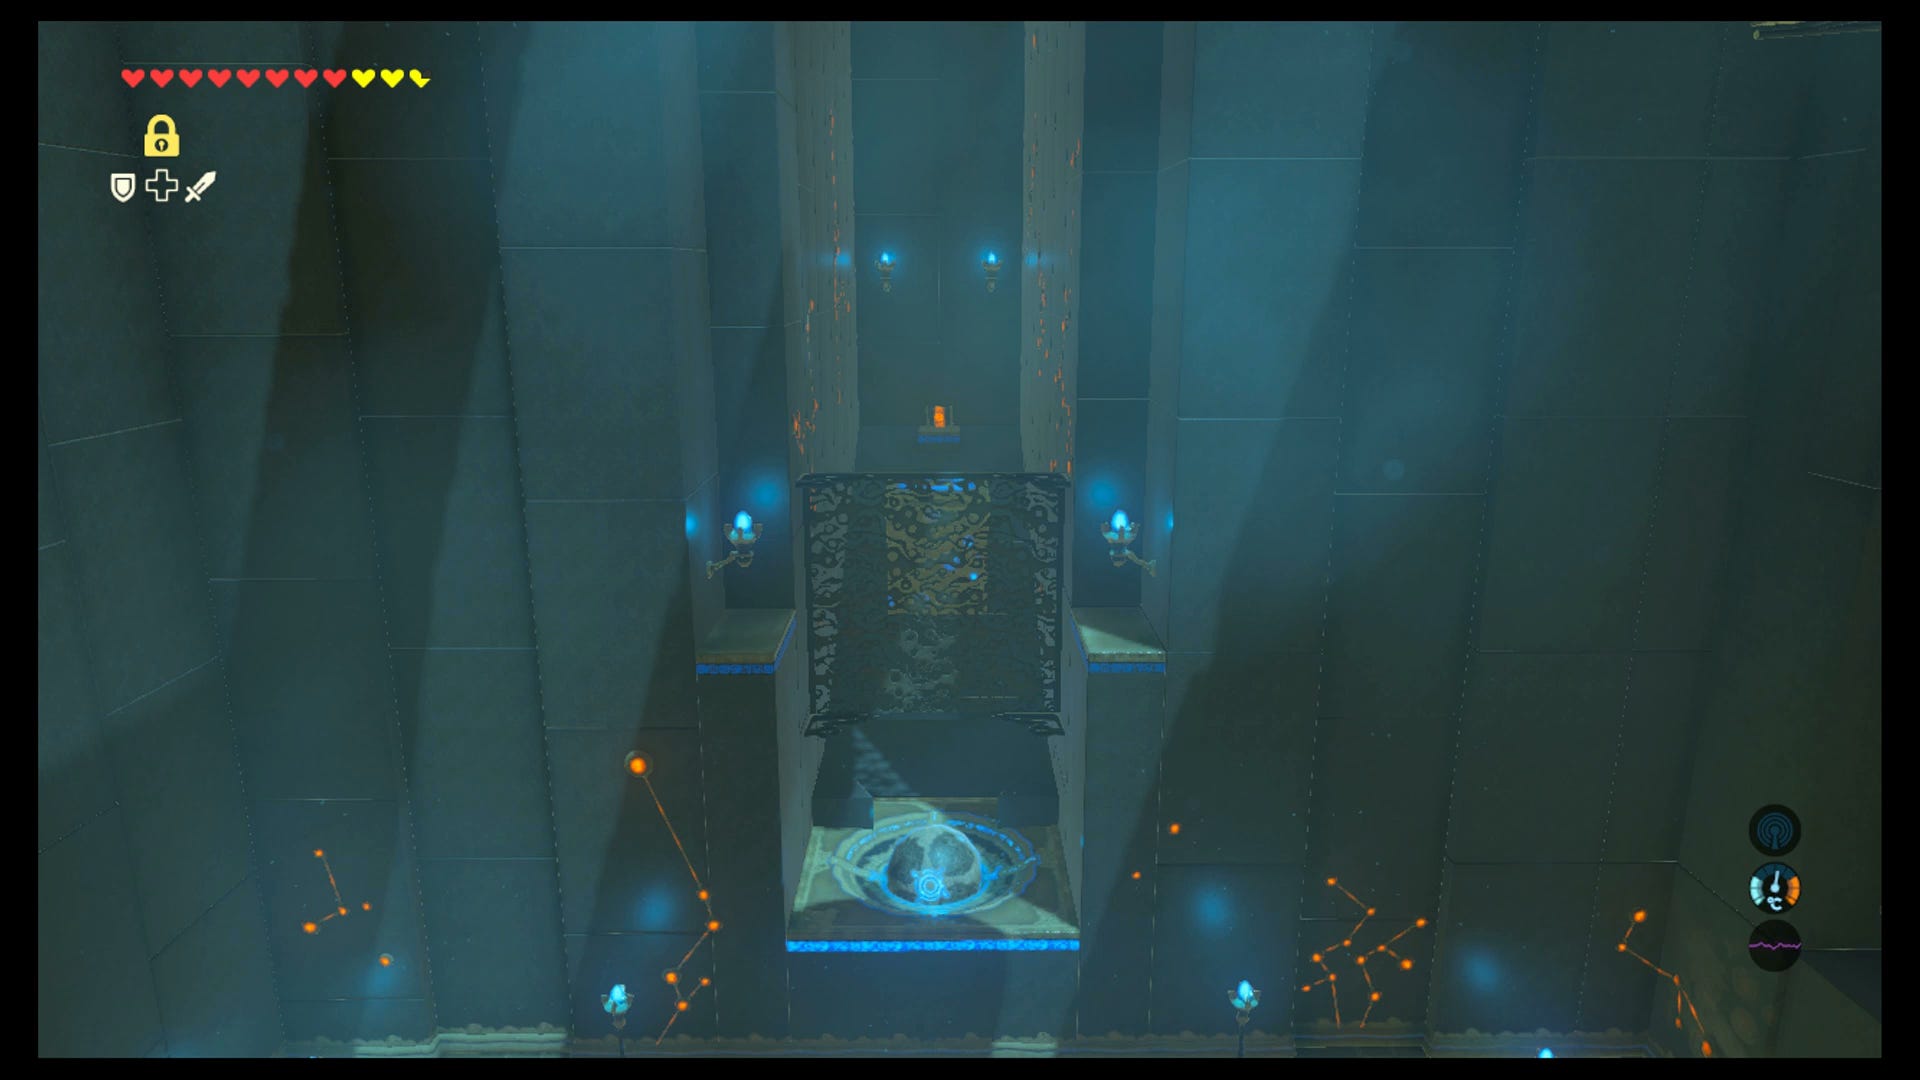
Your first job is to freeze the orb when it's in the air, using Stasis, and then shoot it with a couple of arrows before it starts moving again. This will knock it off its normal course, causing it to fall into the socket below.
The socket then activates a similar pressure plate by the entrance, which will pop Link up in the air when he stands on it. Hop on, and when flung up to the highest point, paraglide forwards to where the large orb was and open the first chest there, which contains a Topaz.
Thanks to a new update, it's now possible to play Zelda Breath of the Wild in VR. Want help with the main game? Our Zelda: Breath of the Wild walkthrough can help complete Divine Beasts Vah Ruta, Vah Rudiana, Vah Medoh and Vah Naboris and more. There's also how to get the Master Sword, Hylian Shield and all Zelda Captured Memories and Great Fairy Fountain locations, while our Shrines locations and Shrine maps hub explains where to find and solve every puzzle room, including dragon locations and Labyrinth solutions. We also have a DLC 1 guide and DLC 2 guide, including all Tingle, Majora's Mask, Phantom, Midna outfit locations.

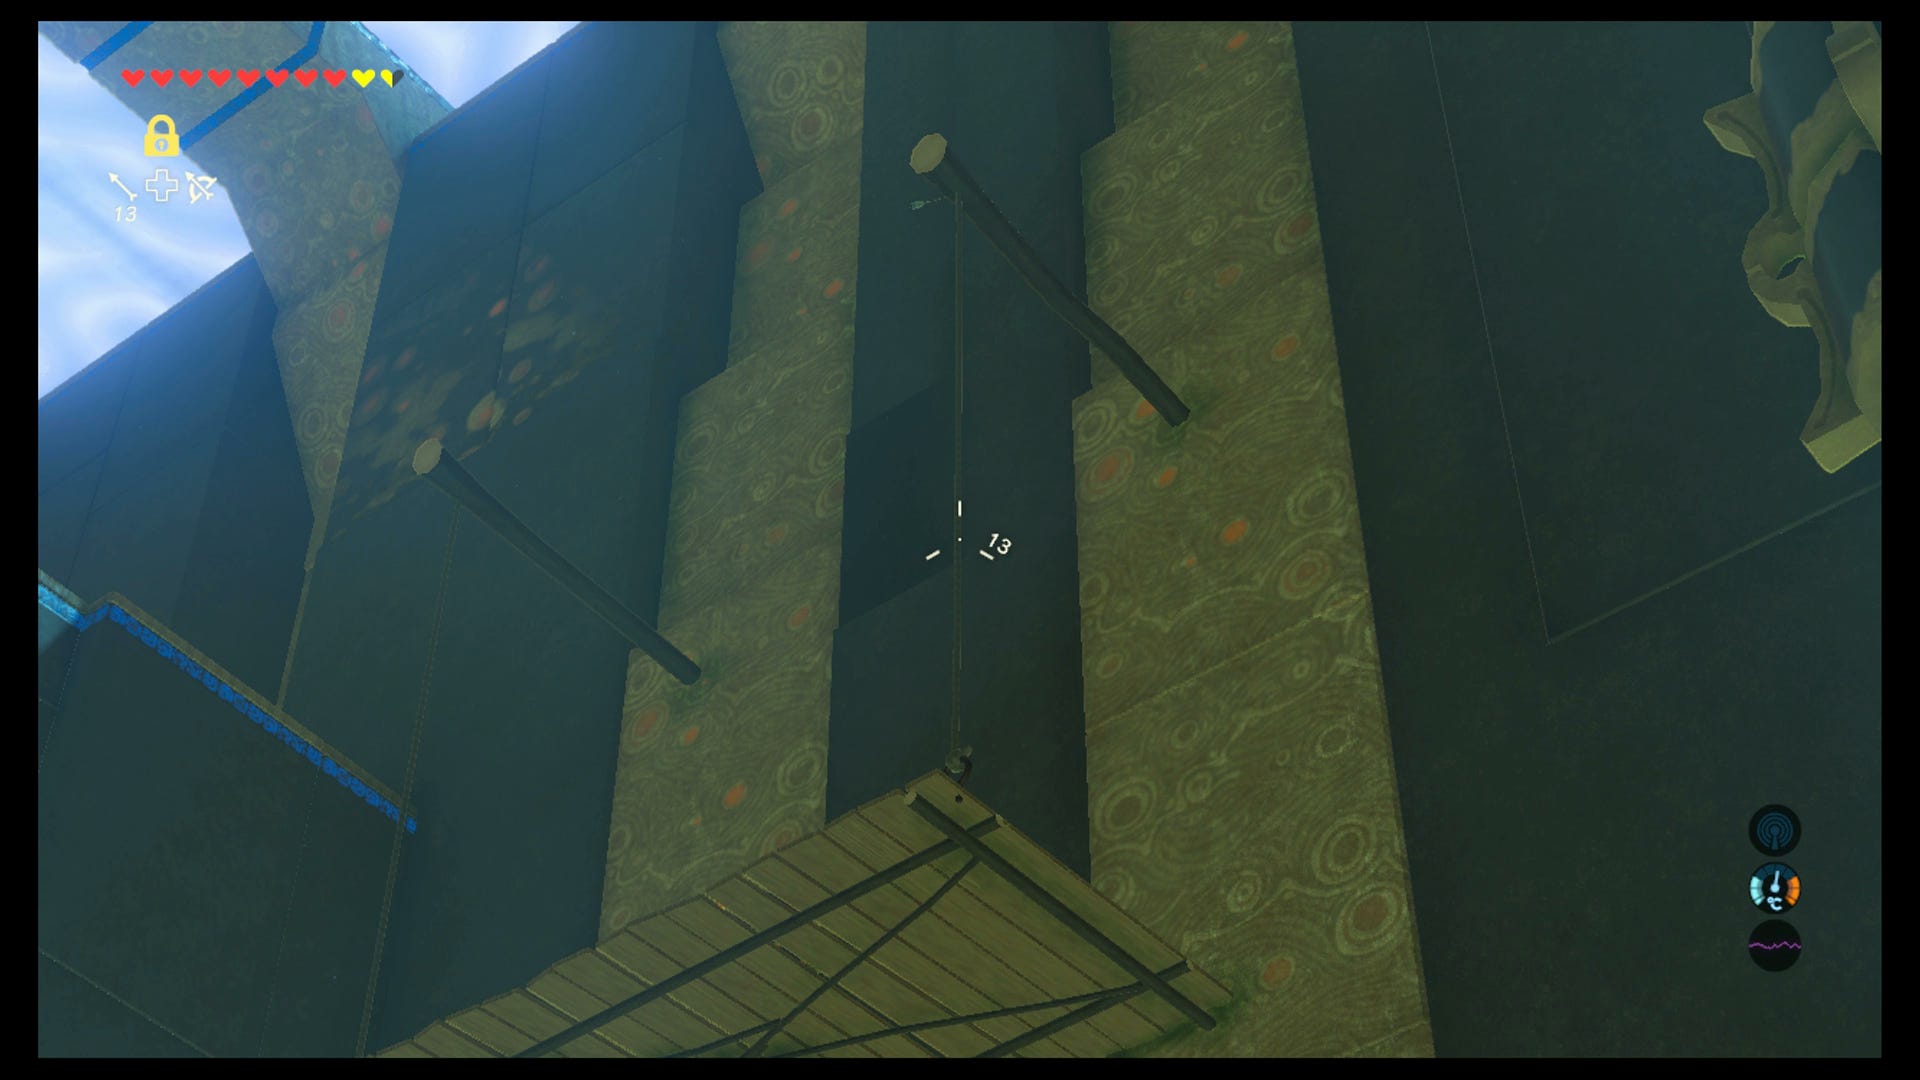
Then, look up to the right as you come in from the entrance and you'll see the wooden platform holding another chest. Shoot the two ropes with an arrow each to drop it - or you can shoot it with one fire arrow to burn it down - and claim a Falcon Bow.
Now, you need to go back to the newly-activated jump pad by the entrance and stand on it again. This time, turn to your left, the opposite wall to the wooden ledge, and you'll see an orange crystal set back into it.
You need to shoot that crystal with another arrow.
That will in turn raise the gate below, and allow you through to the exit.
While you're here, here are other Shrines within this region:
Ridgeland region (7 Shrines)
- Maag No'rah and how to find it in the Ridgeland region
- Mijah Rokee and Under a Red Moon quest solution
- Mogg Latan and the Synched Swing trial solution
- Shae Loya Shrine and Aim for the Moment trial solution
- Sheem Dagoze, the Two Rings quest and Moving in Parallel trial solution
- Toh Yahsa, Trial of Thunder and Buried Secrets solutions
- Zalta Wa and the Two Orbs to Guide You trial solution
If you're after other trials, then our Zelda: Breath of the Wild Shrine locations and maps hub page can help with other regions.