Zelda - Shora Hah and Blue Flame trial solution in Breath of the Wild
How to beat the Eldin region trial.

Shora Hah is one of the many located throughout Zelda: Breath of the Wild. The challenge inside, named the Blue Flame trial, is a long and involved one, having you light a series of torches through a series of puzzles. We recommend lots of arrows, as well as being prepared for a spot of combat.
If you need help finding and solving other Shrines, our Shrine location maps page can help, while our Zelda: Breath of the Wild walkthrough and guide covers other aspects of the game.
Where to find Shora Hah
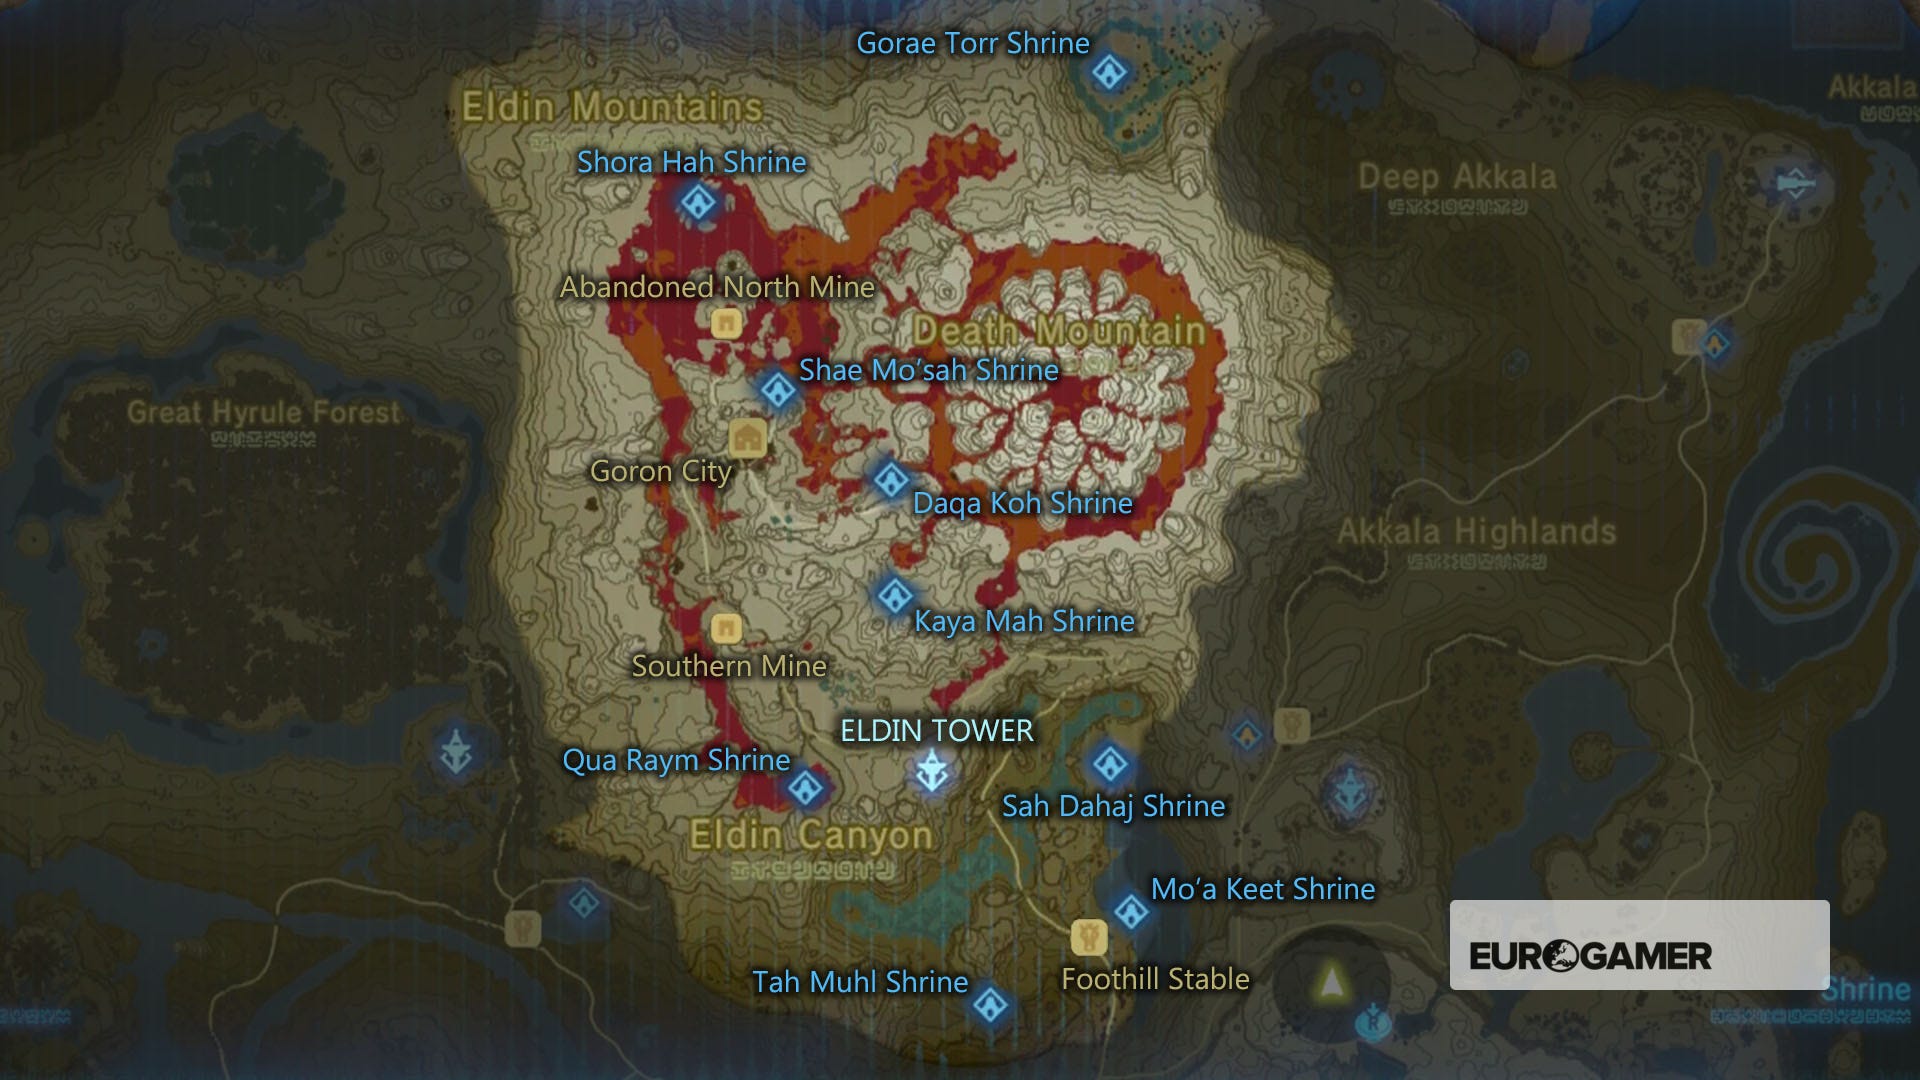
To access this shrine, the easiest way is to play the Vah Rudiania Divine Beast until you complete the Abandoned North Mine section. On the same island where you rescue Yubono, you can see the shrine in the distance:
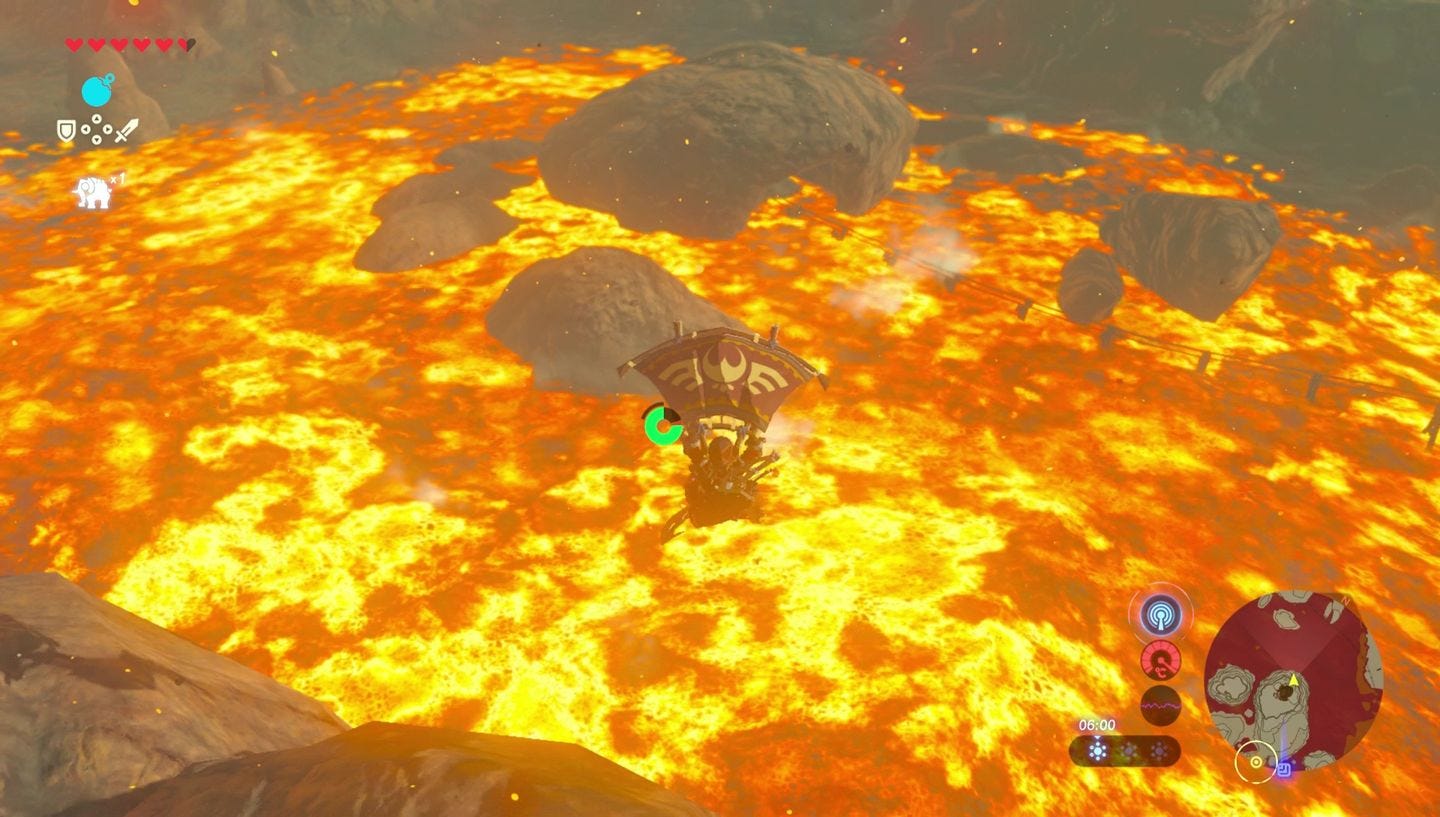
Simply leap off and glide over. You'll have enough room to float into the entrance and through, where the shrine is waiting for you.
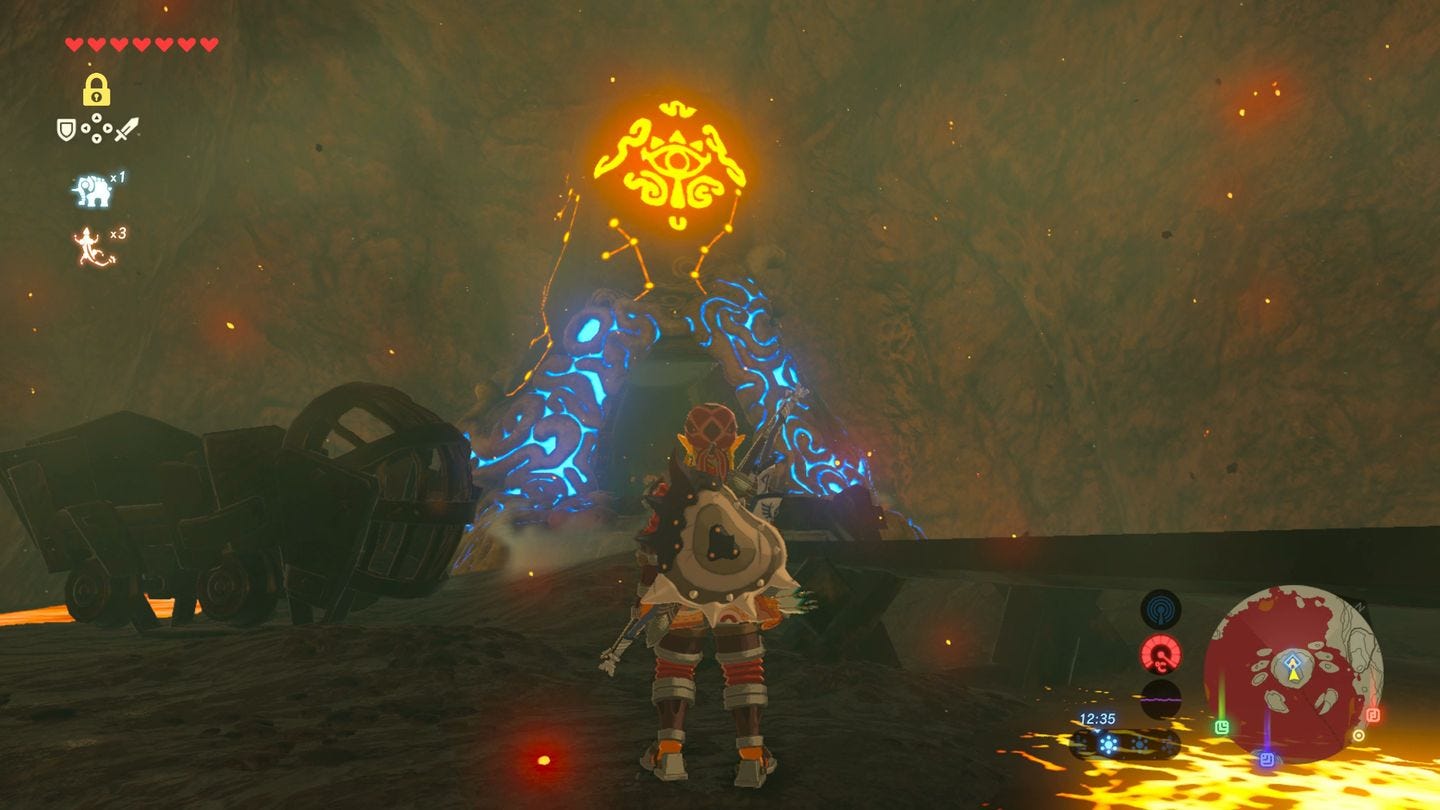
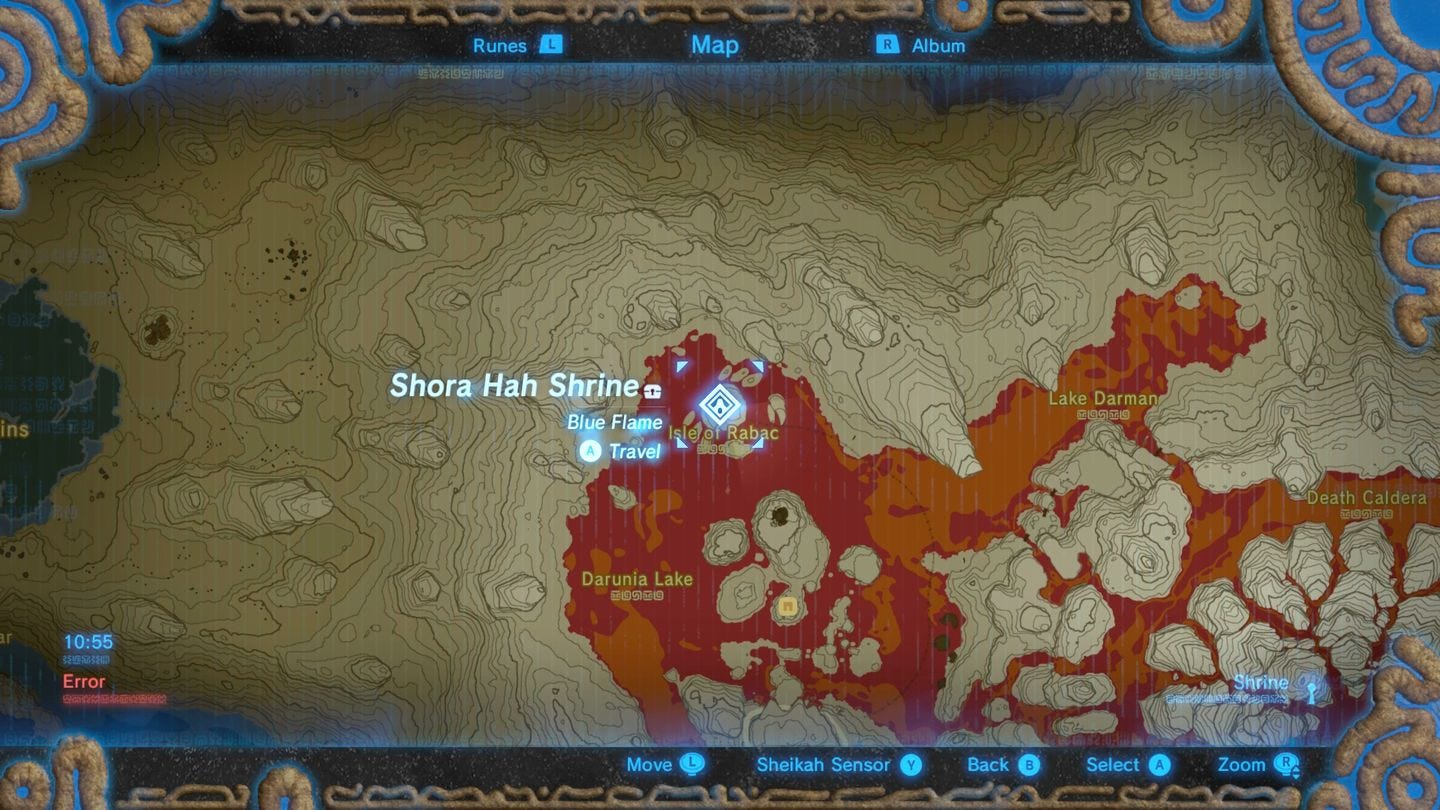
Shora Hah and Blue Flame trial location
Quick note - before you progress, you'll need a fair number of arrows with you to light several torches. As far as we could tell Goron City didn't stock them, so pay a visit to one of the game's other settlements then come back prepared.

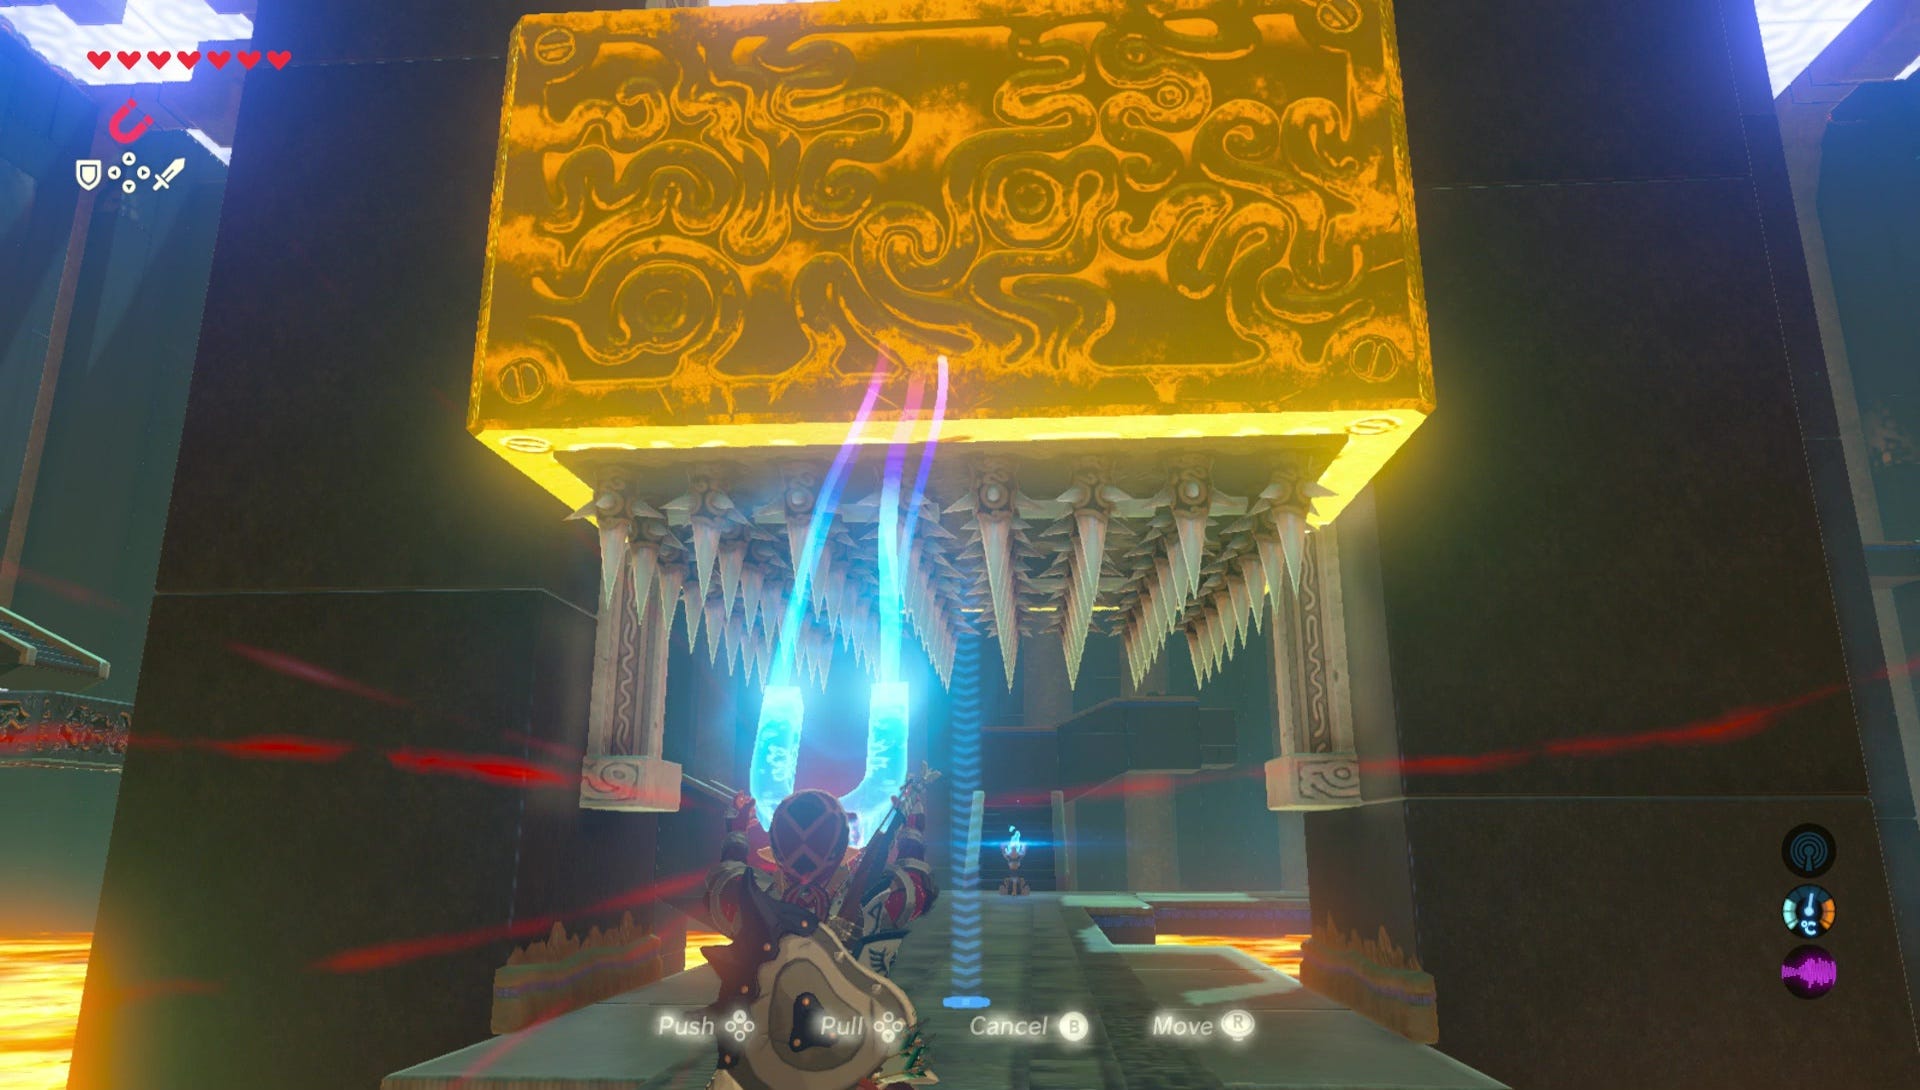
To start, you have a metal barrier with spikes on the bottom. Use Magnesis to raise it up in the air, then keeping it suspended, run underneath.
Next, turn left and go up the steps, where there are two metal plates on rails set apart. Move them with Magnesis to create a set of steps to the top lit blue lantern.
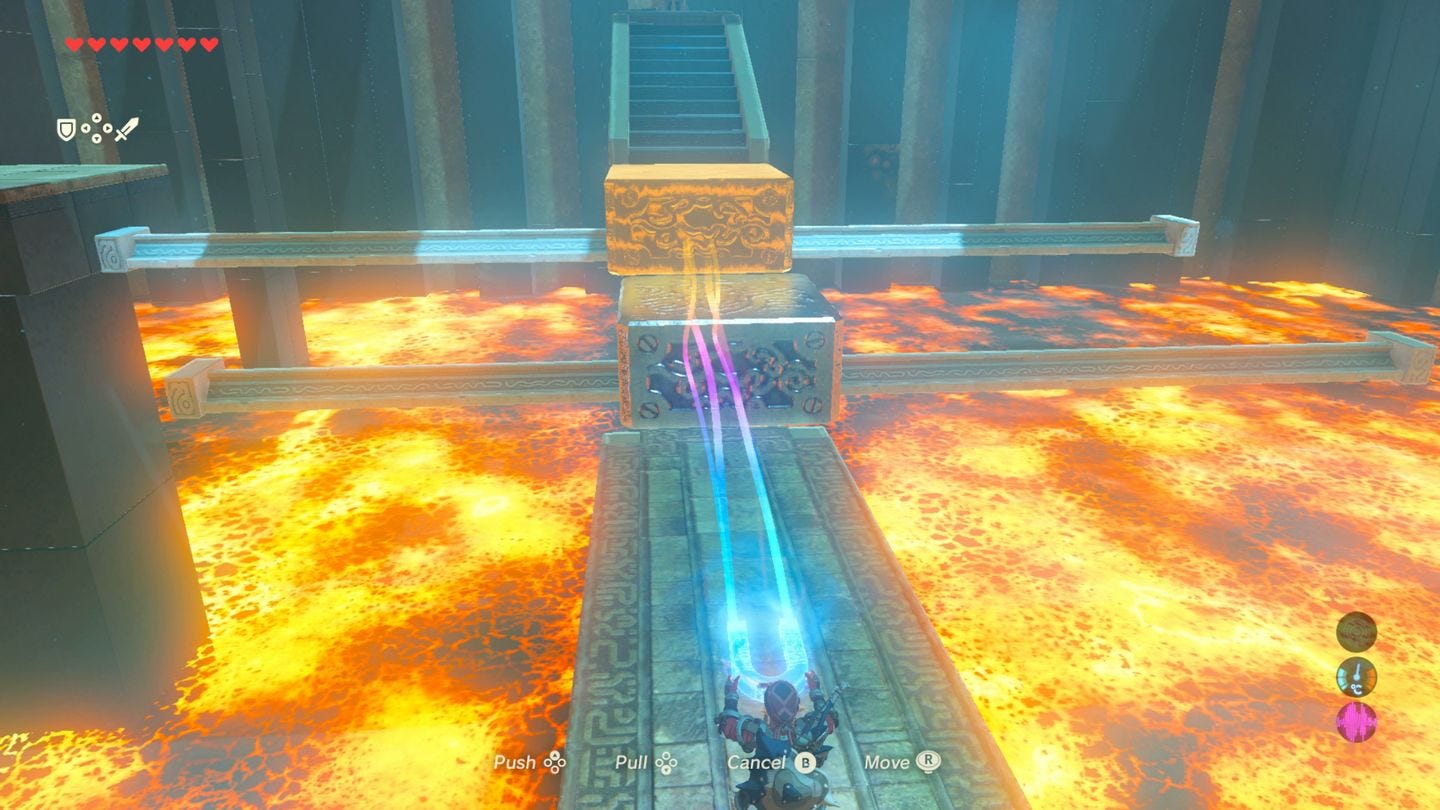
Before you do that, you might also want to stagger them going left - the upper one further along left, climb up onto that, then move the bottom one further along - until you create stepping stones to get the chest. The fuss is worth it, as you'll be rewarded with a 38 strength Royal Bow.

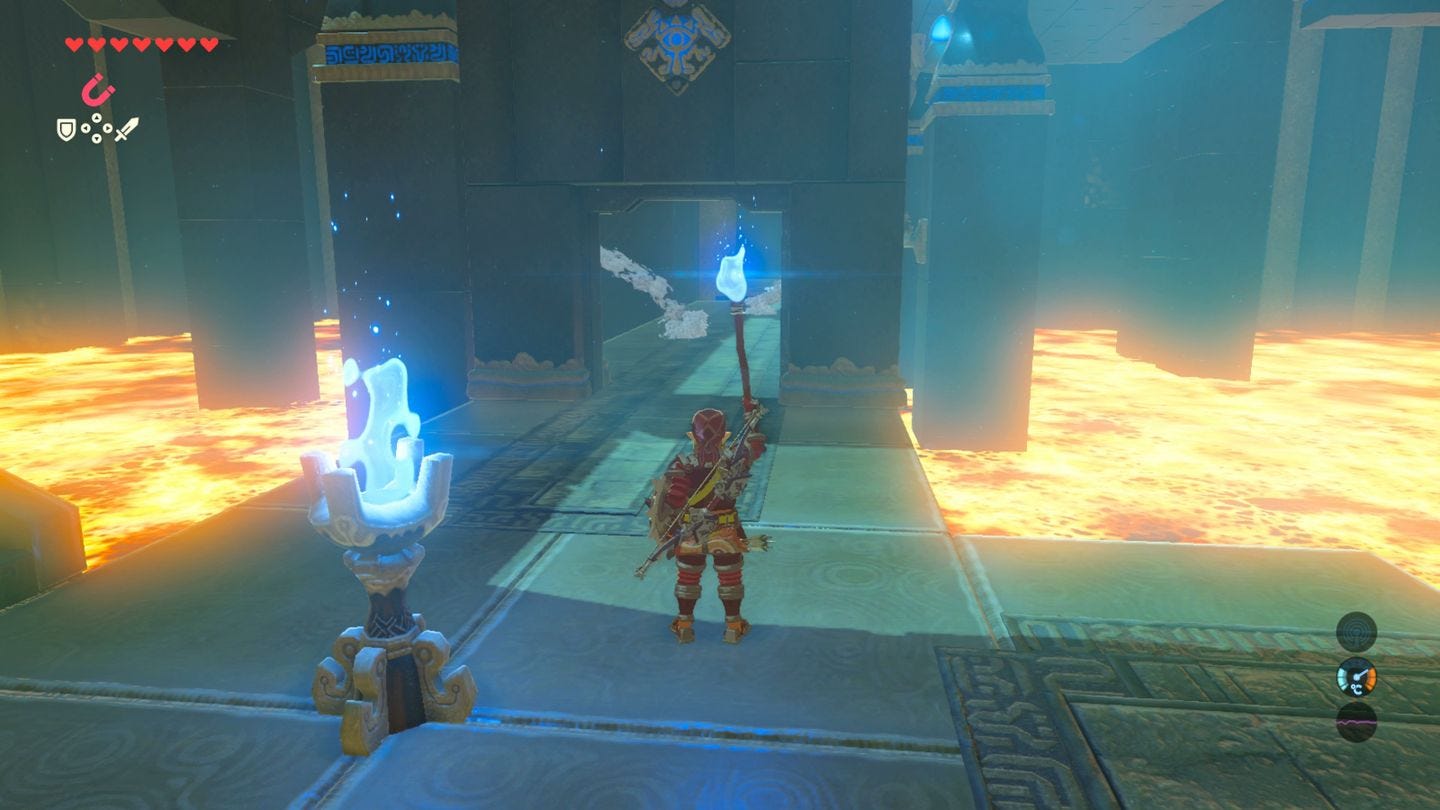
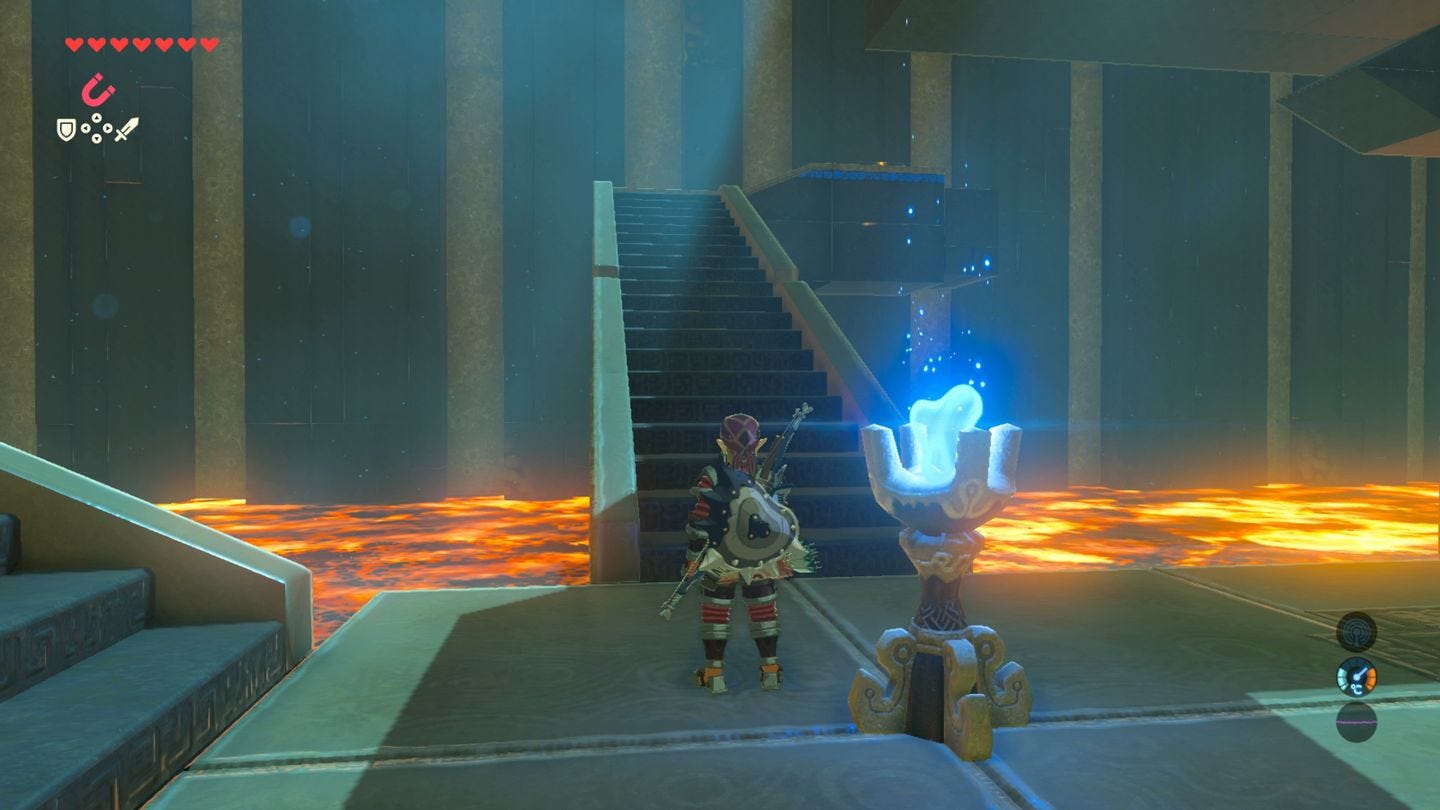
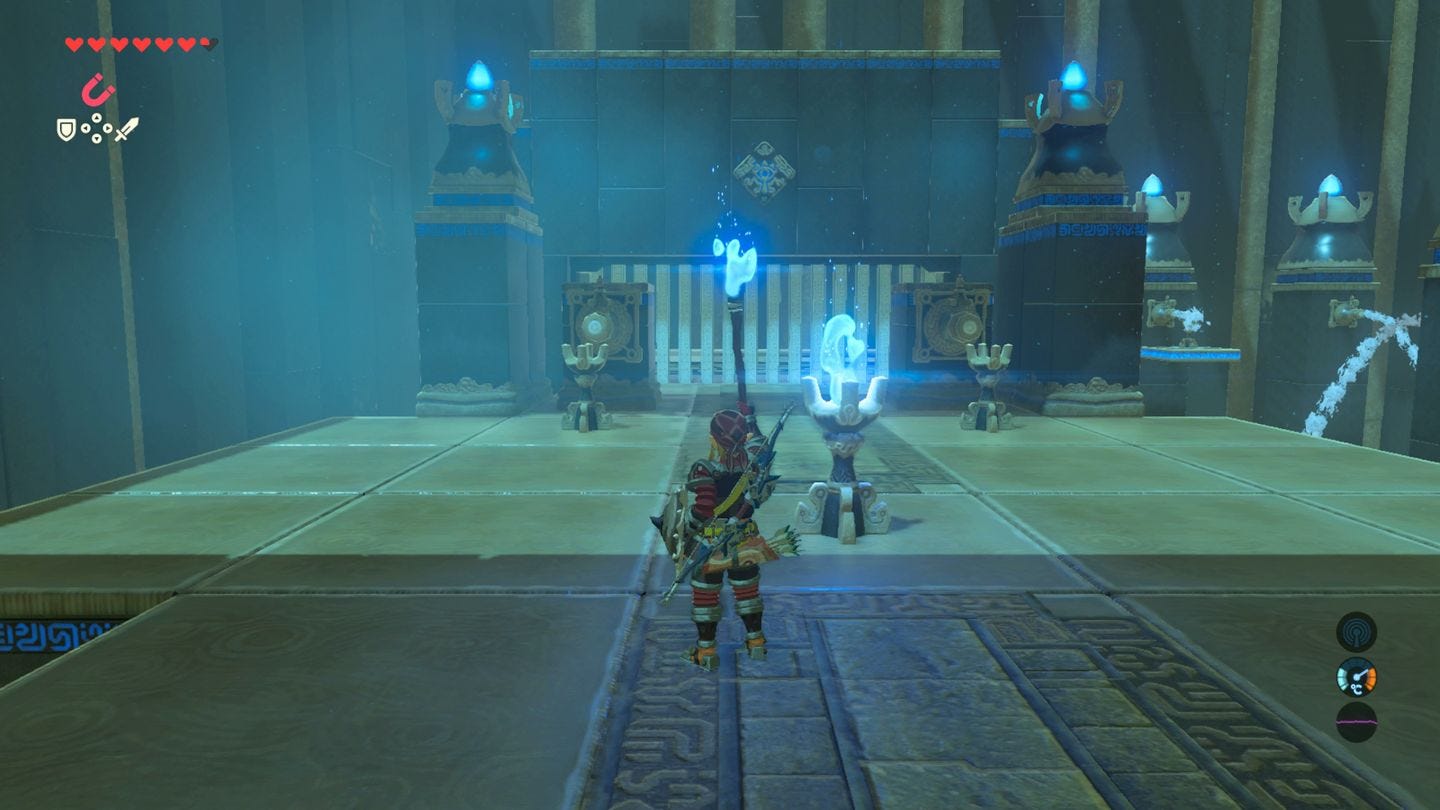
Head up the steps to the blue lantern, and grab the handheld torch and add it to your inventory. Light it with the blue flame, and use it to activate the lantern at the bottom of the steps, opening the gate ahead.
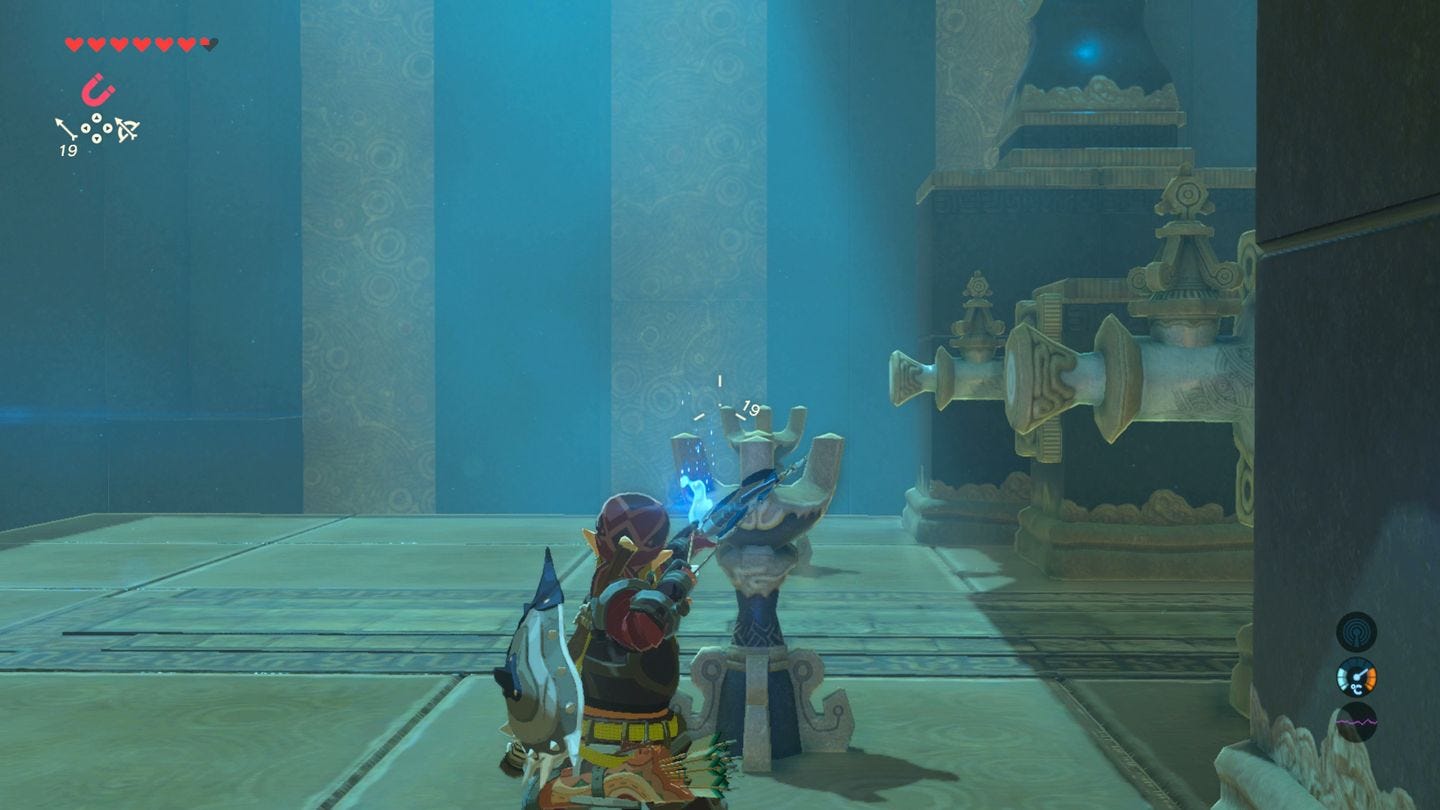
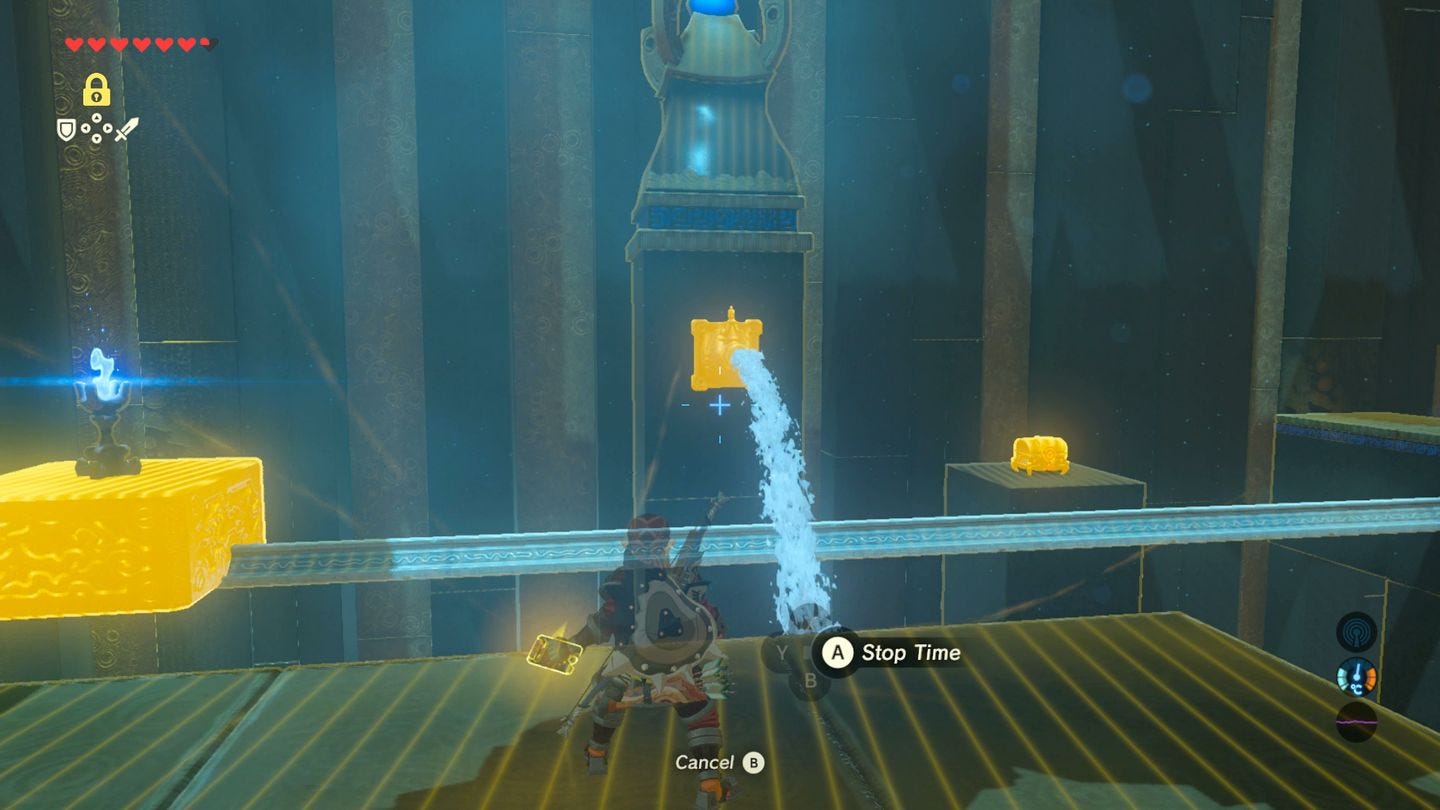
The area beyond has three water fountains, which block you from carry the torch to the far end where another lantern is. Ignore walking through this; instead, aim your bow by the lit torch to set fire to the arrow, and fire it over the water and to the distant lantern.
Run over, and do the same again - aim the bow into the torch to light the arrow - and fire it at the lantern on the moving platform to create a set of steps next to the first lantern you lit.
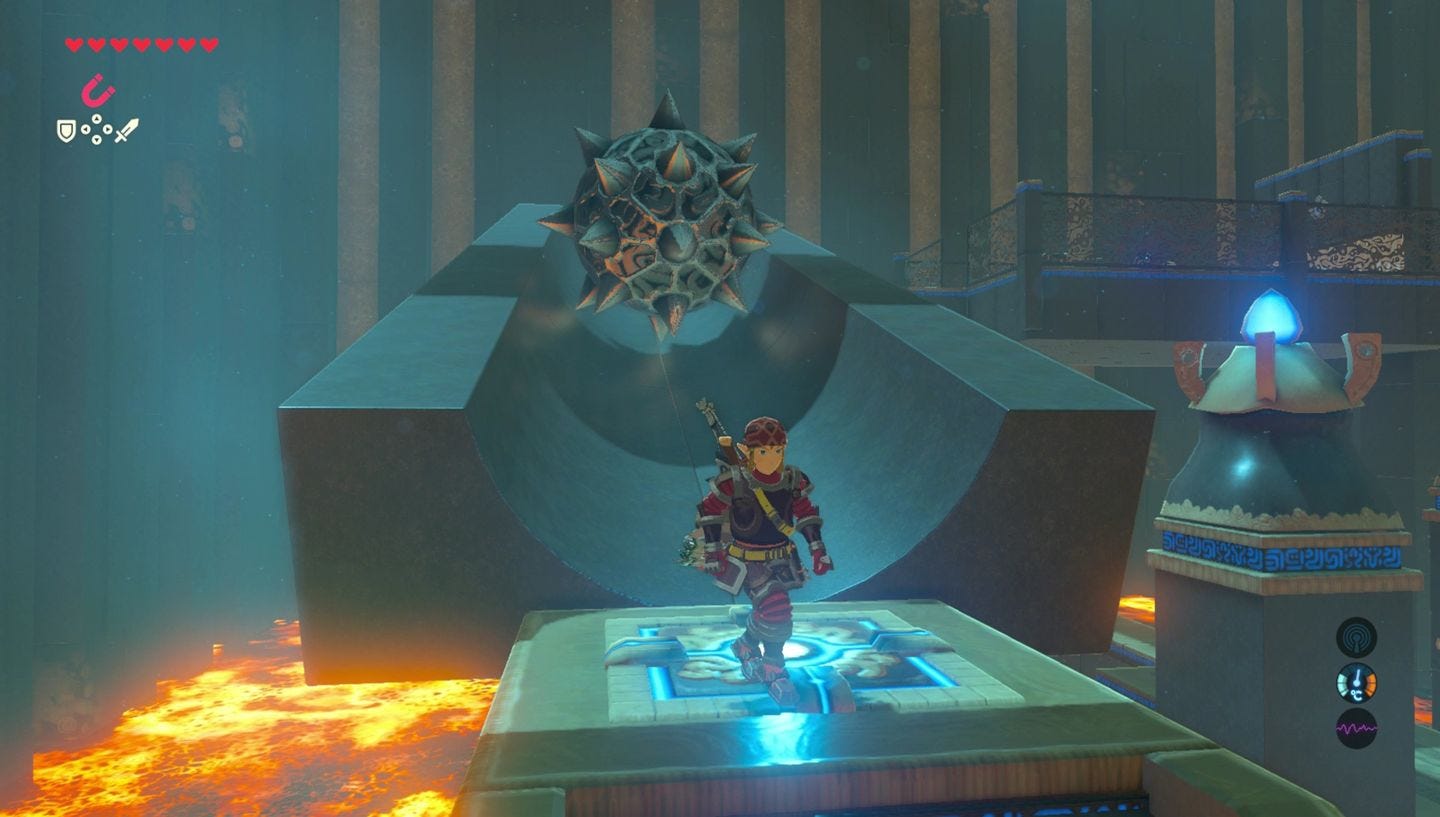
Head up the steps. Press the switch to lower the chute ahead, causing a giant metallic ball to roll at you. Quickly sprint back where you came to dodge it, then continue on.
Next is a combat section with four Guardian Scouts. You can parry the laser shots with a shield to kill them instantly, otherwise at this point in the game, you should have powerful enough weapons to rush and kill them. Afterwards, loot the chests for a Giant Ancient Core and a Great Flameblade (just don't ditch the torch yet if you run out of room).
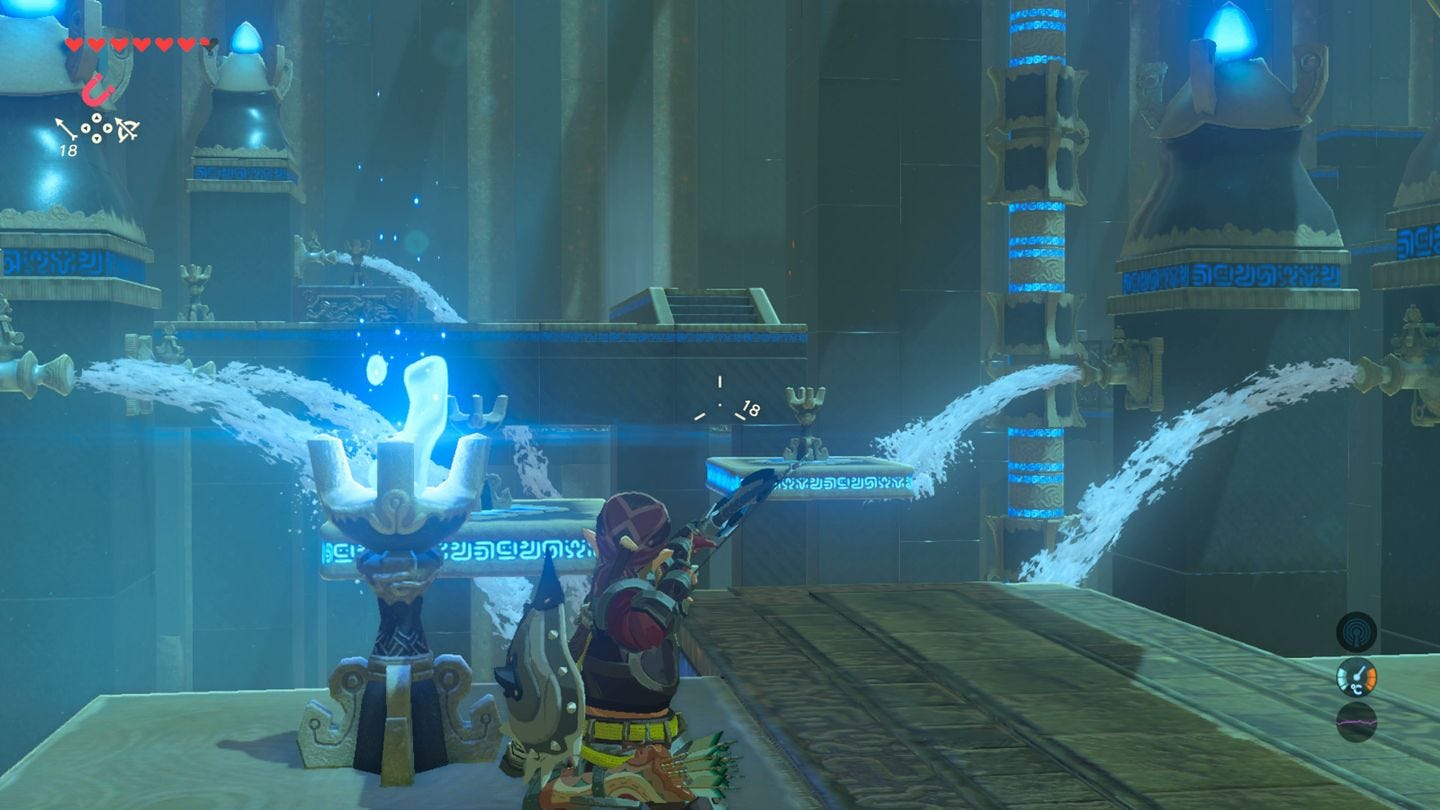
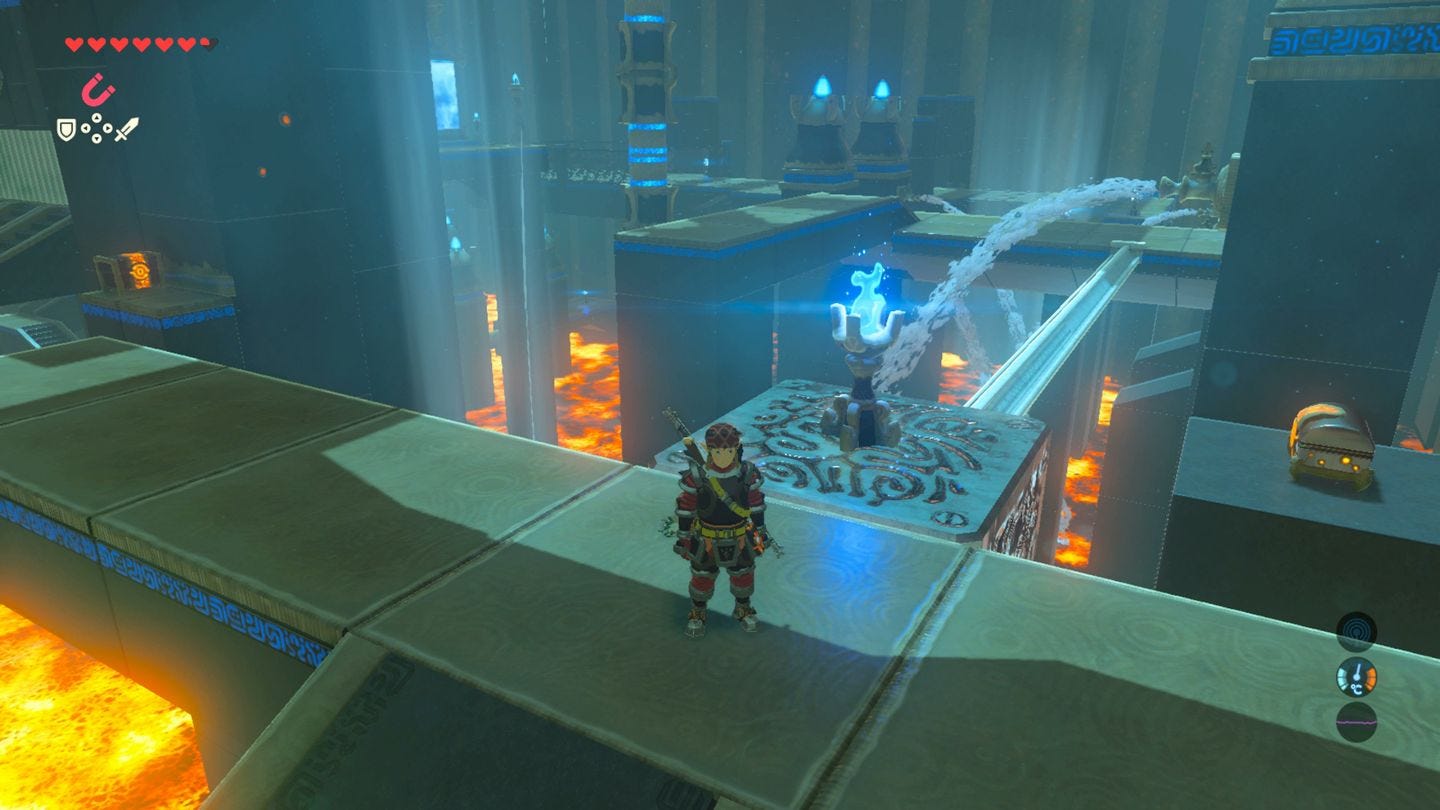
Retreat back, light the torch from one of the prior lanterns, and use it on the lantern by the gate to continue. Next are three lanterns, one in front and two in front of water fountains that activate as soon as they are lit.
Light the solo lantern, then to light the others at once, light an arrow with your bow and walk to the side of the pair, and fire it across both at once, opening the gate.
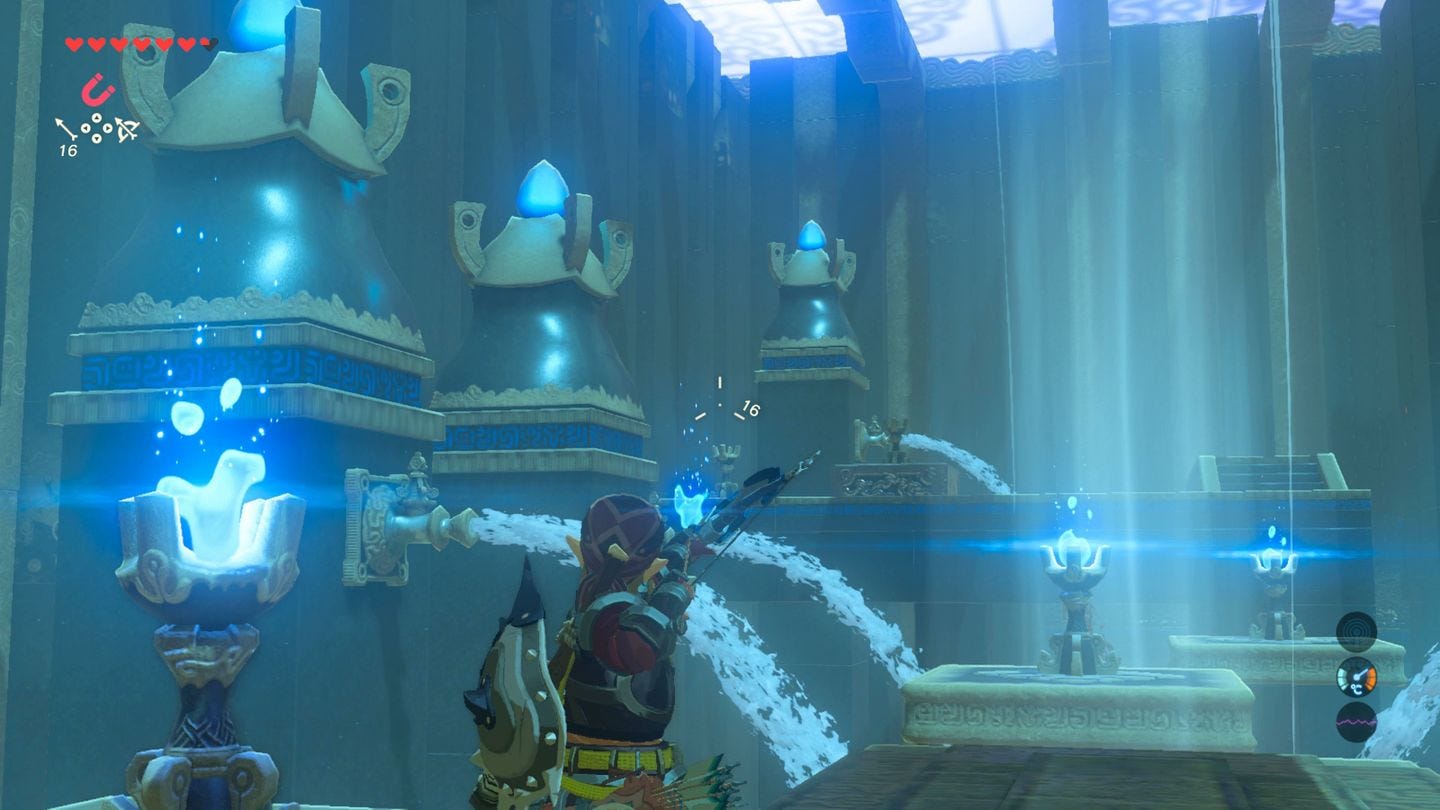
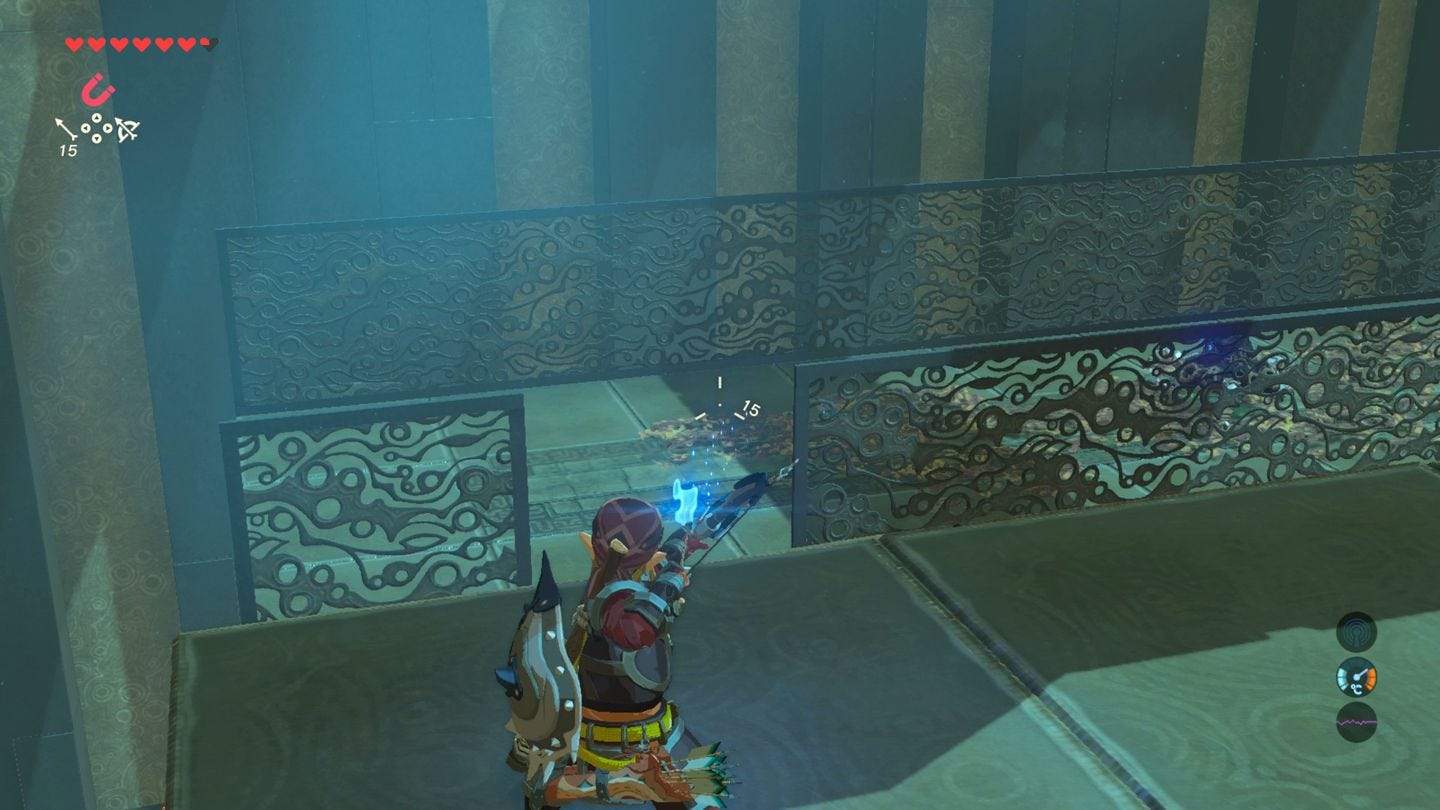
Next, light the lantern by the corner, and once again light an arrow and ping it to the two lanterns when they line up in-between the water flows. They don't cross direct in the centre, so stand to the left, close to the torch, and fire it across.
This creates an air flow so you can cross, but before you do, light another arrow and fire it to the far left torch ahead, which you'll need to solve the next puzzle.
Head over, light the lantern on the metal plate. There are two ways to solve this - you could light an arrow then side step past the water and fire it at the next lantern, or stand on the side, use Statis on the water flow, then quickly move the lit lantern on the metal plate across past it.
On the other side are two chests. Use the air flow below to glide up in the air, then drift down to each one, which contain 100 Rupees and a Forest Dweller's Sword. To get back from these platforms again, glide back to the air flow, up in the air, and back on the path.
Thanks to a new update, it's now possible to play Zelda Breath of the Wild in VR. Want help with the main game? Our Zelda: Breath of the Wild walkthrough can help complete Divine Beasts Vah Ruta, Vah Rudiana, Vah Medoh and Vah Naboris and more. There's also how to get the Master Sword, Hylian Shield and all Zelda Captured Memories and Great Fairy Fountain locations, while our Shrines locations and Shrine maps hub explains where to find and solve every puzzle room, including dragon locations and Labyrinth solutions. We also have a DLC 1 guide and DLC 2 guide, including all Tingle, Majora's Mask, Phantom, Midna outfit locations.

With the lit lantern, light an arrow and fire at the following leaf-lined path with Guardians resting on it, causing the fire to spread and killing them without any combat necessary.
Open the chest at the end of 10 Ice Arrows, and carry a blue torch from the previous lit torch to the one in front of the group of lanterns surrounded by water spouts.
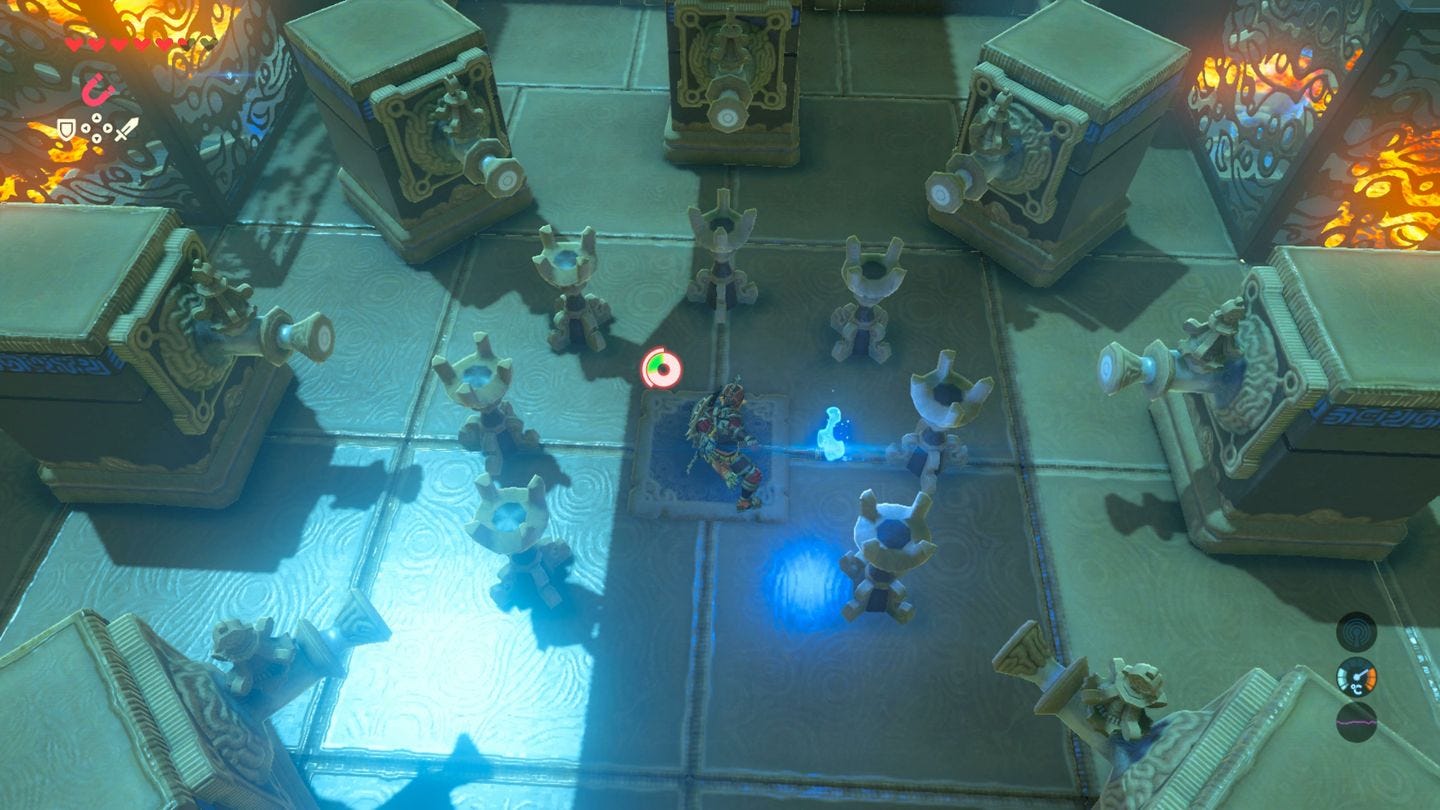
You need to light them all at once. To do so, equip a torch and light it, then stand in the middle, and do a spin attack by holding onto attack and releasing. This will open the end gate, allowing you to reach the altar. Phew!
While you're here, here are other Shrines within this region:
Eldin and Death Mountain region (9 Shrines)
- Daqa Koh Shrine and Stalled Flight trial
- Gorae Torr and The Gut Check Challenge
- Kayra Mah, A Brother's Roast quest and Greedy Hill
- Mo'a Keet Shrine, Metal Makes a Path trial near Foothill Stable
- Qua Raym Shrine, A Balanced Approach trial solution
- Shae Mo'sah Shrine and Swinging Flames solution
- Sah Dahaj and Power of Fire
- Shora Hah Shrine location and Blue Flame trial solution
- Tah Muhl, A Landscape of a Stable quest, Passing the Flame
If you're after other trials, then our Zelda: Breath of the Wild Shrine locations and maps hub page can help with other regions.