Zelda - Ketoh Wawai and Thyphlo Ruins solution in Breath of the Wild
How to find and beat Ketoh Wawai and Thyphlo Ruins.

Ketoh Wawai is one of the many shrines located throughout Zelda: Breath of the Wild. Found in the Woodland region, you'll need to tackle the Thyphlo Ruins challenge to complete it.
If you need help finding and solving other Shrines, our Shrine location maps page can help, while our Zelda: Breath of the Wild walkthrough and guide covers other aspects of the game.
How to find Thyphlo Ruins
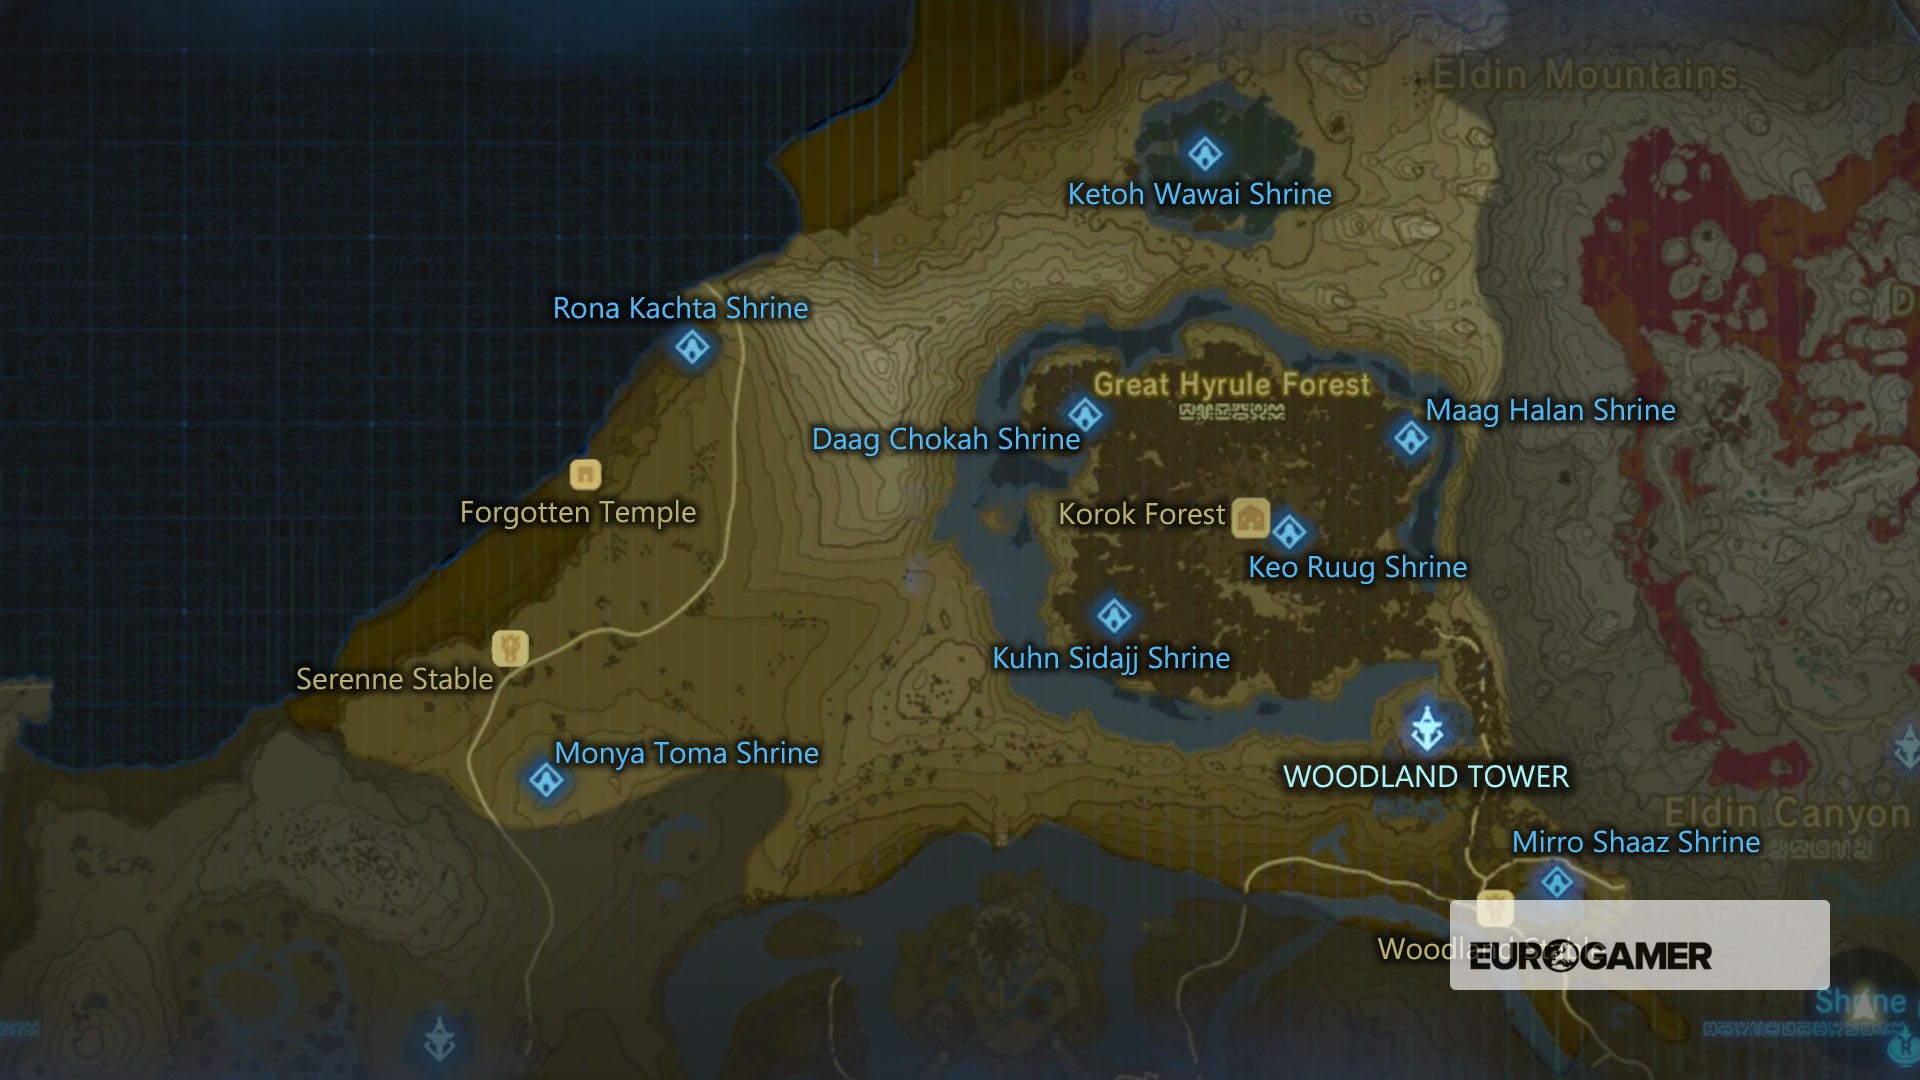
Ketoh Wawai is located in the Thyphlo Ruins, situated north of the Korok Woods in the central, north-most point of the map.

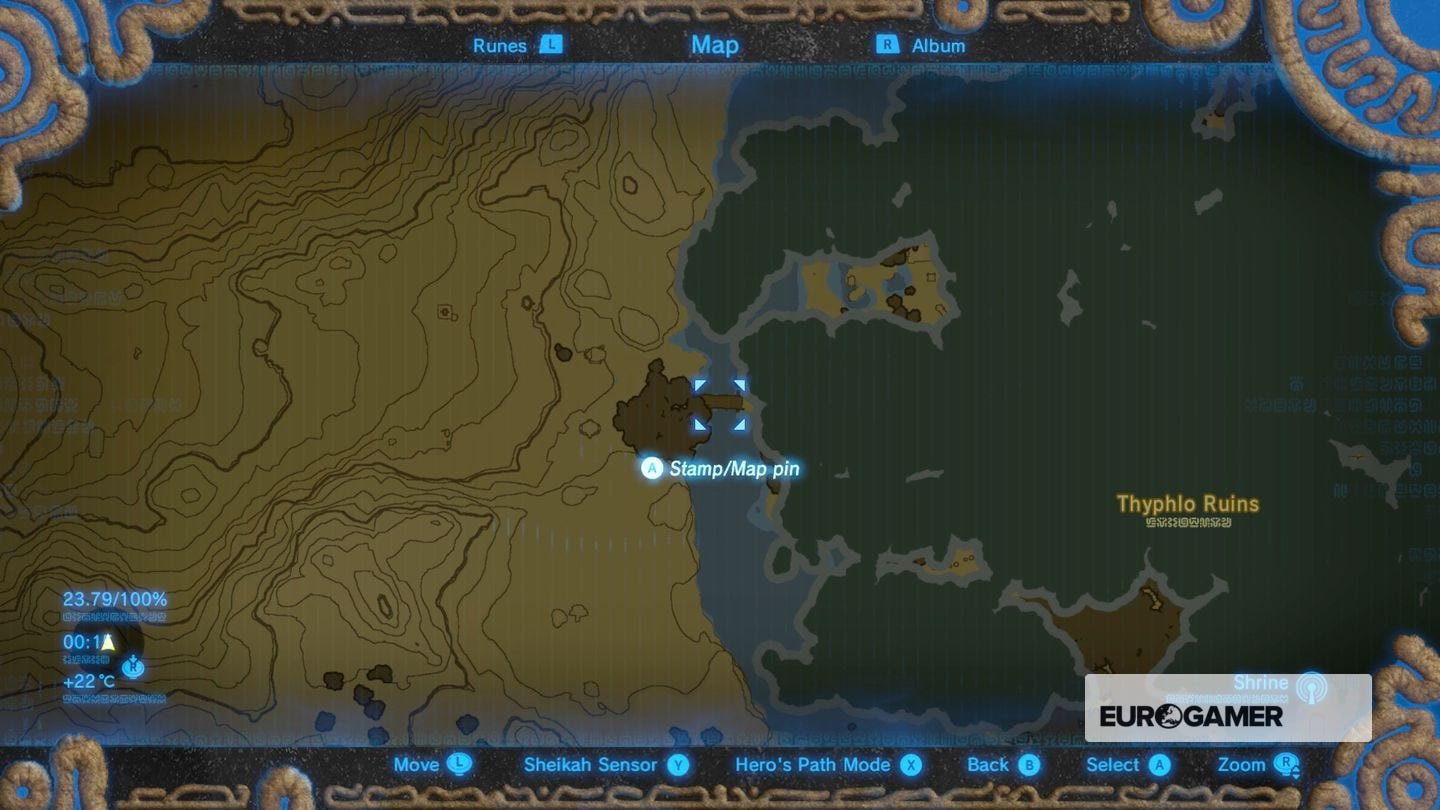
To get there, you need to approach from the west, We recommend going north west from the Forgotten Temple between Mount Drena and through Grenan Highlands - but be wary of a Lynel on the way on the cliff.
When you get there, you'll come to bridge, and a message will appear telling you of the trial.

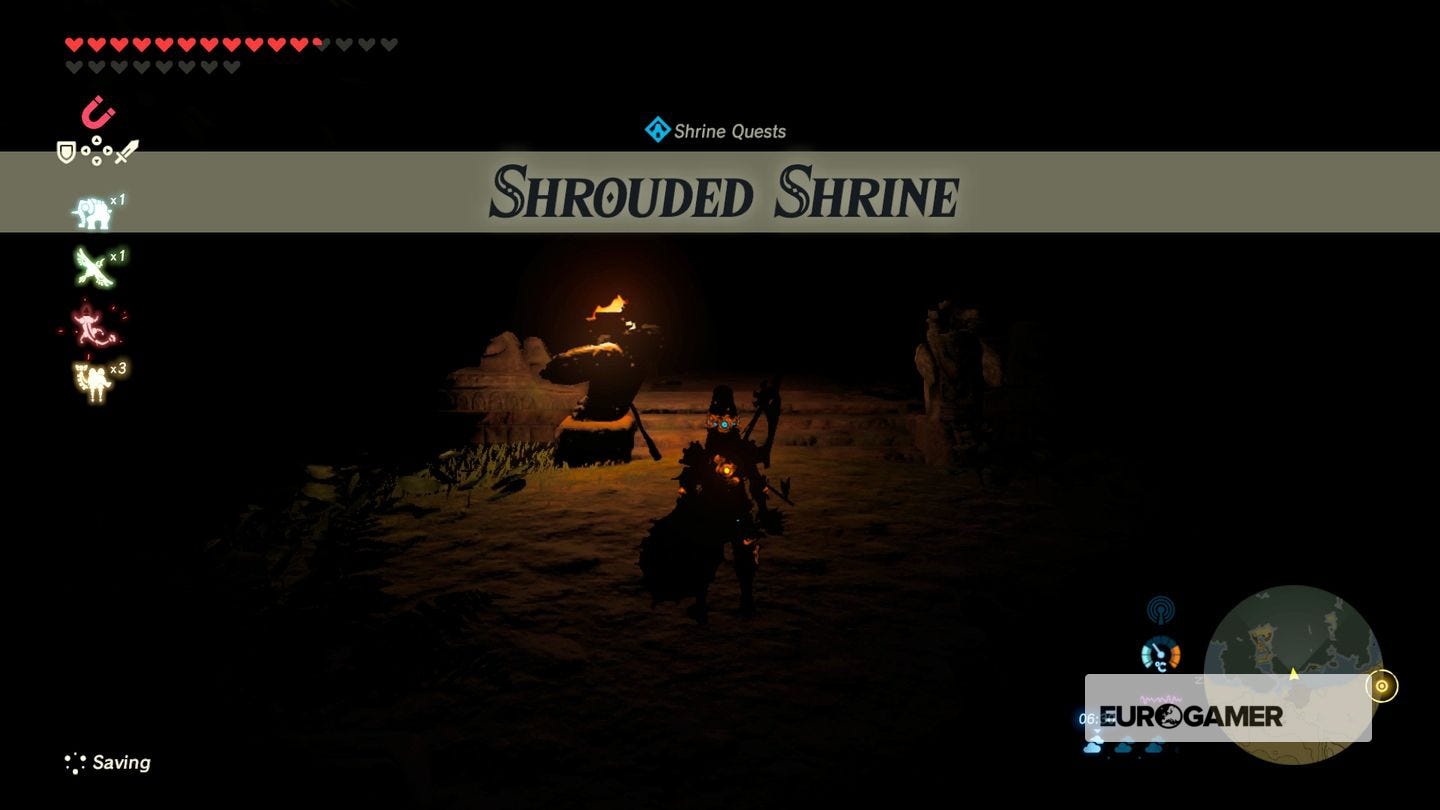
How to complete Thyphlo Ruins and find Ketoh Wawai
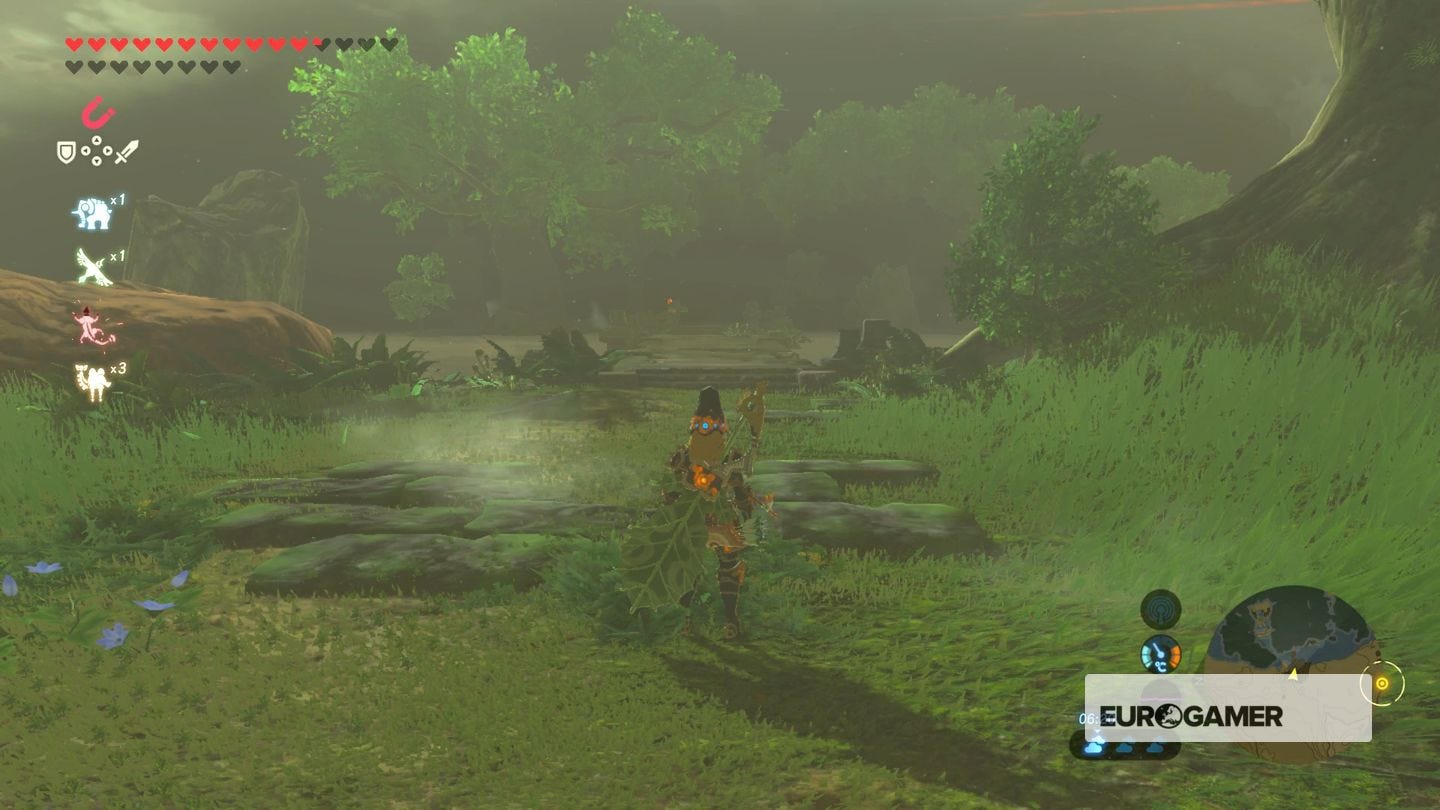
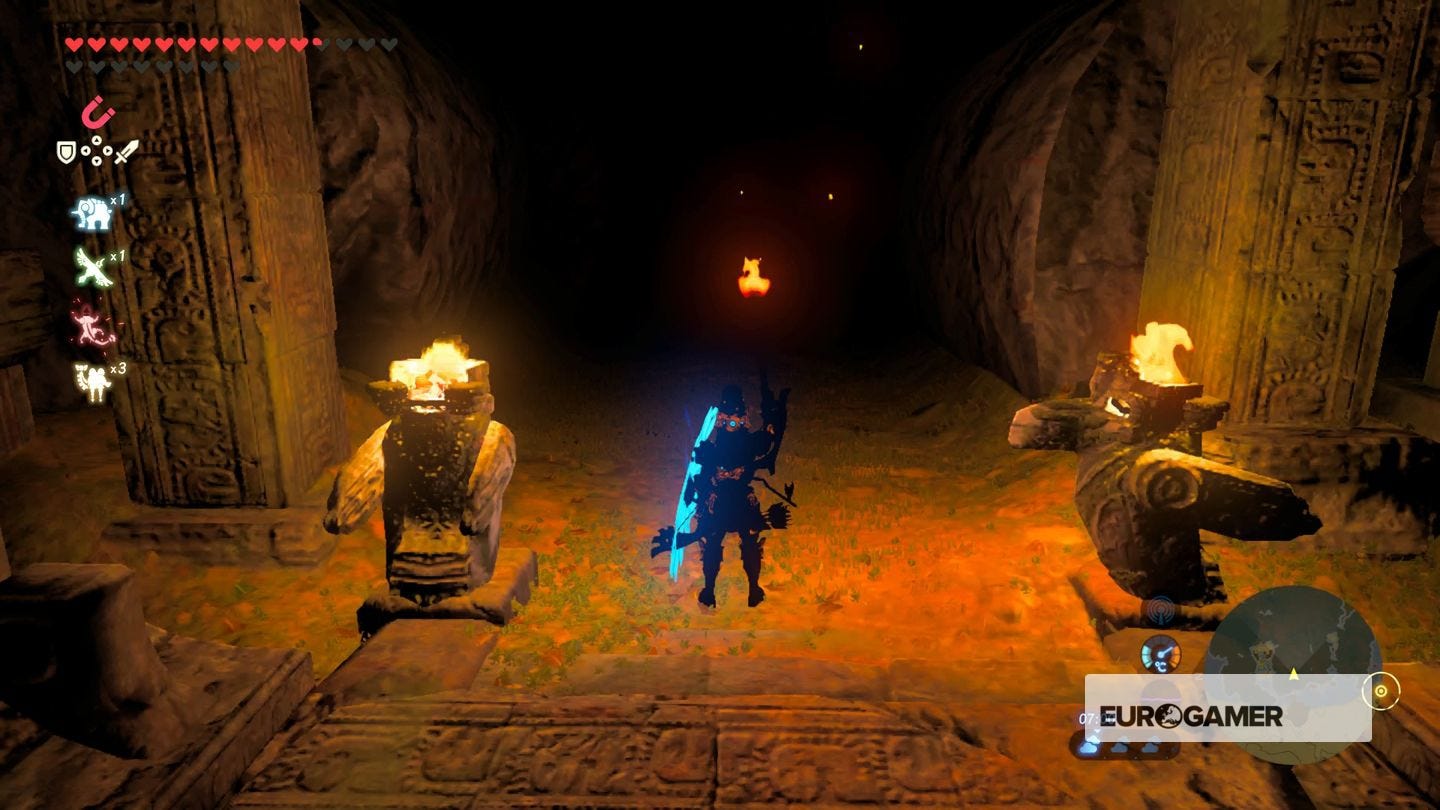
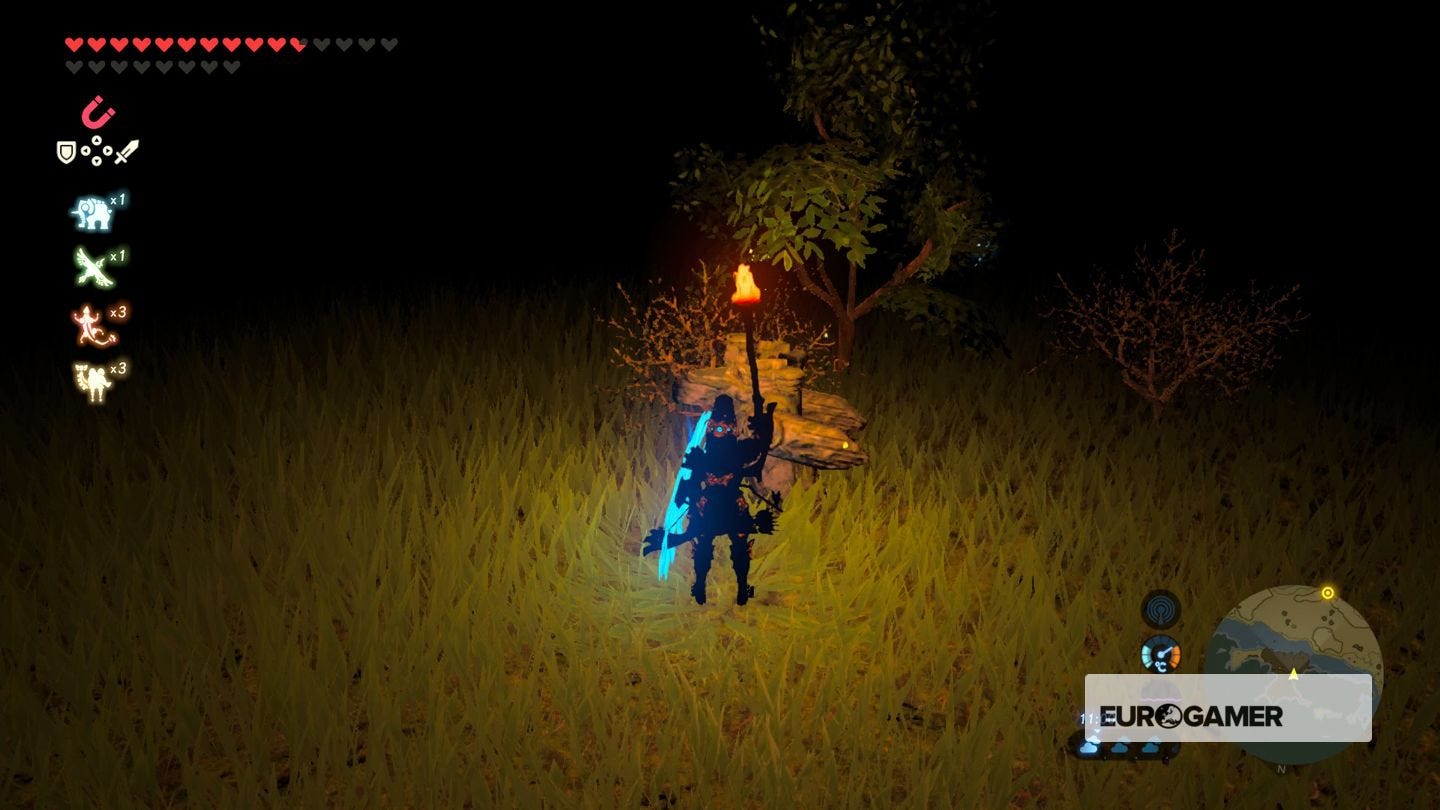
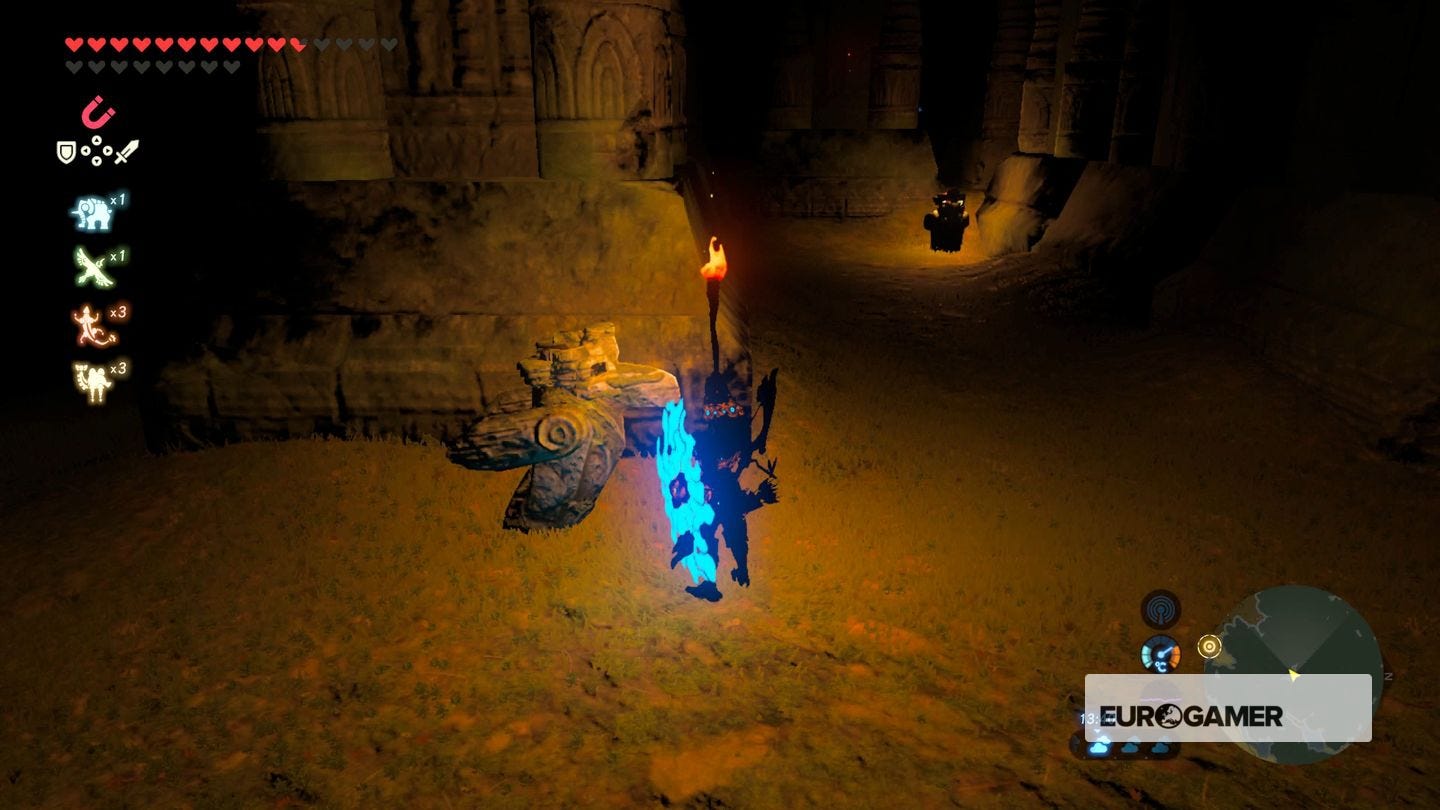
The ruins are pitch black, and you must navigate them safely to reach the shrine.
The objective is to light statues, with each one pointing to the next. As long as you follow each direction, you'll get to the end fine. Below is a step-by-step walkthrough you need to take.
At the start, light the right statue, pointing directly ahead. This tells you to go over the bridge - simple enough.
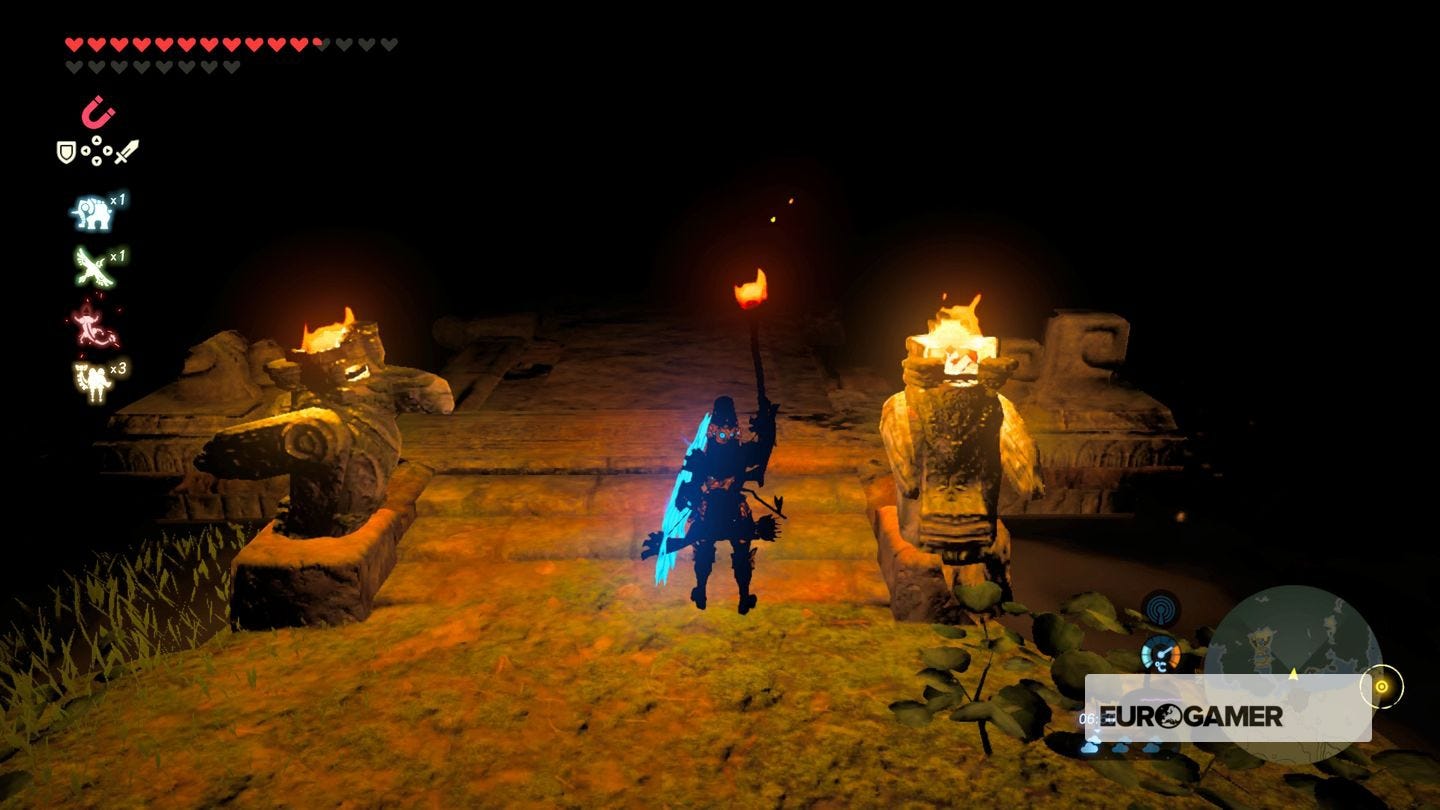
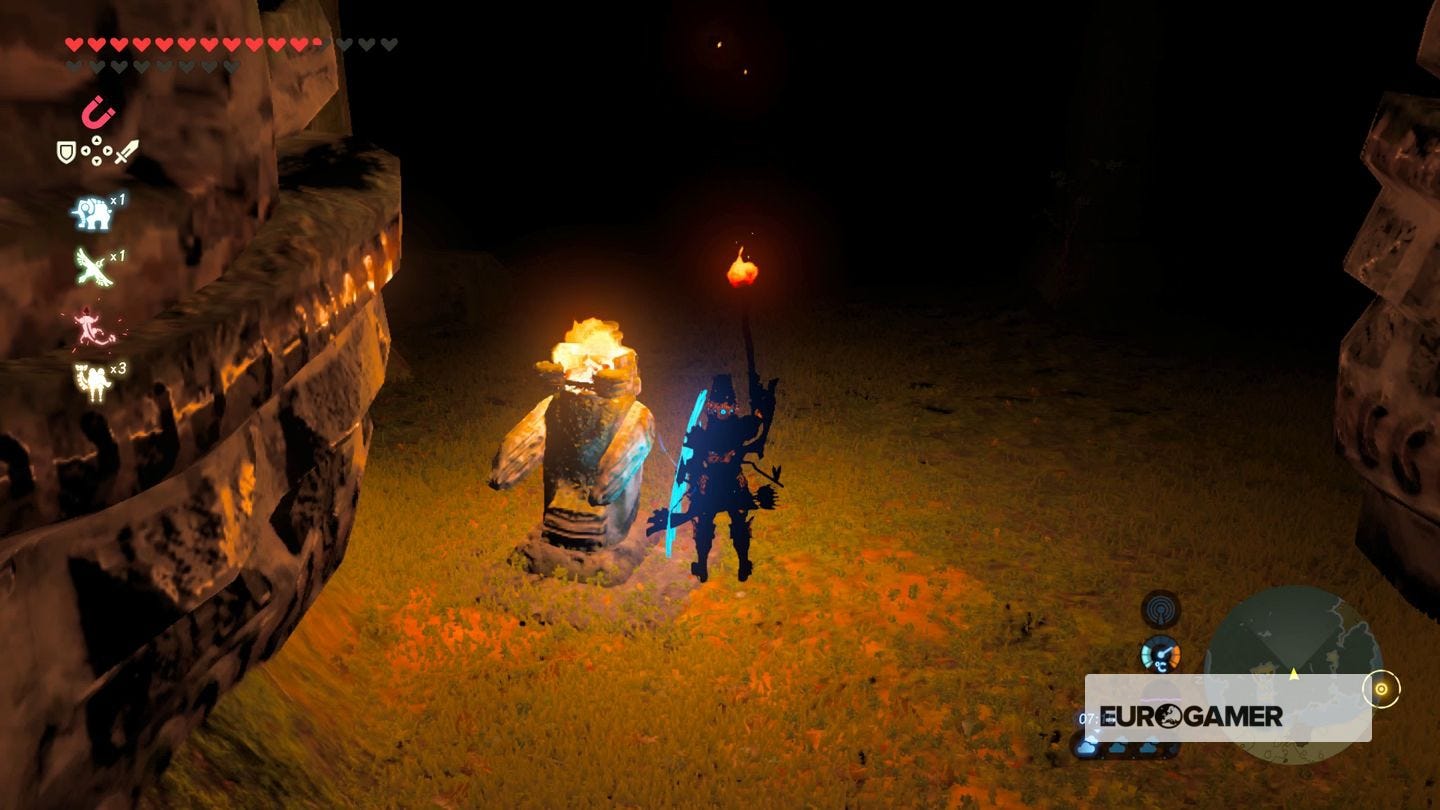
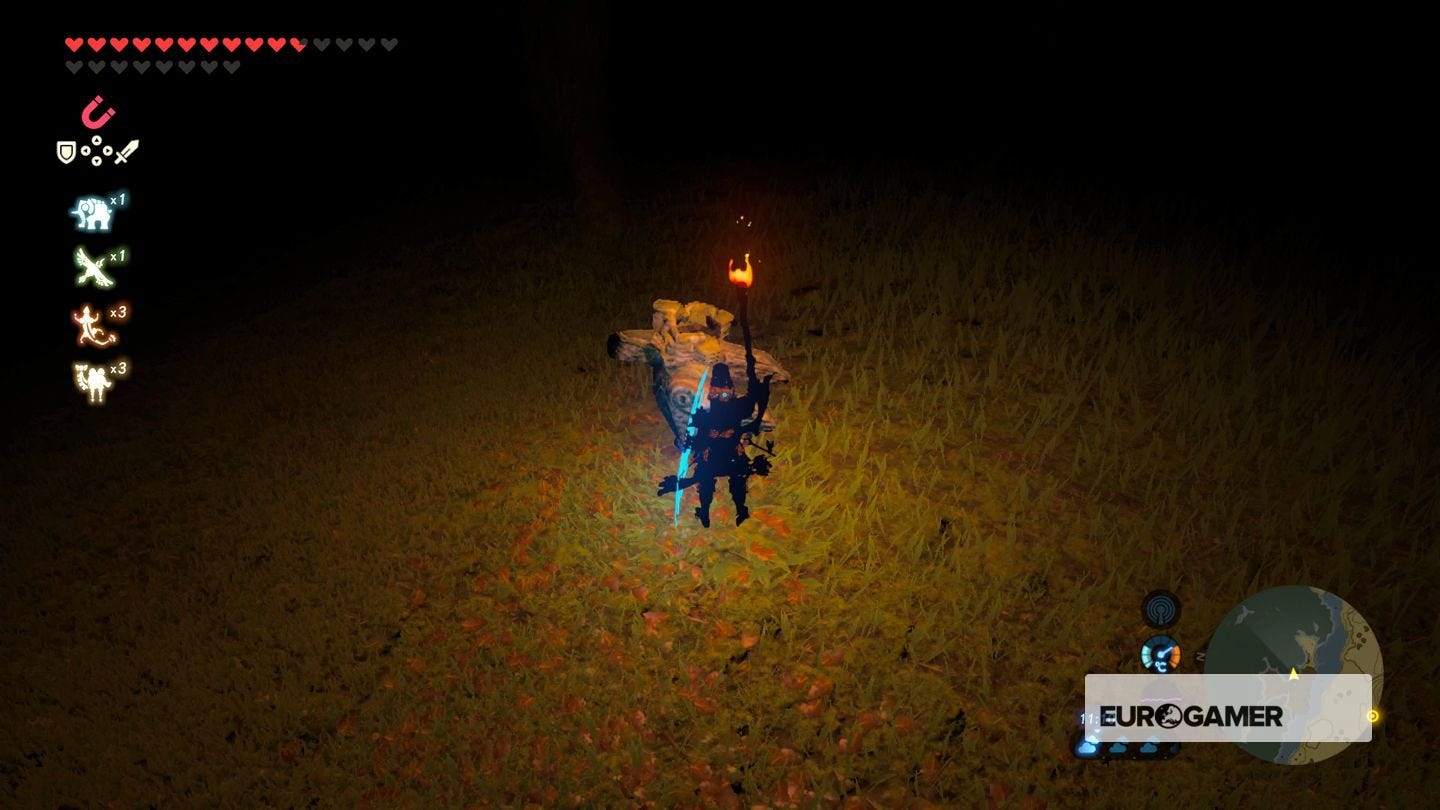
Once over the bridge, there are two more, one pointing to the other, then straight ahead, so go straight on.
Next is straight ahead and ever so slightly right.
This takes you 'across' the path to the right side, doing the same again to the left.
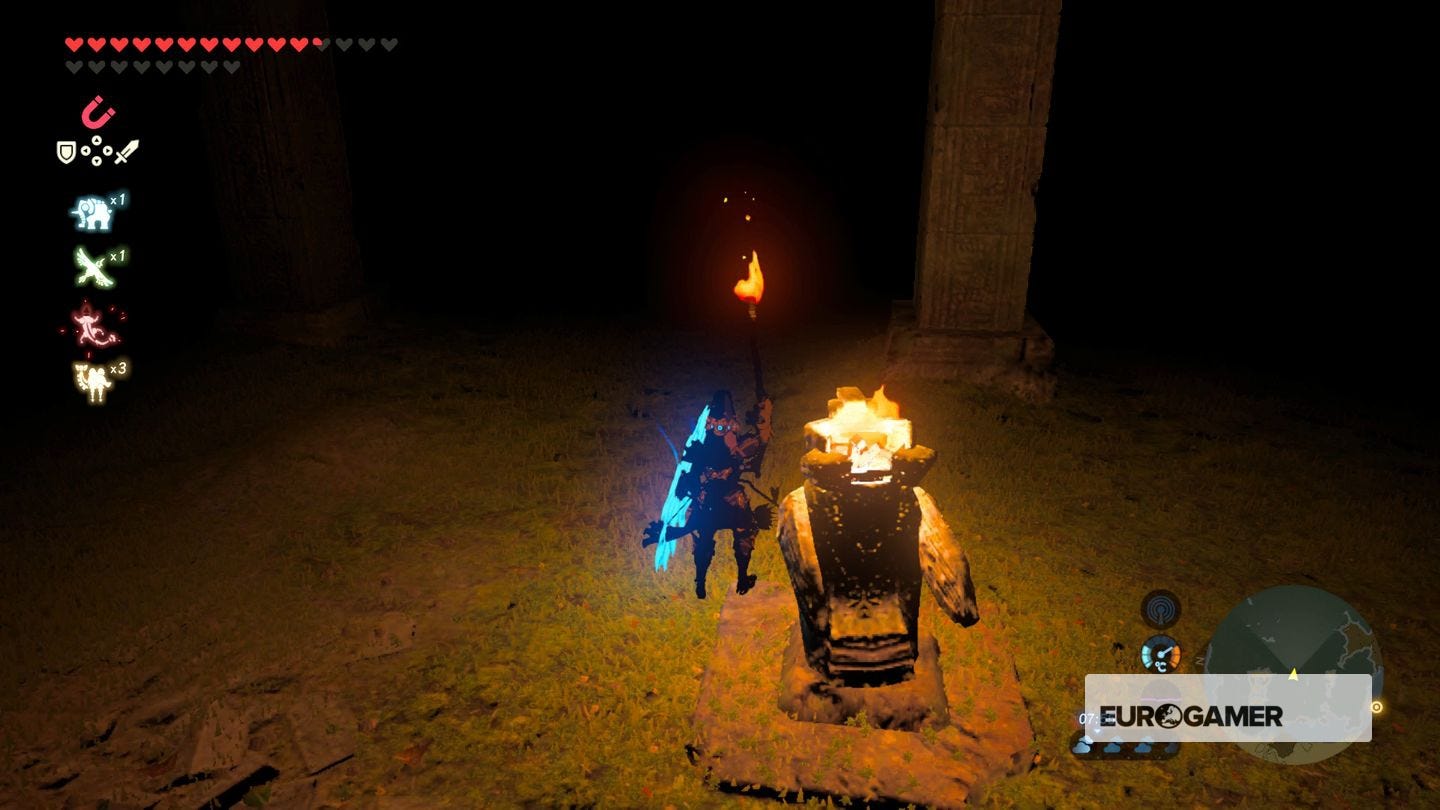
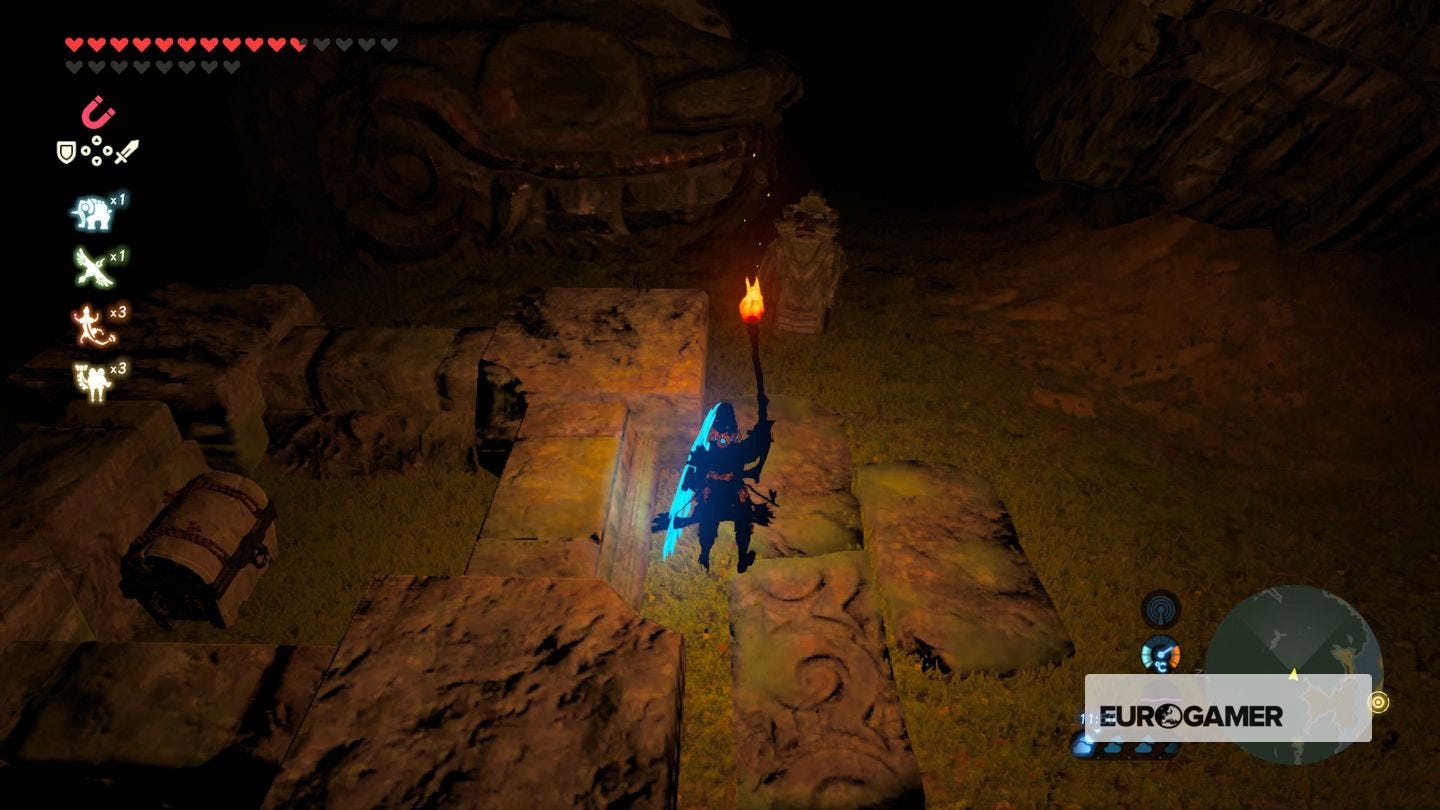
What follows is one pointing right, and a chest behind it. It contains an Opal. Light the torch again and go right as suggested.
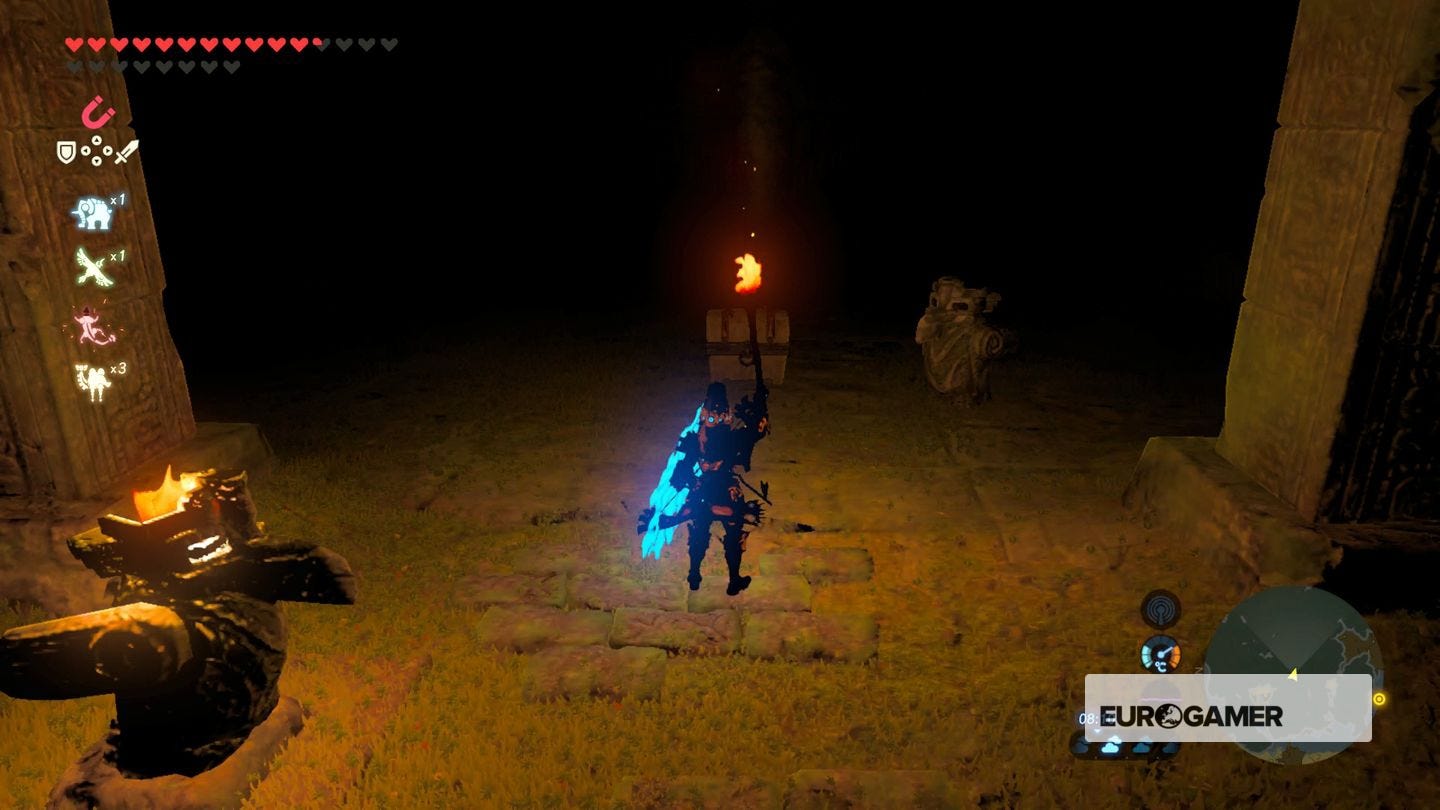
You'll pass some rubble and some Keese, to another statue pointing ahead. Keep going.
The next one points left...

...then straight ahead. A wolf will appear at this point - up to you if you want to take it down or keep going. Straight after is a ramp to a chest containing Amber, and two more statues, pointing right. Looking out is a chest and some glowing mushrooms.
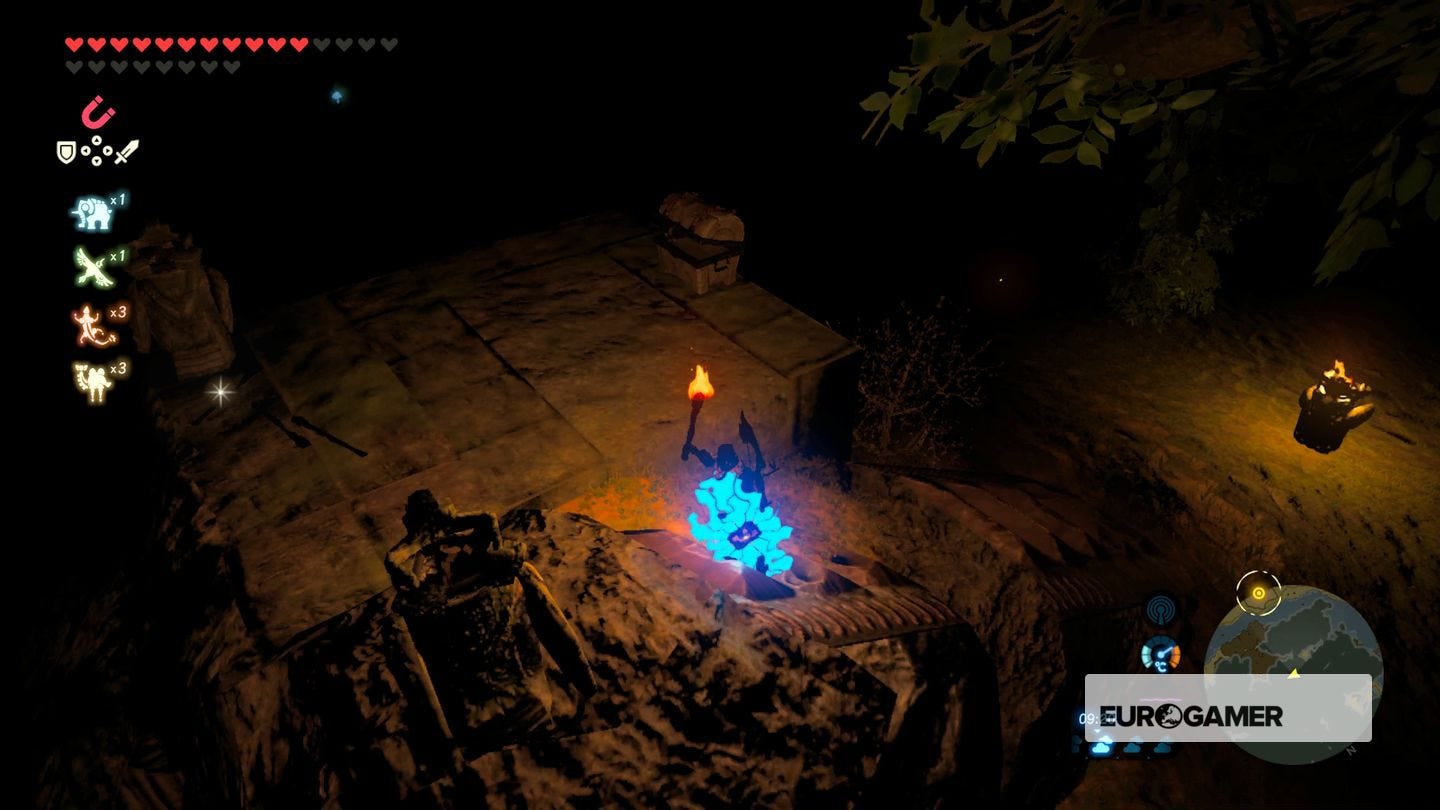
Before you do anything, grab as many torches you can, light one and throw it at the chest on the isolated platform (use the R button to aim and throw). Glide over to the chest for a Star Fragment.
Drop down off the ledge right for a statue pointing ahead. Follow it.
You'll come to a tree and a glowing mushroom next to the following statue. Light it and follow again as directed.

Tall grass is what follows. You'll be ambushed by a charging enemy, but just pick yourself up and light the statue, pointing left.
Go through more grass to find another statue, pointing left again.
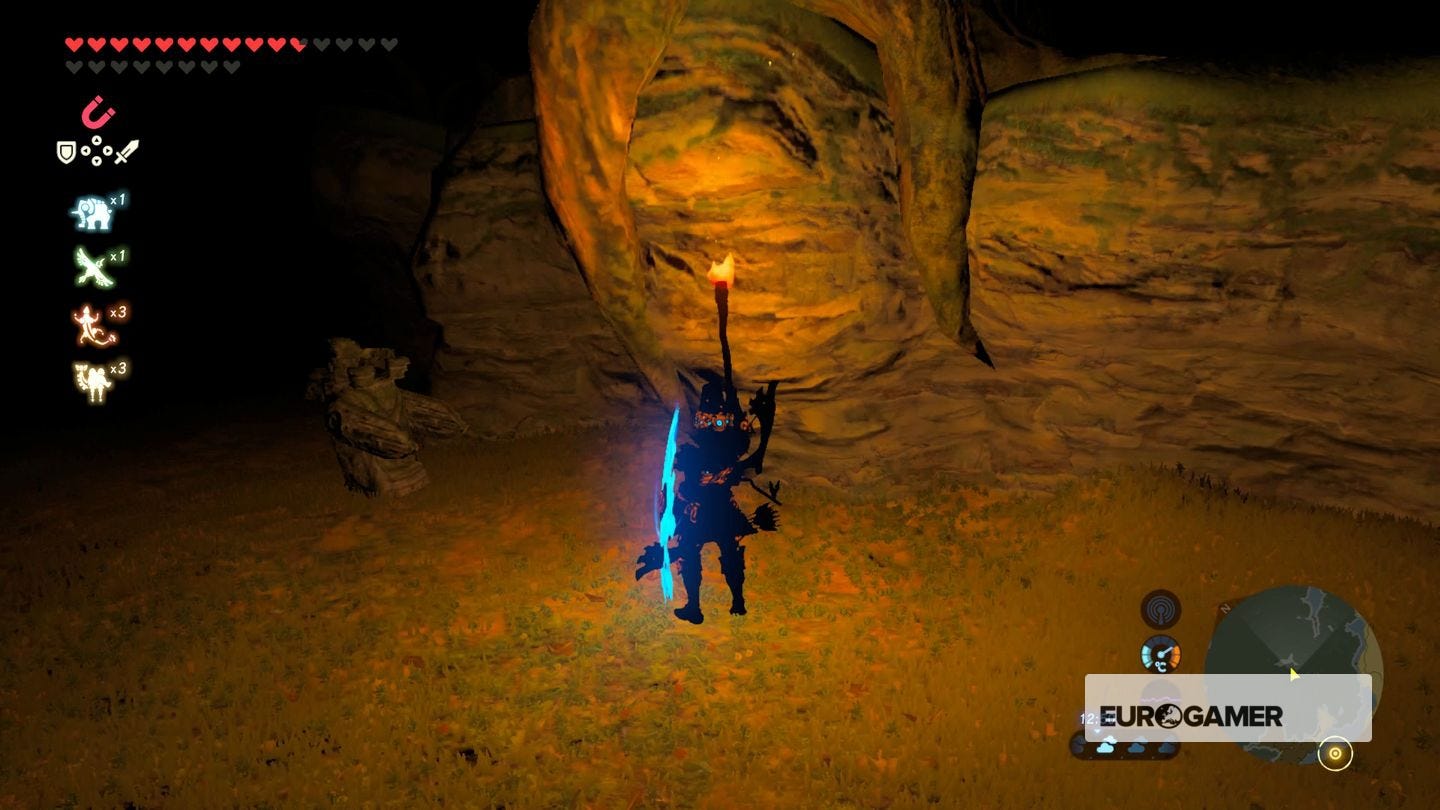
After some light bushes is another statue ahead of a cave. Go through.
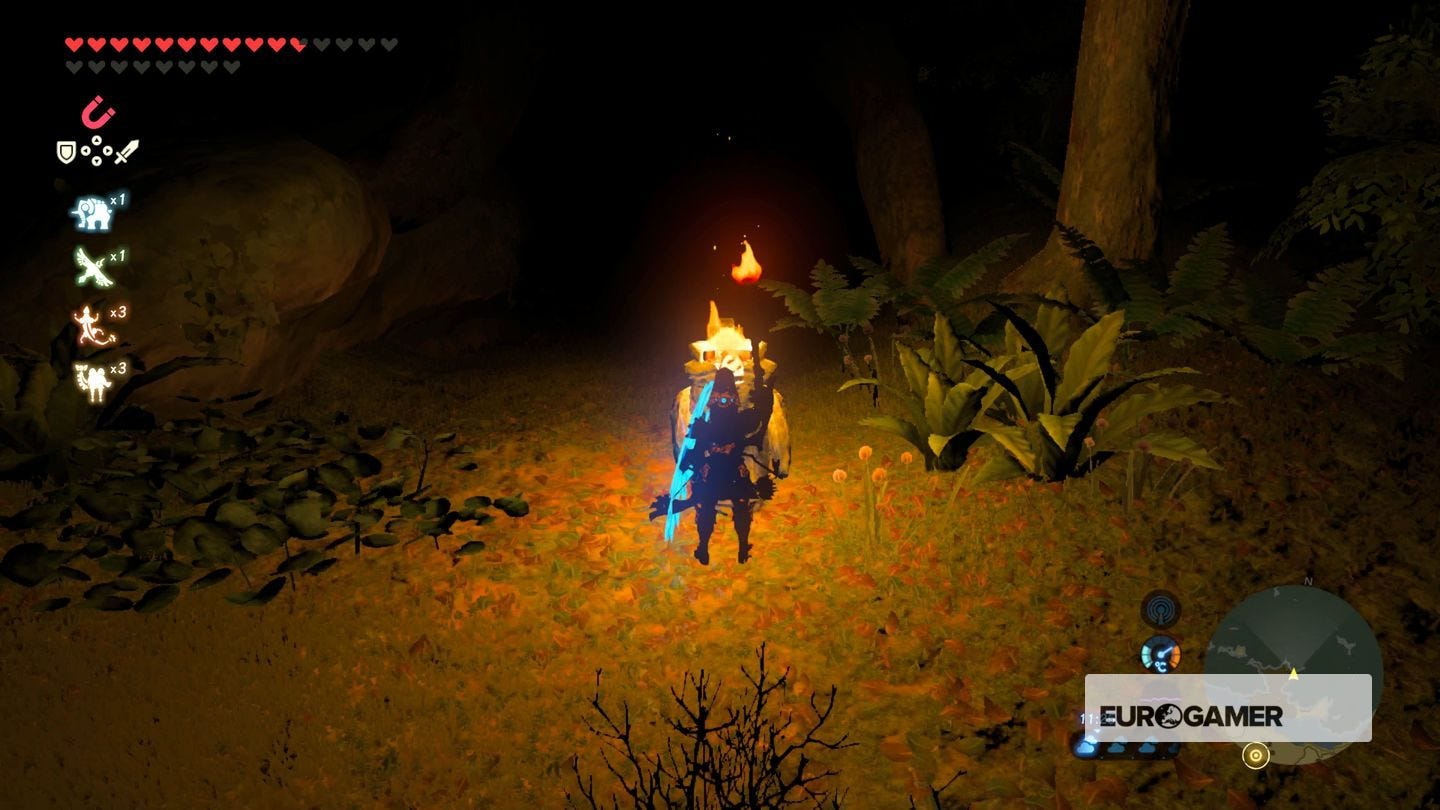
Following the cave is a statue pointing right next to a boulder, pointing right.
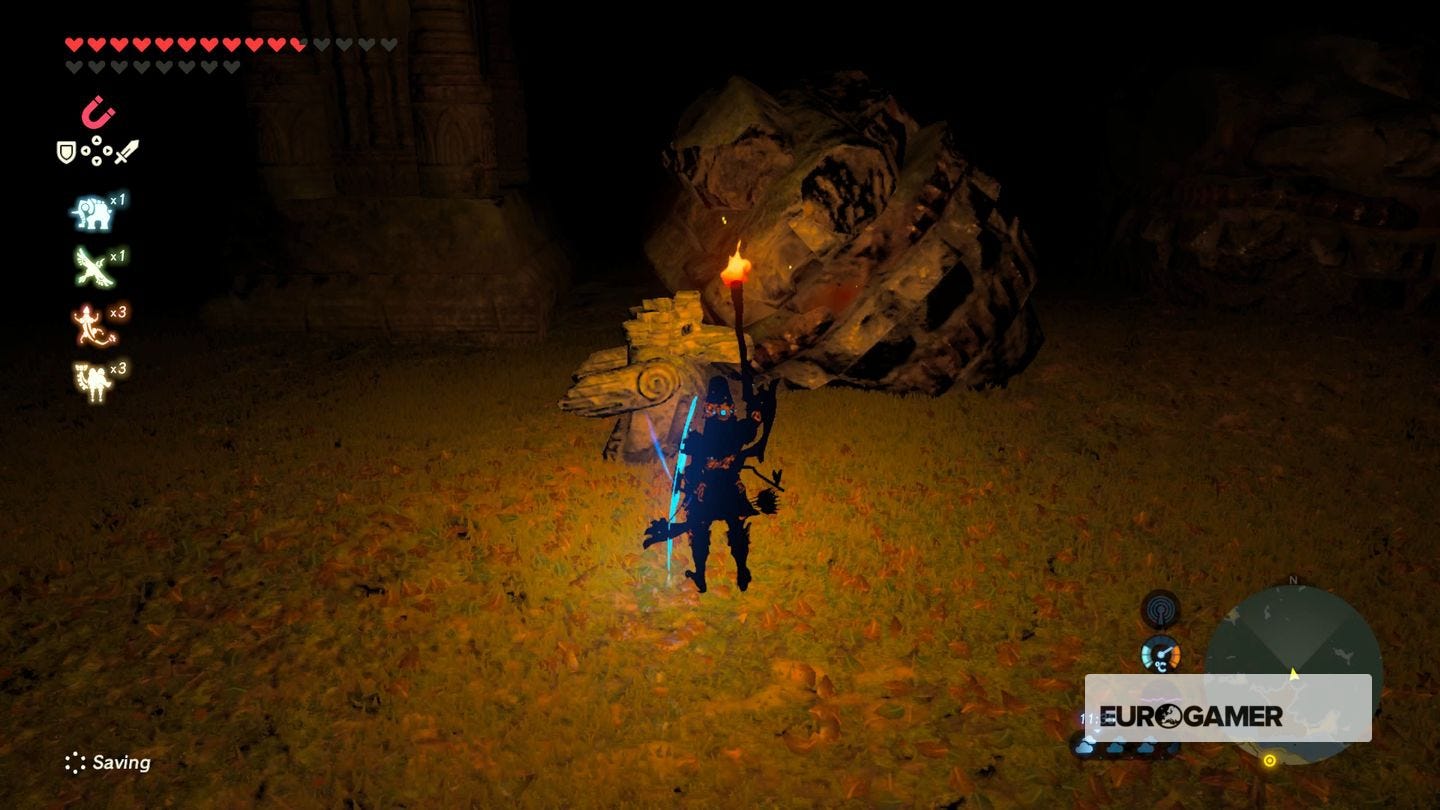
Keep the rubble to your left until come to another statue. There is a chest on your left too, containing Amber.
The statue points east, so follow it until you see on pointing somewhat left.

Continue until you come to a wall, with a statue pointing next to it.
Go north, between the ruins, until you come to a statue at a corner, pointing right.
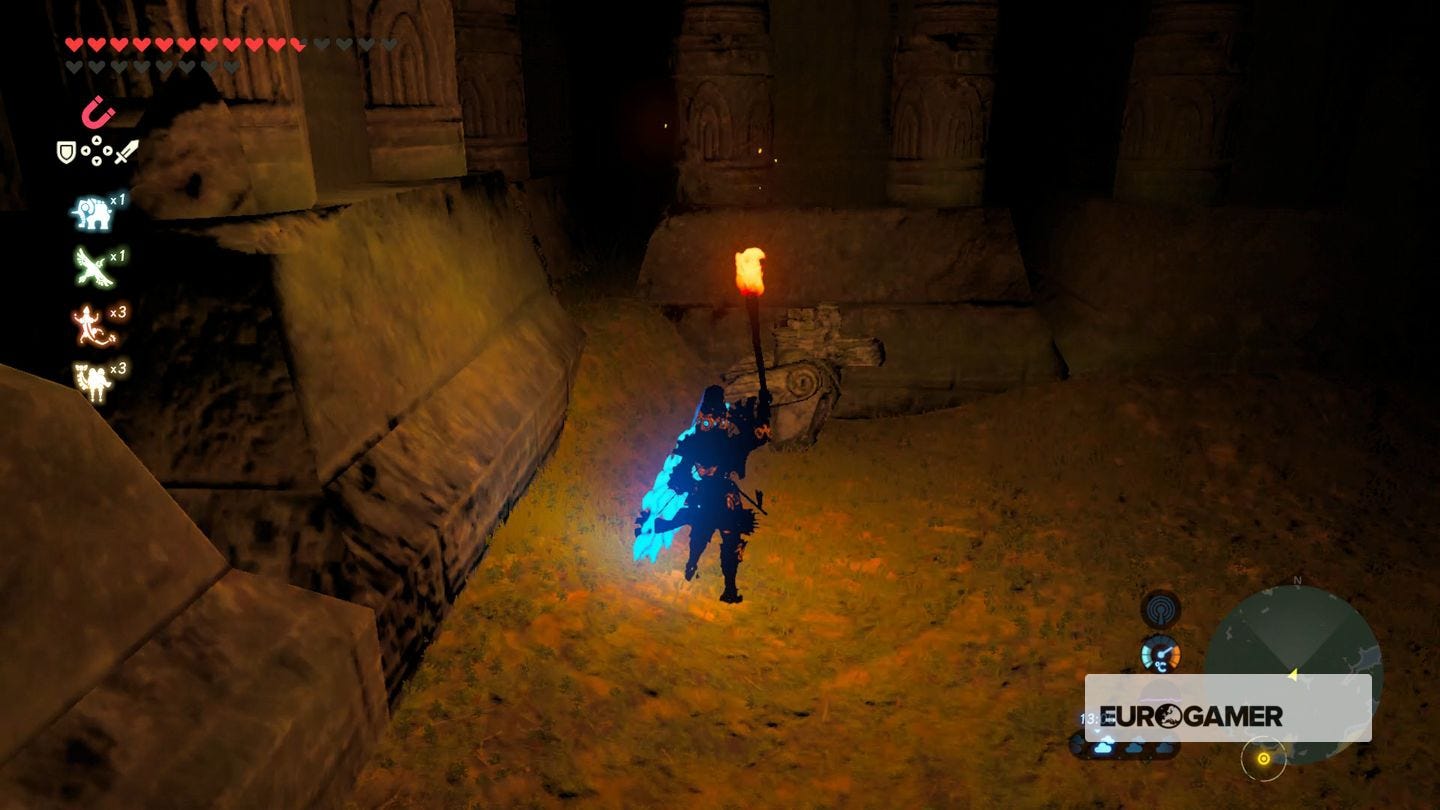
Follow it to a dead end, pointing back. If you walk back, you'll notice a statue on the left, now pointing right (north). Head in that direction.
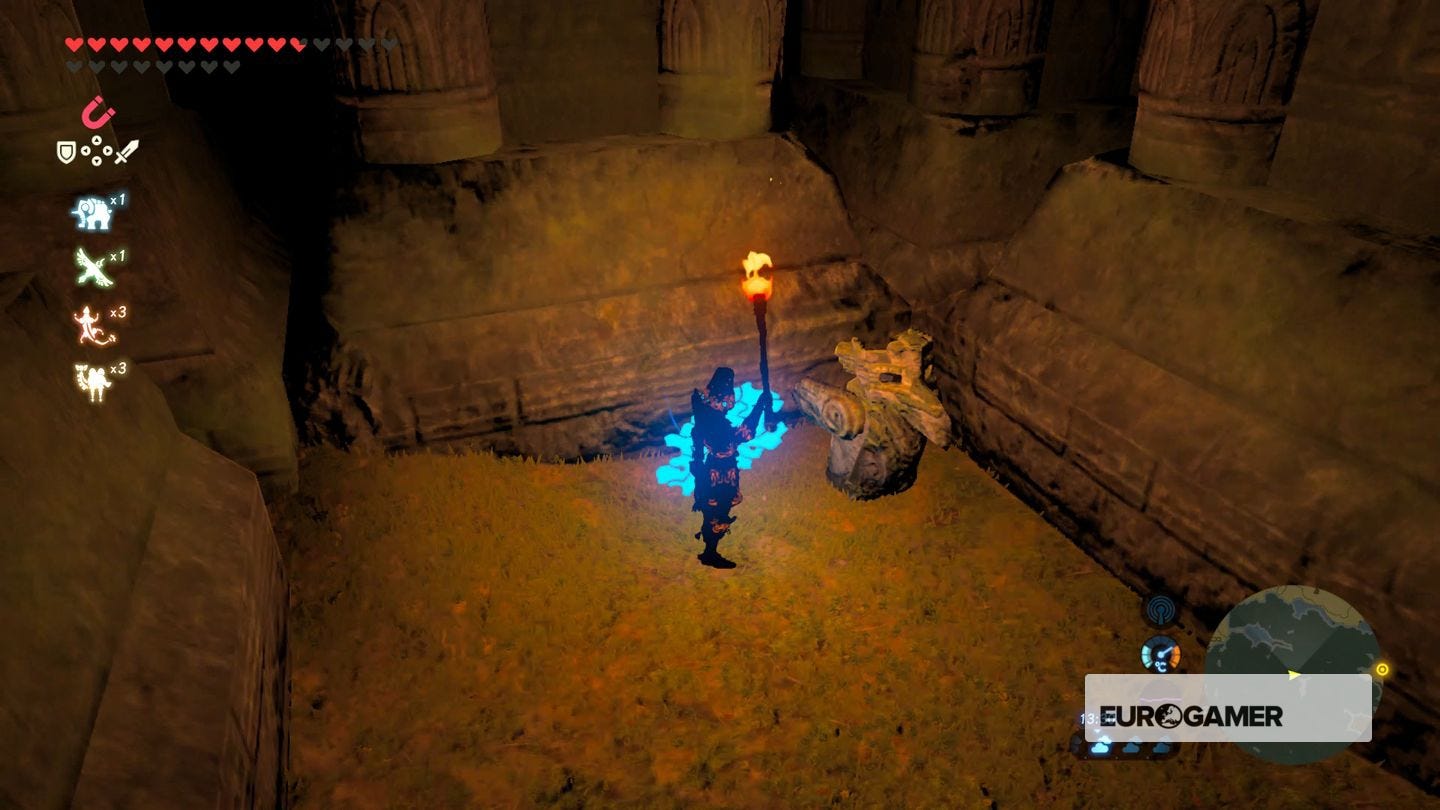
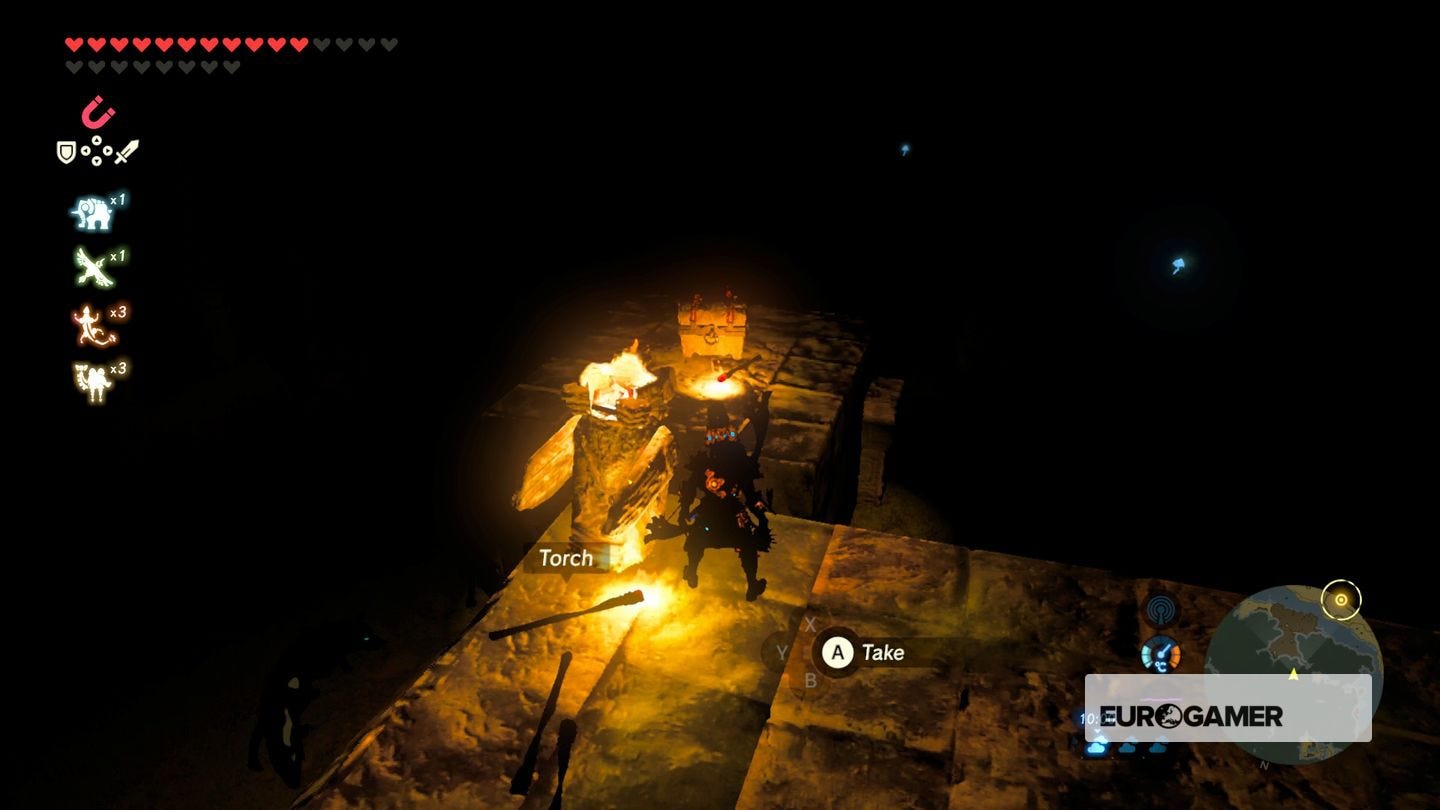
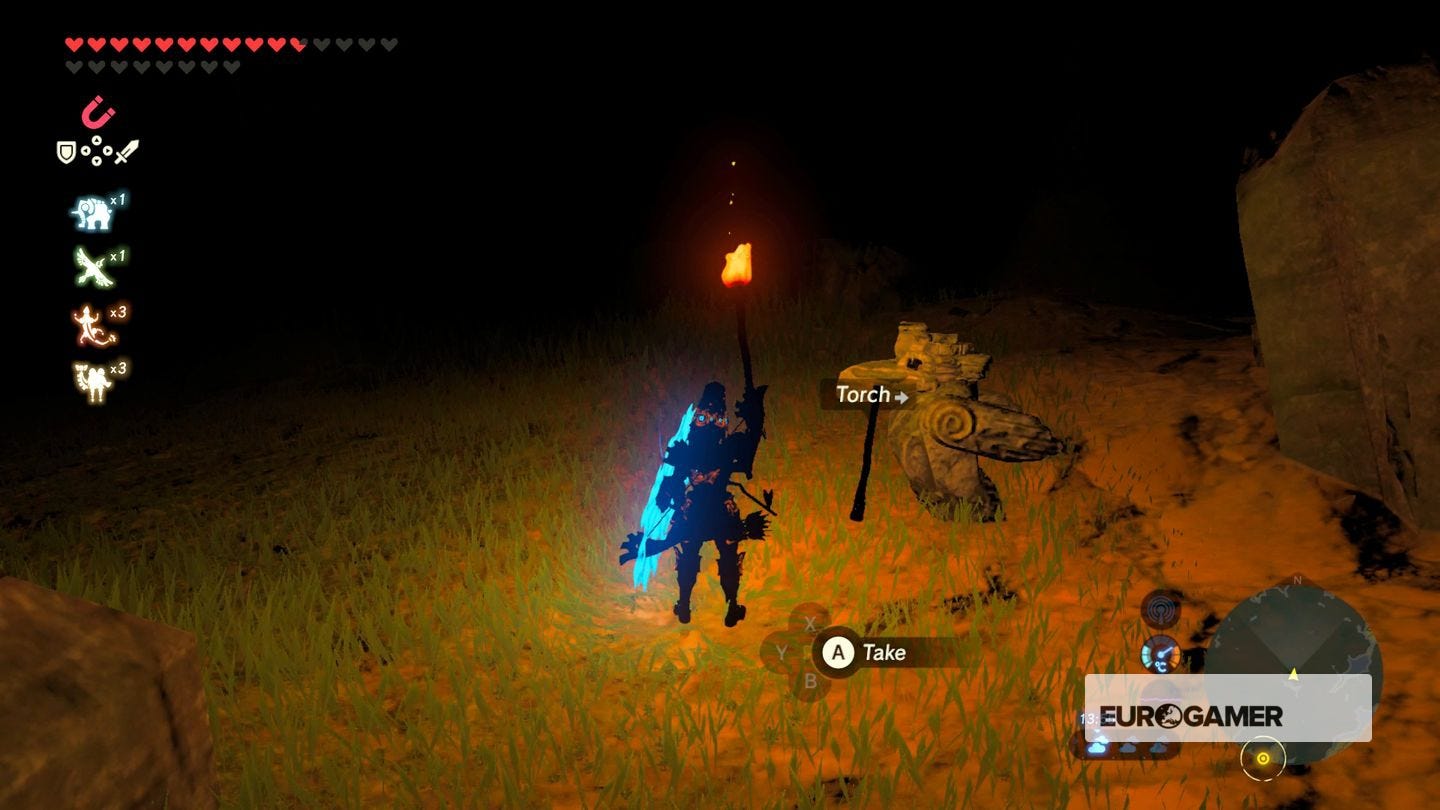
You'll come to another statue pointing left, with a torch next to it.
Thanks to a new update, it's now possible to play Zelda Breath of the Wild in VR. Want help with the main game? Our Zelda: Breath of the Wild walkthrough can help complete Divine Beasts Vah Ruta, Vah Rudiana, Vah Medoh and Vah Naboris and more. There's also how to get the Master Sword, Hylian Shield and all Zelda Captured Memories and Great Fairy Fountain locations, while our Shrines locations and Shrine maps hub explains where to find and solve every puzzle room, including dragon locations and Labyrinth solutions. We also have a DLC 1 guide and DLC 2 guide, including all Tingle, Majora's Mask, Phantom, Midna outfit locations.

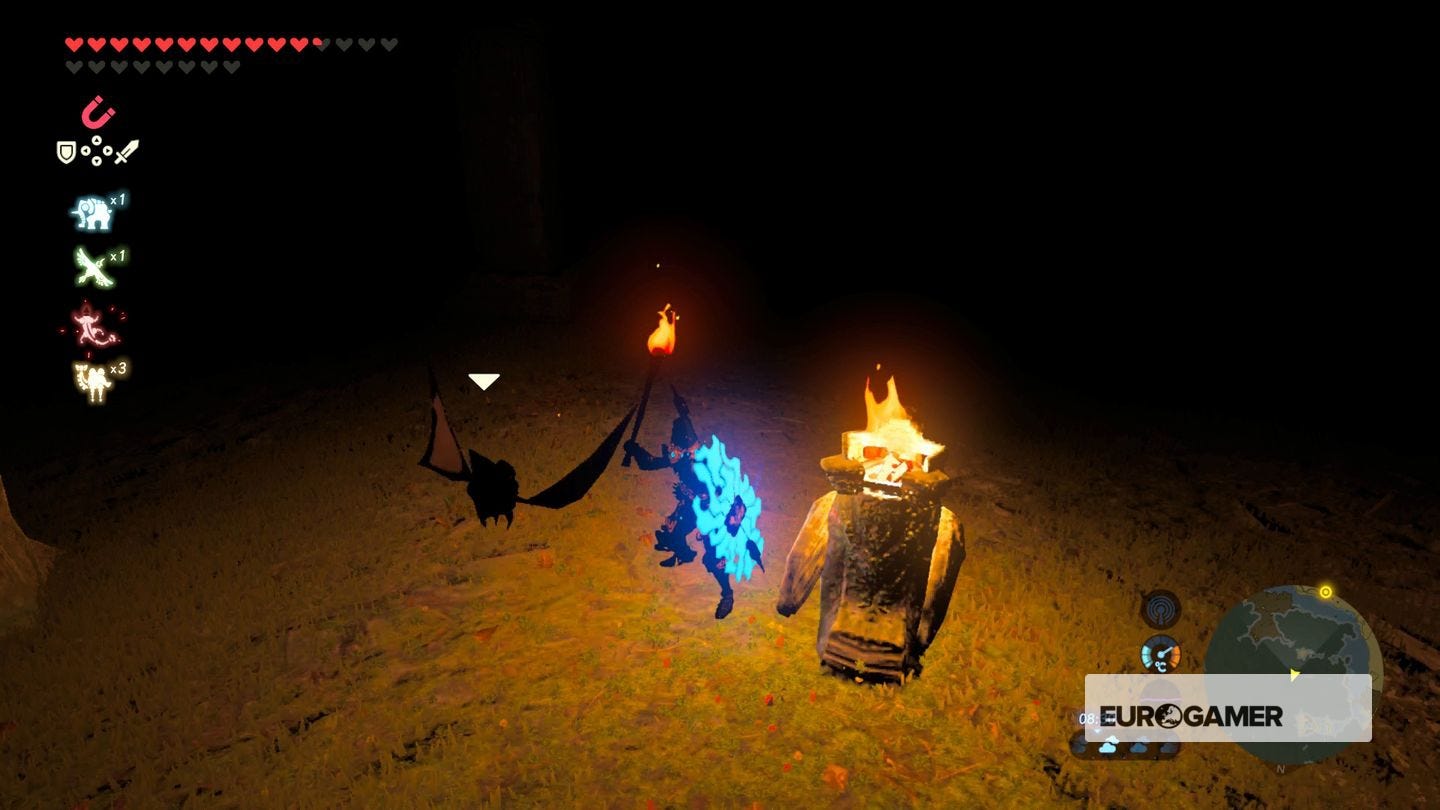
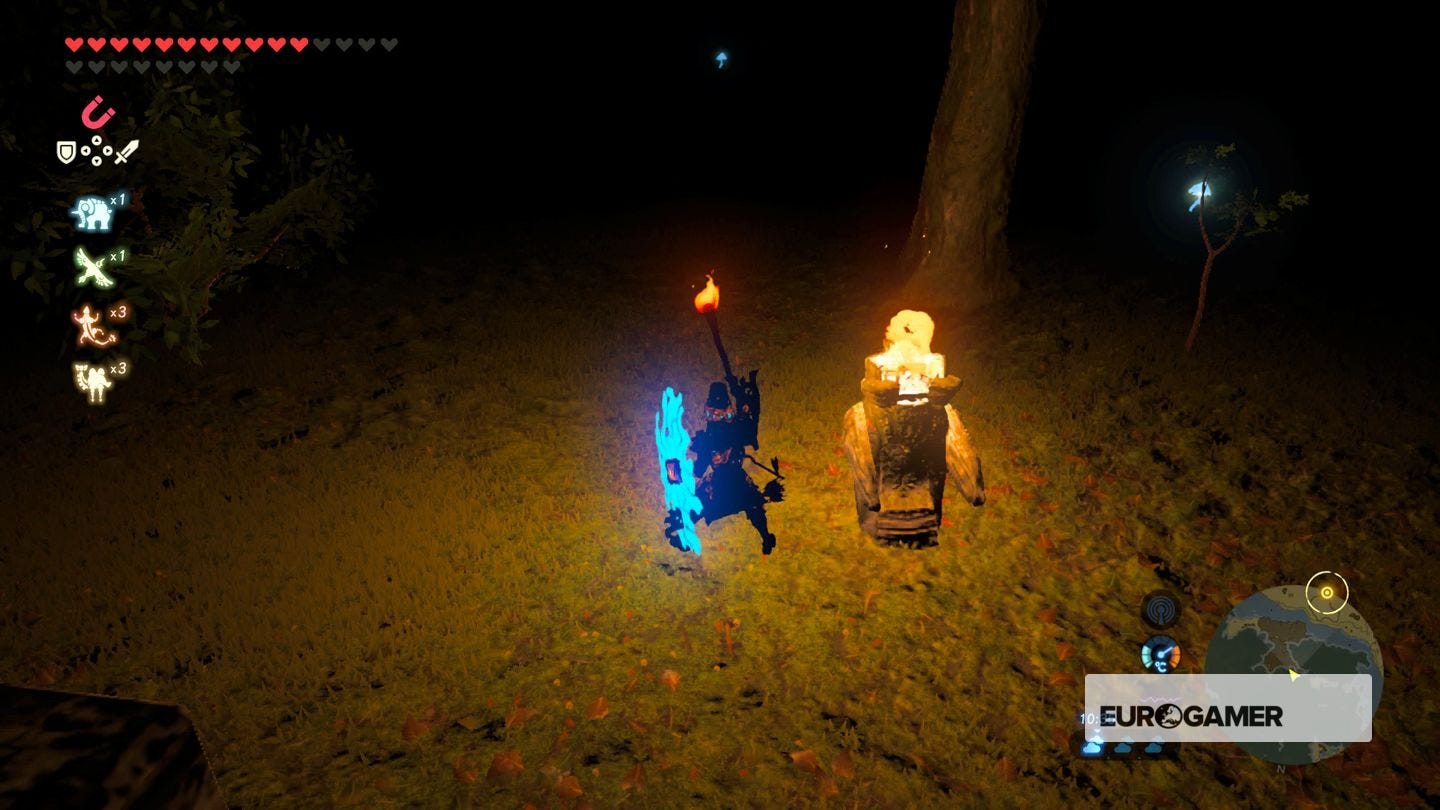
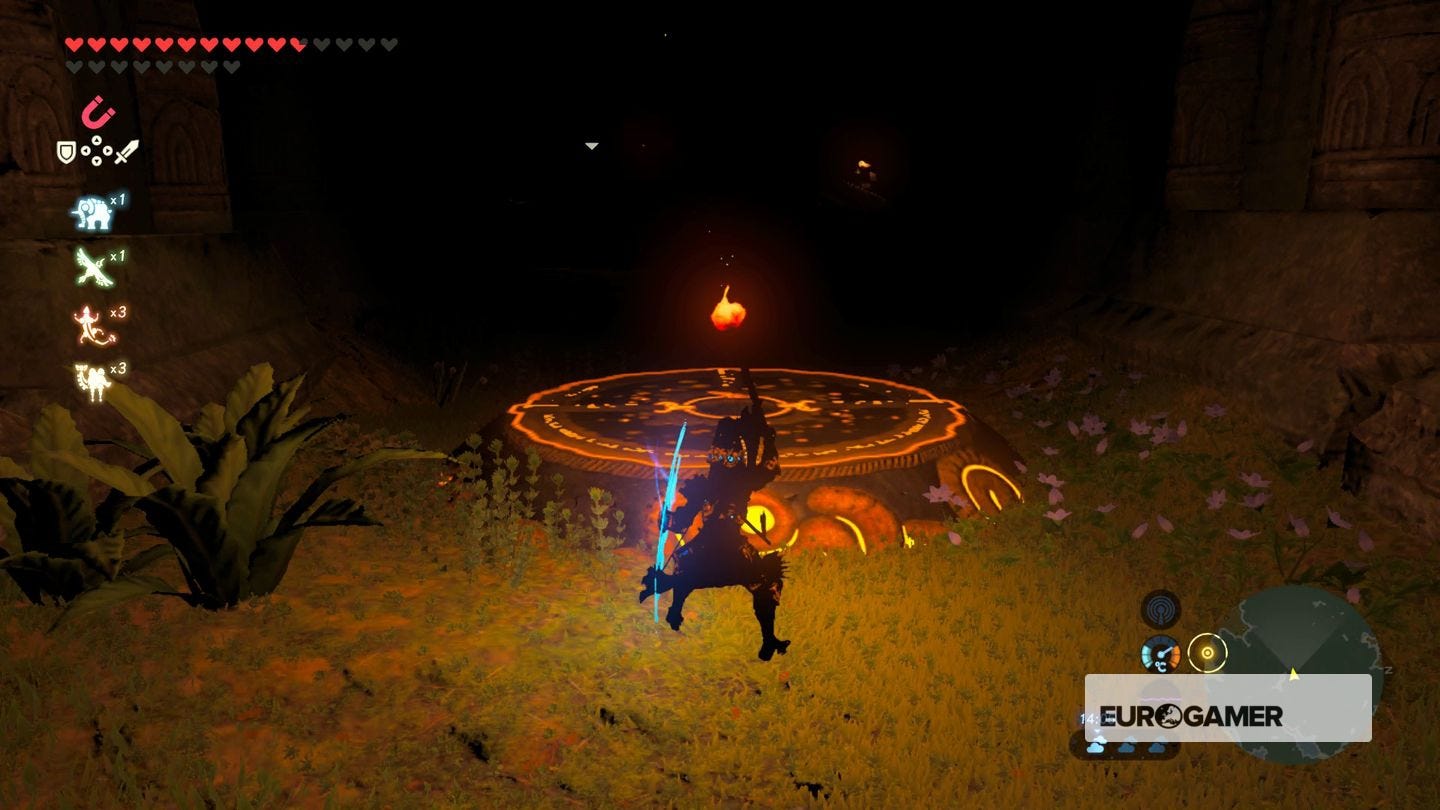
A few steps after that is an orange orb pedestal. Beyond that are two torches, and something in the dark ahead. You should have been hearing it for a while now - it's a Hinox asleep, and you guessed it, the orb is tied around its neck.
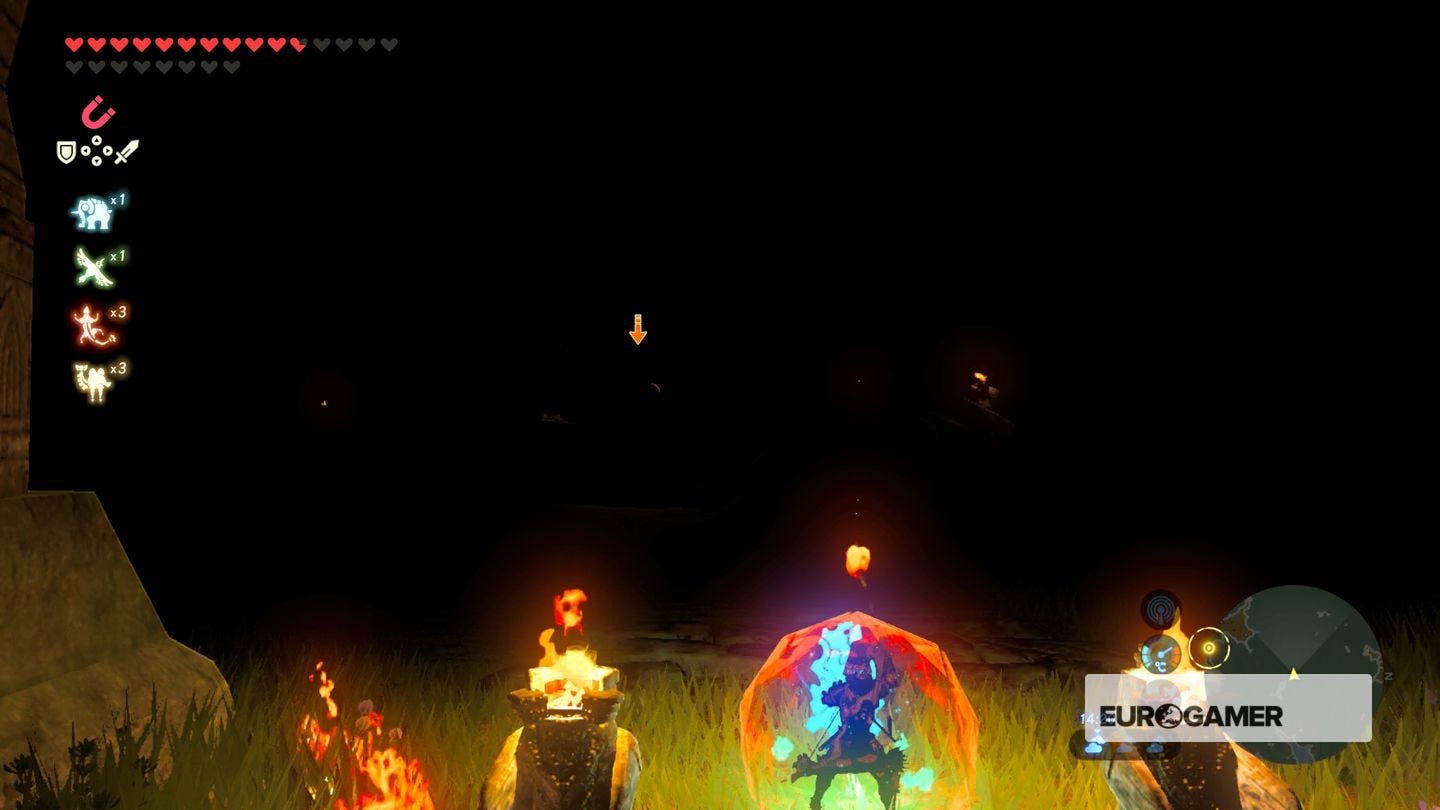
You can either battle the Hinox - which is tricky but far from impossible in the dark, since you'll be able to see its weak spot eye up above, allowing you to shoot an arrow and stun it for a bout of damage - or ideally collect it without waking it up.
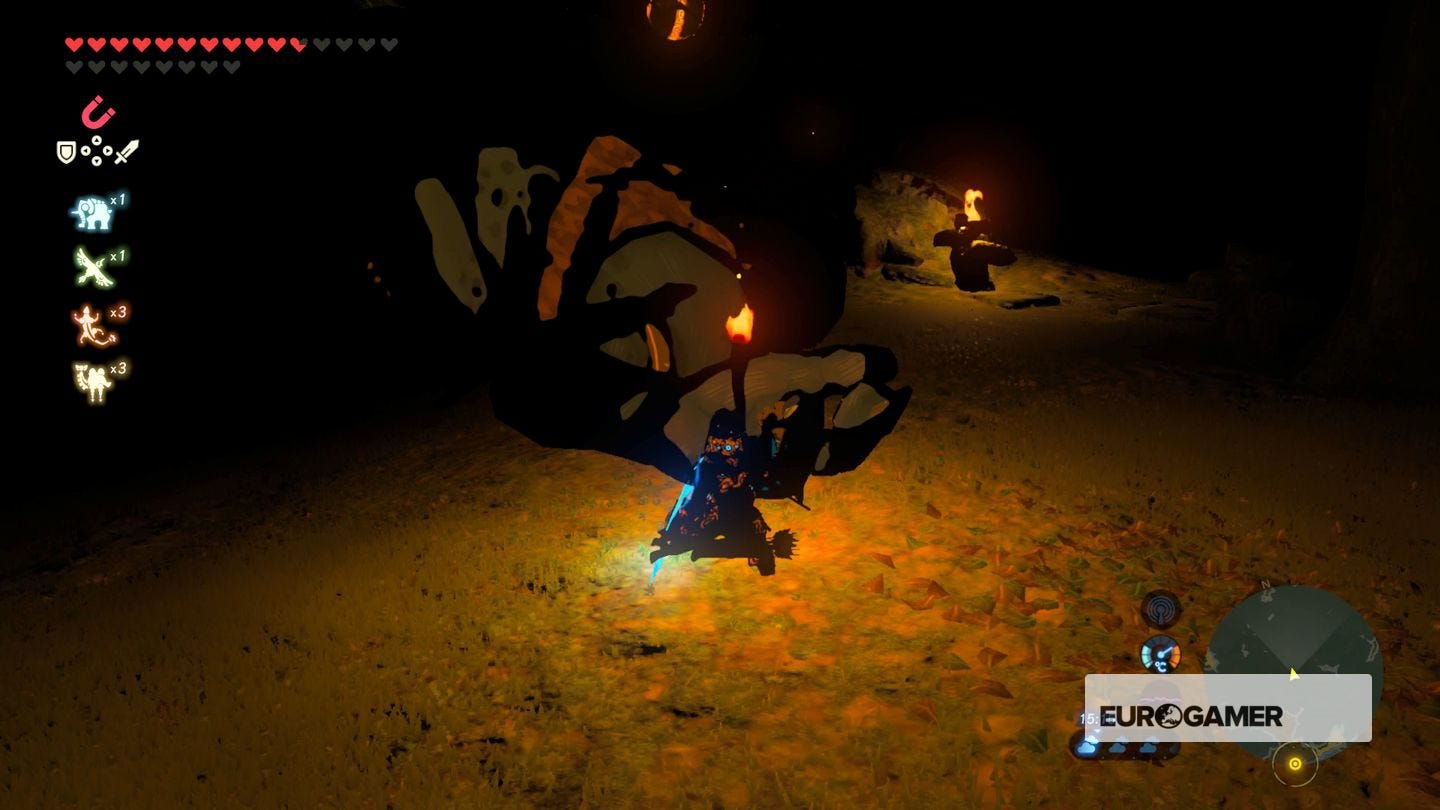
To do so, run round the left to an arm lying on the ground. Crouch on its hand, and it'll soon scratch itself, raising you onto its belly. You can now safely grab the orb.
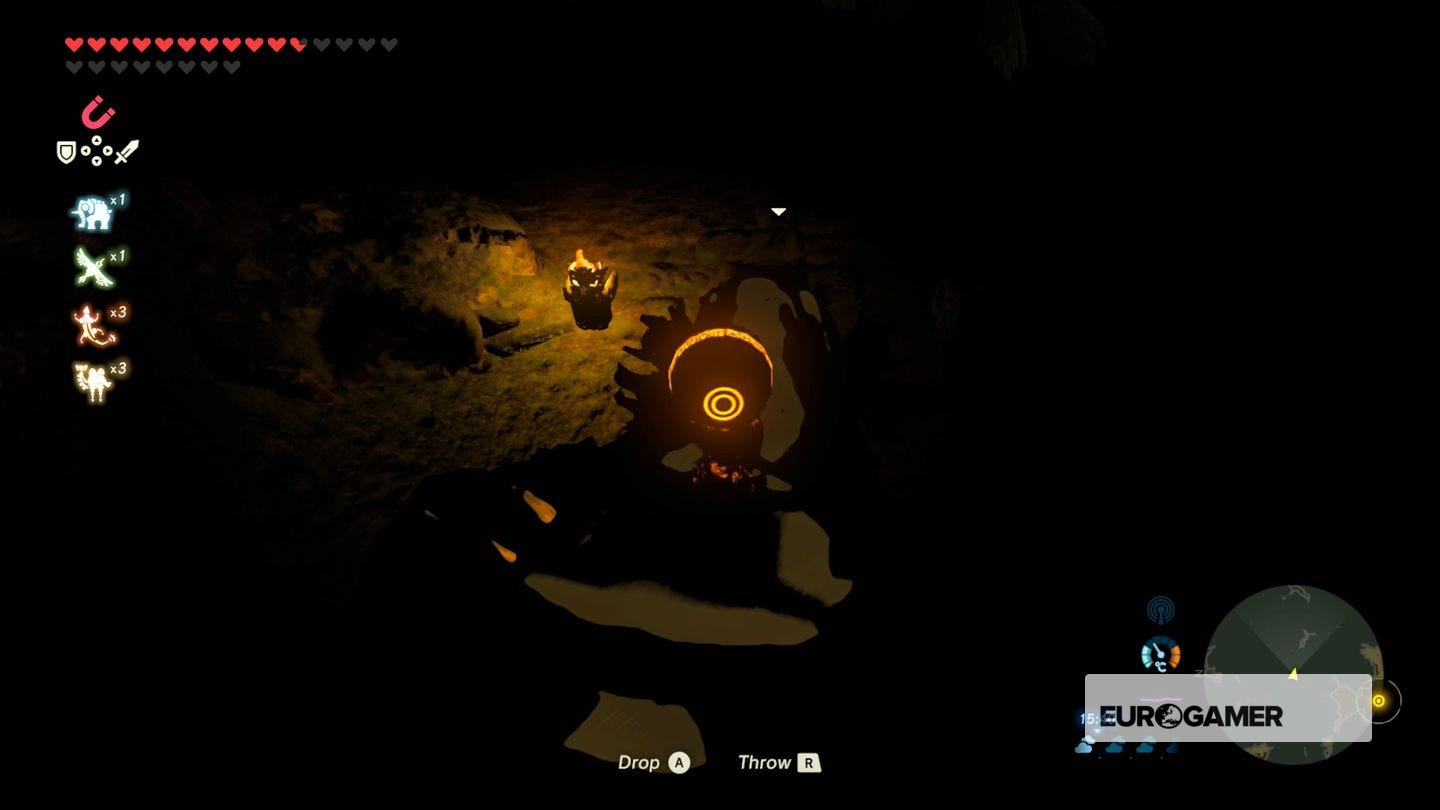
However you get it, take it back to the pedestal, causing the shrine to appear on the other side of the Hinox. Now run across and enter.

Thankfully there's no trial inside - just a chest with an Ancient Core, and the usual Spirit Orb.
While you're here, here are other Shrines within this region:
Woodlands region (8 Shrines)
- Daag Chokah and The Lost Pilgrimage solution
- Keo Ruug Shrine and Fateful Stars trial solution
- Ketoh Wawai and Thyphlo Ruins solution
- Kuhn Sidajj and Trial of Second Sight solution
- Maag Halan and The Trial of Wood solution
- Mirro Shaz Shrine and Tempered Power trial solution
- Monya Toma and Drawing Parabolas solution
- Rona Kachta and the Forgotten Temple solution
If you're after other trials, then our Zelda: Breath of the Wild Shrine locations and maps hub page can help with other regions.