Zelda - Rohta Chigah and Stop To Start solution in Breath of the Wild DLC 2
How to complete the DLC 2 trial.
Rohta Chigah is a challenge as part of The Champions' Ballad, which is the main quest in Zelda: Breath of the Wild's second DLC.
This page covers the camp you'll face before tackling the Rohta Chigah shrine and its Stop To Start solution.
If you're after help for the main game itself, then consult our Zelda: Breath of the Wild walkthrough and guide.
Clearing the camp before Rohta Chigah
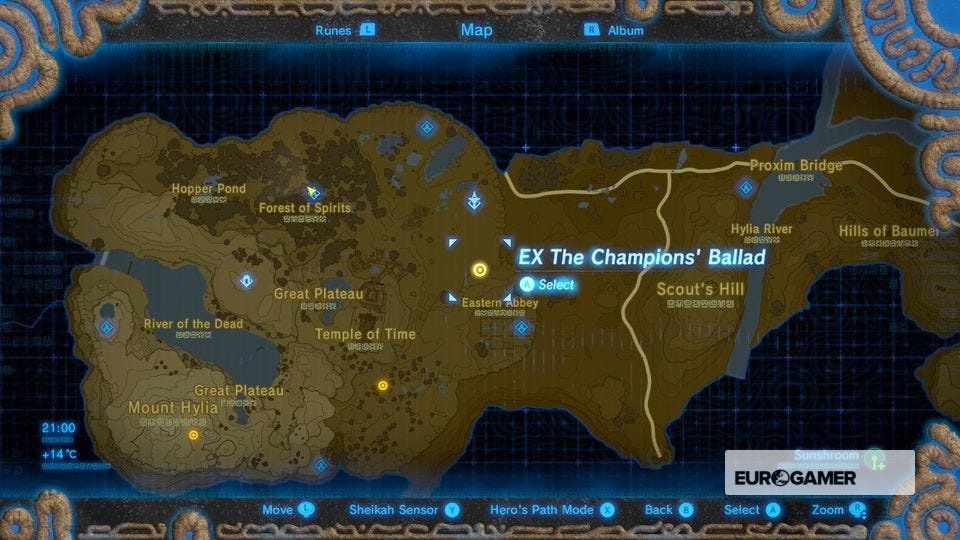
Now head towards the Eastern Abbey and second of the bases in this section of the DLC.
The monster camp in this area is located at the foot of the Eastern Abbey and contains a group of very tough Lizalfos. Most have fire arrows, one has a flameblade and every single one will rush you and attempt to whip you with their tail.
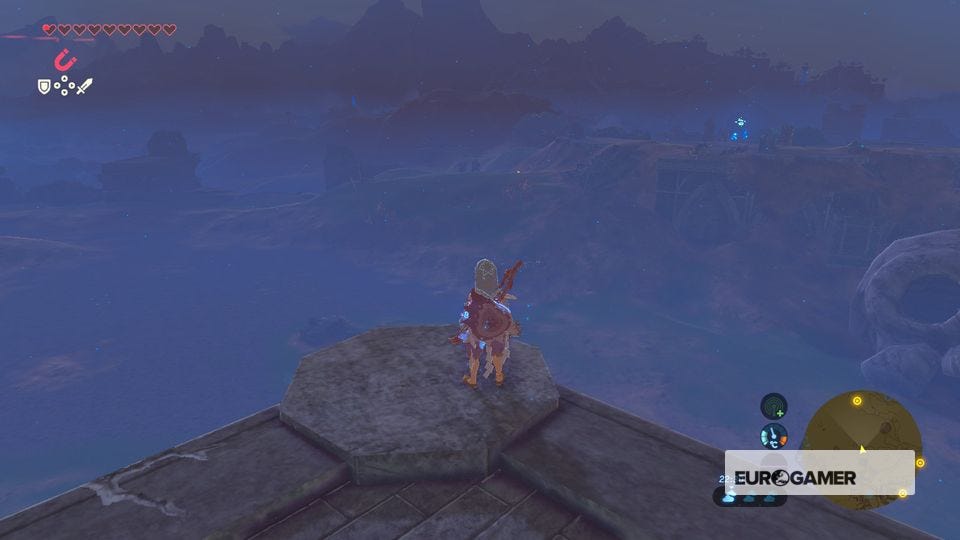
The best tactics are to glide from the nearby stone ruin, and use your bow to take on the lizalfo patrolling the nearest slope. Since these foes are so fast, don't use Bomb Arrows as the splash damage range will almost always hit you.
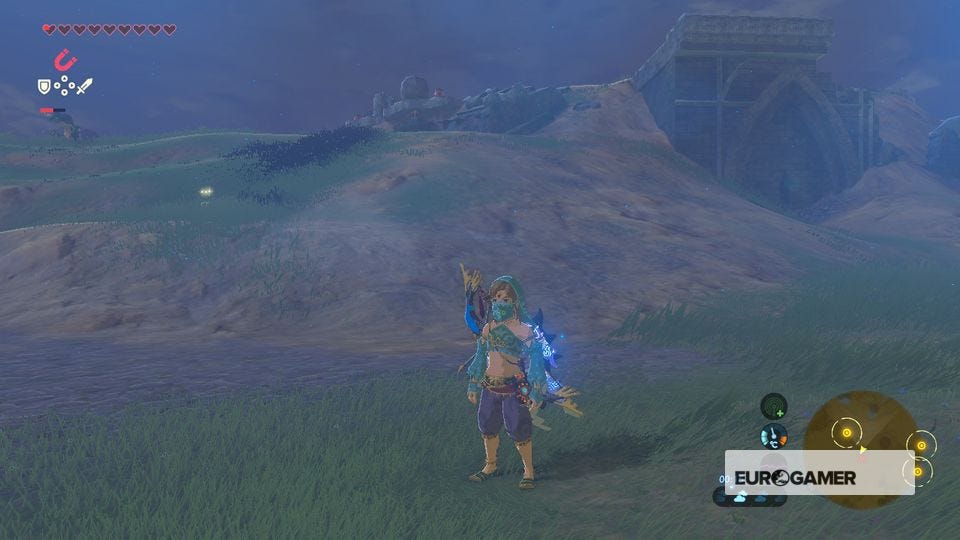
Instead, use regular ones or Ice Arrows to freeze them and take them out with the Obliterator. There are a number of hills here, so play smart and use stealth to snipe each one.
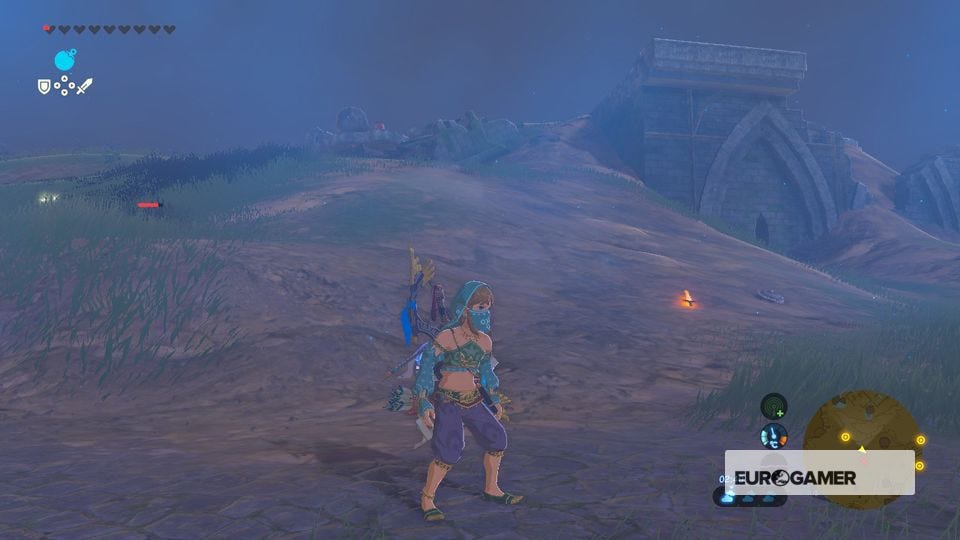
When the camp has been cleared, the next shrine will rise out of the ground next to the ruins.
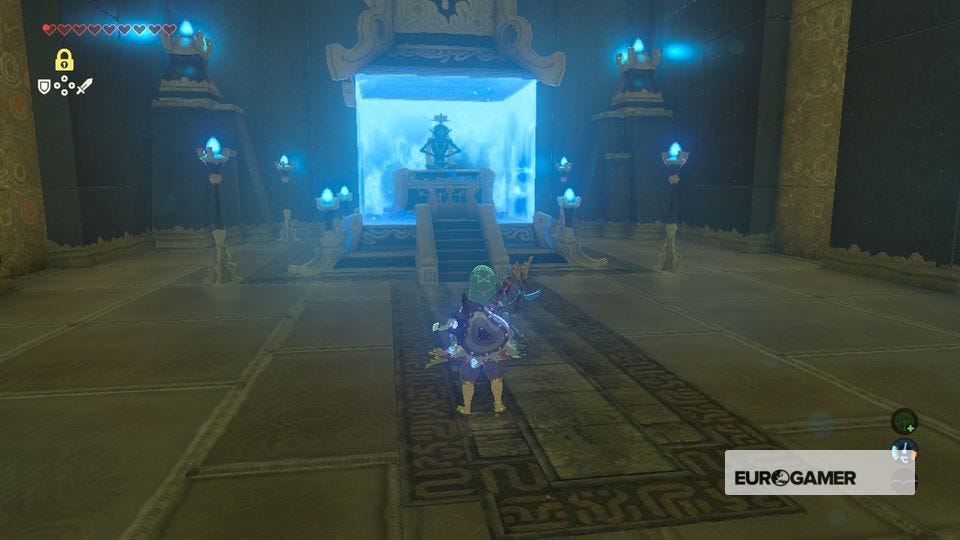
Rohta Chigah and Stop To Start solution
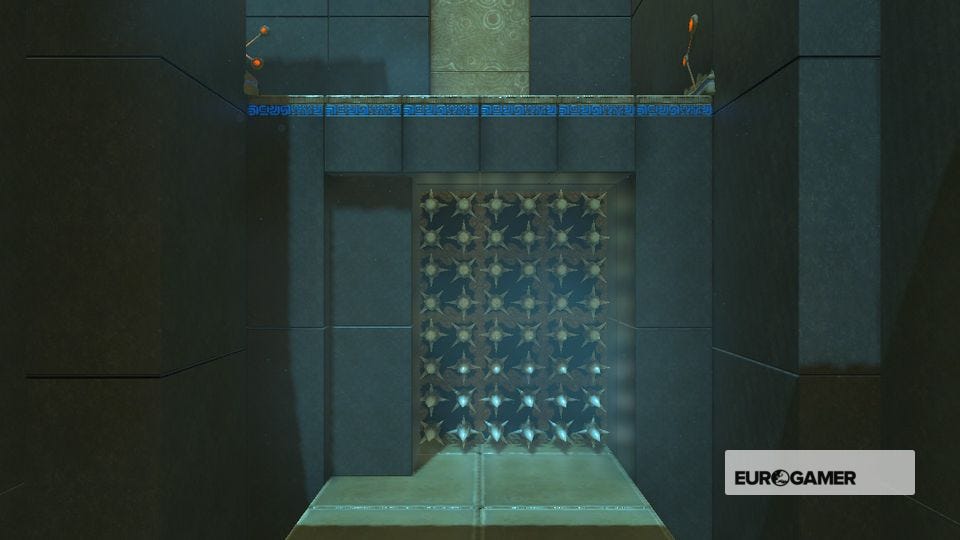
This next shrine can be really tricky - don't forget you've got a sliver of health so one touch of those spikes will send you to a premature grave.

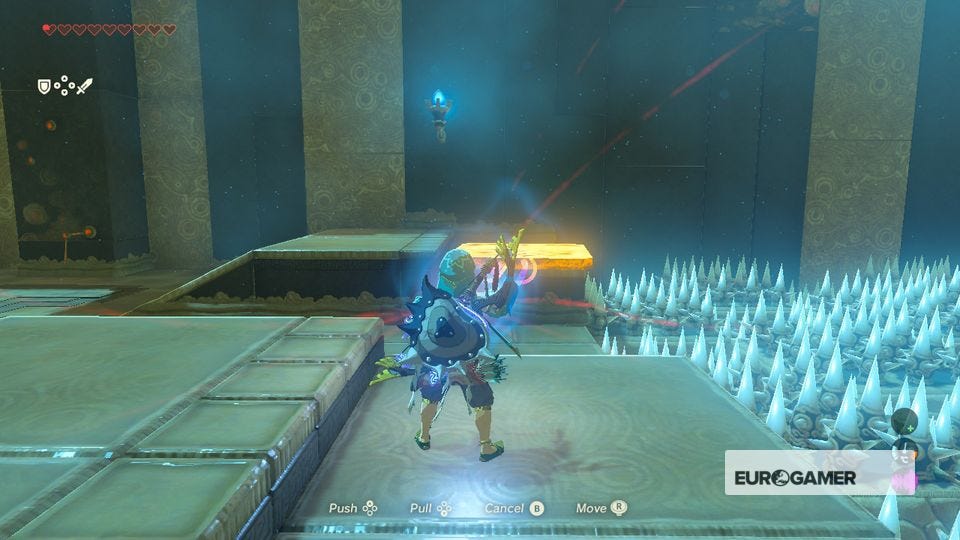
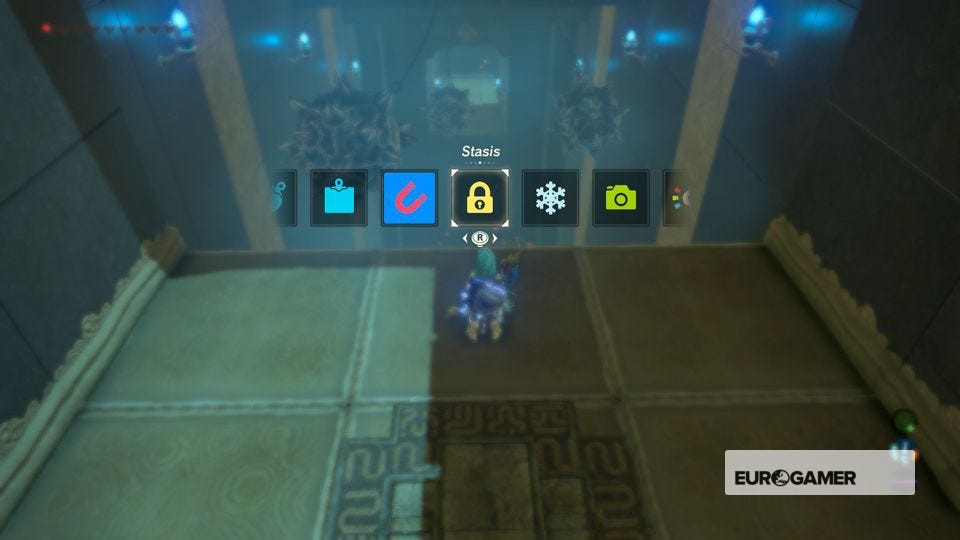
To start head to either side of the first spike pit and use Magnesis on the two metal platforms to cross over to the metal box (which can also be moved). Climb up the box the glide over to the platform in front of you.


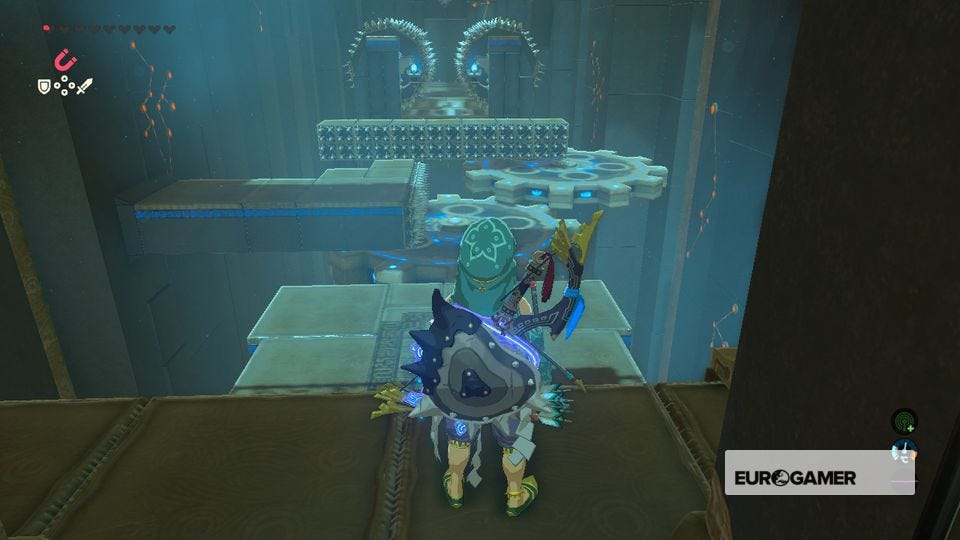
Head through the doorway, drop down and you'll be facing two moving cogs with a set of spike walls.
The first cog is easy to cross, but the second is moving a little faster. As soon as you land on the second cog, start sprinting to the right to avoid being dragged into the spikes.
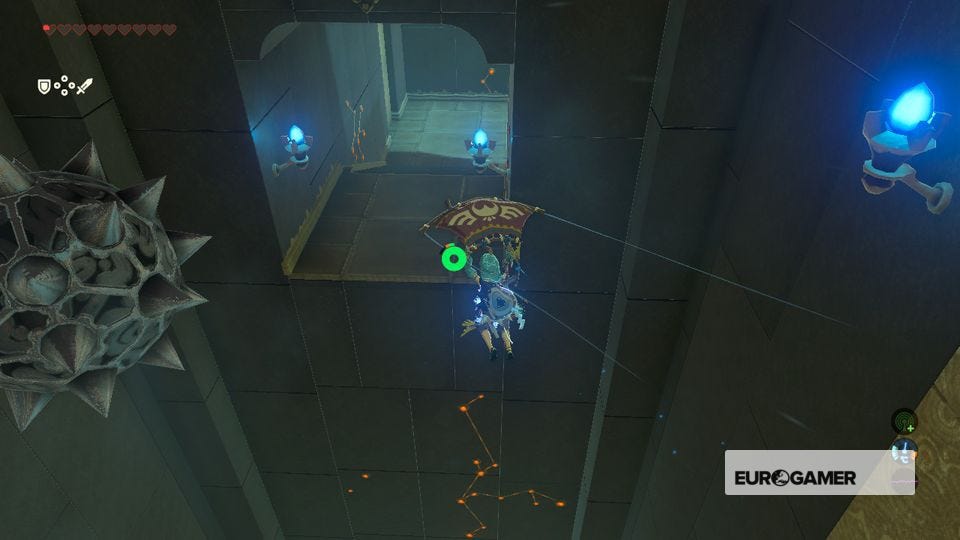
Use sprint again to reach the platform behind, watching out for the gap between the cog and the platform.
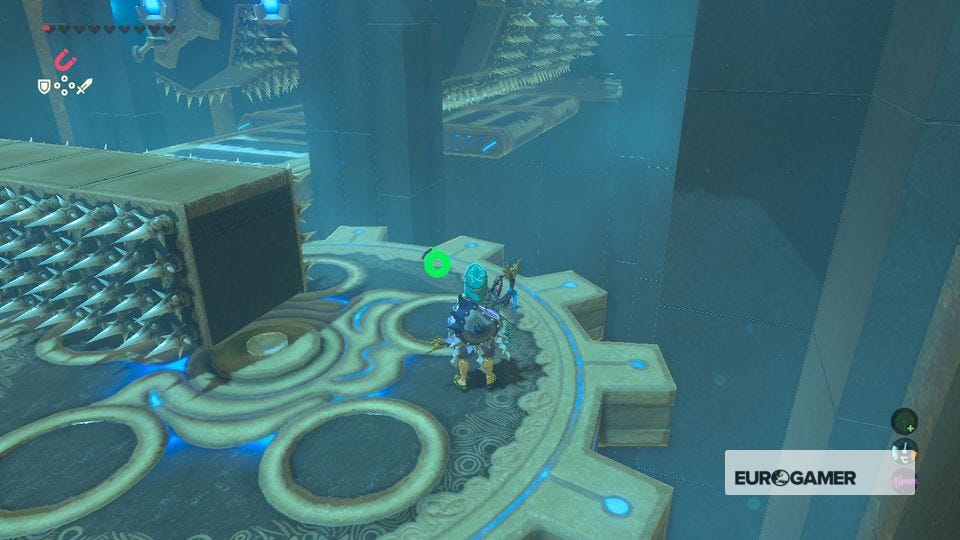
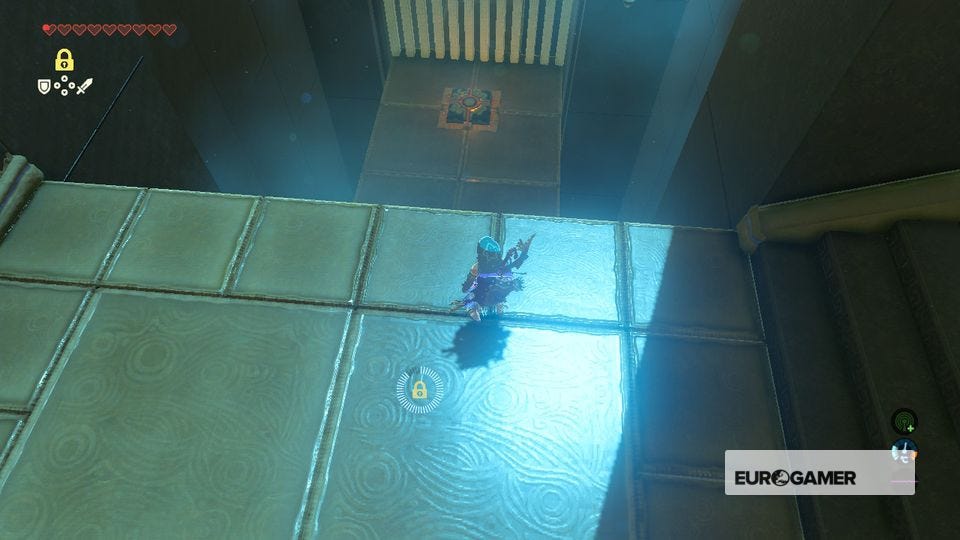
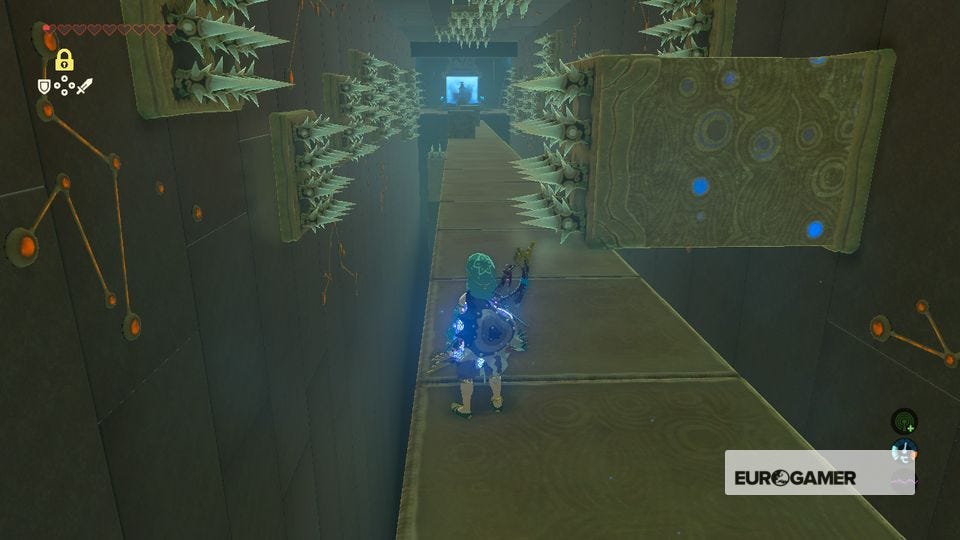
On the next section, run through the spike tunnel, taking note of the sliding floors that will attempt to move you into the walls on either side. When you reach the end, turn right and drop down to the next area.
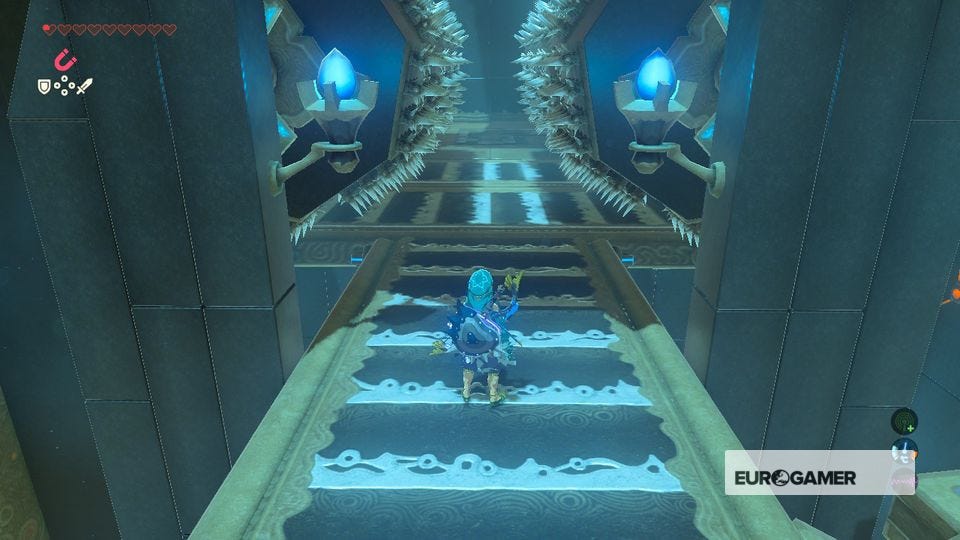
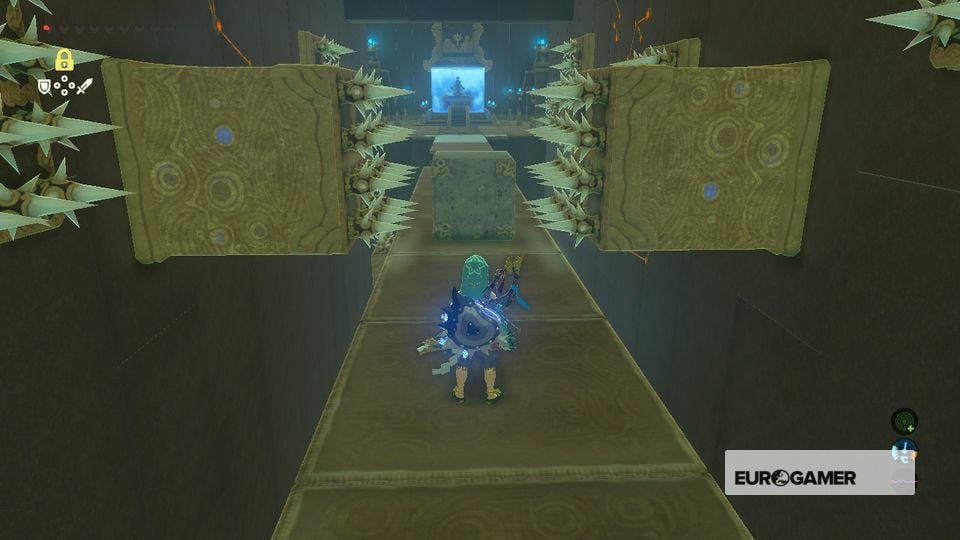
Step on top of the orange button and a wall of moving spikes will be revealed behind you. You will now need to cross a stone bridge where pillars of spikes will thrust out from the left, right and above.
Thanks to a new update, it's now possible to play Zelda Breath of the Wild in VR. Want help with the main game? Our Zelda: Breath of the Wild walkthrough can help complete Divine Beasts Vah Ruta, Vah Rudiana, Vah Medoh and Vah Naboris and more. There's also how to get the Master Sword, Hylian Shield and all Zelda Captured Memories and Great Fairy Fountain locations, while our Shrines locations and Shrine maps hub explains where to find and solve every puzzle room, including dragon locations and Labyrinth solutions. We also have a DLC 1 guide and DLC 2 guide, including all Tingle, Majora's Mask, Phantom, Midna outfit locations.

To get across, stick to the left-hand-side, climb over the first stone block and avoid the spikes to the right which will thrust out twice. Climb over the next block then head towards the middle block.
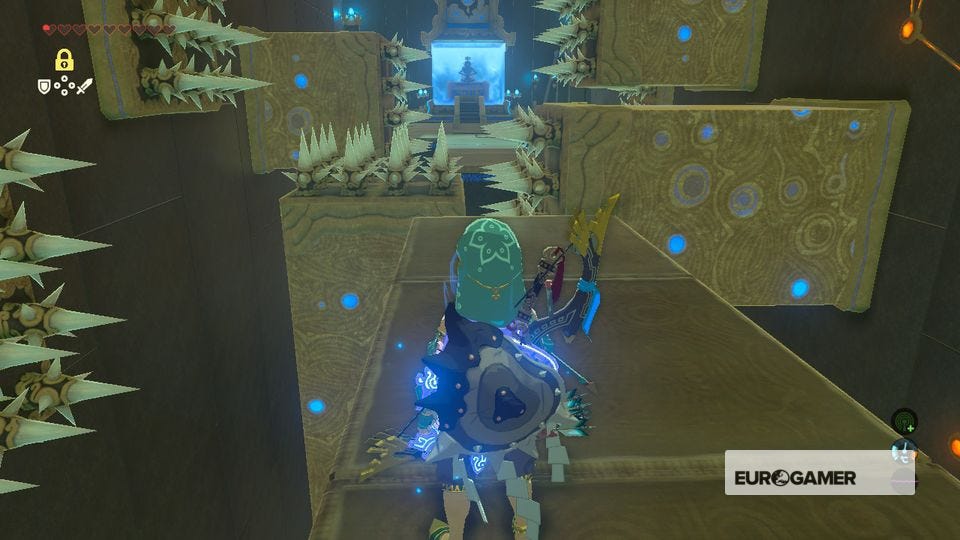
Two spike pillars will thrust out on either side. Don't climb this block. As soon as you get close enough, the spikes on either side will retract and a pillar from above will slam down.
Edge around the side of the block, avoid the pillar that thrusts from the right then speak to the Monk to end the shrine.
If you haven't already, time to take on the three other camps and shrines nearby.