Final Fantasy 12 - Hell Wyrm location, requirements, strategies, and how to defeat it
Everything you need to know about the powerful optional boss.
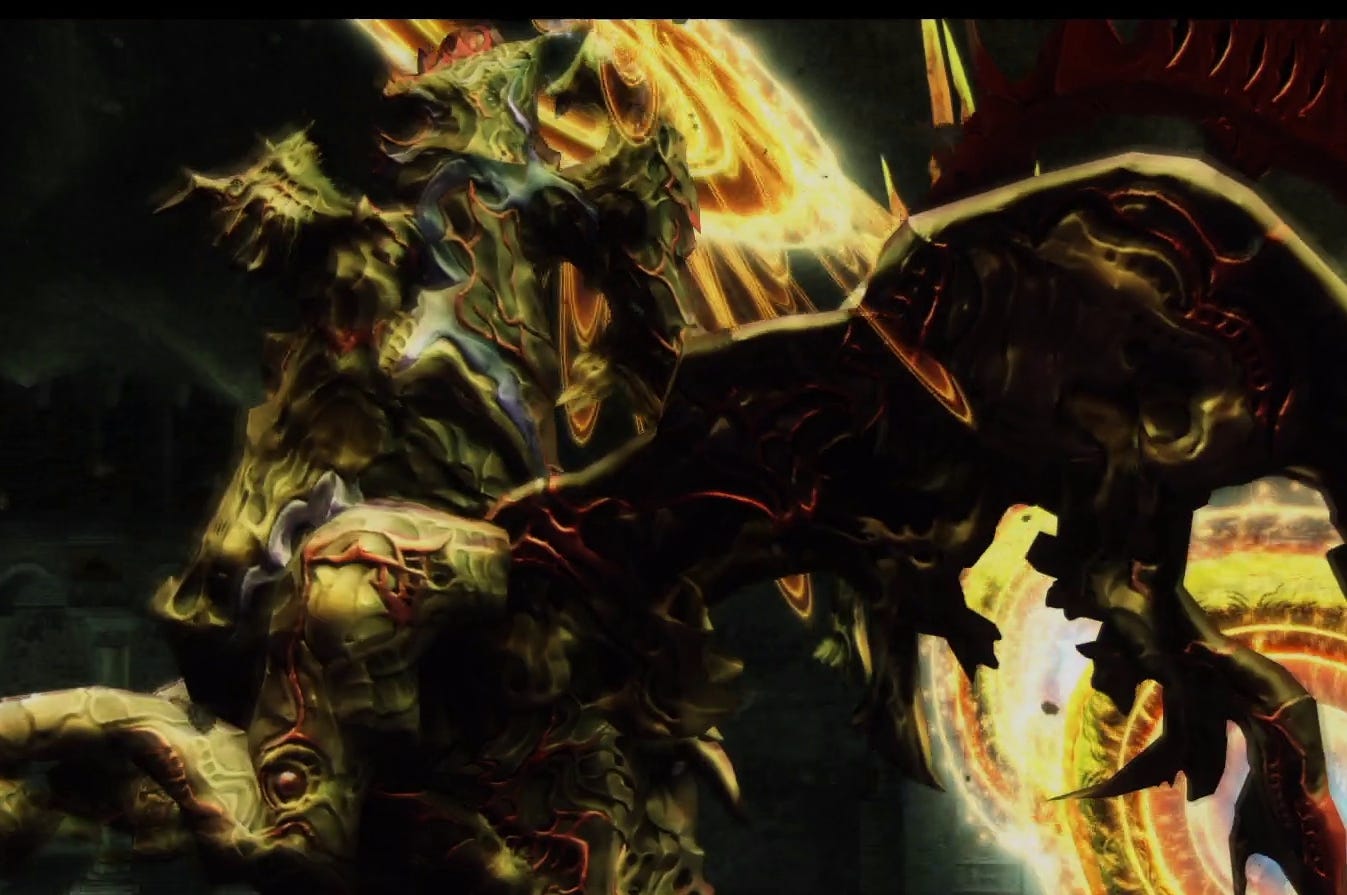

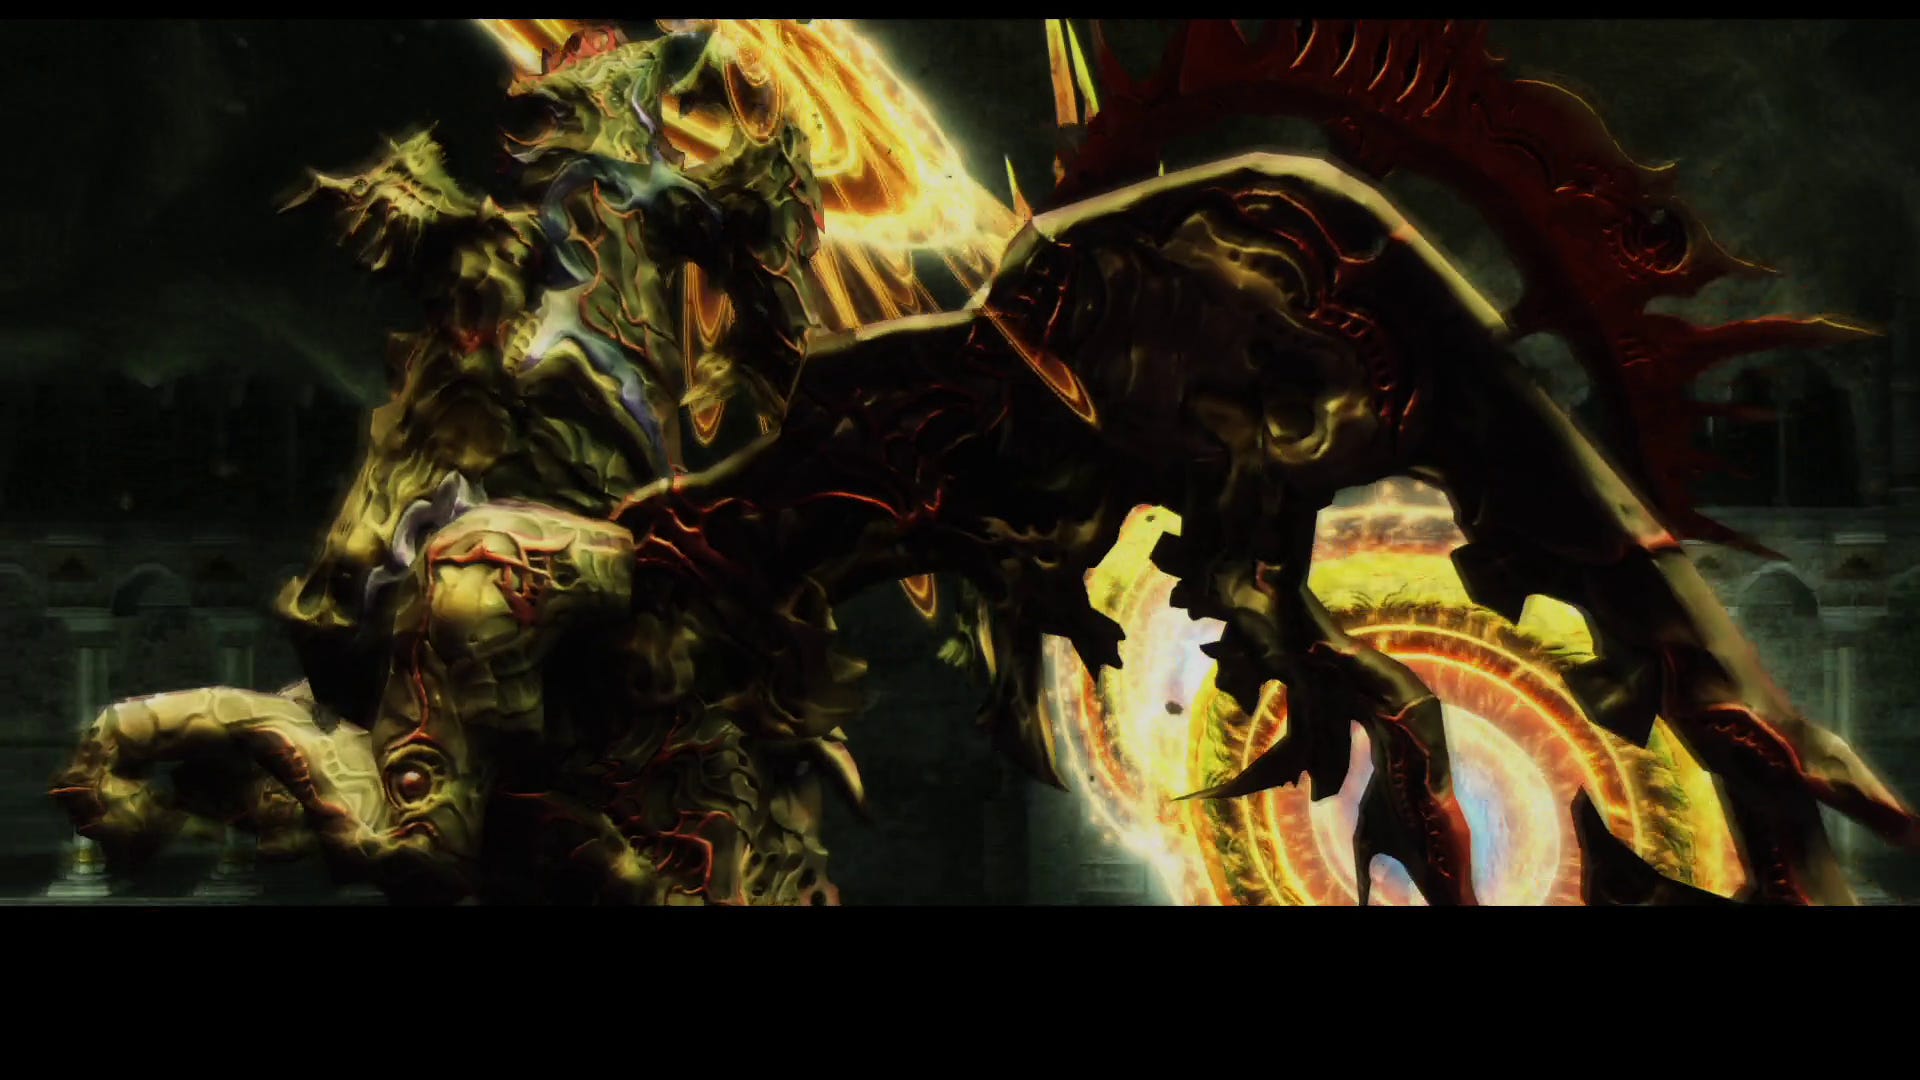
Hell Wyrm in Final Fantasy 12 The Zodiac Age is one of several hidden bosses in the game, and while he's a little easier to find than some others, he takes an awful while to defeat.
With that in mind, we've put together a guide for everything you need to know in order to beat him, including the Hell Wyrm's location, requirements to start the battle, and strategies for when you do so.
For more Final Fantasy 12 help though, be sure to take a look at our Final Fantasy 12 The Zodiac Age guide and walkthrough, too.
Hell Wyrm location and requirements
Before you get to the battle, here's everything you need to know about the Hell Wyrm boss:
- Prerequisites: Complete Draklor Laboratory in the main story and the Get My Stuff Back hunt.
- Location: Sochen Cave Palace.
- HP: ~9 million
- Weaknesses: Holy.
- Absorb: Dark. Immune to all status effects.
- Recommended level: 70.
- Steal: Dark Stone, Dark Magicite, Dark Crystal.
To get this guy to appear you need to have finished Draklor Laboratory and completed the Get My Stuff Back! Hunt. Once those conditions are met head to The Northsward in Cerobi Steppe (the location where you fought the creature in that hunt) and head to the south side of the windmill furthest to the east and you'll get an interaction prompt.
After a short cutscene you'll be given an Ageworn Key. Head to the Falls of Time in Sochen Cave Palace, and take the exit to the east into Destiny's March. Enter the central circular area, and open the Doors of Hours in a clockwise direction:
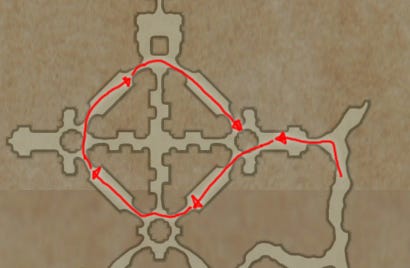
Once you return to your starting location you'll get a message saying “You hear a door open in the distance”. Head to the west of Destiny's March and the Ascetic's Door will now open. Follow the curved tunnel around to the north and unlock the door at the end using the Ageworn Key, and you'll be confronted by the Hell Wyrm. This fight is going to take a while: this guy has 50 health bars to get through, and the fight can last anywhere from 30 minutes to a couple of hours.
Hell Wyrm strategies and how to defeat it
Hell Wyrm's attack pattern changes as you whittle away at his health bars, but for every five you remove he will unleash a Judgement attack that can cause Stop, so on top of all the other things you have to deal with try and keep a running count of your progress and equip Power Armlets to save him from rendering your entire squad helpless, and then switch back to whatever you were using once he resumes his regular attacks.
For more help with? Final Fantasy 12? Our Final Fantasy 12 The Zodiac Age guide, walkthrough, Switch and Xbox differences gives an overview of the game to get you started. Elsewhere, there's our hidden Espers strategy and locations and Elite Hunts and Marks pages, how to get the best Zodiac Jobs for each character, advice on farming LP from Jellies and even how to get the Zodiac Spear.

In terms of strategy, equip your heaviest hitter with the Genji Gauntlets if you have them to more or less double their damage output, have your White Mage do their best to keep Bubble, Protect, and Shield on everyone, and for the third party member you'll probably want to swap between another heavy hitter for the early phases and a secondary healer towards the end. Cast Decoy on your primary attacker to keep the Hell Wyrm from picking on your healer, then take control of the healer and keep them away from as many of the attacks as you can. Your primary attacker will probably die fairly regularly, so managing your healer's MP can be the difference between success and failure.
Here's a rundown of his attack patterns based on how many of his life bars you've removed
- 0-9 bars: He sticks to physical attacks for the first part of the fight, so other than staying alive and laying in to him you don't need to do anything clever here.
- 10-14: He'll start using some elemental spells, Stone Breath, and Rake in addition to his standard attacks. At this point you may want to start keeping your White Mage well away from the danger zone, and only move them in when they're needed.
- 15-24: He now adds Invert to his arsenal which can actually work in your favour as long as you heal as quickly as possible after he uses it - from now on in you don't need to worry about running out of MP.
- 25-34: He'll ease off on the physical attacks for a while, although he will use Rake more often.
- 35-39: He'll now start spamming Rake, so for this phase you may want to have two healers on the go; it will slow your progress a bit, but slow progress is better than "no progress because you're dead".
- 40-44: He'll start favouring Stone Breath, so swap out accessories to immunise yourself.
- 45-Critical: Invert and elemental magic is now his thing.
- Critical: He'll try everything now, and his defence will increase making this last phase quite drawn out.
Away from optional bosses though, be sure to cycle back to our main Final Fantasy 12 The Zodiac Age guide and walkthrough hub for plenty more on the game in general!