Destiny 2 - Reactor platforming sequence: How to complete Escape the Reactor
How to solve the platforming sequence near the start of the Raid Lair.

Destiny 2's Reactor is the start of the Eater of Worlds Raid Lair that's part of Curse of Osiris DLC.
If you want help on other parts of the expansion, our Curse of Osiris walkthrough can help, including how to solve Lost Prophecy Verses.
Reaching the Reactor
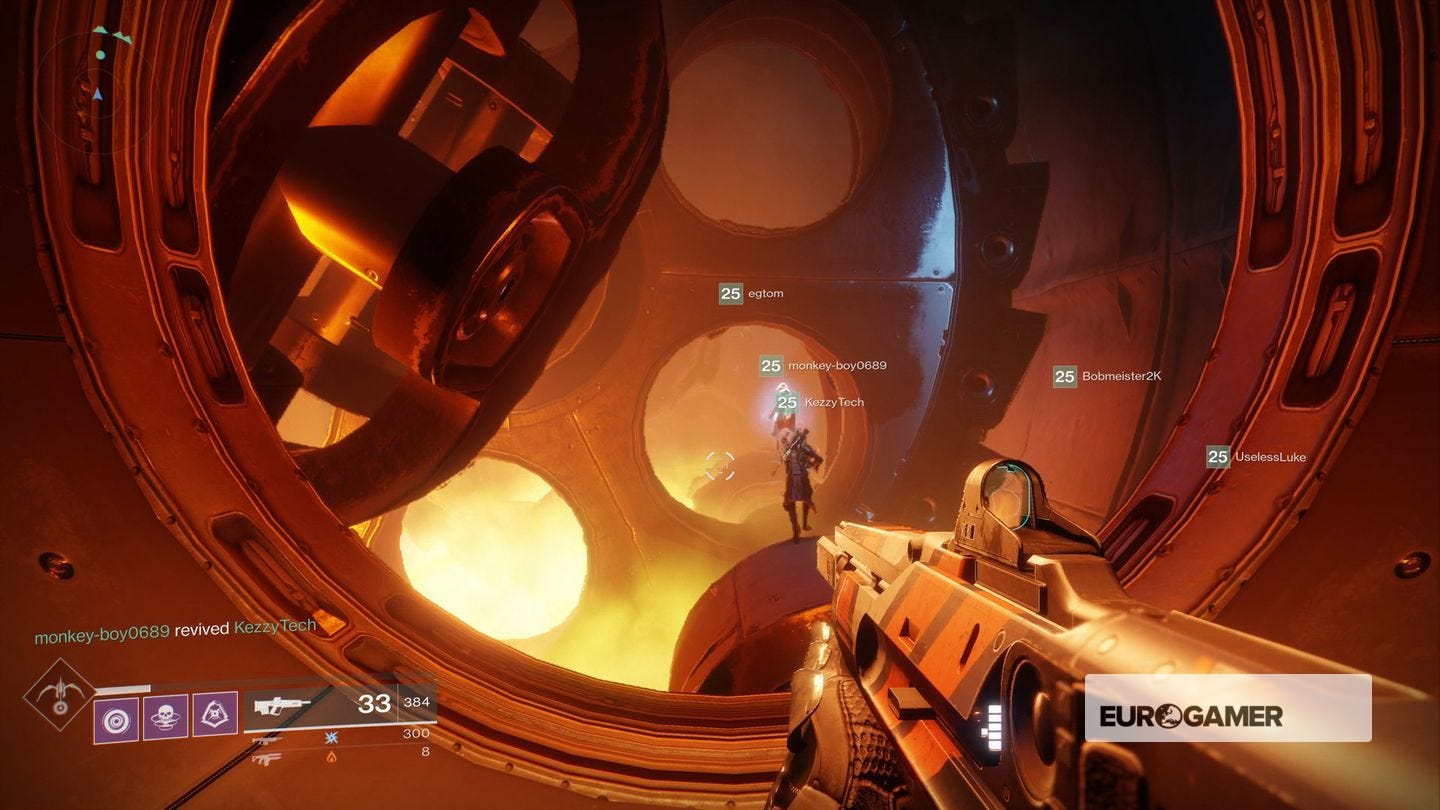
Starting the Eater of Worlds is thankfully much simpler than the main Leviathan Raid. Though you'll start outside again with the same many options of where to possibly go, a large door straight ahead of you will open, and you'll traverse a series of linear corridors. The main highlights are a molten-filled room with spinning cogs that you must jump through, and flying through a giant, white series of turbines.
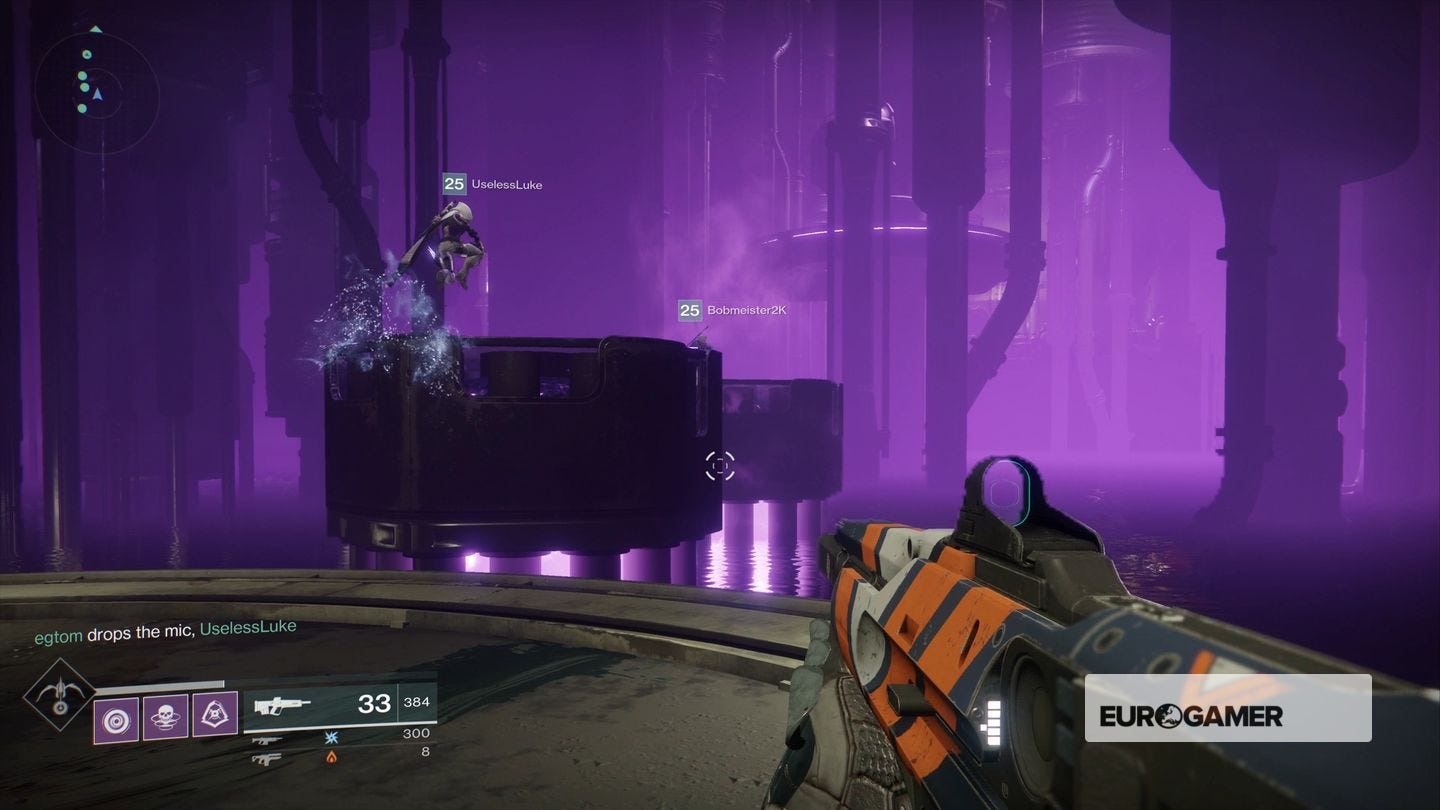
The above sections are both simple to navigate, so you shouldn't have any difficulties getting to the first proper section of the raid, a purple-tinted room with tall columns and a sea of water surrounding them. This is the Reactor, and the Raid Lair's first obstacle.
Escaping the Reactor explained
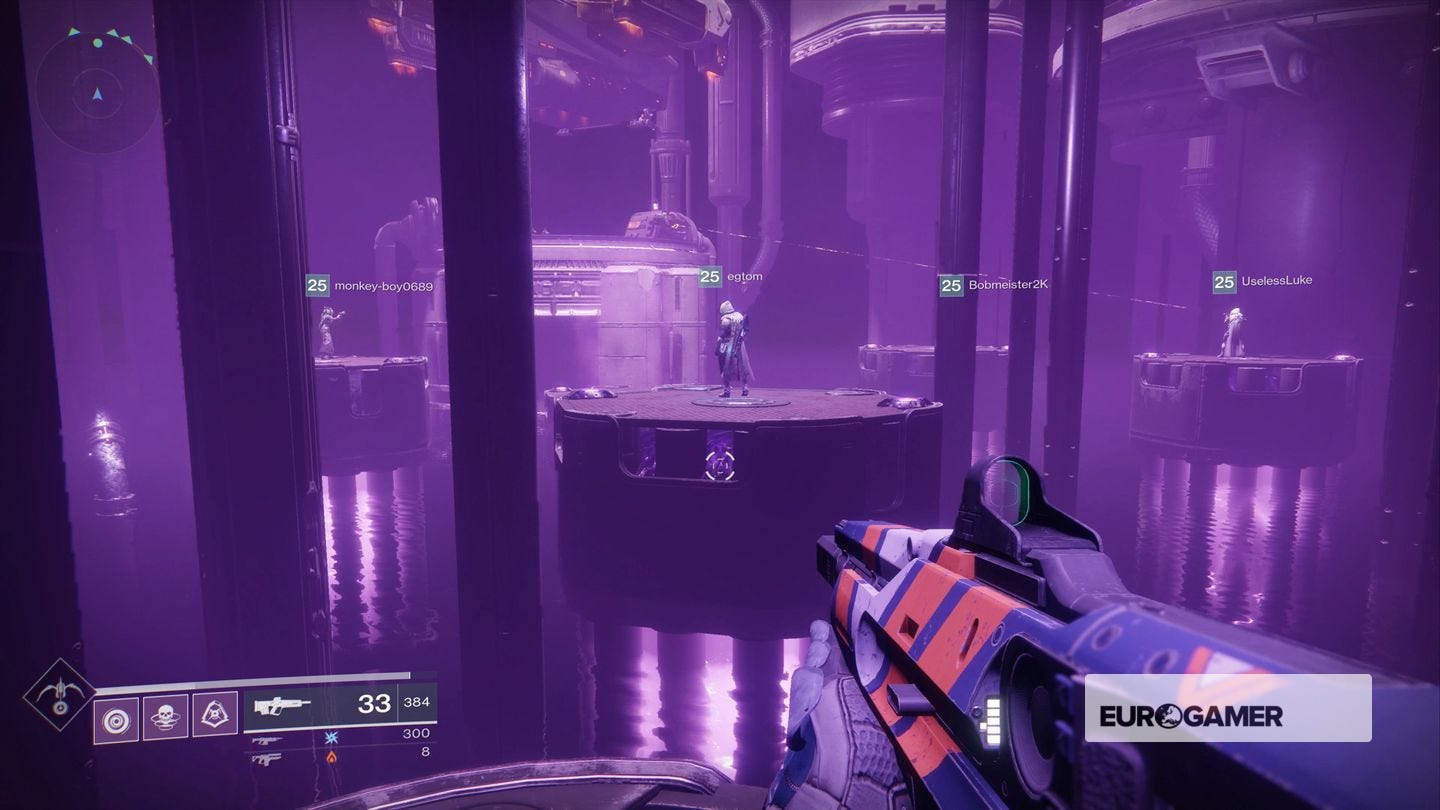
To navigate this vast, water-filled area, you must use a series of platforms that rise out of the water. The rule is that only a single player must occupy a platform at any one time. To get started, have one player jump on the platform, revealing a second just ahead that rises out of the water.
That player jumps to this new platform, and a second player jumps on the first platform behind them. When the third appears, the two players move up, and a third follows behind. Keep going like this - creating a snake of sorts - as the platforms rise up through the water, until you reach a tall column high above the water.
This is a checkpoint, and then a new set of platforms will then emerge ahead.
Though the one player per platform rules remains throughout, the way platforms appear change a little as you progress from checkpoint to checkpoint.
- The first set of platforms is a linear path, so follow it one player at a time.
- The second set is split into two, one left and right, so two teams take them one at a time.
- The third set splits halfway through, so have the back three players take the second path that emerges.
- The fourth set is linear again, but snakes back and forth. Simply follow the player in front of you so you don't get confused.
Some additional notes on the above:
- The platforms at the back could flash red, meaning they will soon sink, though that will take a while - so keep going and you should be fine. If all platforms flash red towards the end, then everyone should rush to the column. You need a handful to activate the checkpoint.
- If some players fall behind, but you activate the checkpoint at the column, the platforms in that prior section will all rise up, allowing them to catch up.
- The columns will have enemies that can attack from afar, so beware of incoming fire.
- It might be easier to assign numbers to each player, so you know who is jumping into the snaking conga line at what point.
The final 'checkpoint' isn't a column, but an area off to the side. You'll need a big double jump to reach it safely, and arriving here will trigger the next encounter.
Looking for more help? When you're not looking forward to Destiny 2's Crimson Days event, our Curse of Osiris guide and walkthrough can explain everything with the recent expansion, including the new Eater of Worlds Raid Lair and how to get Lost Prophecy Forge weapons, new Destiny 2 Exotics and Masterworks weapons and armour. We can also help you reach the 330 / 335 max Power level cap , decide what to spend Glimmer and Legendary Shards on, how Mods, Infusion, and Engrams work, plus a full walkthrough of the Destiny 2 Leviathan Raid.
Finishing the Reactor
This is a combat section, but it's far simpler than anything you've seen in a Raid to date - just clear the area of enemies. There's no tricks here, but there will be some punishing yellow bar enemies that you'll want to kill quickly.
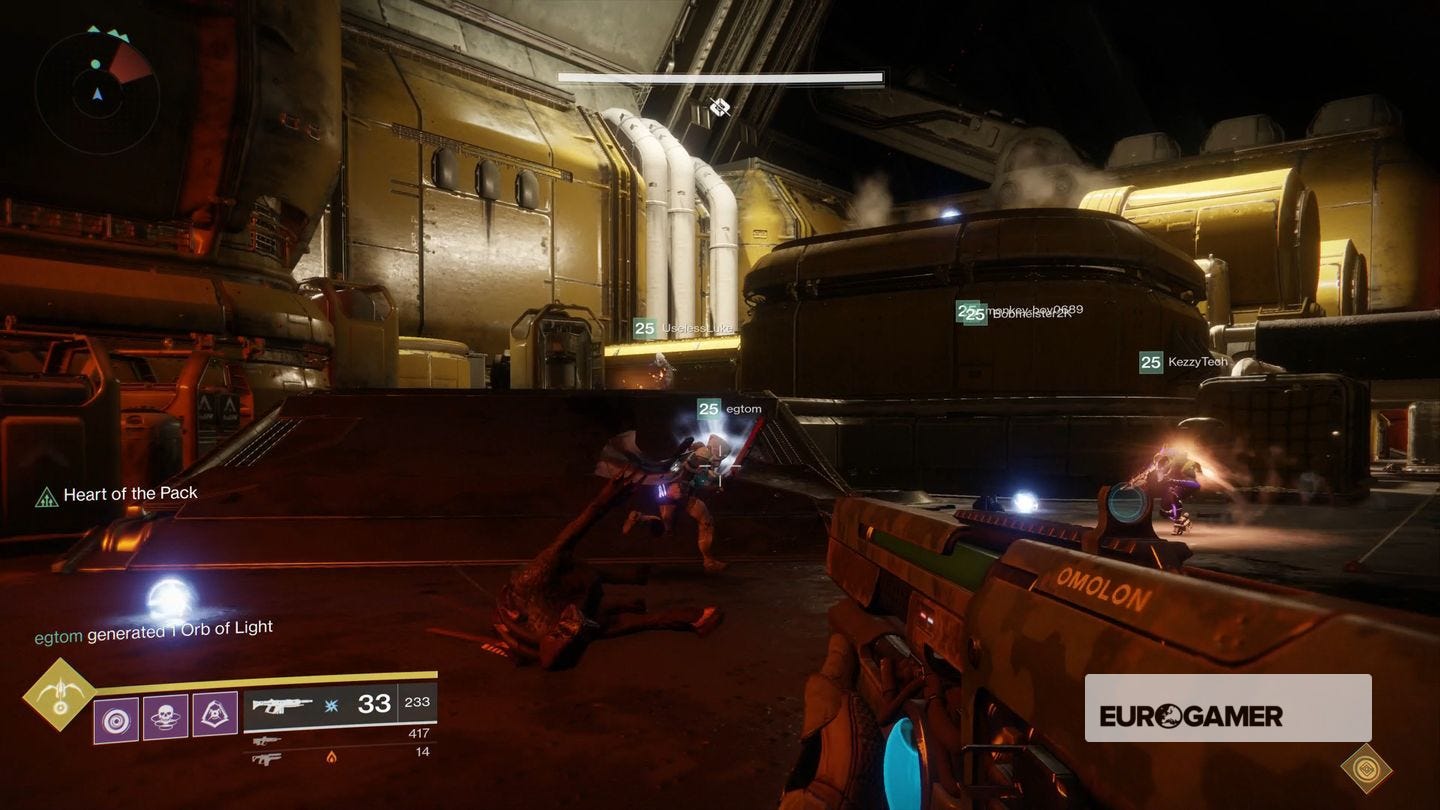
The two things that can fail you is the usual one revive token per player, as well as a time limit, so you need to be reasonably quick yet cautious in dispatching. Power ammo and Supers will help here, as well as perhaps splitting your team into two to tackle both sides of this wide arena.
With the encounter over, you'll receive a chest, and the way to the next section - a giant hole in the ground - will open, taking you to the Delve Deeper section and eventually Break the Barrier.