RE7 Not a Hero - Sewage three switches puzzle, how to avoid turrets
Escape the sewers - and the turrets - in the Not a Hero DLC.

Not a Hero's Sewage three switches puzzle is just the start of this section, as you'll soon need to work out how to avoid turrets on top of the usual Molded threat.
If you need a guide to other areas, our Resident Evil 7 Not a Hero walkthrough can help.
On this page:
Want more help? Our Resident Evil 7 walkthrough provides step-by-step instructions on how to survive the main story, as well as finding the Shotgun, Grenade Launcher and the game's many Lockpicks and Treasure Photos. Meanwhile, our Antique Coins locations, Mr Everywhere statue locations and File locations lists will help you find every available collectible on Normal and Easy difficulties.
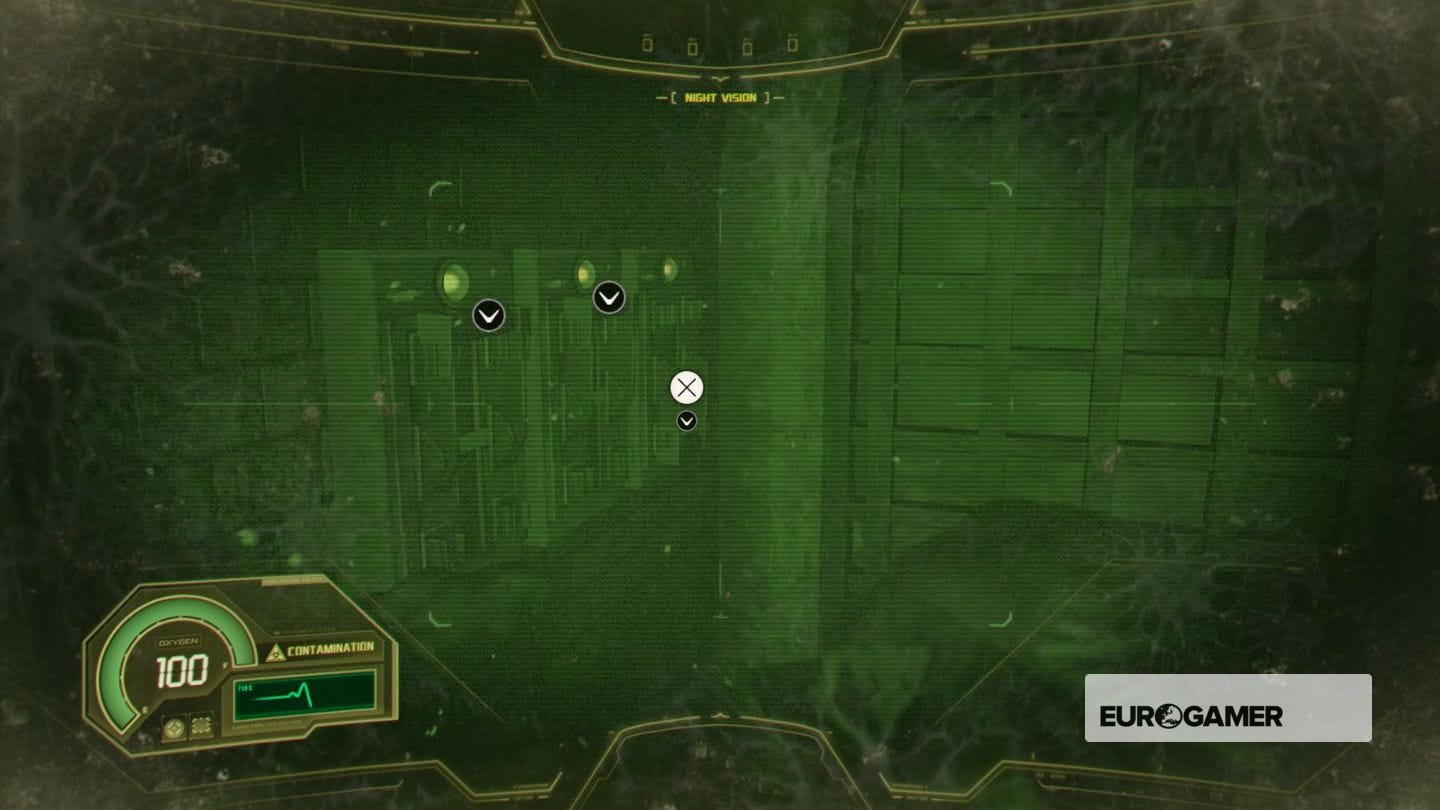
Sewage three switches puzzle
To reach the Sewage area, you must find the Night Vision Device from exploring the Green Shutter area, then dropping down in the pitch black end of the corridor just outside of the room you found it in.
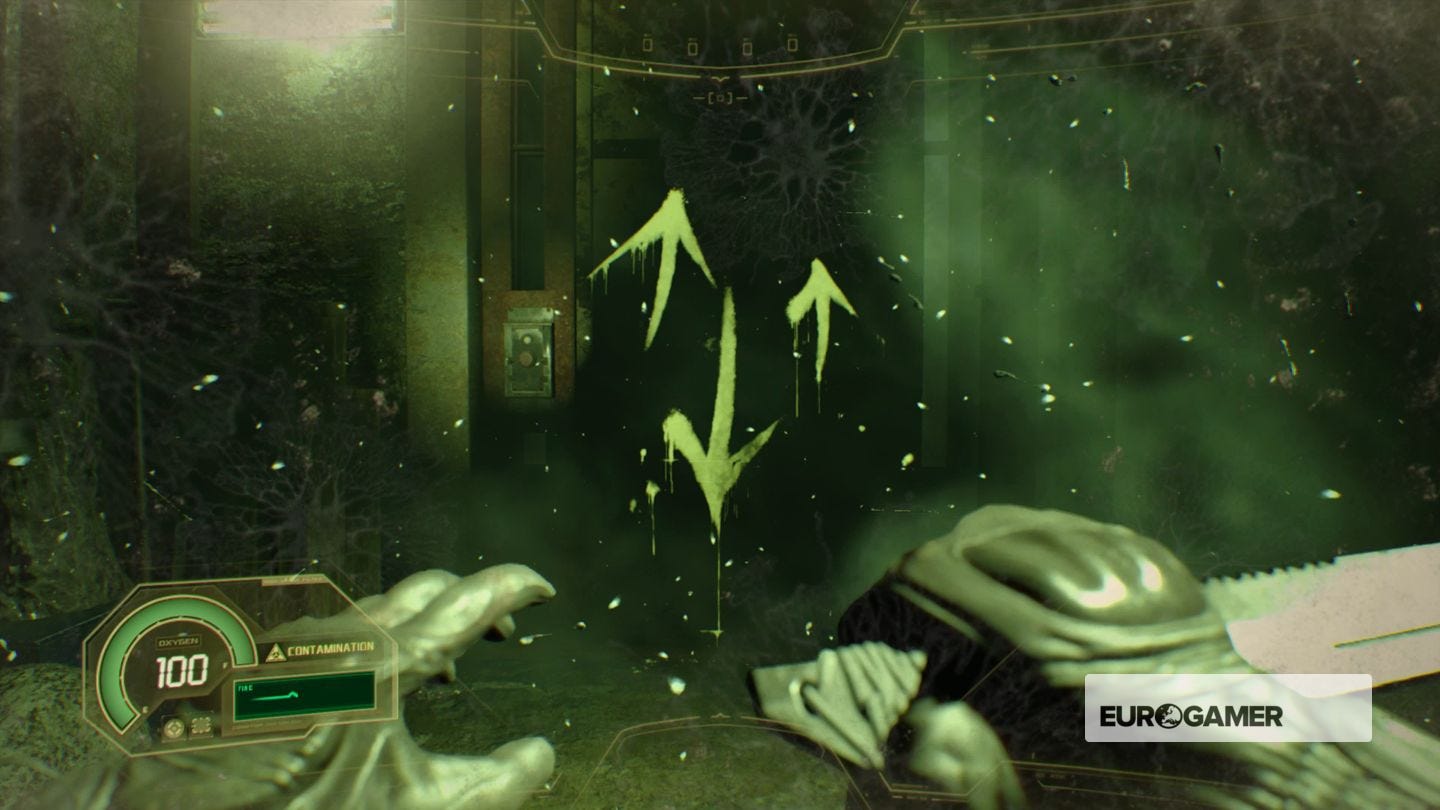
In the Sewage area, go straight ahead to see three switches on the wall. As you'll see painted on the lift in the following room, you must position these in the following positions:
- Up, Down, Up
Doing so will provide access to the lift. As you approach, Headcrab-like enemies will appear. Ignore them and sprint to the lift and enter as soon as you can, fending off any Headcrabs using your knife to save ammo.
How to avoid the turrets
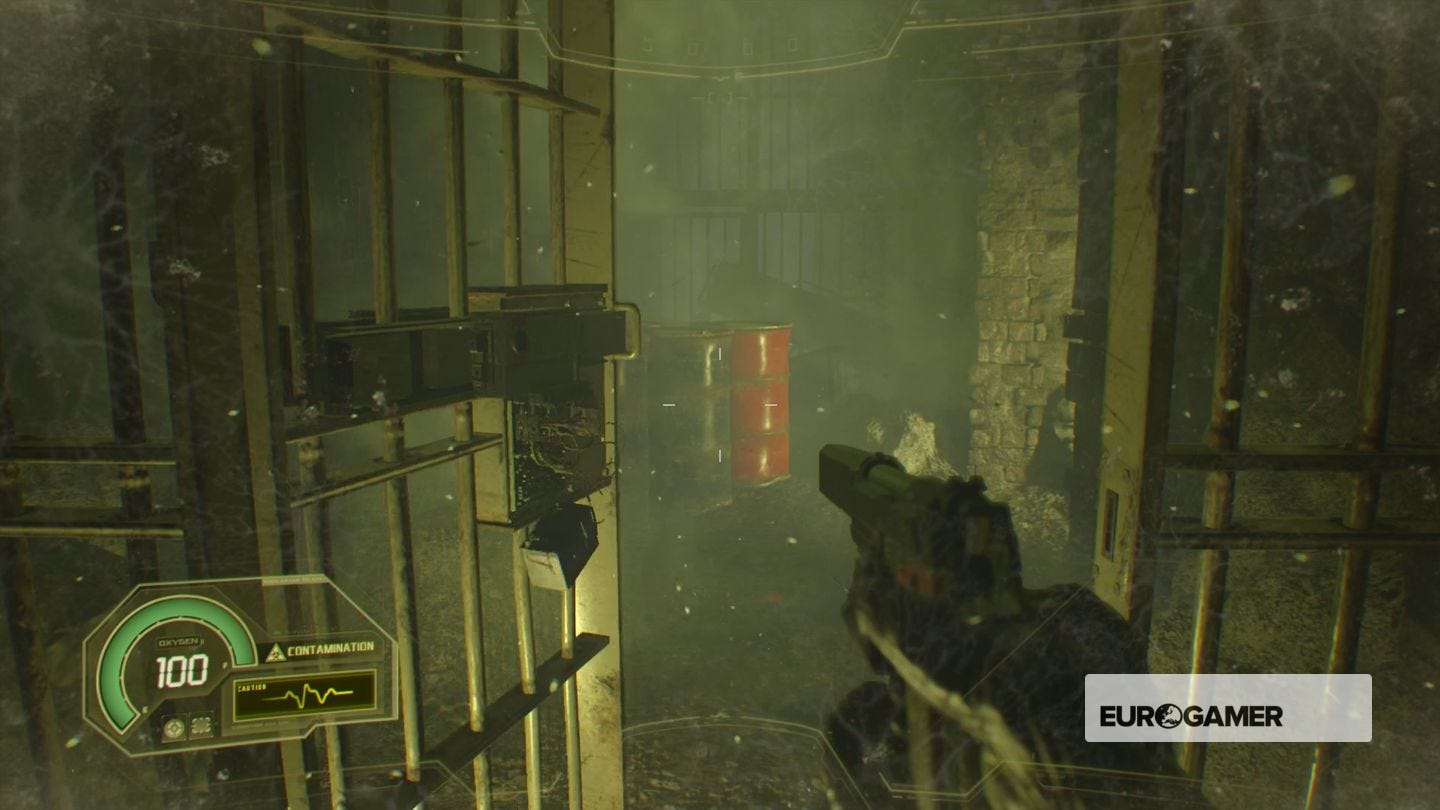
You'll then come back to the Storage Area, though in a corridor you couldn't access before. Just ahead is a Headcrab - knife or use regular ammo to down it - as well as an Antique Coin in the corner.
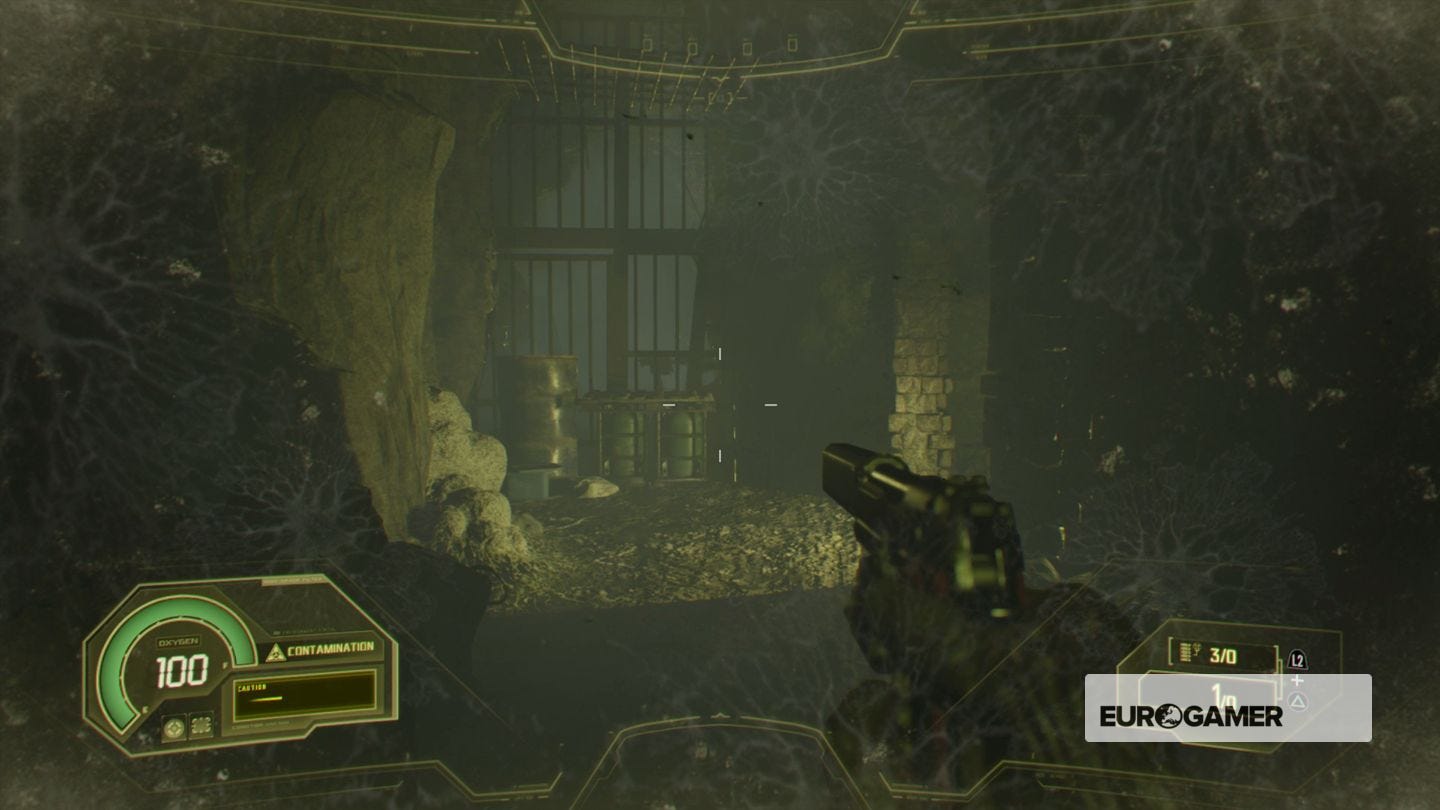
Follow the corridor round, and you'll find a White Molded approaching in-between two sets of bunks on either side (there's some ammo you can grab here if you can). We recommend using one of your RAMROD rounds on this White Molded. Go for the chest as a single round anywhere will kill them.
Before you press ahead, make sure your crouch (clicking in the right stick) then move round the corner. There is a pair of turrets here, but provided you are low enough, they won't sense you. Continue on and two White Molded will emerge; use your remaining two RAMROD rounds to take down them.

If you're thinking you can save ammo here by luring them into the turrets, then it won't work, so you need to take them down yourself. Failing that, you can try and sprint past them.
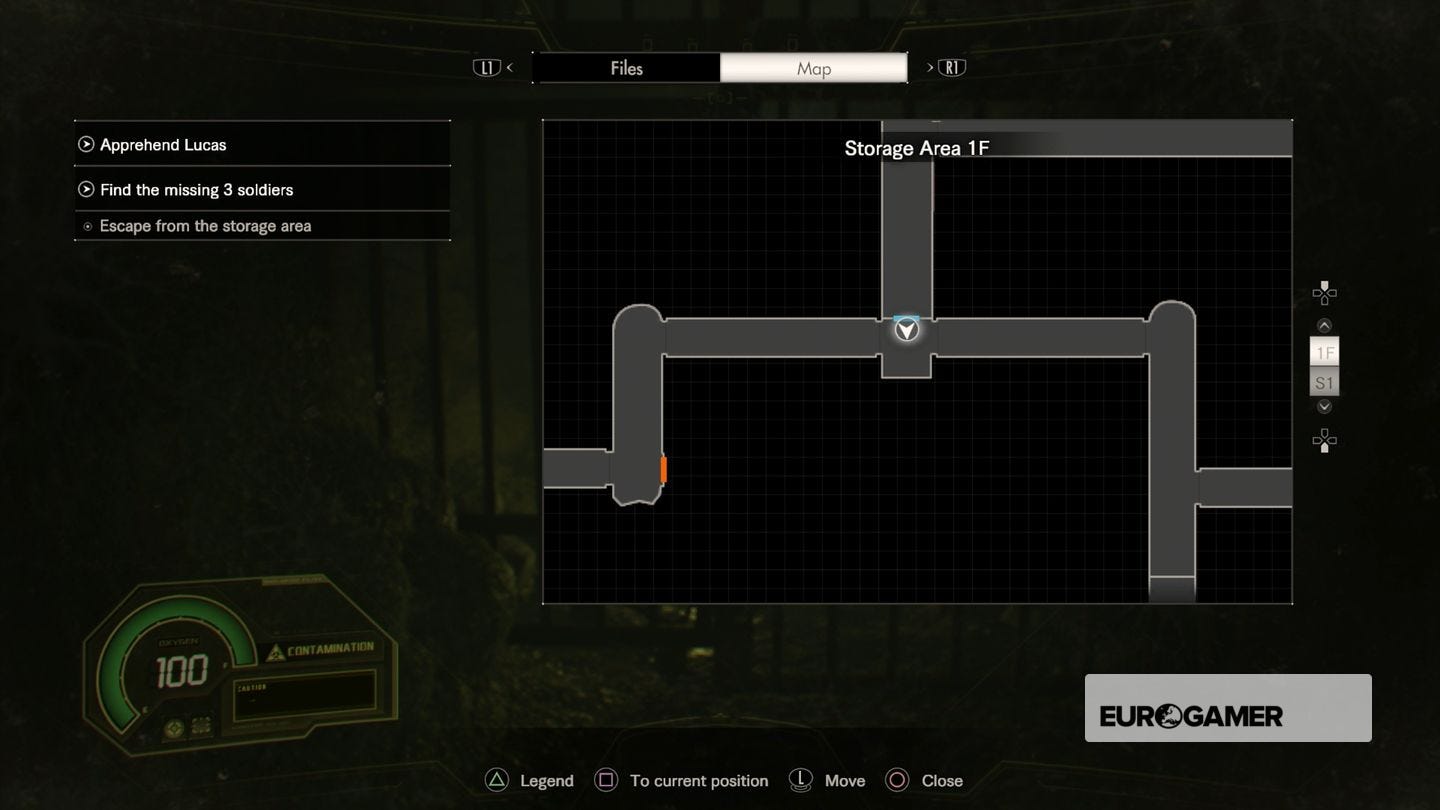
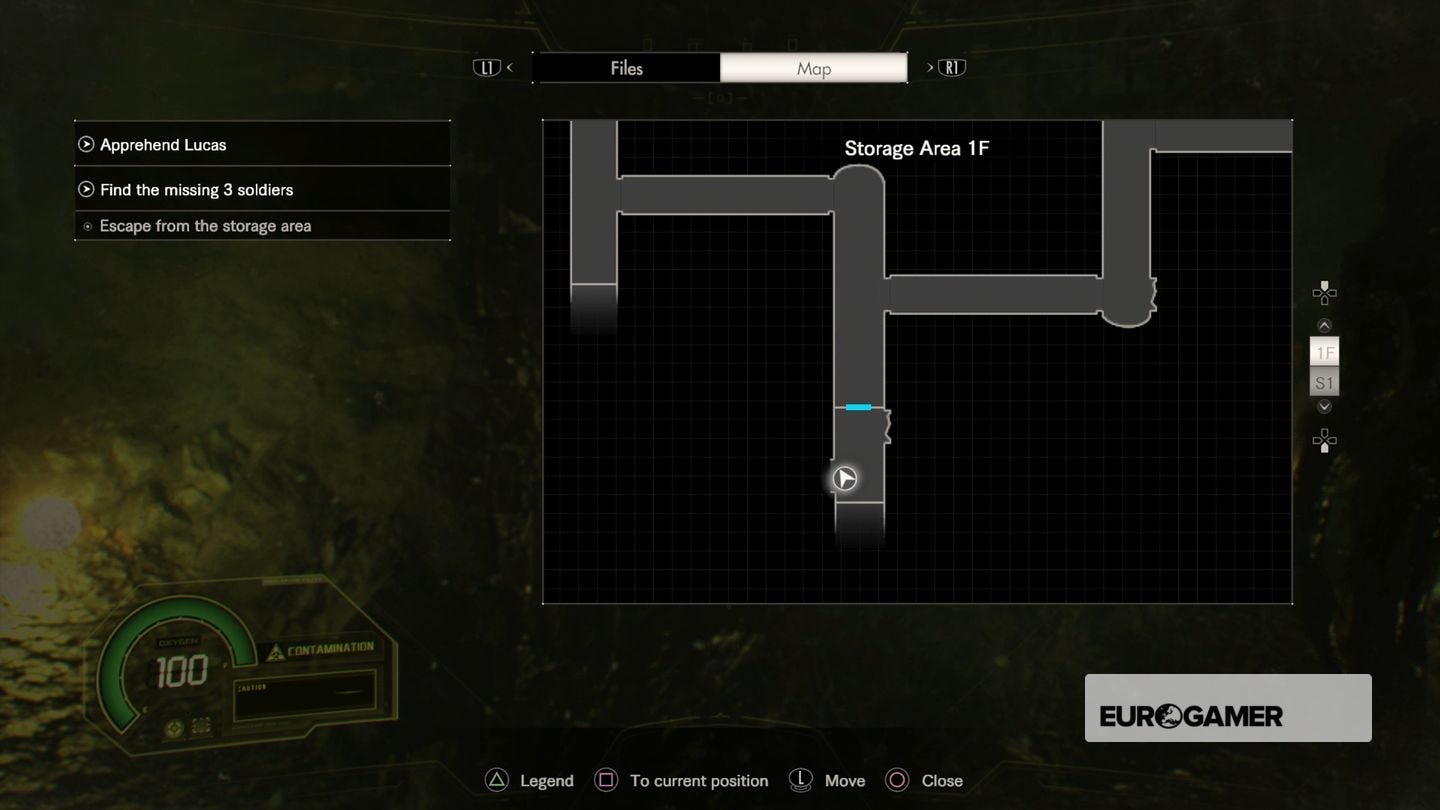
You'll come out back at the main corridor from earlier, though there are turrets dotted to hinder your progress. There are three on the right (or from the map, to the west) you cannot crouch under, so that's a no go; instead go left.
You will be followed by regular Molded at this point, and just as you turn the corner are newly placed turrets. Thankfully, luring them into these while you are crouched will kill them, so do that to save your ammo.
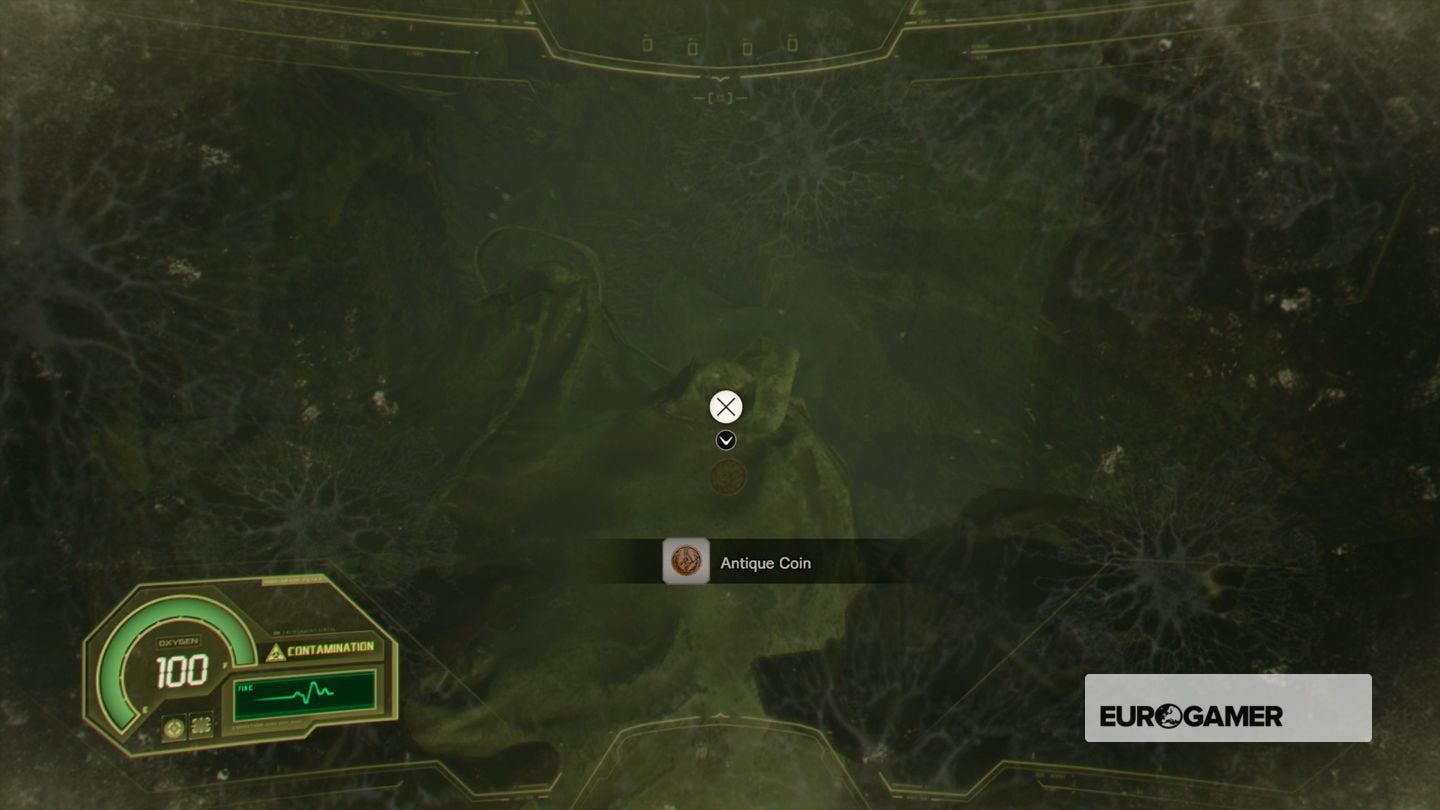
Continue on until you see another Molded emerge in front of a locked door you haven't been into. Open it and progress, grabbing the Antique Coin off the barrel ahead.
Turn the corner and you'll be approached by a limbless enemy; either shoot or let it explode next to you - it's not fatal.
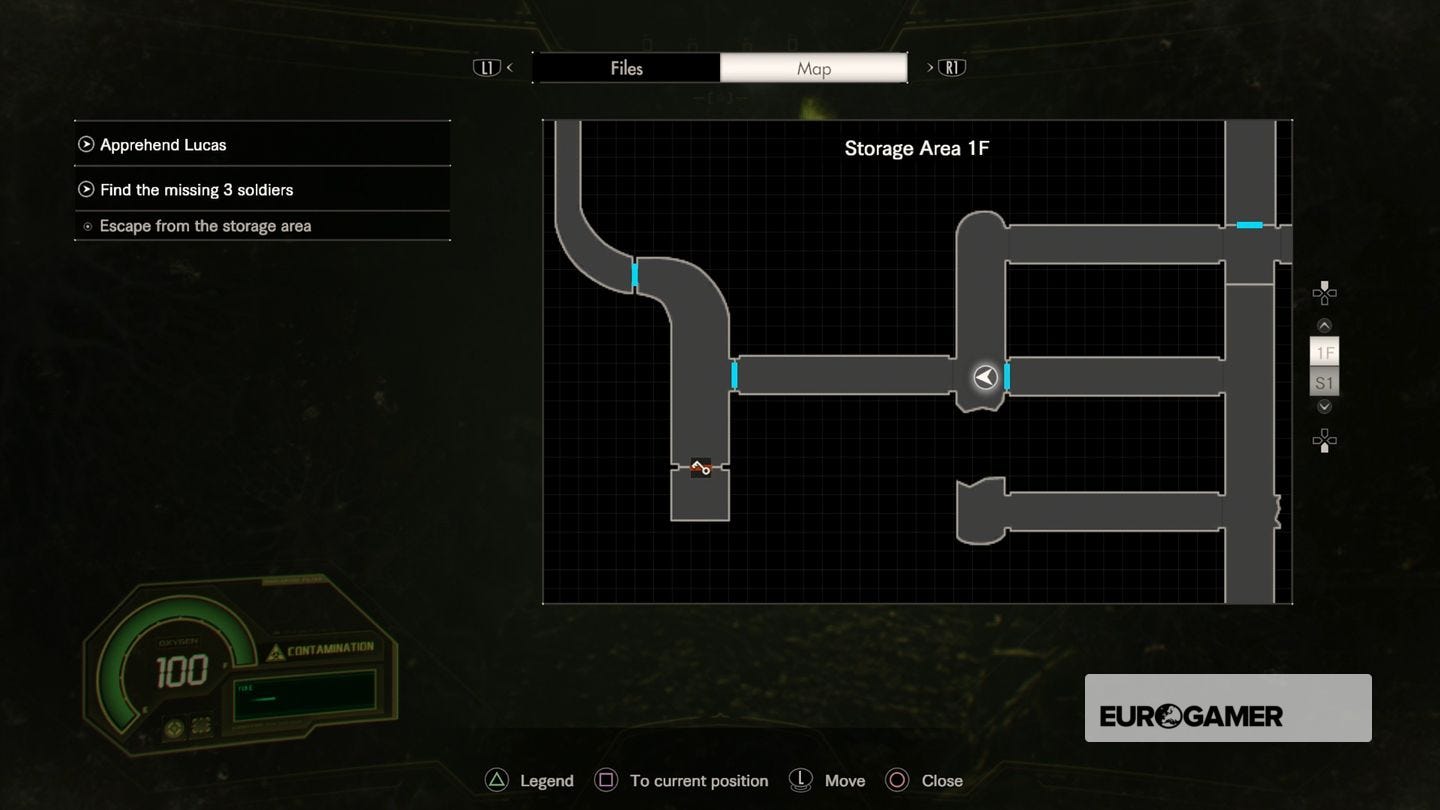
The next part is a little tricky if you want another Antique Coin. You'll see a White Molded emerge at the end of this next corridor, with two left doorways to take, one near you and one near the Molded.
The end of the closest one has both a Lock Pick and an Antique Coin at the end, so if you want it, you must smash the crates blocking the middle of the path, quickly grab them then evade the White Molded that follows. (We recommend sprinting around it, or throwing a Neuro-Stun Grenade). Another two Molded will appear, but again, sprint past them, going down the other passage and out through the door.

This door is to the left (or looking at the map, south) of the three turrets that blocked your path earlier.
Having successfully evaded them, simply continue going west out of this area completely, so you can return to the Central Cavern. With the Night Vision Device equipped, you can now explore the Black Shutter and get the Clown Key, letting you open those mysterious Clown Doors you have seen dotted around the place.