Resident Evil Revelations - Helm Key, Communication Room key locations
Continuing episode three in Resident Evil Revelations.

The search for the Helm Key and Communication Room key locations in Resident Evil Revelations follows on from the flashback starter at the beginning on Episode 3: Ghosts of Veltro.
If you need more help, our complete Resident Evil Revelations walkthrough can assist with other sections of the game, including all Handprint locations, Raid mode and unlockables.
Helm Key location
One year later, back in the present, we find Jill Valentine and friends still skulking around the Bridge of the Queen Zenobia. After the brief introductory cutscene has ended, and the boys have gone off to do their own thing, start searching the Bridge for clues.

Search the Bridge
Head north and descend the staircase to the right. Follow the passageway around and make your way through the door at the end. The double doors directly ahead in the next area are currently impassable, so grab the ammo and nearby green herb from the shelves against the left-hand wall, and proceed west along the corridor.
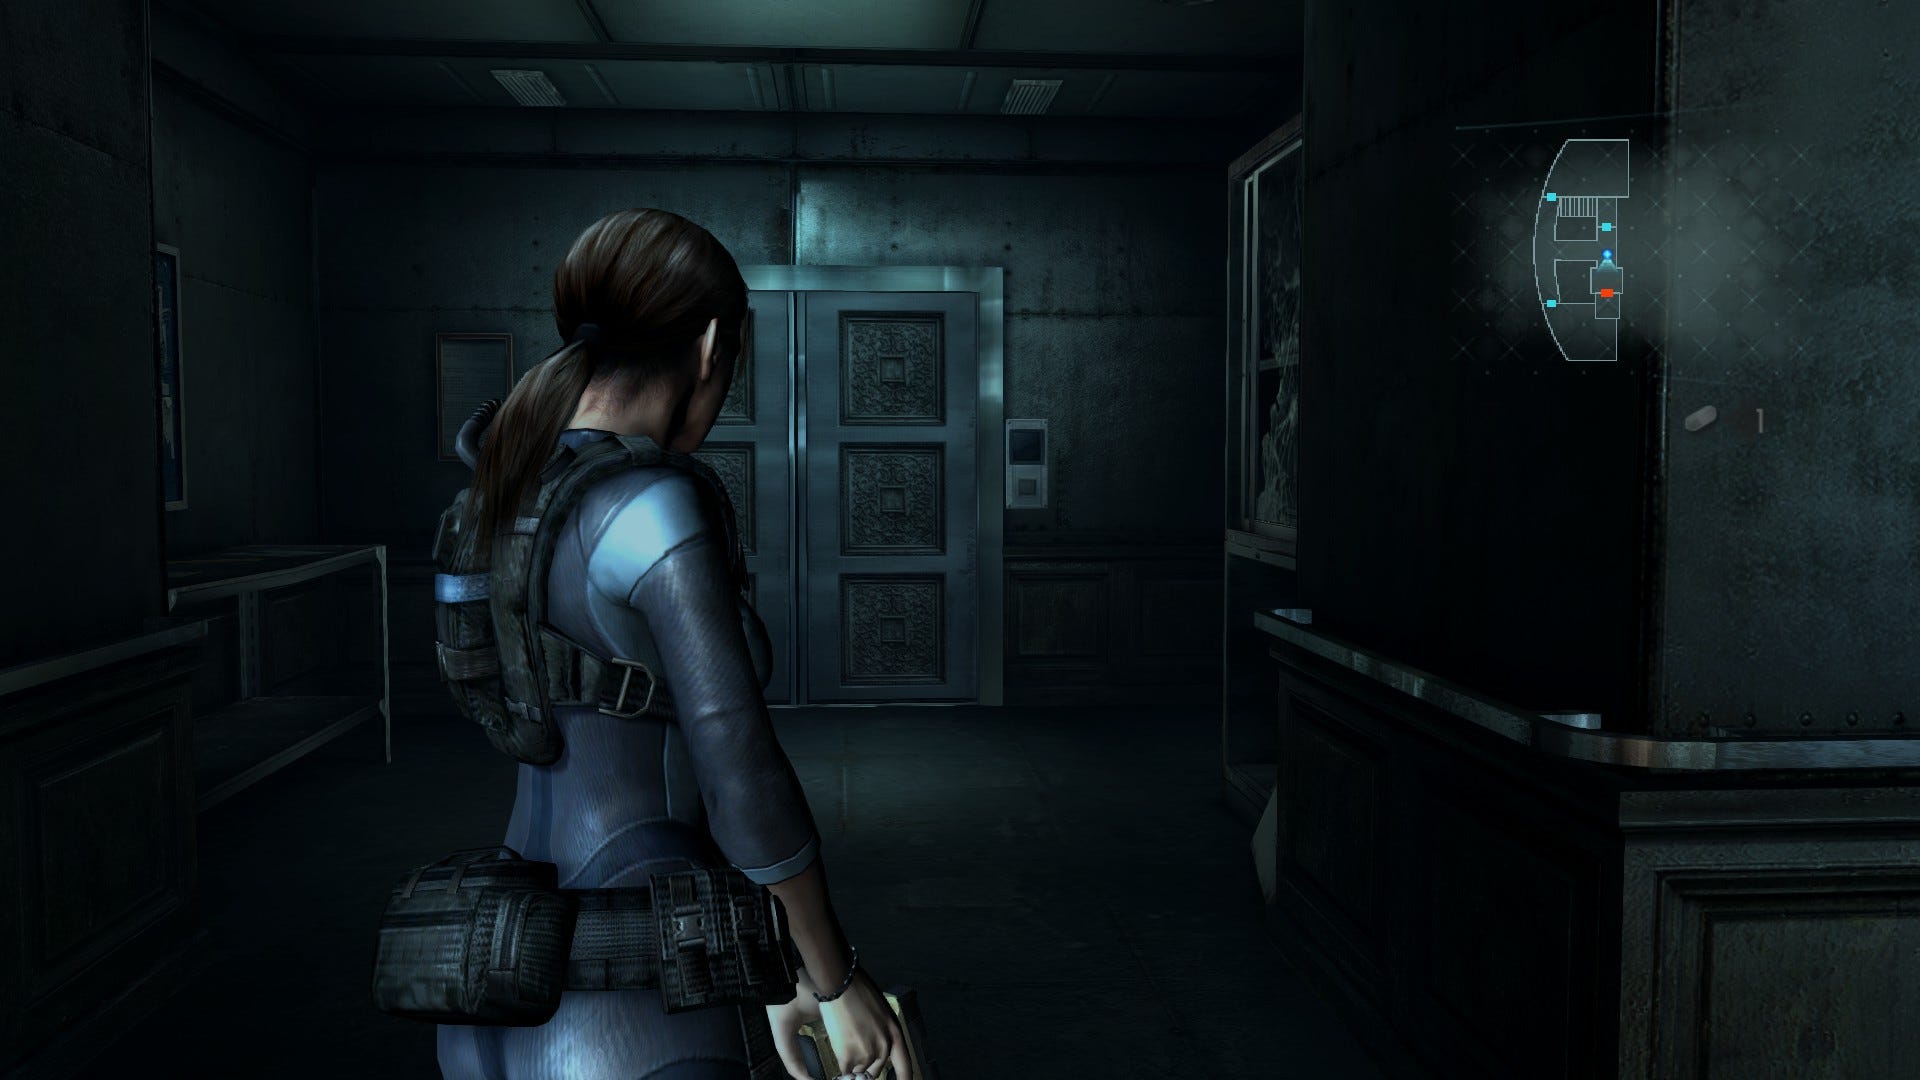
You'll soon meet up with another cheeky Ooze so finish it off with a few head shots. Once you reach the junction, look left and note the heavy door at the end of the corridor, sporting the now familiar Helm mark. You can't open this door just yet so, for now, head north at the junction and pass through the door at the end.
In the next room, pick up the HELM KEY on the railing to the left under the window, then scout around to find some more ammo, decoy grenades, and the Custom Parts on the table. You can also peruse the Ship Layout document if you fancy some light reading.
When you're ready to proceed, head back out into the corridor and use your newfound Helm Key to open the Helm mark door directly ahead. Pass on through then explore the room beyond for another assortment of goodies.
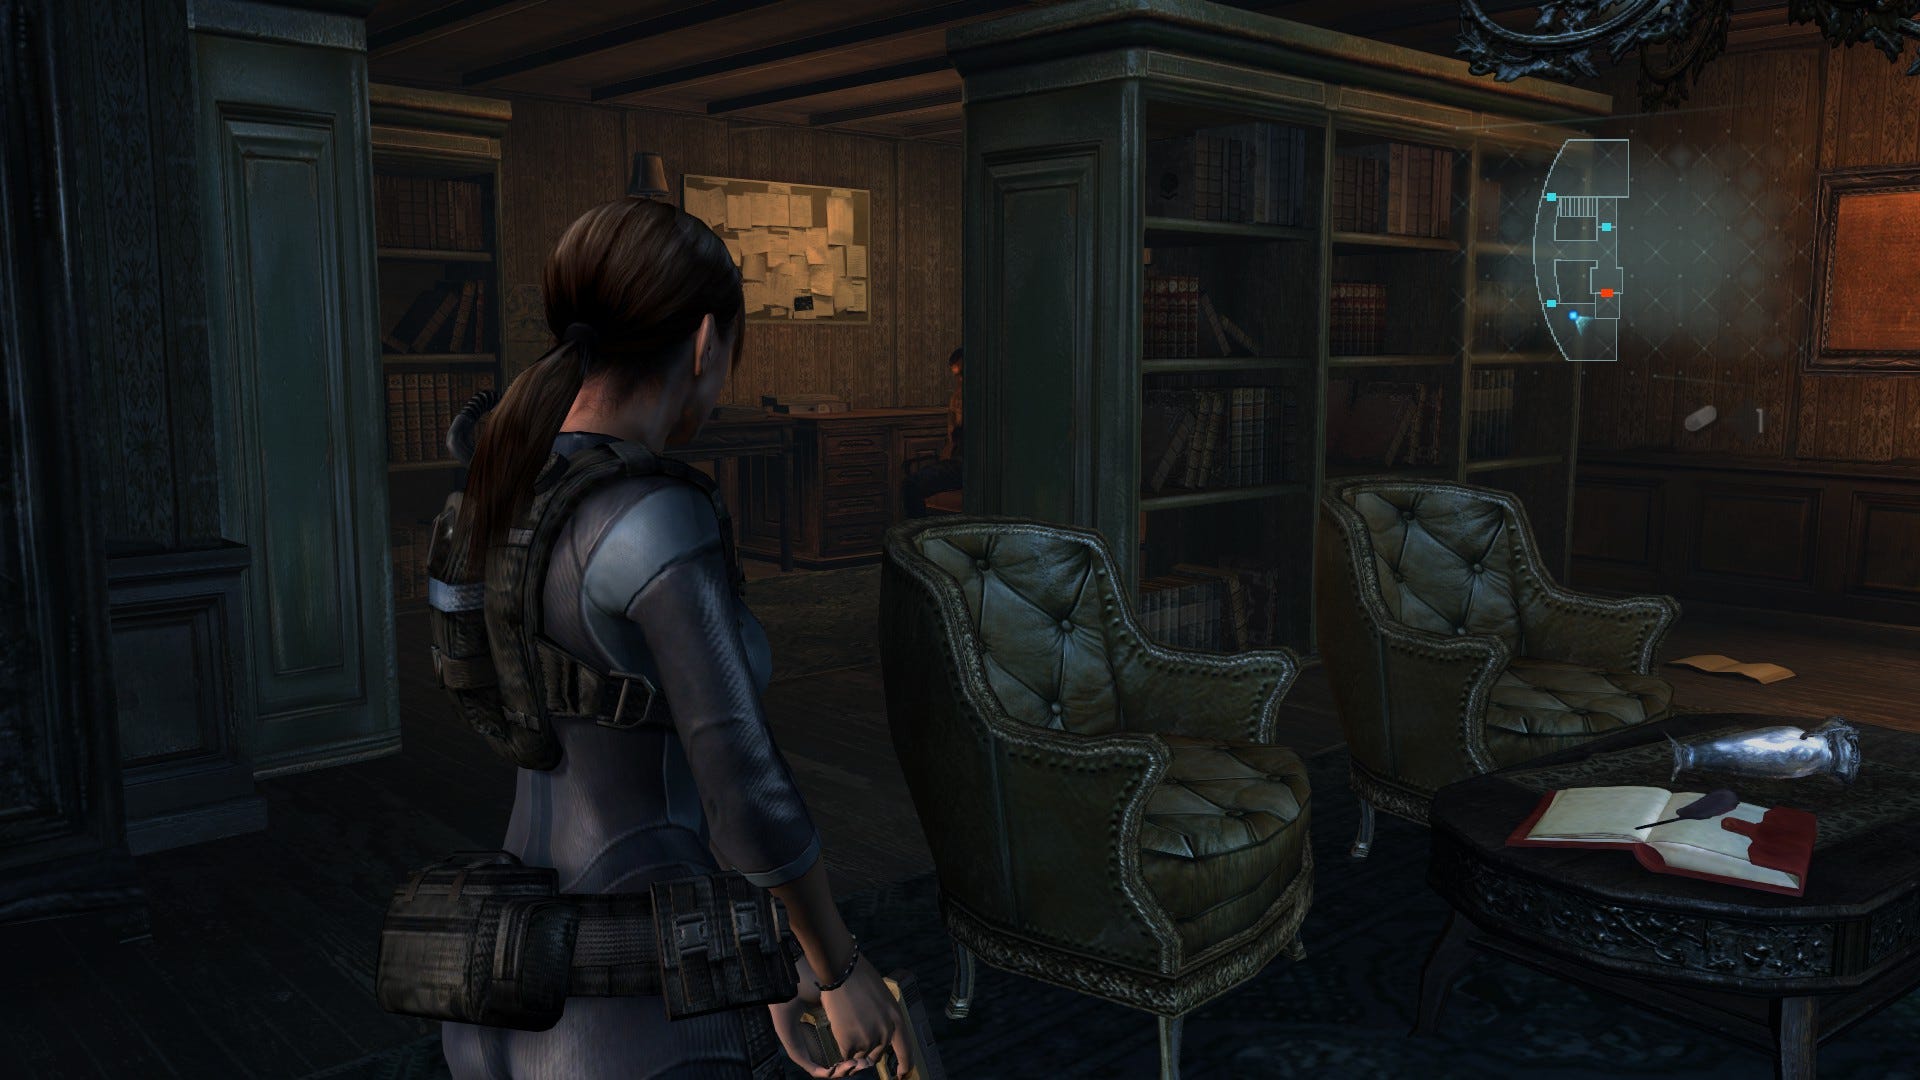
There's the Discarded Message document on the coffee table, some ammo on the dresser, the UPPER INTERIOR MAP in the frame on the southern wall, and the silver CREST on the bookshelf. Be sure to collect the latter two items, then check the History of the Queen Zenobia document on the desk to the right of the shelf where you found the Crest. Finally, examine the body in the swivel chair. Once all that's done, it's time for a considerable bit of backtracking.
First, return to the Bridge and grab the Handgun Ammo Case from the control panel to the left of the chair in the centre of the room. This will permanently increase the amount of handgun ammo that you can hold. Next, leave the Bridge via the door to the east - it's the one you originally used to enter the room. Head through the door at the end of the passage then immediate deal with the creature that jumps out in the locker room.
Go the the Communication Room
Leave via the door to the northeast and follow the passage around to the north. Hit the button to call the lift once you reach the double doors, then interact with the panel inside, selecting the Upper Cabins as your destination. This is the area we toured a little earlier: step out, follow the passage around to the right and use your new Helm Key to open the previously inaccessible door.
Step on through and scan the foot of the bed to reveal the Illegal Custom Parts. Next, read the Note Found in Room 303 document on the table and leave the room.
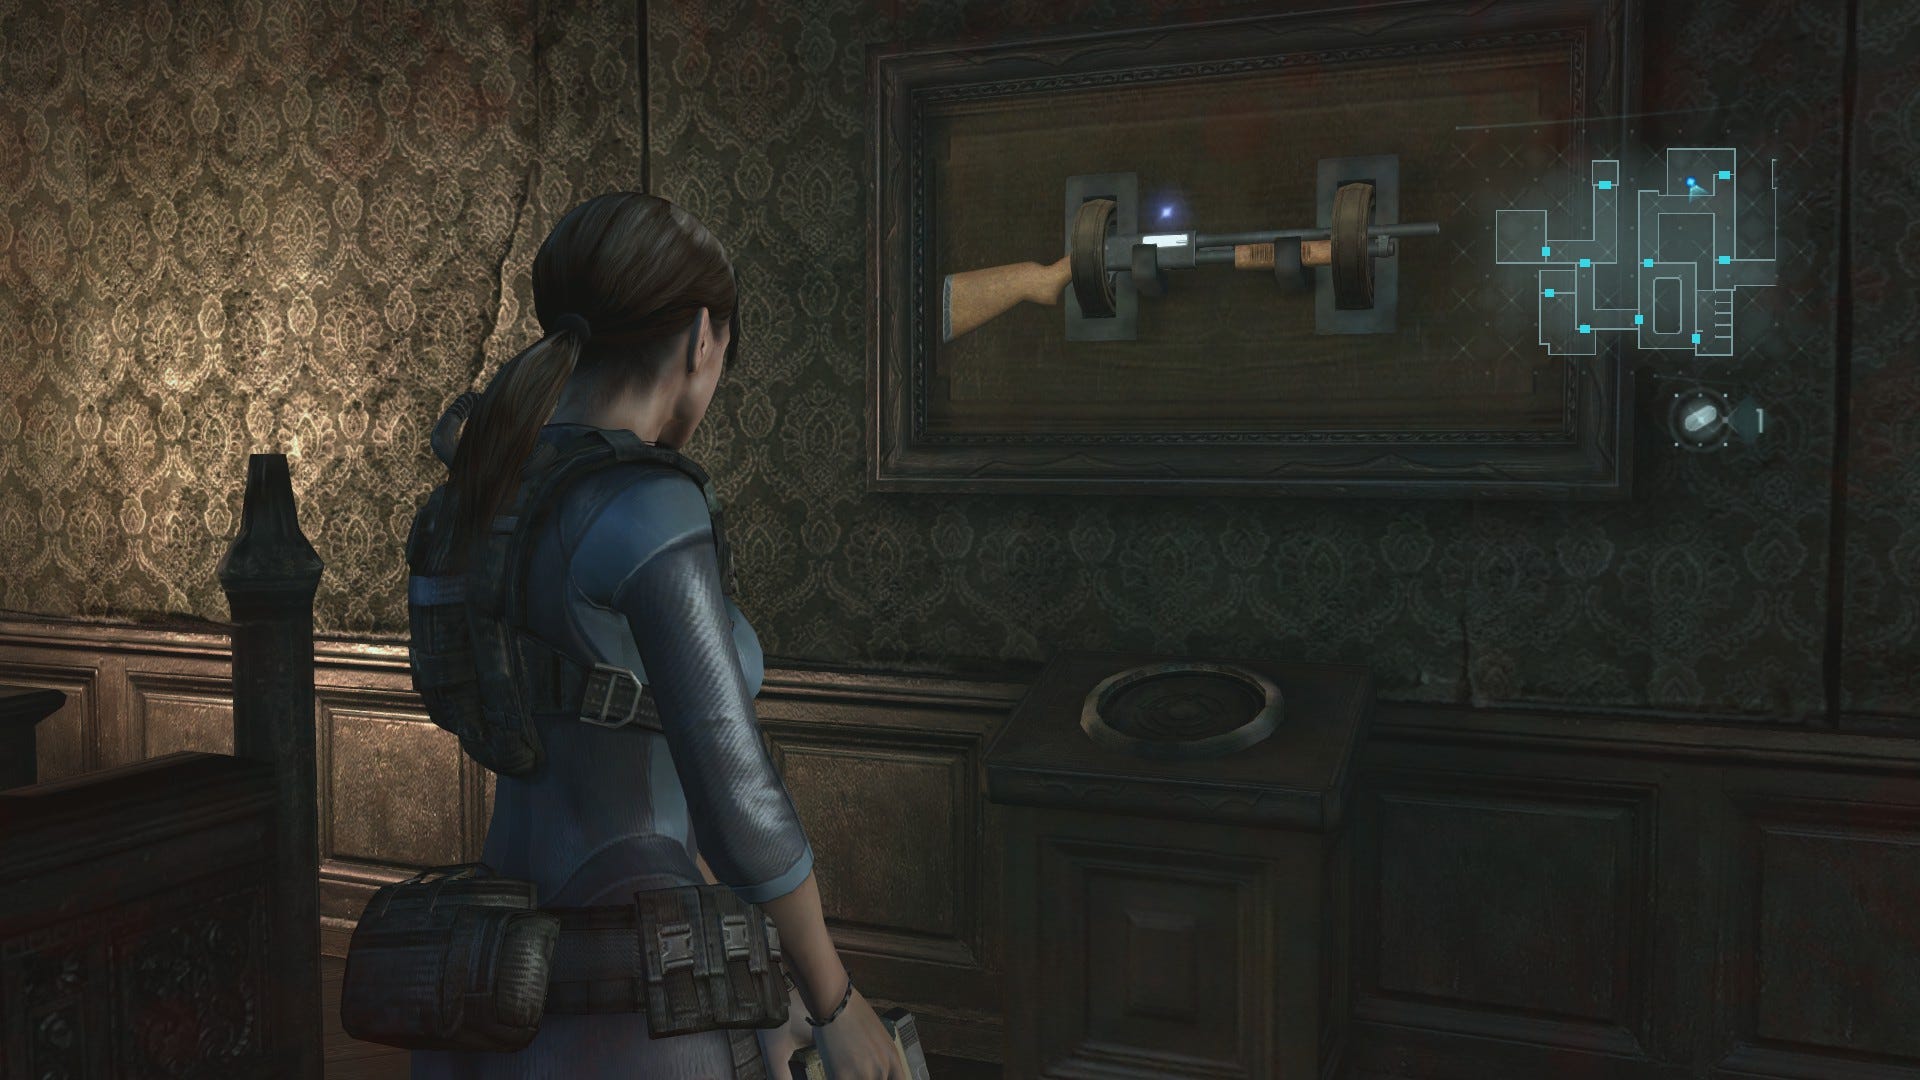
And now a choice: if you want to retrieve the extremely useful shotgun (and don't mind a bit of a detour), head through the brown door on your right and wind your way out onto the landing. Continue through the door in the northwest corner, along the passageway, and back to the room on the left when you hit the junction. Inside, use your newly discovered Crest on the plinth to retrieve the WINDHAM SHOTGUN from the wall.
Two things will happen once you take it: you'll drop your currently equipped weapon and a mutant will burst out of a nearby cupboard. Deal with the mutant, scour the room for ammo, then make sure you're happy with your current weapon selection - if not, switch to the weapon that you wish to (temporarily) discard and swap it with the one on the ground.
Don't panic though - you'll be able to retrieve the weapon that you leave behind at any of the green weapon crates on the ship. When you're satisfied with your load-out, retrace your steps all the way back to the elevator.
Of course, if you don't want the shotgun (or the hassle of retrieving it), you can always go straight to the elevator instead. Either way, once you're there, call the lift, step inside, and use the buttons to head down to the Lower Cabins.
When the doors open, head along the corridor and grab the green herb. Unlock the door at the end of the passage then step on through. Take a right at the junction and slip through the doorway to the left - you'll no doubt recognise this area as the green weapon crate room from a little earlier.
Open the crate and you'll be awarded with the Fire Rate 1 custom parts, the Damage 2 custom parts, and the Burst 1 custom parts if you've been following along with this guide. Equip any weapons that you require, make any necessary modifications, then leave the room.
If you like, you can pay a quick visit to the room directly north at the end of the passage (this is where Parker was held during your own incarceration) and scan it for goodies. Otherwise, proceed east along the corridor and go through the door at the end.
You'll immediately recognise your surroundings as the first of the two annoying library rooms from earlier. Proceed through both, avoiding the mutants as you go, and step out into the corridor. You still don't have the key card required to open the door to the right, so take a left and head through the door at the end of the passageway to reach the dining room.
Alas, it's now occupied by mutants, so deal with them first before doing anything else. Importantly, you'll face a brand-new creature here. It looks very much like the other grey humanoid mutants, but has a sort of harpoon claw for a hand. Unlike its siblings, this enemy type can attack at long range, firing projectiles at you from a distance.
These things can be a real pain in busy skirmishes if you're not being attentive - they can quietly hang around in the background of a fight, doing long-range damage without you even noticing them in the throng.
The good news is that their reload time is incredibly slow, meaning you've ample opportunity to sidestep an incoming projectile and unleash a hail of bullets. Even better, they don't take more than a few headshots to bring down.
Once you've dealt with the harpoon mutant (known as a Tricorne Ooze) at ground level, you'll find a second one being sneaky on the balcony above. If you keep your distance, you should be able to land a few headshots before it even aggros.
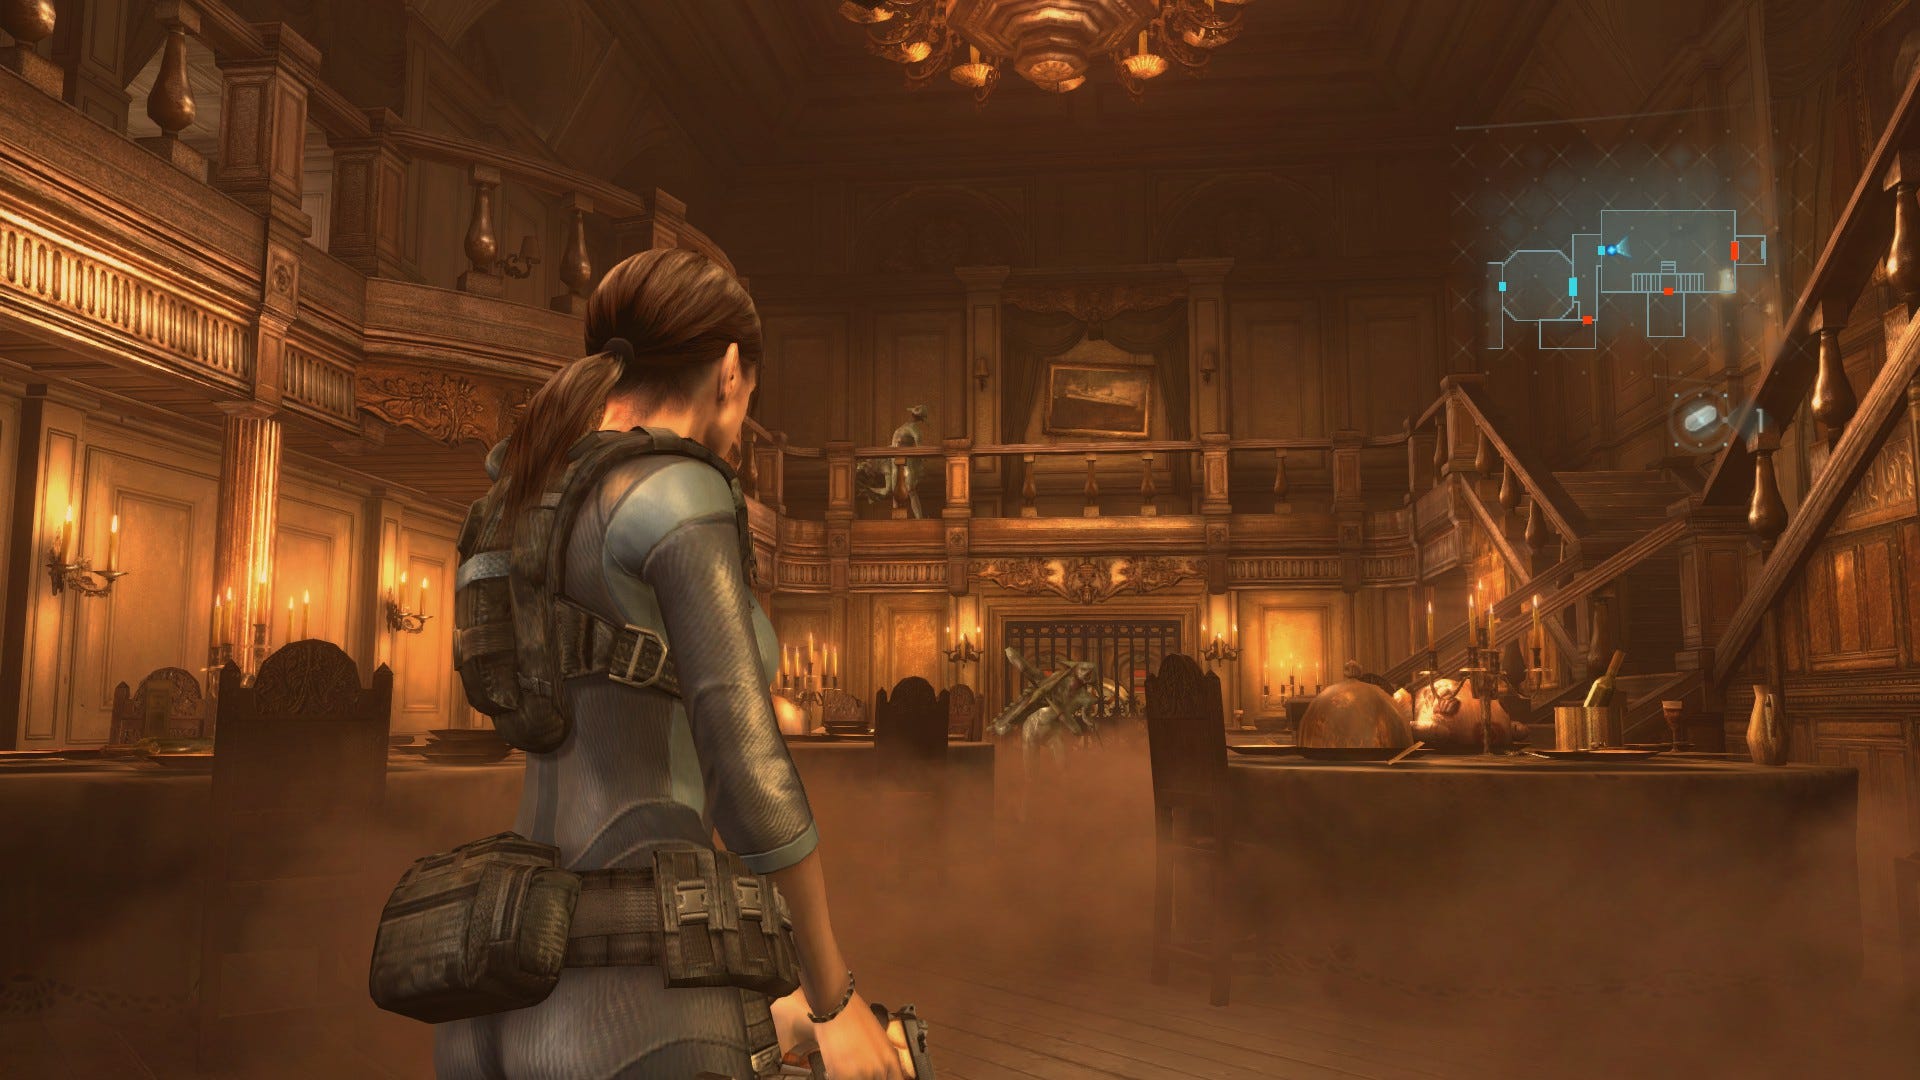
When the room is finally free of enemies, use your Helm Key on the gate to the east and proceed through the double doors. You'll find a second pair of double doors on the other side, so go through those too, emerging above the extremely grandiose main hall.
Take a left and move clockwise around the room, following the landing as it passes another green weapon crate to the right and disappears behind the clock face. You'll reach a large doorway blocked by heavy bars, with a note hung on the wall to its left. Read the note then turn around.
Find the Communication Room Key
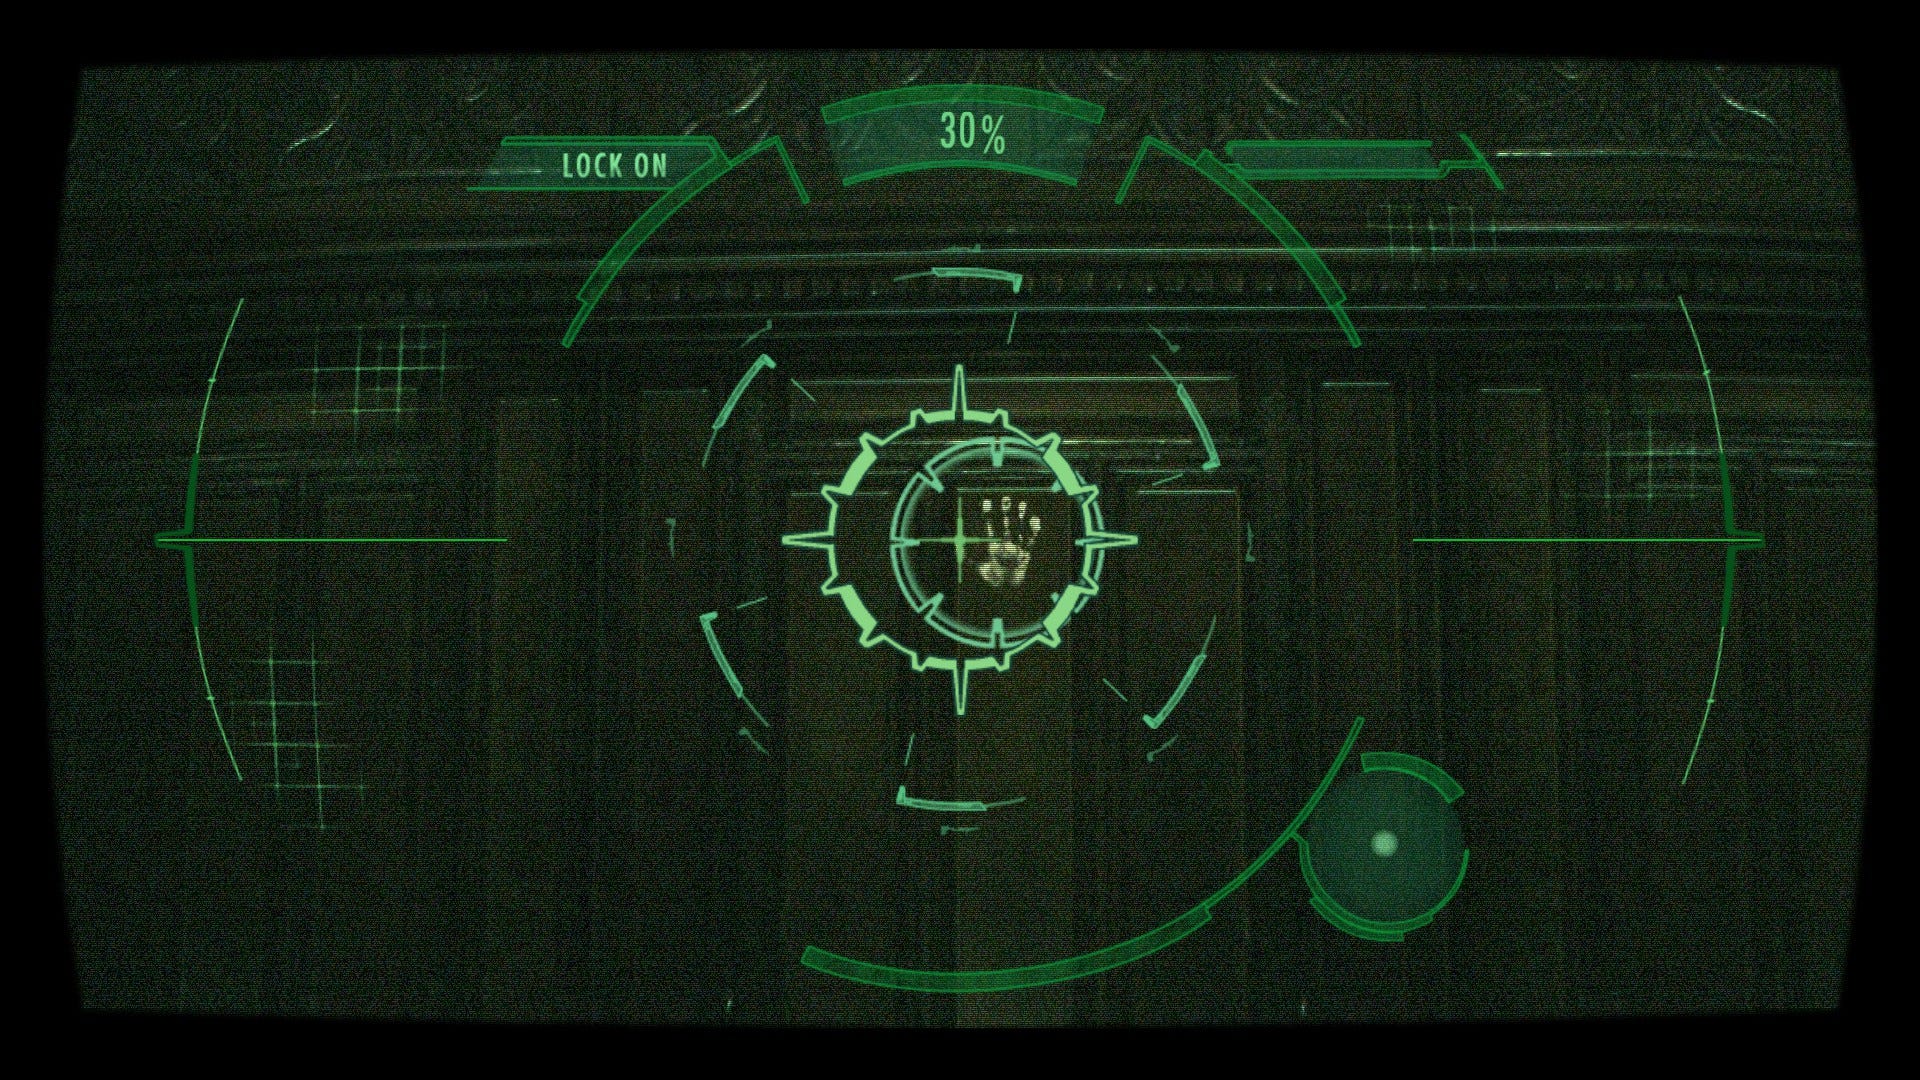
Scan the wooden panel directly opposite the barred door to reveal Handprint 10. While you're here, you might as well locate the next handprint too.
Descent the nearby central staircase to the lower level, then take a right and loop around beneath the steps. You're looking for the small alcove in the room's perimeter wall to the northeast. Scan it to reveal Handprint 11.

With that taken care of, proceed back up the staircase, turning left beneath the clock. Follow the landing around to the left and pass through the door in the wall to the north. Continue along the passage, climb the steps and head through the doorway to the left. This will bring you back out into the main hall, albeit on the upper landing.
Head right and travel clockwise around the room until you spy the door marked 'Solarium'. Make your way through, follow the corridor up the incline and use the double doors at the end. Finally, open the next set of double doors and take a right, moving into the Solarium area. Note that the lockers to your left contain some ammo and a green herb if you're short.
In the cavernous Solarium proper, you'll noticed that the swimming pool is looking a bit biomass-y. For now, proceed south and make your way toward the door with a green light above it. It's locked tight, however, so interact with the wall panel to the left. This will unscrew the panel and initiate another wire-fiddling mini-game. As before, untangle the wires and illuminate the nodes to open the door and pass on through.
Immediately on the other side, pull out your scanner and scan the wall opposite. Slightly off to the right, you'll locate Handprint 12.

Next, move around the room to the right, grab the Custom Parts from the table (and read the Cleaning Report document if you wish), then hit the yellow hazard button on the wall to purify the pool outside. Finally, leave the room.
It'll take a while for the pool filtration to do its job so, for now, retrace your steps all the way back to the lowest level of the main hall, beneath the clock.
On arrival, grab the Custom Parts from the alcove in the perimeter wall to the northwest then proceed through the doorway marked 'Promenade' to the west. Head through the second set of doors, note the doorway on the right, then descend the staircase. Smash the crate at the bottom for some ammo then make your way through the door you noted a few moments ago.
Take a left and follow the passage along until you reach the shelves to the right. Pick up the M40A1 RIFLE (you'll find its scope particularly useful shortly) and pilfer the ammo nearby. Next, make your way through the door on the left.
Proceed cautiously into the next room. The area opens out onto a balcony on your right, and there's a Tricorne Ooze on the walkway opposite. The creature will immediately take aim and begin firing its long-range projectiles as you step into the open.
Luckily its attack are slow, so simply strafe around an incoming projectile and quickly take aim with your new rifle. It features a zoom scope for clear, close shots at your target - and one well-aimed headshot should be enough to bring the Tricorne Ooze down.
Note that there's a second, standard Ooze on the walkway that will slowly shuffle passed your main target and wind around the upper level to appear through the doorway immediately to the south. If you're quick, you can bring them both down with a rifle headshot. Otherwise, you should wait on the balcony for the standard mutant to appear (there's more space to fight here than in the corridor through the doorway) and finish it off with your handgun.

Once it's defeated, swipe the ammo from the table and proceed through the door to the south. Follow the passage around to the north, pocketing the green herb as you go, and you'll shortly emerge on the opposite walkway.
Follow it north until you reach the junction with the green weapon crate ahead. Use it if need be (you should now have the Fire Rate 1 custom parts, the Long Magazine custom parts, and the Fire Rate 2 custom parts if you followed this guide), then note the semi-lowered shutters to your left. We'll be back here shortly but, for now, descent the steps to your right.
Grab the Custom Parts from the nearby table then head through the door in the southwest corner of the area. The heavy steel door here is locked from the other side. Scan the shelf to reveal a handy Shotgun Ammo Case, which will increase the capacity of your shotgun, then retrace your steps and head toward the shutter you noted a few moments ago. Interact with it to proceed.
As you move along the corridor, you'll hear frantic knocking coming from the room directly ahead. Pass into the room and grab the ammo on the table. DO NOT shoot the lock off the door just yet - there are a few more things to deal with before you initiate the big boss confrontation.
Instead, leave the room and follow the walkway south, noting the gas canister as you go - these will become very important in the not-too-distant future.
The path splits at the end of the junction: take a left through the doorway and follow the route forward, hoovering up the ammo as you go. Grab the green herb in the first room, the ammo out on the balcony to the left, and the second lot of ammo on the table at the bottom of the stairs.
As you leave the small lower room, turn right and note the steel door that requires the Lifebuoy Key to unlock. This is the other side of the door you spotted a little earlier.
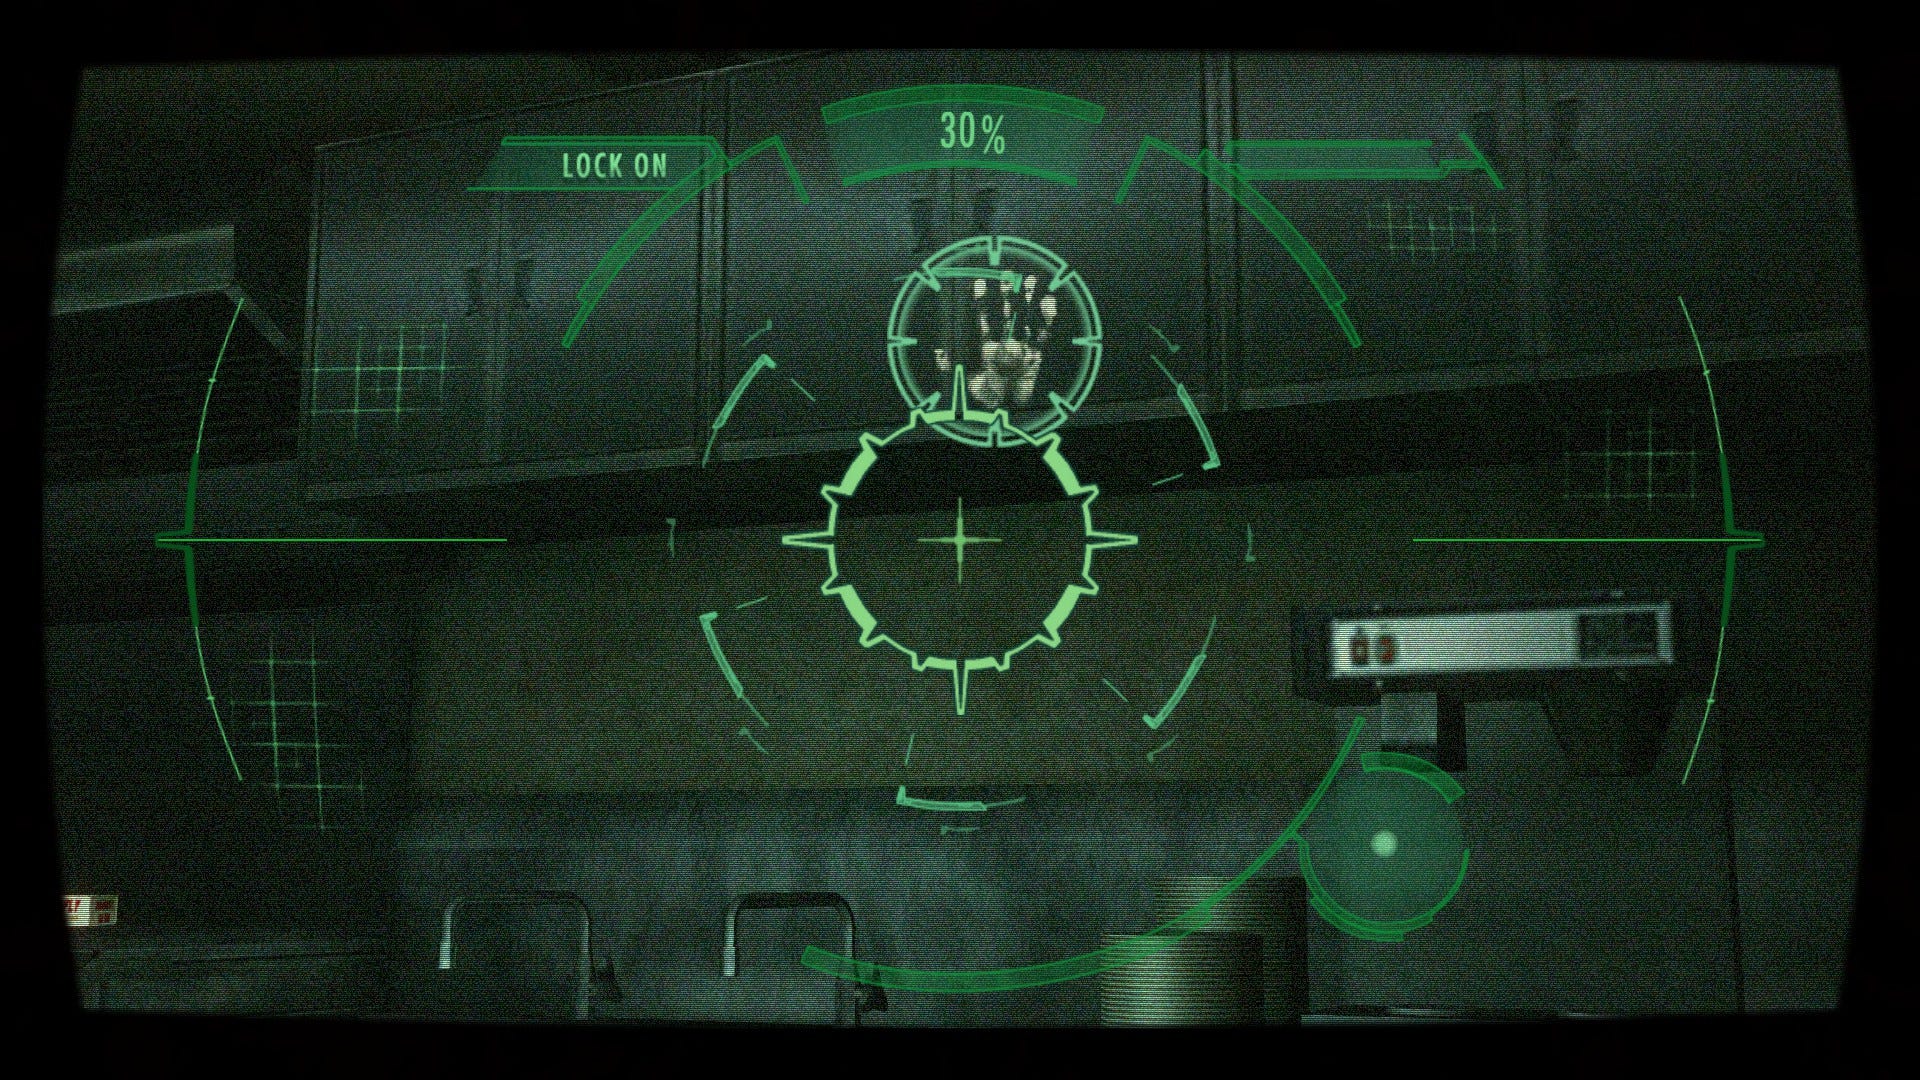
From here, scour the entire lower level to find some ammo. There's more ammo in the kitchen area to the northeast - while you're there, break out your scanner and scan the stainless steel cupboards above the sink to reveal Handprint 13.
With that done, stroll out onto the central Promenade, note the double Lifebuoy Key doors to the west and use the main steps to return to the upper level. This leads back to the junction from earlier, creating a looping pathway around the entire area. If necessary, do another couple of loops to familiarise yourself with the layout - it might prove handy once the imminent mutant Communication Officer boss fight begins.