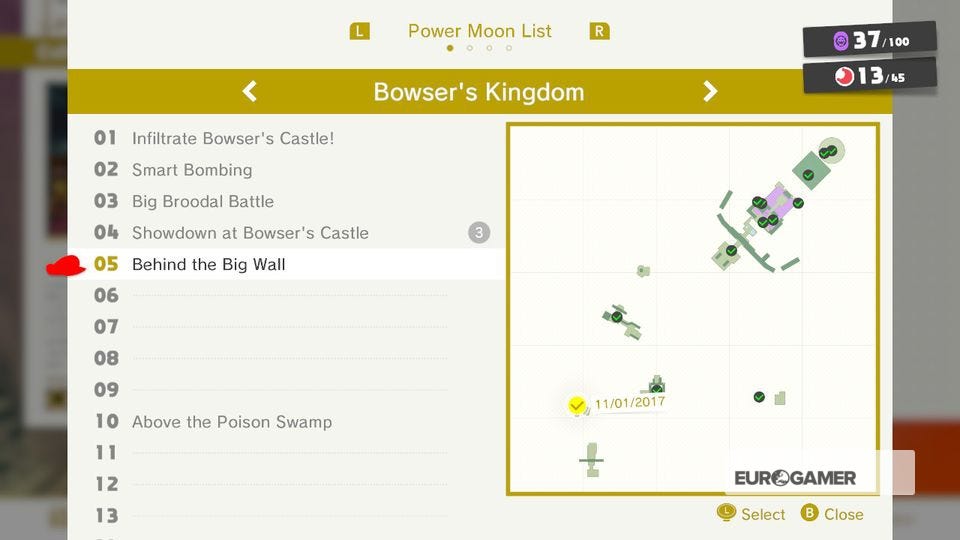
Super Mario Odyssey Bowser Kingdom Power Moons - where to find Bowser Kingdom Moons
Where to find the main set of Bowser Kingdom Power Moons.
Bowser Kingdom Power Moons are what you'll find on this page, where we detail each Bowser Kingdom Power Moon and its location in the region with accompanying screens for extra clarity.
This is where to find Bowser Kingdom Moons then, but for other regions you can cycle back to our Power Moon locations guide hub, or our main Super Mario Odyssey guide and walkthrough hub for much more.
On this page:
- Super Mario Odyssey Bowser Kingdom Power Moons 1 to 10
- Super Mario Odyssey Bowser Kingdom Power Moons 11 to 20
- Super Mario Odyssey Bowser Kingdom Power Moons 21 to 30
- Super Mario Odyssey Bowser Kingdom Power Moons 31 to 40
- Super Mario Odyssey Bowser Kingdom Power Moons 41 to 45
- Other Bowser Kingdom Power Moons you can unlock
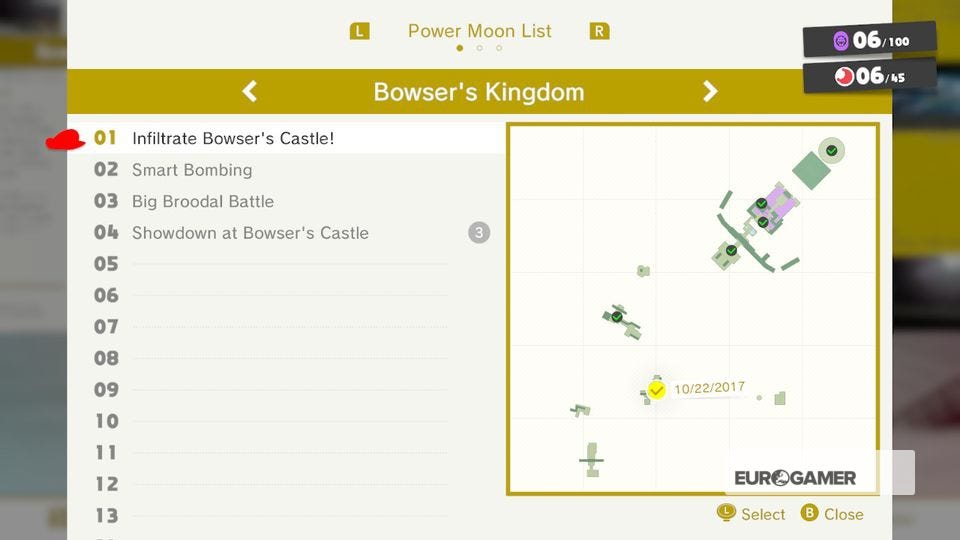
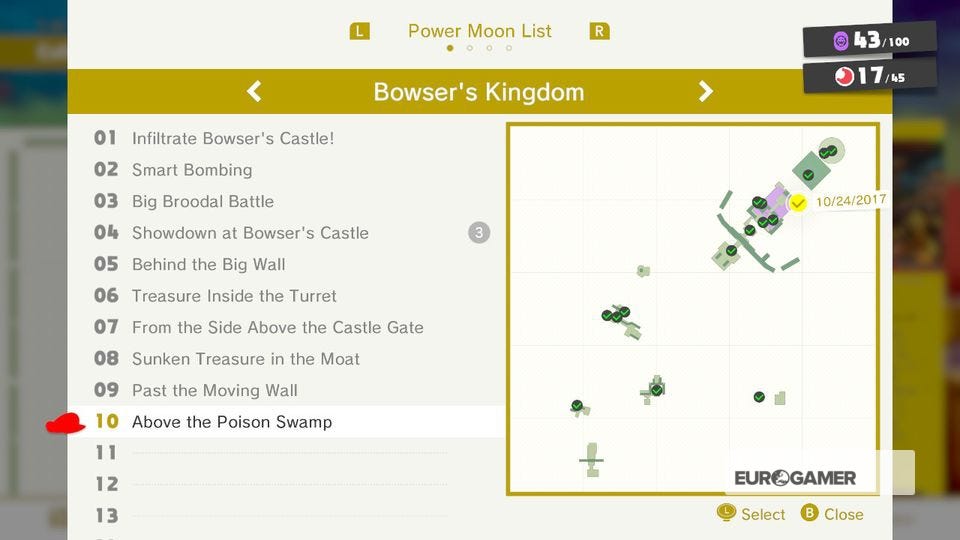
Super Mario Odyssey Bowser Kingdom Power Moons 1 to 10
There are 44 Power Moons to find in total.
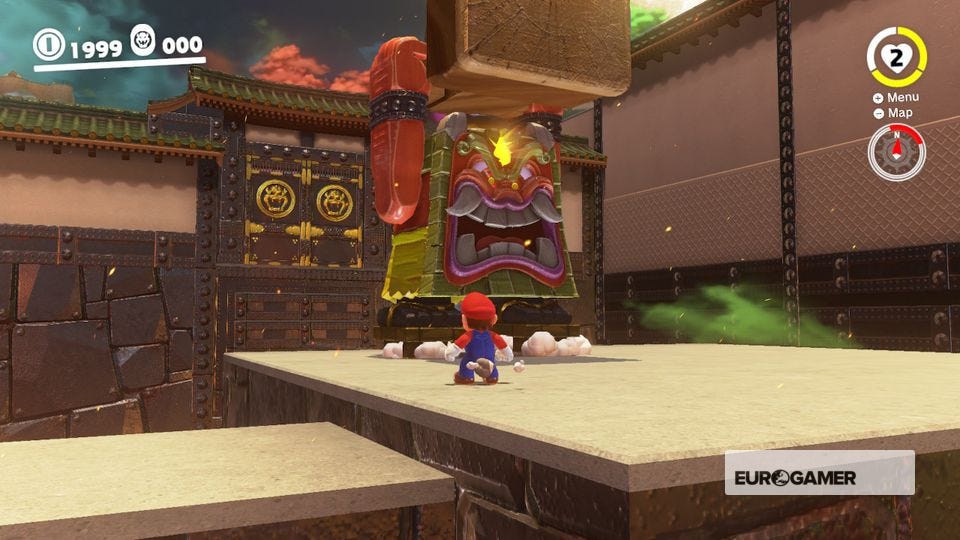
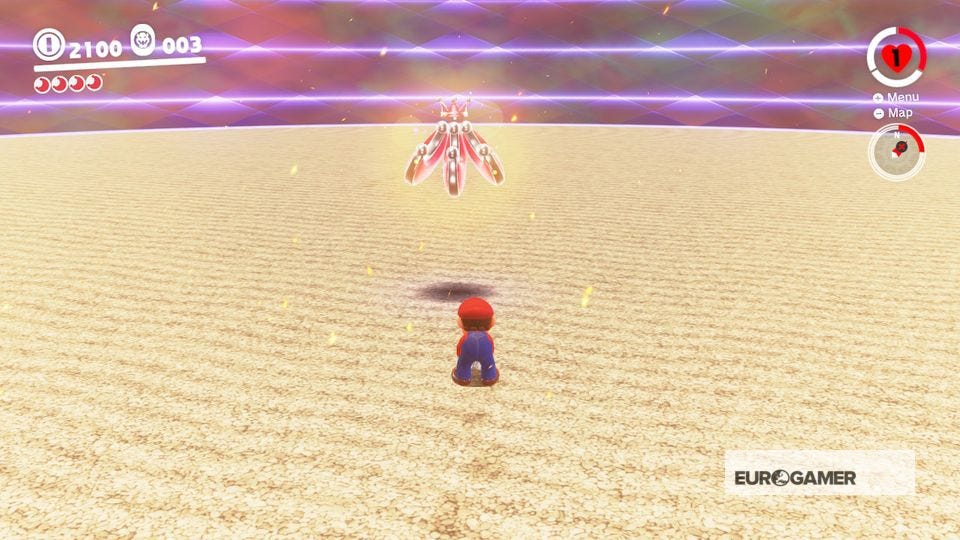
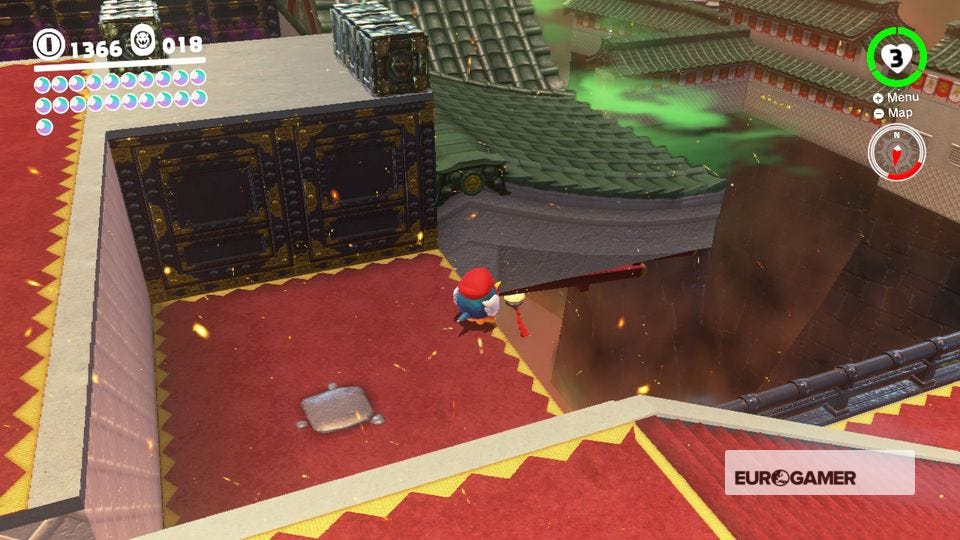
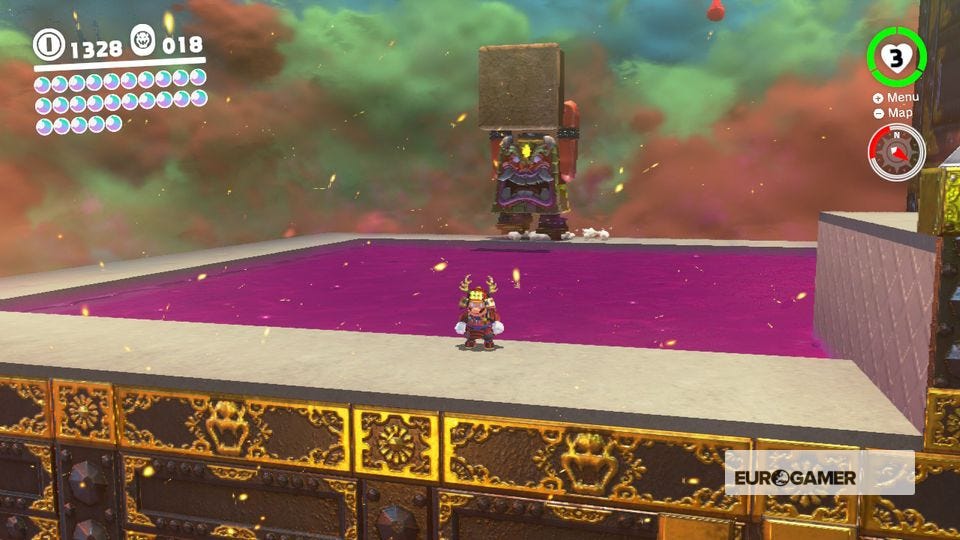
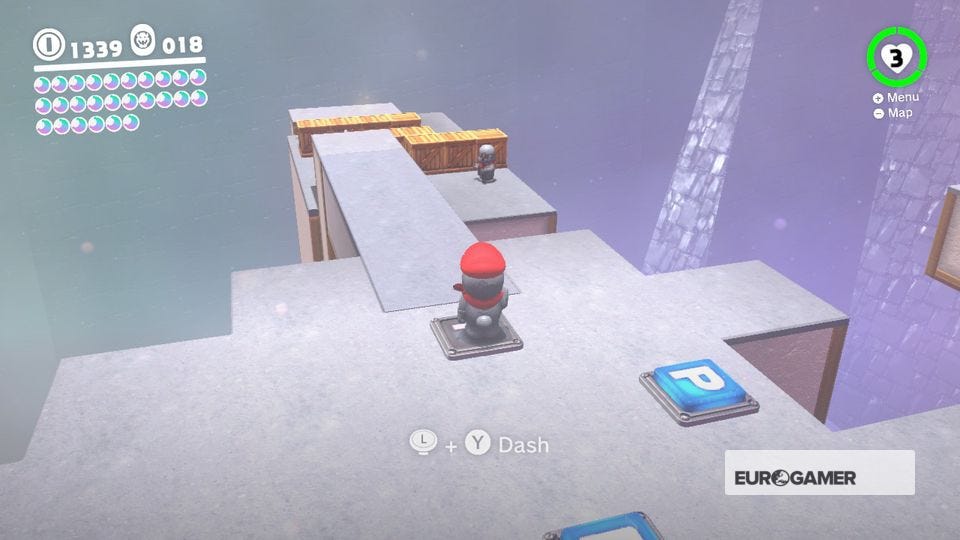
1. Infiltrate Bowser's Castle
To grab this Moon, defeat the block slamming enemy by jumping on top of his head once he's slammed his block down (watch out for the square, pink warning sign).

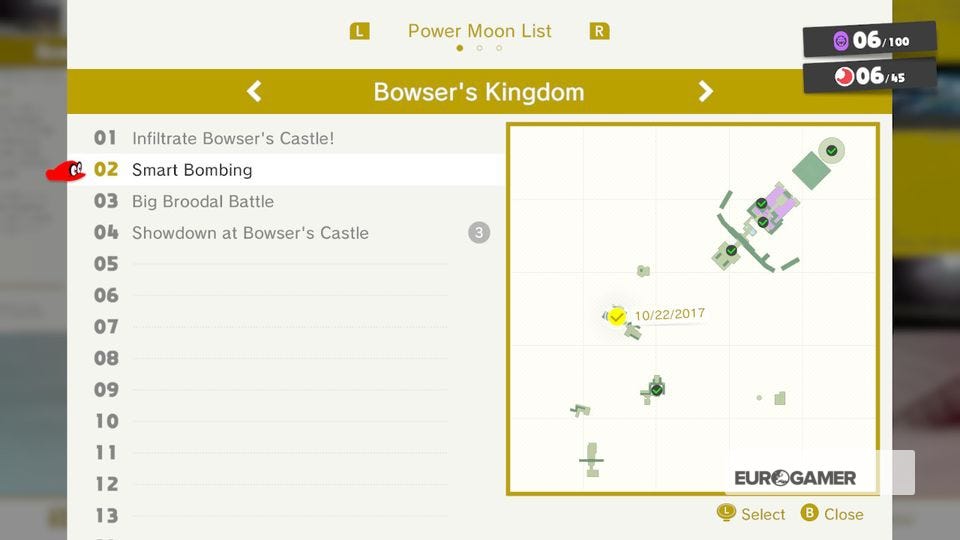
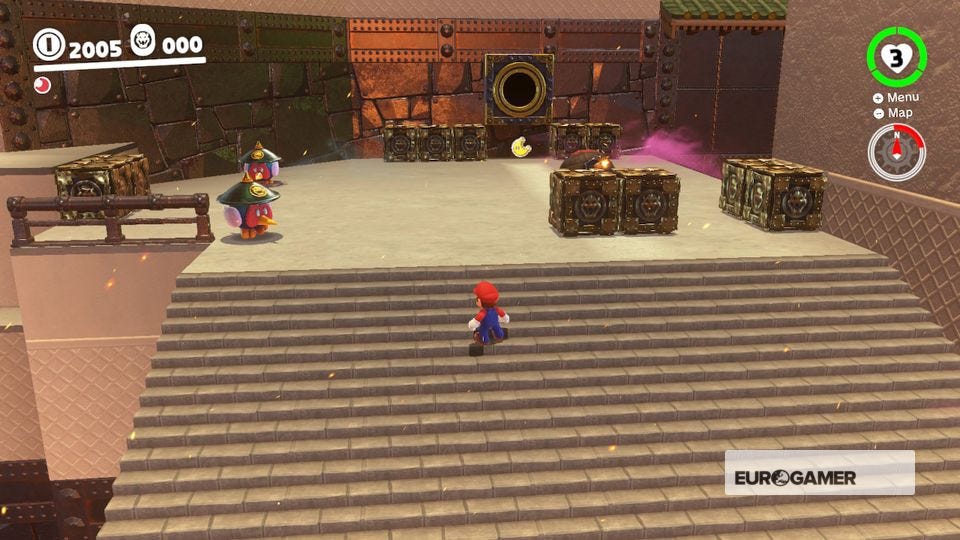
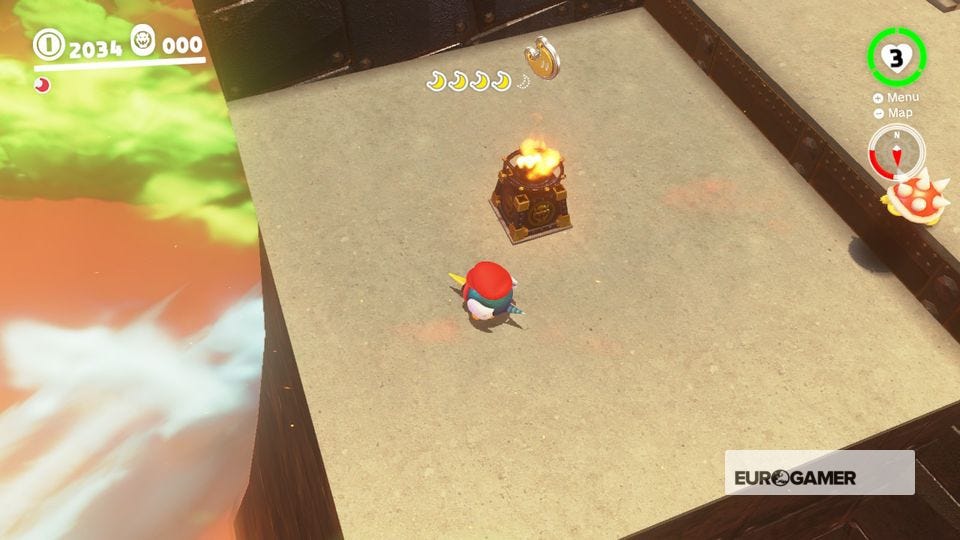
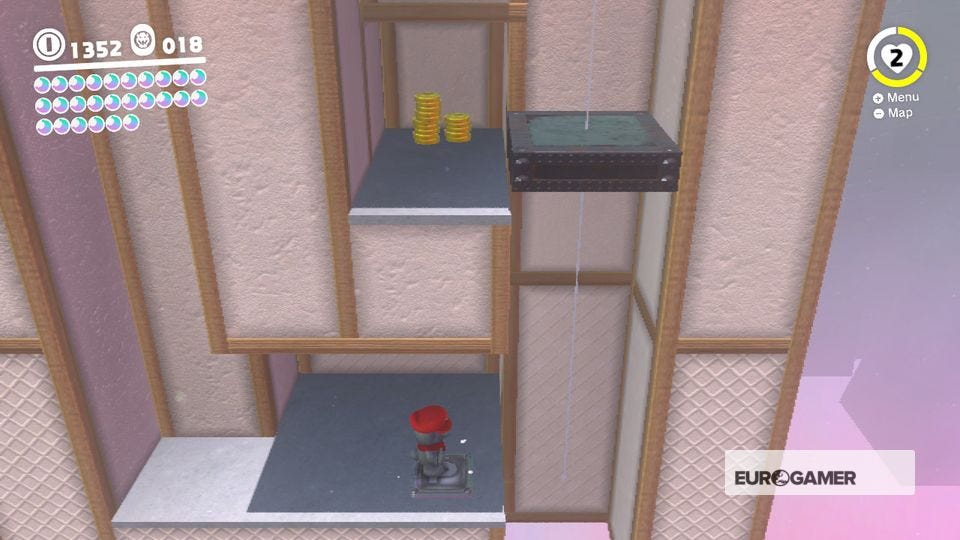
2. Smart Bombing
To grab this Moon you'll need five Moon Shards. The first is just ahead of the Second Courtyard checkpoint under bomb hole; the second is to the right of it, on a lower level; the third is to the left of the checkpoint, on a wall; the fourth is in a crate between two bomb holes; the fifth is to the right of the Power Moon platform, on a high ledge.

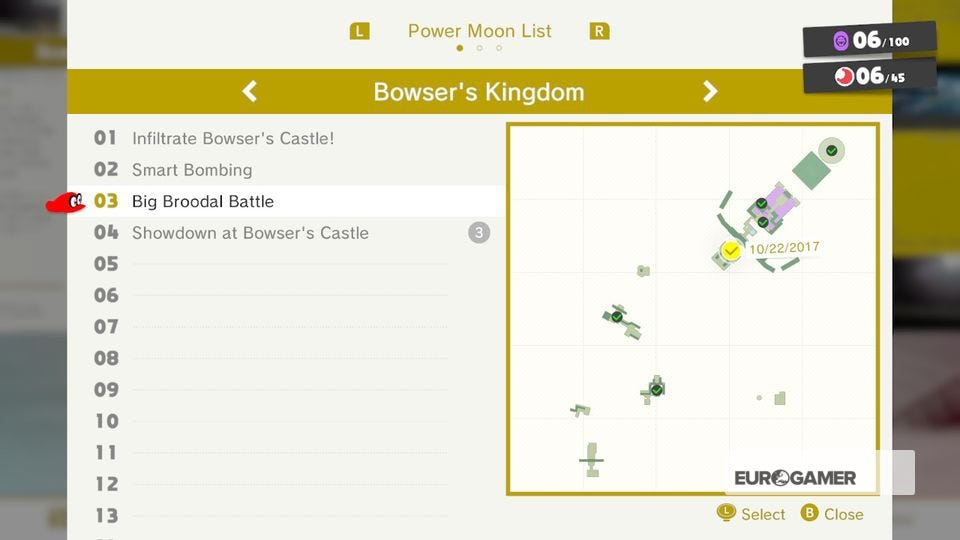
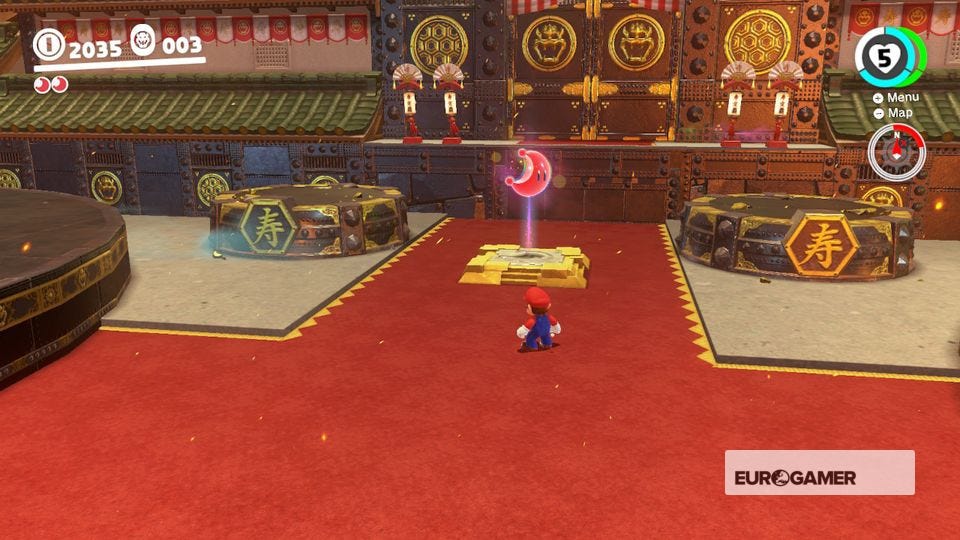
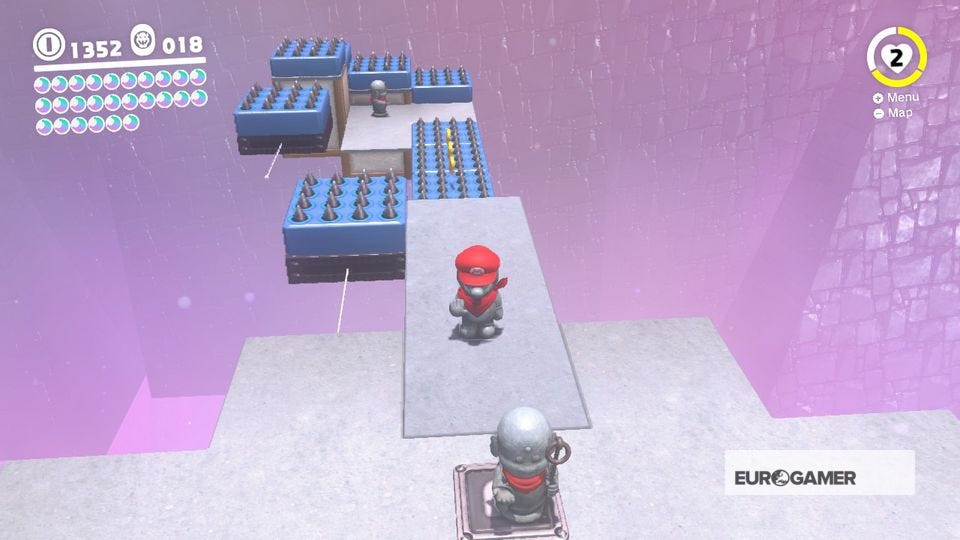
3. Big Broodal Battle
Collect this Moon by defeating the Mini Broodal and Irish Broodal in two one-on-one matchups. When both are defeated, the Power Moon will appear between the two platforms you faced them on.

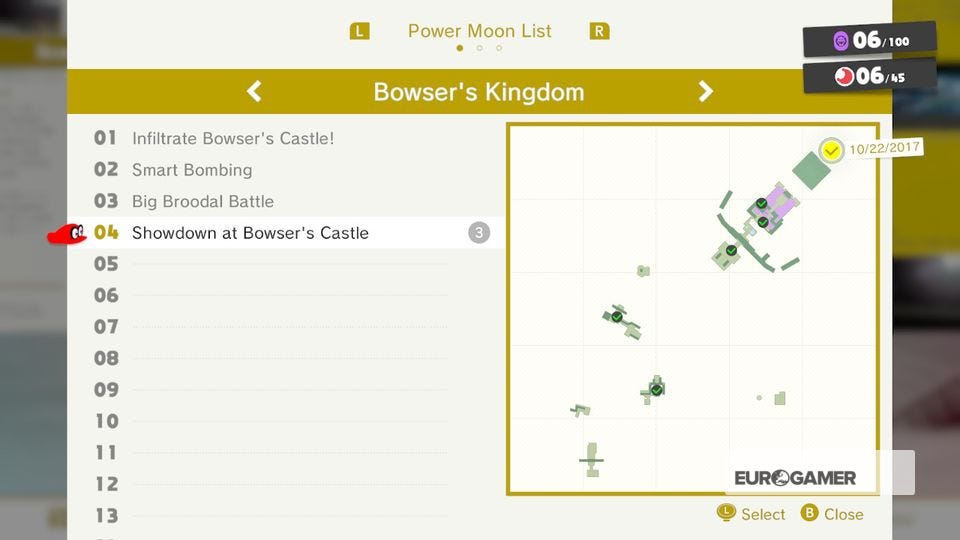
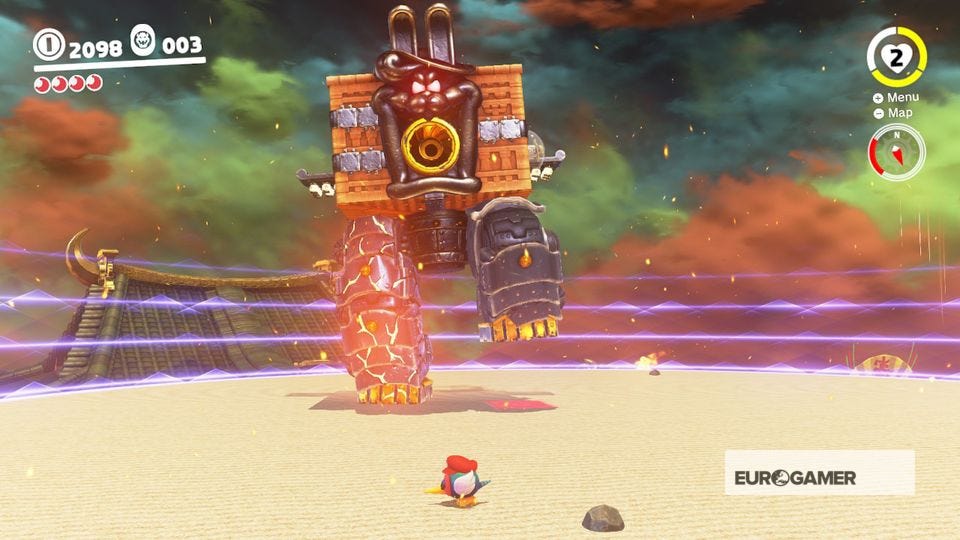
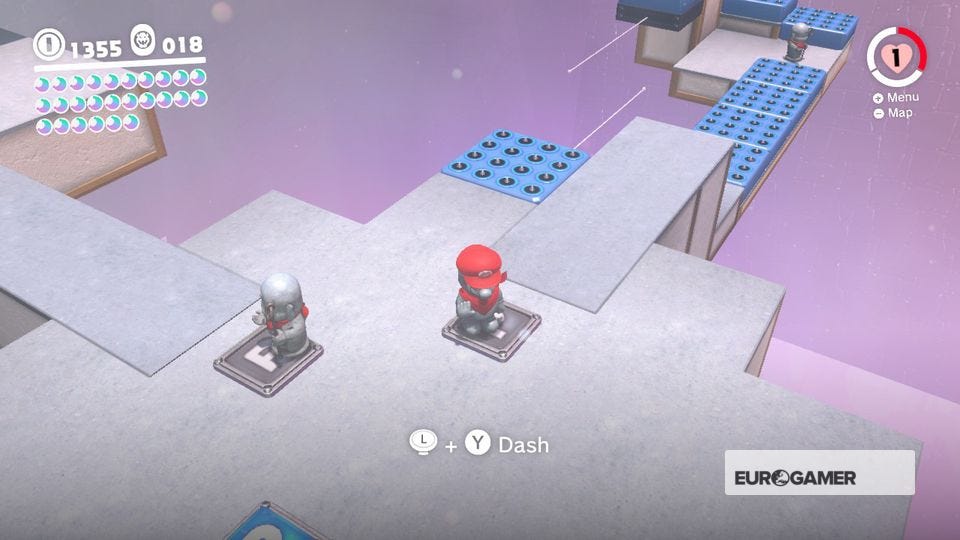
4. Showdown at Bowser's Castle (3 Moons)
This Multi Moon can only be obtained by beating the Mecha Broodal boss that arrives after your brief showdown with Bowser. It's a tough fight, but one the level has prepared you for. Once the boss is down, the Moons are yours.

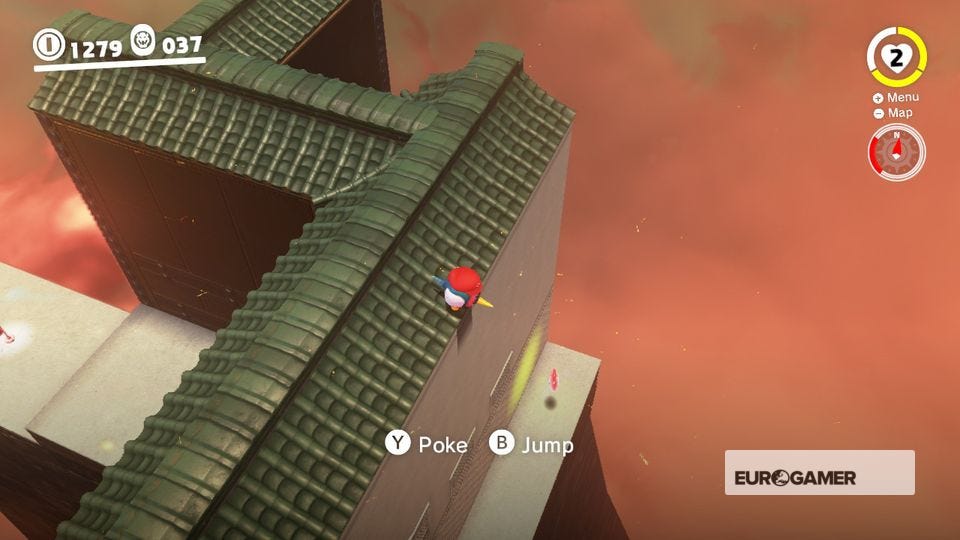
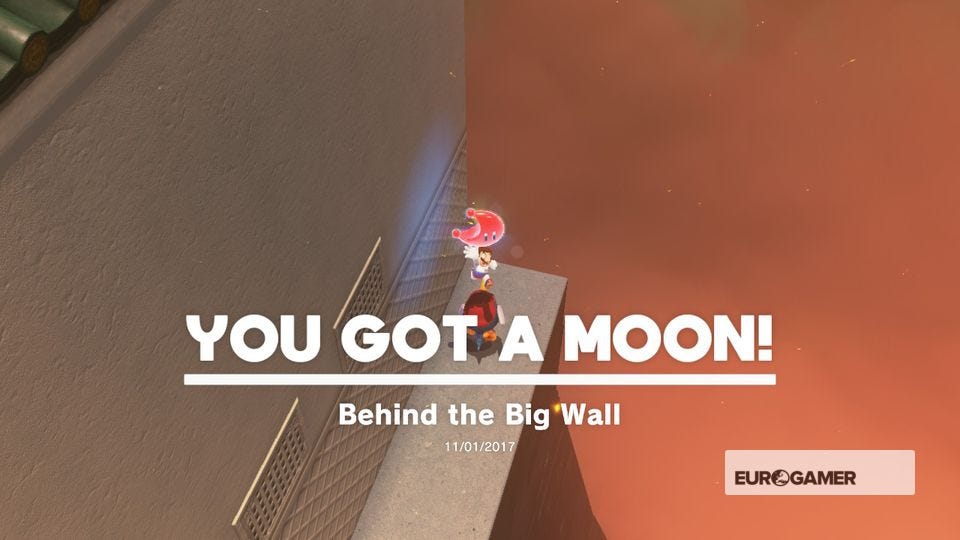
5. Behind the Big Wall
From Third Courtyard (Front), use a Pokio to scale the wall in front of you. On the other side, a Moon awaits.
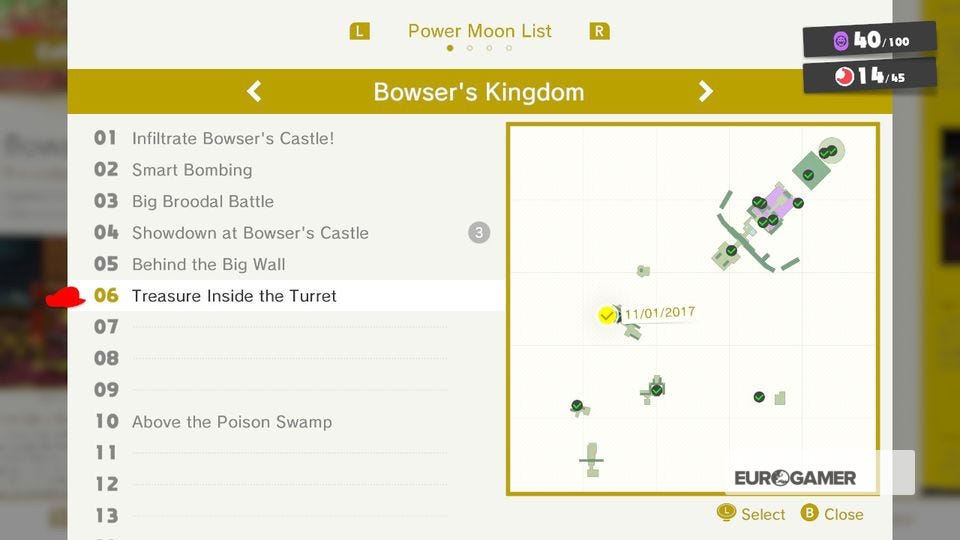
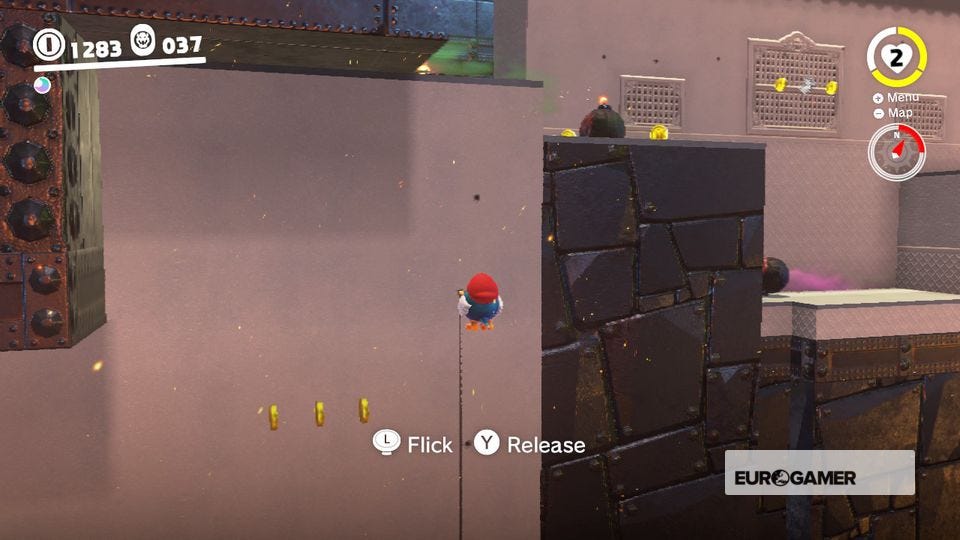
6. Treasure Inside the Turret
From Second Courtyard, use a Pokio to scale the wall to your left. Reach the first bomb hole, the drop down to the outermost wall. Follow this around and up to find a Moon in a hidden alcove.

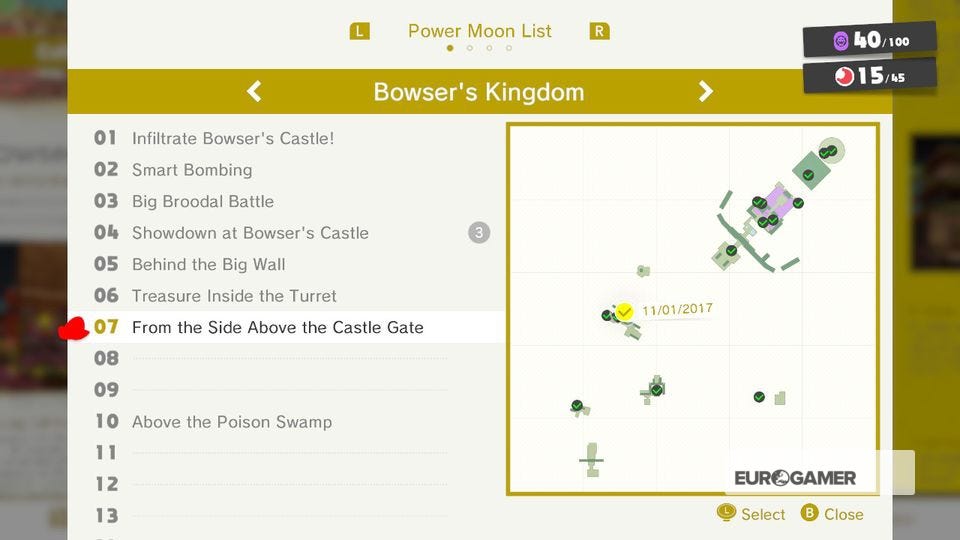
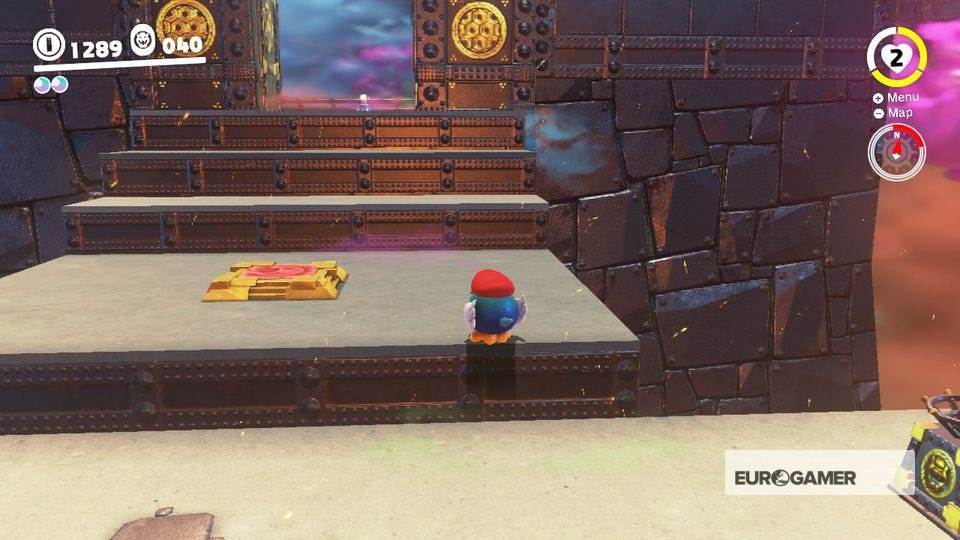
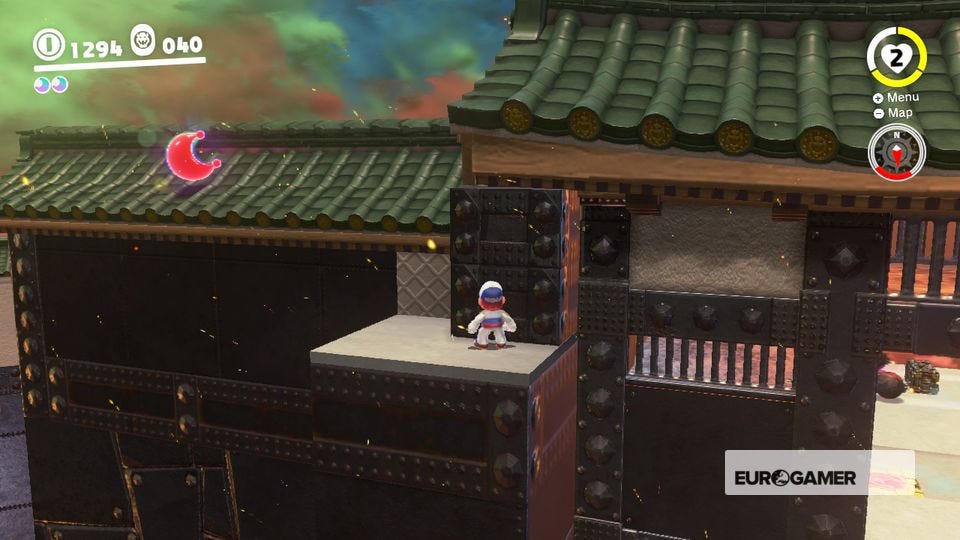
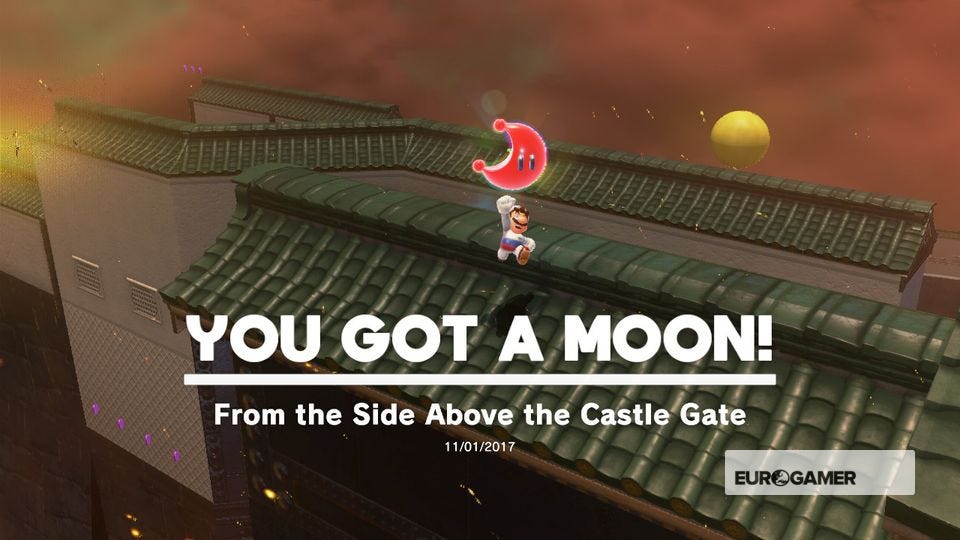
7. From the Side above the Castle Gate
From Second Courtyard, scale the wall to the left with a Pokio. Head up through the gate, then jump up to the platform to your left and grab the Moon on the nearby rooftop.
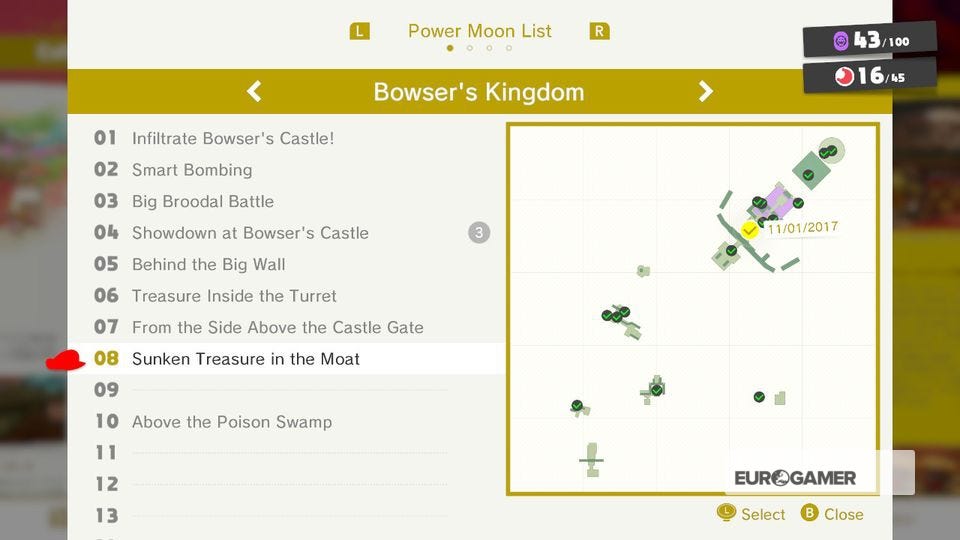
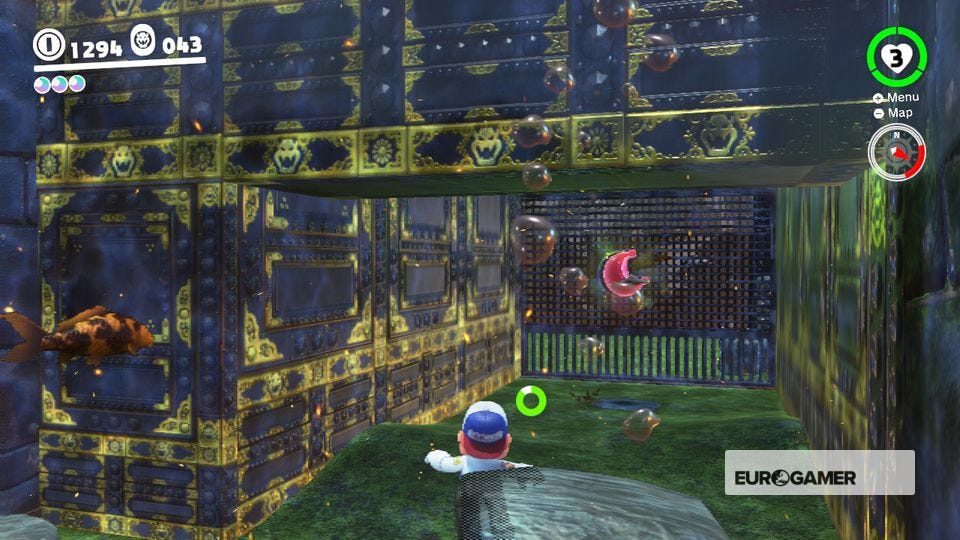
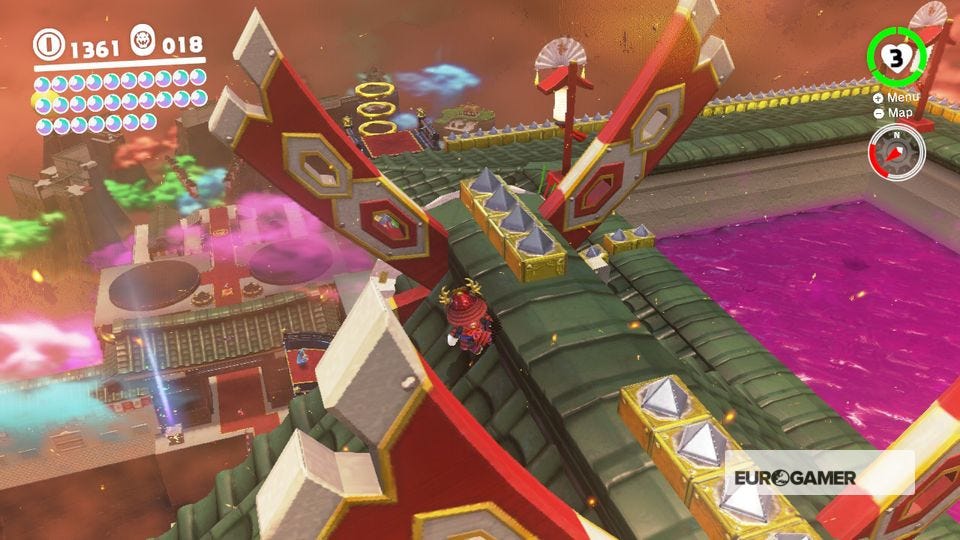
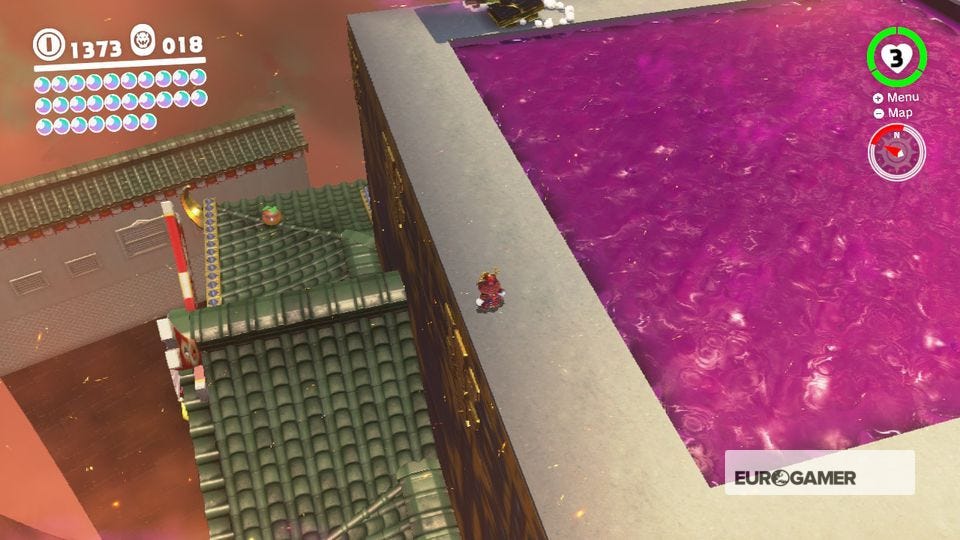
8. Sunken Treasure in the Moat
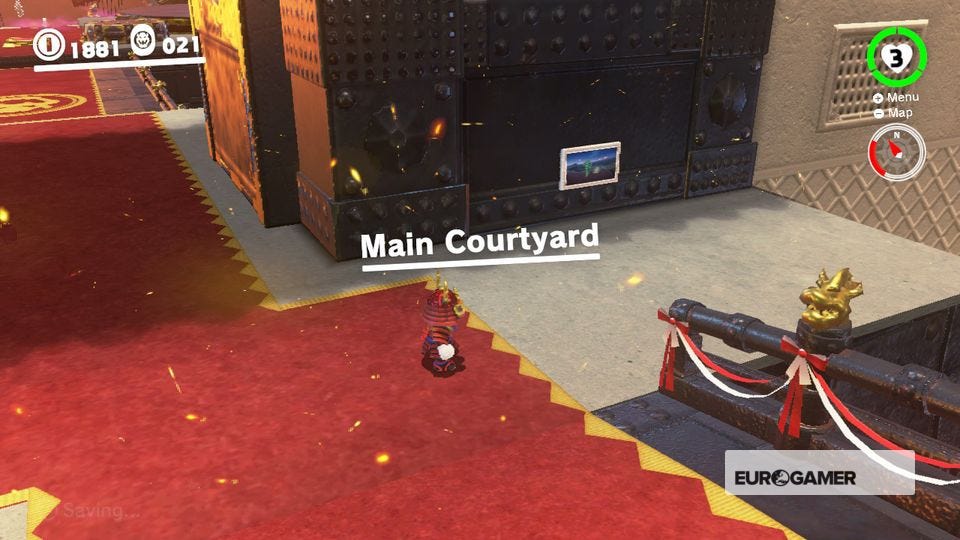
From Main Courtyard, drop down into the pool to the right just past the bridge and collect the Moon at the bottom.
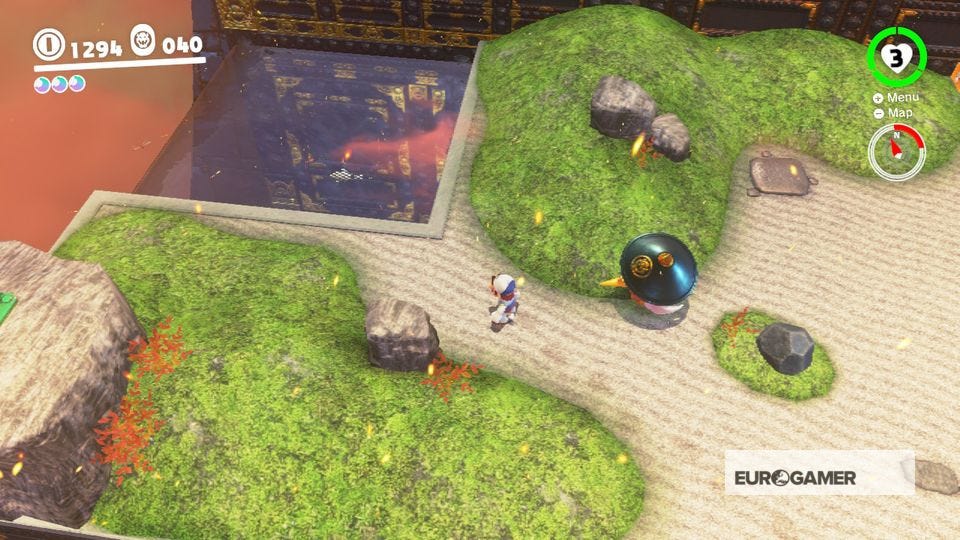

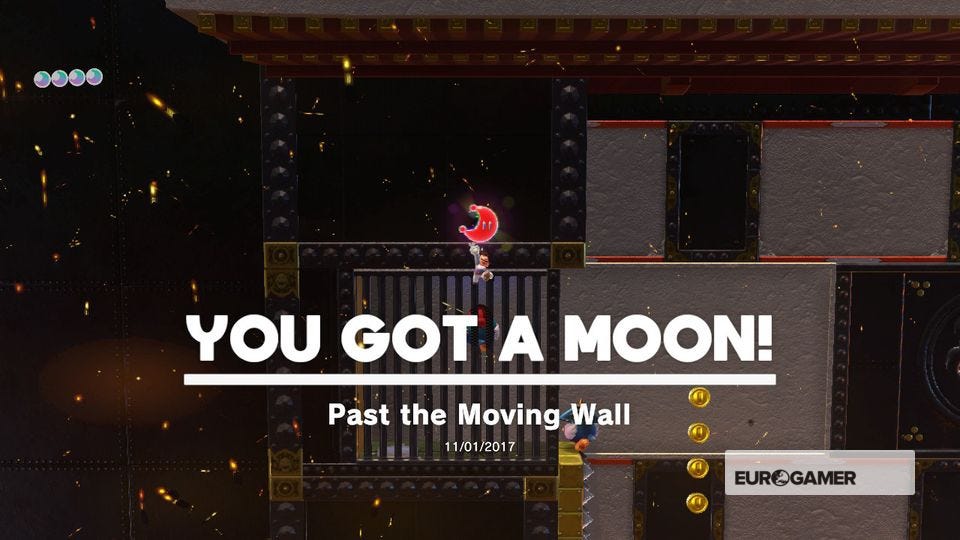
9. Past the Moving Wall
From Beneath the Keep, turn round and follow the screenshots to drop down and find a secret moving wall. Use the Pokio to reach the Moon on the far-right side.
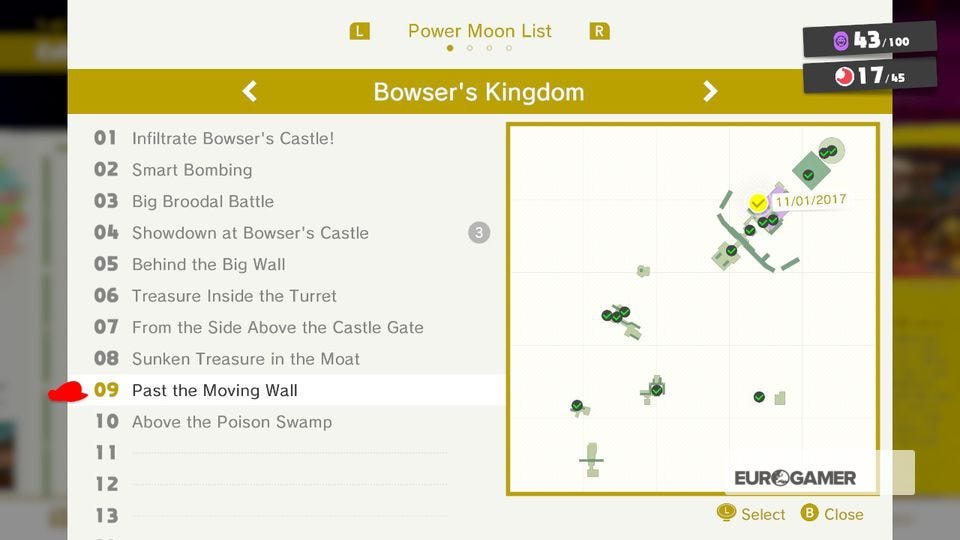

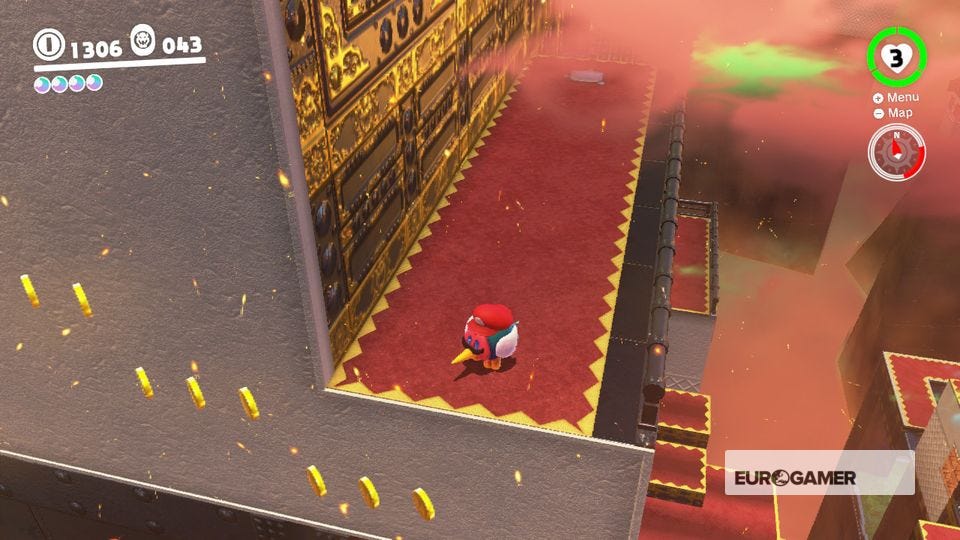
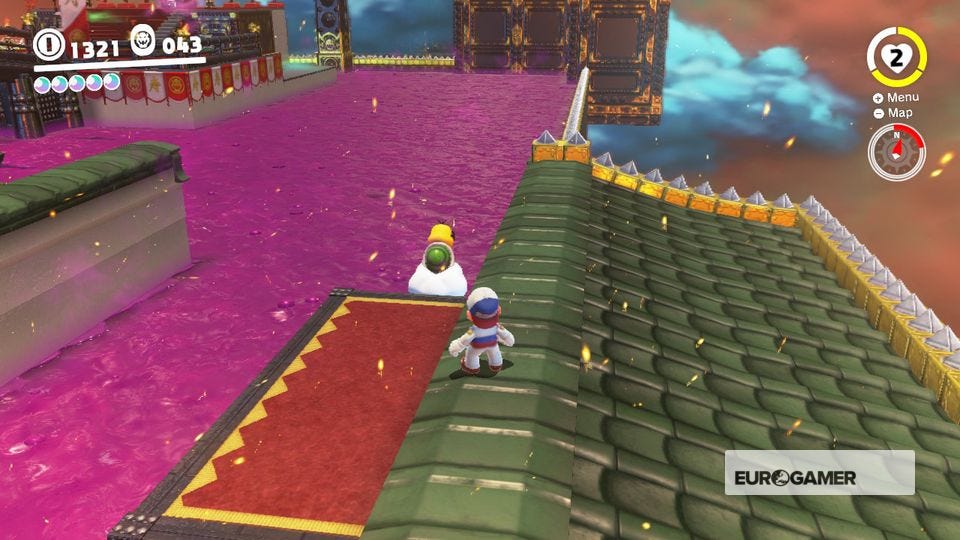
10. Above the Poison Swamp
From Beneath the Keep, turn round and head towards the Lakitu to your left. Ride it across to the platform with the slingshot. Cross the archway and collect the Moon from the opposite platform.
Super Mario Odyssey Bowser Kingdom Power Moons 11 to 20
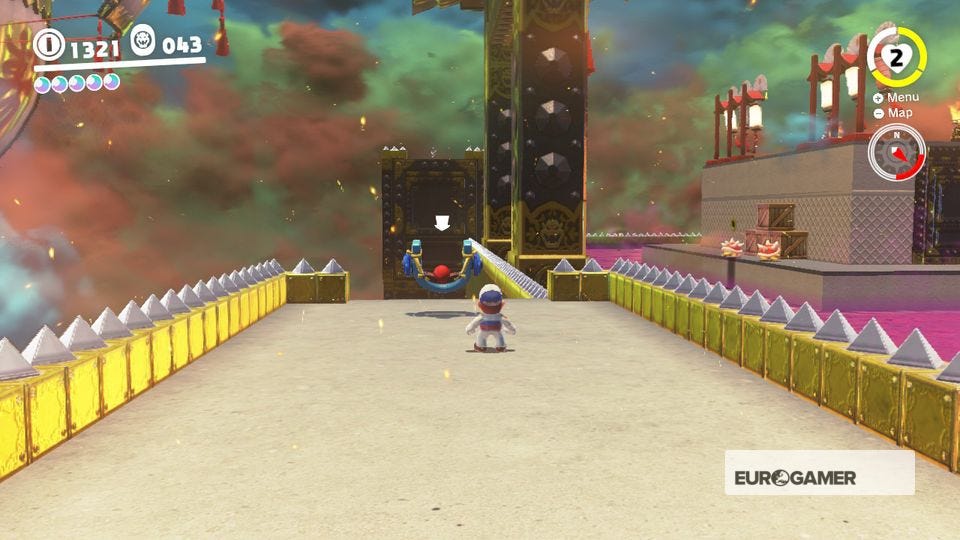
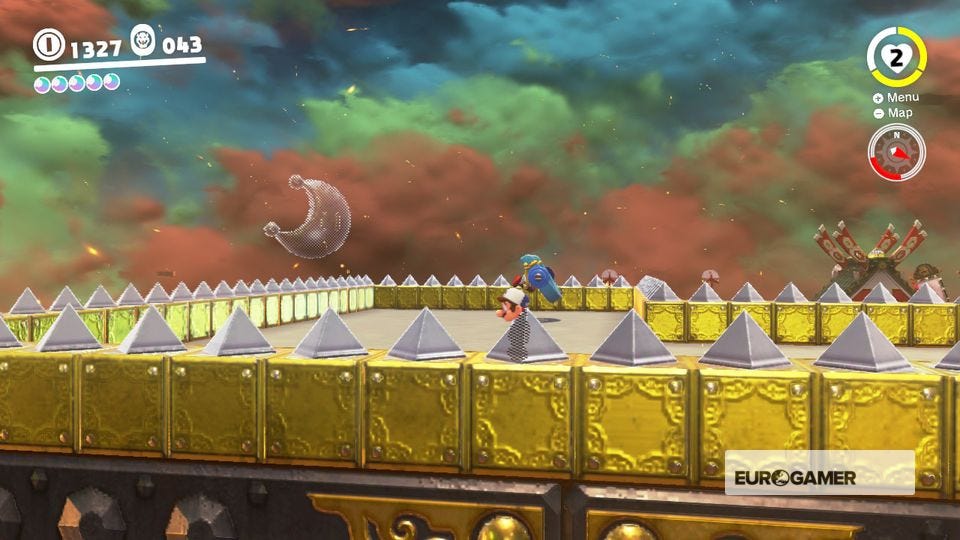
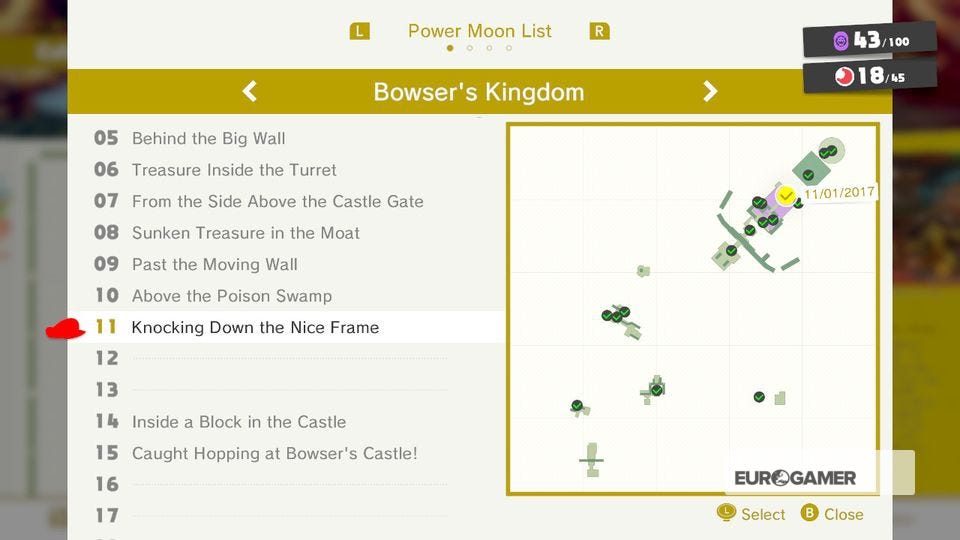
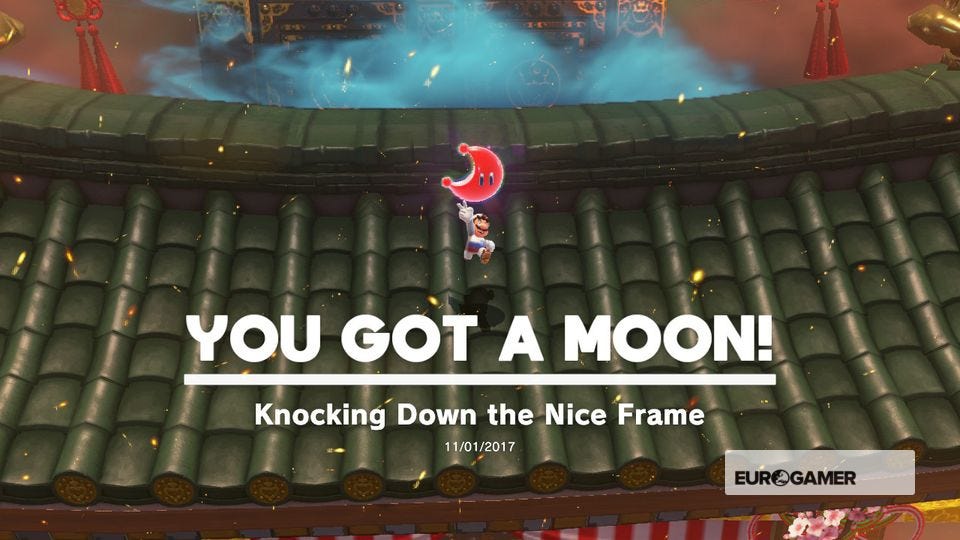
11. Knocking Down the Nice Frame
From Beneath the Keep, turn round and head towards the Lakitu to your left. Ride it across to the platform with the slingshot. On the archway, move to its front and knock off the frame to release a Moon below.
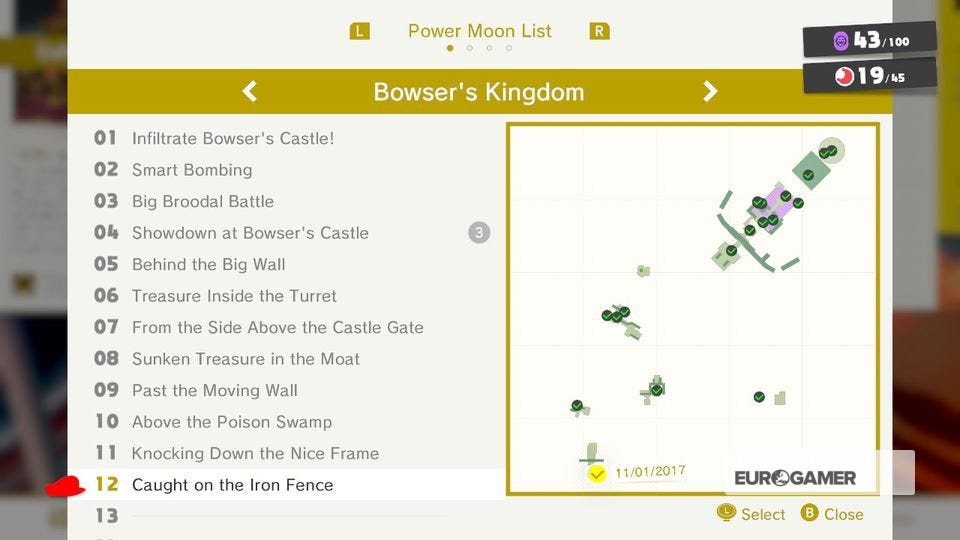
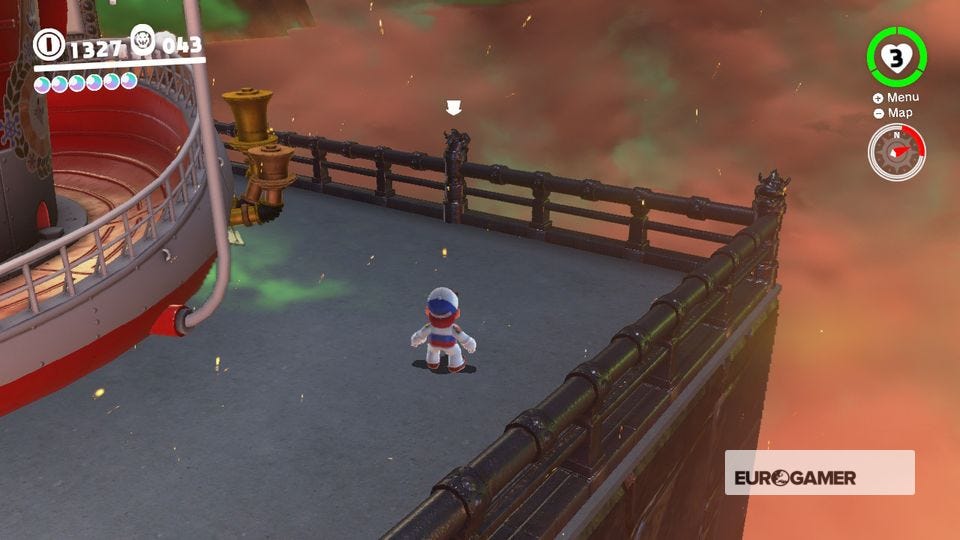
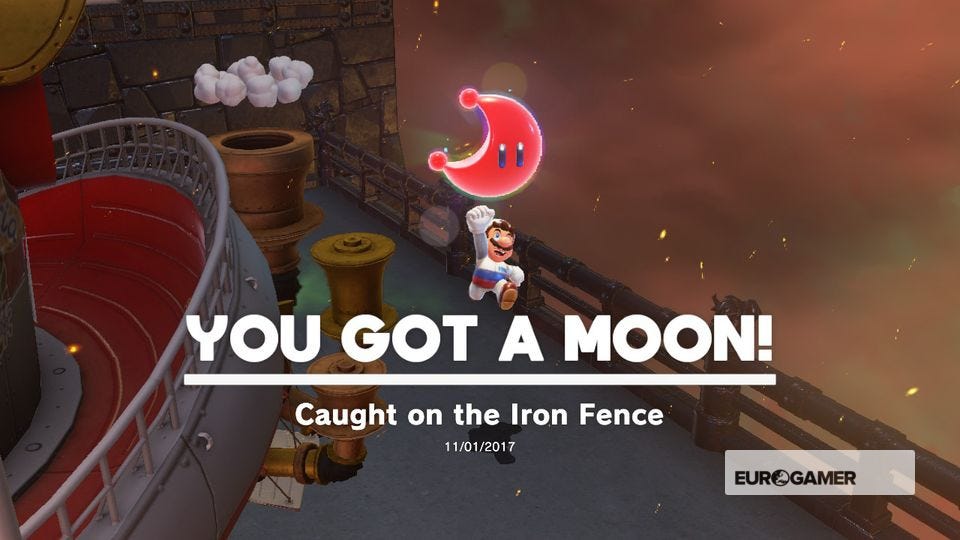
12. Caught on the Iron Fence
From the Odyssey, run round the back and spin Cappy on the iron railing shown to reveal a Moon from within.
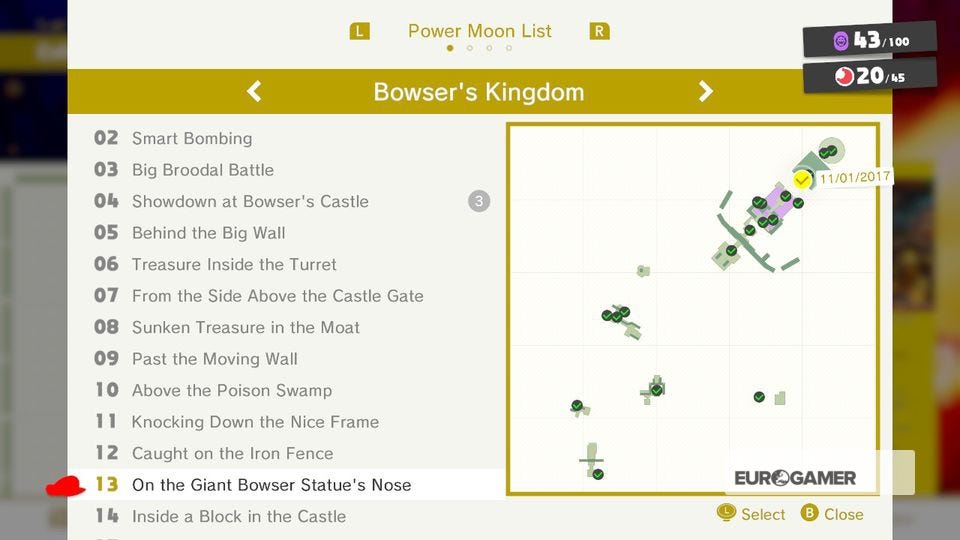
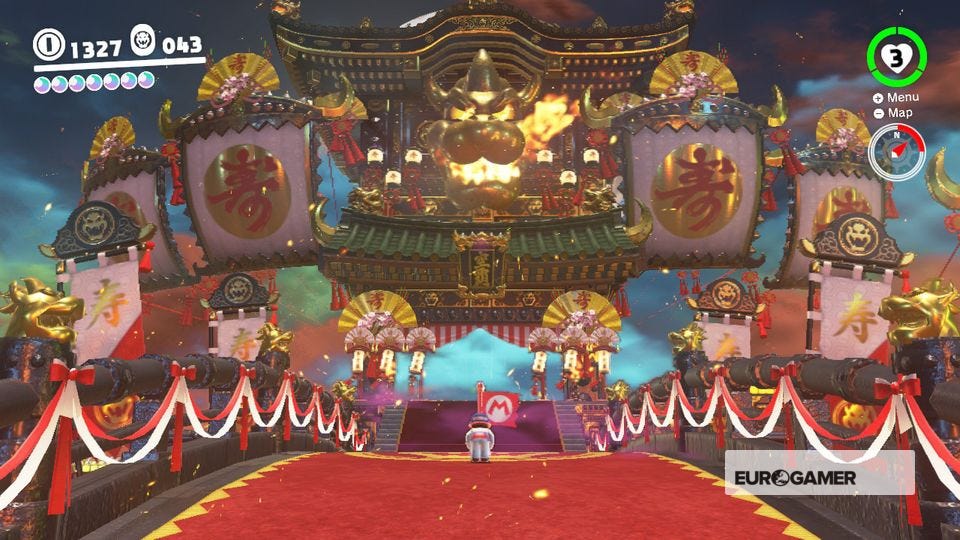
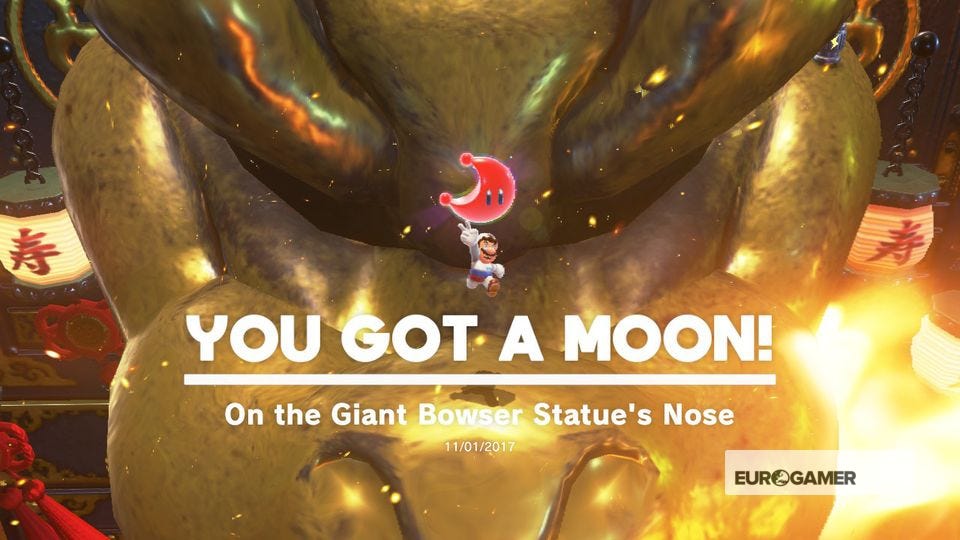
13. On the Giant Bowser Statue's Nose
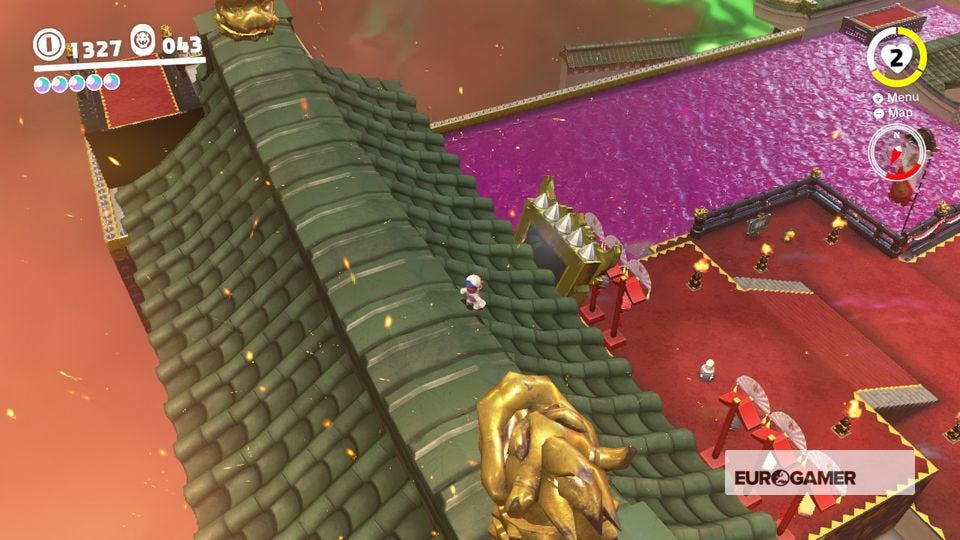
From Beneath the Keep, ride the Spark pylon to the rooftop above the giant Bowser head. Drop down onto its nose, Ground Pound and take a Moon in payment.
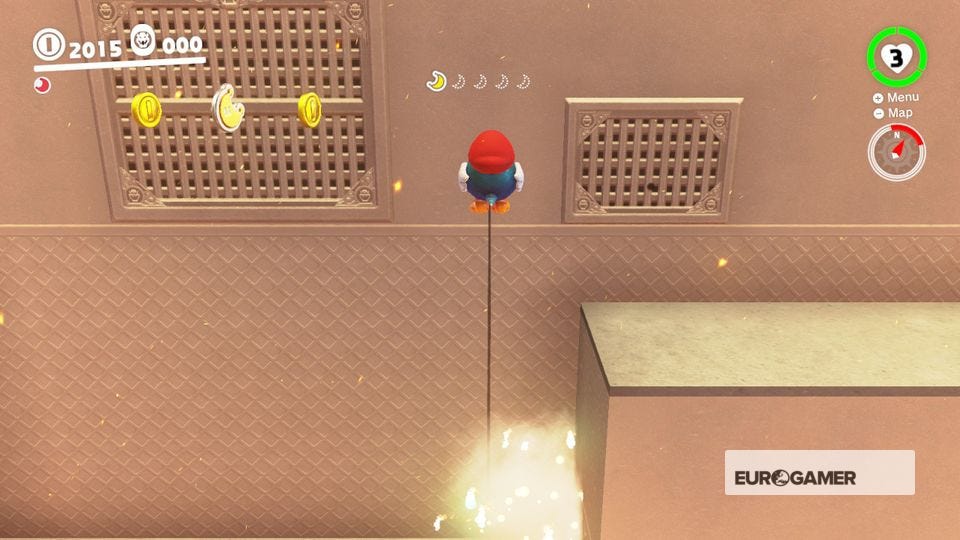
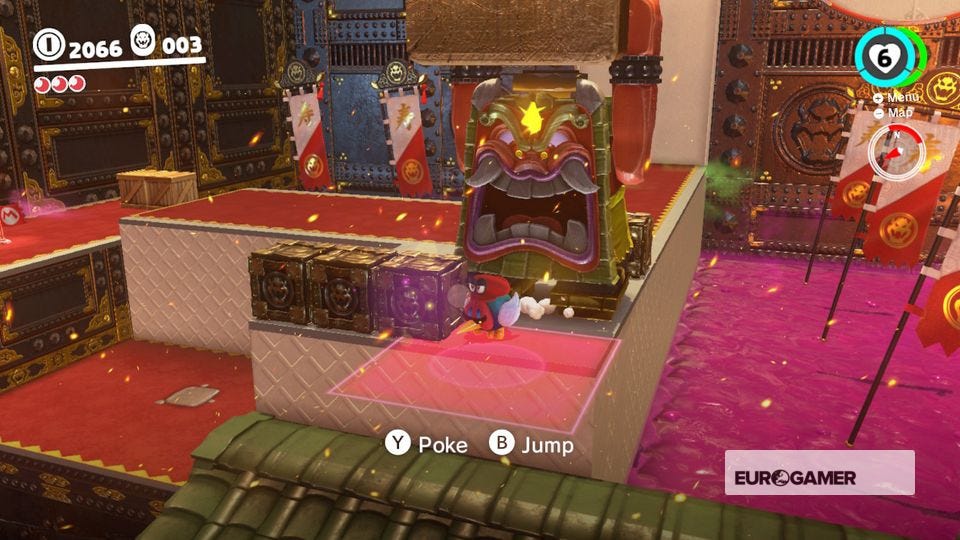
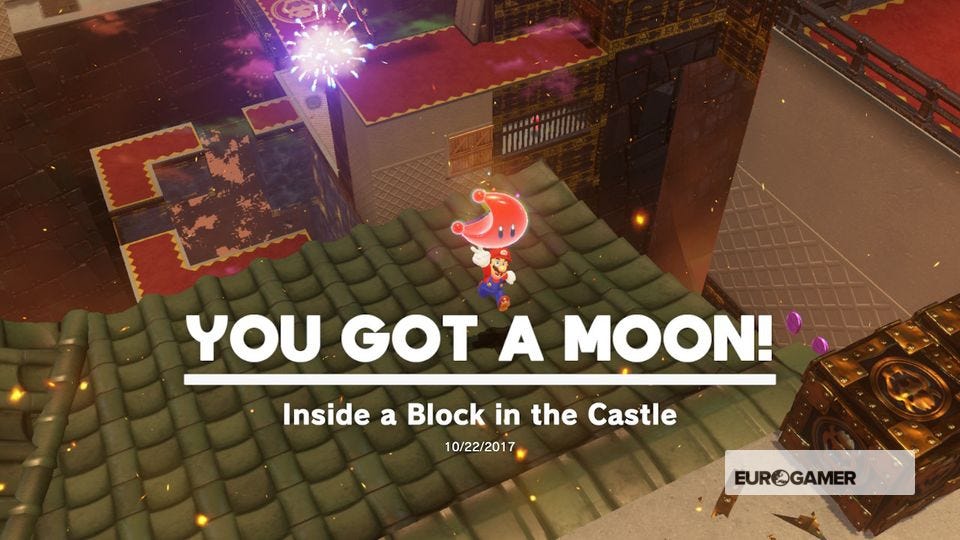
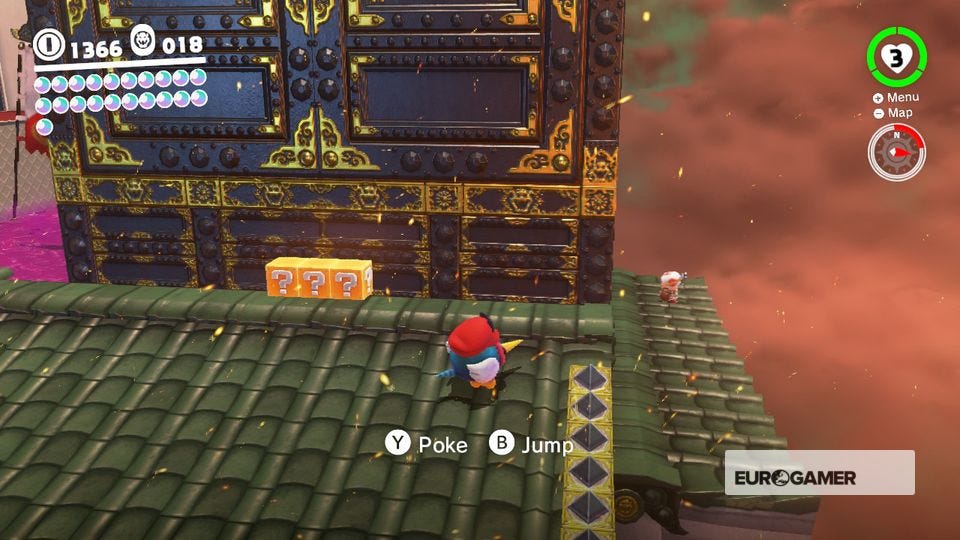
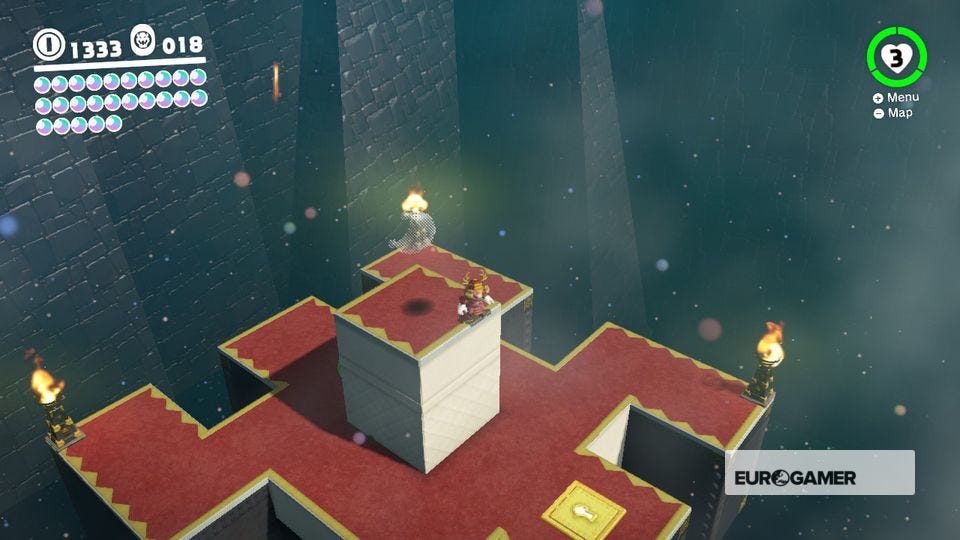
14. Inside a Block in the Castle
When you encounter your second block smashing enemy (near the Outer Wall checkpoint), lead him to the edge of the roof. There's a metal box that's glowing. Only his heavy smash can break it. Dodge out of the way and claim the Moon within.

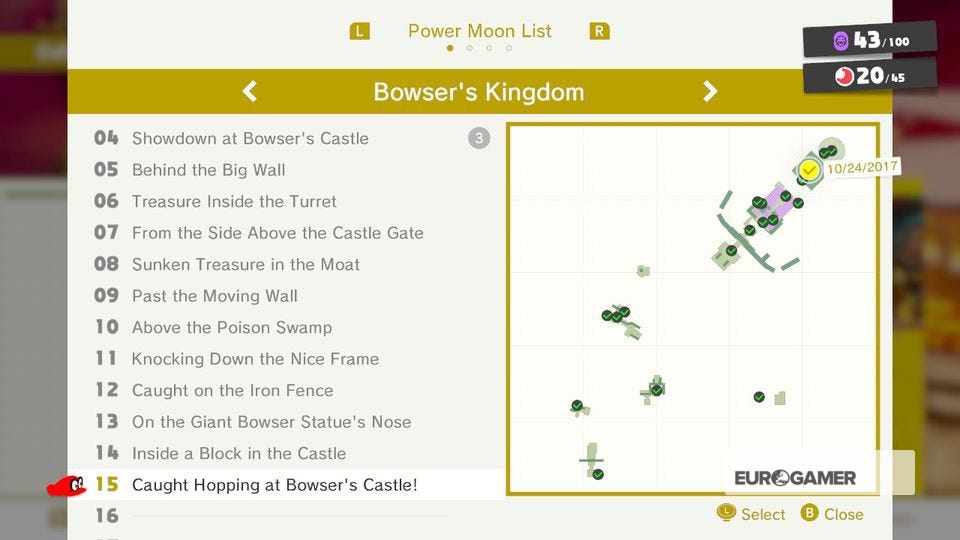
15. Caught Hopping at Bowser's Castle!
From Beneath the Keep, ride the Spark pylon up to the rooftop. Chase one of the rabbits, hit it with Cappy then run into it to release a Moon.
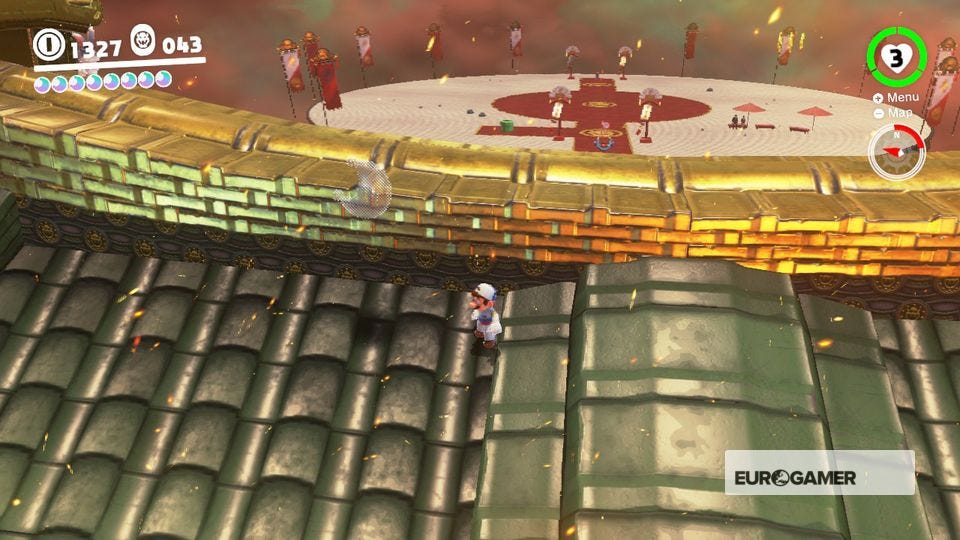
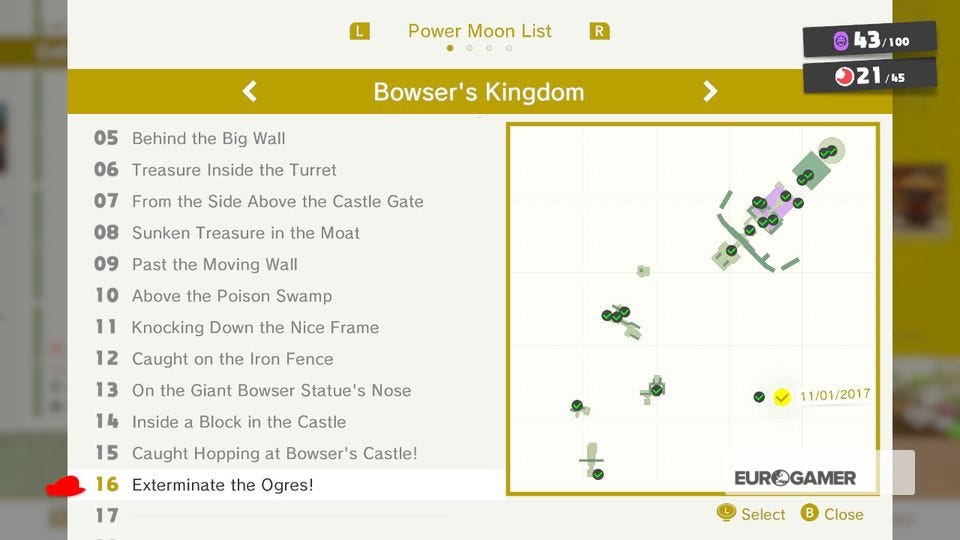
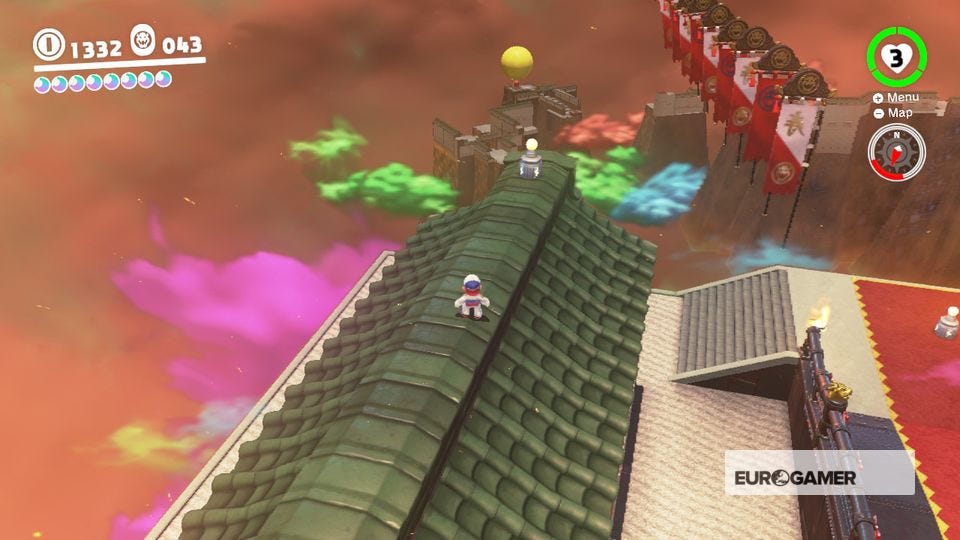
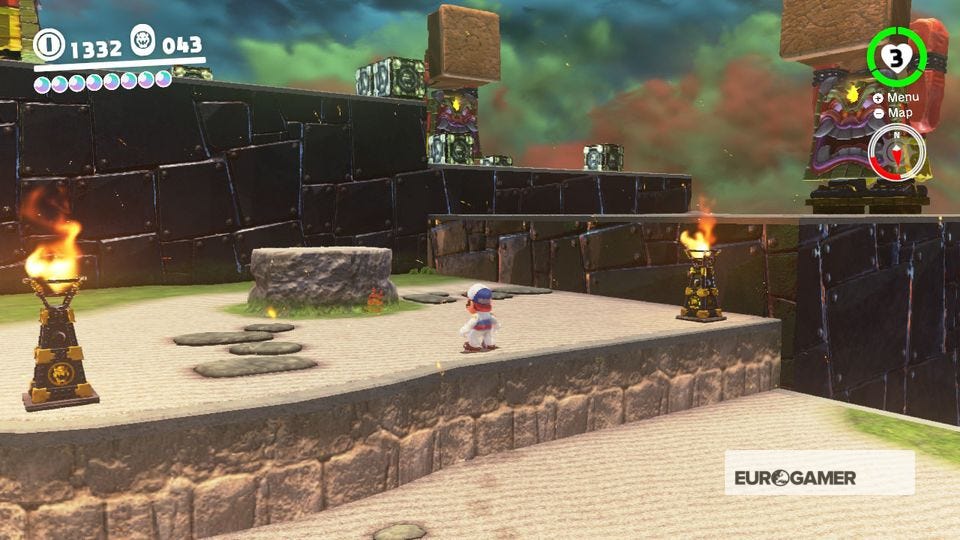
16. Exterminate the Ogres!
From Main Courtyard Entrance, jump up onto the rooftop on your right (use a triple jump to clear the gap). Ride the Spark pylon across to the new island and destroy the three ogres to earn a Moon.

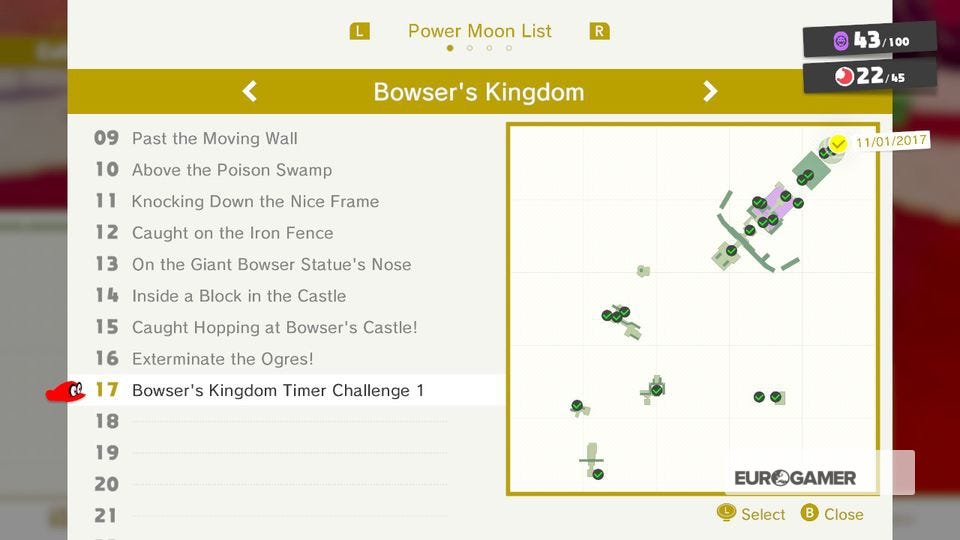
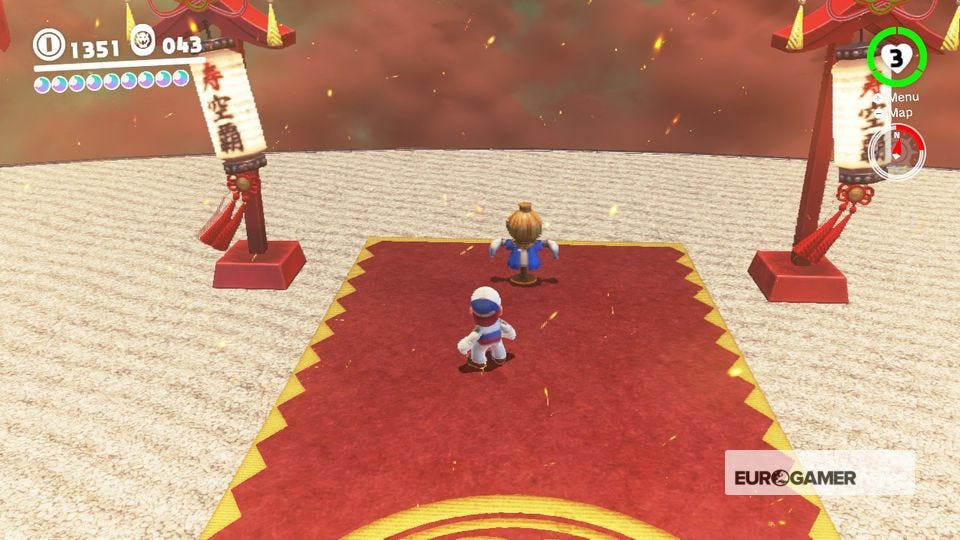
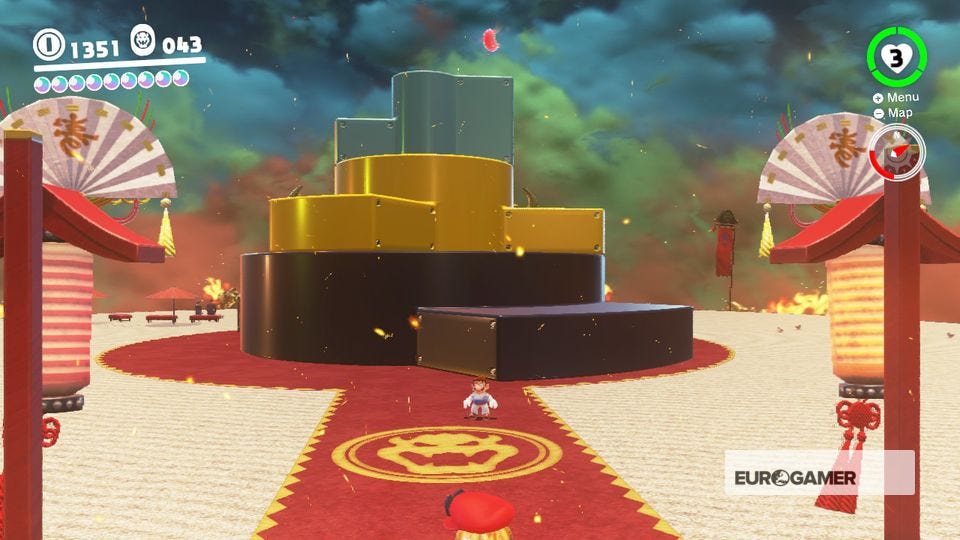
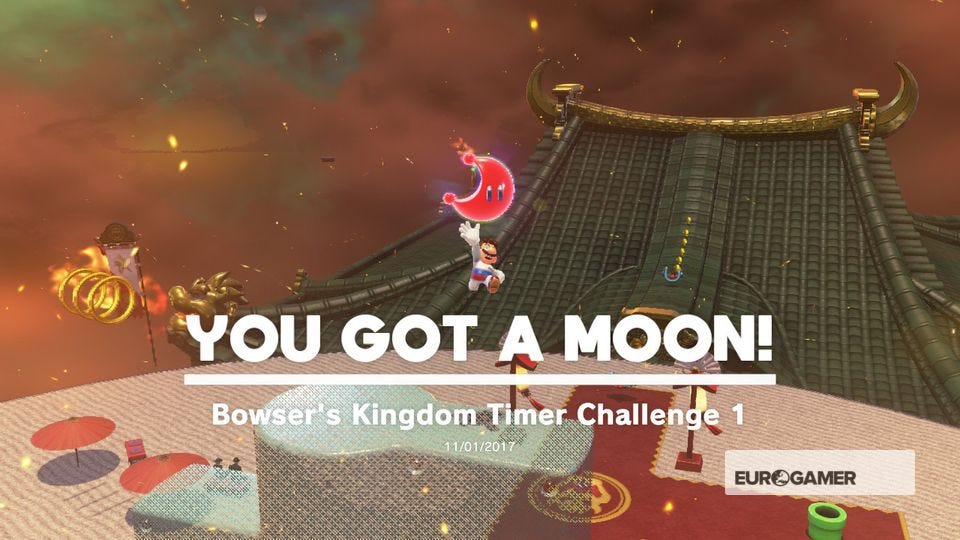
17. Bowser's Kingdom Timer Challenge 1
From Showdown Arena, hit the scarecrow on the other side. On the moving platforms, ascend to the top to grab the Moon in time.
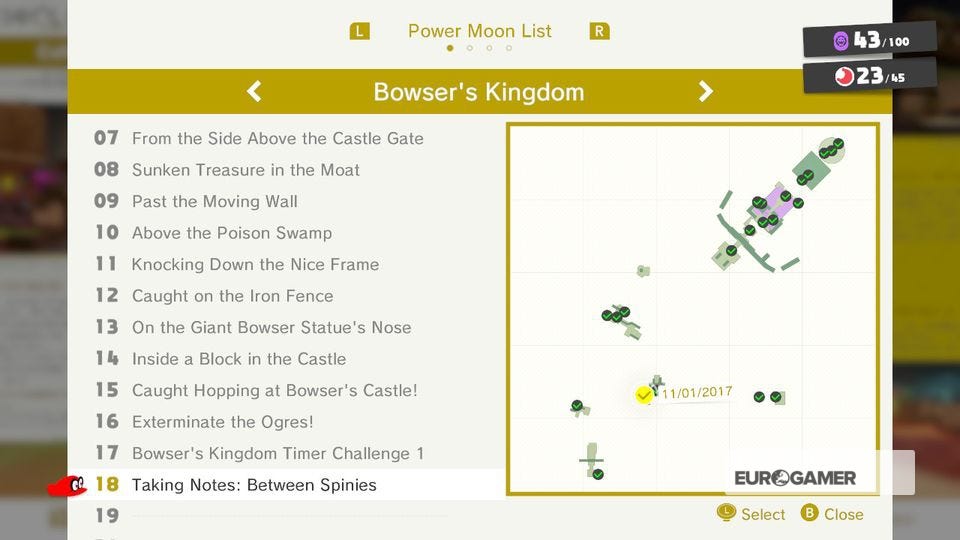
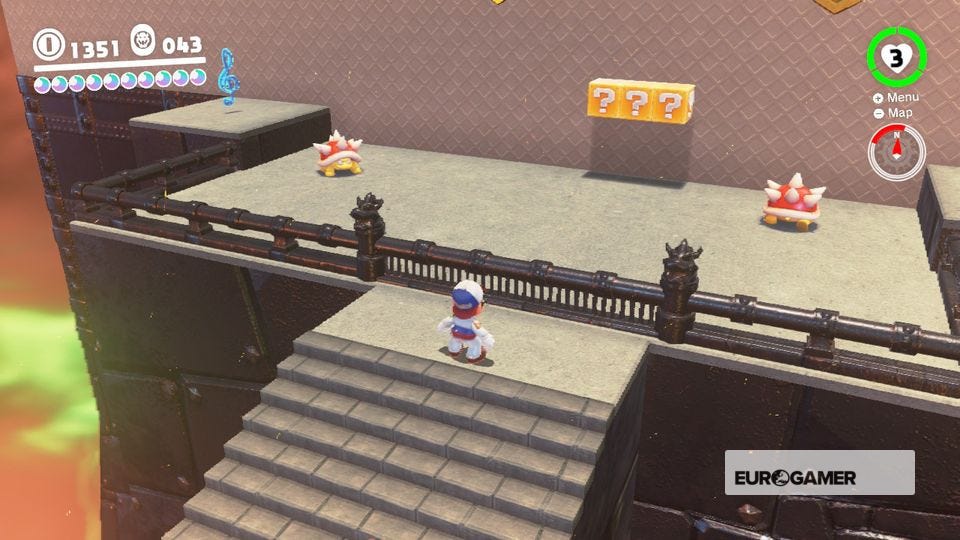
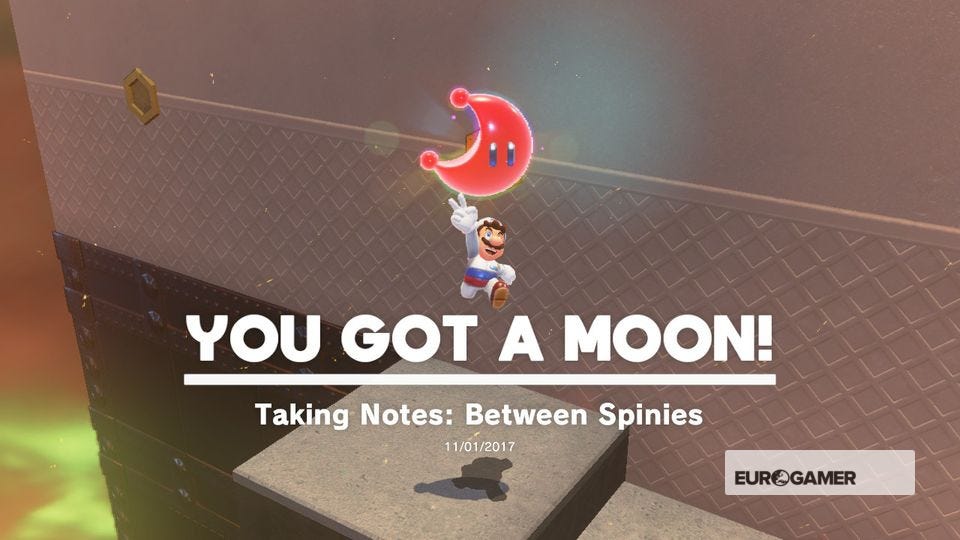
18. Taking Notes: Between Spinies
From Third Courtyard (Rear), hit the clef then collect the notes while dodging the two Spinies. Sounds hard, but it's actually pretty easy to pull off.
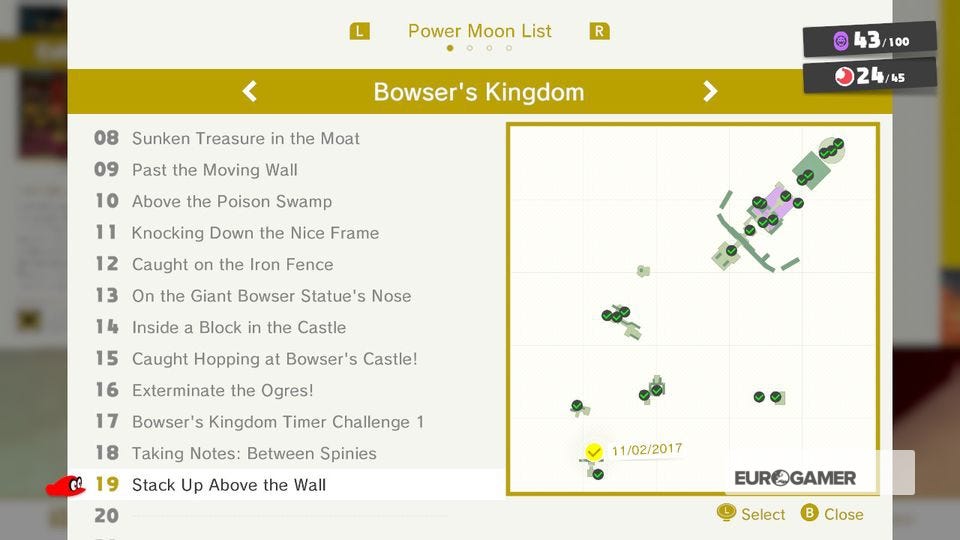
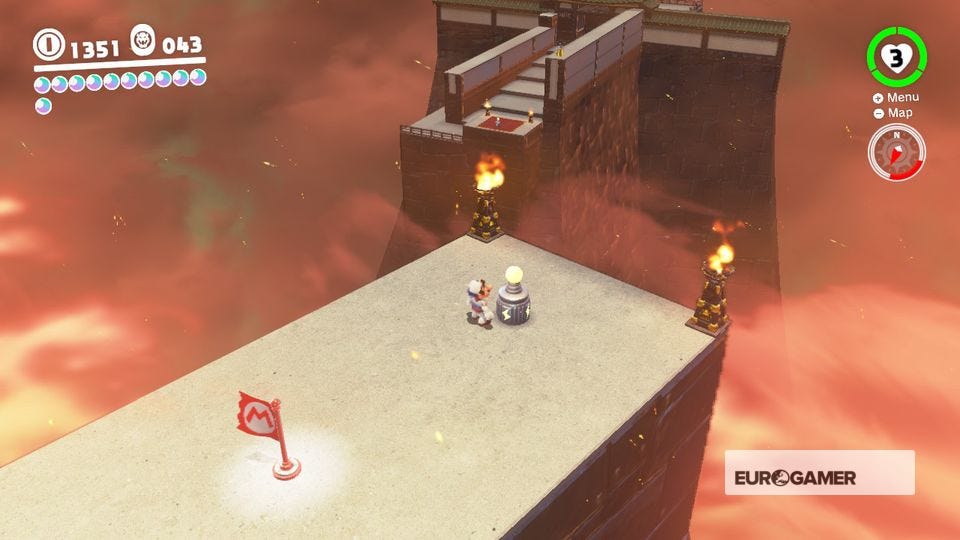
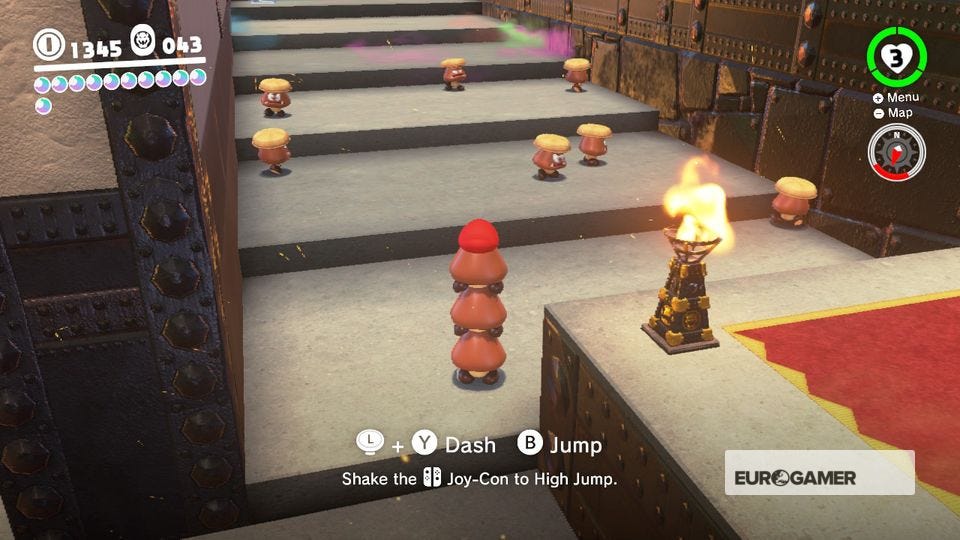
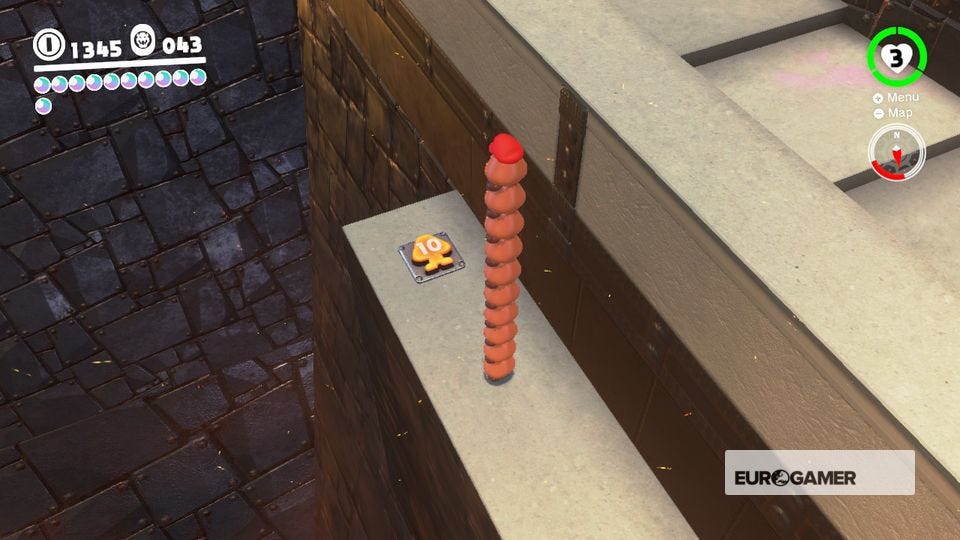
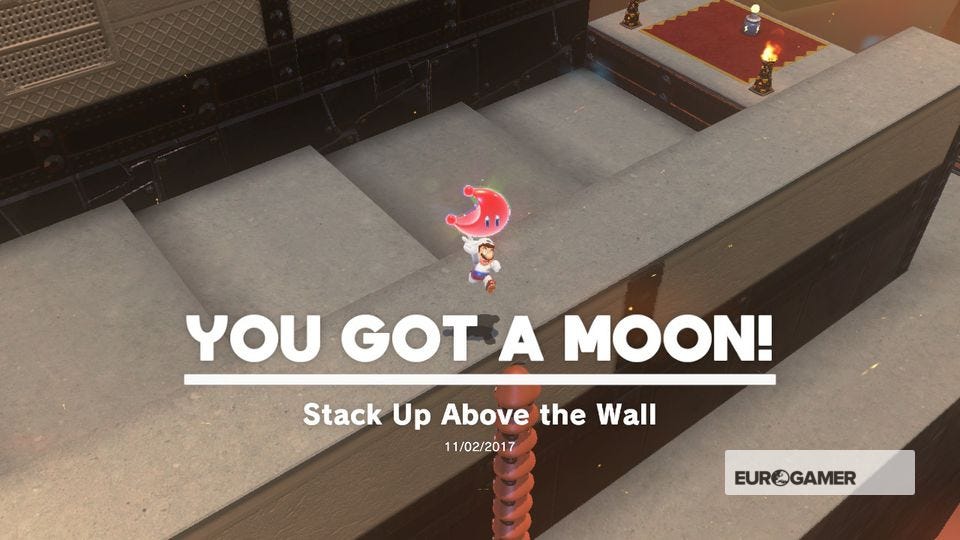
19. Stack Up Above the Wall
From Third Courtyard (Front), turn round, use the Spark pylon and ride to the area with all the Goombas. Stack everyone of them into a tower, walk down the ledge to your left and jump on the button to reveal a Moon.
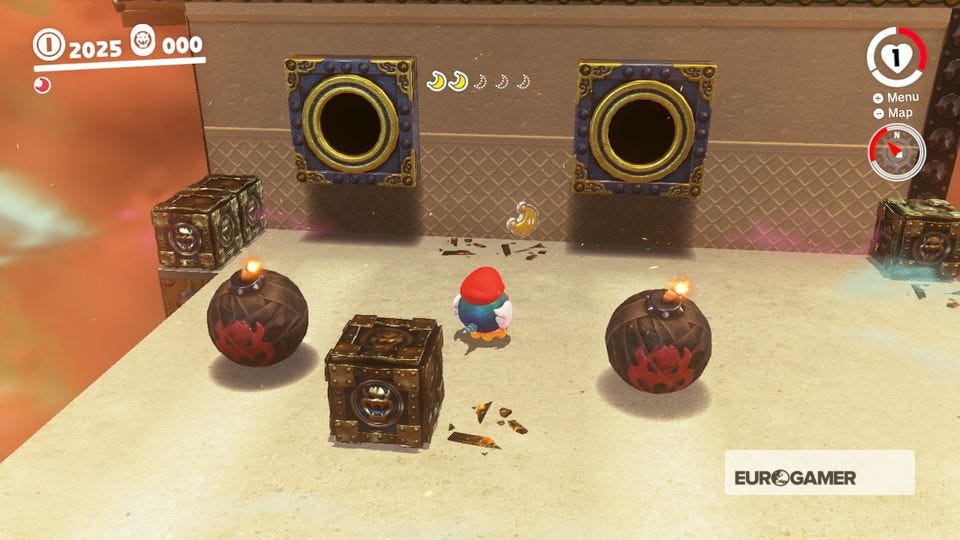
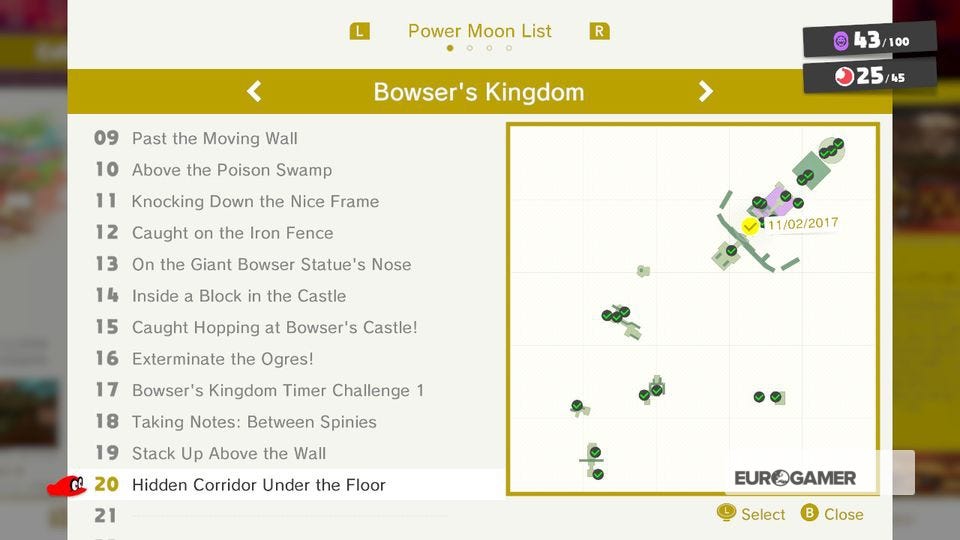
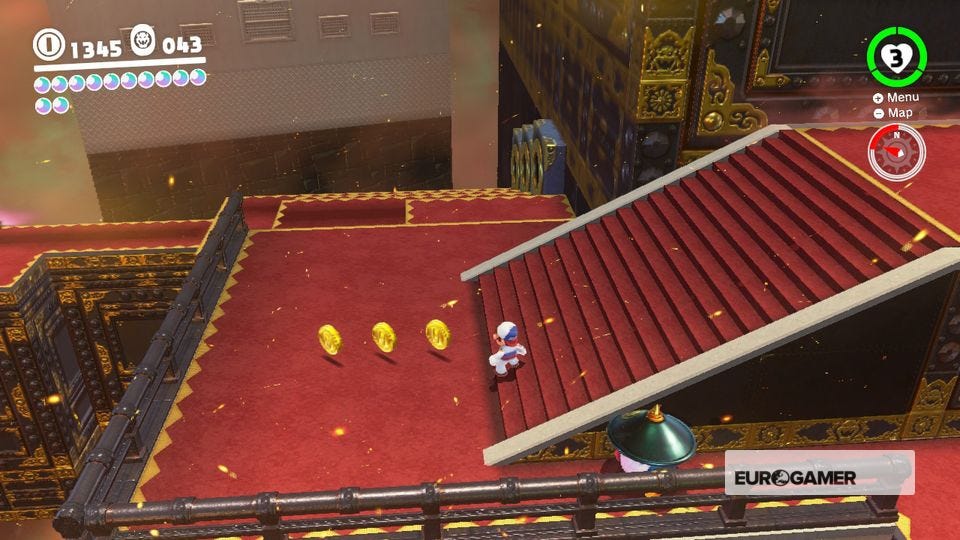
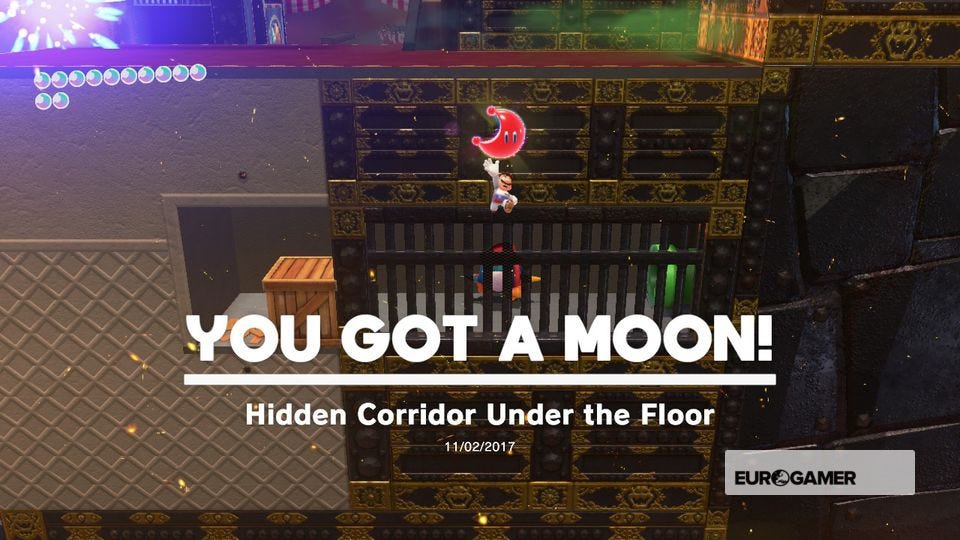
20. Hidden Corridor Under the Floor
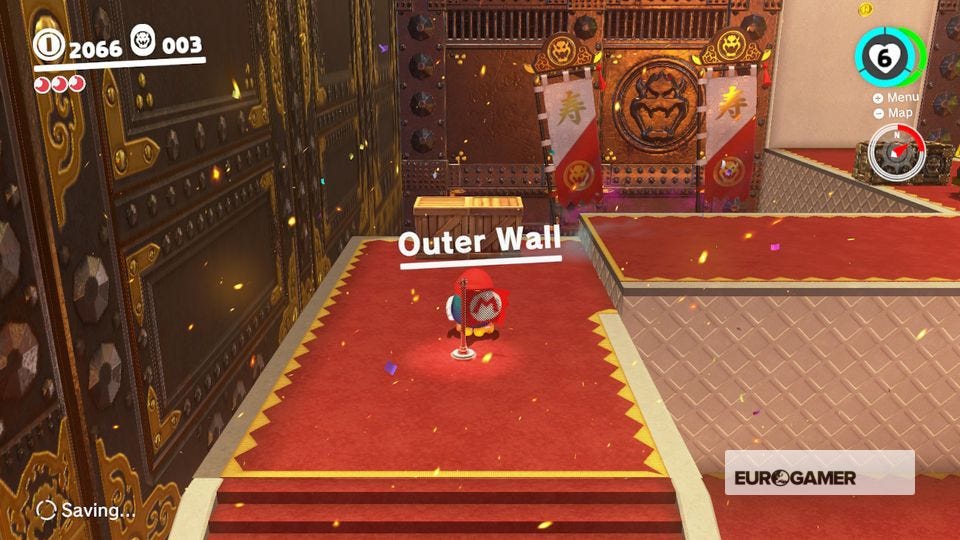
From Outer Wall, turn left and follow the three rolling bombs. Jump into the Pokio, then drop down to the white wall with the crates. Destroy them to find a hidden alcove with a Moon.

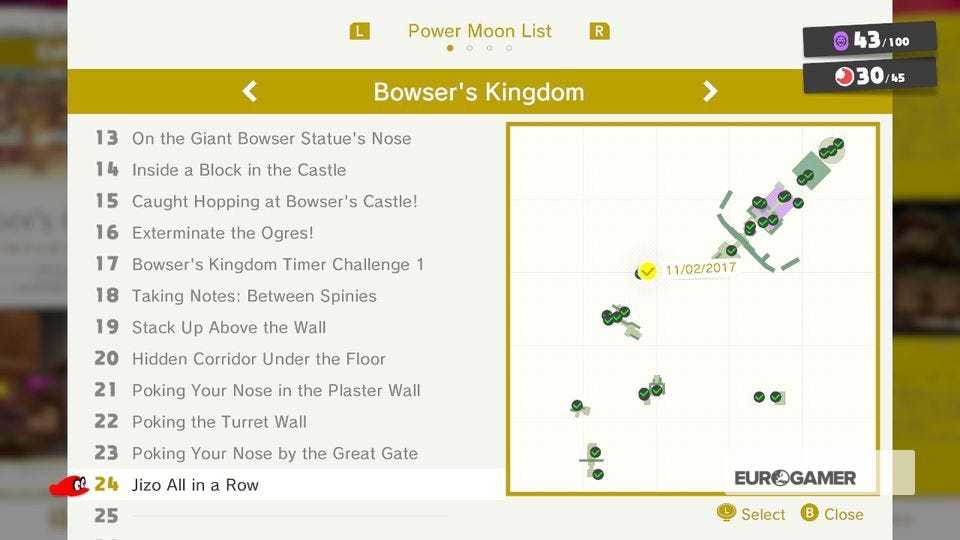
Super Mario Odyssey Bowser Kingdom Power Moons 21 to 30
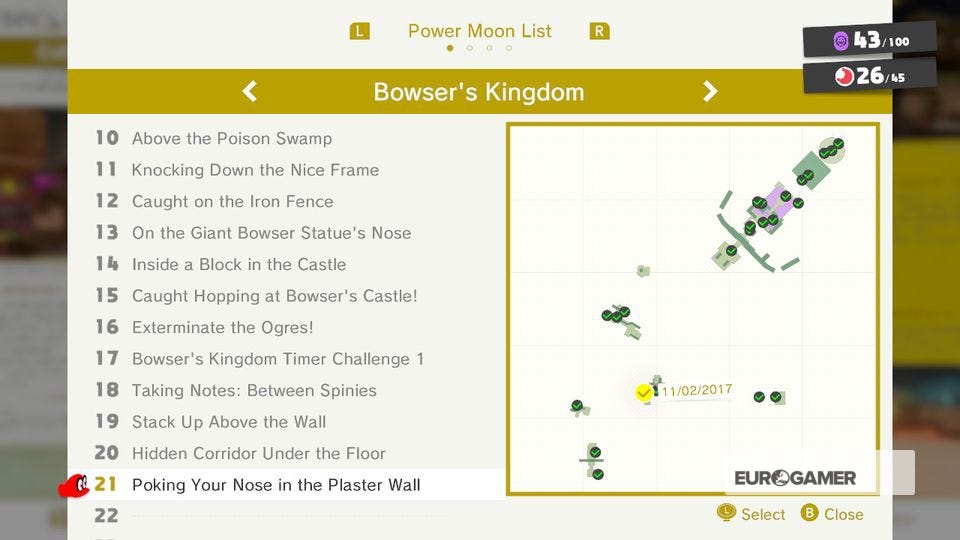
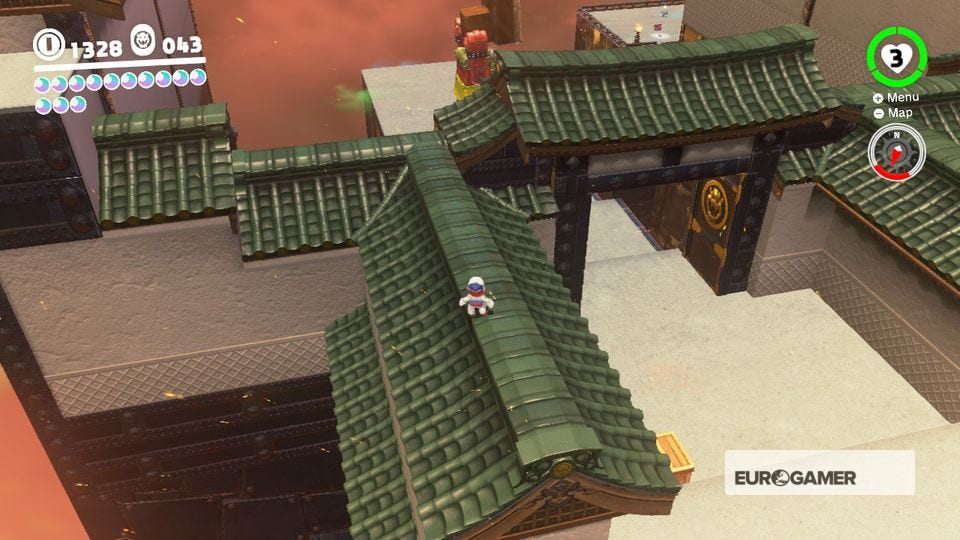
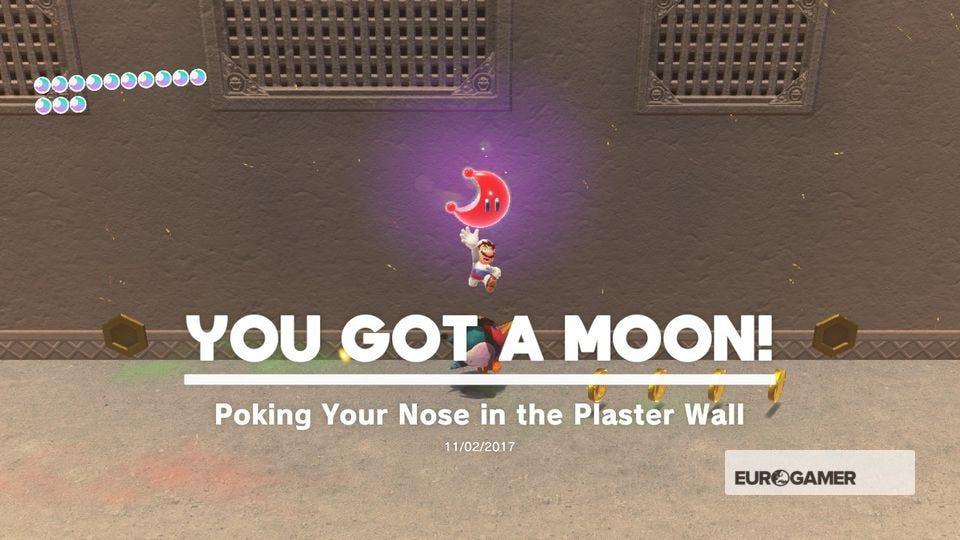
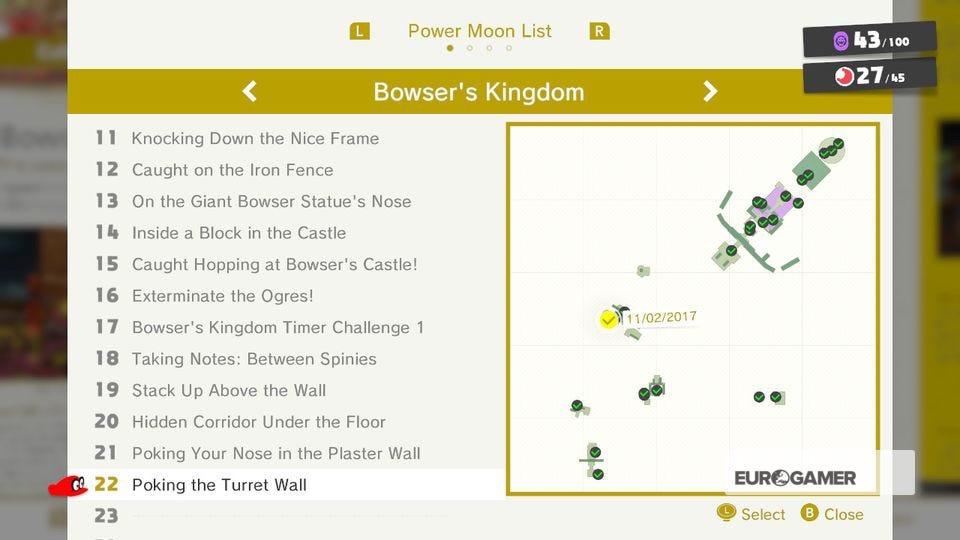
21. Poking Your Nose in the Plaster Wall
From Third Courtyard (Rear), turn left and jump through the rings, past the ogre and through the gates. Climb up onto the rooftops as shown, cross the archway, then onto the roof to your left. Drop down to the ledge with the Pokio and poke the hole in the wall to reveal a Moon.
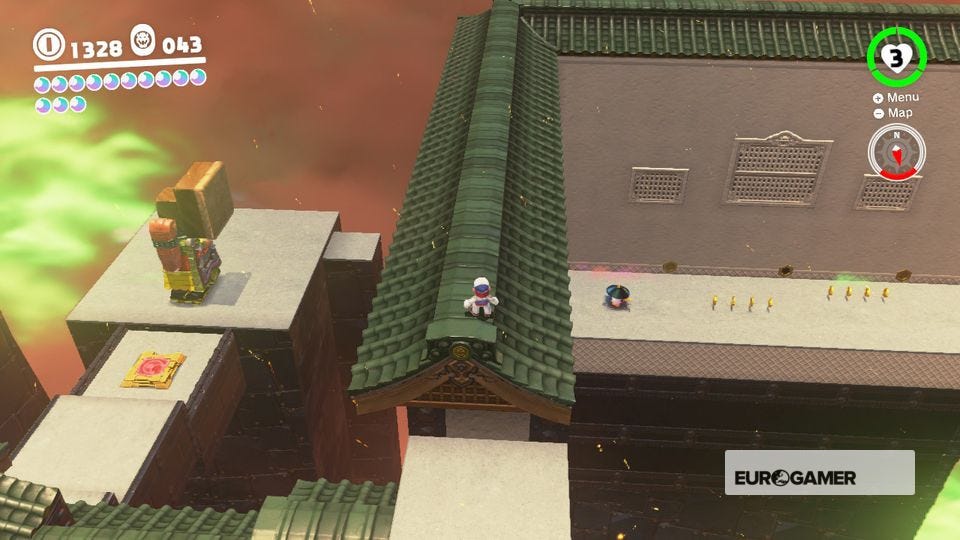
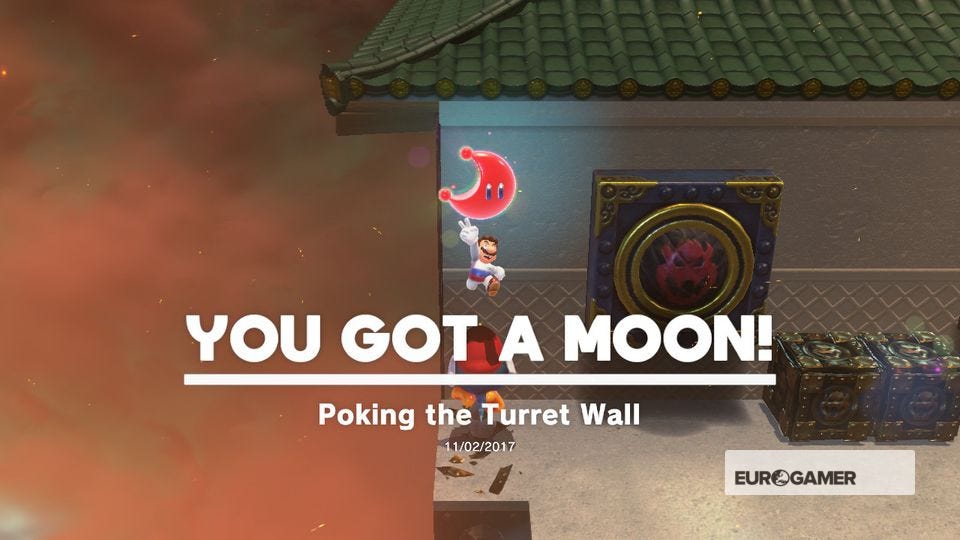
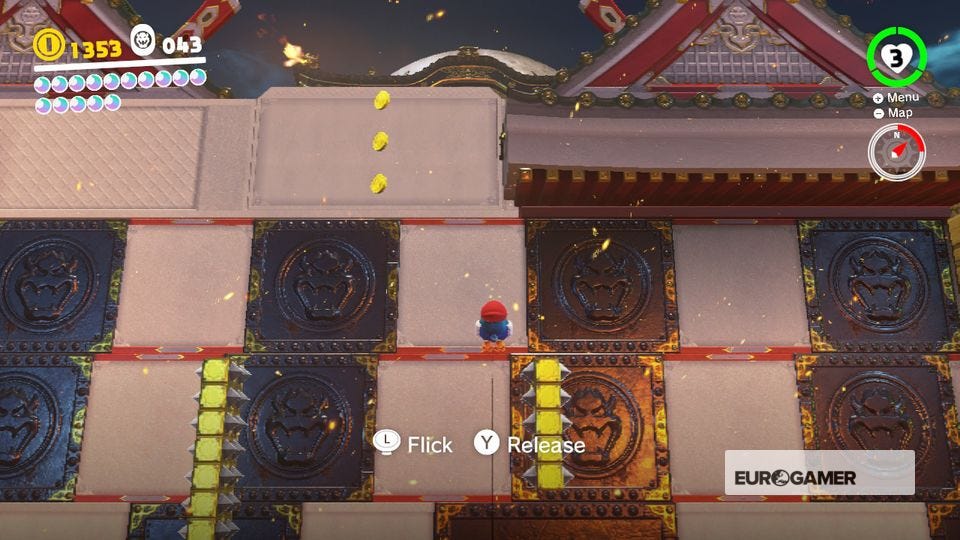
22. Poking the Turret Wall
From Second Courtyard, scale the wall across with a Pokio. Knock one of the bombs from the two holes towards the crates in the corner to reveal a hole right by the edge. Poke it to reveal another Moon.

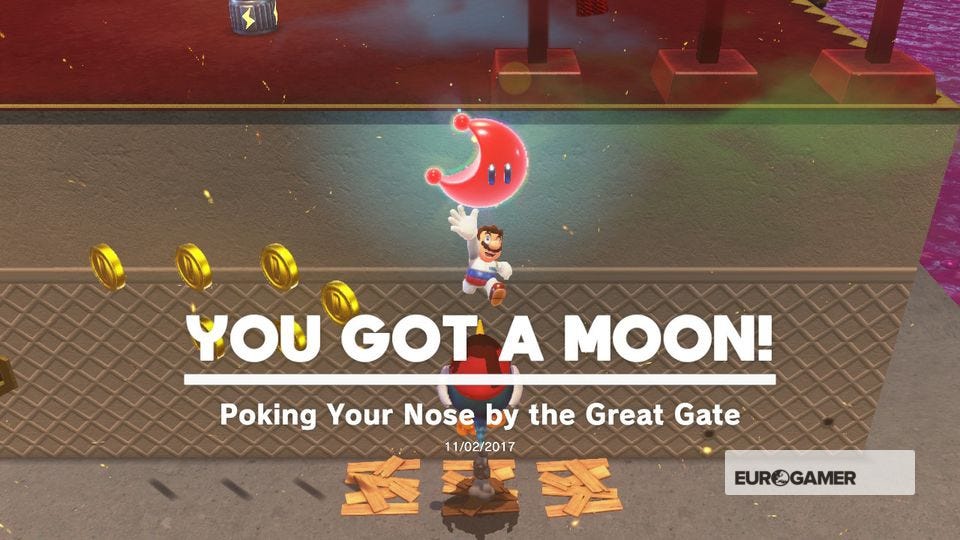
23. Poking Your Nose by the Great Gate
From Inner Wall, ascend the sliding wall with a Pokio. At the top, run towards the end of the platform in front of the big archway. Round around to the front, take out the two Spinies and poke the right-hand hole to reveal the Moon.

24. Jizo All in a Row
From Souvenir Shop, possess one of the Jizos outside the shop, then walk it over to the line of hatted Jizos and stand it in the gap. A Moon will be summoned.


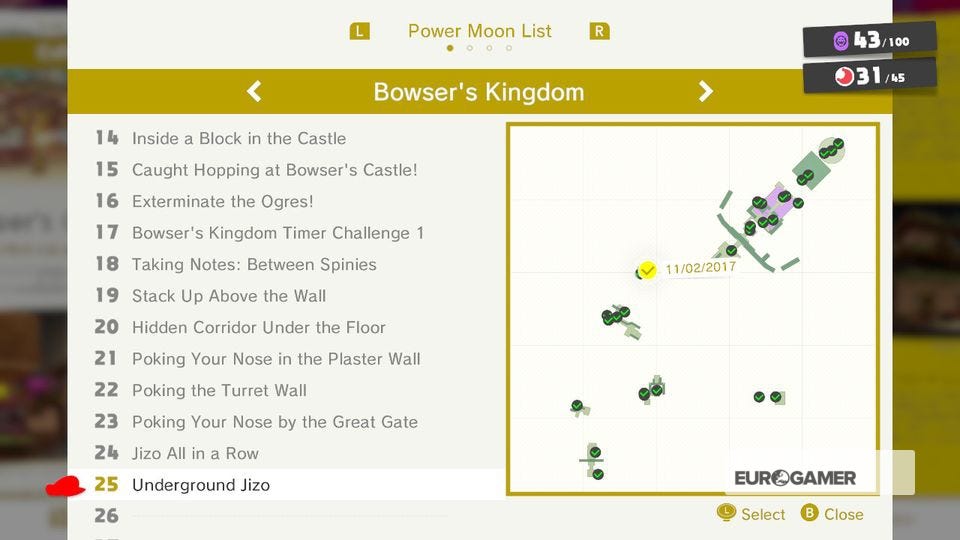
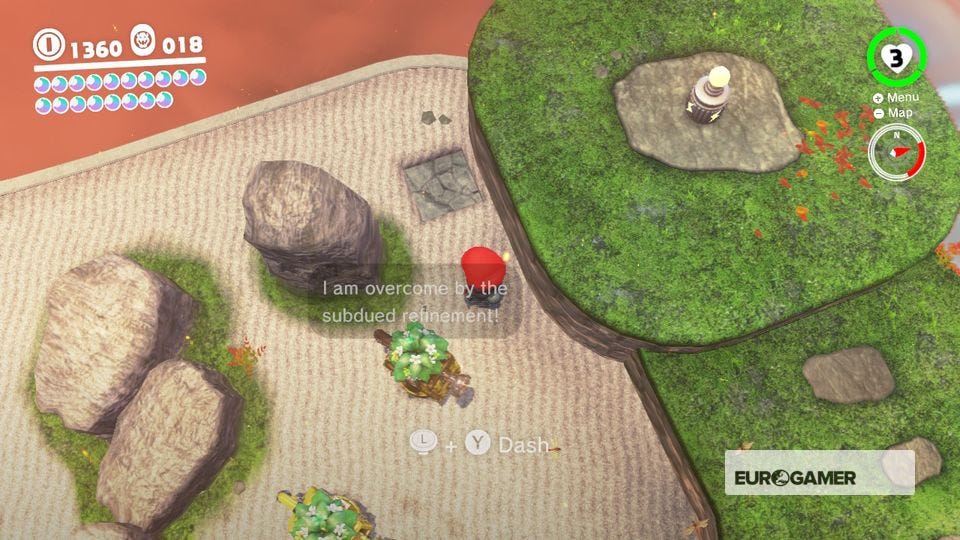
25. Underground Jizo
From Souvenir Shop, possess a Jizo and stand over the square patch of stone near the platforms. Drop down, place the Jizo in the gap and grab a Moon.

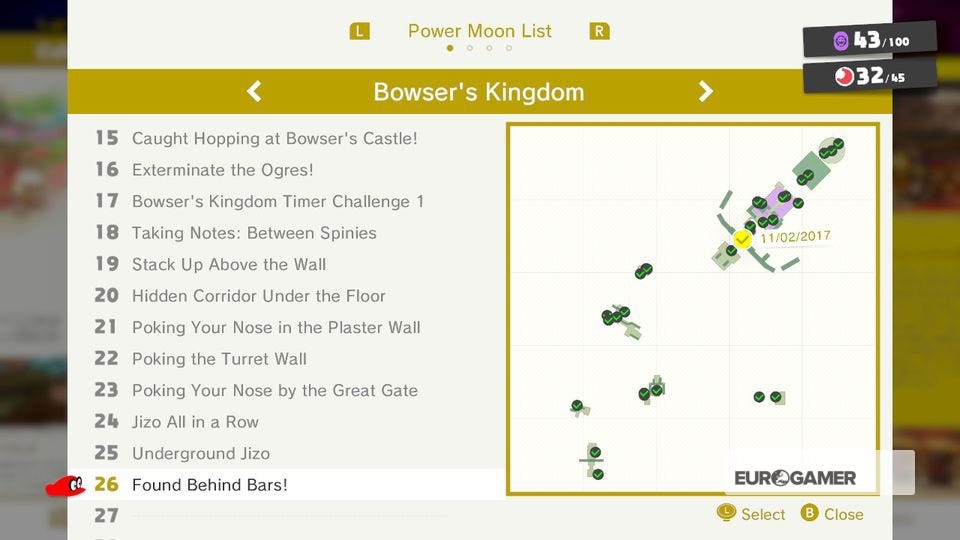
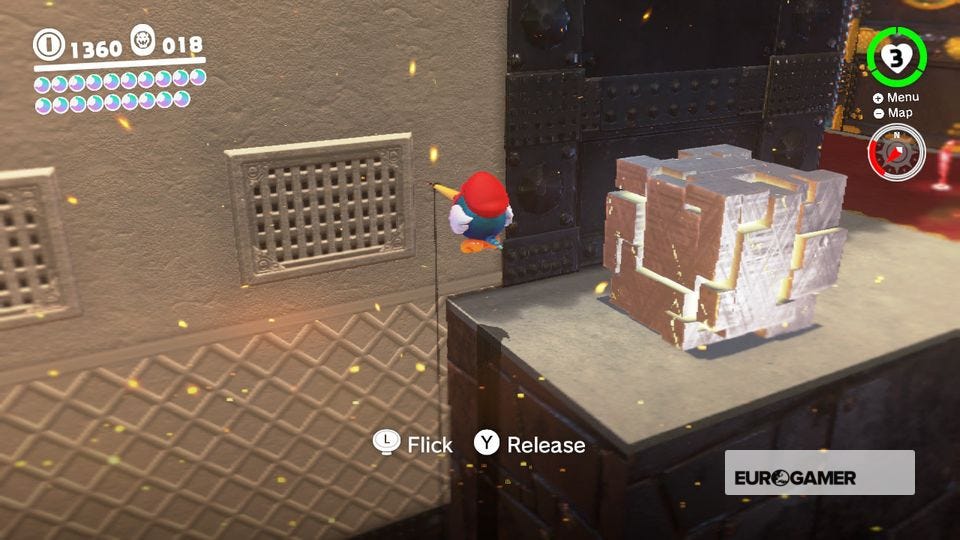
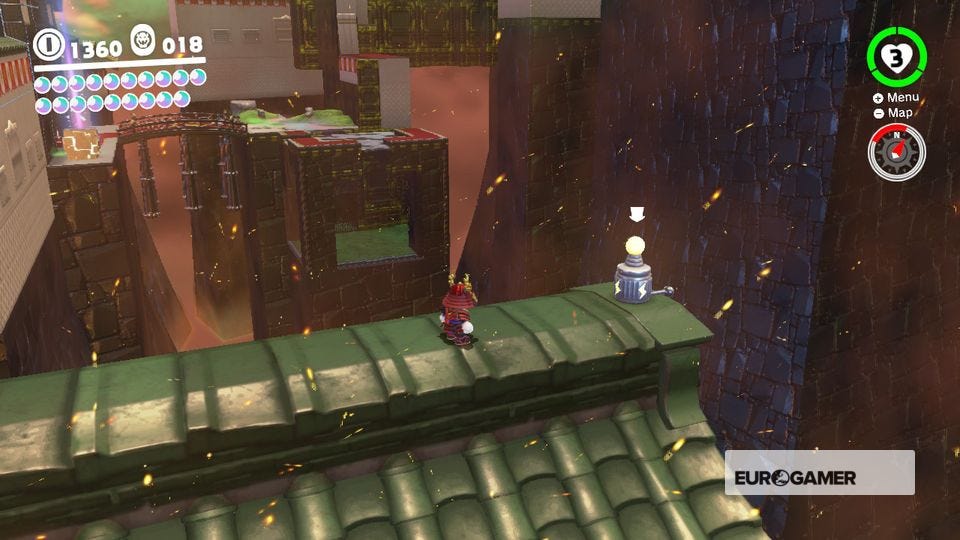
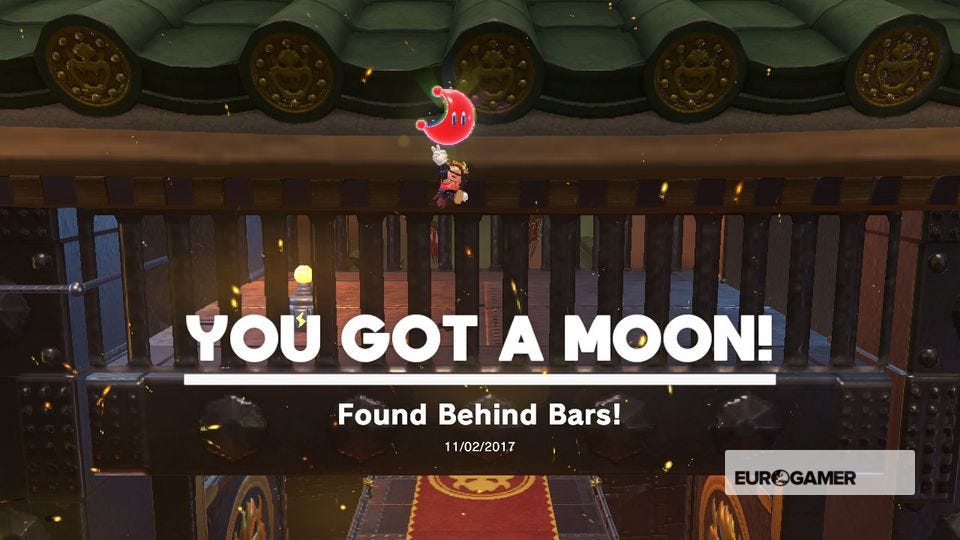
26. Found Behind Bars!
From Main Courtyard, use a Pokio to scale the wall shown in the second screenshot. Run across the rooftops and use the Spark pylon to enter the cage above the gateway and claim the Moon inside.
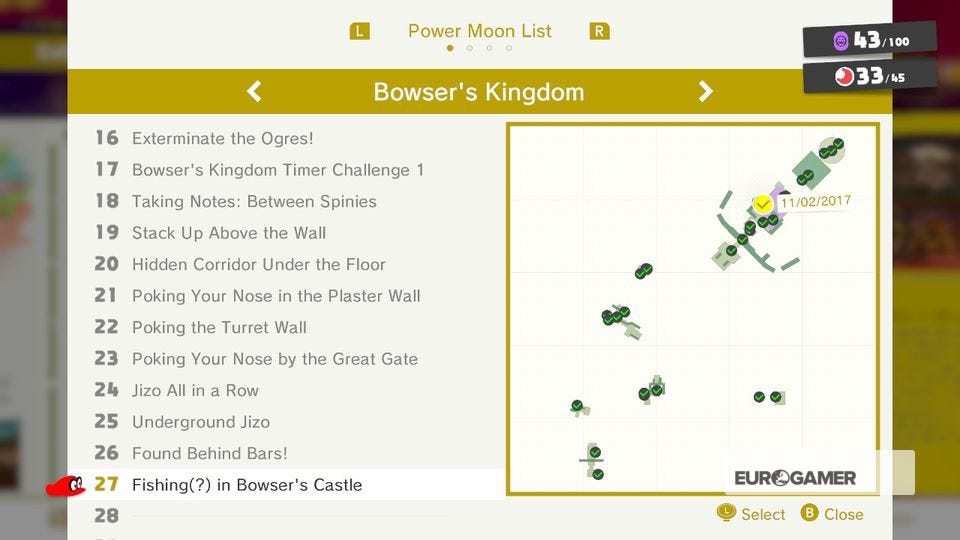
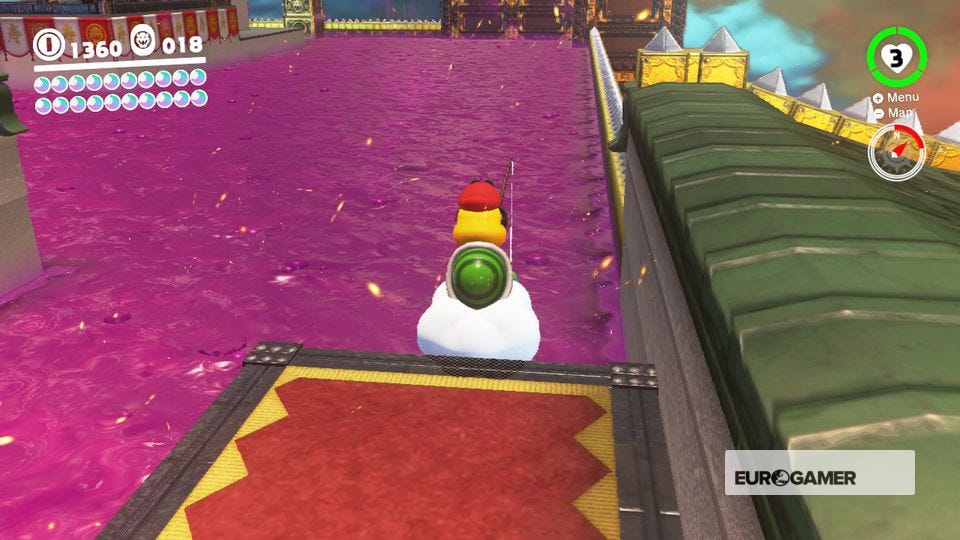
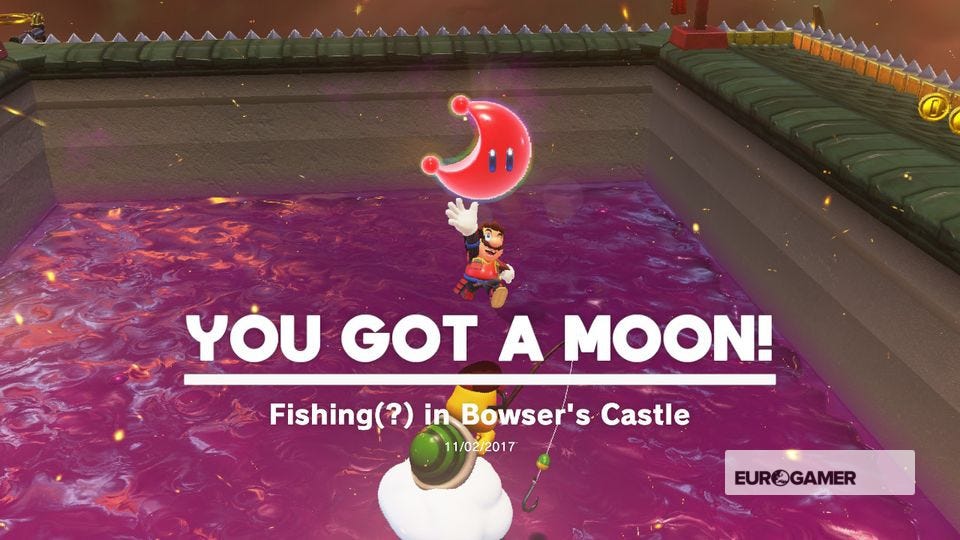
27. Fishing(?) in Bowser's Castle
From Beneath the Keep, jump into Lakitu, float under the bridge and turn left. Use your fishing rod to catch the biggest fish and pull it out to reveal a Moon.
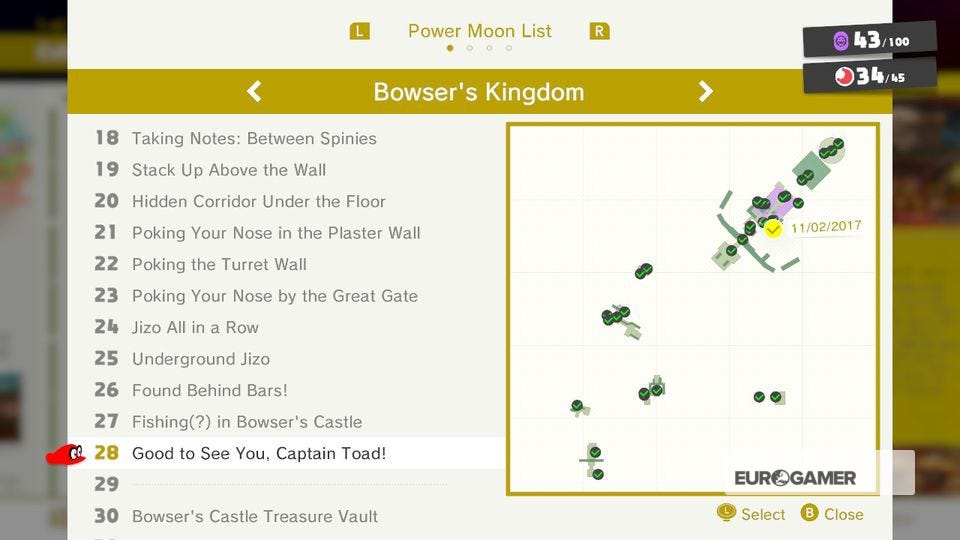
28. Good to See You, Captain Toad!
From Outer Wall, turn right and cross the rooftops to the far right-hand side and turn the corner. Speak to Captain Cold at the end to get another Moon.

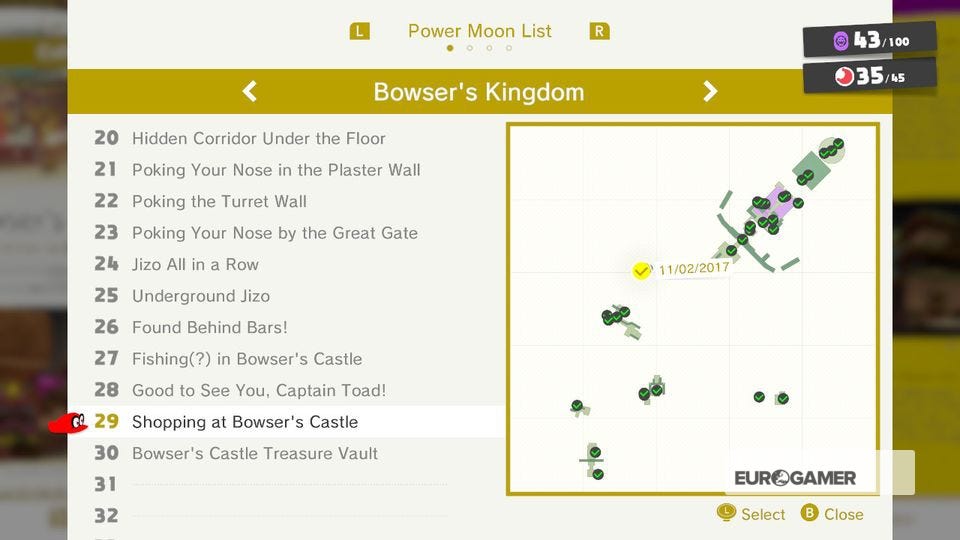
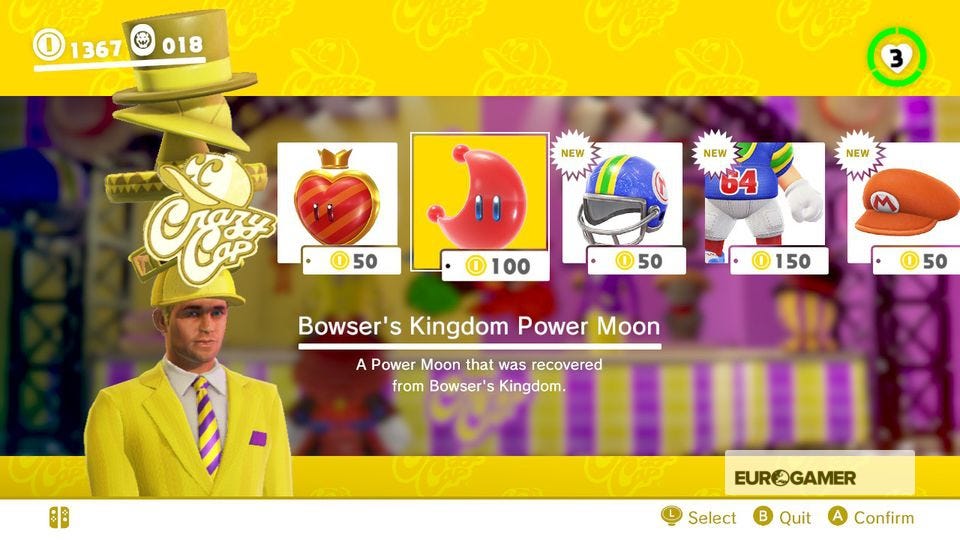
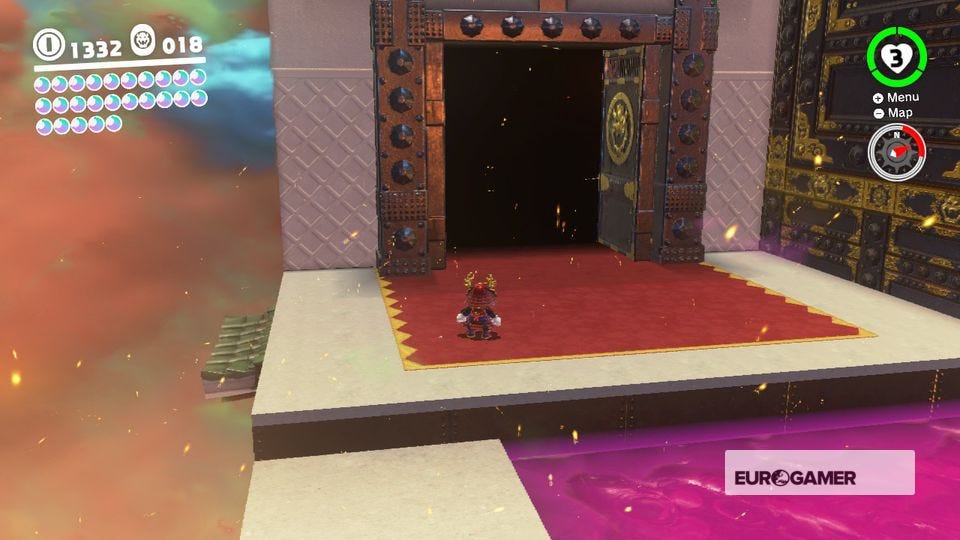
29. Shopping at Bowser's Castle
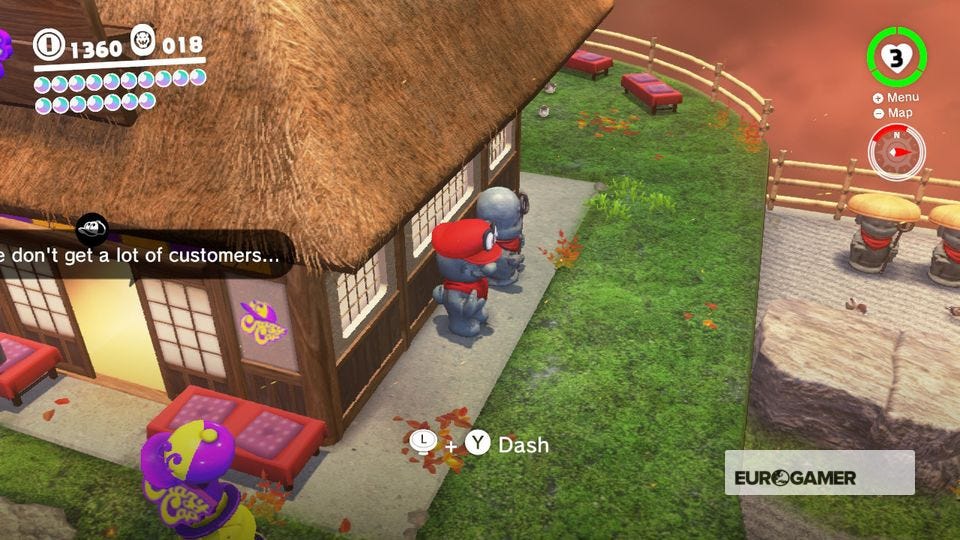
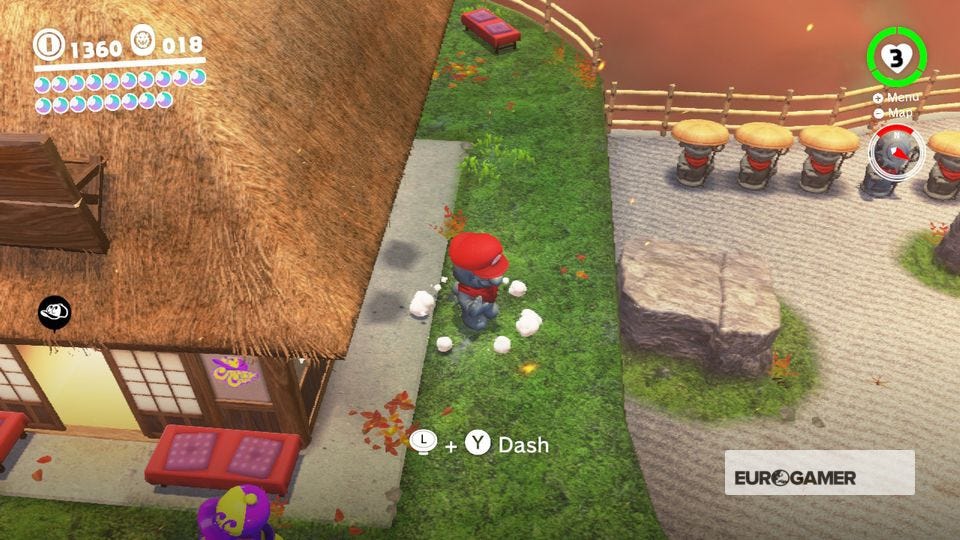
Head to the Souvenir Shop checkpoint, run in the Crazy Cap shop and buy the Moon in here to add another to your growing collection.

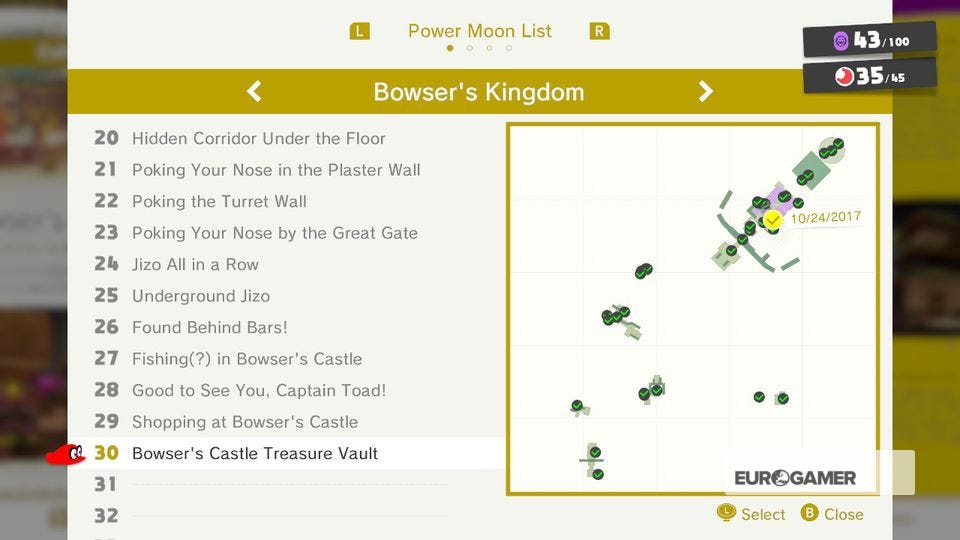
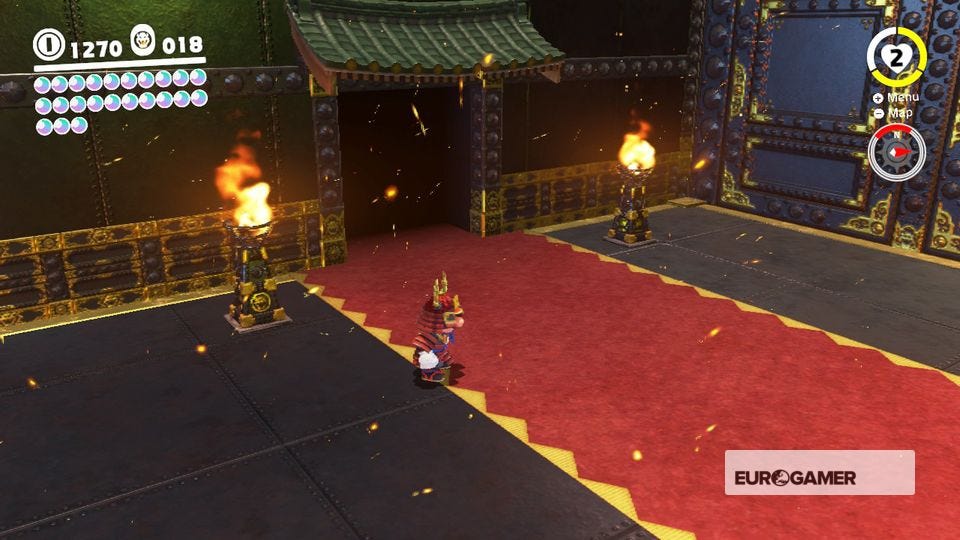
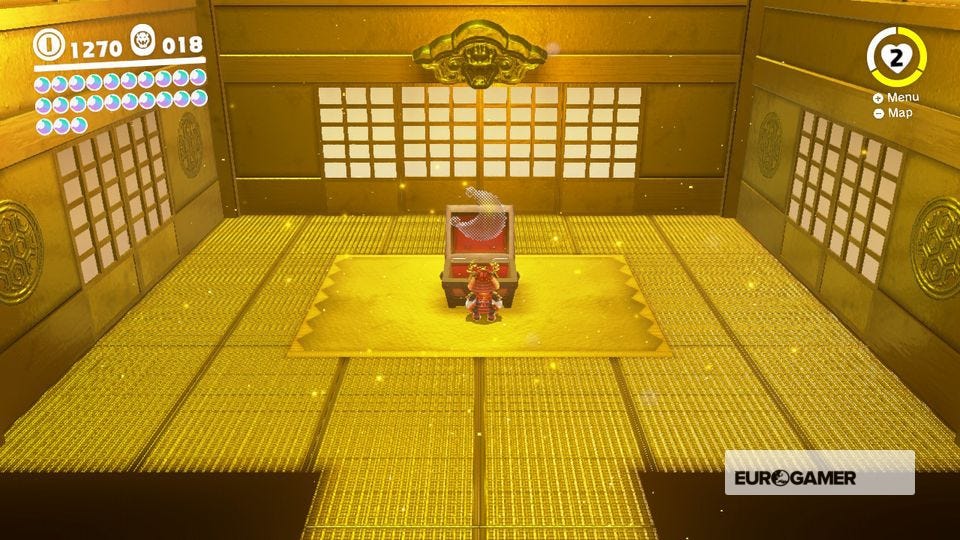
30. Bowser's Castle Treasure Vault
From Beneath the Keep, turn 18-degrees and head to the rooftop near Lakitu. Look down to find the ledge shown in the second screenshot. Drop down, enter the doorway and hit the chest to reveal the Moon.

Super Mario Odyssey Bowser Kingdom Power Moons 31 to 40
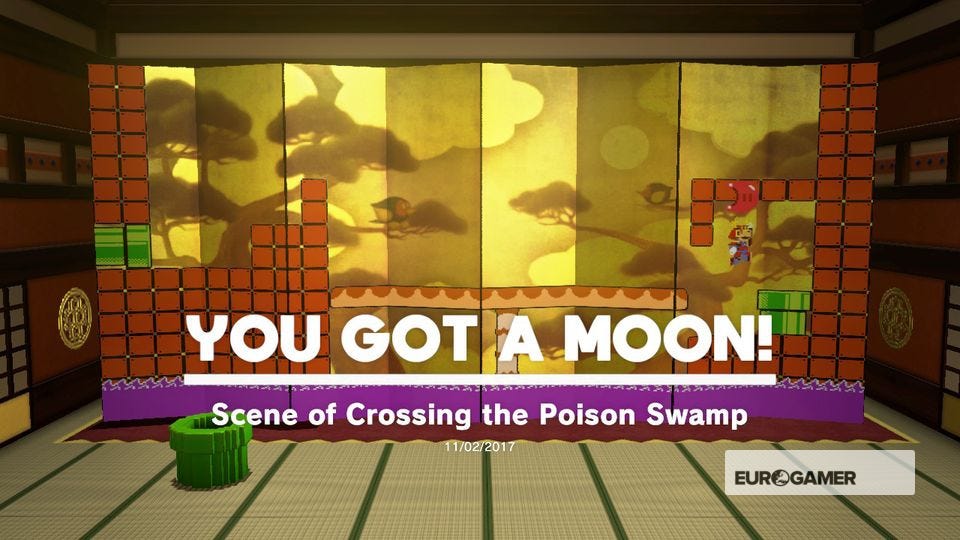
31. Scene of Crossing the Poison Swamp
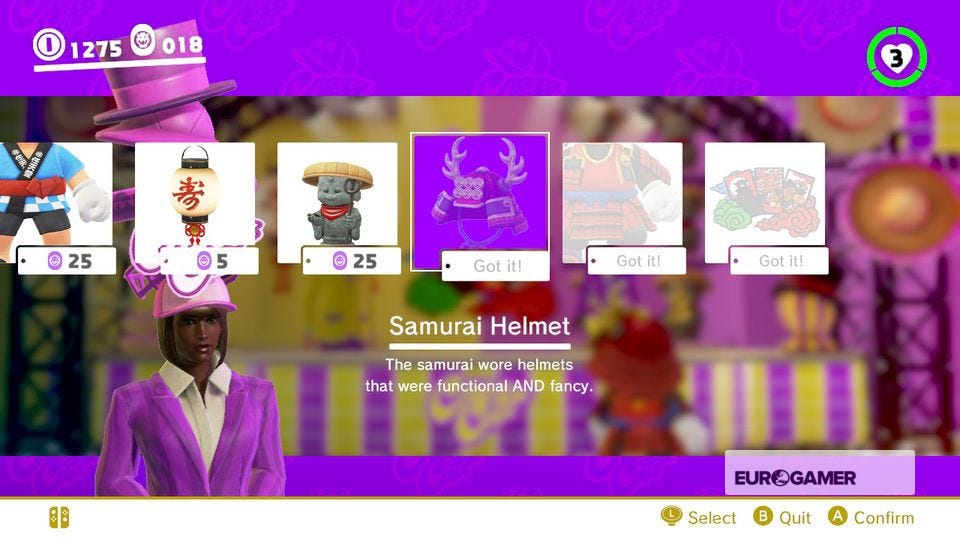
From Souvenir Shop, buy the Samurai combo from the Crazy Cap shop, head around to the back of the shop and enter the now unlocked door. Enter the Warp Pipe and cross the three 2D sections.
The main mechanic here are the platforms that drop as you stand on them, and rise when you leap off. On the third section, use the red shell to destroy the wall leading to the Moon by lowering the platform.


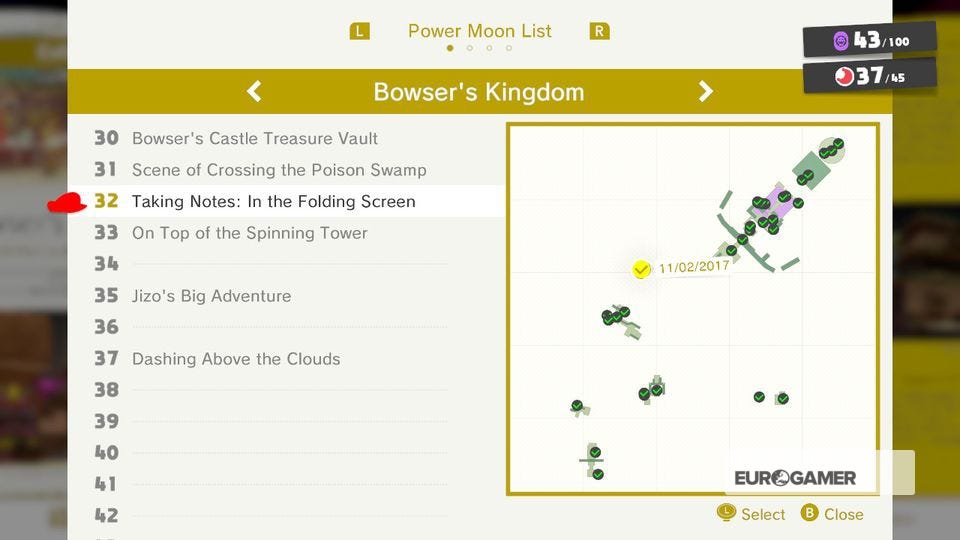
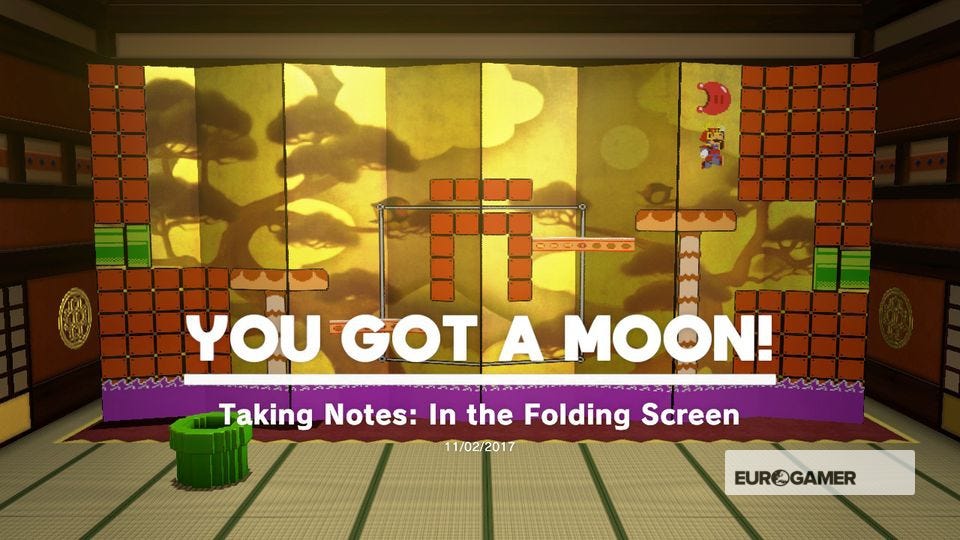
32. Taking Notes: In the Folding Screen
In the same are you collected Moon #31, head to the second section of the 2D level and hit the clef. Either run quickly around the platforms to grab all the notes, or use the red shell at the top to hit the ones on the right as you drop down. Either way, a Moon will pop.
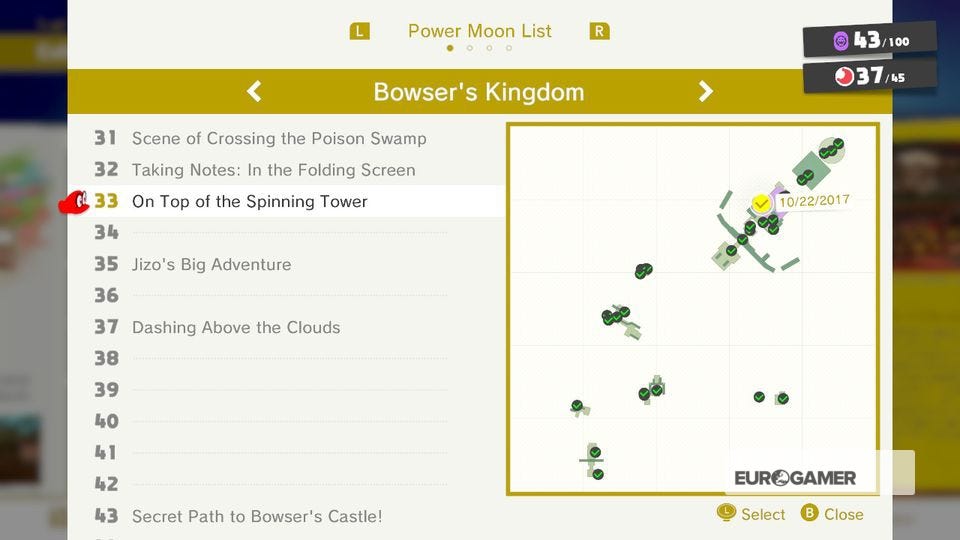
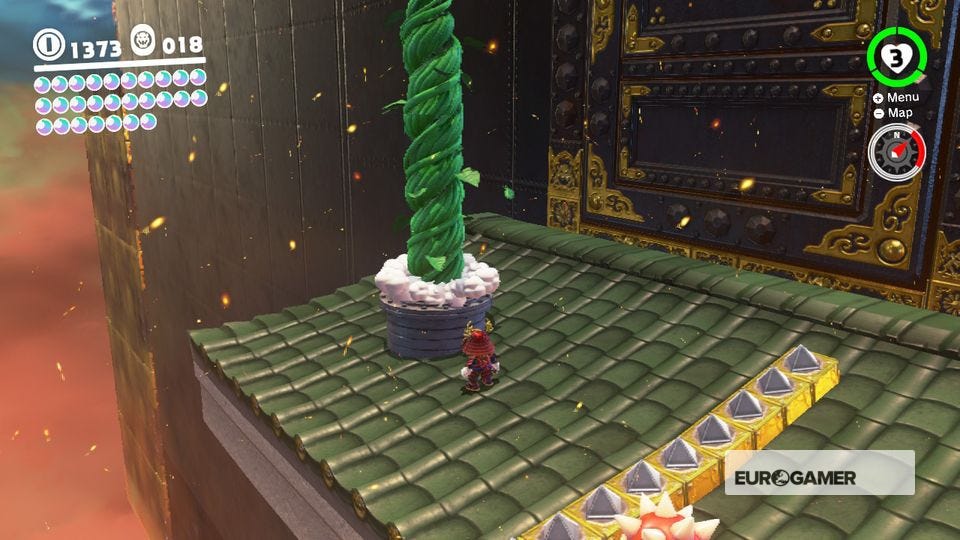
33. On Top of the Spinning Tower
After completing the main story, head to the Odyssey, enter the Warp Pipe and emerge onto the rooftops. Drop down through the gold rings to your right, and deal with the ogre to open the door. In this new area, ascend the spinning tower with the Pokio to claim the Moon at its summit.
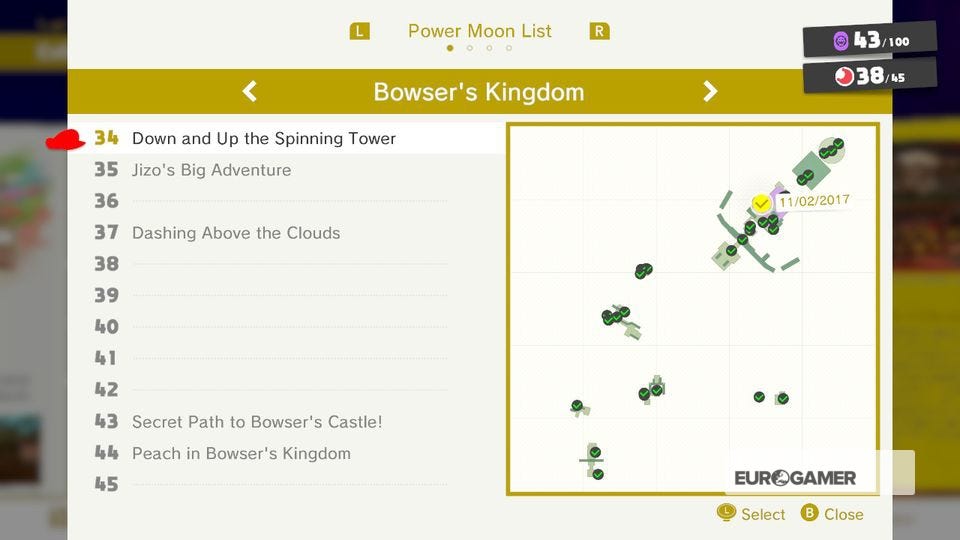
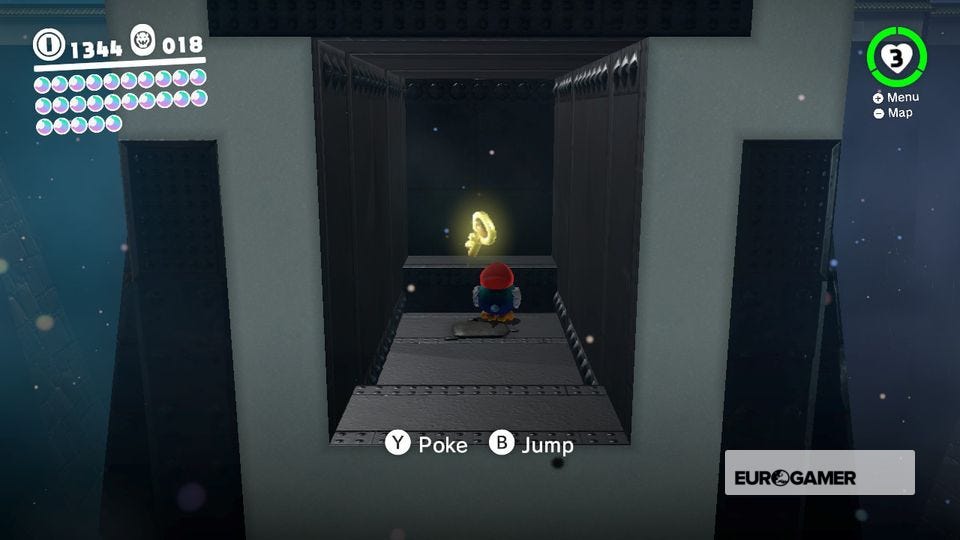
34. Down and Up the Spinning Tower
In the same area you collected Moon #33, head to the back of the spinning tower, drop down and grab the key in the alcove (watch out for the Pokio in here). Ascend the tower again to grab the new Moon.

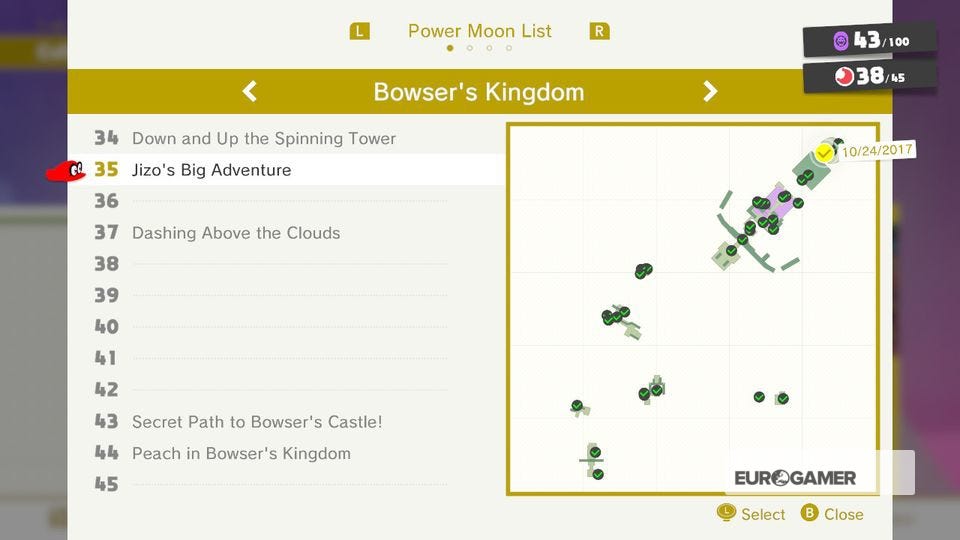
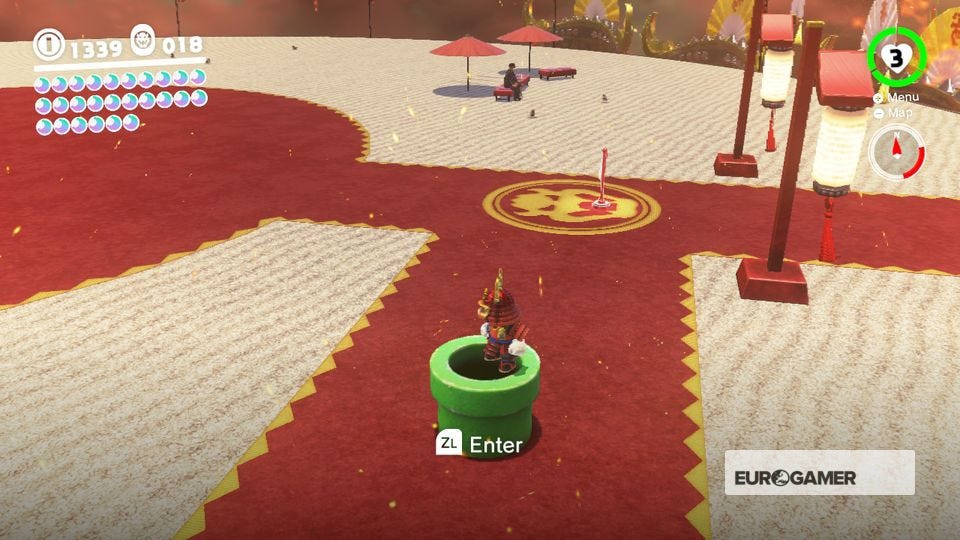
35. Jizo's Big Adventure
From Showdown Arena, enter the Warp Pipe. In this section, use the stone Jizo on the P-Switch to the left to reach the next Jizo. Drop down the stone hole and use the lift to reach the higher platform and the middle area with all the P-Switches. Place this Jizo on the right-hand P-Switch.
Switch back to the first Jizo and cross the right-hand section with the moving platforms. Jump into the third Jizo and ride the platforms back to the middle. Place the Jizo on the middle P-Switch. Run across the right-hand bridge, dodging the spikes and possess the remaining Jizo, and ride it back to the middle.
Cross the bridge in the middle and place it on one of the two P-Switches. Repeat with one of the others. Wall jump up to reach the Moon.
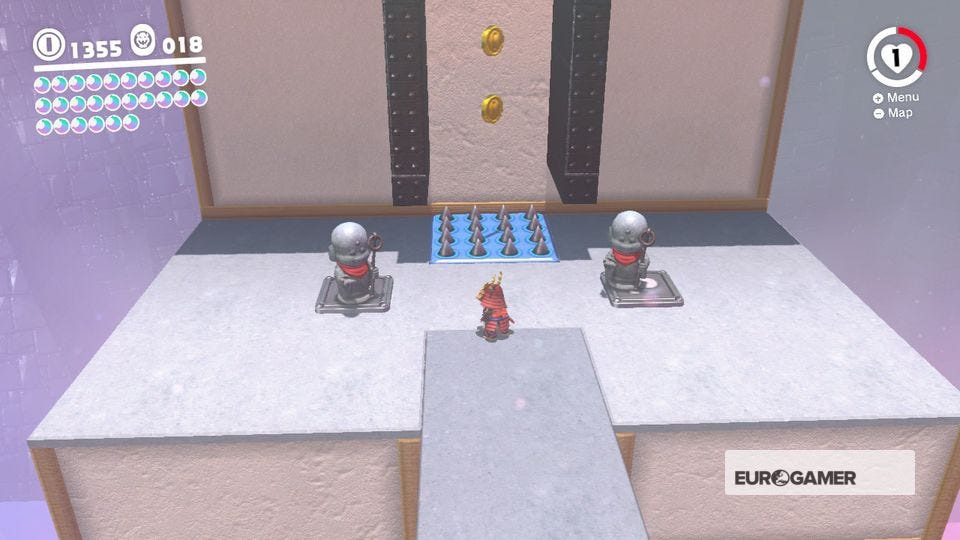
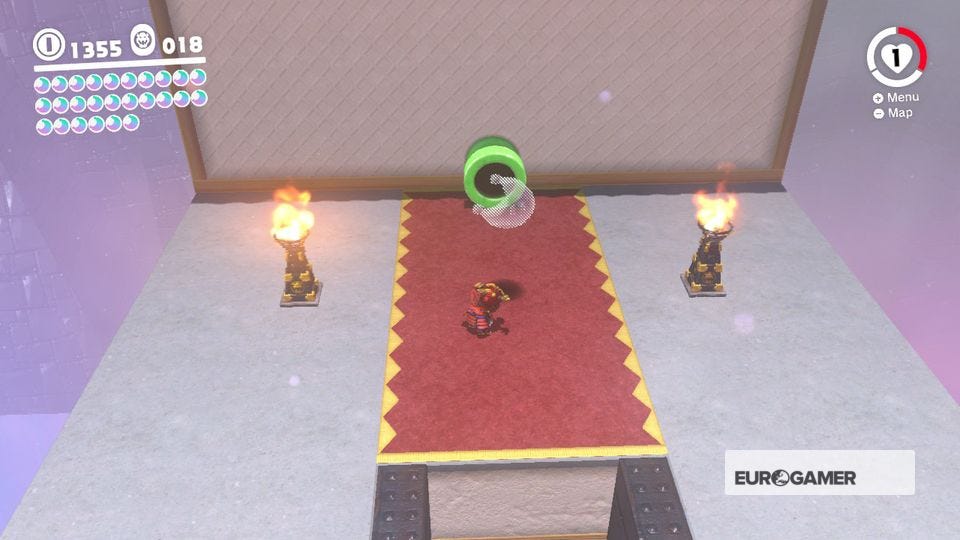
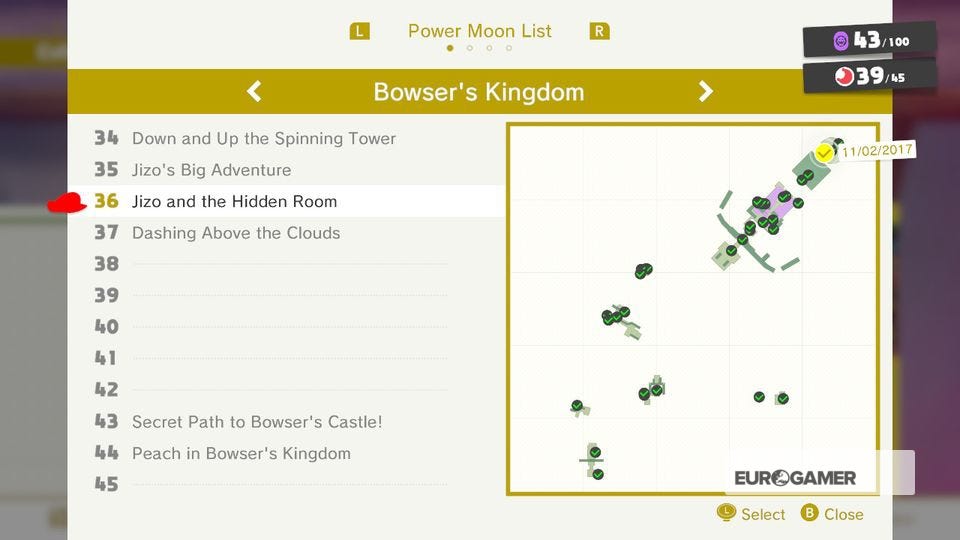
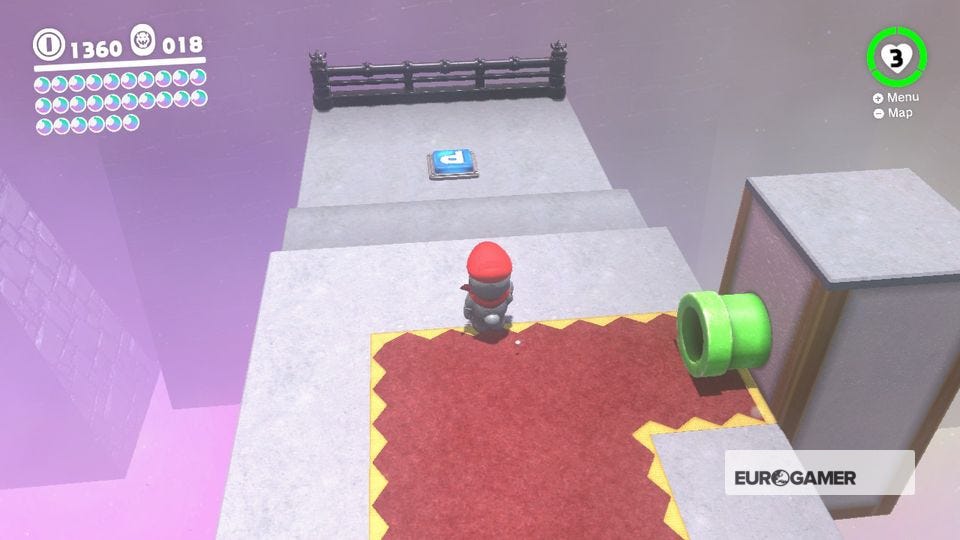
36. Jizo and the Hidden Room
In the same area you collected Moon #35, complete the process up until you point where you've reveal the two walls you wall jump to reach the top. Possess the Jizo on the middle P-Switch and walk back to where you first entered this area. Stand on this P-Switch to reveal a Moon halfway up the tower. Leave the Jizo, jump over the spikes, long jump the gap and grab the Moon in the hidden room.

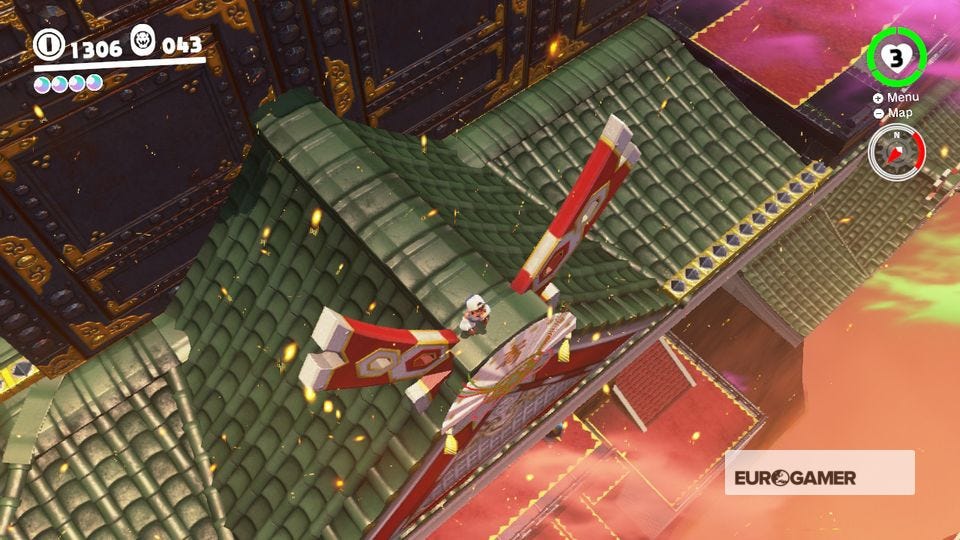
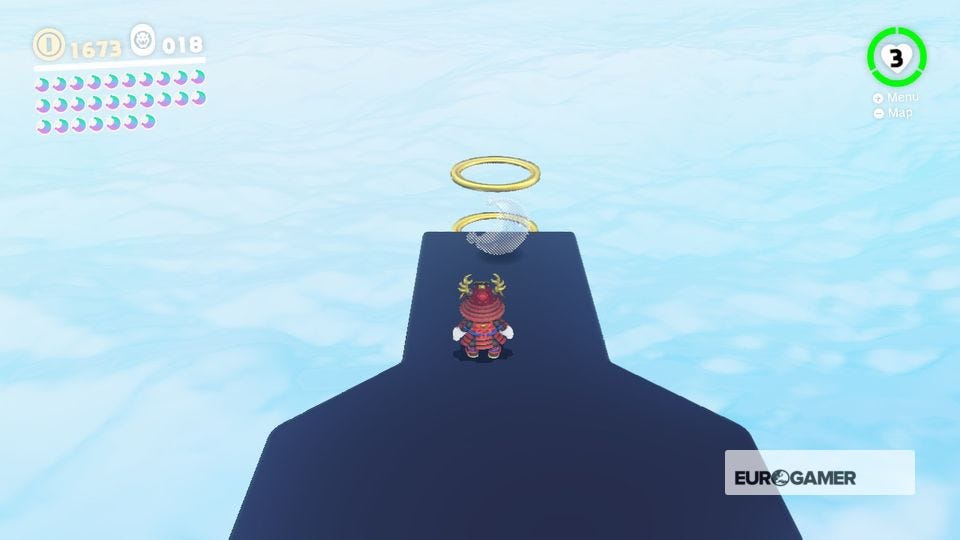
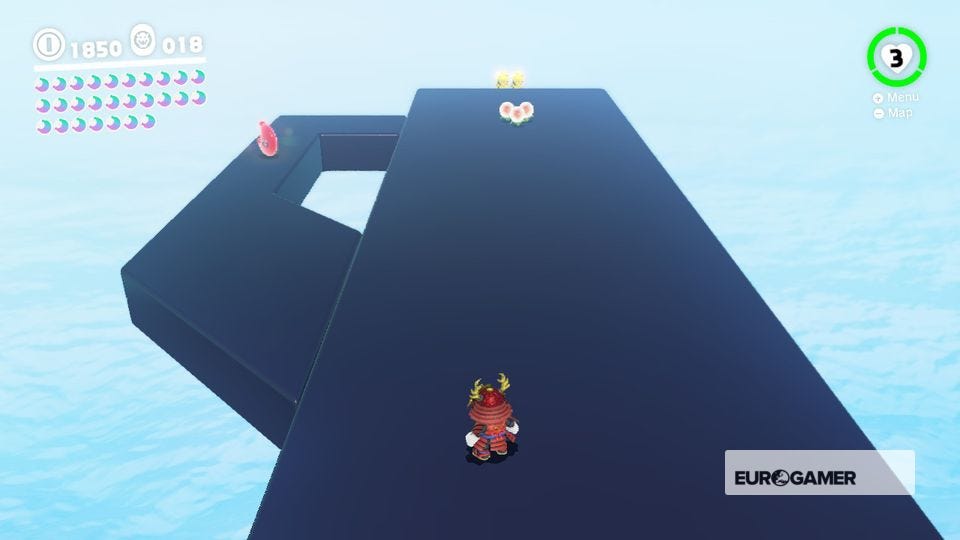
37. Dashing Above the Clouds
From Beneath the Keep, turn 18-degrees, jump onto the left-hand roof, down onto the platform with the ogre and down again. Use the seed in the soil patch and ride the beanstalk up. In this area use the speed flowers to leap each Sonic-esque platform to end. After hitting the three flowers together at the end, Ground Pound the platform you land on to grab the Moon in time.


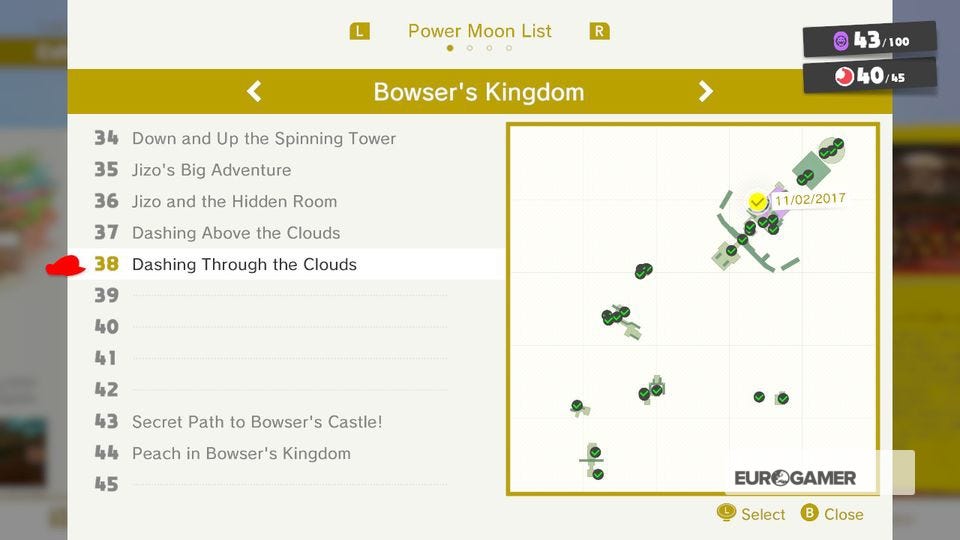
38. Dashing Through the Clouds
In the same area you collected Moon #37, grab the Moon on the penultimate platform, to its left, to add it to your collection.

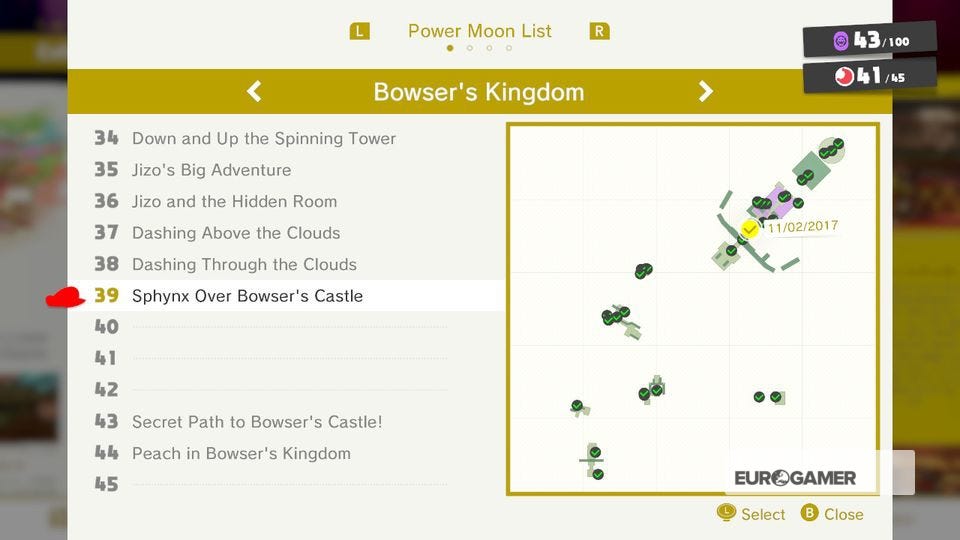
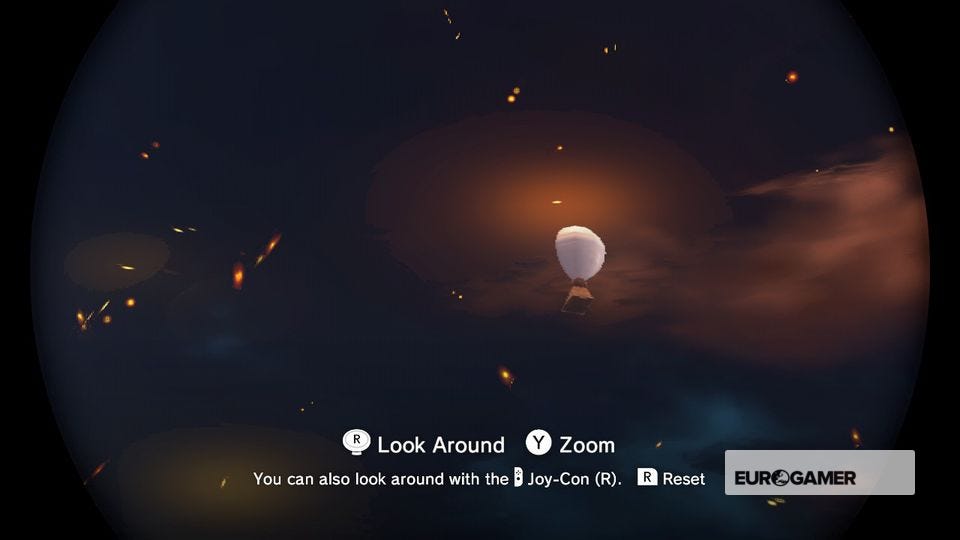
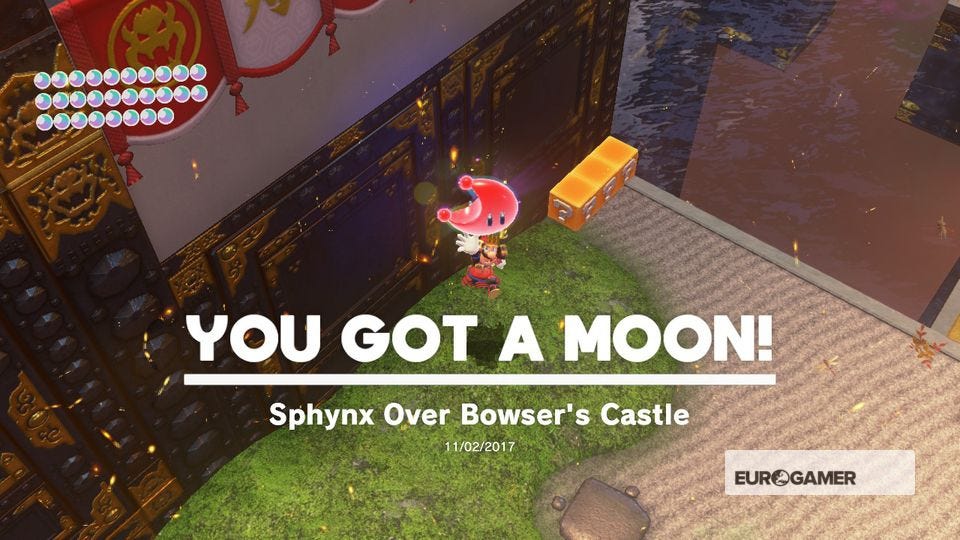
39. Sphynx Over Bowser's Castle
From Main Courtyard, use the Binoculars to spy Sphynx floating over Bowser's Castle. Look at it for long enough to unlock a Moon.
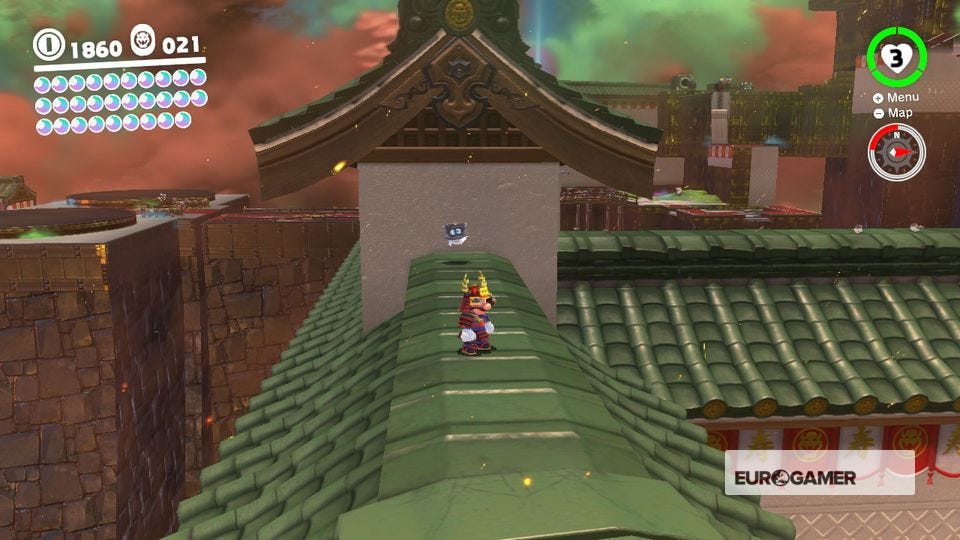
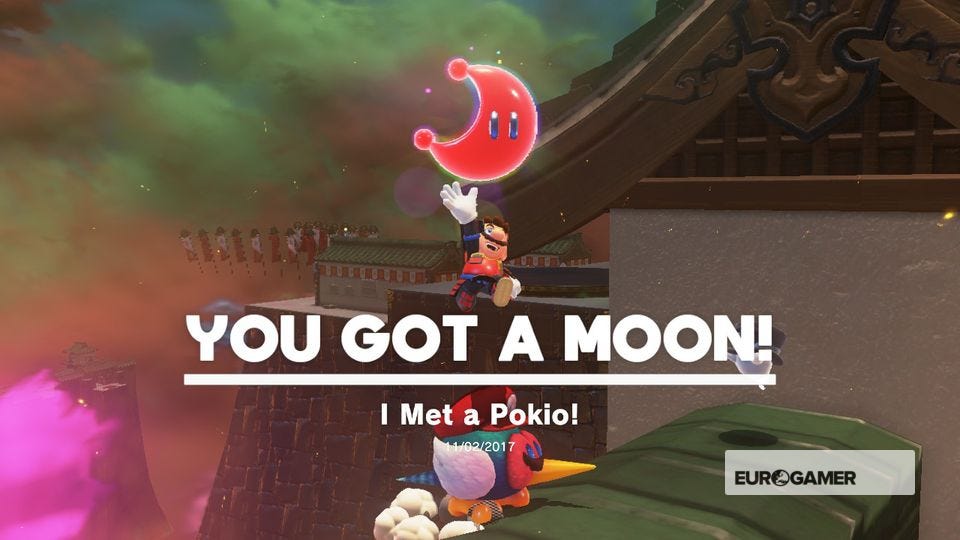
40. I Met a Pokio!
Find the Bonneton on the rooftops near the Main Courtyard (see second screenshot). Possess a Pokio and make your way back here to unlock a Moon.

Need more help? Our Super Mario Odyssey guide and walkthrough goes through every objective in each Kingdom, while our Power Moon locations can help you track down the likes of Cascade Kingdom Power Moons, Sand Kingdom Power Moons, Metro Kingdom and New Donk City Power Moons and more collectables. We also have Purple Coin locations for each Kingdom, and if you want to know what to spend it on, we have a hats list, outfits list, stickers list, a souvenirs list as well as a music list to kit out the appearance of both Mario and the Odyssey. Once you've finished the game, check out the free Balloon World update, too.
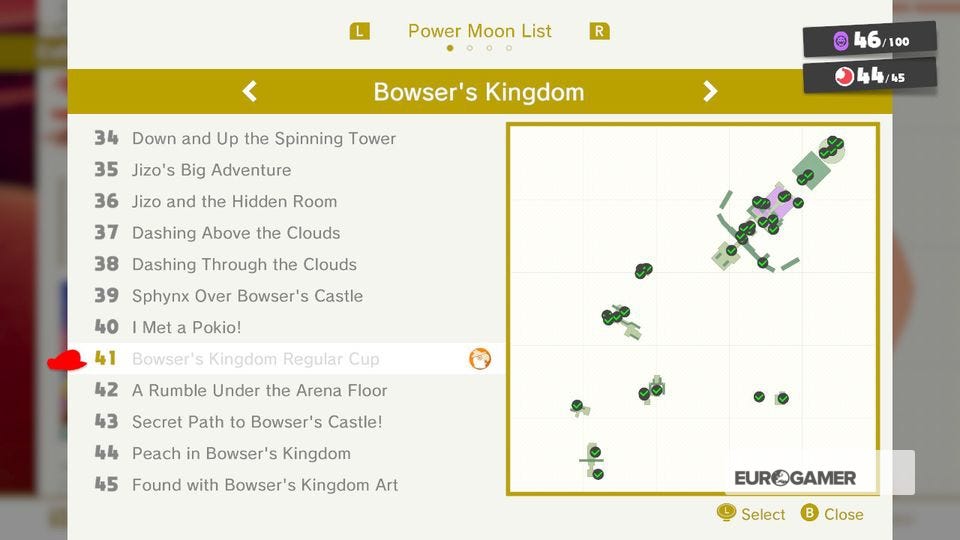
Super Mario Odyssey Bowser Kingdom Power Moons 41 to 45
41. Bowser's Kingdom Regular Cup
From Beneath the Keep, enter the Koopa freerunning race. This is the longest race, and requires you to race across most of the map. No real ways to cheat, apart from avoiding bombs and Pokios to avoid getting hit, and slowing down as a result. Get to the finish line in first to earn your Moon.

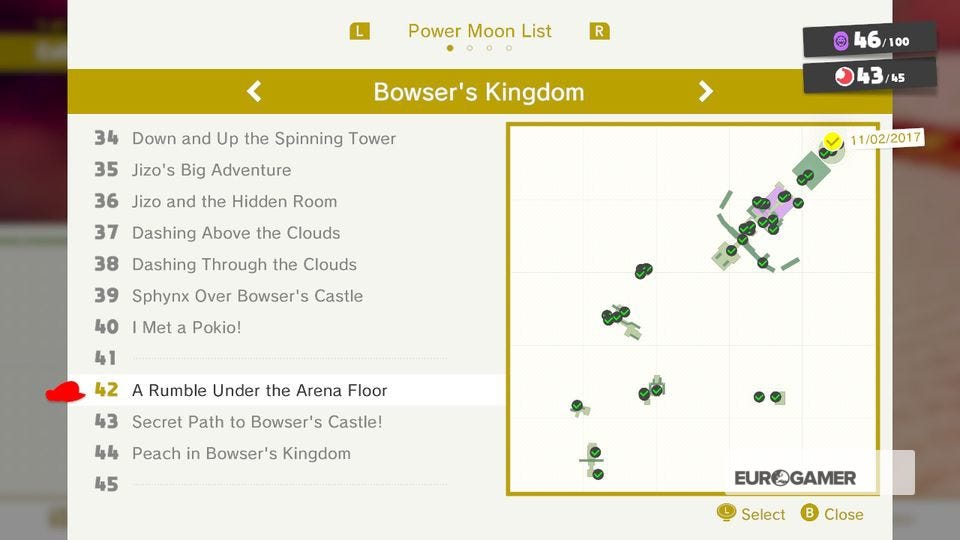
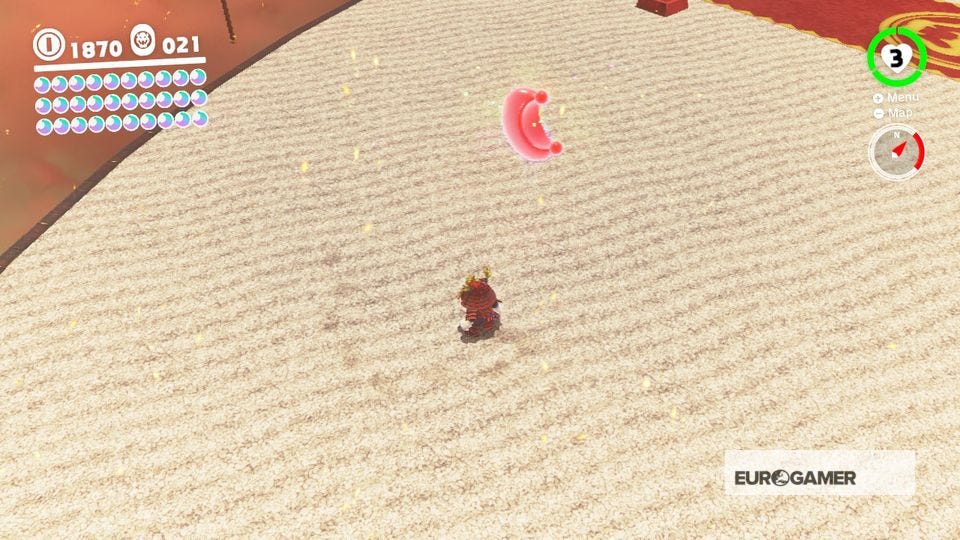
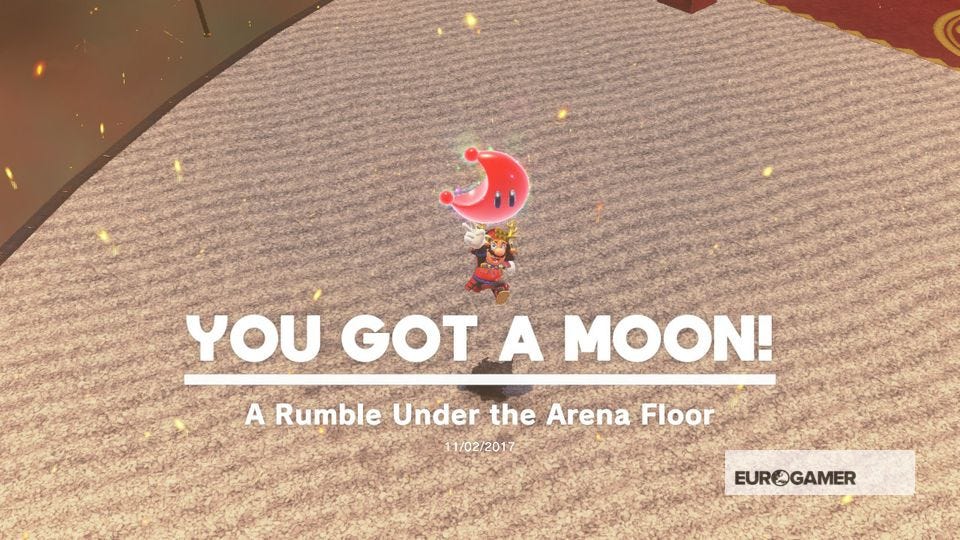
42. A Rumble Under the Arena Floor
From Showdown Arena, run to the northern section and use the rumble in your Joy-Cons to detect a rumble under the floor. Ground Pound when it's strongest to reveal a Moon.
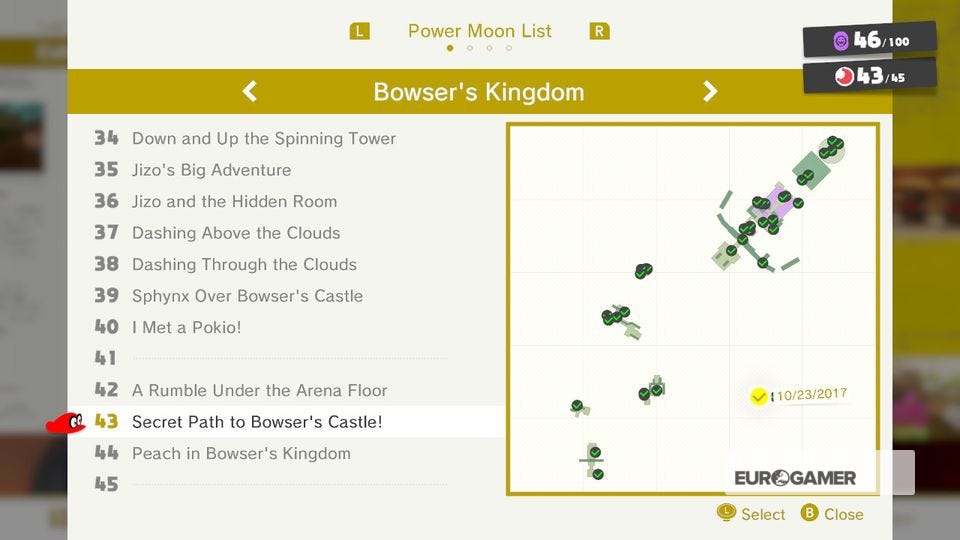
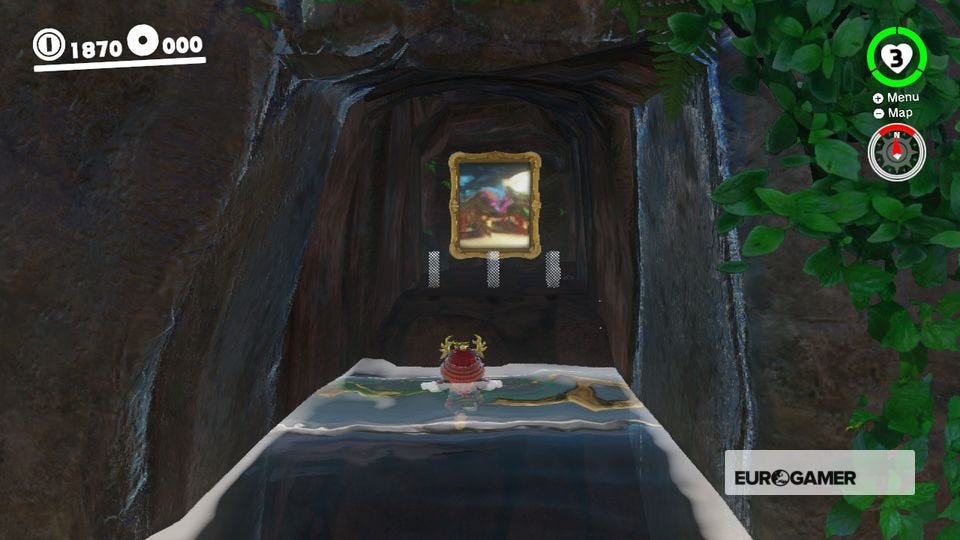
43. Secret Path to Bowser's Castle
After completing the main story, return to the Cascade Kingdom and enter the painting hidden inside a cave behind the waterfall. Grab the Moon on the other side.
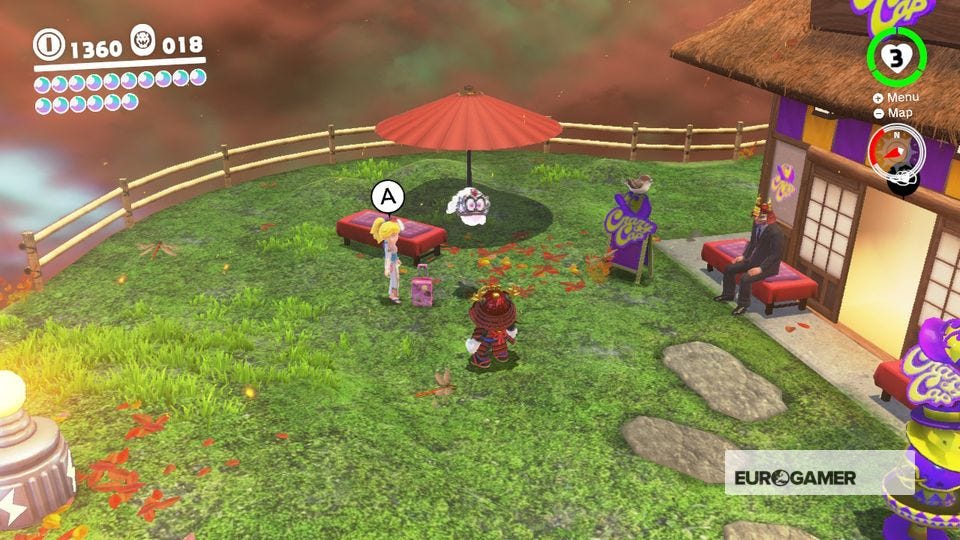
44. Peach in Bowser's Kingdom
Peach can be found outside the Crazy Cap shop. To speak to her, use the Souvenir Shop checkpoint. A Moon will be yours.


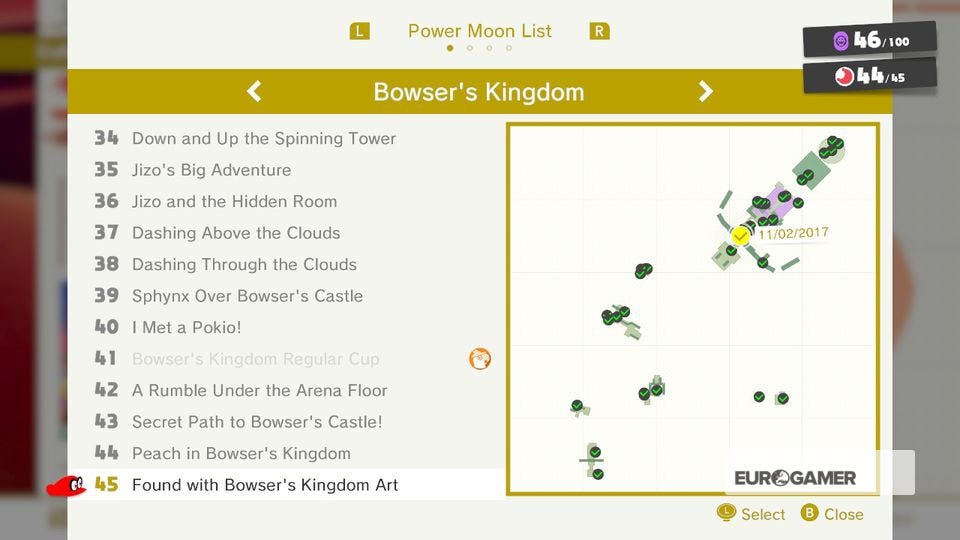
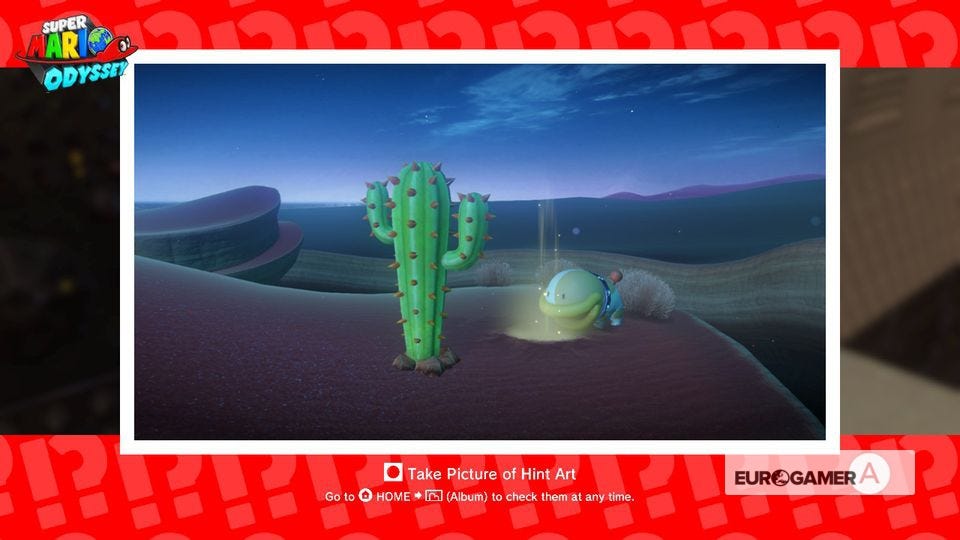
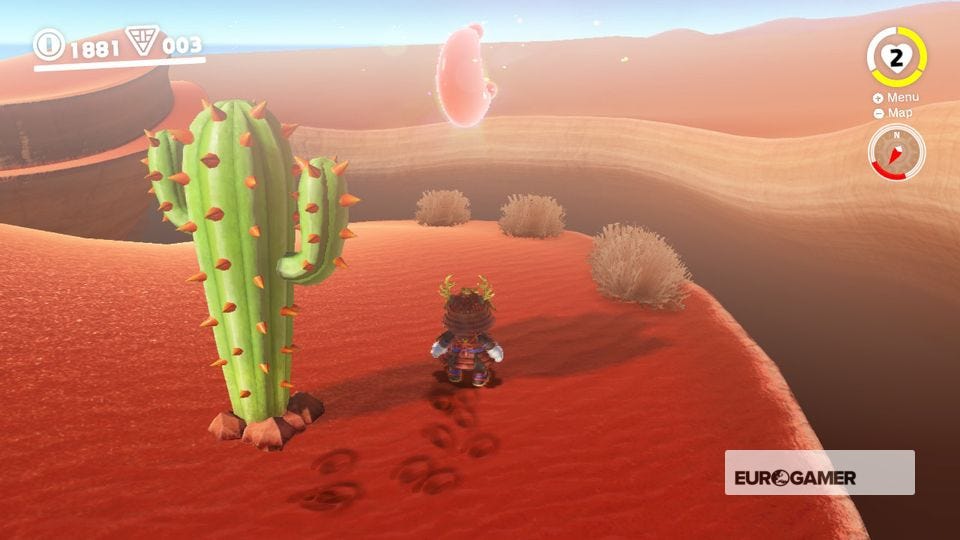
45. Found with Bowser's Kingdom Art
From Main Courtyard, turn around and look for the art on a wall. Now travel to the Sand Kingdom, warp to the Moe-Eye Habitat and look for a lone cactus that matches the art. Ground Pound the right spot to grab your Moon.

Other Bowser Kingdom Power Moons you can unlock
As well as the above Moons that appear when you clear a Kingdom for the first time, there is yet another set that you can collect later in the game. Be warned the following contains some light spoilers.
When exploring each Kingdom previously, you may have noticed a giant, grey block that seemingly has no purpose. It's this object you must find once you have completed the game that'll give you even more things to do.

The above video by Nintendo Life explains this in more detail, but in short - complete the game, find the block in any given Kingdom, and more Moons will be available for you to find.
We won't detail these extra Moons here, but the number of these extra challenges available in each Kingdom varies - just like the amount of Moons you could find to begin with. Good luck!