Mario Rabbids: Rabbid Kong boss fight - How to beat the Rabbid Donkey Kong boss encounter
How the Challenge system works in the Nintendo Ubisoft mashup.

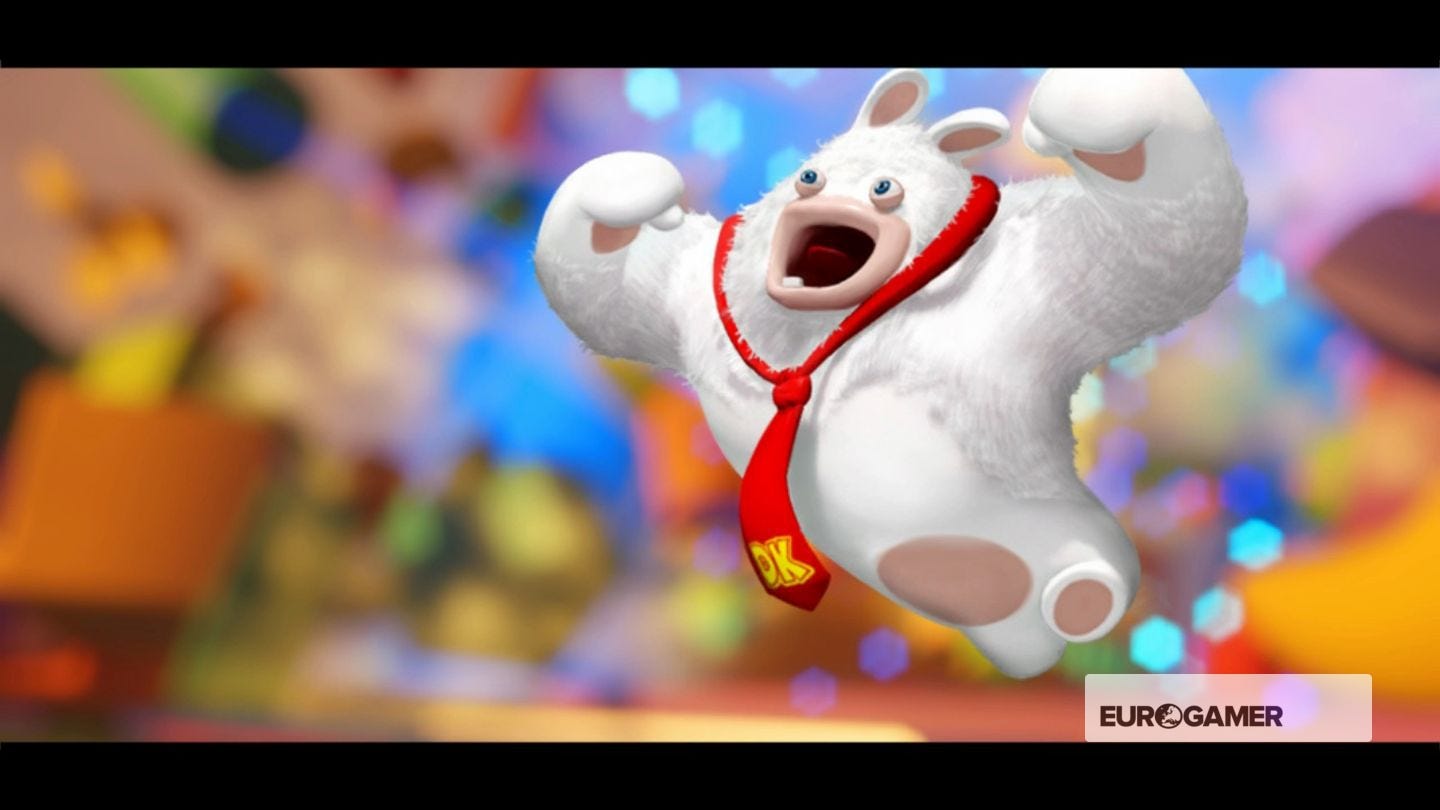
Rabbid Kong is the first proper boss fight of Mario Rabbids, pitting you against a Rabbid version of Mario's long-time rival.
Mechanically it's different to any other encounter you've faced up to that point, and learning how it works - and how to react - is key to success.
How the Rabbid Kong boss fight works
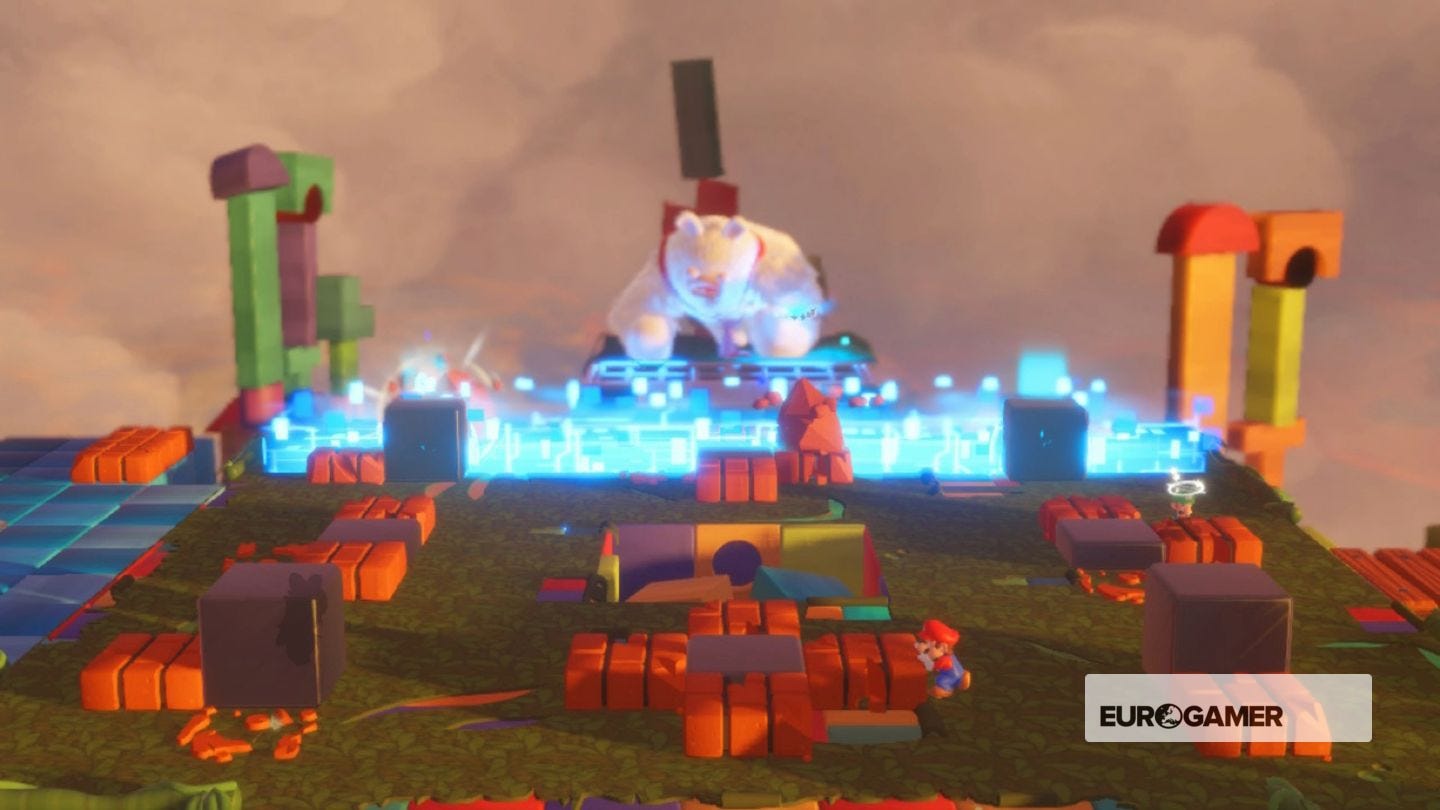
The aim of this boss fight is to reach Rabbid Kong at the back of the arena and stand on the 'banana' button just in front of him. Doing so will cause the bananas to disappear and allow you to attack.
There are obviously a few things getting in the way. For one, every time you are exposed at the end of your turn, he will pound the ground and cause shockwaves, damaging you and knocking you back.
To avoid this, you must hide behind cover - specifically the tall, solid blocks in each corner. Provided you are hidden, Rabbid Kong won't bother trying to attack.
Additionally, if you shoot Rabbid Kong, he will respond by eating a banana, healing him straight away. That's why stepping on the button and removing these bananas is required to defeat him.
How to beat Rabbid Kong
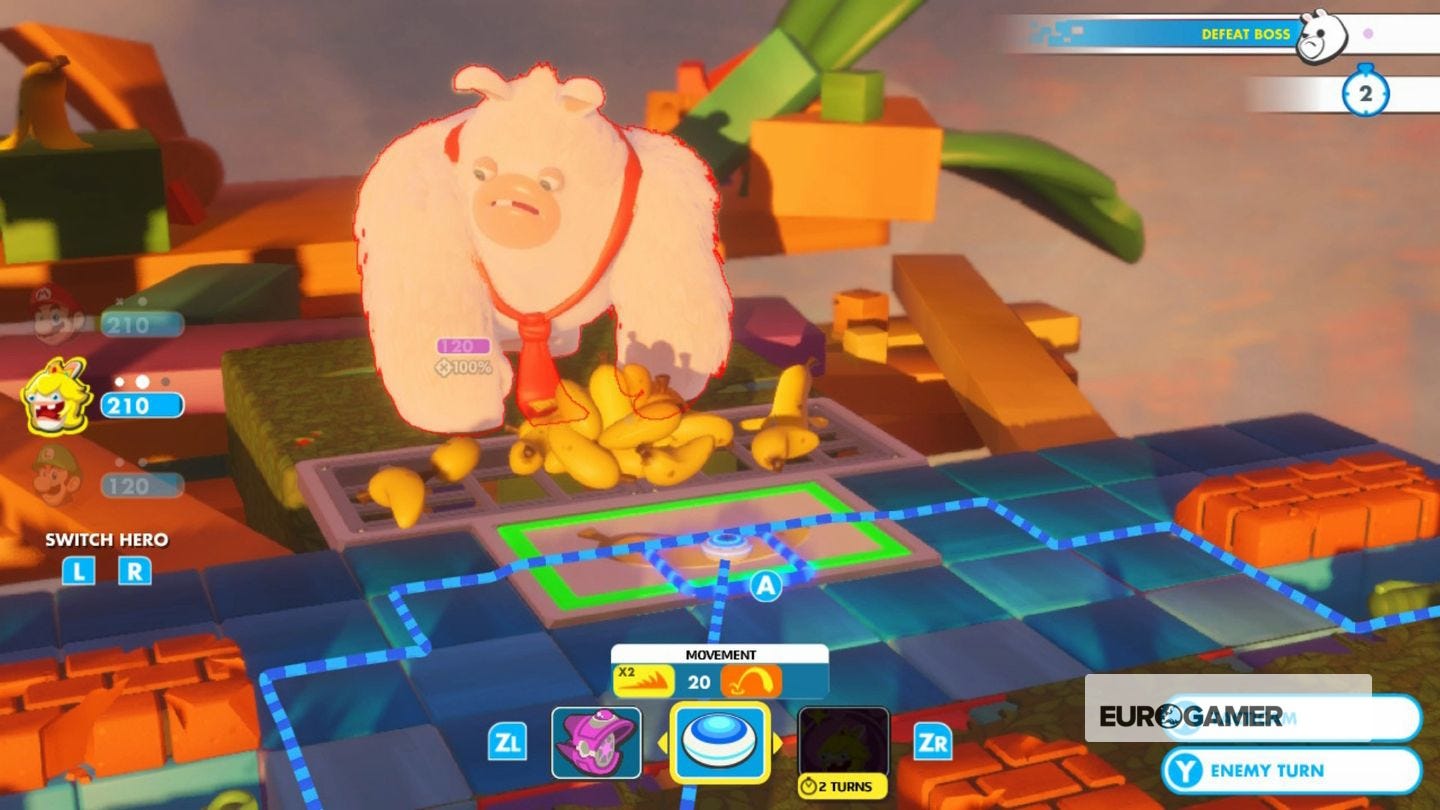
To defeat Rabbid Kong, you must stay in cover to avoid shockwaves, all while moving forward until one character is able to get forward to press the button.
With the bananas then gone, Rabbid Kong cannot heal, allowing you to deal a round of damage. After a turn, Rabbid Kong will leap round to another button, where the process starts again. Do this a total of three times, and the encounter is over.
That's the general flow, but there is obviously a few other things to be aware of as the fight plays out:
- When you deliver the final blow and Rabbid Kong moves, he will deliver a shockwave from his new position. This of course is coming from a different direction to where you were hiding previously, but is something you can predict and prepare for. He goes left, and then right (or opposite) from where you begin, if you want to get characters in position before he jumps across.
- The character who presses the button will always get attacked by Rabbid Kong on the following turn, so make sure you use a character with a decent amount of health so they can survive.
- Actually reaching the button can be difficult, and will be out of bounds for most characters. You may need to position one closeby and use them as a springboard.
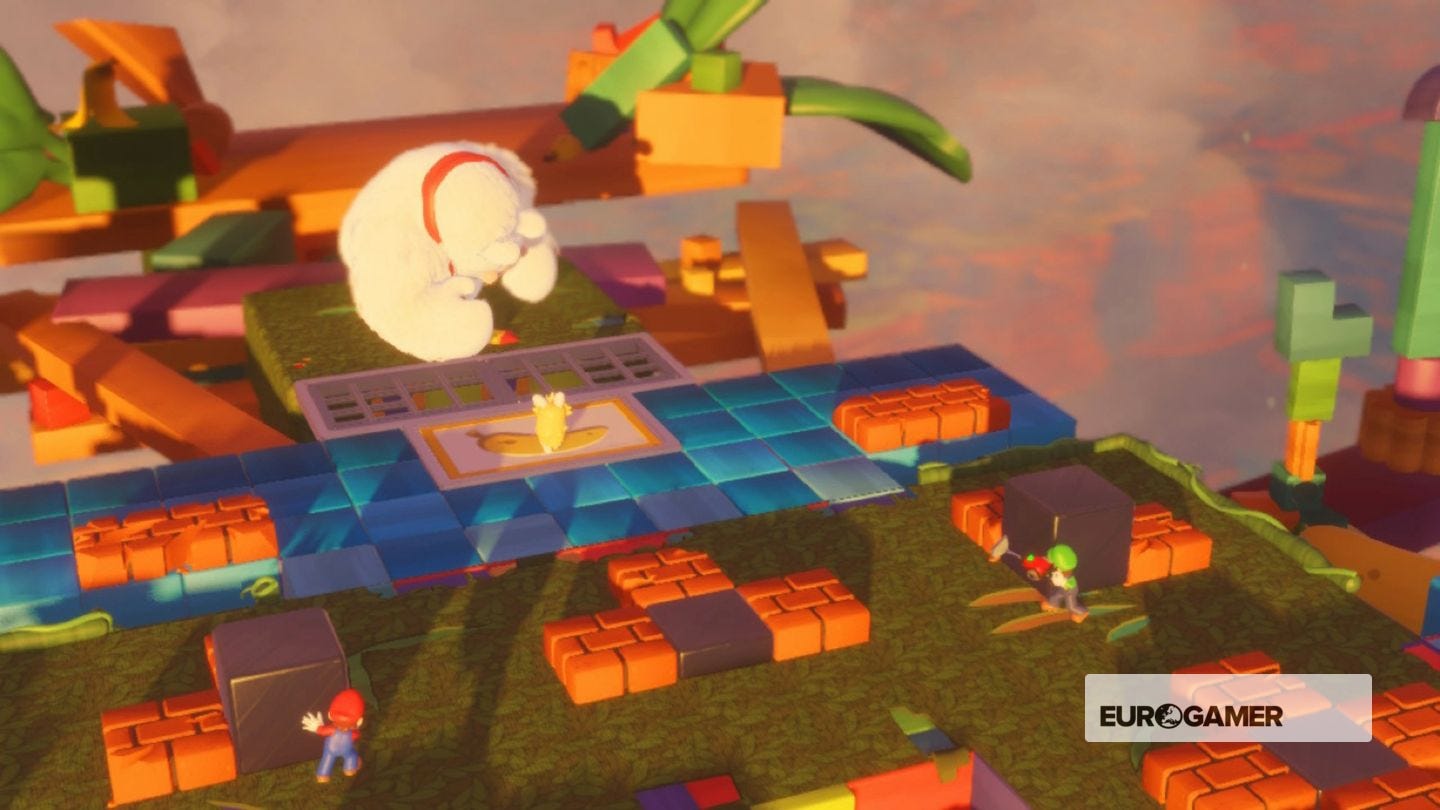
- All the while smaller enemies will spawn in the arena. You need to ensure these are all clear before you move forward and press the button, otherwise they will be open to attack. Thankfully, they are quick and easy to take down, especially if you use a dash then shoot combo.
- The shockwaves don't spread to the far sides of the arena, if you want to position a character there. However, we'd recommend sticking to the tall, solid blocks for the ideal balance of being close to the action and remaining safe.
Once you have taken down Rabbid Kong, World 2 will open up, as well as the first Mario Rabbids Challenges, allowing you to take on additional trials outside core story missions for bonus rewards.