Dark Souls 3: Ringed City - Mausoleum Lookout
Our complete walkthrough and boss strategies to Dark Souls 3's final DLC.

The Mausoleum Lookout follows on from the Demon in Pain and Demon from below bossfight from the Ringed City DLC, with plenty of challenges, including several ghostly archers, lying ahead. If you need help with other parts of the DLC meanwhile, then take a look at our Dark Souls 3: Ringed City guide and walkthrough hub for plenty more.
Dark Souls 3: Ringed City - Mausoleum Lookout
Run down the steps, then back on yourself, running along the edge so you're almost under the bonfire and you'll get the Ruin armour set for your troubles.

Go back to the base of the stairs and you'll see a graveyard stretching out in front of you. At the end, a big creature is summoning ghost archers who will try give you some acupuncture treatment.
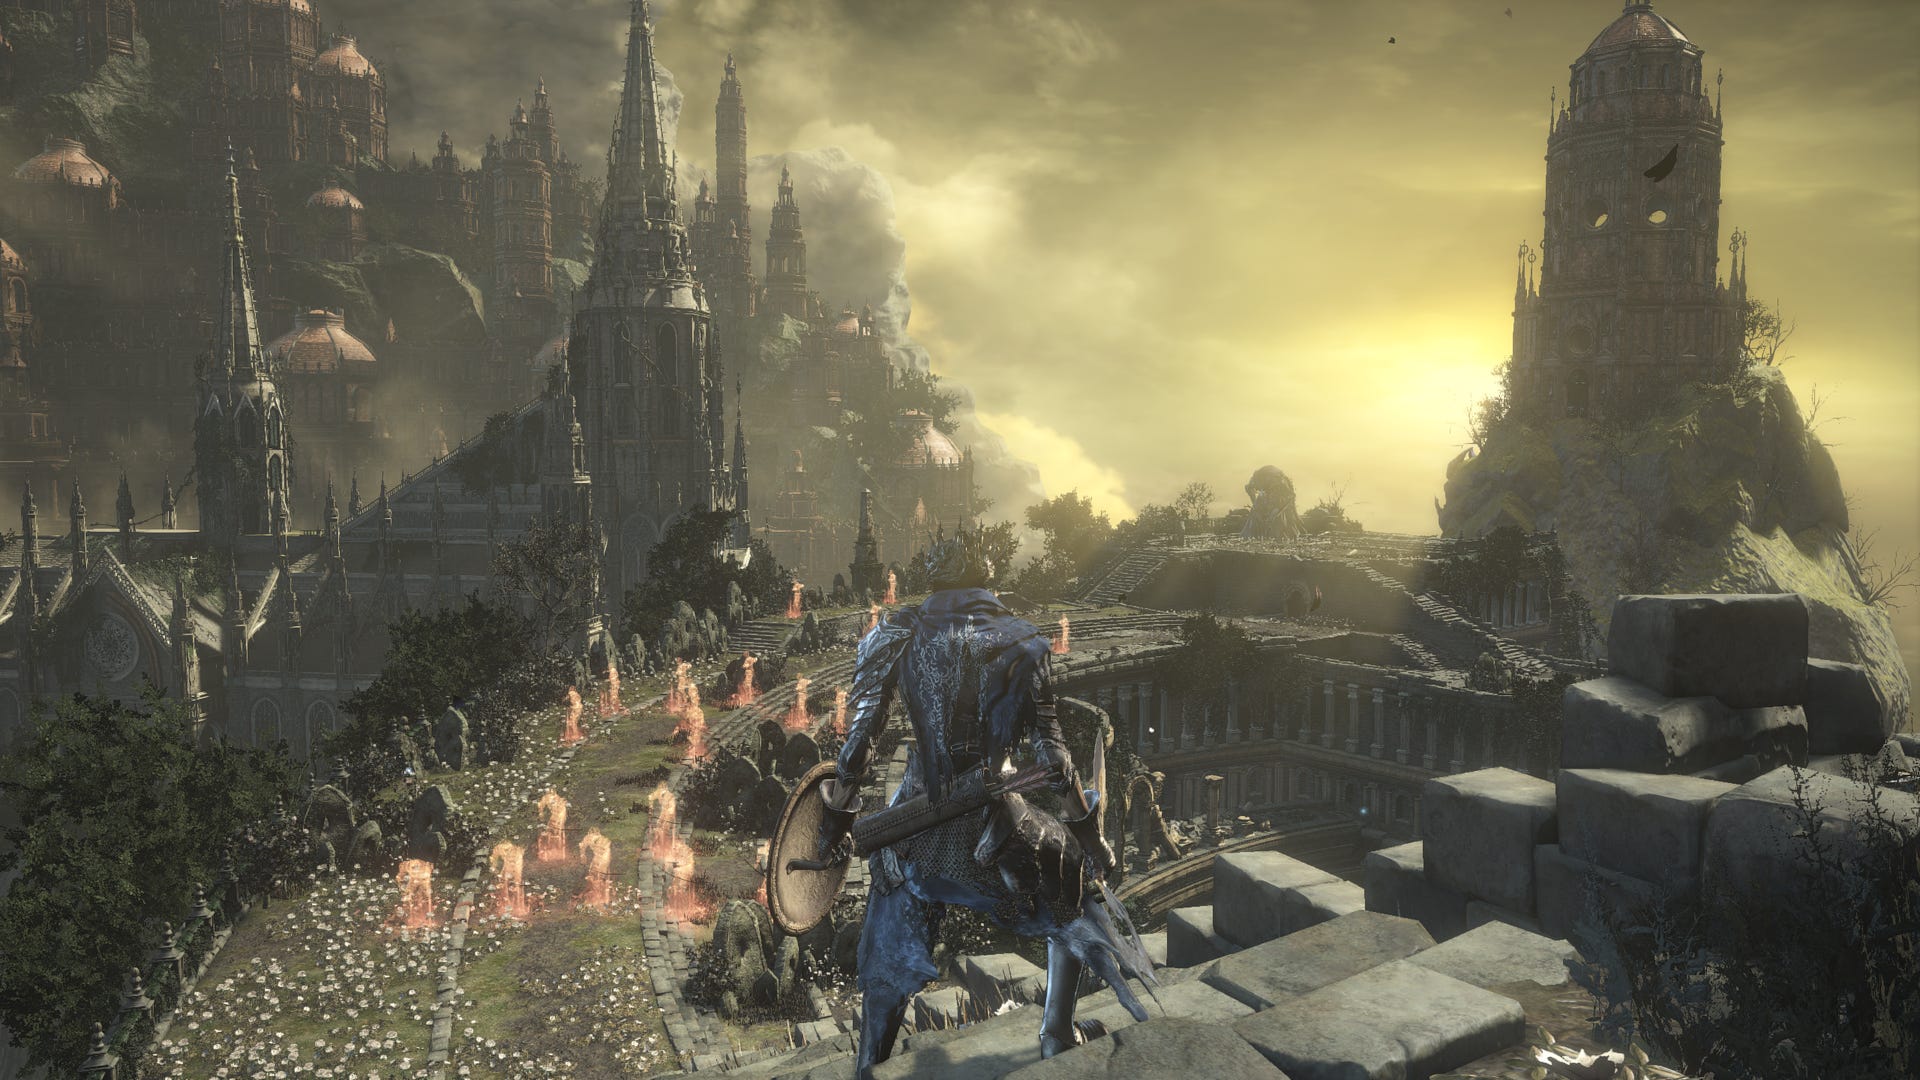
Stick to the right and run to the first set of gravestones, blocking their fire. In the gap, run past the next set and stand behind them, so you're sandwiched between two rows of gravestones. In the next gap, nestle up to the next gravestones along. Kill the creature who approaches, the run and jump from the ledge, dropping down the the platform below. Beneath you is the Soul of a Crestfallen Knight. Opposite is a salamander - chase it down for some ore, then make your way up the ladder nearby.
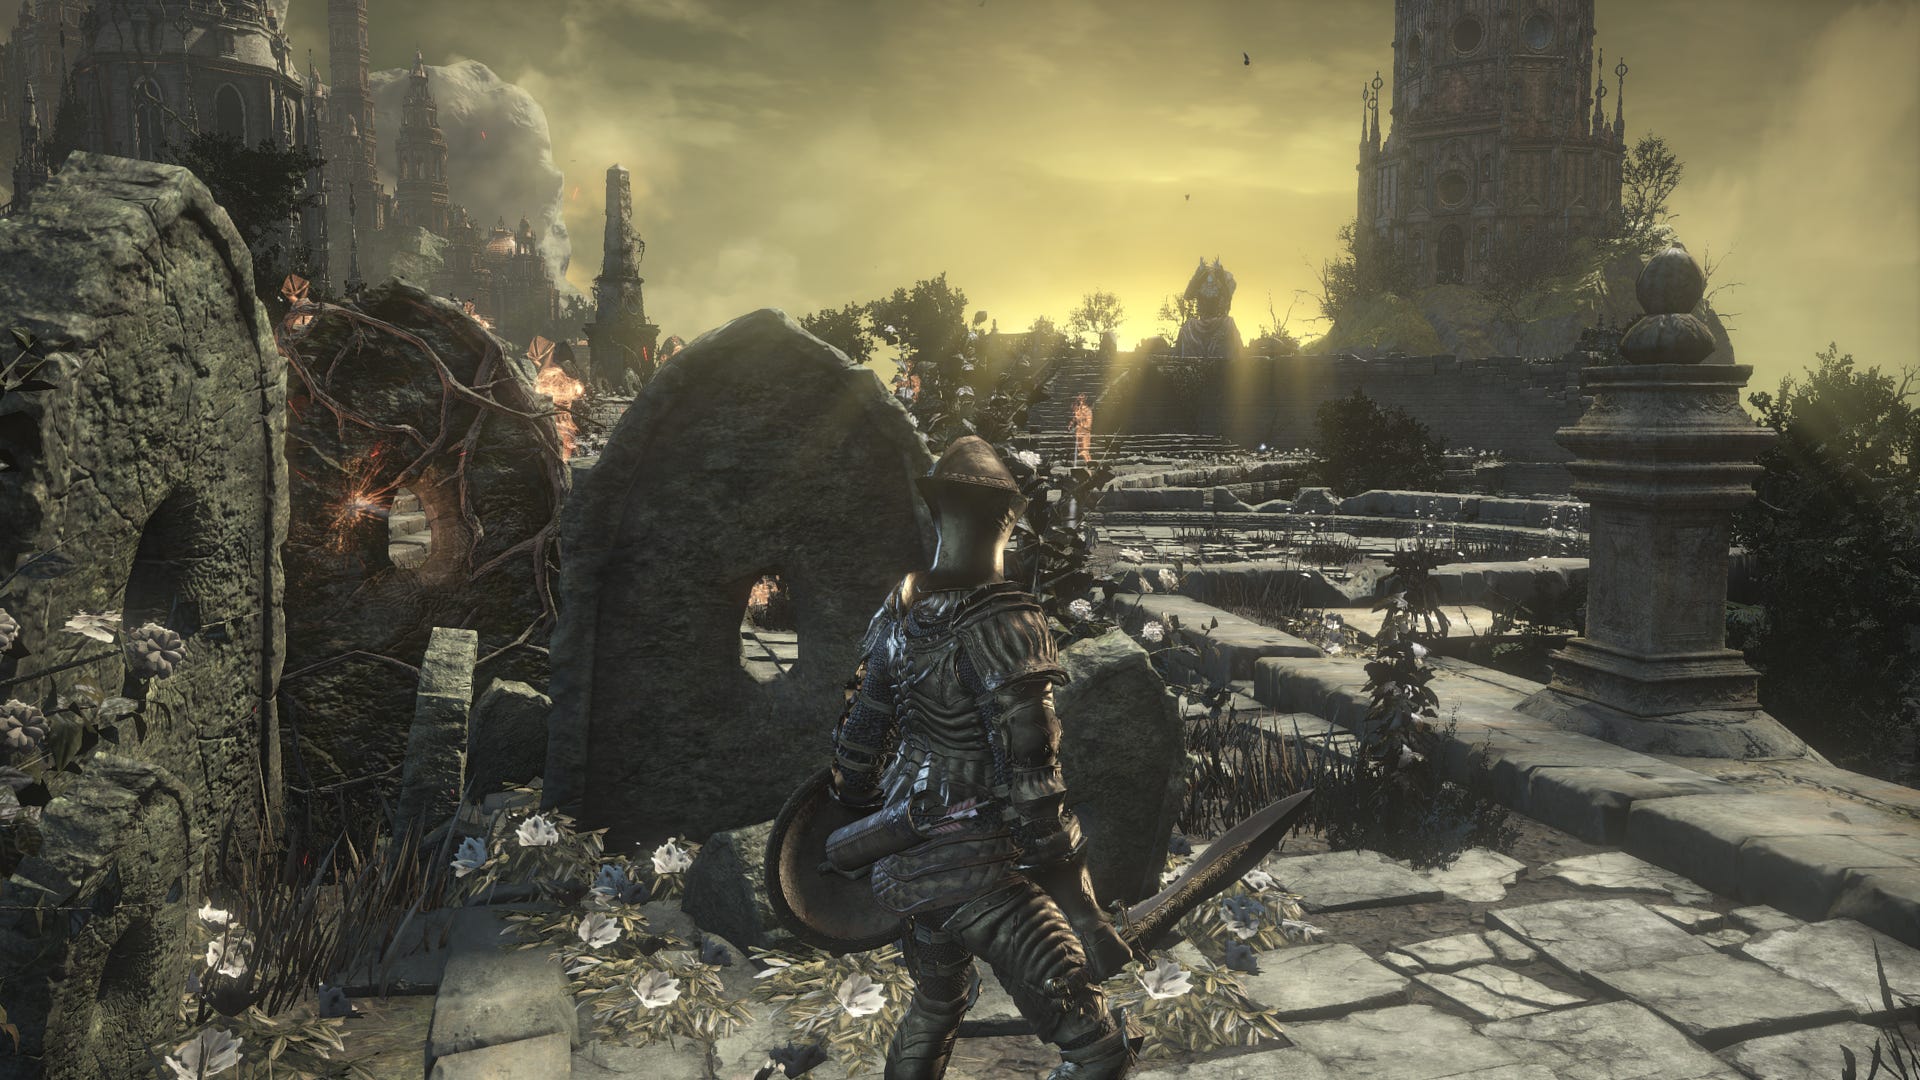
You're still in range of the ghost archers, but just sprint up the stairs as fast as you can, directly for the big guy. Deal damage, then roll like hell when the archers appear. Watch for a ghostly melee fighter who will also be summoned and keep chipping away until the big guy is dead. You get another Titanite Chunk for your trouble, and now you can head back and pick up the items in the graveyard.
There's a Large Soul of a Weary Warrior, more Titanite Chunks, some Budding Green Blossom, and some Ember. There's also an arched doorway, which you should enter - inside there's a Hidden Blessing.
Now head up to where the big guy was, and there are some stairs at the back of this area. Head down.
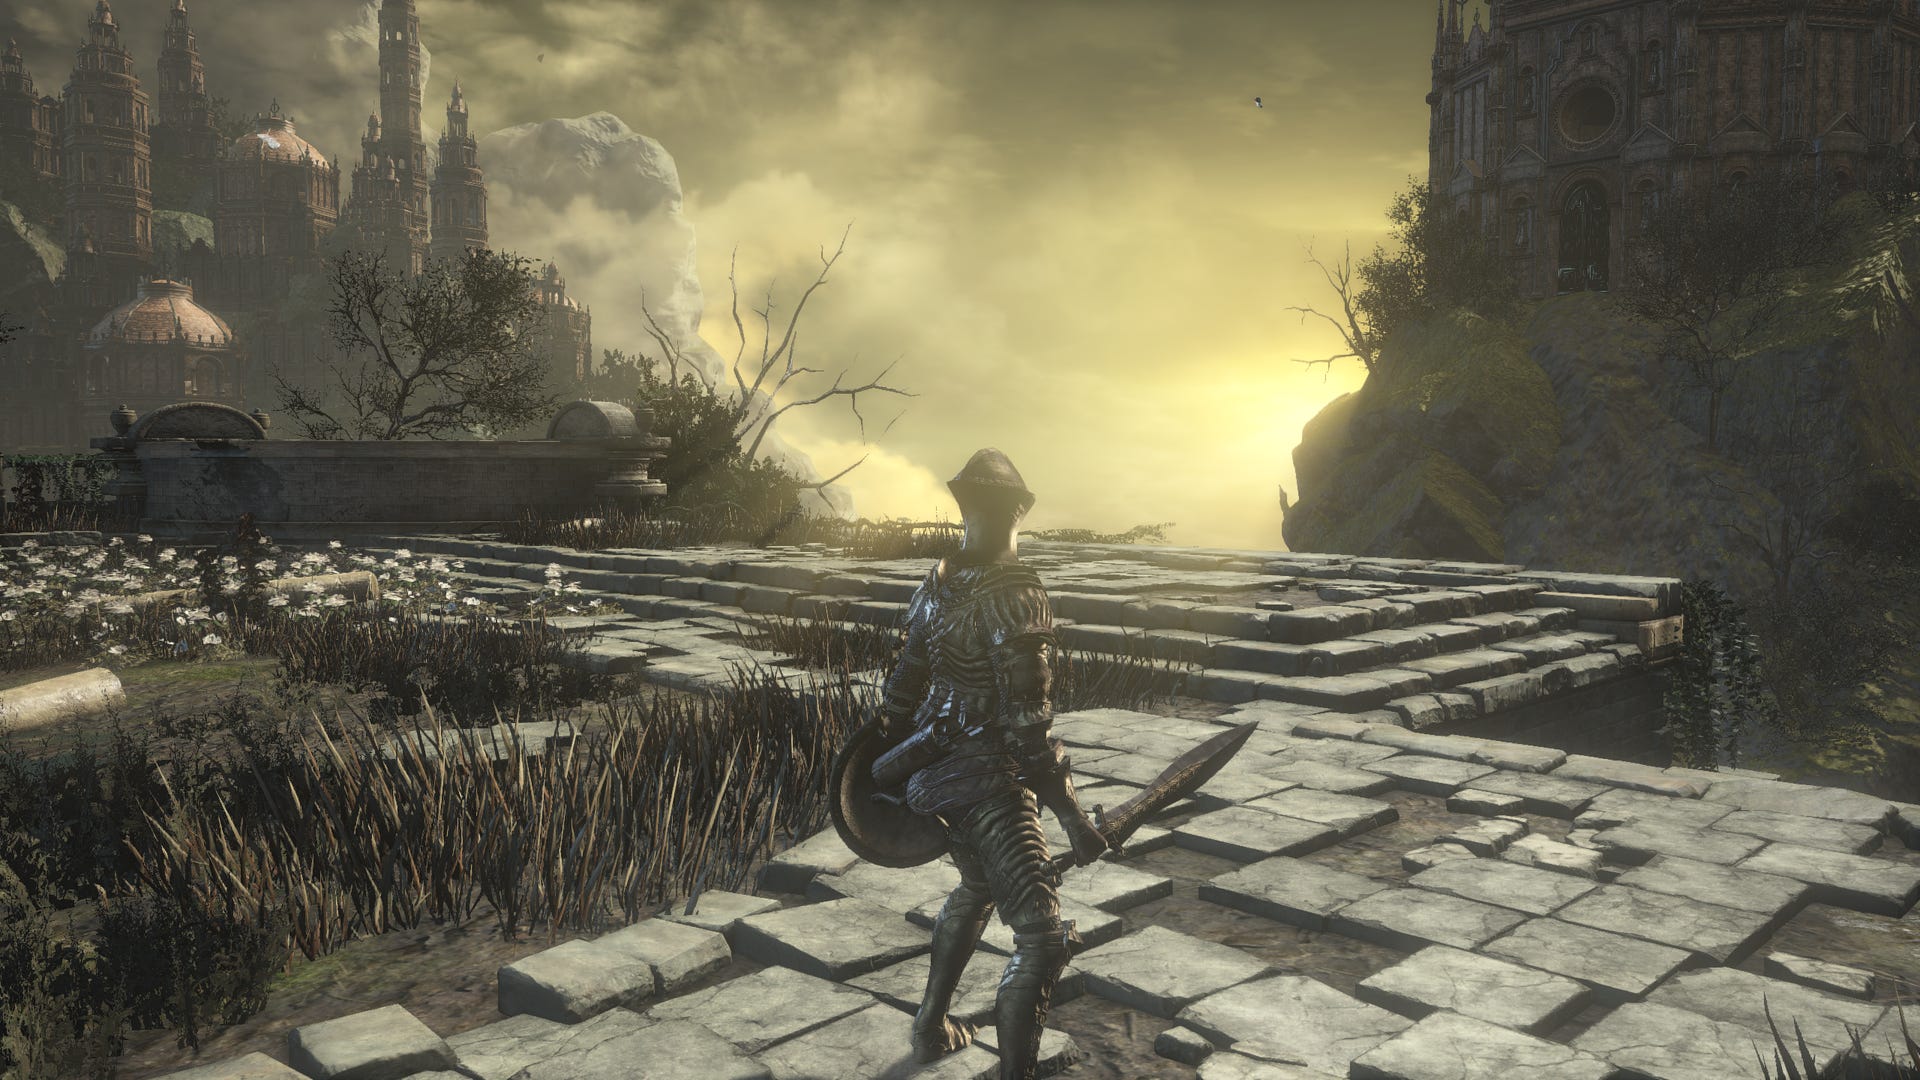
Chat to the lovely NPC, then keep on down, but be careful - an enemy will try push you from the ledge at the bottom of this set of steps. Watch your left. Be careful approaching the enemy afterwards, too, as he'll have a friend join him from above. Take them both out while being mindful of the ledge.
Ahead of you will be a room on your left and an item ahead - go for the item first. As soon as you get near it you'll be attacked by three enemies, so deal with those before attempting to swipe it. Watch out for pushes and powerful lightning bolt attacks. You'll get two Purging Stones for your trouble. Head into the room you passed and light the bonfire.
Next up, it's the Ringed Inner Wall section.