Resident Evil 7 - Dog's Head locations, Clock Pendulum, Bathroom and the Sky Hunter shadow puzzle
A complete walkthrough and guide to each area in Capcom's survival horror adventure.

Finding the Dog's Head locations pieces sees Resident Evil 7 begin to open up, requiring you to explore the house in order to escape the recently discovered Main Hall.
It involves a spot of backtracking to use the Clock Pendulum, investigating the Recreation Room and solving a Sky Hunter shadow puzzle to open up more locations.
If you're after help for parts of the game, consult our complete Resident Evil 7 walkthrough and guide.
On this page:

Exploring the Main Hall
As soon as you enter the main hall, smash the Mr Everywhere statue to the left. Though it says 'shoot', a swipe of a knife will do just fine if you wish to conserve your ammo.
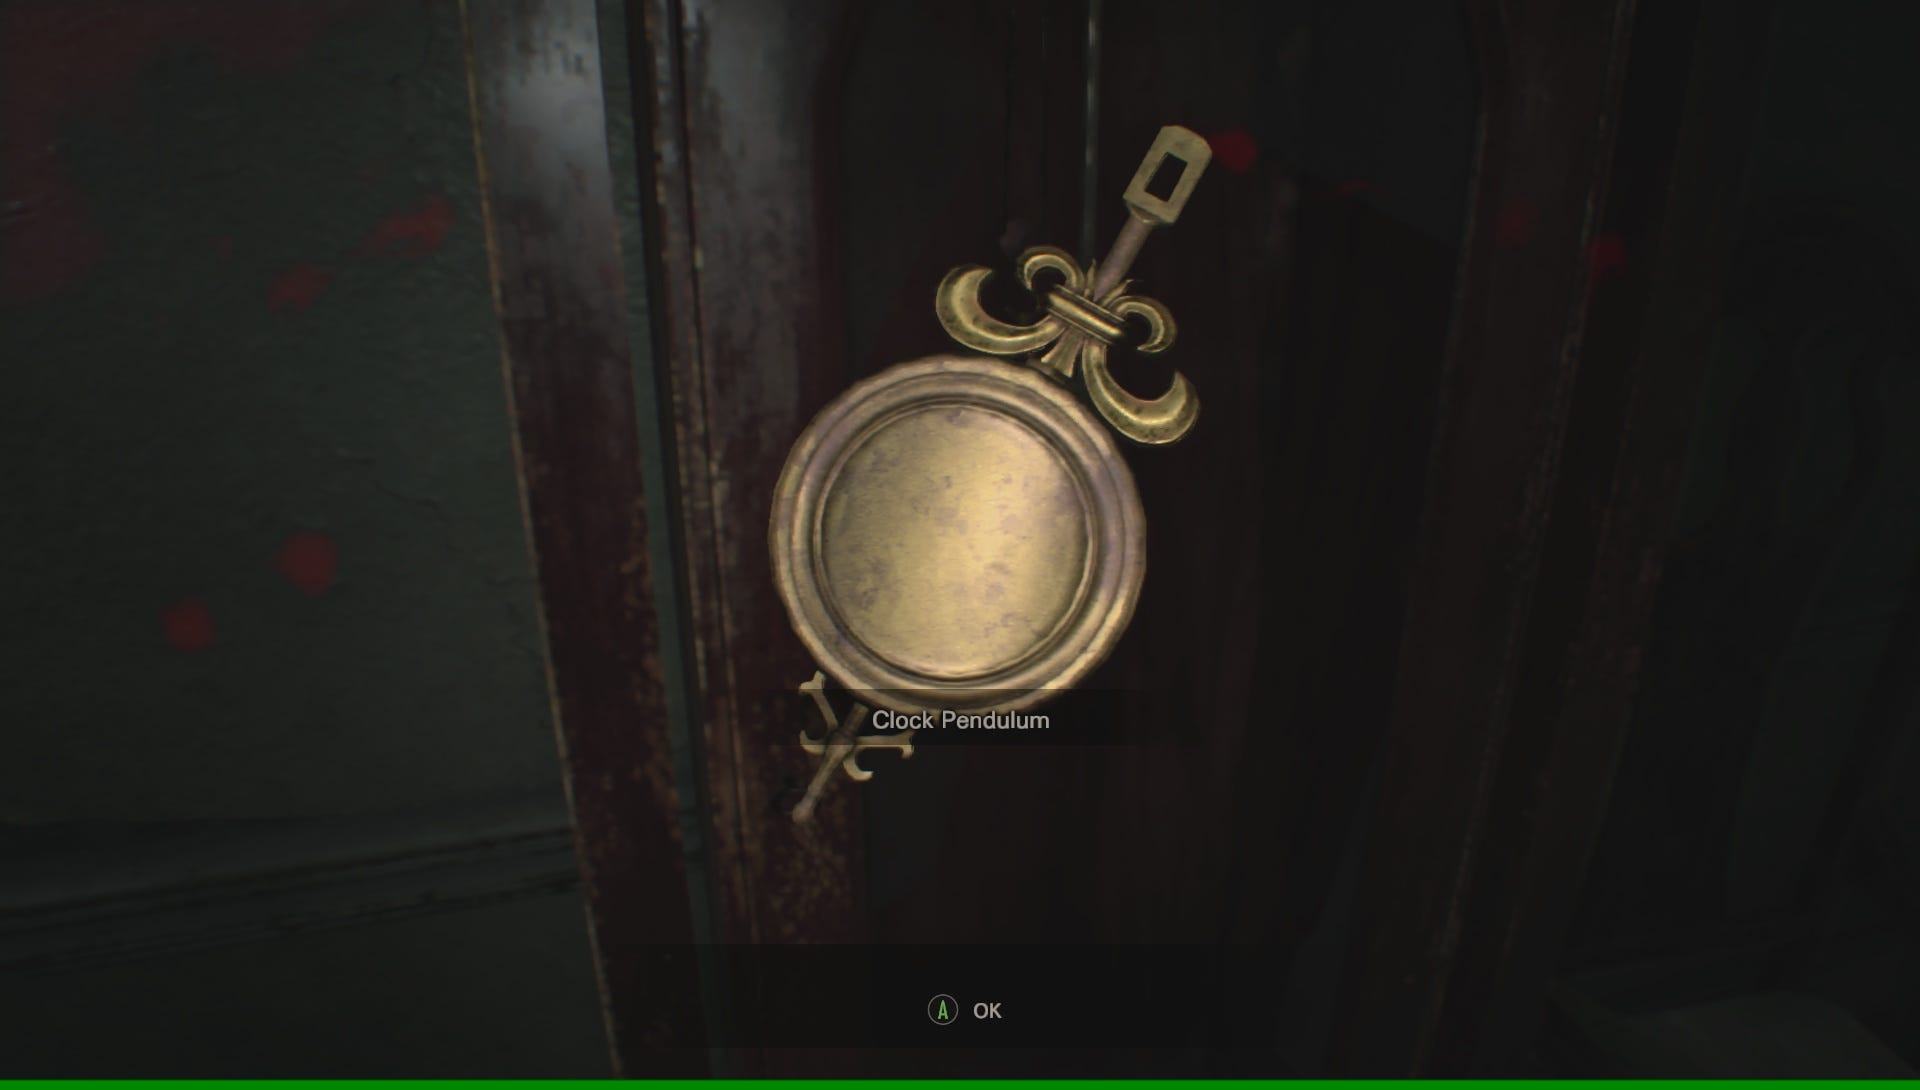
Work your way round the Main Hall clockwise, gathering items as you go - we found a Herb next to the statue, Gunpower in the wardrobe and an Antique Coin in the drawers. Along the way a phone nearby will ring - answer it. Now continue round the Main Hall's 1F in a clockwise manner; to the right of the north-east door (which is currently locked) is a Clock Pendulum, then the 'Newspaper Article - Over 20 Missing' file.
To the east is the Sky Hunter puzzle - more on that later - and to the south is a Shotgun, but in a nice throwback to the original Resident Evil, you can only retrieve it when you have something to replace it with. You can't get it for the moment, but if you're keen to learn exactly where now, our how to get the Shotgun in Resident Evil 7 page. We also found some Chem Fluid between those two points of interest in the cupboard beneath the stairs.
Finding the first two Dogs Heads with the Clock Pendulum and Recreation Room
White Dogs Head location and where to use the Clock Pendulum
First things first, head all the way back to the Living Room, and place the Clock Pendulum you retrieved from the Main Hall into the clock, giving you the White Dogs Head. Return to the Main Hall and immediately insert it into the northern door to free up your inventory.
Blue Dog's Head location and reaching the Bathroom
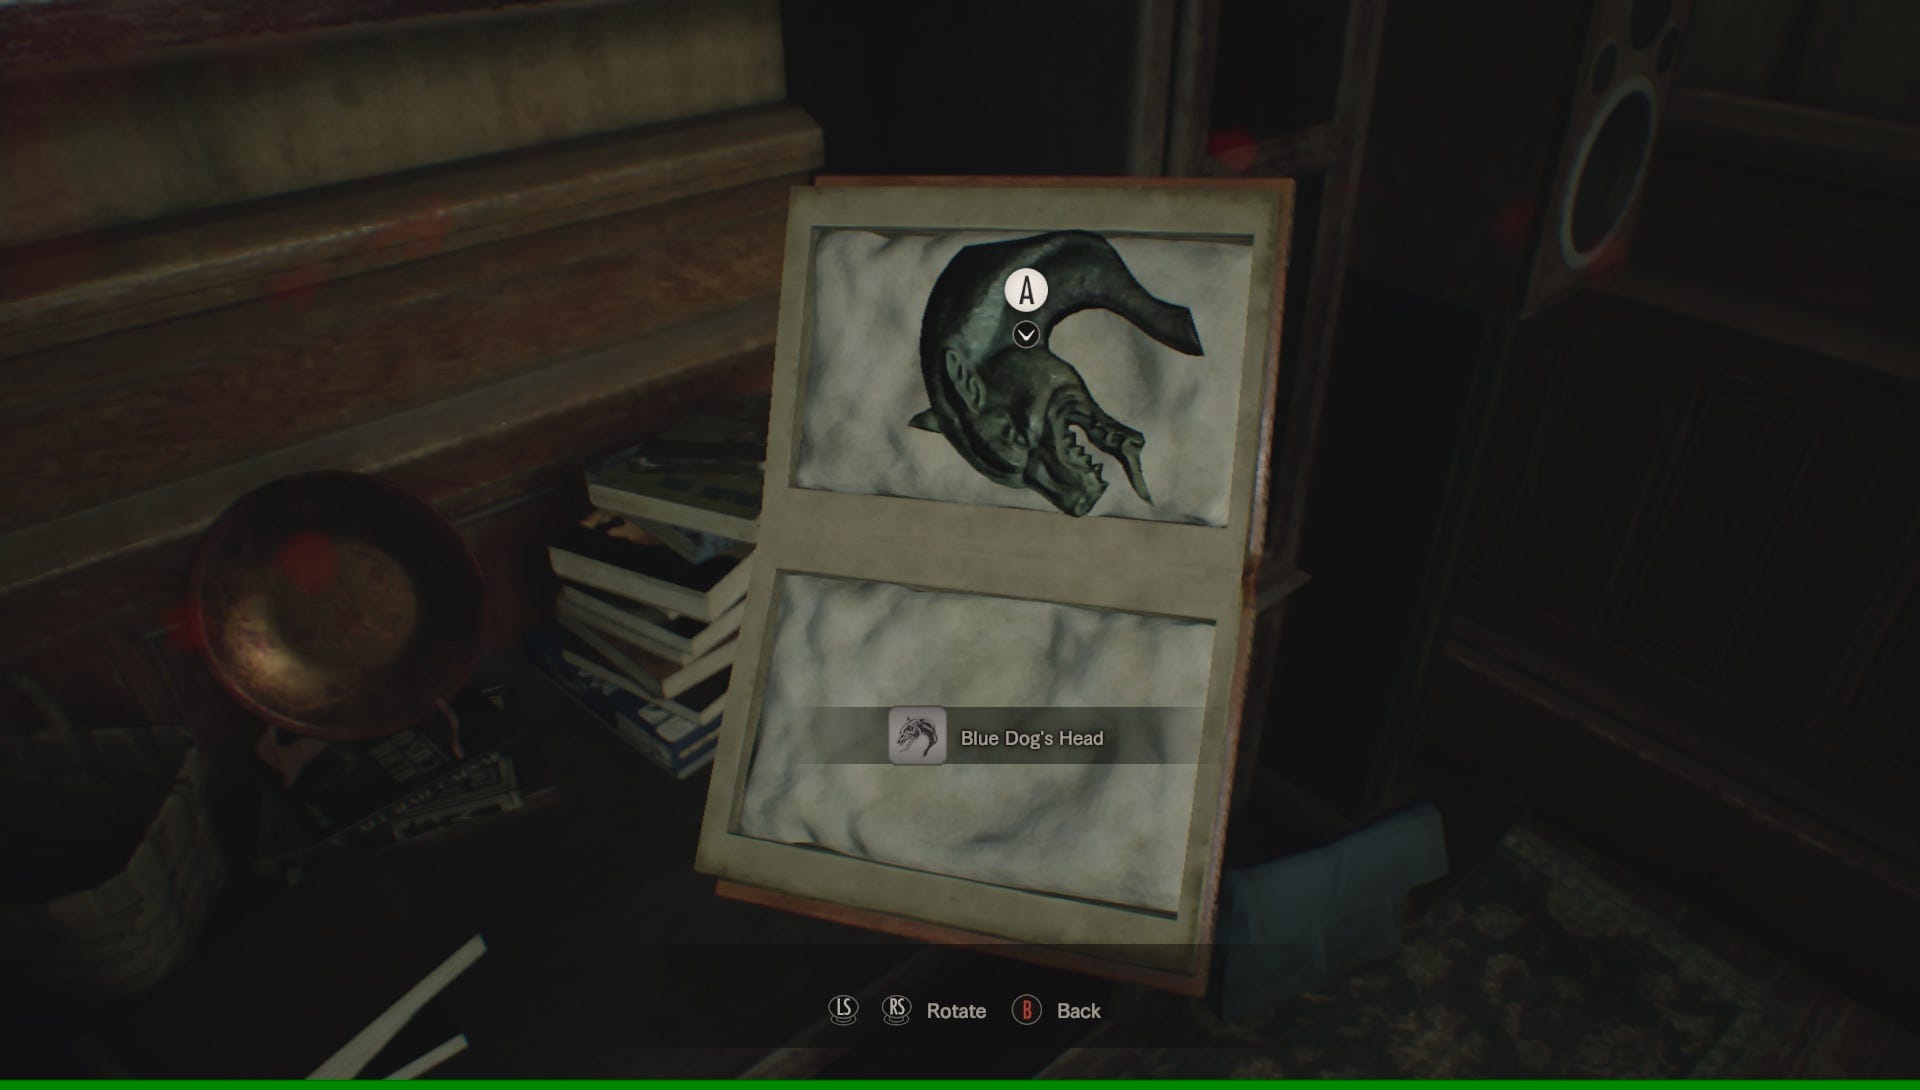
Head upstairs and through the west door through to the upstairs corridor. Go right and head along the outside edge, and enter the Recreation Room from the north.
Investigate the book to the south; rotate it to the pages, then open it up to get the Blue Dog's Head.
There's a bunch of items in here, too. There are two files - 'Jack's Memo' to the left as you enter to the north, and 'Jack's Journal' in the drawer to the east; in the north east corner, the Antique Coin and Mr Everywhere statuette, and to the south, Gunpowder from the bin.
There's also Grandma's Room to the east, which requires the Scorpion Key to enter. Remember this for later.
Finally, there's a bar to the west with a Mia Tape. Get it, and insert it into the nearby VHS Player for an interactive scene. It's not essential to watch, but will give you a preview of a future area and some clues as to what happened to Mia.
The third and final Dog's Head
The first two pieces of the Dog's Head for the Main Hall were fairly easy to find, but the third requires you to explore the Processing Area, which requires some steps first.
Leave the Recreation Room and head to the Bathroom in the south east, collecting a consumable (we found a Herb) from the drawer along the way.
Before you enter the bathroom, grab the Chem Fluid from the drawer just to the north. Make sure you have some storage space before entering the Bathroom. If you don't, you can drop down the banister to outside the Garage and the Laundry Room, where there's an Item Box.
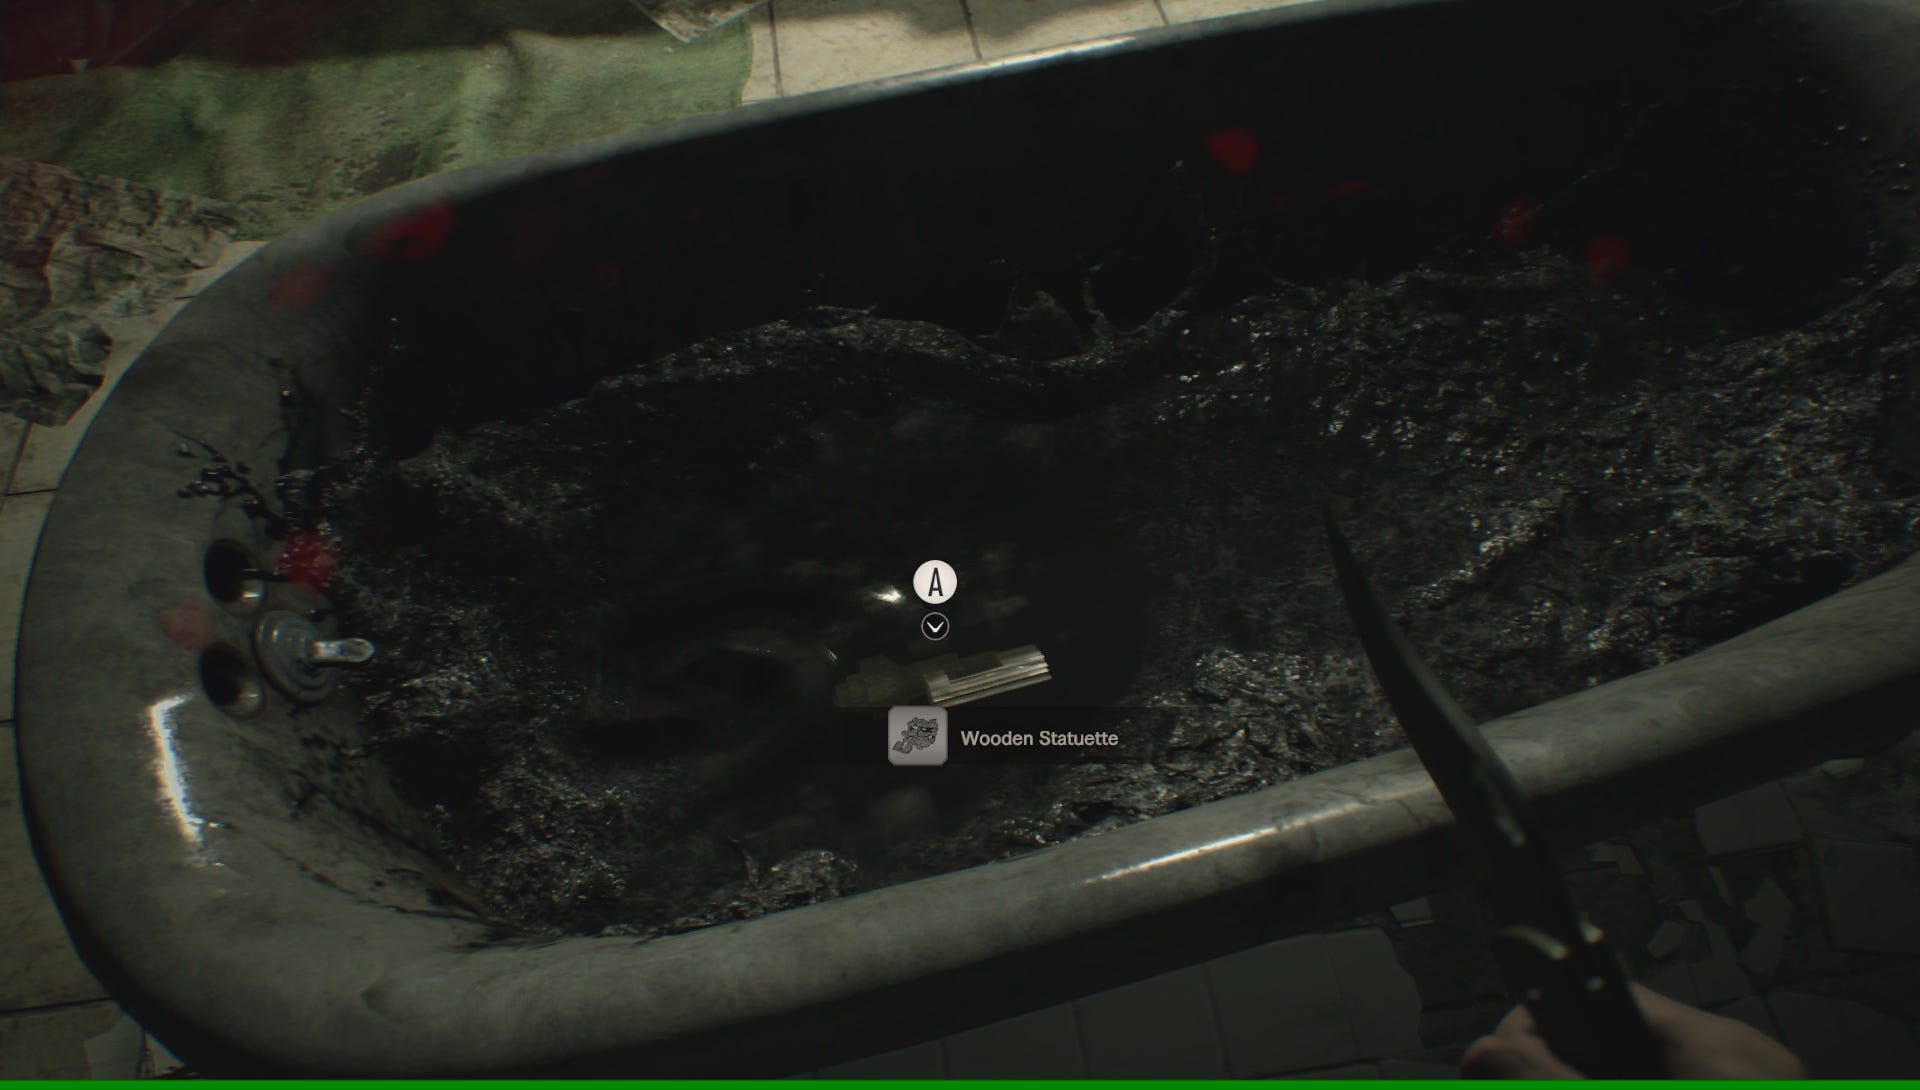
Surviving the Bathroom encounterIn the Bathroom, drain the tube and collect the Wooden Statuette. There's also Handgun Ammo in the drawer, and an Antique Coin in the toilet.
As you leave, Jack will enter. Let him follow you round the bath, and take the other way round and exit. Turn left, and you can drop down the broken banister to the floor below, emerging outside the Garage. Sprint into the Laundry Room, which will keep you safe (it's worth remembering such rooms for future enemy encounters, too.
While you are here, we'd recommend making some space in your Inventory using the Item Box; Mia's Tape is worth depositing, as well as Shotgun Shells and any surplus supplies.
When you're ready, leave the Laundry Room, but beware Jack is still out here. He'll appear as you approach to the corner before the Main Hall. The easiest way to get past him is to retreat back to the Laundry Room, but keep the door open so you can watch him walk past. As long as you're inside the room, he won't come after you.
Wait until he's out of sight, then head down the corridor to the Main Hall.
Sky Hunter shadow puzzle
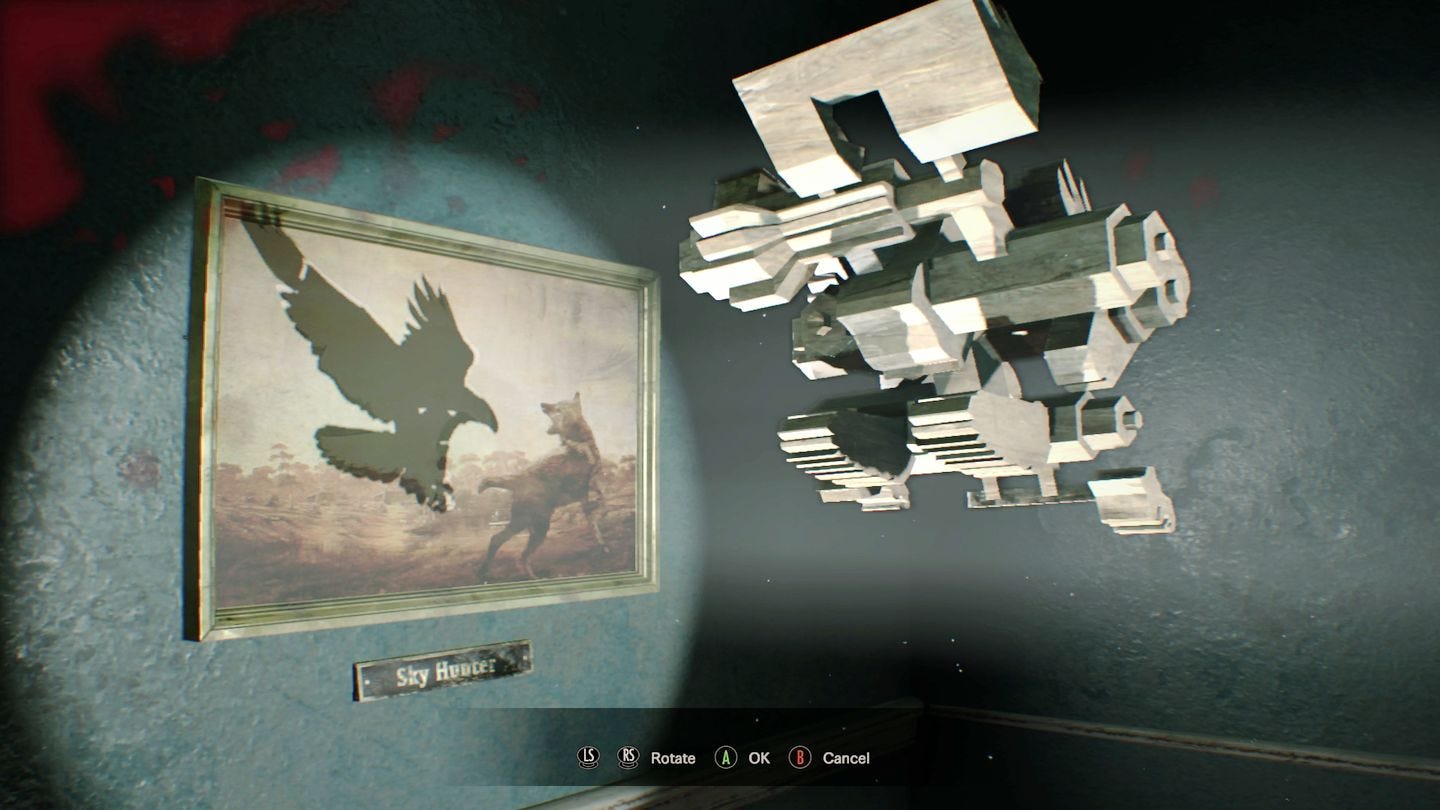
With the Wooden Statuette in hand, go to the Sky Hunter projector on the far side, and rotate the object until it matches the hawk on the wall. Use both sticks and some fiddling, but if you're struggling, the following image may help:
Drawing Room and Monitoring Room
Once the door is open, slide between the walls to enter a room with a giant stuffed deer, known as the Drawing Room.
There's a few consumable items to find - we discovered a Chem Fluid in the fridge, Handgun Ammo in the destructible crate and in the drawers and at the foot of the deer, Shotgun Shells underneath the painting leaning against the wall near where you entered, a Herb in the corner and some Psychostimulants, which helps make item detection easier.
Before you leave, make sure you smash the Mr Everywhere statue next to the Crow Door too.
Enter the room to the west, and pick up the Antique Coin in the ash tray on the table, and the Gunpowder from the trays to the right. When you're ready, head north through to the Monitoring Room, which is covered in mould.
Want more help? Our Resident Evil 7 walkthrough provides step-by-step instructions on how to survive the main story, as well as finding the Shotgun, Grenade Launcher and the game's many Lockpicks and Treasure Photos. Meanwhile, our Antique Coins locations, Mr Everywhere statue locations and File locations lists will help you find every available collectible on Normal and Easy difficulties.
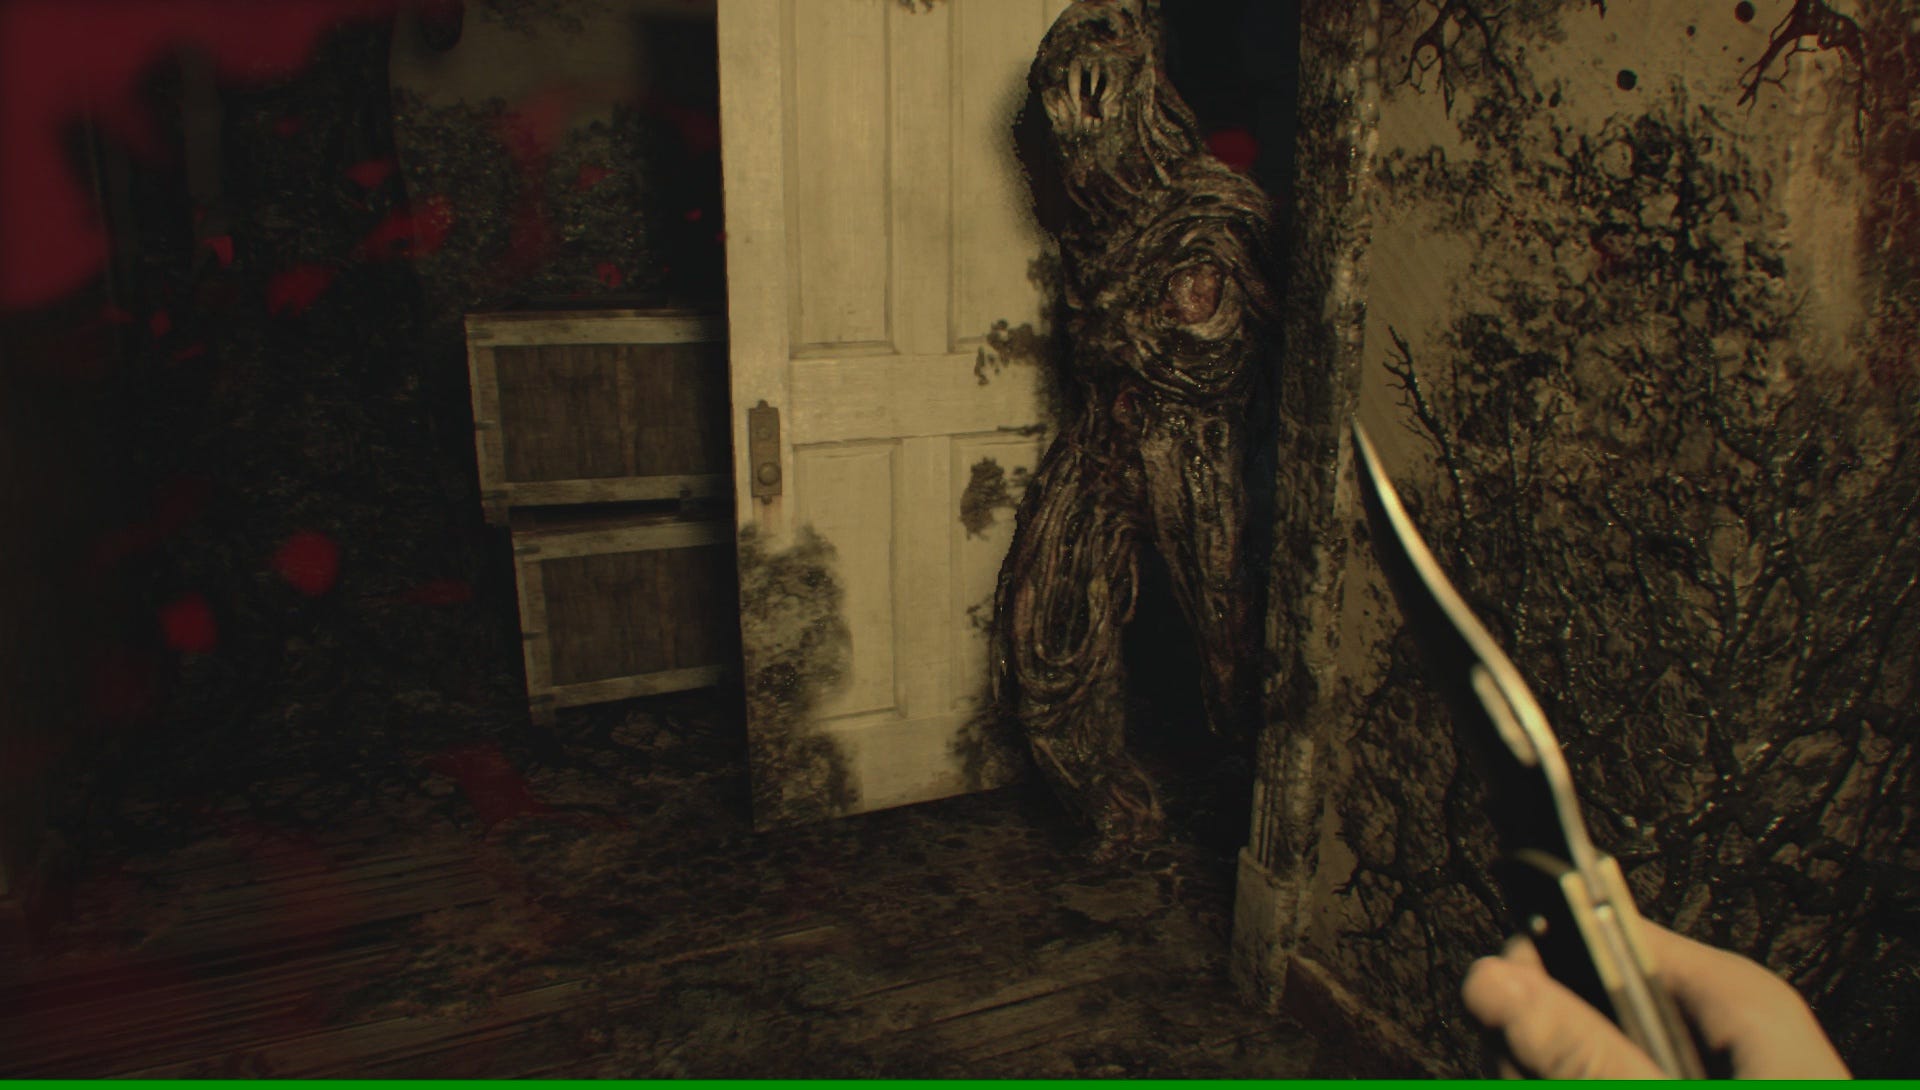
You'll hear a noise, and a monster will emerge from by the doorway. This is your first taste of the Molded. You can fight this one off - if you do, then a series of headshots will see it go down - but it's easier to simply sprint past it through the door, then round the corridor to the north, and into the corner room, which is a safe room.
Manage your inventory, save your game and get the items - we found Handgun Ammo in the wardrobe, and Travis' Memo (Front) and Travis' Memo (Back) in the open drawer (make sure you flip it over and read both sides for it to register in your log).
When you're ready, head down the steps into the B1 Processing Area, which features a number of nasties. Good luck!