Resident Evil 7 - How to get to the Main Hall using the Hatch Key and the Garage Fight
A complete walkthrough and guide to each area in Capcom's survival horror adventure.

Resident Evil 7's Main Hall is one of the major hubs for the game, and is one of your first tasks as you start the Main House once you've survived the Guest House at the start of the game.
If you're after help for parts of the game, consult our complete Resident Evil 7 walkthrough and guide.
On this page:

How to find the Hatch Key
After the cutscene after the dinner table, head into the adjoining sitting room and collect the Handgun ammo out of the corner drawer, then into the kitchen and root through the bin for a Herb. There are two files here; the 'Home-improvement Store Receipt' on the wall in the Dining Area, and 'Newspaper Article - Missing People', which is the pile of newspapers in the middle of the Living Room.
Through the kitchen is a room with a basement hatch you can't open yet - you need the 'Hatch Key' - but remember it for later.
Head through the door the Bakers went through to reach a corridor. Ahead is a sign that says Garage, with a blocked path below that requires something that can tear through red tape. Again, remember this for in a moment.
Head back up to that corridor, then turn the corner, where Jack will appear at the end. He will advance towards you; retreat back to the dining area, then to the living room. If he grabs you at any point, turning you round to face him, immediately block afterwards and you should successfully stop any follow up attack.
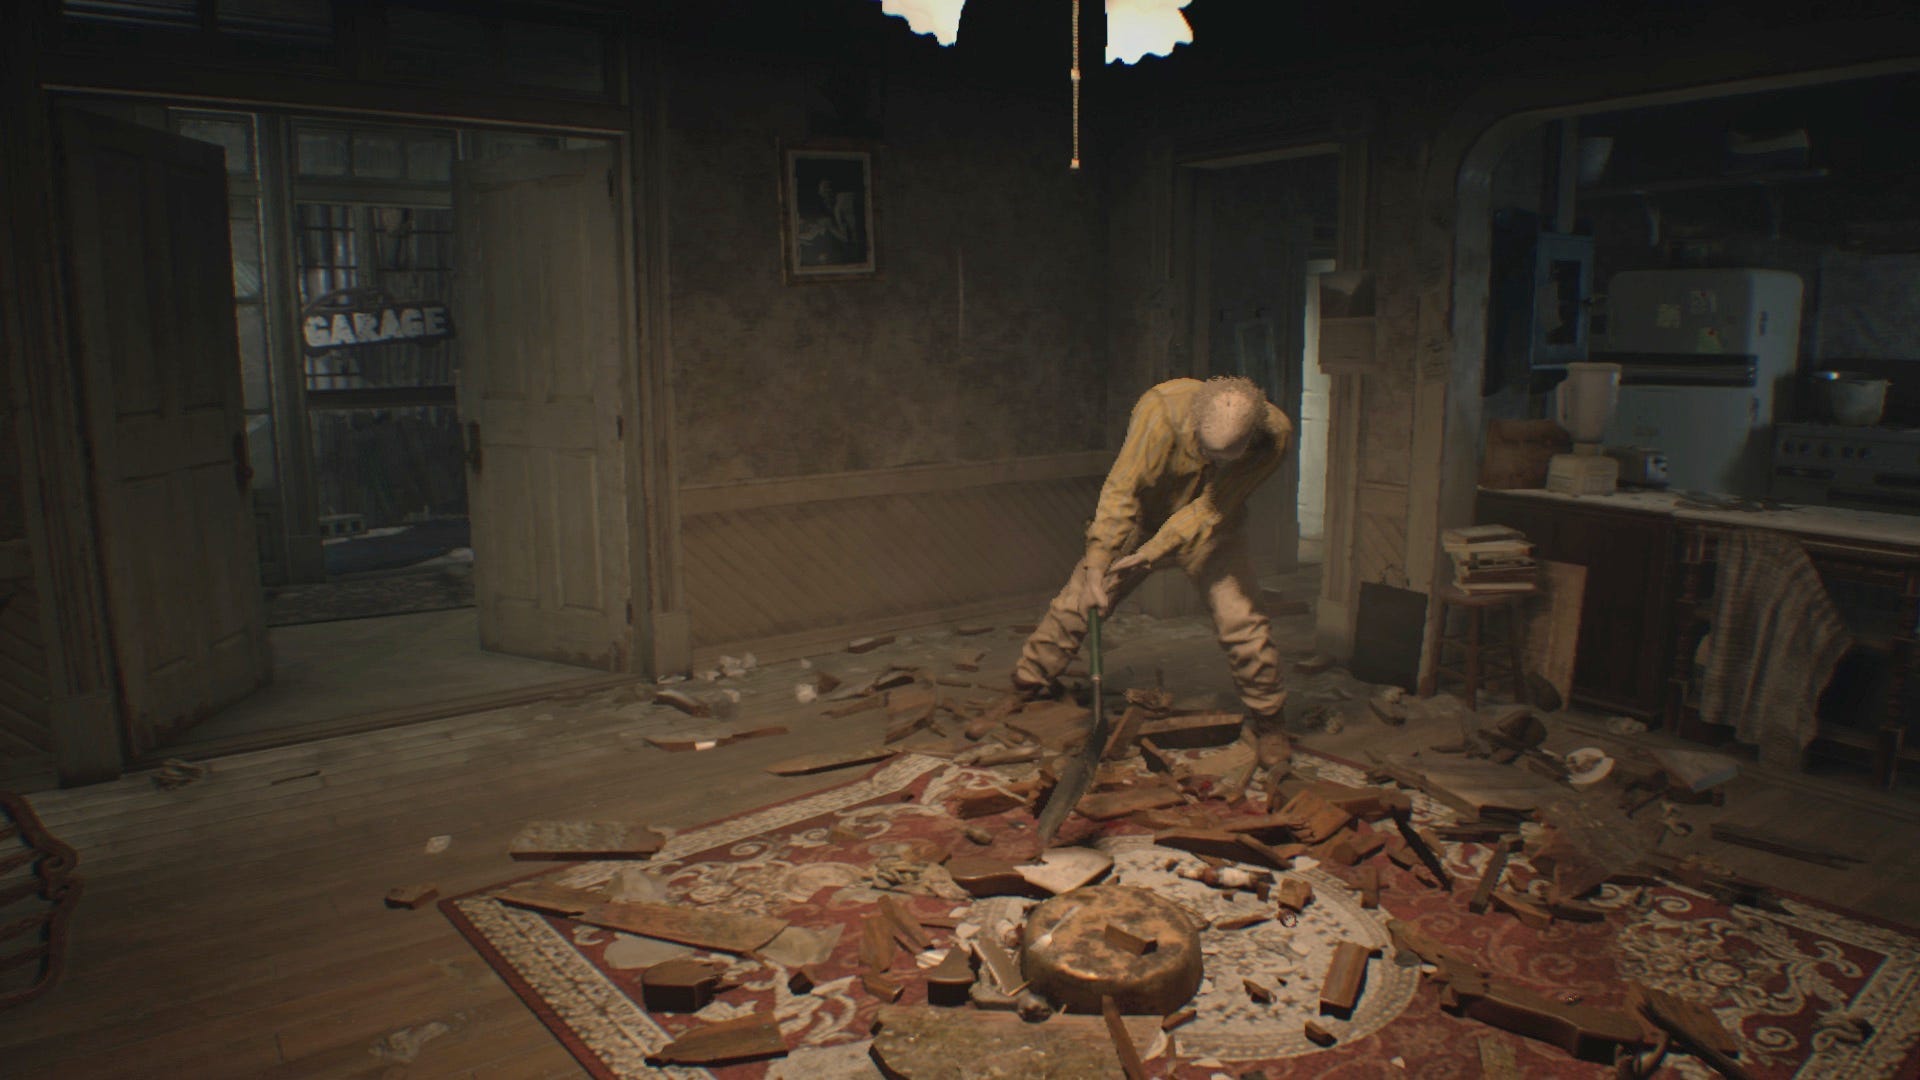
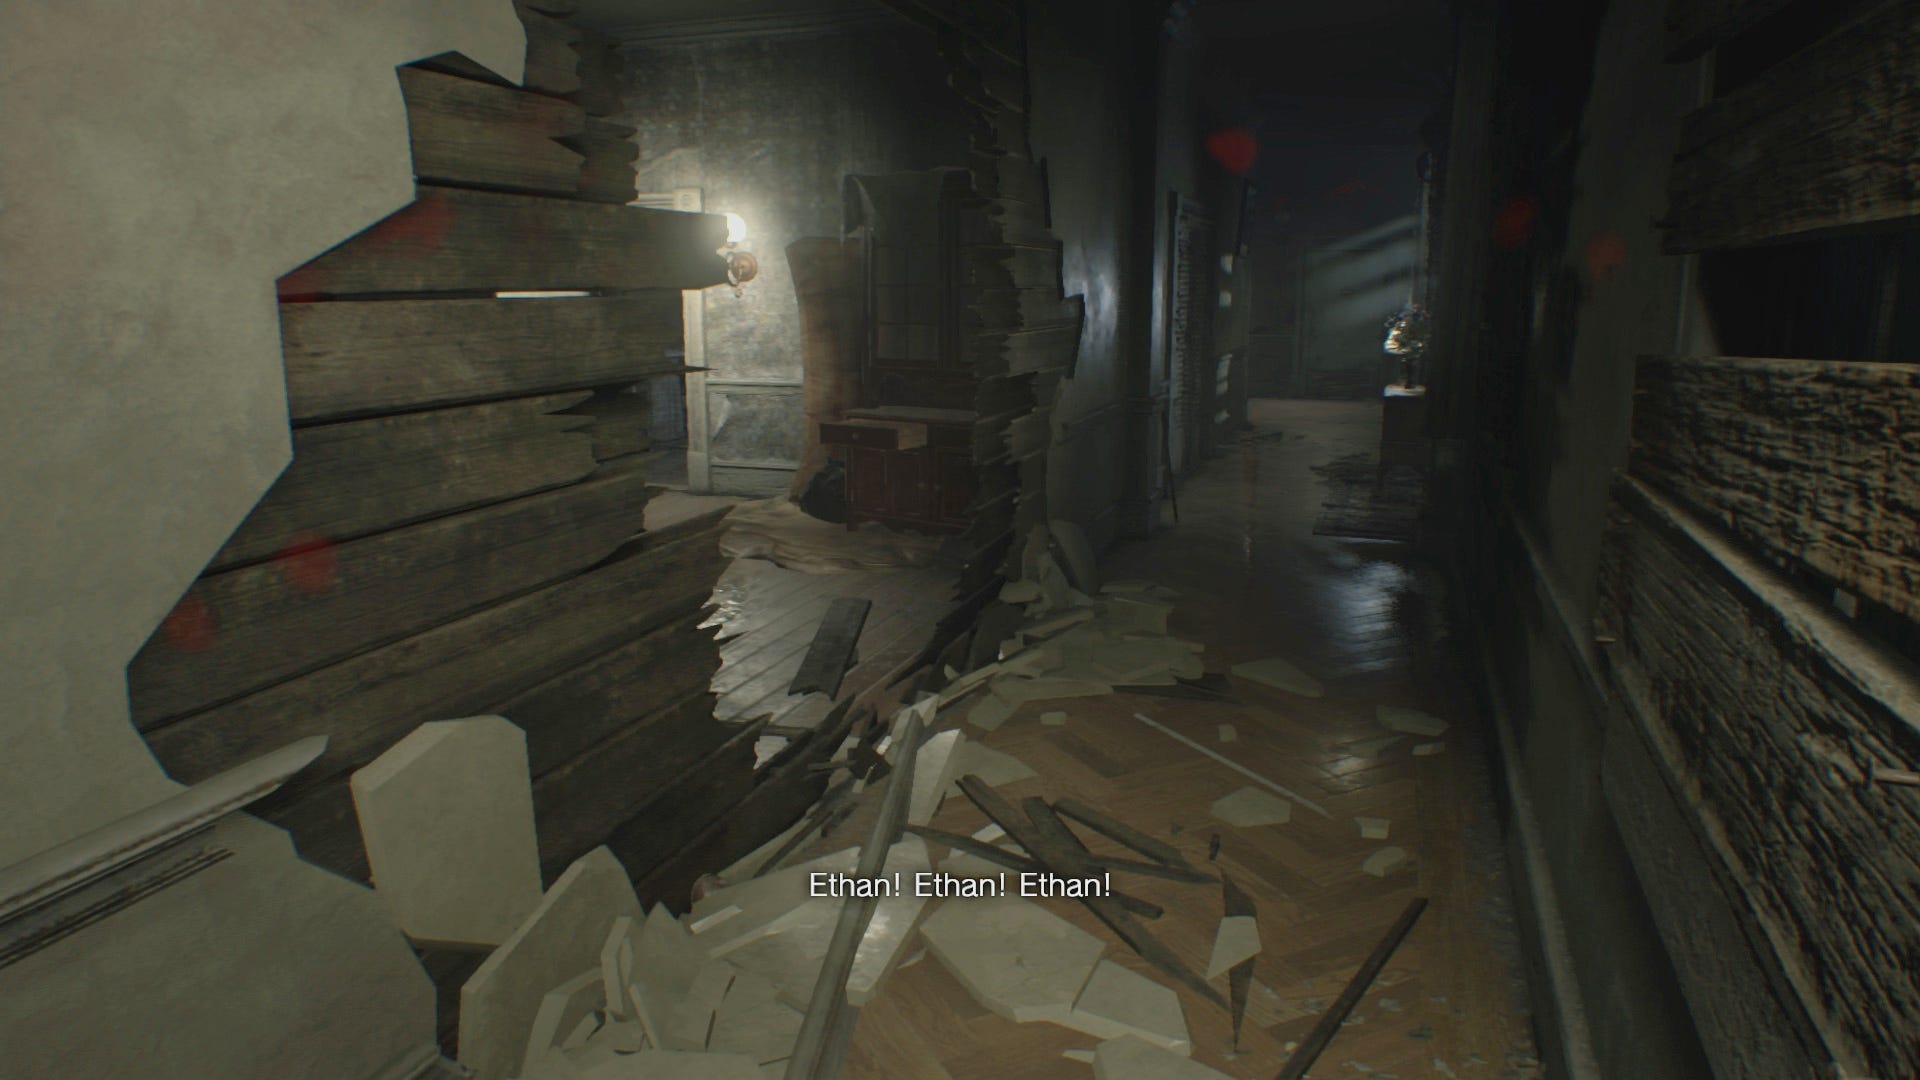
He'll follow you one way round the sofa, so run round the other way, back through the kitchen to the corridor. He may now smash through the right wall. Again, retreat back, through the kitchen and to the room with the floor hatch, as he'll be coming the other way. Run through the smashed wall and down the rest of the corridor, and at the corner is the Hatch Key.
Continue round the corner of the corridor and wait here - you should have lost him. Slowly walk round the corner and peek through the smashed wall.
Once the coast is clear, walk in, use the Floor Hatch Key, and drop down. Crawl onward, being sure to grab the Antique Coin resting on the lawnmower on the left.
Laundry Room Save Point
Climb up at the end and use the save point on the table, then collect the Main House Map nearby. There's also an Item Box to the side, where you can store items and pick them up in other Item Boxes later on.
It's worth noting this is a 'safe room', where enemies cannot come in and hurt you. This refuge not only allows you a place to collect together your items (and nerves), but can actually be used tactically to avoid enemies, so always be aware of the nearest one in case you're in a pickle.
To the side is a locker with a Herb and a Chem Fluid - these two can be combined and to the right of the door is a box on the shelf. Investigate, rotate it round and find the clasp to get a Lock Pick.
Unlock the door and leave the room, then turn back round when the phone rings, then answer it.
How to get to the Main Hall
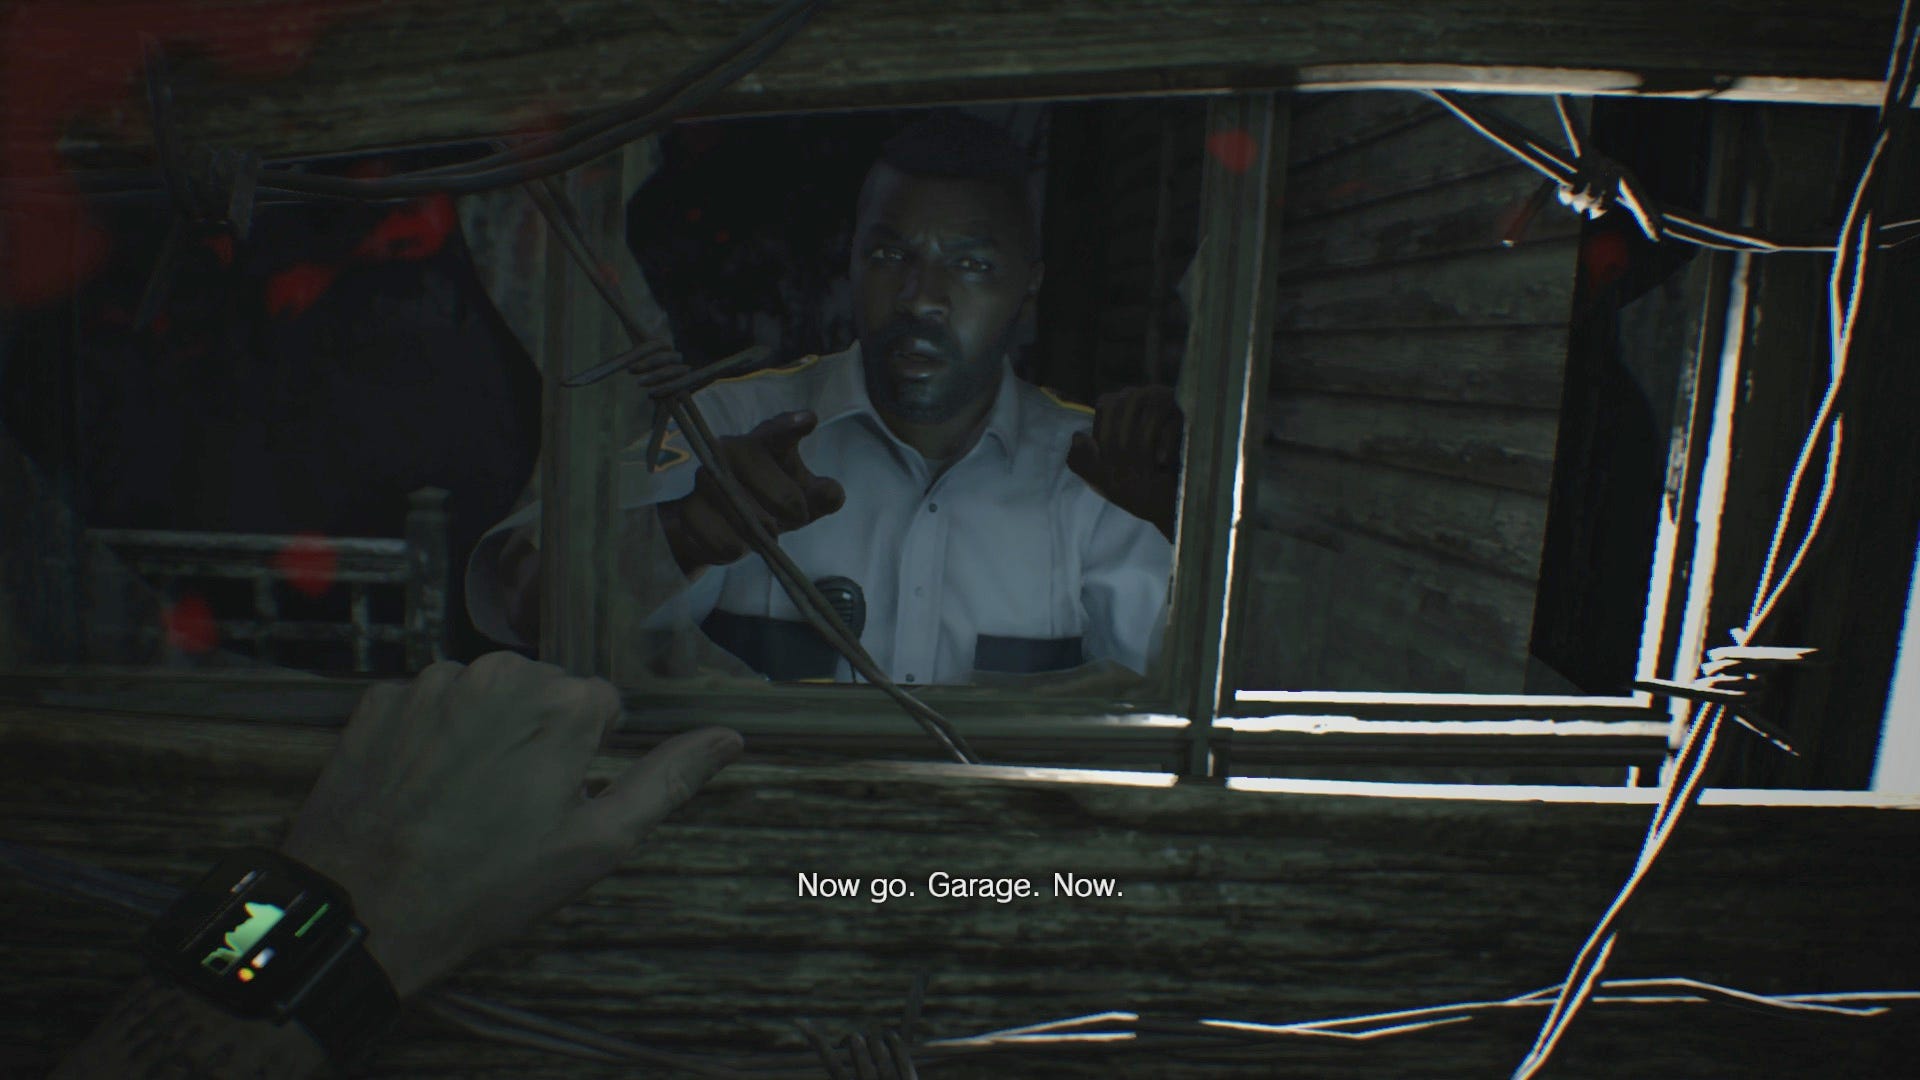
Next, you need to trigger an encounter with the Deputy. He'll appear through the window at the end of the corridor to the right of where you leave the Laundry Room, next to the Lockpickable drawers next to the door (which contains a Med Kit). We explored the other end of the corridor and checked the locked door at the end, and then came back for him to appear.
After the cutscene, you'll receive the 'Knife'. Before you head down to the Garage, there are two optional Mr Everywhere statuettes you can destroy; one in the Laundry Room underneath the save point, and another at the far end of this 1F corridor, amongst all the debris. You can tell you're nearby thanks to the clicking sound they emit. Give them a swipe of your knife to destroy them.
When you're ready, head down to the Garage - you can now smash the crate as soon as you enter for Handgun ammo - then use the Knife on the red tape to open the way ahead. Before you enter, make sure you have some healing items ready to go.
Want more help? Our Resident Evil 7 walkthrough provides step-by-step instructions on how to survive the main story, as well as finding the Shotgun, Grenade Launcher and the game's many Lockpicks and Treasure Photos. Meanwhile, our Antique Coins locations, Mr Everywhere statue locations and File locations lists will help you find every available collectible on Normal and Easy difficulties.
How to beat the Garage Fight
After the cutscene, pick the G17 Handgun on the ground while Jack is busy. However, don't attack Jack himself and instead, run to the desk in the corner and get the Car Keys, then use it on the car. Start it up, and ram Jack over and over by reversing and accelerating into him.

After he disappears, he'll climb on the car and a cutscene will play. Once the car has crashed, you're more or less done with the fight. Climb out the car and back away, and though he'll give chase and grab you, the explosion will finish him off.
With Jack down, grab the Chem Fluid from the corner locker - you'll probably need to heal about now - as well as the Handgun ammo in the opposite corner.

Head up the ladder by the desk where you got the car keys; if you can't, then run around and gather items, then try again, and a scene should trigger. Climb the ladder, get the Shotgun Shells on the left, then investigate the frame on the trolley. Fiddle with the back and the 'Ox Statuette' will pop out the front, adding it to your inventory.
Investigate the side of the trolley, pushing it aside, allowing you to leave the garage. Return to the Laundry Room to safe and manage your items if you need to, then head down to the end of the corridor and use the Ox Statuette on the door to proceed to the Main Hall and the next objective - finding all Dog's Head locations.