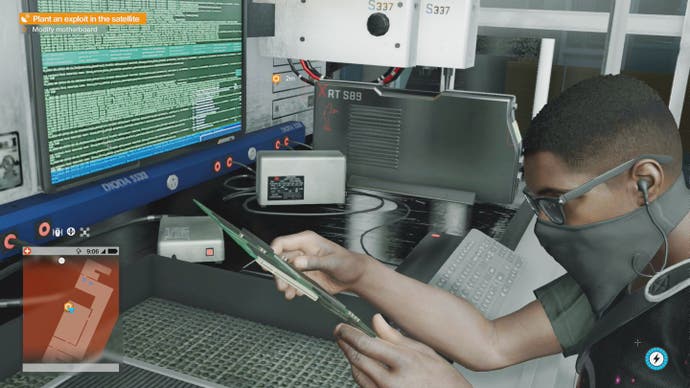
Watch Dogs 2 - Hack Teh World missions: Get Cray with Ray, Hanger On, The Waiting Game and All-Seeing Eye
Our complete story walkthrough and guide to the many activities in Ubisoft's hackathon.
You can start the following Hack Teh World missions when you're done with the Eye for an Eye Main Operation. We'd recommend you unlock the APB Research, Robot hacking and Security System Shutdown upgrades before embarking on this set of missions.
Get Cray with Ray, Hangar On
This mission requires the Quadcopter, so if you've not made one yet go and do so, and then head for the beach.
After the cutscene drive to the HQ and then head for the Galilei hangar, locate the panel to the left of the entrance, and hack it to trigger a switch puzzle. Deploy the Quadcopter and fly to the roof:
- Rotate the T piece so that the short side is pointing towards the building.
- Unlock the locked switch and rotate it to send power to the next locked switch.
- Rotate the T so the short end points towards the power source.
- Unlock the next locked switch and rotate it to send power down the cable furthes from the building.
- Unlock the next locked switch on the wall, then rotate it so the the short end is pointing towards the building.
- Unlock the next switch and rotate it so the short end is pointing away from the building.
- Rotate the T piece furthest from the building so the short end is pointing down.
- Rotate the elbow on the roof nearest the edge to direct power down the wall.
- Unlock the last switch and turn it to direct power downwards, then hit the final lock.
This next section needs a very stealthy approach, and while it doesn't require the ability to disrupt security systems, not being able to do so will mean that at some point triggering an alarm is unavoidable which then makes the rest of the mission more difficult than it needs to be.
Head into the main building and towards the security gate. Depending on the skills available to you there are a few ways to get in, but the safest is to put out an APB on the guard, wait for the police to drag him away, and then shut down the gates to walk in unhindered. If those options aren't available you can simply distract him and then climb over, but getting rid of him altogether makes the next bit less prone to interruption.
Once past the guard, take cover behind a flowerpot and deploy the Jumper. Send it out through the doors and head off to the right, and hug the wall around until you find a vent.
There's a robot and a guard in the area, so either keep out of sight or hack them to give yourself a clear run and open the vent in the corner to the right of the doors ahead. Move the Jumper to the far right and you should get line of sight between the servers and the wall to grab the keycode before recalling the Jumper.
Your goal now is the stairs below and just past the objective marker. Keeping out of sight is crucial, so hack and stealth your way across the room and into the stairwell, duck over to the left, and deactivate the security sensor if you can (use the Quadcopter to get a better angle if you need), head upstairs, and again disable the security sensor if possible.
Move past the locked door and take cover, deploy the Jumper, and send it through the vent to hack the panel on the wall to unlock the doors before heading inside to the objective.

Once the cutscene is over, leave via the other door, disable the security sensor, and make your way down the stairs ahead. There's another sensor at the bottom to deal with as you make your way back into the main room, and then it's a case of staying in cover as you head for the gantry at the far end.
Use the crates in the corner to reach the walkway above, then climb the stairs on the other side until you reach the top. Tamper with the rocket, and then cross to the opposite side. Use the stairs in the corner to move down a level, clamber over the railing, and then drop down to the floor below. Open the door, head down the stairs, and nonchalantly make your way out of the area.
Want more tips? Our Watch Dogs 2 walkthrough and guide provides an overview of everything you can do in the open-world game, from all finding all Key Data locations, unique vehicles and finding hidden gnomes and gnome outfit, through to tips on races, ScoutX, Driver SF and multiplayer. We also have walkthroughs on Trophy and Achievement specific side-quests Ubistolen, $911 and Shadows as well as how to get more Followers and how to make money.
The Waiting Game, All-Seeing Eye
Watch the rocket launch back at HQ, after which you'll get a satellite's eye view of the globe from where you can wreak some havoc. The order you do these next three bits in isn't important:
Dublin Blume Office
Work your way round the cameras until you can set the alarm off, then head back to the middle camera and hack the woman's phone to get the keycode. Now hack the PC on the desk.
Dubai Server Farm
Switch to NetHack and hack the server to your left, then switch to the camera ahead and hack the remaining servers.
Seoul Power Plant
Switch to one of the rear cameras, and then hack the PCs to set all the nodes on the screen to red. We couldn't actually work out what the interaction between PCs and the effects on the screen are, but with a little trial and error the lights will eventually go out.
You should now have access to the Delaware Data Center. Once you're connected, activate the handy Quadcopter and fly towards the objective. Switch to the camera in the office and activate the panel, then return to the Quadcopter for a switch puzzle.
Most of the are red herrings with a load of locked switches that can just be opened in order with no actual puzzling involved, but one or two are a bit more fiddly. From the camera view:
Far right:
- Rotate the top T piece so the short end is pointing right.
- Unlock the switch below it and move it so it's horizontal.
- Rotate the top T so the short end is pointing up.
- Unlock the next switch and rotate it horizontally.
- Unlock the switch below, then the one to the right, and then the one below that.
- Rotate the elbow to power the switch below and unlock it.
- Rotate all four straight switches so they're vertical, rotate the top T so the short end points up, and rotate the elbow below the right-most straight switches to send power to the left.
- Unlock the switch and make sure the short end is pointing up.
- Rotate the elbow to its right to direct power downwards.
- Unlock the switch, make sure it's vertical, and then rotate the T above it so that the long part is vertical.
- Unlock the bottom switch.
Far left:
- Rotate the lower right elbow to send power to the left.
- Unlock the switch, and then unlock the one at the top left that's now powered.
- Rotate it to send power to its left.
- Rotate the lowest elbow to send power to the left.
- Unlock the switch and rotate it vertically.
- Rotate the lowest elbow to point down and to the right, and the lower right elbow to point left and down.
- Rotate the top left elbow to point down and left.
- Rotate the top elbow to send power to the left.
- Rotate the bottom left straight switch to point horizontally.
- Unlock the bottom left switch.
Once all the towers on the sides are lit unlock the switches on the floor working from back to front - no need to turn them at all - and then return to the camera view to unlock the final switch.
Once you have completed this mission, three will then unlock - Power to the Sheeple, Robot Wars and Shanghaied - which you can tackle in any order you choose. Once you've done all three, the game's final mission, Motherload, will unlock.


