Rise of the Tomb Raider - Back to the Forest, grapple axe, patrols, special ops, soldiers
How to complete the Back to the Forest section of Rise of the Tomb Raider, get hold of the grapple-axe, and handle the spec-ops soldiers.
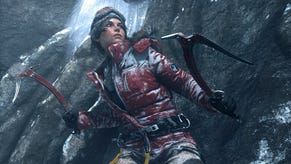
Once you've won out over the insurmountable odds, it's back to simple platforming. Use a rope arrow to cross the gap, and then get ready to learn a new platforming skill: the grapple axe. First, jump for the hoops and tap X to grab them with your axe as you get close. Lara will swing and automatically let go on the other side.
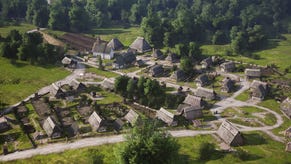
After crossing the fallen tree, make a leap for the rock to your right and again tap X to deploy your axe as you get near. Once attached, just push up to scale the rope. Carry on down the path in a similar vein, jumping, grappling, and climbing your way back to the valley.
Silent Night
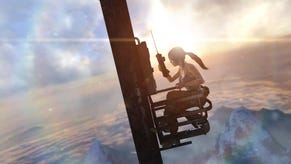
Use the campfire if needed, then grapple-jump across to the zipline and down into the valley below. Backtrack slightly to find a journal and some crafting supplies, then proceed across the next grapple jump. From the roof, use the small ramp to swing across the branch and onto the wooden tower and collect the map. From here you can backtrack and collect the items revealed on the map and work your way down manually, or just head down the zipline to the next marker.
Swim through the swamp and perform a stealth-kill on the guard stood on the edge. Climb out and take out the remaining enemies - holding your position and using arrows seems to be the safest option here. When the area is clear, head up into the hut ahead of you, grab the audio log, then climb through the small window.
The next area is crawling with spec-ops guys, so opening with a frontal attack is almost certainly suicidal. Stealth, distraction, and silent kills with arrows is the safest way to start - if you have the multi-shot bow upgrade you should be able to clear the two near the bonfire once the patrolling guard is out of sight, and then tackle the one standing guard in front of the hut. Follow up with a poison arrow to incapacitate the patrolling guard before taking him out. More will appear from beyond the bonfire, but the numbers should now be manageable, and you're safe to deploy firearms if you prefer.
Once the area has been depopulated, clear it of consumables and loot, then head towards the marker and more danger. Stay hidden in the bushes until the guards have finished their conversation, then sneak behind the small shack to your right and climb onto the roof.
From this vantage point you can pick a few guards off silently with the bow. Start with the guy on the top level of the building opposite, then the guy on the left of the middle level when he reaches the back of his patrol, then pick off the guy on the right of the balcony. Wait for the patrolling guards below you to approach the combustible barrel, then hit it with a Molotov to further reduce numbers, before dropping from the roof and heading to cover behind the left-most shack.
Pick of the remaining guards in the courtyard as they approach. Prepare a Molotov and head up the steps, tossing it in towards the exploding barrel inside and to the right. If any enemies survive the blast they should at least be more manageable afterwards.
Once the area is secure, replenish your ammo and supplies, collect the audio log from the left-hand side of the decking area, head inside, and climb the stairs. Collect another audio log, head out to the balcony, grapple up to the ledge to your left, and shimmy along and up to the next area.
Grab the journal at the bottom of the stairs and make camp, then head towards the objective. As you approach it a ferocious feline will attack; it can deal a lot of damage if it gets close, so equip your favourite weapon and backpedal as you fill the beast full of lead.
Now work your way along the platforms to the marker; you'll run into a guard along the way, but he's helpfully looking the wrong way so can be taken down without incident. The second guard can be hit with an arrow before he spots you. Be careful of the guard stood above the second guard's position though - he won't spot you immediately, but he's worth getting rid of as early as you can. From here you can either head up and across or go straight on, but both routes will eventually lead you to the next marker.
- Keep reading for our guide to completing Rise of the Tomb Raider: Flooded Archives, the next chapter of the game's story.
- Head back to the first page for the rest of our Rise of the Tomb Raider guide.


.png?width=291&height=164&fit=crop&quality=80&format=jpg&auto=webp)


