Destiny Rise of Iron - King of the Mountain, Walls Come Down
How to complete the first two story missions and unlock Rise of Iron's new social space.

There are five main story missions in Destiny: Rise of Iron, and are essential to complete if you want to access the meat of the expansion, from the new Iron Temple social space to end-game content. You get started by selecting King of the Mountain from the Director, which inside Earth. Let's go!
King of the Mountain
Location: Earth
Recommended Light level: 280
Unlocks: Mountain Climber Trophy / Achievement, The Walls Come Down story mission
Before you get started, there is a Dormant SIVA Cluster collectible only available on this mission - our Dormant SIVA Clusters locations list will help point you in the right direction.
Run up the snowy cliff side until you reach the gondola station at the top, where you'll be greeted by a group of Shanks and Vandals. This will be a sign of whether you'll be high enough level to take them on and continue with this new expansion - if not, best retreat and pick up a few vendor items or do other activities first (our page on how to reach Light level cap 400 will have tips of what to work on first).
Once you've cleared the group, go to the gondola and hack the side console to enter. Power it up on the console to the right, and ride it through cliffs topped by shooting Vandals and sniper Shanks. When it stops and you're told to leap off the edge to the ground below, do so, then make your way along the path, jumping over the chasm, and continuing up to the thin path that goes round the outside of the mountain.
Clear the Fallen enemies, including the Captain, and continue up until you reach a building and are given the Defend the Mountaintop objective.
Here it's a simple case of going from structure to structure, clearing out the enemies. The first wave when you arrive at the initial building is the most difficult, where you'll set upon by invisible Stealth Vandals from all sides and can easily cause you some damage, so take your time when starting this section and don't be afraid to retreat, use grenades and maybe even a Super to clear out numbers.
As you progress, you'll be told to Reach the Temple and Eliminate the Fallen. Ignore the Temple on your left for now, and continue round the corner right, where you'll see a Servitor in the air. Clear out all the Dregs until the Servitor - aka Sepiks Perfected - moves away. Clear out all the enemies here and at the base of the Temple, and proceed over the bridge to face and defeat Sepiks Perfected.
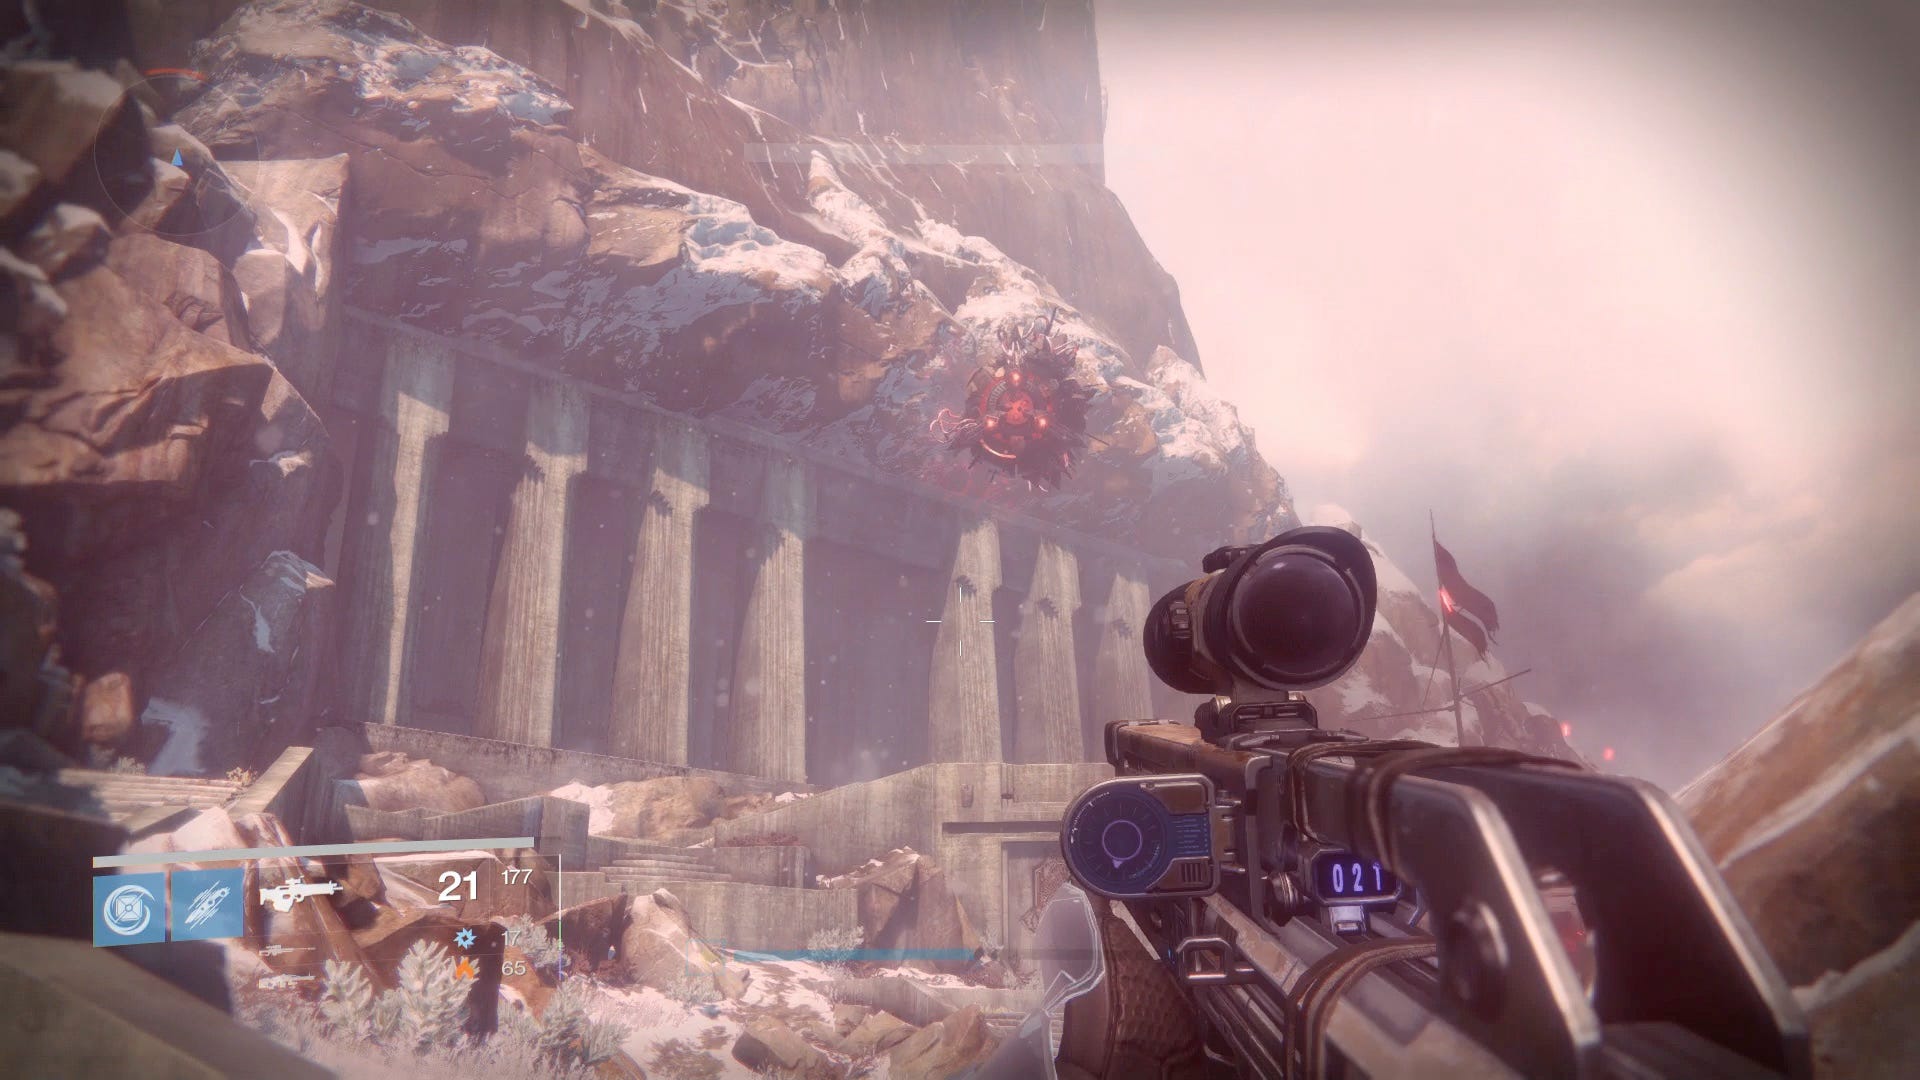
Hide behind cover to avoid his powerful projectiles, and soon its shield will drop and it will no longer be immune. Now use long distance weaponry - sniper rifles, machine guns or rocket launchers ideally - at its centre to chip away at his health. If you run out of ammo, then wait until a wave of enemies appears, which will drop some for you when defeated.
Keep an eye on Sepik's position at all times but also stay in cover (behind the columns by the Temple is recommended) and keep working away at its health until it's down.
The Walls Come Down
Location: Earth
Recommended Light level: 290
Unlocks: Iron Temple social area, then after visiting, The Plaguelands story mission
Look familiar? This is the area you started Destiny in over two years ago - now with a snowy lick of paint. Run ahead and take out the group of Fallen - who may put up a bit of resistance, thanks to a Captain or two - then run ahead and go left at the pile of backed-up cars and into more familiar-looking series of corridors inside of the wall.
When it opens out, however, you'll be traversing down the middle of the chasm instead of around it. Go down the middle, watching out for Vandals sniping along the right side, then up the footbridge to the left at the end. Continue working past the many Fallen in these corridors until you emerge at The Divide.
Run ahead and scan the red pile of debris in the corner. After the brief conversation, you'll be told to Find the Sensor Grid. Hive enemies will start to spawn in at this point, and while you're welcome to engage, you can simply ignore and continue with the mission.
To find the Sensor Grid, go right round this corner to the Rocketyard, then run on through to the opposite right corner, where you'll see part of the wall destroyed. Shoot the red mass to clear a path and go through the wall; before you use the computer, make sure you have plenty of heavy ammo and the best gear equipped, then interact.
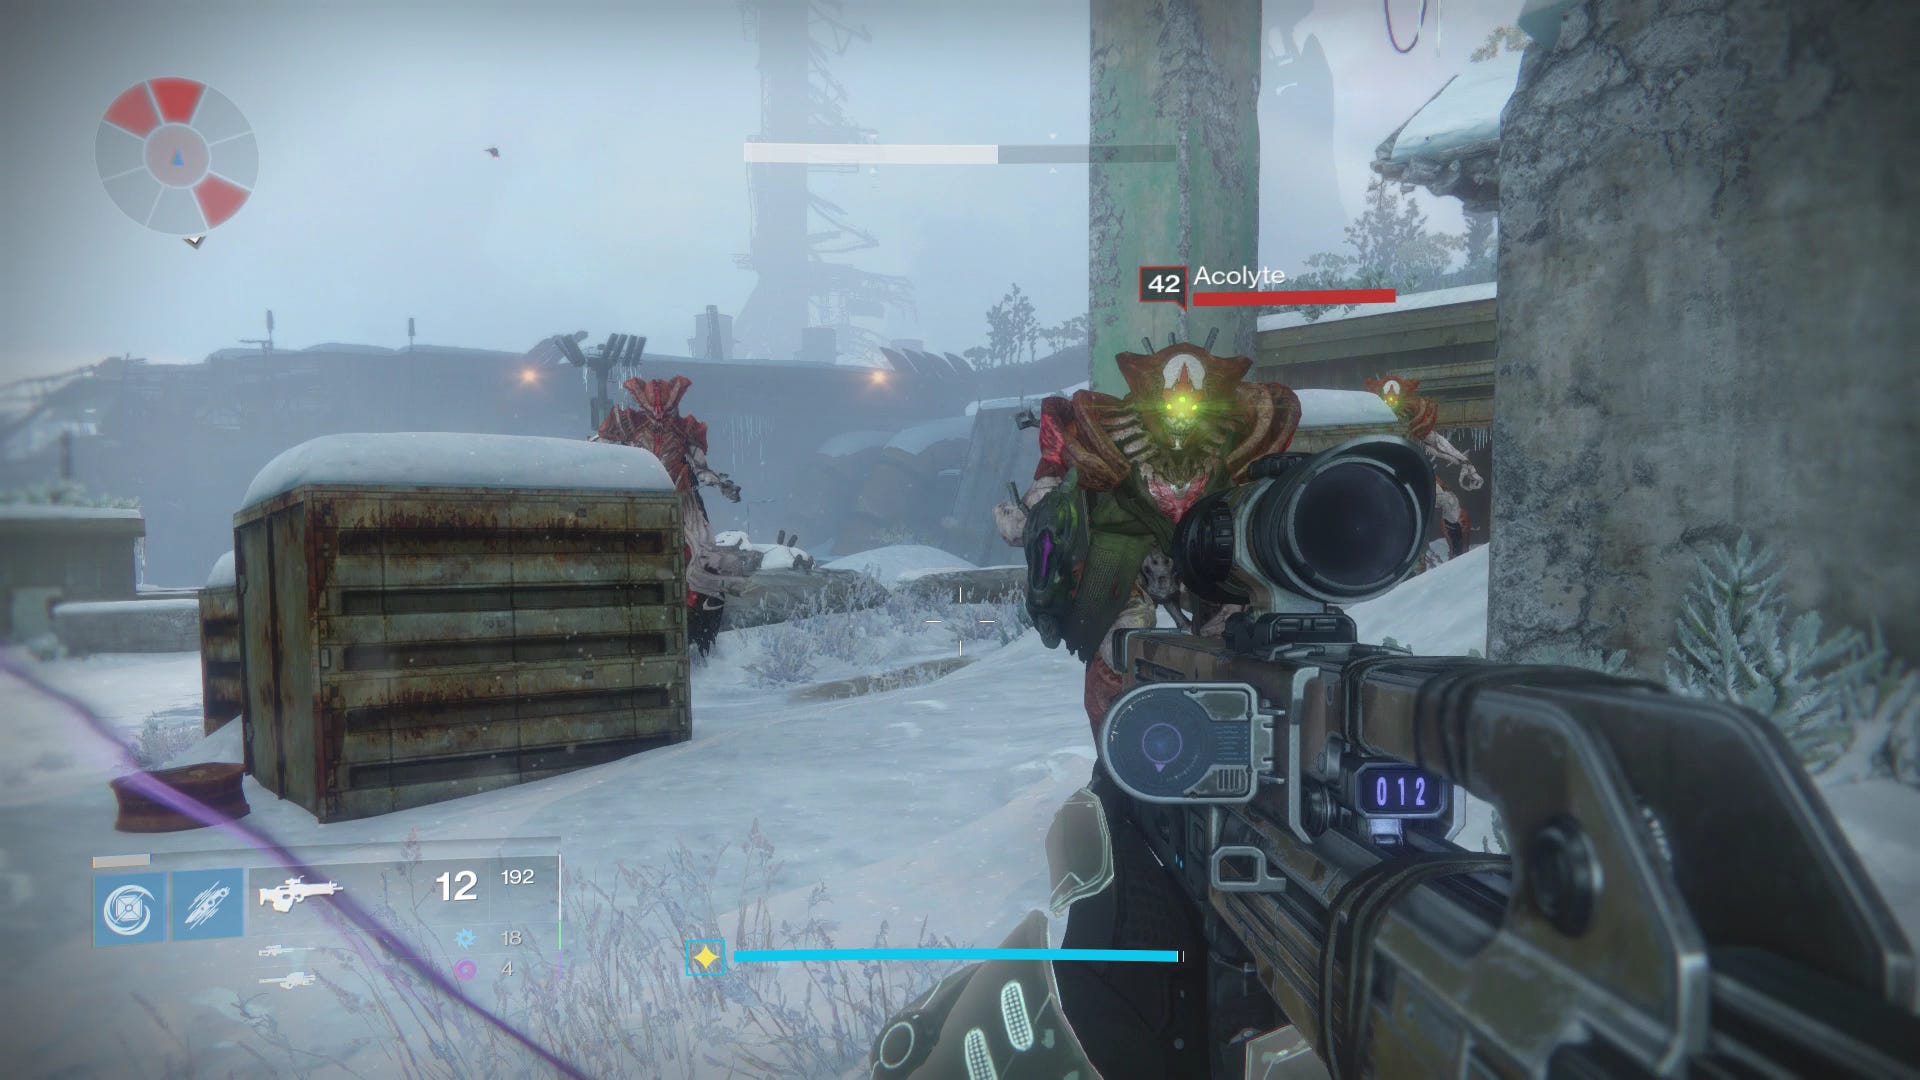
To finish the mission, you have to defeat the onslaught of Splicer Fallen that arrive. They are mostly the same as the usual Fallen you come across, so use tried and tested tactics to clear every wave that come out. Try and keep Supers for the Captains that arrive, and be wary of the sniper Vandals above in the corner, and if things get a little too hairy, then you can retreat into a nook opposite the computer console, or leap up to the higher area at the back of the room to get a better vantage point.
Want more Destiny: Rise of Iron guides, tips and tricks? Then read our Wrath of the Machine walkthrough and guides, complete list of all Dormant SIVA Cluster locations, tips on how to reach Destiny's max Light level, how to complete the Exotic Gjallarhorn Quest, Khvostov 7G-OX Quest and Thorn Quest and new modes Vanguard Elite Strike Scoring and SRL.
Once the mission is done, go to the new Iron Temple social space (it's within Earth on the map, then on the right side). Once you've got acquainted with the new area - maybe you want to try unlocking the bell-ringing 'Sing the Iron Song' Trophy / Achievement while you're here? - pay a visit to Lord Saladin at the top of the steps to continue the Rise of Iron Quest.
You're told to light Braziers, which are displayed on the screen; there's one where you spawn, one in the platform far opposite, and another down below across the bridge. Once done, chat to Tyra Karn just inside the entrance of the Temple to get the next part of the Quest. Then, chat to Shiro-4 to unlock The Plaguelands mission - but if you're not ready for that yet, then you can read our Destiny: Rise of Iron guides, tips and tricks hub for other activities.