Thief (2014) - Dirty Secrets, podium puzzle, opium cooker, symbol locations
You can clear out every occupant in the brothel with one very simple trick. Our comprehensive Thief walkthrough will show you how.

The third chapter of Thief is considerably longer than both the prologue and the first two chapters. The building you're infiltrating doesn't just look intimidating, it's also packed full of secret passages and treasures. Read on for our walkthrough on how to navigate this sometimes confusing environment, while picking up all of the special collectible items.
Before getting stuck into the meaty third chapter of Thief, we definitely recommend grabbing the wire-cutter from the Shady Merchant found at The Crippled Burrick. You can finish off the chapter without this tool, but you won't be able to get all of the extra collectible items. We also made use of it for preparing this walkthrough, so head back to The City and pick it up if you haven't done so already.
Once you've accepted your new mission from Basso, you'll have to visit Erin's Mill Hideout. Once your meeting there has finished, keep moving towards your objective marker district by district. You can get your hands on the medallion you need by touching Garret's painting after his vision concludes.

Find the Entrance to the Brothel
Make your way forward very gingerly, staying within the shadows at all times. As soon as you reach a dead end, take a look to the right where you'll see two guards. One of them is facing you, while the other has his back to you. Fire a Blunt Arrow at the valve by the guard who's facing you. Once he hits the deck, quietly make your way behind the second guard and take him out the old-fashioned way.
If you look up, you should see a number of pipes above you. Use the wire-cutter tool you picked up earlier to hack open the control box. Once you've done this, you'll be able to drop back down and go into a room full of treasure. Grab everything, including the collectible item The Pinned Castinets (2/6) - Jewelwing. If you're looking for the first item in this set, Oilbox, you'll find it in the Fish-Hawker's Marker in The City.
Make your way back outside, then go down the stairs in the direction of your objective. Use your wrench on the vent that's to your left, then go inside. You'll have to move along the beam here until you arrive at another room. Keep moving forward until your objective's been triggered.
Get in to the House of Blossoms
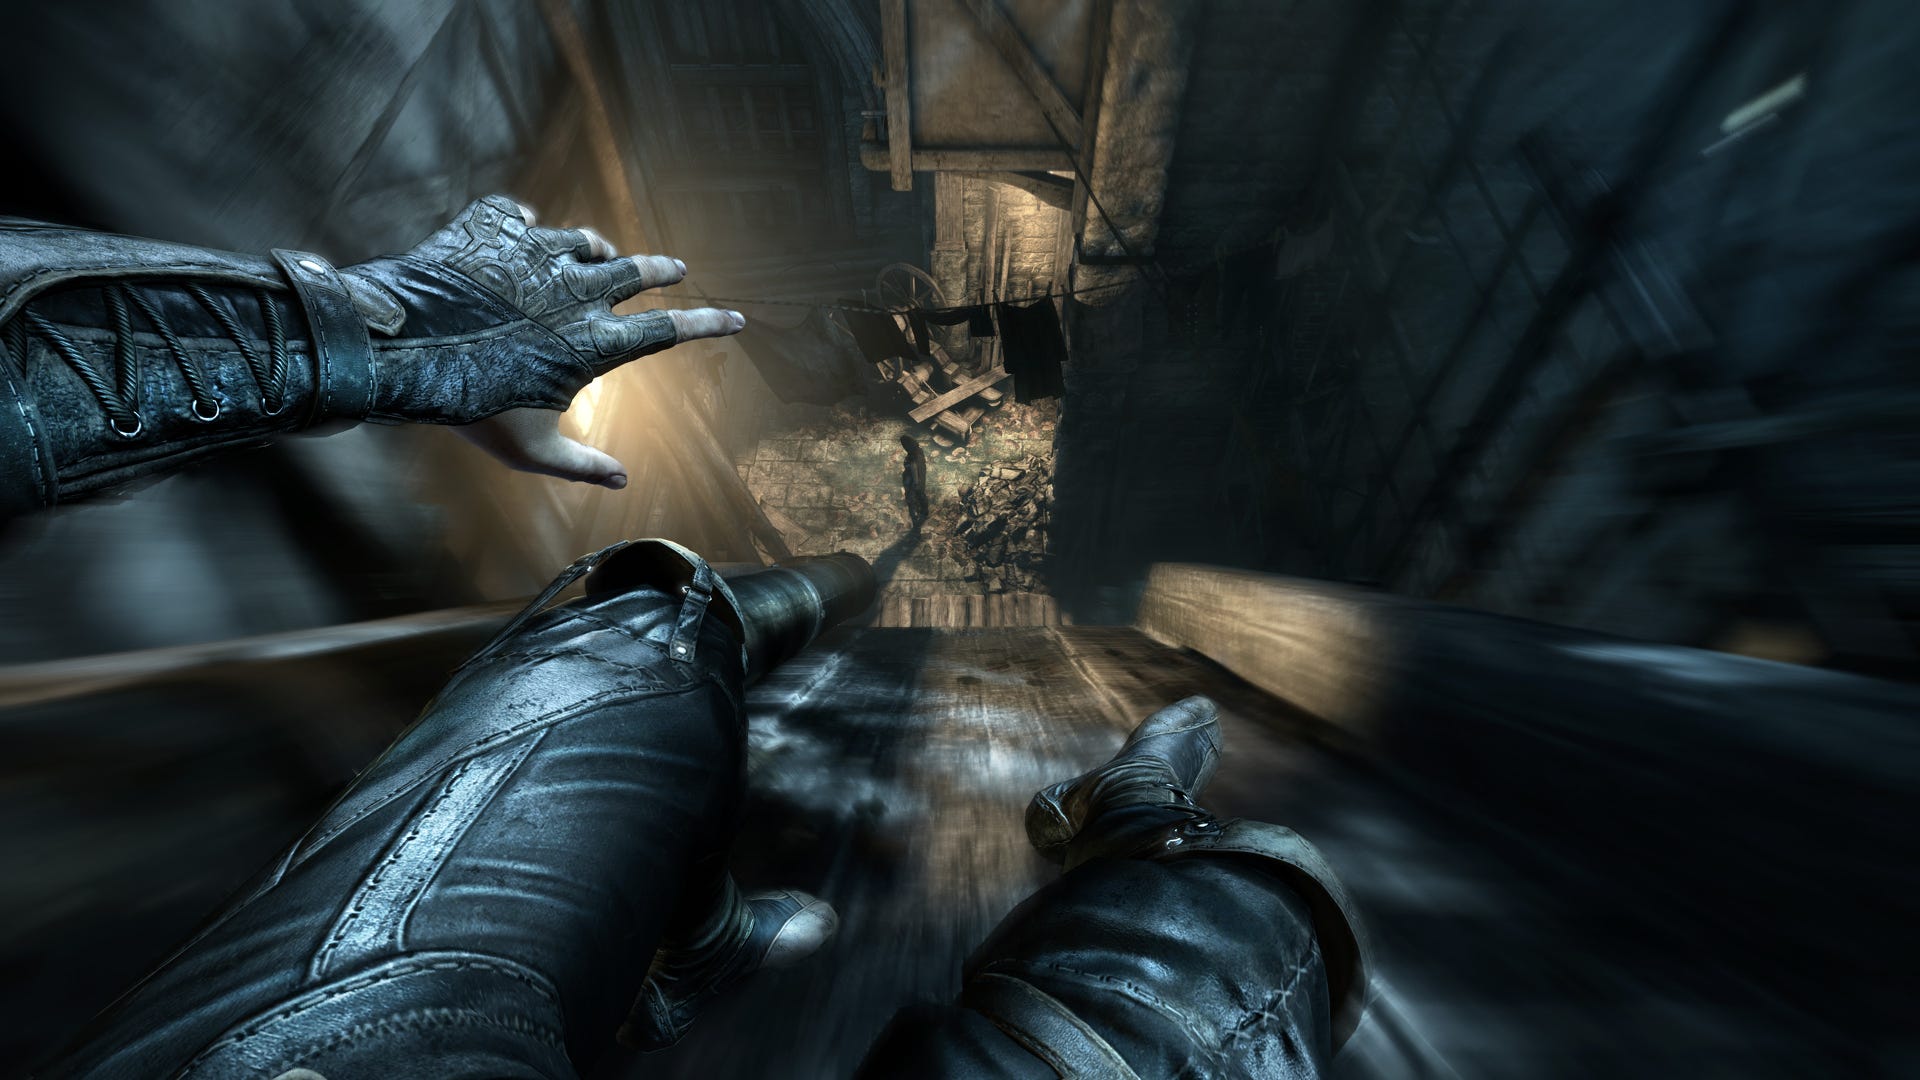
Once you've slid all the way down the slope, you'll have to keep heading forward until you come to a wall. Climb up it, then drop down. Now climb up and over the boxes you can see to the north-east, and get up onto the beam. Once you've moved along it and entered a cave, you need to get through the debris, then over the next wall, and then finally drop down.
Make your way through the curtain and quietly take out the woman. Tidy-minded players might want to tuck her away in the shadows, but she won't actually cause any disturbances if you leave her there in full view.
Explore the Brothel for Clues
"While this may not be a particularly nice way to complete the level, it does make things a good deal easier."
Grab any loot that's lying around nearby, and then sneak your way into the kitchen. There may be a guard to deal with here, so sneak up and take him out if necessary, then stash the body somewhere vaguely subtle. Just make sure the woman in the room doesn't notice you while you're doing this. When you're done with the guard, quietly take down the woman.
Make your way towards the southern balcony and pick the locked door. Once you've made your way inside, pick up any loot you can, and then drop yourself down into a small crawl space. Pass through this to access a control box, using your Focus ability if necessary. Hack it, and then head back the way you came in.
Once you're back in the main kitchen area, pull the level by the opium cooker. Congratulations! You've just gassed everyone in the building. While this may not be a particularly nice way to complete the level, it does make things a good deal easier, and you can now bang and crash your way around the place to your heart's content!
Take your time exploring both this main floor and the upper level, as both areas are stuffed with loot. To ensure you don't miss a single thing, make sure you've used your Focus ability in every single room before moving on to the next one. There are plenty of secret passages to be explored too - particularly in the upper bedrooms - and most of them contain some very valuable items.
There's a collectible item to be had from this area too. Go to the western stairway and make your way up to the second floor landing. Get up the pipes here, then slither your way into the crawl space to get your hands on Serendi Stone Circles (3/7) - Emerald Circle.
With the looting out of the way, go to Madame Xiao-Xiao's office, pick up any treasure lying around inside, then pick the lock on the door to access the room's secret, private chamber.
Access Xiao-Xiao's Secret Passage
The first order of business should be to loot absolutely everything in the room, but be very wary when it comes to the safe you'll find on the wall. There's a control box next to it, and unless you want to trigger a booby trap, you'll need to use your wire cutters to hack the box before opening the safe.
You already have the combination in one of the documents you've picked up, but if you can't be bothered to read through them all, use this code: 5-7-3. Once you've looted the entire room, go to the painting that's hanging on the northern wall, then push the two triggers to access a secret passage.
Find the Mysterious Podium
At the bottom of the stairs you'll find a series of peep-holes dotted around the walls. Have a peek through the first two you come across, and then make your way further down. You'll eventually come across a podium, which you should attempt to place the medallion on.
Discover the Remaining Symbols
You won't actually be able to place the medallion on the podium properly without the aid of four symbols that are hidden around the local area. The first such symbol is located on the wall right in front of you. Now go back up to the area where the peep-holes are, and use your Focus ability each time you look through the two you looked through earlier. The next two symbols you need are on the opposite walls.
Go back down towards the podium, then head even further downstairs to find more peep-holes. Again, if you look through these holes and apply your Focus ability, you should have no trouble finding the symbols you need.
Place the Medallion on the Podium
Make your way back to the podium, and use it to line up the symbols correctly. You'll know they're in the correct position when they light up and create a line across the top of the medallion. Now put the medallion in the podium to finish up this section of the chapter.
Explore the Ancient Ruins
Carry on down the passage ahead of you, and then jump down. There's plenty of loot strewn amongst the debris, so pick everything up as you make your way through the mess. Keep going ahead in the only available direction, but make sure you push against the loose brick on your right when you see it - otherwise you'll trigger a nasty trap. Eventually you'll come to a doorway, followed by some stairs.
After heading down the stairs, have a good look around this room, but don't head down the narrow hallway just yet. Instead, pick the large room's lock, enter it, go downstairs, and eventually you'll arrive at another podium.
Again, you need to locate some symbols to solve this puzzle. Each one is located in a different alcove that's just off to the side of the narrow passage you encountered a little earlier. Once you've located them all - using your Focus ability - come back to the podium and align the symbols correctly.
"Make sure you push against the loose brick on your right when you see it - otherwise you'll trigger a nasty trap."
You can now grab a collectible item from the statue ahead of you: Unique Loot (4/9) - Ancient Figurine. Now use your Focus ability to get a fresh symbol from the statue. Once you align this new symbol into the podium, you should pop the medallion back in, grab any other outstanding loot in the room, and then make your way back through the way you came in.
If you go back through the door and look at the right-hand wall with your Focus ability switched on, you'll be able to see another loose brick. Interact with it to disable the trap. Now make you way along the western hallway in the direction of your objective marker. Get out via the broken window and head down the stairs.
Once you've reached the lower level, enter the tower and have a good rummage around for any free loot. Now go out through the tower's broken window, and find the side passage by the stairs. After working your way through it, climb over the southern wall to finish up this objective, and begin the next one!
Search the Abandoned Library for the Book
After dropping down to the very lowest floor, keep moving south, following your objective marker. You'll eventually come across another peep-hole on the wall to your left. Have a look through it, and then go back to following your marker until you arrive in a big room.
The first order of business here is to hoover up any loot, then interact with a couple of books in order to open up a secret passage. The first one of these can be found in the north-west section of the room. While you're here, look at the glowing marking on the wall to get a Focus point. Spend it within Focus Upgrades. You can pick up Memories of the Dead (2/6) - Stonemason's Memory from the fountain.
The second book you need to interact with can be found in the south-eastern corner of the room.
Enter the Central Tower
Take the stairs to the left until you find yourself in a smaller room. There's a broken window to the right that you'll need to climb through, before making your way along the walkway ahead of you. Once you reach the wheel up ahead, turn it so that you can make your way down the stairs.
After reaching the bottom of the stairs, take a left turn and then walk across the wooden walkway, then head up the stairs to your right. Make your way into the tower, then drop down onto the ground floor and pick up the poppy.
Take the door to your left to leave the tower, then keep going until you find a wheel you can turn. Now head back inside the tower and make your way up, before coming back down the stairs you came in on. If you walk towards the central tower and turn right at the first opportunity, you should be able to find a third wheel - turn it in order to switch around another set of stairs.
Now take the steps directly ahead of you, and walk in a clockwise direction around the tower. Jump down onto the walkway below when you hit the 6 o'clock position, then go up the stairs. Keep making your way forward, through the room and up another set of stairs. Eventually, you'll come to a gap. Leap over it, and you should find yourself in front of yet another podium.
Remove the Ritual Book
If you look around the room with your Focus ability, you should see three books you can interact with. Work your way through each one in order to turn a selection of statues around. Next, collect the loot from the two statues inside the room. The third statue's loot is out on the walkway.
Go back to the podium and use your Focus ability to find the four symbols you need. Again, align the medallion and the symbols correctly in order to get your hands on Client Loot (5/8) - Ritual Book. For reference, the second part of this set can be found in Client Job - Hand Tailored, while the fourth part can be got from Client Job - Happy Medium.
Escape the Ancient Ruins
At this point, you're very close to wrapping up Thief's third chapter, but there's still a job or two to finish up before you're done. First of all, get up on the table you took the book off and make your way up the rope. You'll have to swing towards the west to get on to the wooden walkway. Once you're on it, make your way north-west to get to a new tower, them jump up on to the rope and slide your way down. Keep working your way towards the objective marker.
Take a look through the peep-hole here to get a look at a pair of guards. Head left and then over the wall that's in the south-western section of your map. Doing this gives you a very handy aerial view of the two patrolling guards, and - even better - you can use your Broadhead Arrows to deliver two lethal shots from above. Zing!
Keep moving along these beams, then climb through the window as you make your way towards your objective marker. You'll have to deal with a couple of new guards as you travel towards the exit - just wait for each one to pass, then sneak up behind them and give them a good clobbering.
Eventually you'll come across some crates which you'll need to clamber up on to access a rope. Climb the rope, then just keep following your objective marker until you trigger the chapter completion. Once you've done so, you'll be granted the trophy or achievement called Dirty Secrets.
Head back to the first page of this walkthrough for our complete guide to Thief.