Castlevania: Lords of Shadow 2 - Castle Siege walkthrough, Titan climb, Paladin fight
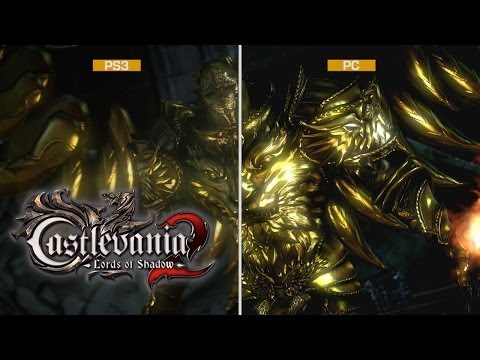
Eurogamer's comprehensive guide to the opening chapter of Lords of Shadow 2, from ascending the Titan to fighting the golden Paladin in style.

The opening stage of Lords of Shadow 2 serves primarily to introduce you to the core combat mechanics of the game - dodging, leaping, slicing, and keeping yourself alive while under assault from all angles. That combat's changed a fair bit since the last Lords of Shadow game, and so you'll have to get used to switching between weapons for offensive and defensive perks.
Things get considerably more interesting once you've mastered the basics of battling, and there are some fun set-pieces in this opening chapter too, including a crawl up the body of a deadly Titan. Think God of War meets a particularly moody Edgar Allen Poe and you're on the right track.
Castle Siege walkthrough
Before moving onto the main meat of the walkthrough, here's a quick breakdown of the different combat systems you'll need to master in pretty short order:
- If you run out of life, switch to your Void Sword using the LB button. Each hit you make with this weapon will top up your life a little, so get ready to swap over to it if you're close to death.
- You won't get far trying to slice through your opponent's shields using the basic weapon. Switch out to the Chaos Claws and rip away at any heavy armour standing between you and your enemy's ribcage. You'll know you're using the skill properly if the armour glows red.
- Once you've either topped up your life, or busted through some special protection, tap the button again to disable your current alternative weapon and switch back to the standard whip.
- Use LT to block an incoming attack while standing still, or hold down LT and flick left, right, forwards or backwards to scoot off in that direction. This is an essential tactic for surviving enemy special attacks, signified by a glowing red reticule that appears just before they're put into play.
After you've seen off a handful of basic enemy waves, it's through the door and onto a little acrobatic adventuring. Head to the left of the chasm and press the A button when you're close to the gap. You'll leap up and grab hold of a piece of the crumpled gate.
Now hold down LT to see a glowing guide to the route that takes you to the other side of the gap. Use the directional stick to leap between each hooking point, but be aware you'll need to hold down the directional stick and press A to jump across particularly wide gaps. Once you're back down at ground level, head towards the crack in the door to trigger a cut-scene.
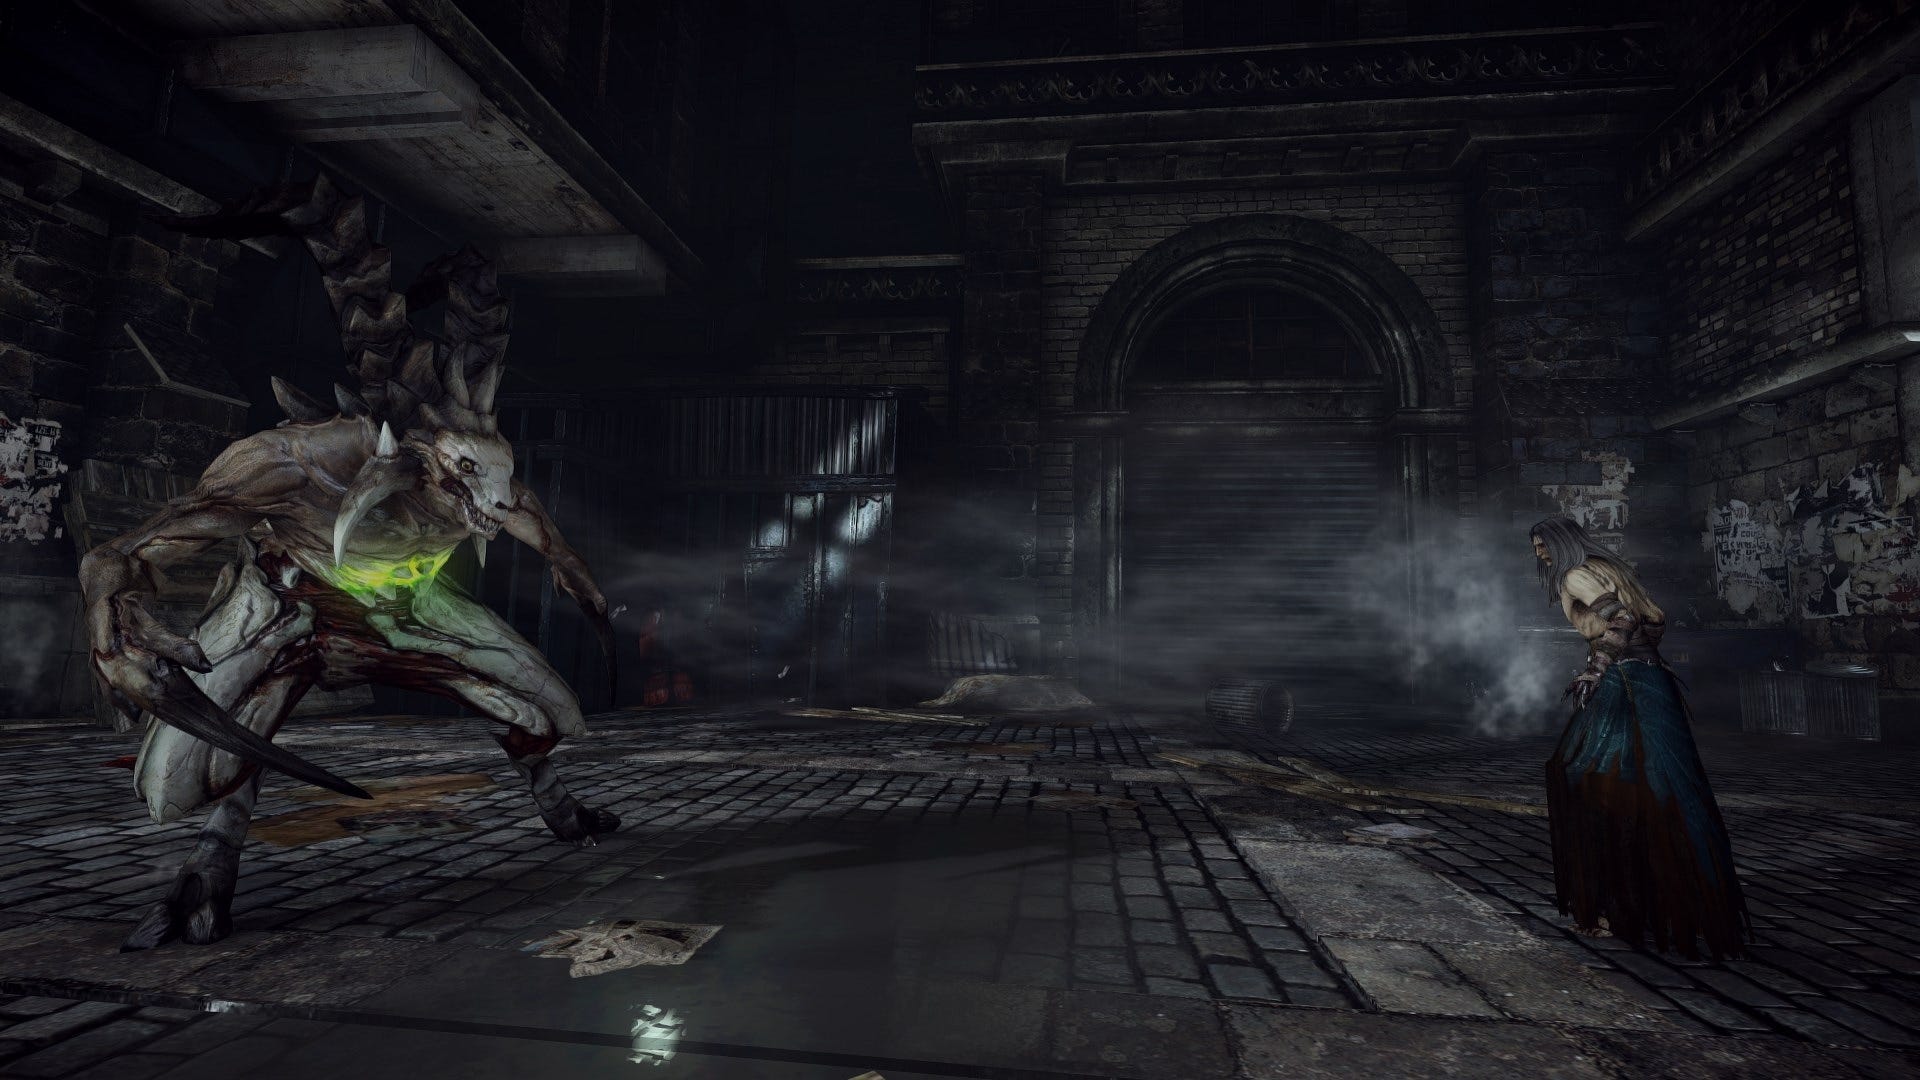
Your next opponent presents a rather more formidable challenge. Watch out for his blade rush manoeuvre in particular - he'll pull his arms back just before unleashing the attack, so be ready to leap out of the way. Keep an eye out for the special attack symbol too, unless you want to be sliced in two. Again, just be ready to leap out of harm's way.
You won't need to make use of your Chaos Claws quite yet. Just launch your own attacks at him whenever you can, stay out of harm's way, and use your Void Sword to top up your health whenever necessary. After a few rounds of this, he'll flee.
Climbing the Titan
The next part of this opening stage has you crawling up the arms of the Titan attacking the castle. Keep fighting away at the waves of enemies that join you one by one, until the arm assumes a vertical position. Now hold down LT and keep making your way from point to point along the arm, until you trigger the arrival of the golden paladin you half-defeated earlier.
"Time a jump badly here and you'll be crushed by the moving mechanism, forcing a restart."
There are three glowing spots at the top of the Titan's arm. Swing your way towards one of them, and hang around just long enough for your opponent to set his sights on it. Leap out of the way before the shot's actually fired, and the magical arrow will hit the spot. Repeat for the other markers.
Continue leaping your way up the structure, taking care to avoid the turning cogs. Time a jump badly here and you'll be crushed by the moving mechanism, forcing a restart. You'll also have to dodge more of those flaming arrows, so find a safe spot nearby for the enemy to fire towards, before darting quickly through the gaps as and when they become available.
There are three more targets on the ground here for your opponent to - unwittingly - take aim at, so in-between seeing off the waves of enemies who come at you, try to lead his aiming reticule towards each spot. Shielded enemies will start turning up while you're doing this, so be ready to switch over to your Chaos Claws.
If you're keen to get this section over with, don't worry about dealing with any stragglers once the door's been freed. Simply open it up and move on to the next part of the stage. More delicate dancing through cog wheels is the order of the day here, so here's a useful tip: if you're constantly being crushed, push forward without pausing from the spawn point, and you'll get all the way through this section without taking so much as a scratch.
Now keep swinging your way towards the left until you're back up on top of a firm platform. Again, you need to direct the Paladin's arrow fire towards the three areas marked on the floor, then go through the door once you've interacted with it.
How to kill the Paladin
After the bloody cut-scene's finished playing, you'll face off against your golden nemesis once more. Combat here's pretty simple, and you simply need to keep yourself healed with Void Sword, while whipping the enemy whenever possible. This is a defensive fight for the most part, and you'll need to deftly dart away from a selection of special enemy attacks.
A pair of spinning blades will come at you horizontally and vertically, for example. Jump directly over the former, and leap to the sides to get away from the latter. You'll also need to avoid the targeted areas on the floor whenever they appear. Dance carefully around the danger though and you'll have no trouble beating this enemy. As soon as he's defeated, you'll move on to the next section of the game.
Head back to the first page for the rest of our Lords of Shadow 2 walkthrough.