Call of Duty: World at War Multiplayer Tips
Bonus feature: strategies for battlegrounds.
Castle (B)
Castle is a medium-sized map based on a Japanese Castle with many different vantage points to exploit. It can be a hard map to get down as each area normally has at least three entry points minimum, but a team employing solid tactics on Castle is often victorious over individuals who may be a better shot. Although hard to achieve unnoticed, if you climb up the stairs next to Domination point B, it is possible to jump onto the red archway outside of the south-facing window. From here you can walk onto the roof of the building south of A and prone for a good sniping point. Just beware that on Core matches your location will often be revealed to whoever you kill. Mix it up!
Weaponry - All weapons are more than viable here. Just pick whatever you're good with and keep to a route that'll best cater for your weapons range.
Search & Destroy - This can be a particularly difficult map to attack on Search & Destroy as the Defenders can dig into points A and B very quickly. We often found trying to wipe out the defenders rather than rushing for a plant was the way to go.
Hangar
Hangar, as the name would suggest, features a large derelict hanger bay and an open area with four smaller buildings. Halling up inside the hanger can be a sound tactic as you can easily identify the chokepoints where the enemy can assault you. But remember how useless the not-even-rain-proof roof is; it's not going to provide you any protection from an Artillery Strike. There are many ways to gain access to the hanger, but one of the best is to enter through the opening atop the debris just east of Domination point B. As long as you're stealthy, you'll have the instant advantage of being on the high ground. Seen anyone stupid enough to camp next to one of the many explosive barrels or vehicles on this map? You don't need us to tell you what to do.
Weaponry - Our money for this map was usually on the Submachine Guns. There aren't many locations of the map that could really be considered long-range and a good Sub like the PPSh-41 can be very adaptable both in the hanger and out.
Sabotage - The Imperial army gets the privilege of planting inside the hanger, so whether attacking or defending, the upper balcony is a good place to cover the planting zone. Comparatively, the Marine Raiders plant in the far south-east. If you manage to disarm you can exit the hanger heading south-east and head to the plant virtually straight through the adjacent building.
Makin (B)

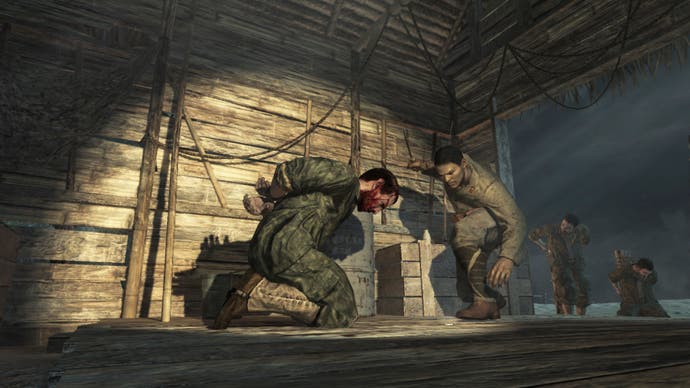
Makin was perhaps our least favourite among the beta maps and don't be surprised if it's often vetoed. It's medium-sized and set in a primitive harbour during the night. Viable tactics for deathmatches included hot-footing it from hut to hut with a Trench Gun to catch unsuspecting snipers off their guard and laying Bouncing Betties across the more central areas. You can't prone in the southern sea, but charging across the bridges will often get you killed quicker than sneaking silently through the open waters. In a Search & Destroy match the attacking team will often rush for B up the river as both sides start roughly the same distance away. Keep some snipers in the central building early to take advantage of the line of sight drawn to both bombing points.
Weaponry - Another map that caters well for most weapons. If you bring a Machinegun with a tripod you can set up in one of the huts and go to town - we'd recommend the FG42 for its high rate of fire and good compromise between Accuracy and Damage.
Capture the Flag - Often capture-the-flag games will have both teams entrenching for a stalemate. If you manage to retrieve the enemy's flag it's often a better tactic to run to the top of the map and then back down to your base, rather than simply charging headfirst through the central killzone.
Roundhouse (V B)
A more medium-to-large map with an impressive sense of scale that conveys its complexity. Our main advice for Roundhouse is to stay in cover; this map is a sniper's dream. The high ground at Domination point A and below C may seem like a good place to rack up the kills. But both are visible from many different areas of the map and the kill cam on core games will quickly rat you out. Tanks may be easily ambushed, but it's better to have a team-mate in one than let the opposition take control of both - even if you are all tooled up with Bazookas and No 74 STs. And if you're brave enough to go man the pintle-mounted machinegun, remember to hold B until you actually hear someone being foolish enough to shot the tank with a rifle. Otherwise you're just asking to be shot in the head.
Weaponry - Rifles and Machineguns here to be sure, and Bolt Actions if you're good. But have some team-mates bring a few No 74 STs and Satchel Charges to dispatch any tank joyrides.
Capture the Flag - You can either try a suicidal run through the central dome, sneak through the train graveyard to the west or the open trail to the east. Although you can't enter a tank, that doesn't stop a team-mate from covering you while you dash to the base.


