Super Mario Galaxy Star Guide
Part 2: Reach for the stars.

Honeyclimb Galaxy
Star #1
Scaling The Sticky Wall
The clue's in the name, really. Grab the Bee Mario power up and start climbing. Fly to the next sticky bit, remembering that you can only buzz about for a short time, and use crouch (Z) to land when your shadow is over a safe spot. Things get trickier with falling fireballs and Mandibugs, but it's not too hard. There are three sections, with a launch star at the end of the first two, and that precious power star at the end of the third.
Bowser's Dark Matter Plant
Grand Star #5
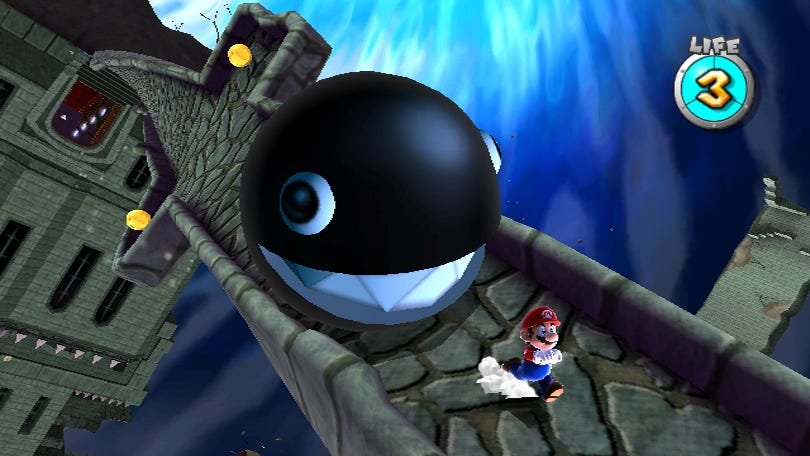
Darkness On The Horizon
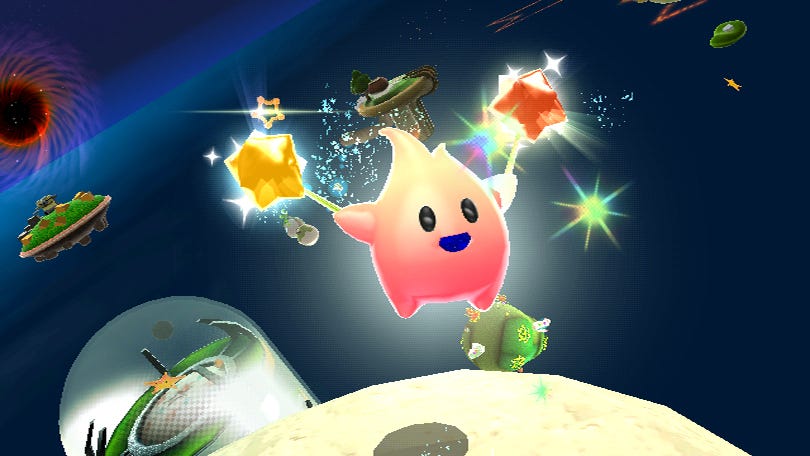
This level can make Portal look like Bubsy 3D, so hang on to your cute red hat. The thing to watch out for here is dark matter - the wibbly wobbly stuff (scientific term) that looks like evil water. Touch it and you're vaporised. Dark matter tends to stay static while moving platforms pass through it, so the trick is to stay with the platform but jump over the patches of dark matter. After navigating those perils, it's on to an absolute mindsmash of a 2D section. The arrows tell you which way the gravity is going to go, so think ahead and position Mario on the moving platforms so that he doesn't fall off into the surrounding dark matter. Once you escape that nightmare, you just need to free the trapped Luma to make a staircase up to your next confrontation with Bowser.
Disappointingly, this boss battle is basically a redux of your first encounter. Same glass planet, same tactics. Get Bowser to smash into the blue windows to set his arse on fire, then spin attack him as he runs around, then spin him again as he skids about like a lemon. Making things more tricky are an absolutely insane amount of attacks from Bowser himself - including multiple fireballs that will circle the planet and come back at you, and rapid fire shockwaves that can be avoided by jumping over them, or by standing on the raised green discs. He's also a dab hand at reversing direction if he sees you coming when he's on fire, so you need to act fast if you don't want him to recover. Even so, it's not that much harder than the first time - you still only have to clobber him three times (with a double clobber at the end) so this shouldn't give you too much trouble.
BONUS: Bigmouth Galaxy Feed the hungry Luma next to the Bedroom with 800 star bits to open this galaxy.
Star #1
Bigmouth's Gold Bait
You obviously want to open that golden chest. It's so shiny and mysterious. Dive into the water and spin to smash a hole in the wall. Swim on through and start foraging for launch star pieces in the seaweed at the bottom, keeping an eye out for jellyfish and that eel. Once you have it, propel yourself into the upside-down pool directly above where the golden shell awaits. Grab it, and return to the wall. A whole bunch of Boos has spawned while you've been diving, but luckily these shells come equipped with a light. Shine it on them to clear a path, and earn some coins along the way. Throw the shell at the chest, and out pops Toad - that silly tinker - with a power star for you.
NEXT: The Engine Room, The Garden and - dun dun durrrr - Bowser's Dreadnought Galaxy.