Super Mario Galaxy Star Guide
Part 2: Reach for the stars.

Dusty Dune Galaxy
Star #1
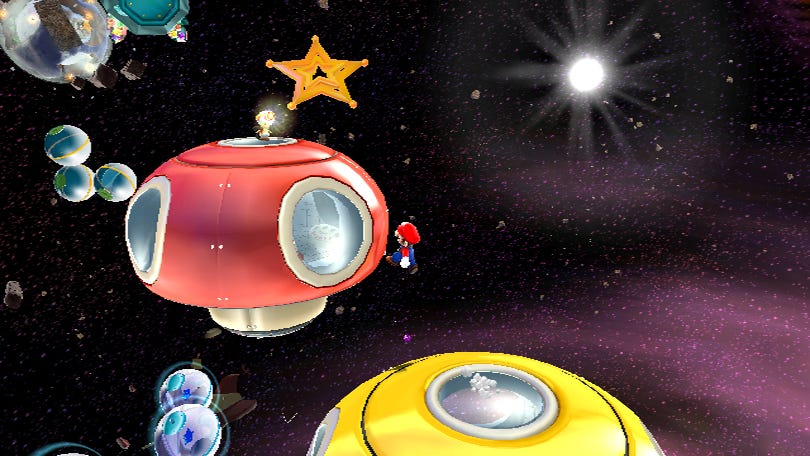
Soaring On The Desert Winds
First thing to learn - tornados are a good thing in Super Mario Galaxy, so go ahead and jump in. You're aiming for the green pipe over to the right, so be patient and twiddle your thumbs in the maelstrom before wiggling that Wiimote and taking flight. The closer you are to your target, and the higher Mario is in the tornado, the less distance you'll have to fly and the less chance of falling short into the deadly quicksand. Inside the pipe is a straightforward 2D section, complicated only by the constant flow of sand pushing you backwards. When you emerge, swoop over to the tower and begin to climb using a combination of launch stars, tornados and a lot of wall kick. The wall kick section can be the most troublesome, but remember to use the jump and spin technique to gain a little extra height. When you reach the top, leg it across those retracting box platforms, then jump your way up the avalanche of sand, using the boxes for leverage where possible. Spin into the crystal twice to release the star.
Star #2
Blasting Through The Sands
This is a multipart epic of a level. Start off by defeating the cacti that spring out of the ground, and using the launch star to fly to the ring planet with boulders rolling around the edge. You need to run around to where you can leap to the launch star in the middle, so either find a spot between the boulders and keep moving, or make your way around underneath (there's a health boost nearby if you do this). You need to hit a second launch star mid-flight, and then land on a twisted loop of constantly moving sand. You just have to go with the flow, and there are five pull star pieces to be found here, so keep looping around until you have four. The fifth is inside the chest, which can be smashed with that handy shell. The next section requires you to jump over a stream of rocks tumbling towards you - you can choose the green or orange path, with green offering a bonus room along the way, while orange is a lot quicker. Reach the launch star and you're catapulted to the final part. This is a disc-shaped planet with numerous holes leading from one side to the other. There are smaller tornados here - some are helpful, others have rocks inside which will damage you. Even so, it's fairly obvious which way you have to go - just keep leaping and swapping sides when you can, using the safe mini-tornados for longer leaps if you need to, until you reach the three square blocks in the centre and a plunger on top. Stomp that plunger to ram those blocks through to the other side, where they conveniently rise up to the power star. Do they stay that way? Heck no. It's another timed dash, past the bad tornados, across the platforms back to the centre before the blocks swap sides again and leave the star out of reach. You won't have time to dawdle or deal with enemies, but if you keep moving you should reach the star just as the timer starts to speed up.
BONUS: Green Power Star #2
Treasure of the Pyramid
At the start of Blasting Through The Sands, run to the underside of the platform you land on after the first launch star. There's a hungry Luma, demanding 20 star bits. A small price to pay, so cough up. Presto - one pyramid planet. Fly on over and in you go. This is more of a puzzle section than a platformer. You're inside a sphere, with a movable ceiling and floor of sand. Step on the green band, and the empty area you're standing in begins to move. You need to keep pace with it, and find five silver stars. You'll need to move the sand up and down a few times to find them all, taking different routes through the wall maze, but it's not too hard and, unless you're daft and get trapped, there's little danger so you can keep trying as long as you need. Once you have all five, they turn into your second marvellous green power star. Only one more to go!
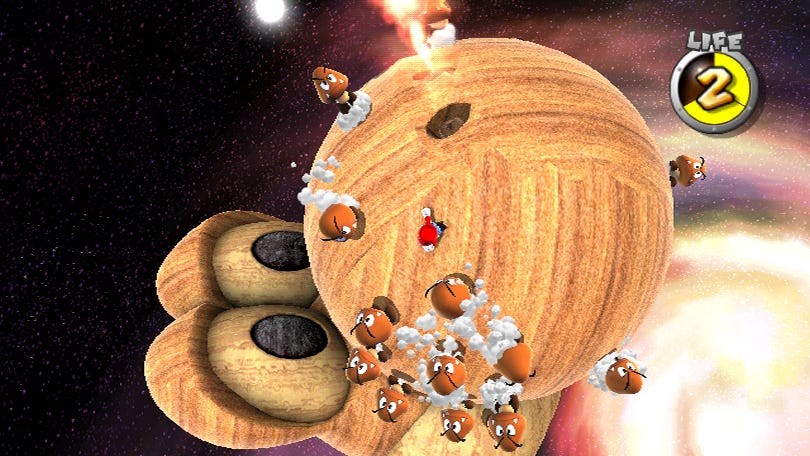
Star #3
Sunbaked Sand Castle
Ready for another lengthy challenge? Start out by hitting the plunger which will make blocks descend from the sky through the sand beneath you. Just stay out of their shadow and you'll be fine - though the daring can grab a 1Up and health boost as the blocks fall. Launch to the next planet, and more rising and falling fun. This time it's a tower that goes up or down out of the sand when you hit the alternate plungers. There are five launch star pieces to be found - one on the top (you can grab this before pressing anything) and one on each wall. One is in a chest, that needs a green shell to open. The others are simply floating close to the tower. Make it go up and down as many times as you need to grab them all. The next planet has a spiky plant that needs a coconut in the face before it'll turn into a launch star, while the planet after that boasts a giant cactus at the top and a launch star at the bottom. Launch to the nearby planet and kick some coconuts over. Then simply hoof one into the cactus, and jump on his head, for your next launch star. You've finally reached the Sand Castle of the title, arriving tantalisingly close to the power star. Of course, you can't just smash through and pick it up - you have to drop all the way down and make your way back to it from the inside. Smash the large crate to reveal the green pipe that will take you inside, where you'll notice you're upside down. Start making your way around the inside, and when you reach the 1Up the sand level above you (in other words, the floor) will start to fall (in other words, rise). It's now a mad dash around the topsy-turvy castle to avoid being squashed into the ceiling by the sand. Thankfully, it's not a long sequence, there are sections with lots of breathing space and you soon emerge inside the glass attic that you landed on before. Hey, what do you know? A power star.
Star #4
Bullet Bill On Your Back
This is another secret star, hidden in a previous stage. Head back into Sunbaked Sand Castle and, when you get to the small planet with the spiky plant, find the wooden stump and stomp it. Stump. Stomp. A short sequence of musical notes will appear, which you have to run over before they sink into the sand. Do this, and a new launch star appears. You've now got a Bullet Bill cannon and two plungers. Much like the tower from Sunbaked Sand Castle, the plungers make a tower rise and fall, with the cannon on top. You can only attract the attention of a Bullet Bill while the tower is lowered, but the cage containing the star only appears when it's raised. So get a Bullet Bill to chase you, start the tower raising, then run around and around it trying to keep the bullet from hitting anything until the cage emerges. Then it's just a question of hiding behind it and letting silly old Bill do your dirty work. The star, of course, flies to the top of the tower so you'll need to lower it again to pick it up.