Shadow of the Colossus - Colossus 16 location and how to defeat the sixteenth colossus Malus, the Last Colossus
How to find and defeat the sixteenth colossus.

Colossus 16 in Shadow of the Colossus is known to fans as the sixteenth colossus Malus. To others, it's simply the Last Colossus, and whatever you call it, it's massive.
This is probably the most difficult battle you'll face - some can be awkward, but they were often simple enough if you know what you're doing - and it takes some time, too, so set aside a good chunk to get it done in one go.
Here on this page then we've gathered details on the sixteenth colossus' location, as well as our guide to how to defeat the Last Colossus in Shadow of the Colossus, known as Malus.
Colossus 16location and how to find the sixteenth colossus Malus, the Last Colossus
The sixteenth and final colossus, Malus, is located due south of your location at the Shrine of Worship, right at the bottom the map.
To get there, head south and slightly east from the Shrine of Worship, towards the way through the mountains that got you to the eighth colossus Kuromori, only this time at the initial fork in the road, hang right.
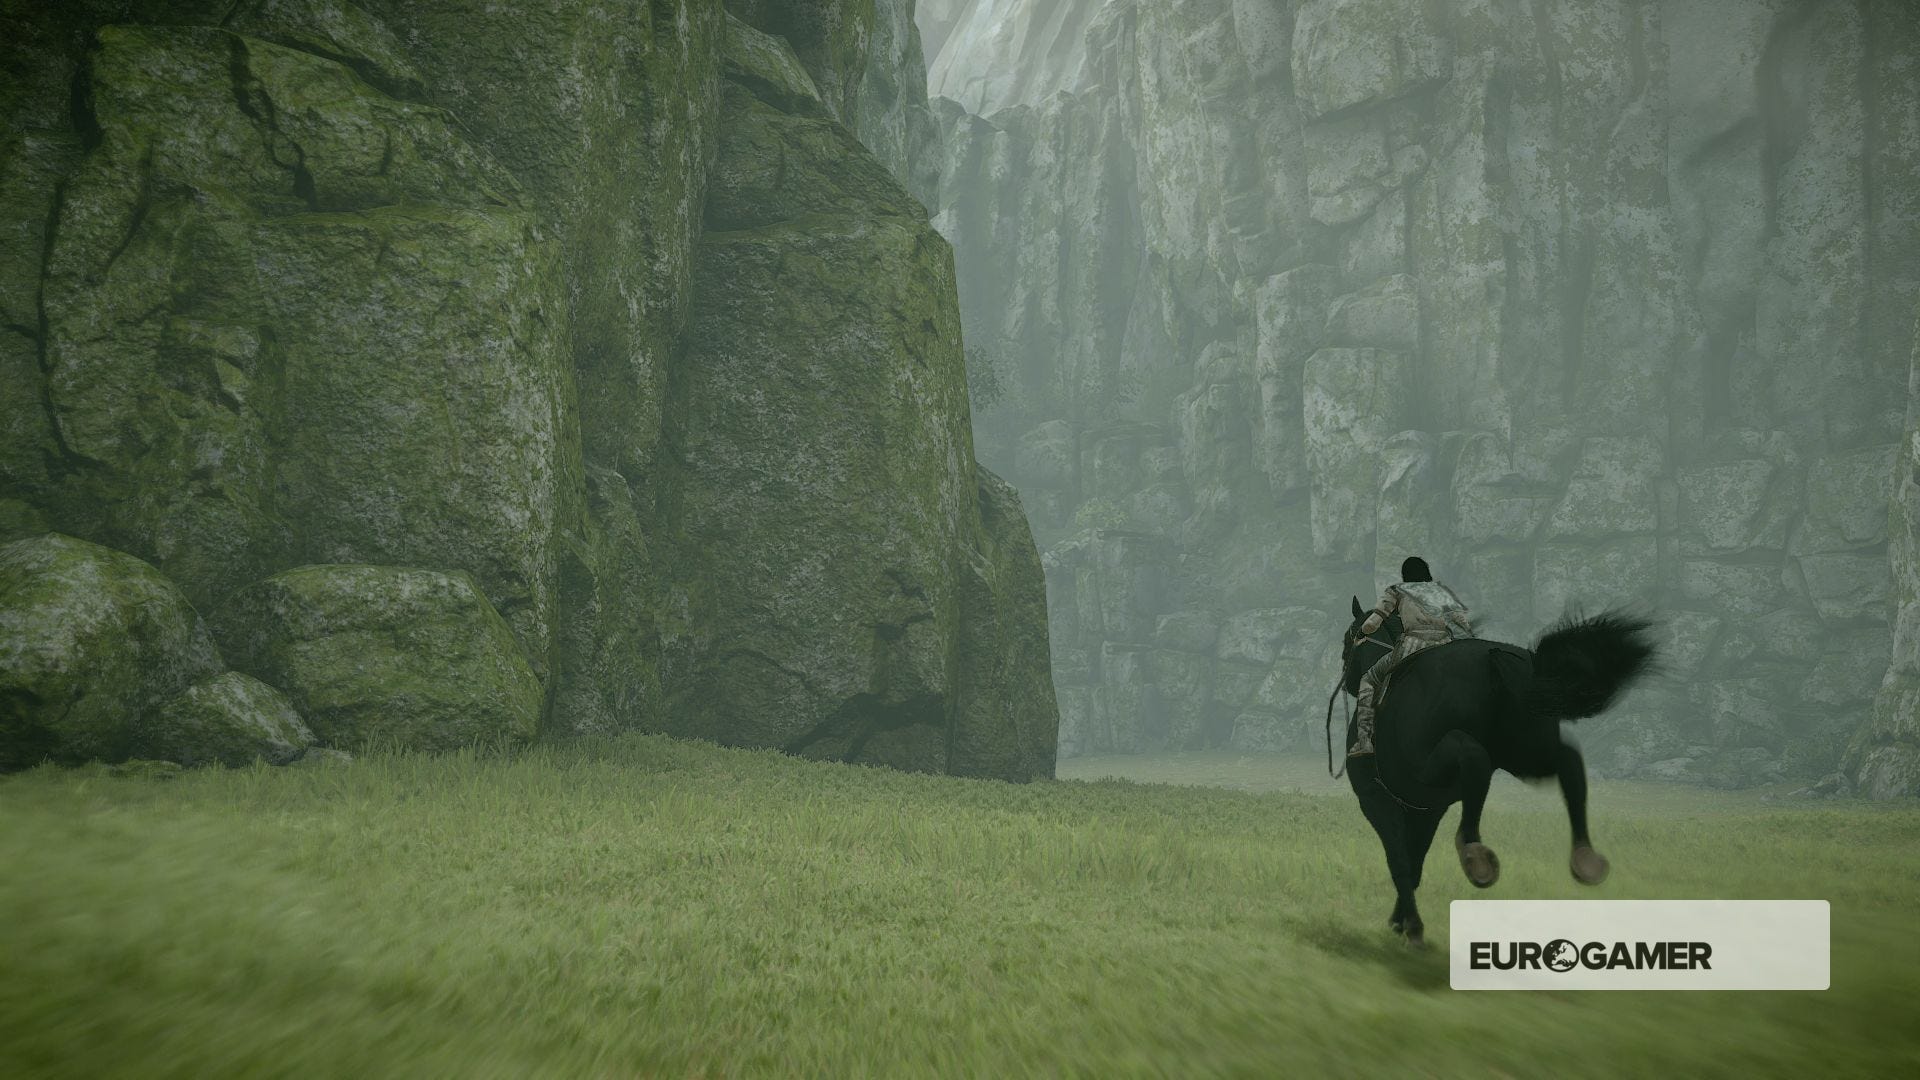
Then, proceed south-south-west for a bit. You might reach the odd impassable lip or cliff on your way there, but you can always get round them by hanging right, hugging the cliff on your left and waiting for a way down and around.
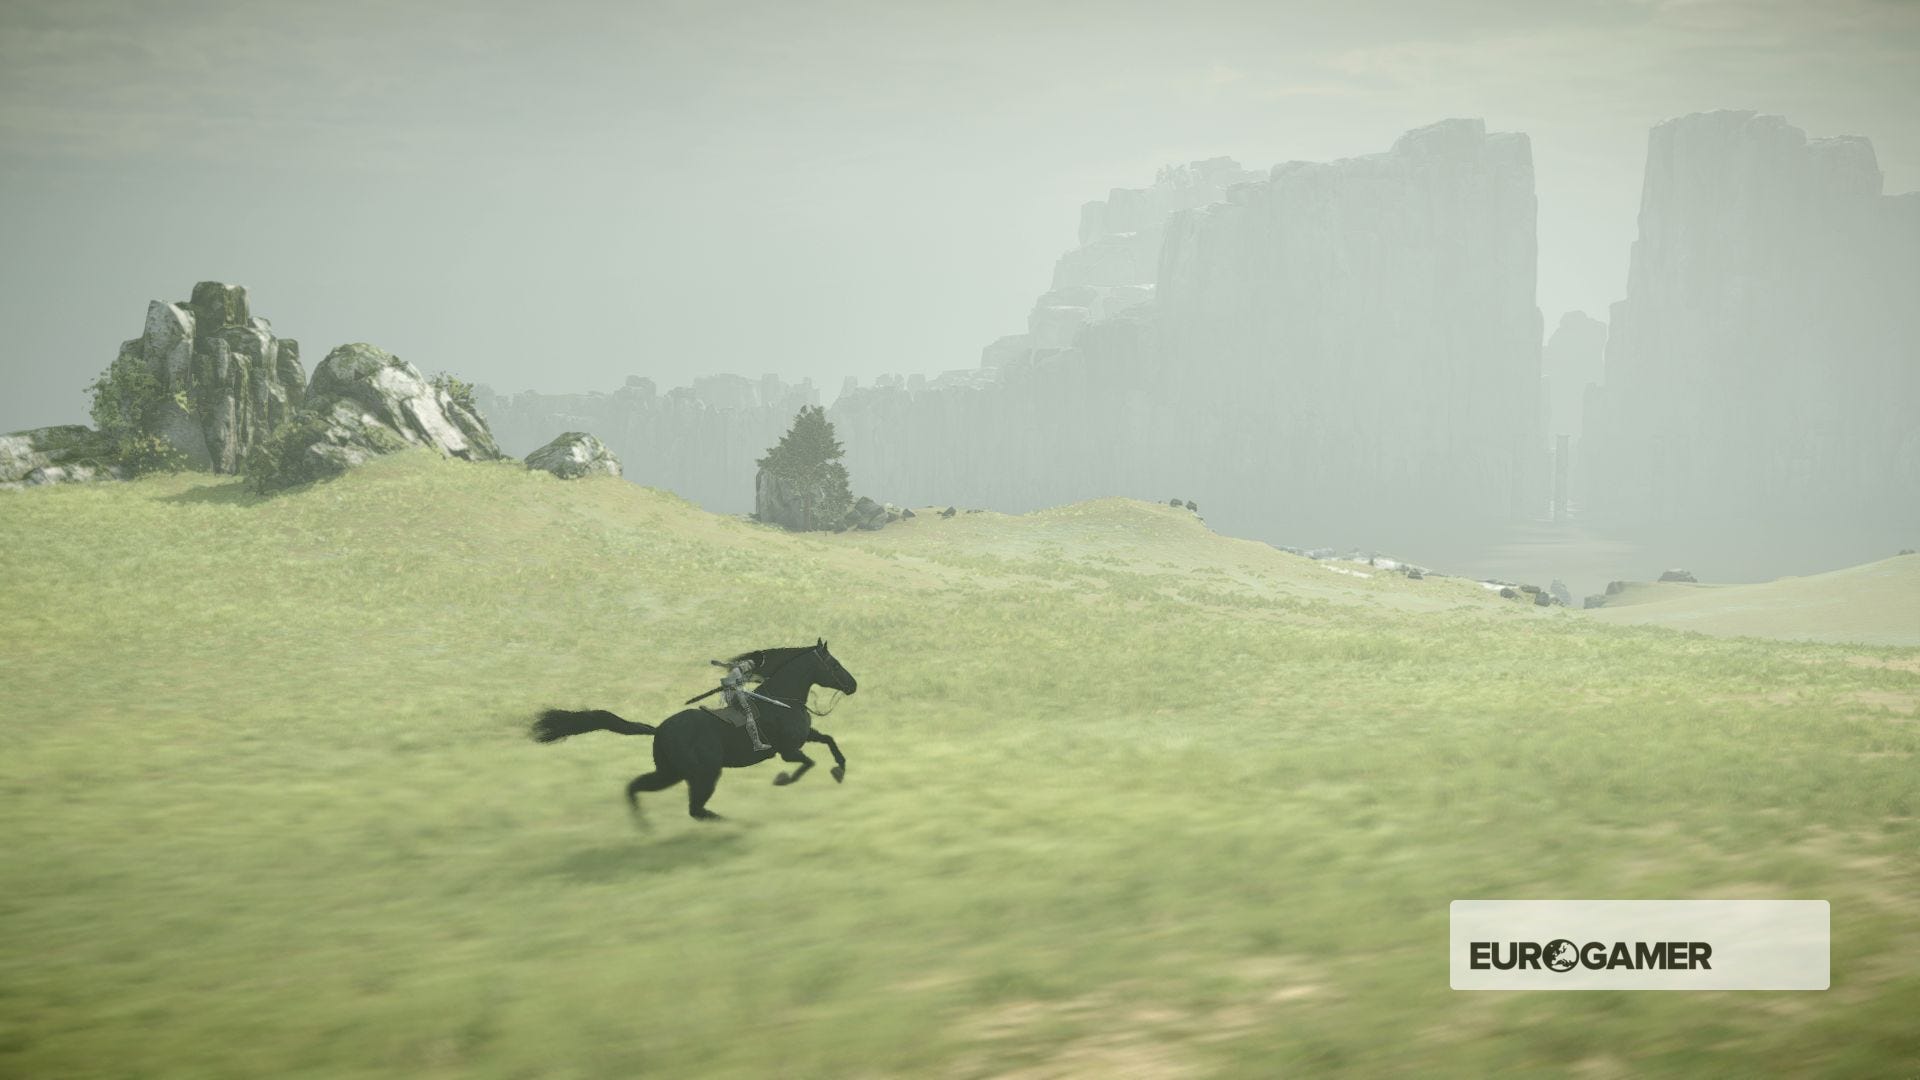
You'll find the land starts to dry out as you get further south, and eventually you'll see a clear gap in the rocky walls up ahead, which is where you're going.
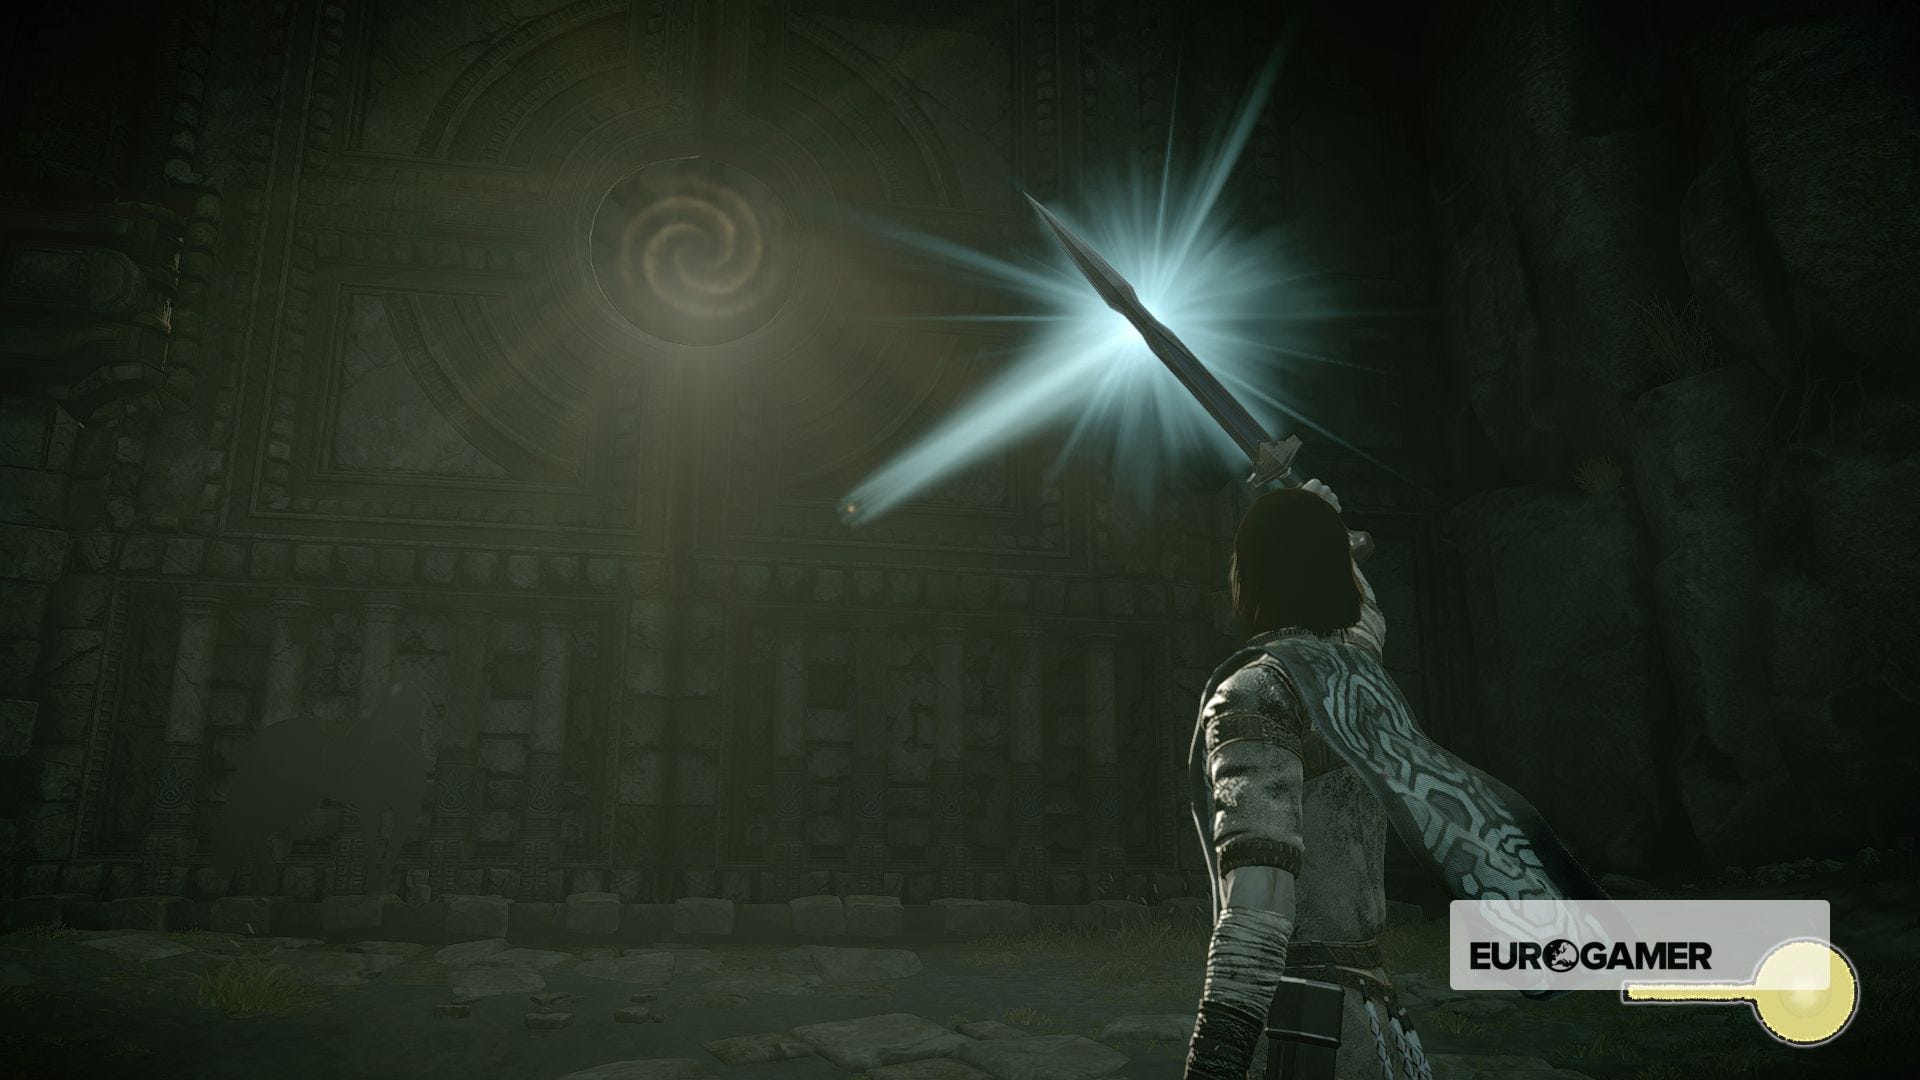
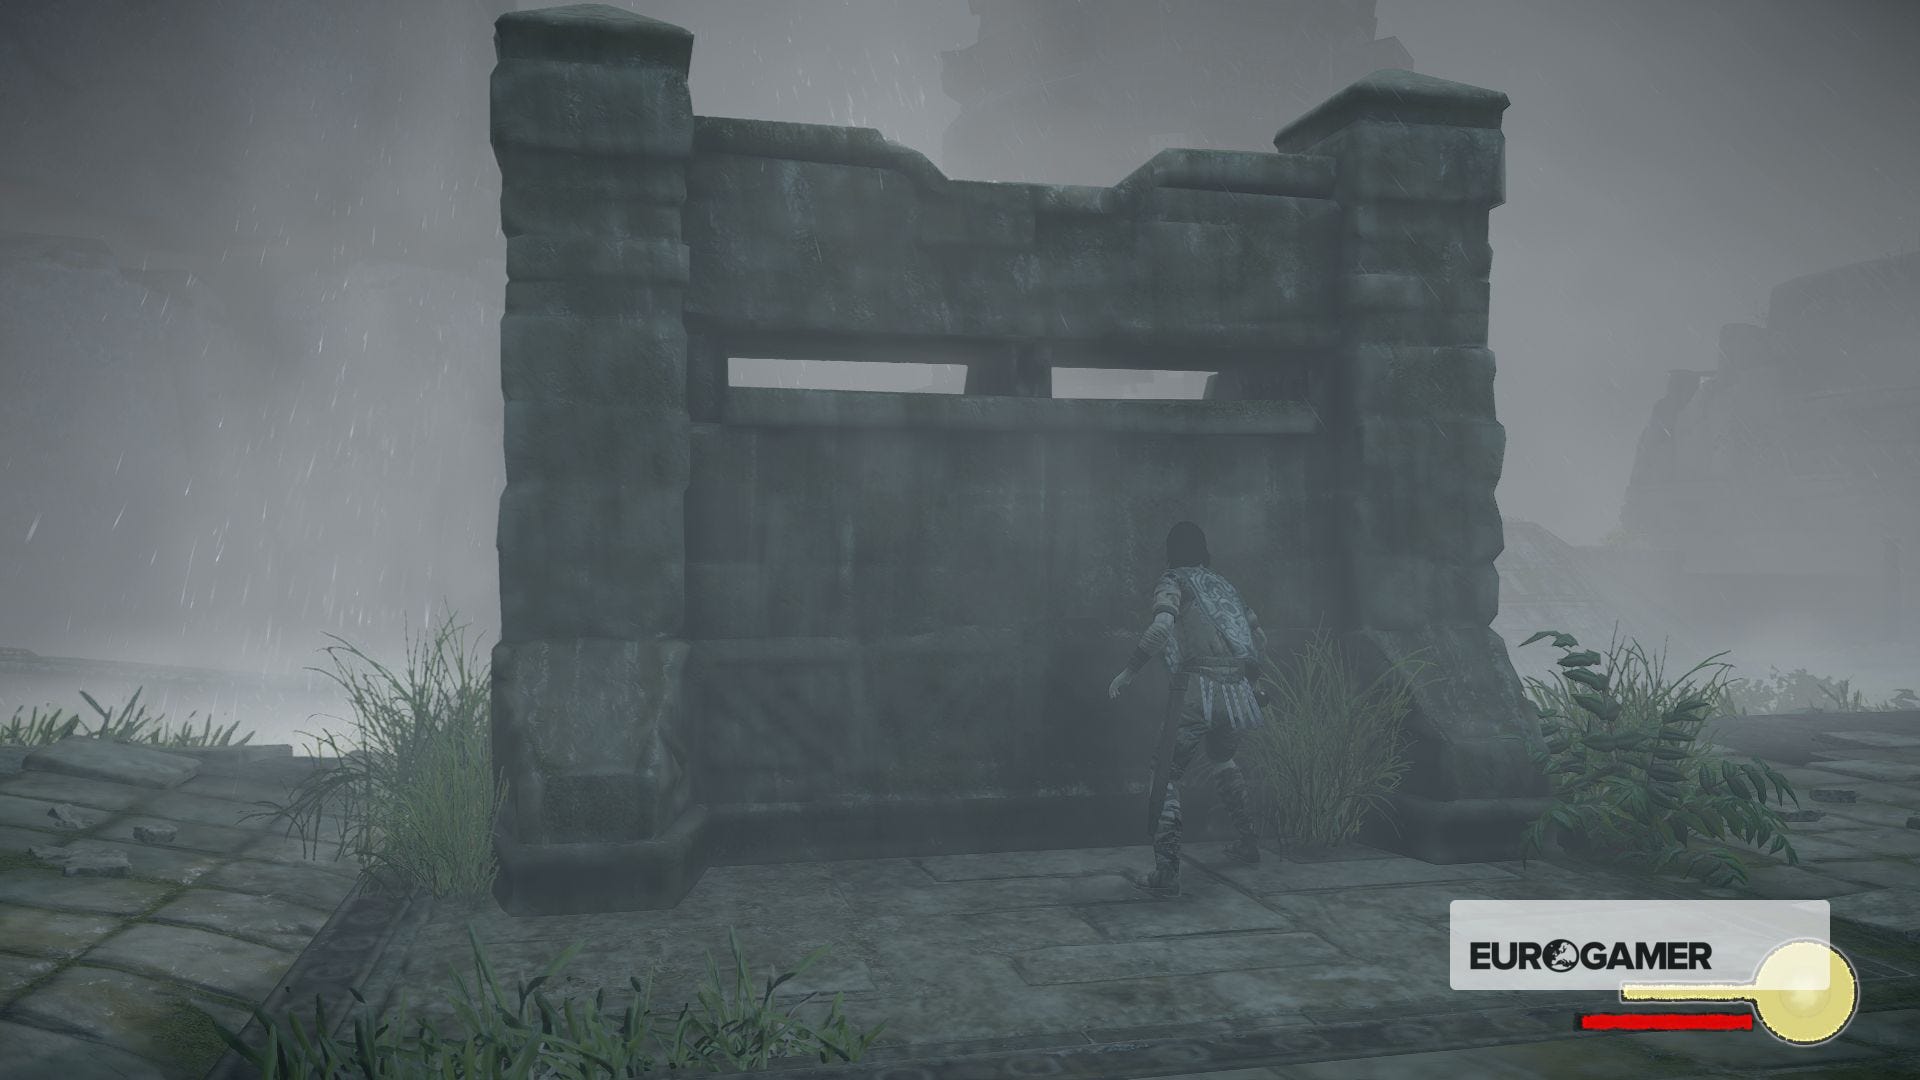
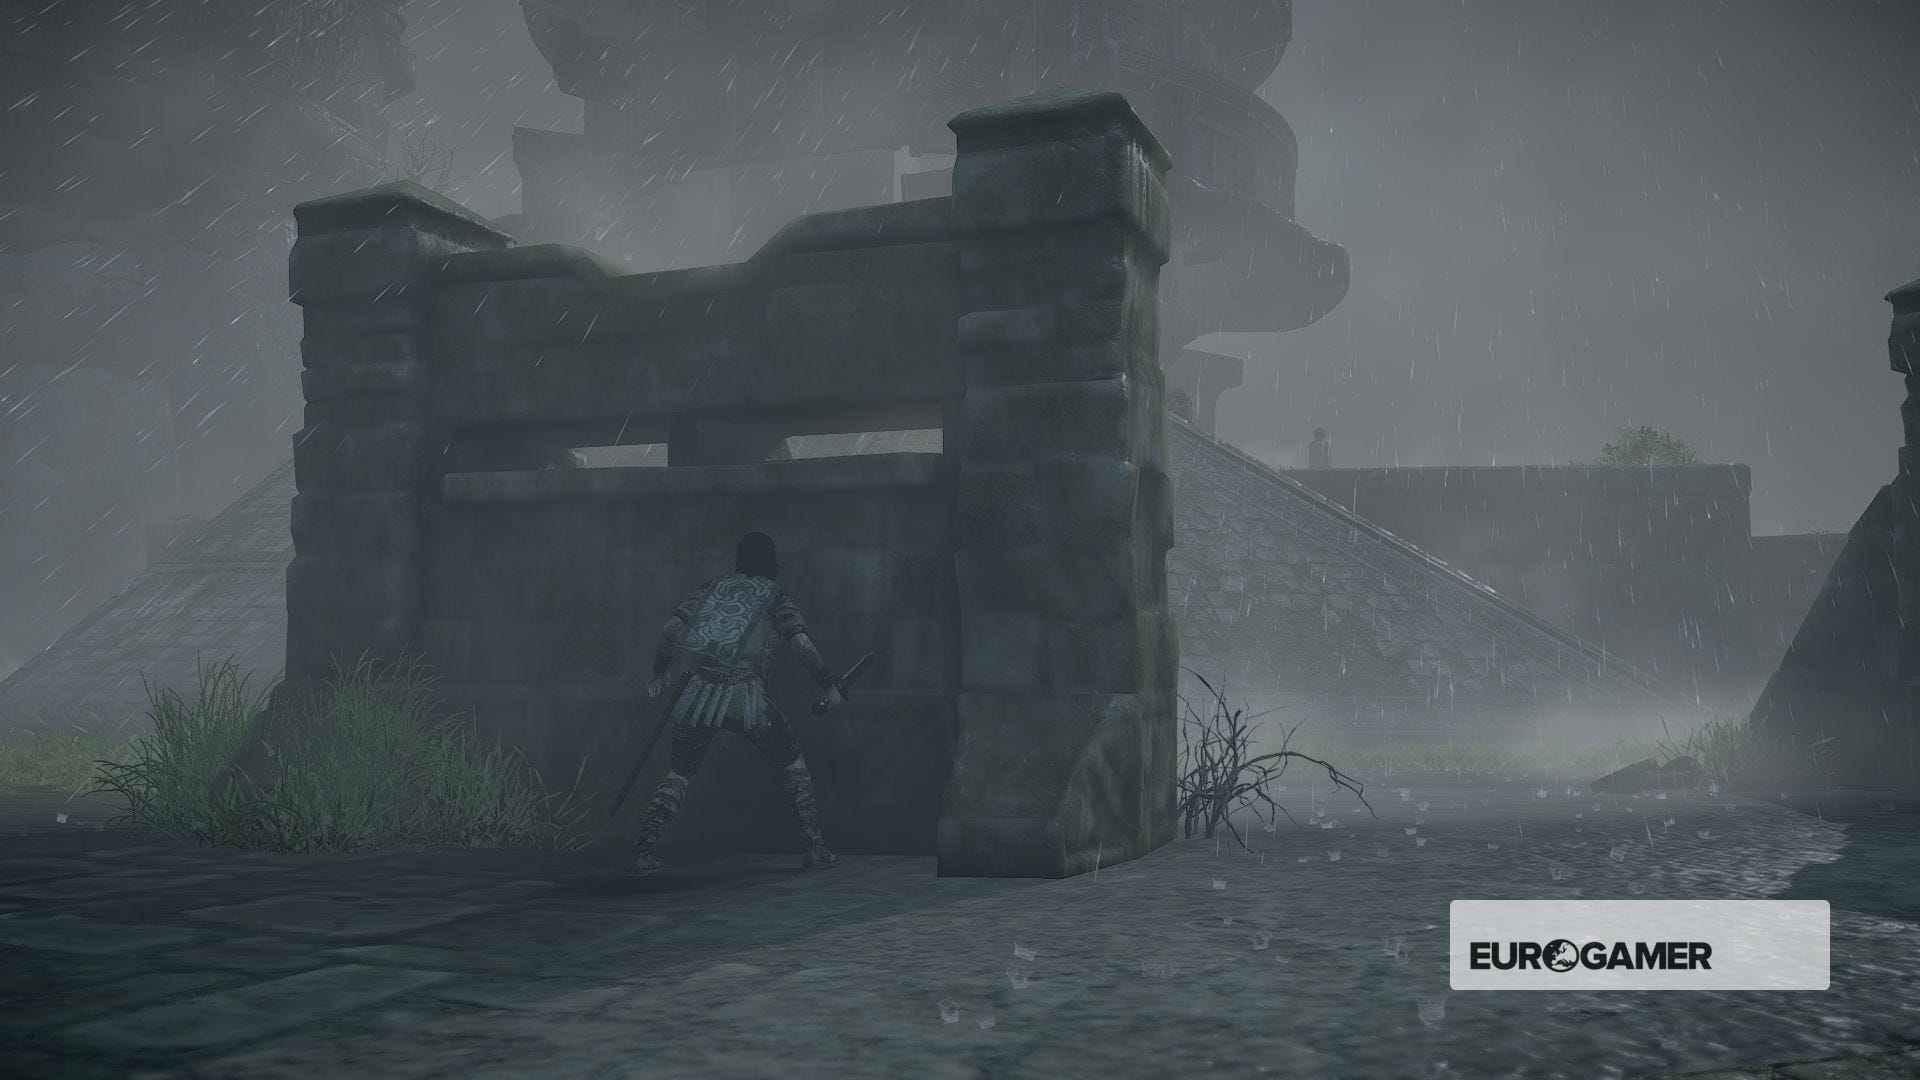
As you arrive, you'll find a locked door. It's the only place on the map that you can't get to unless you've defeated a certain number of colossi - in this case, fifteen.
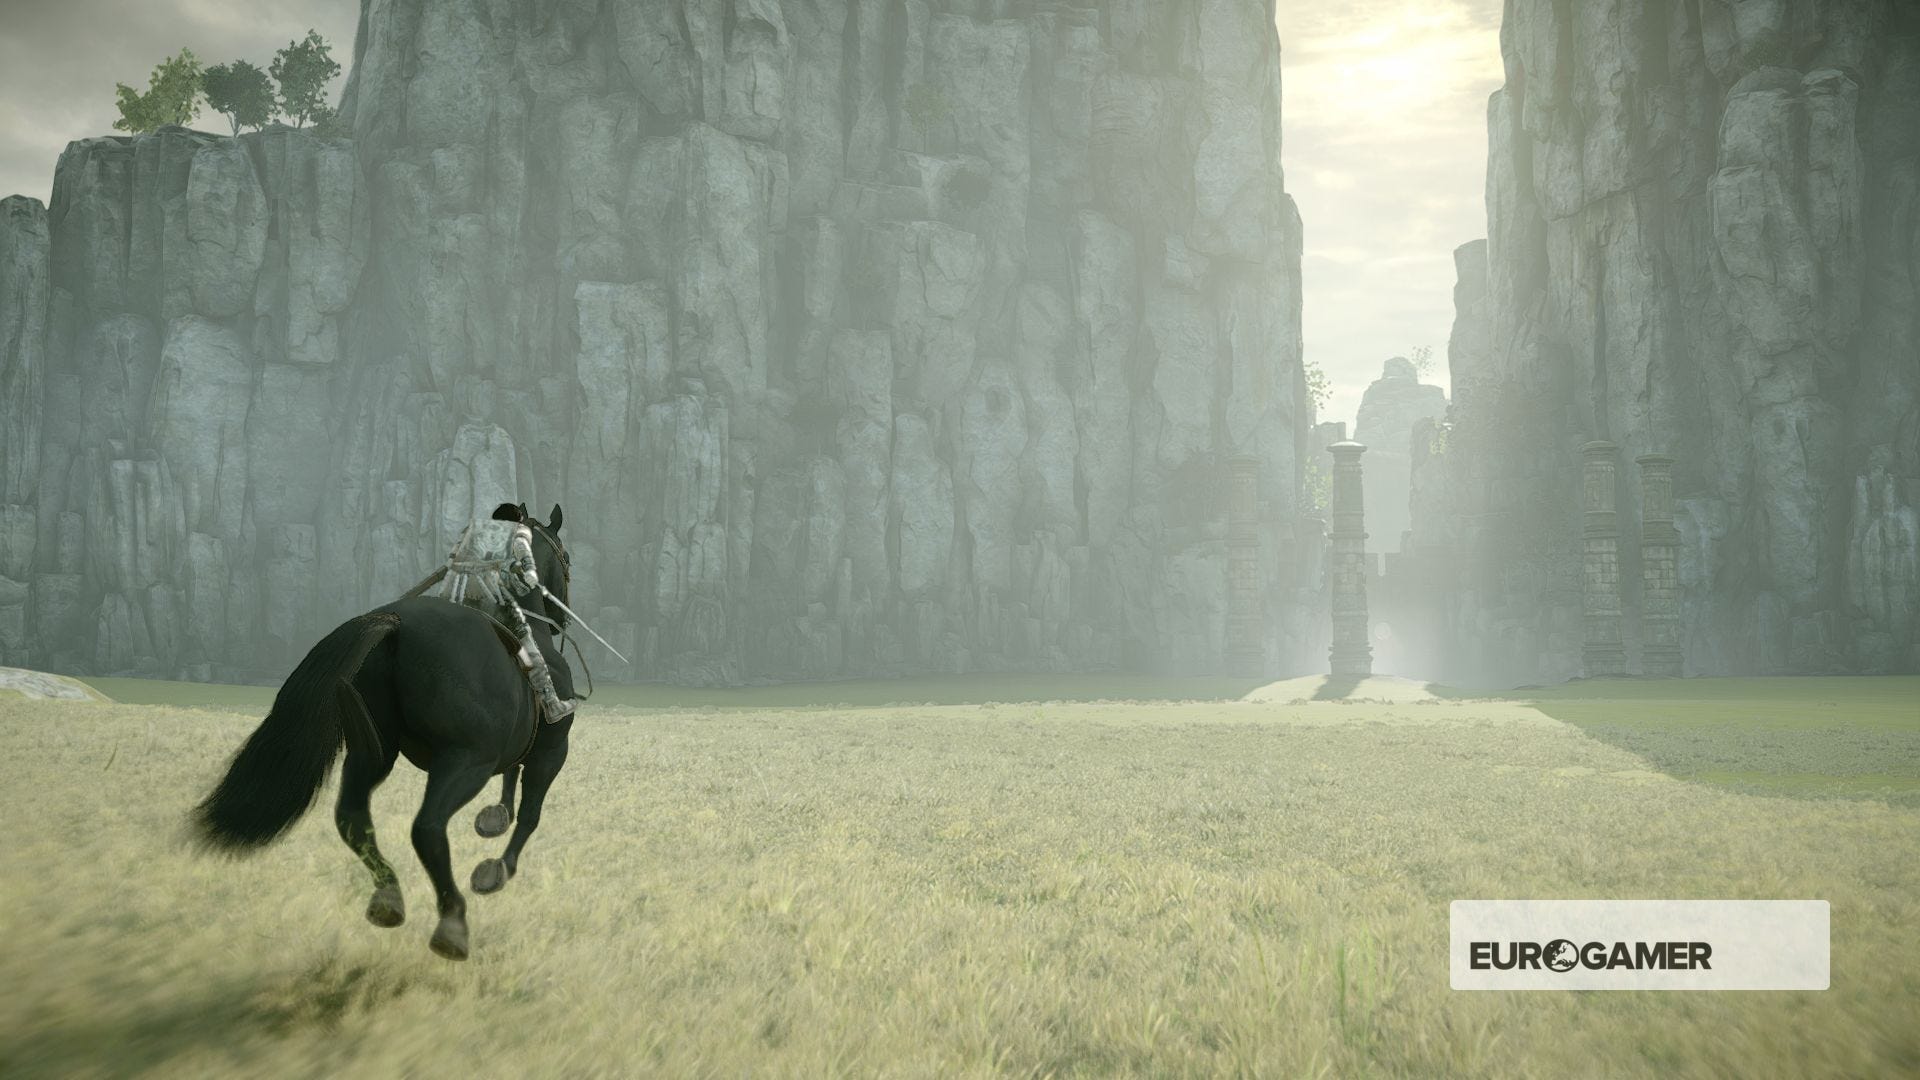
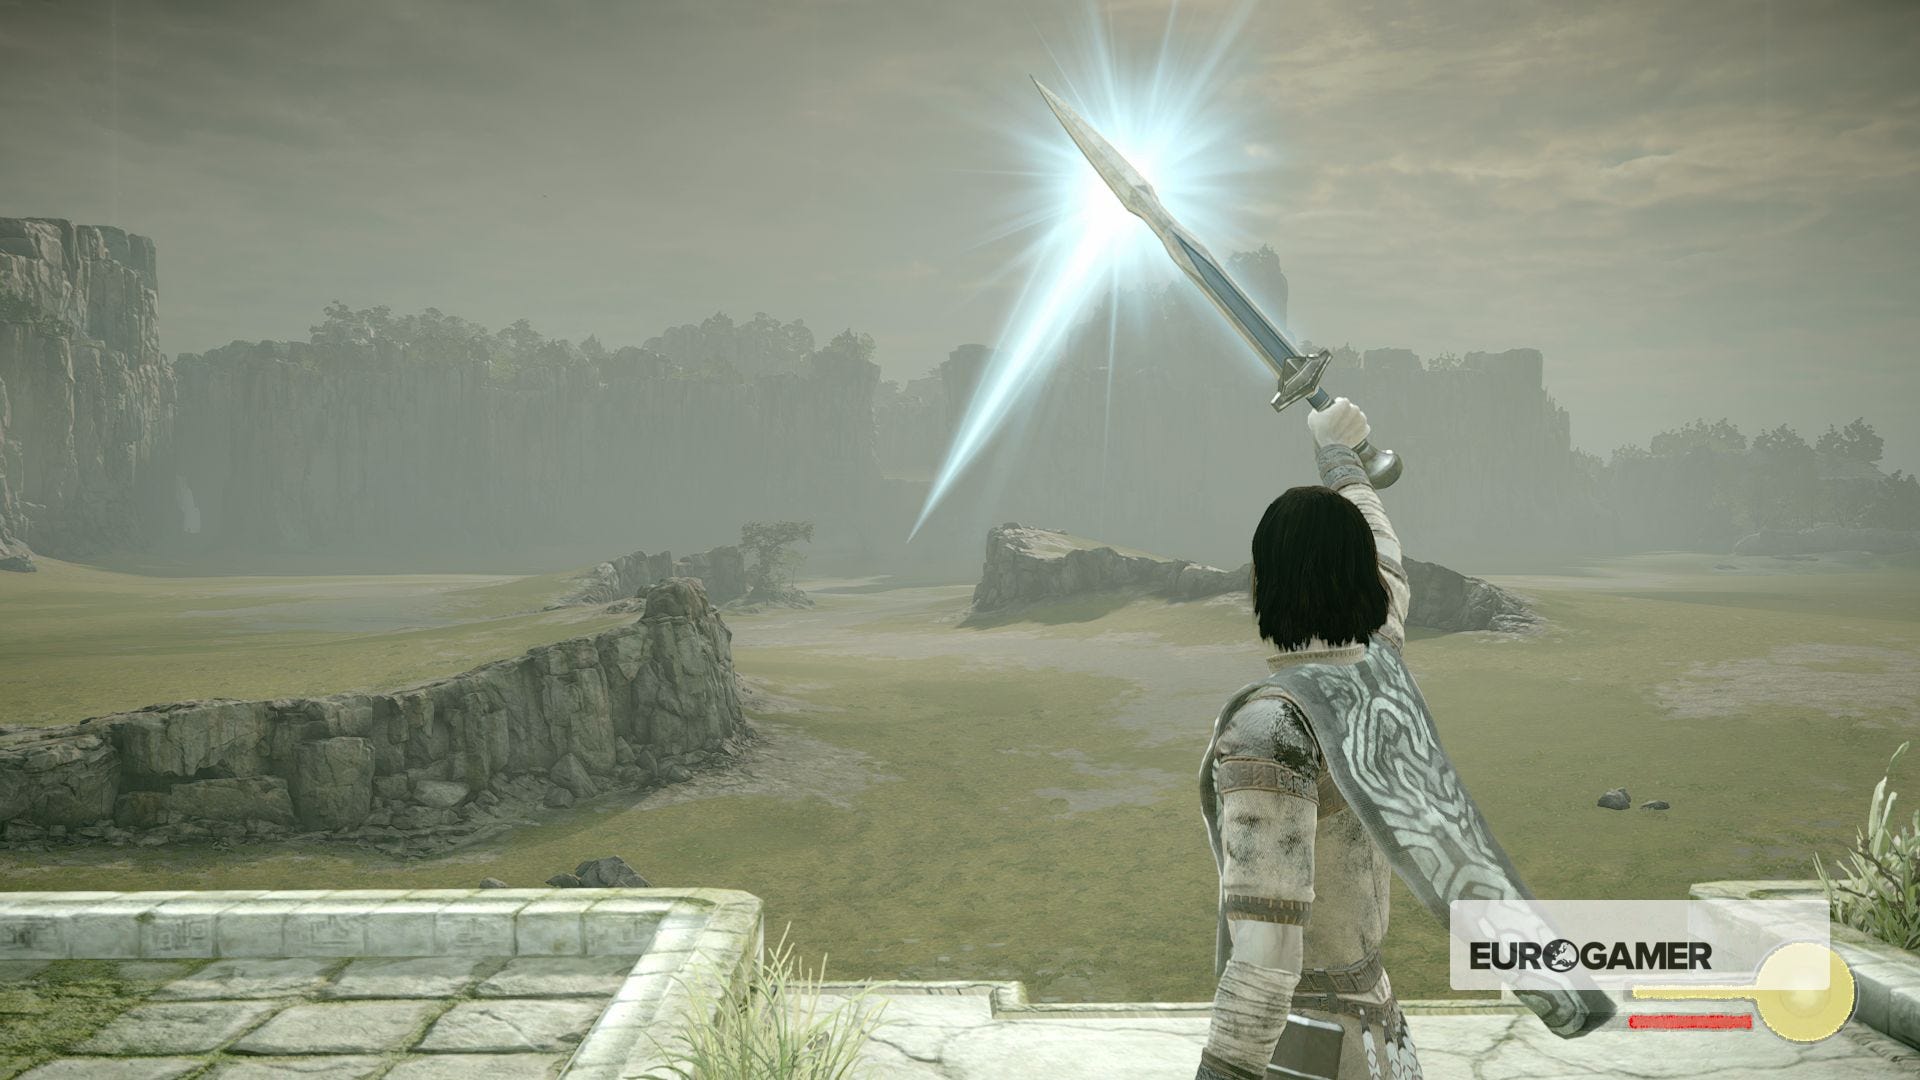
That's because, to get through the doors, you need to shine the concentrated beam of your sword at the big circle above them from that platform just in front. The beam will only focus is Malus, the sixteenth colossus is your next target.
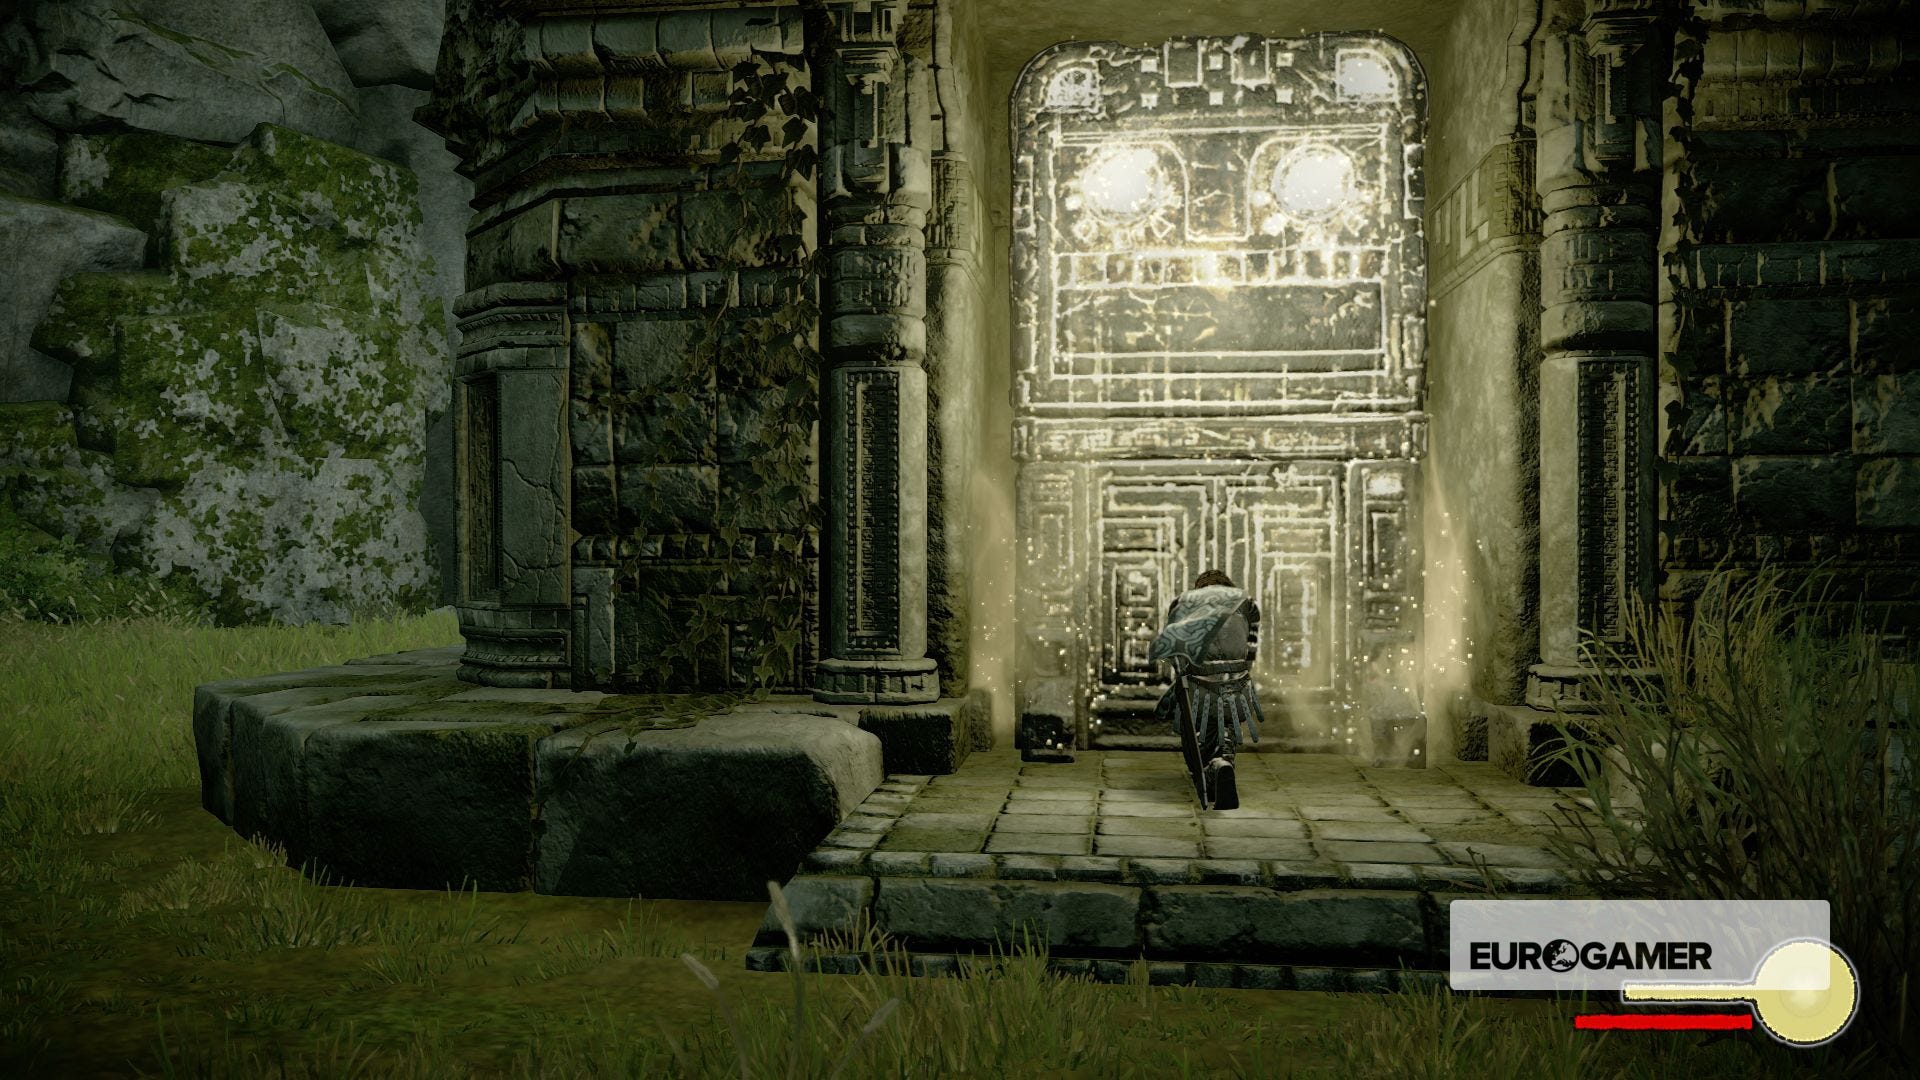
When the doors open, proceed through and take a rest up at the Shrine ahead - remember to manually save, too, as we strongly recommend you do.
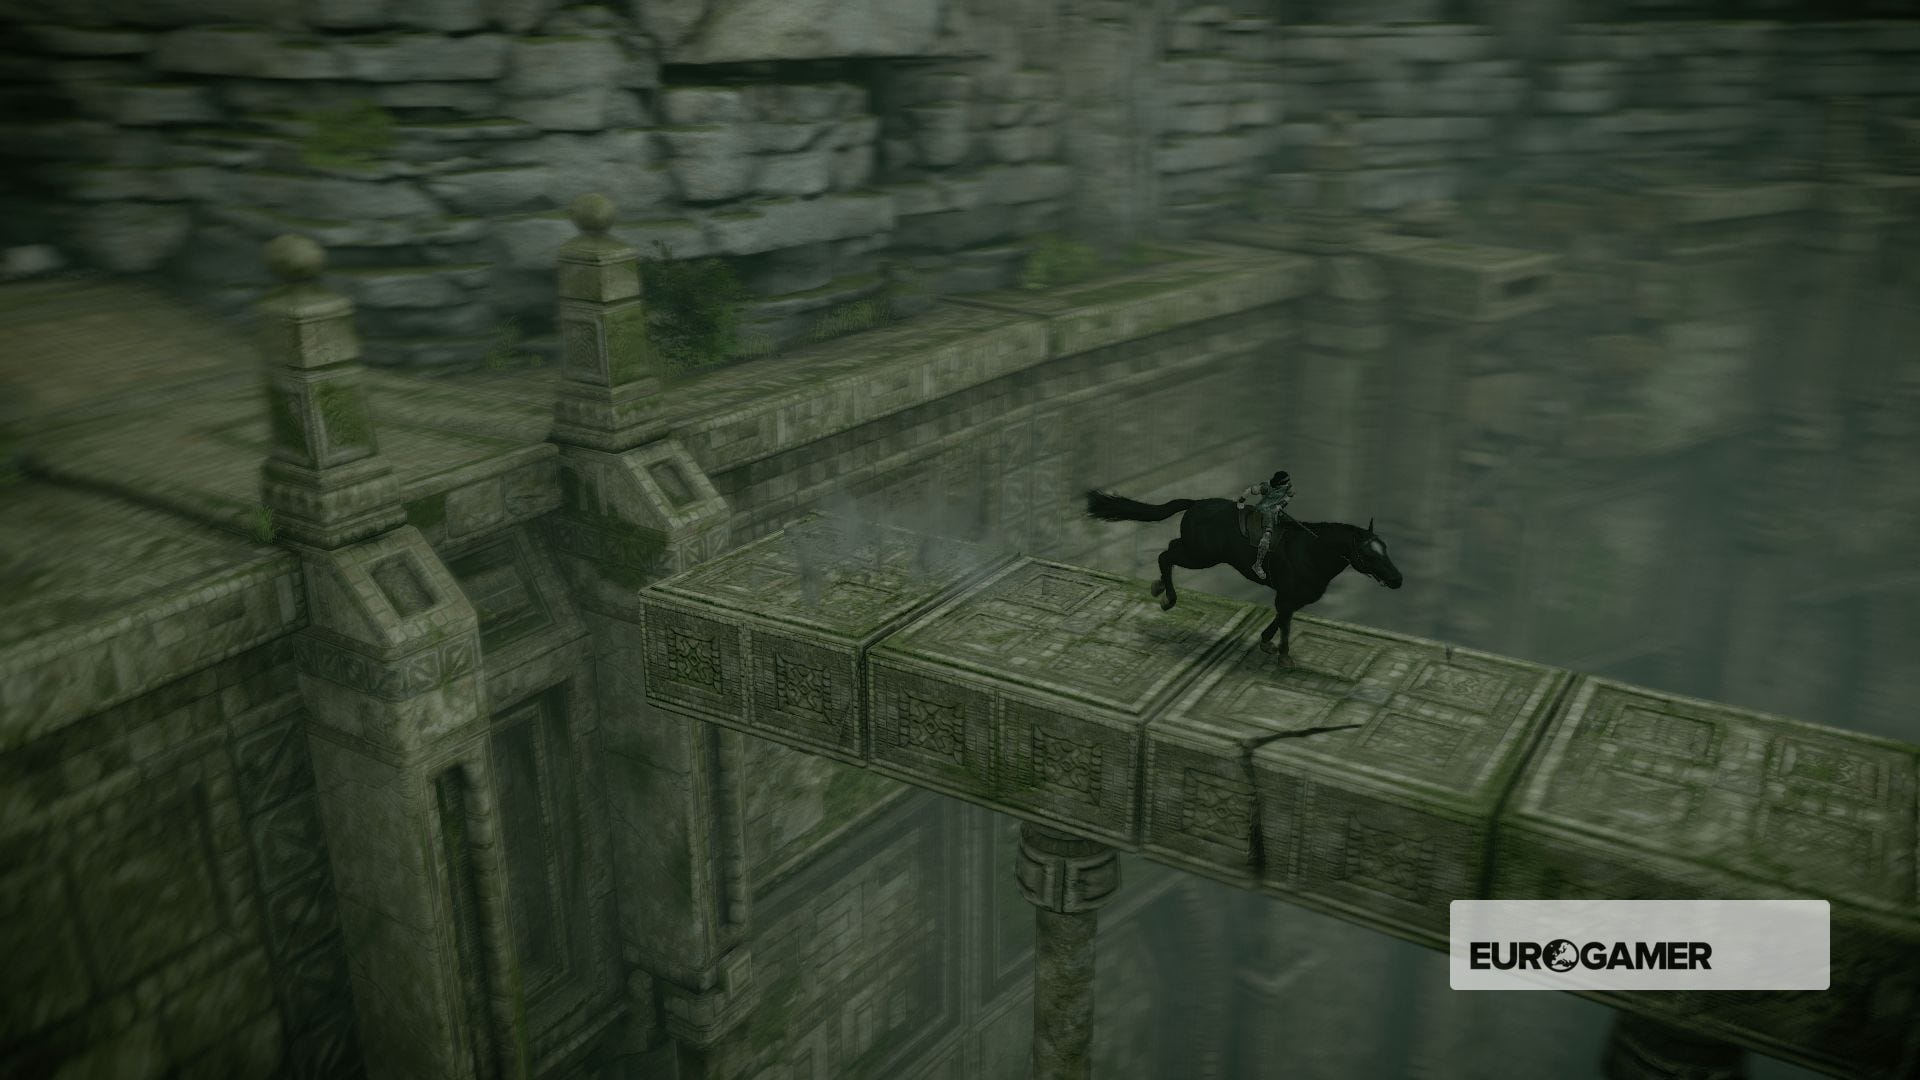
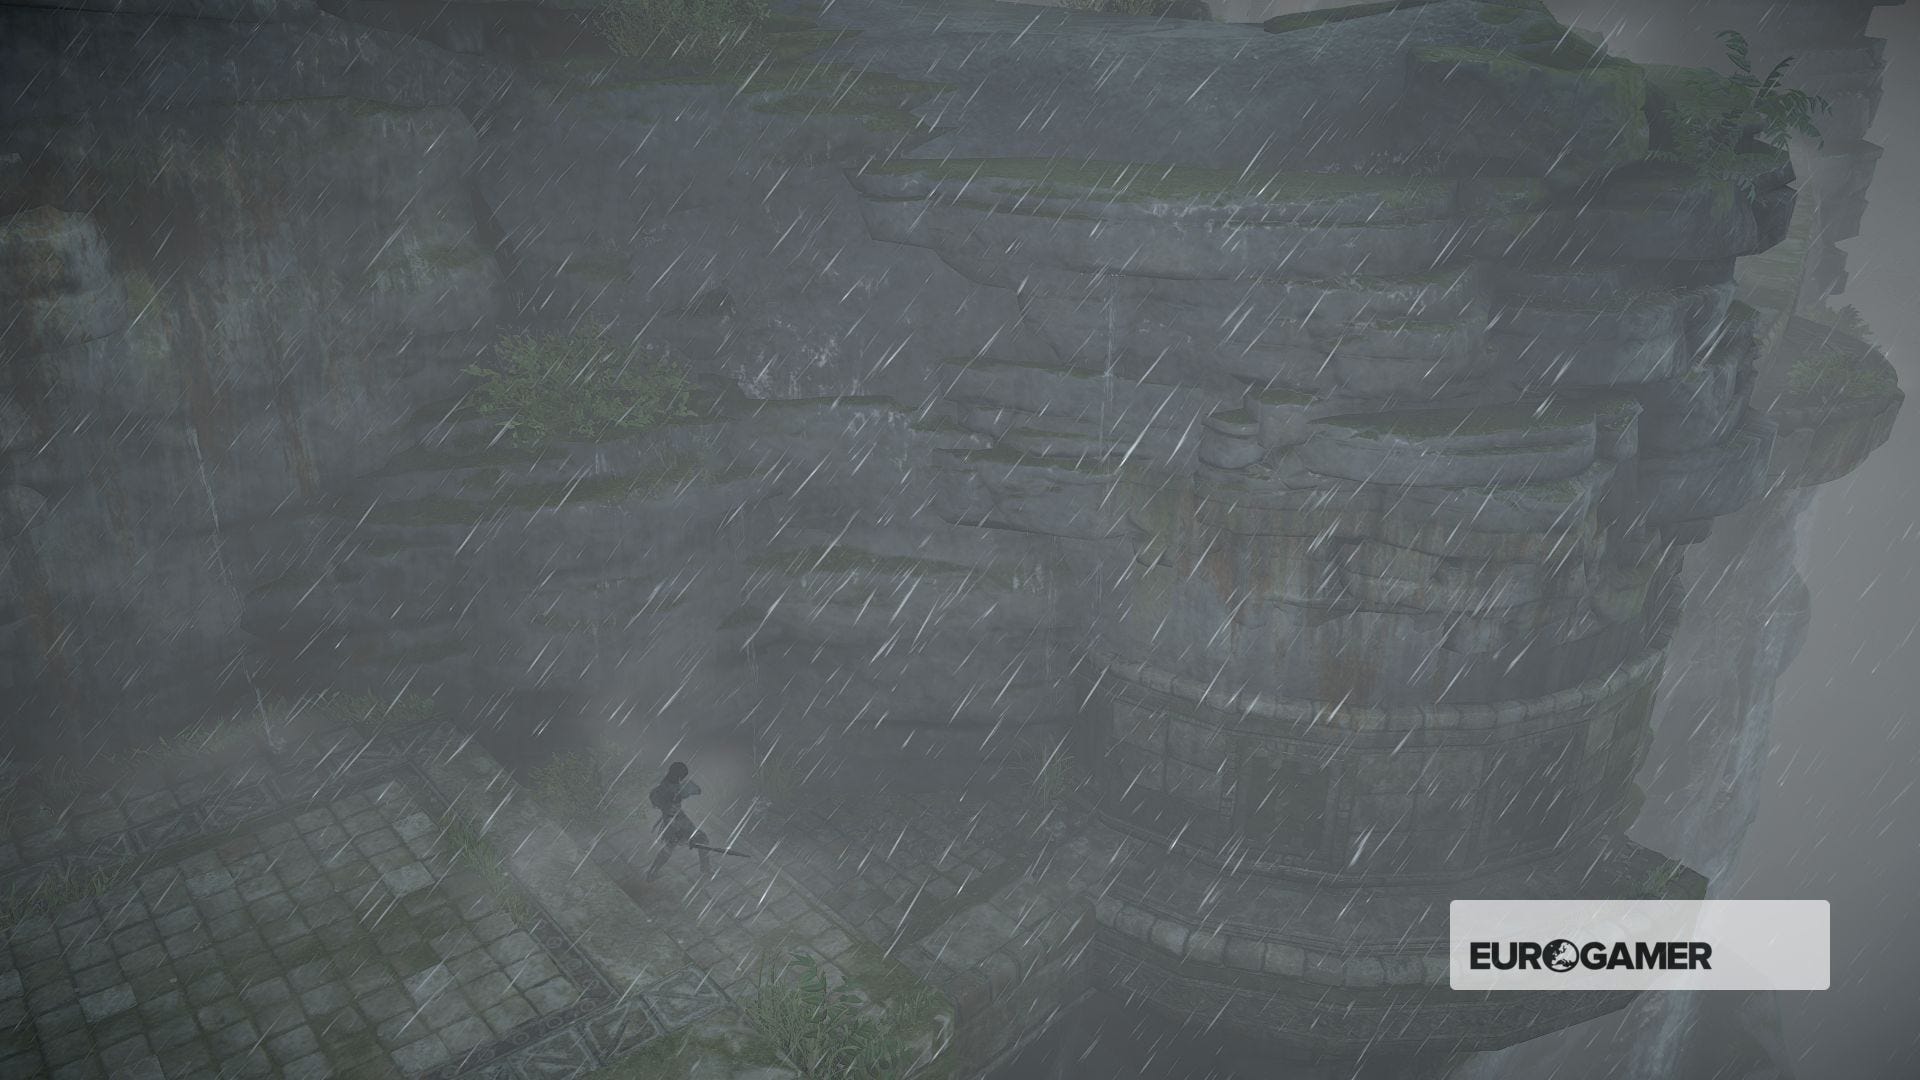
Continue riding Agro up the steps ahead, as you'll need him for your next step.
When you get to the top, you'll see a short bridge in front of you, across a chasm. You need to be galloping at this bridge at full speed on Agro to get across. One slip or going to slowly will see you both fall to your death as the bridge crumbles away behind you.

Line yourself up directly ahead of the bridge, and keep pressing forwards on the analog stick - don't change to pushing right as the camera shifts angles, even though that might seem intuitive, as "forwards" in this case isn't context-sensitive. Just press up and run for it! Before you go, brace yourself for an emotional cutscene...
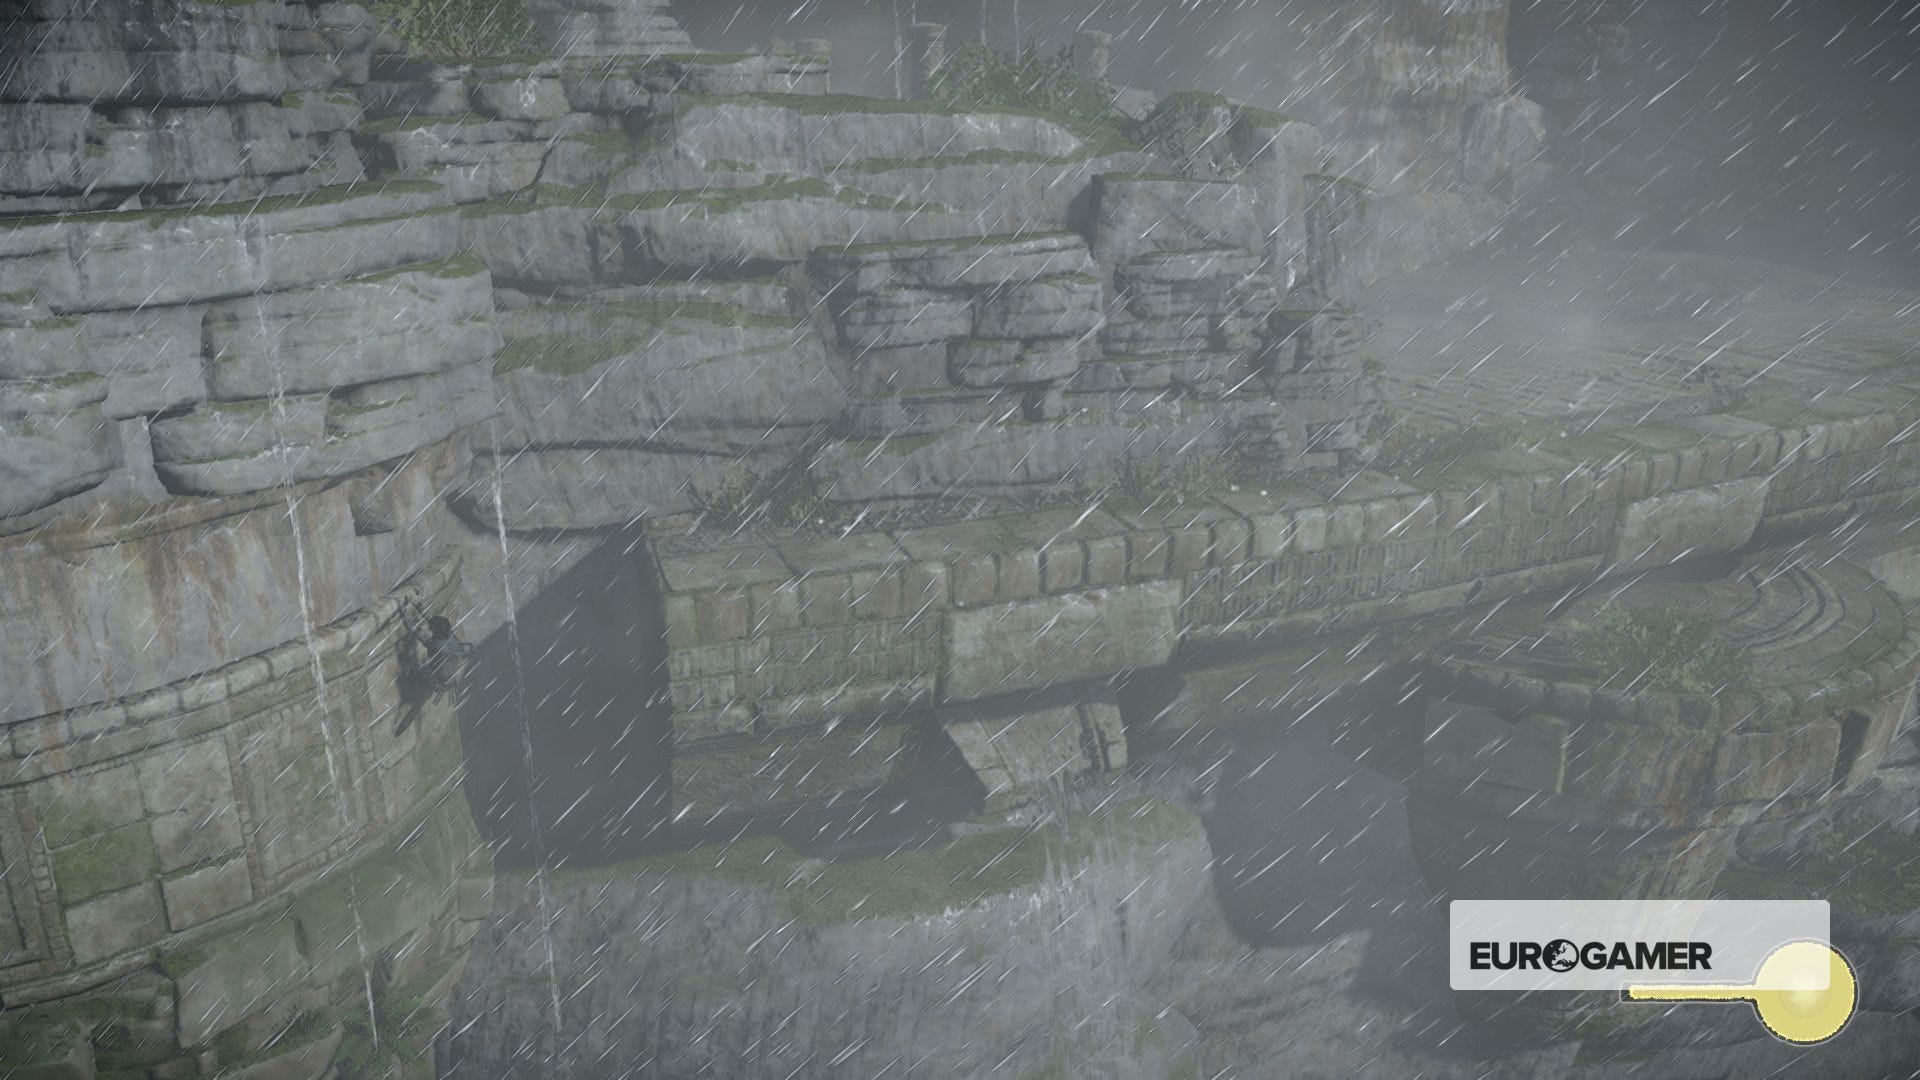
When you get to the other side, it's time for a fairly long climb.
Run straight ahead and cling onto the ledges in front of you. Jump up to the top and run to the right, then hop up the fallen blocks of stone until you reach a mossy wall.
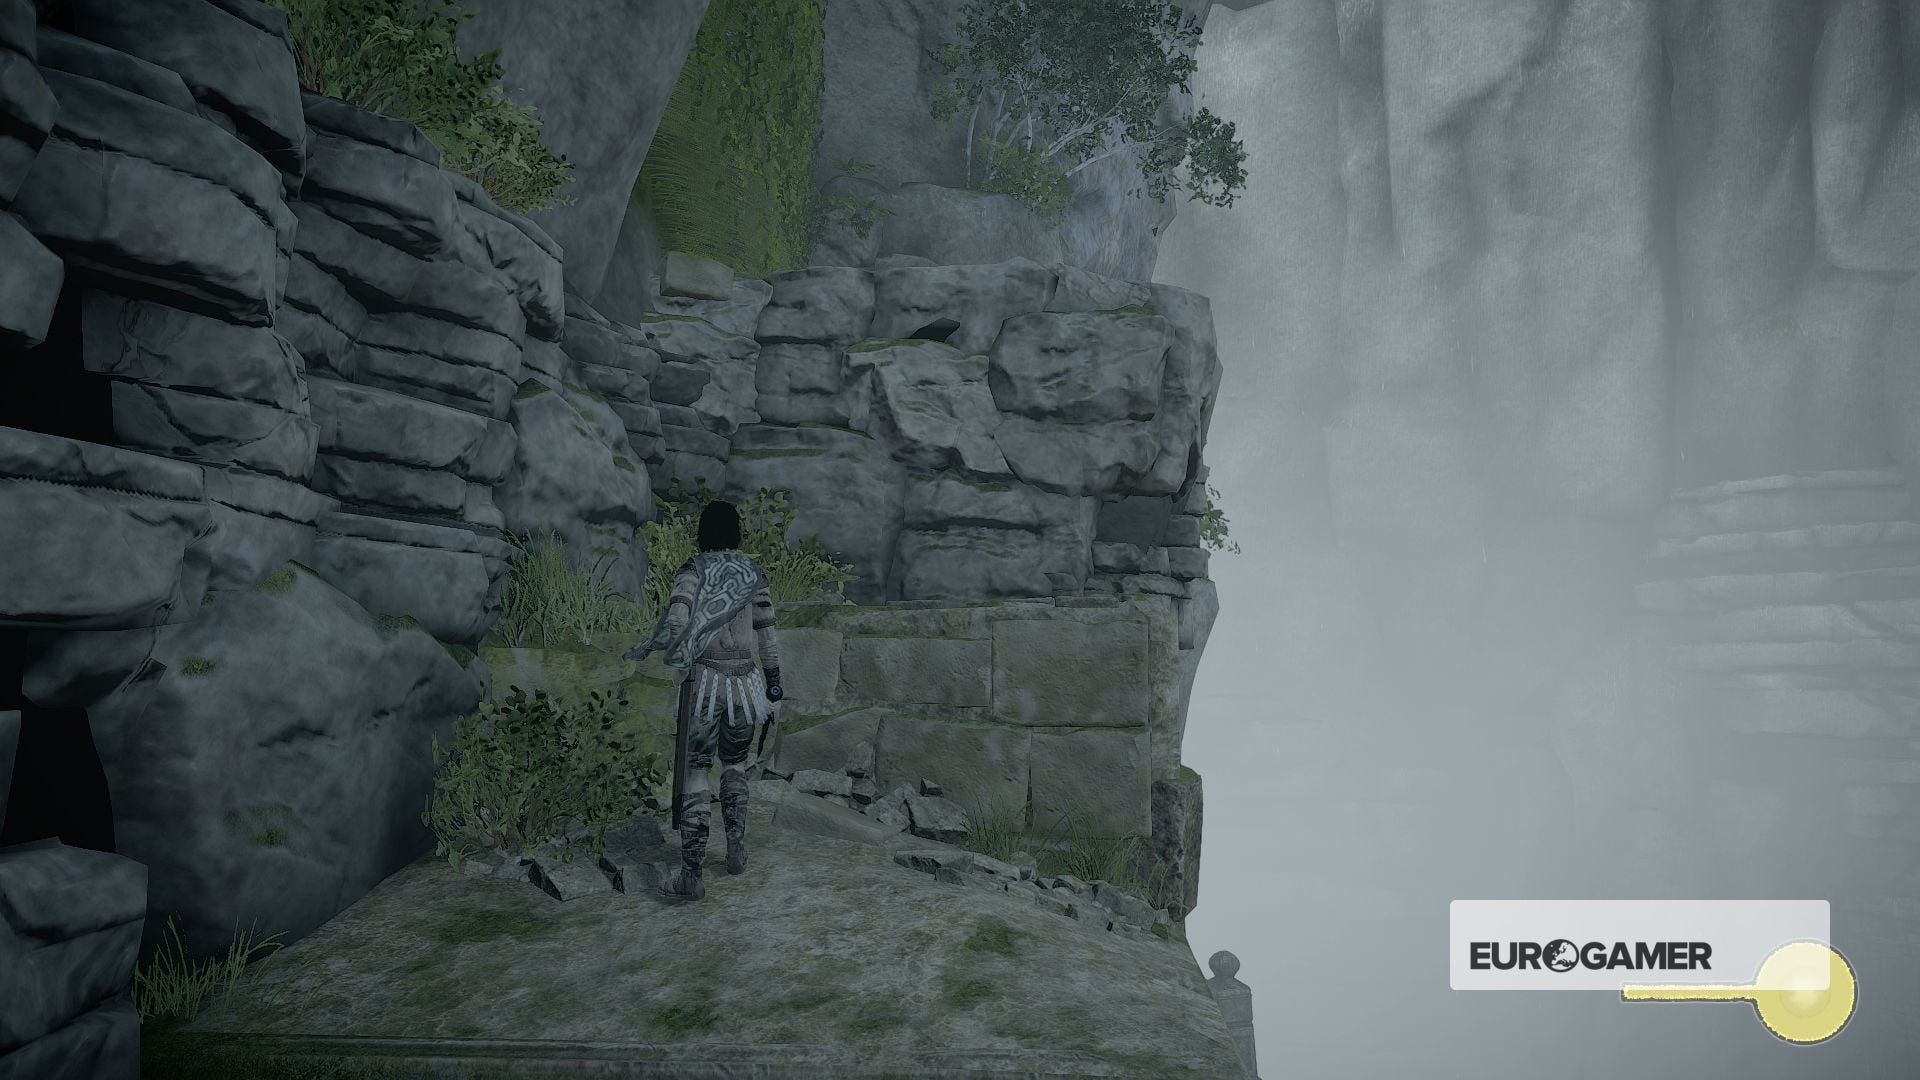
Head up the moss and exit to the left, jump across some more rocks - do it one at a time; trying to skip one will see you tumble back down.
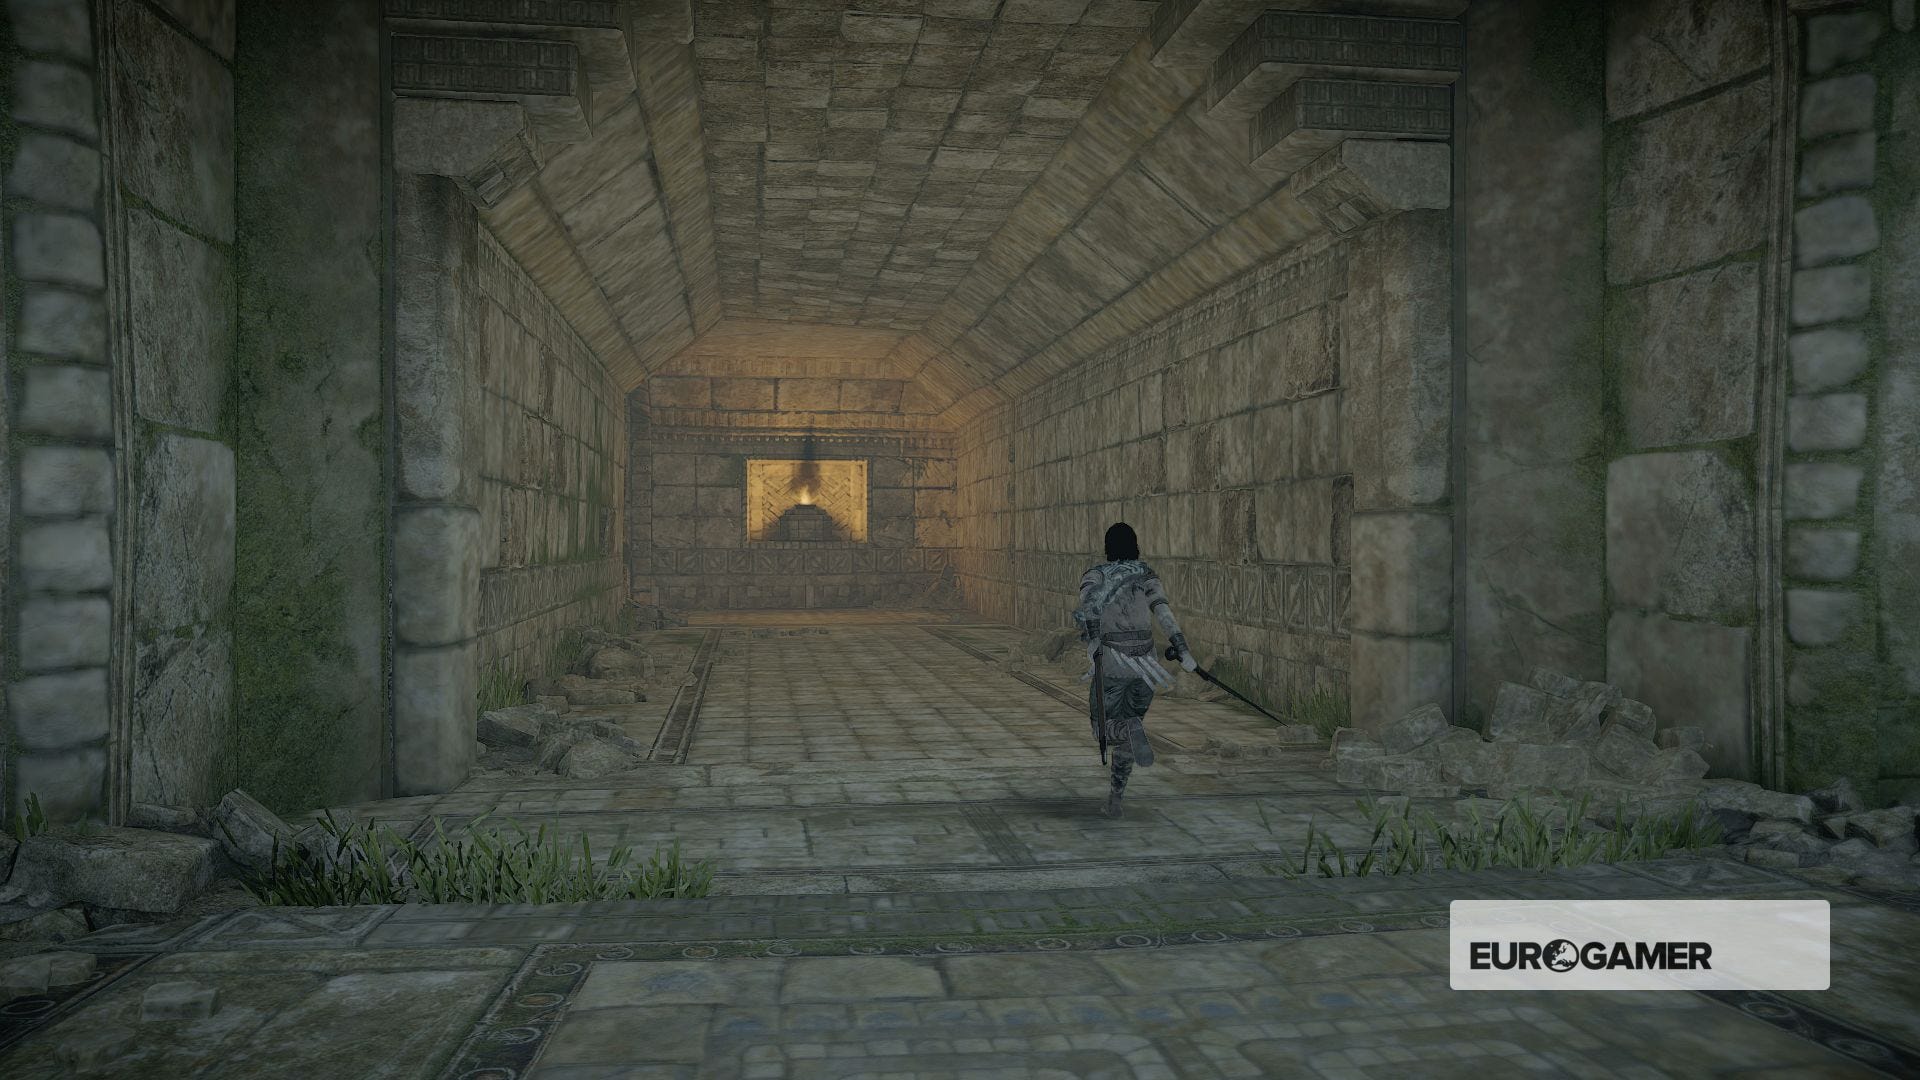
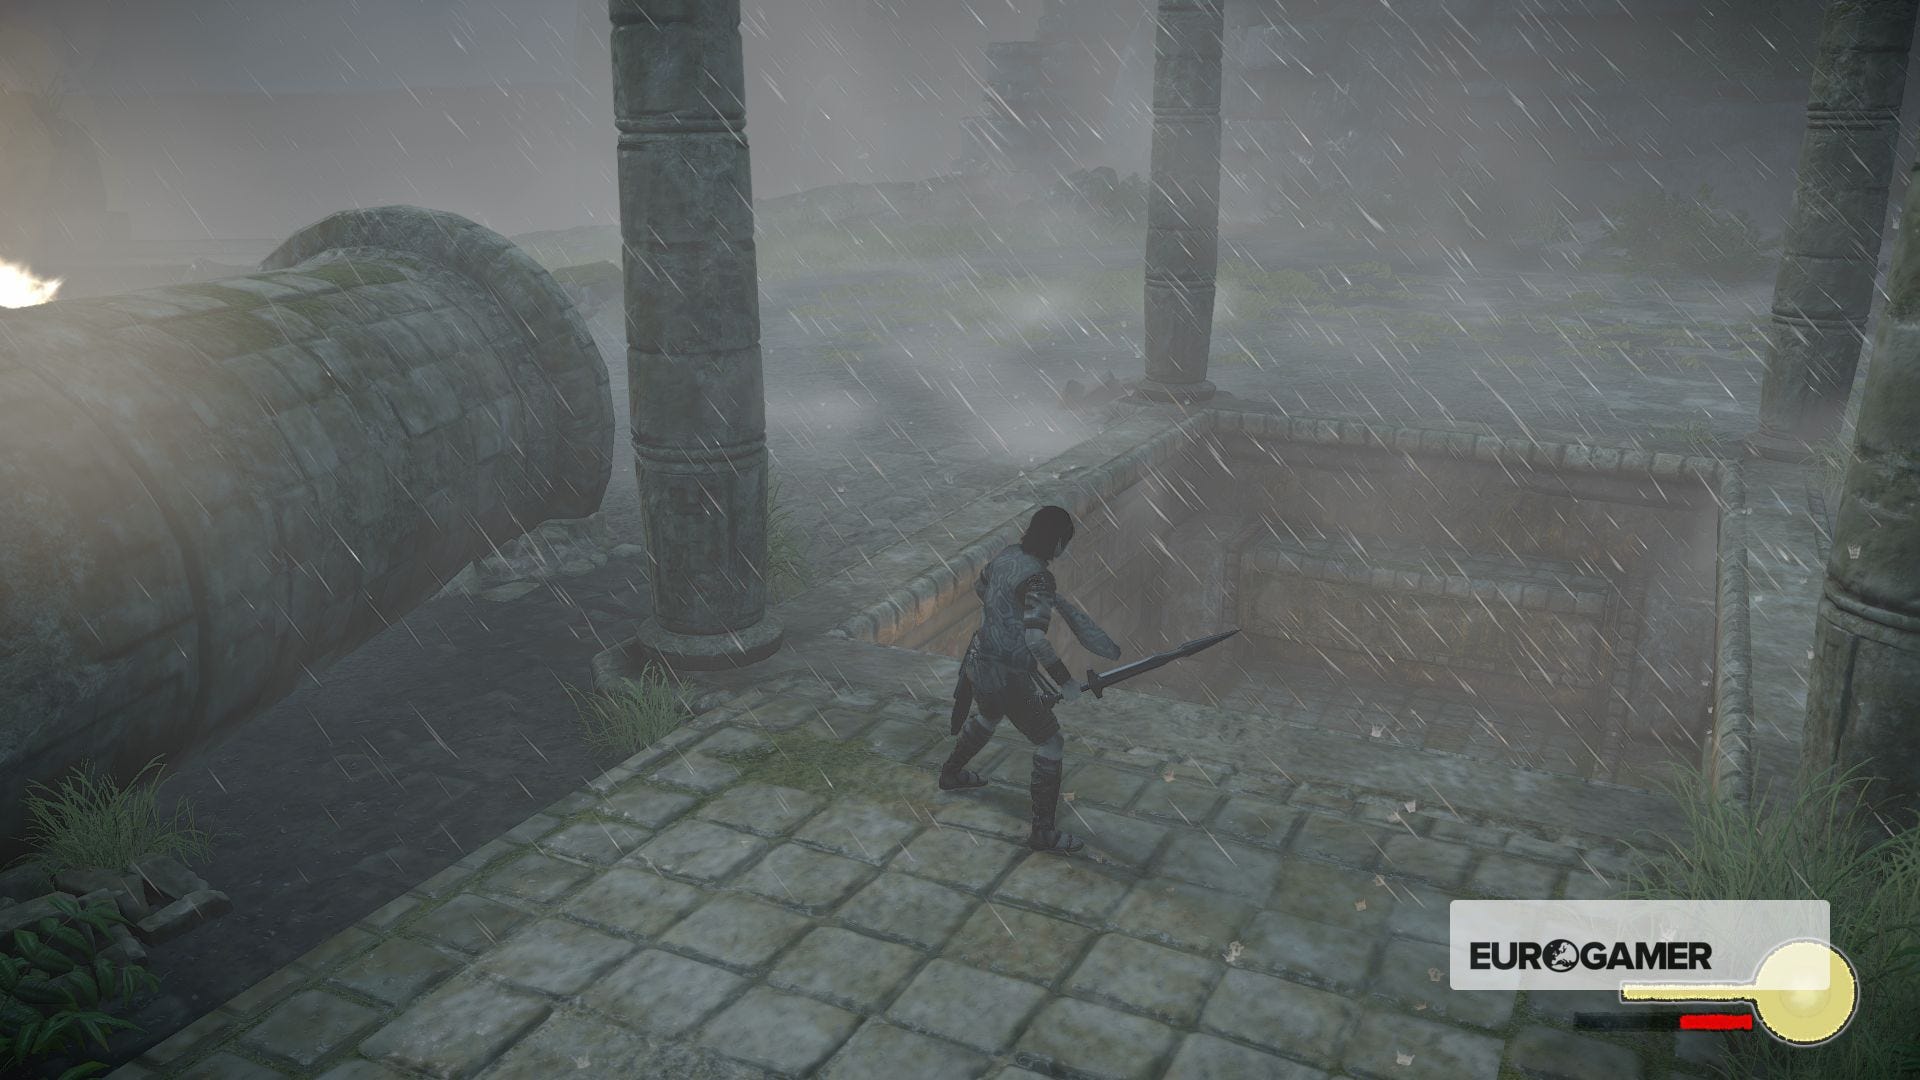
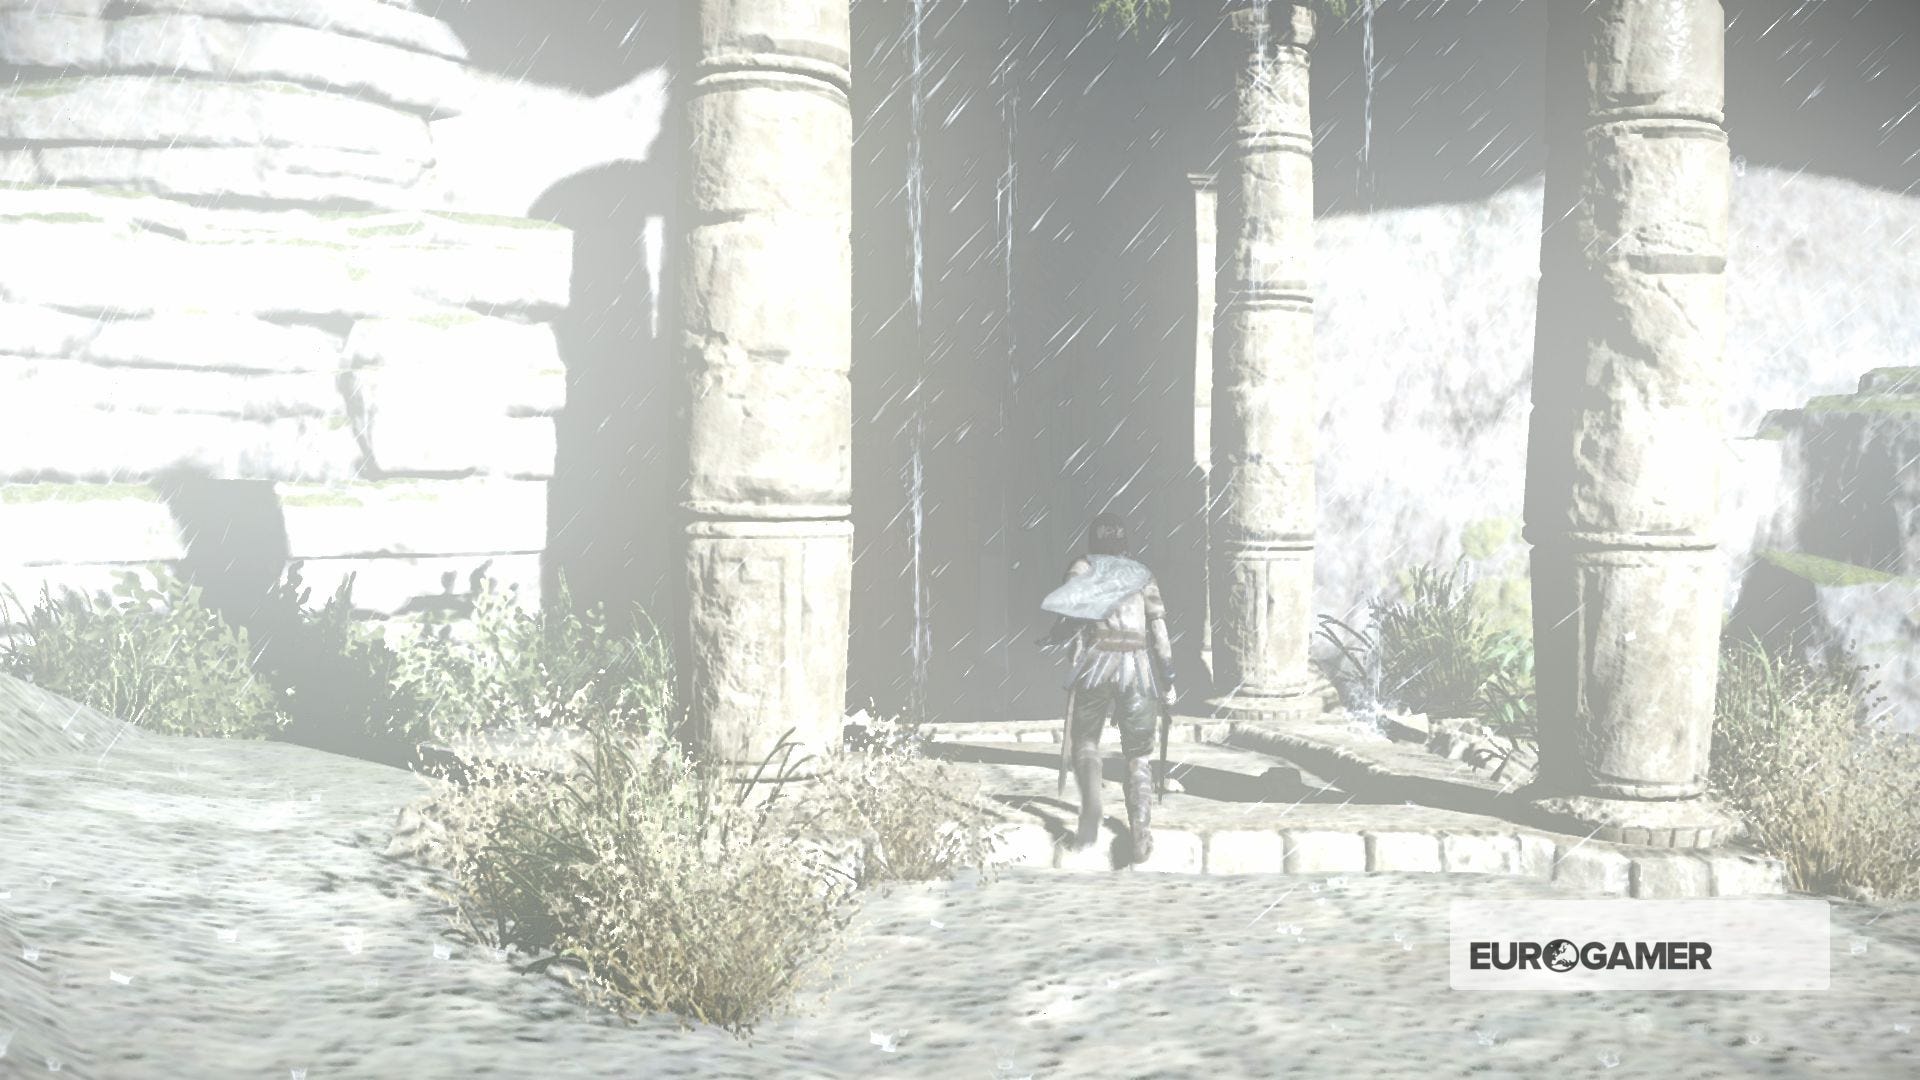
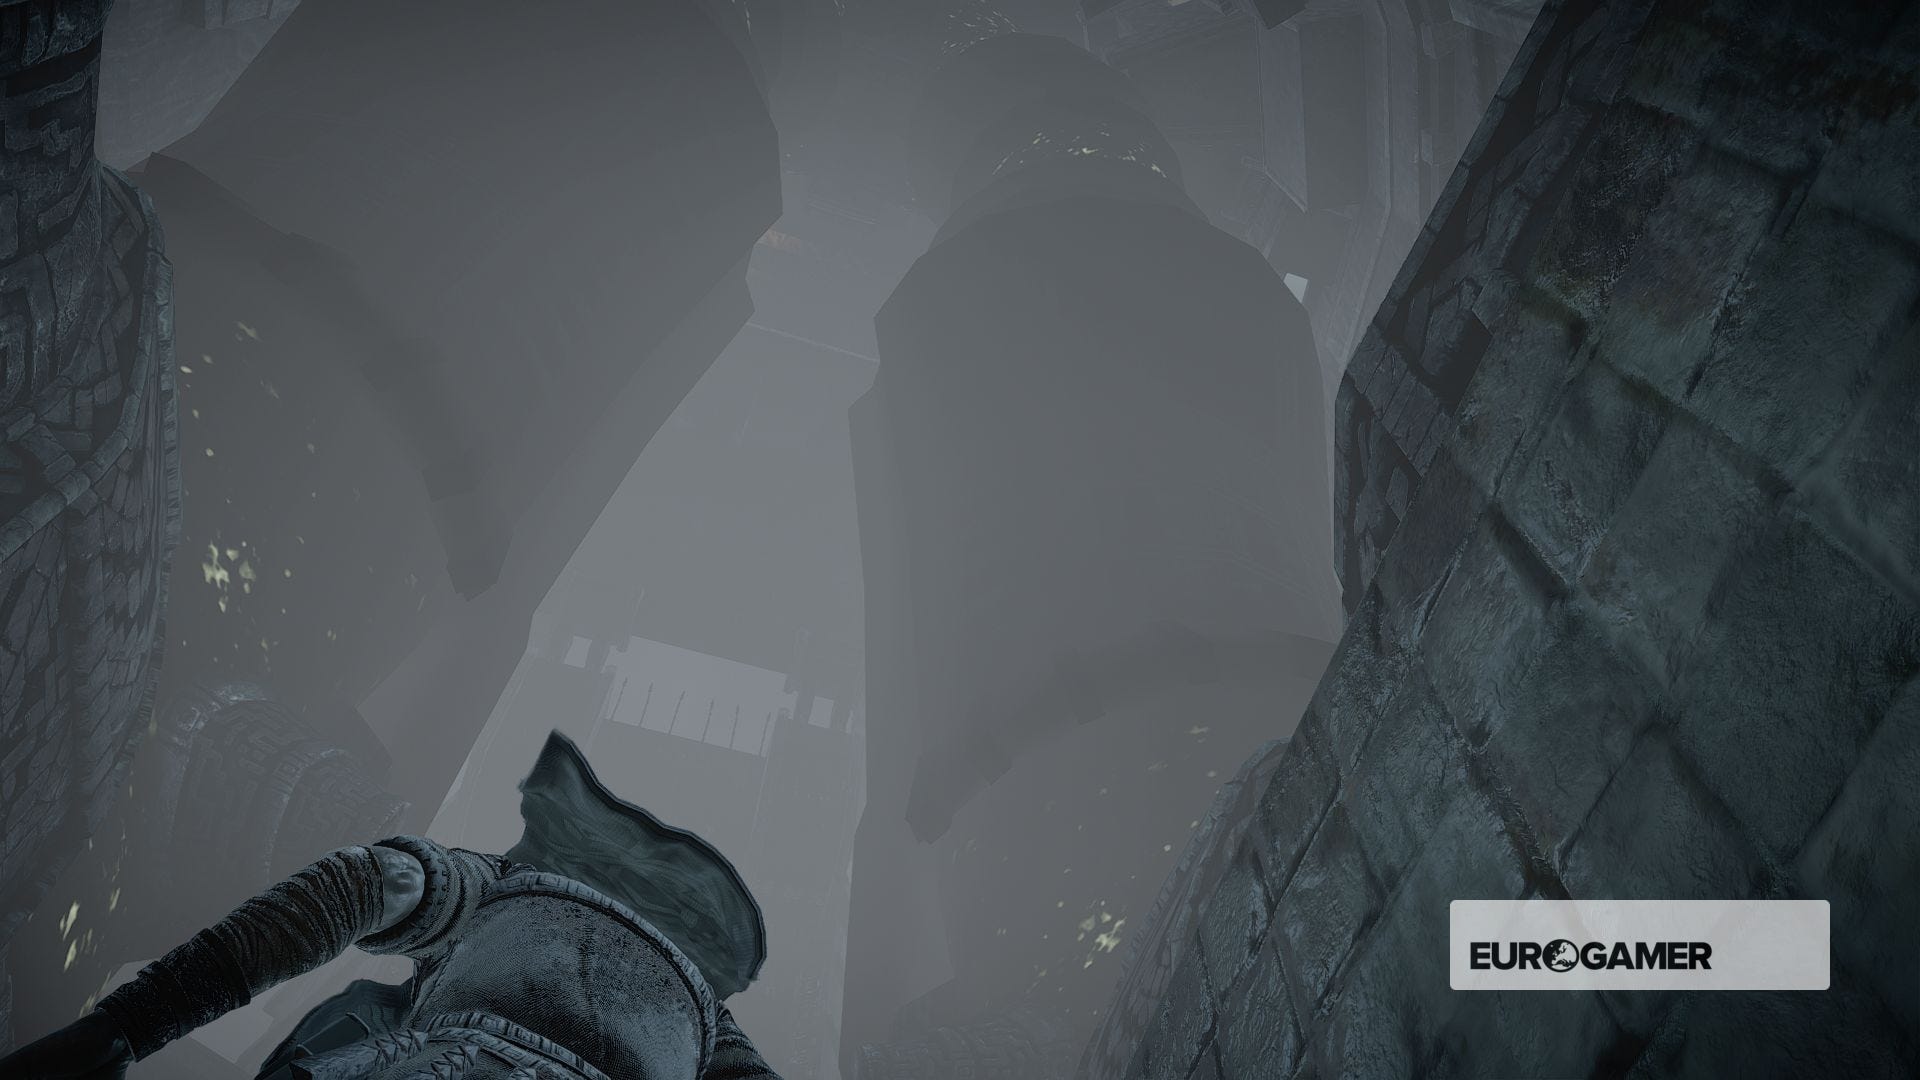
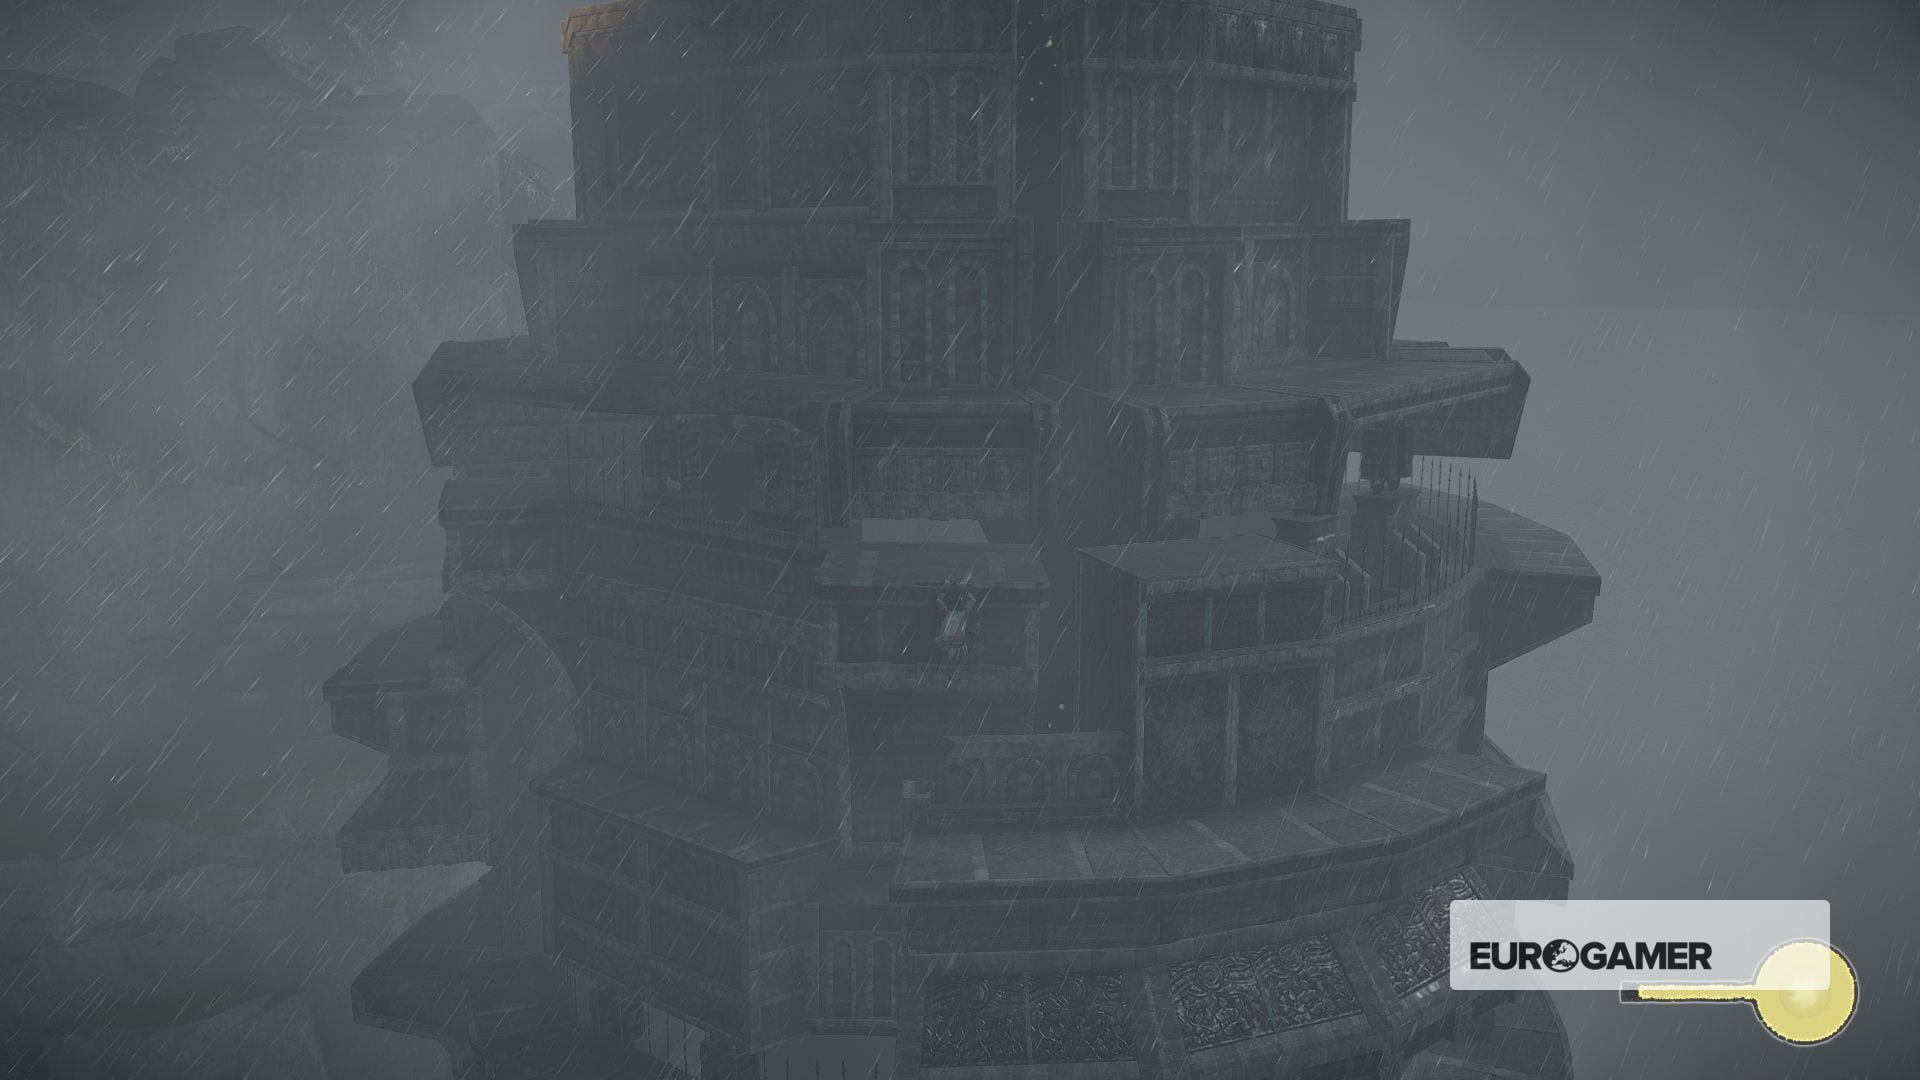
You'll come to an entrance into the wall, glowing orange in torchlight. Head inside, up the staircases and out at the other end, where the thunderstorm begins.
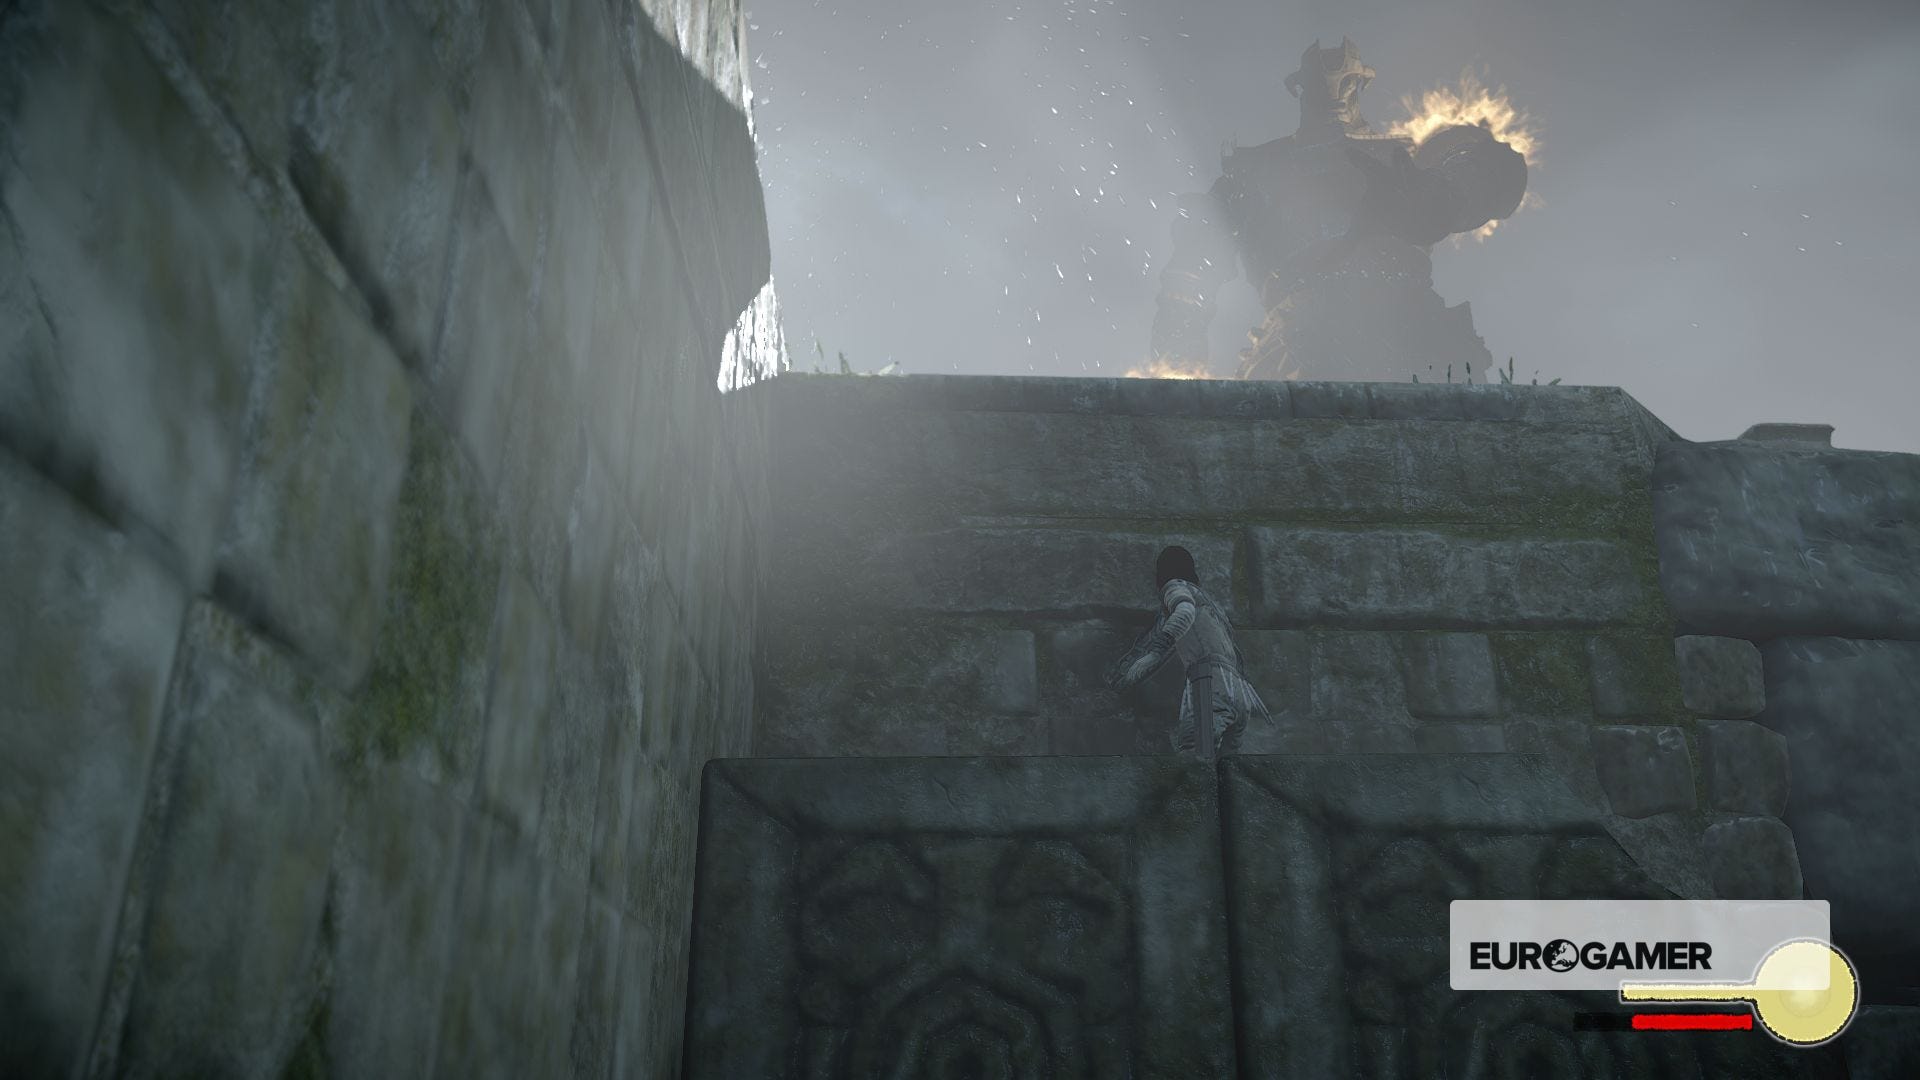
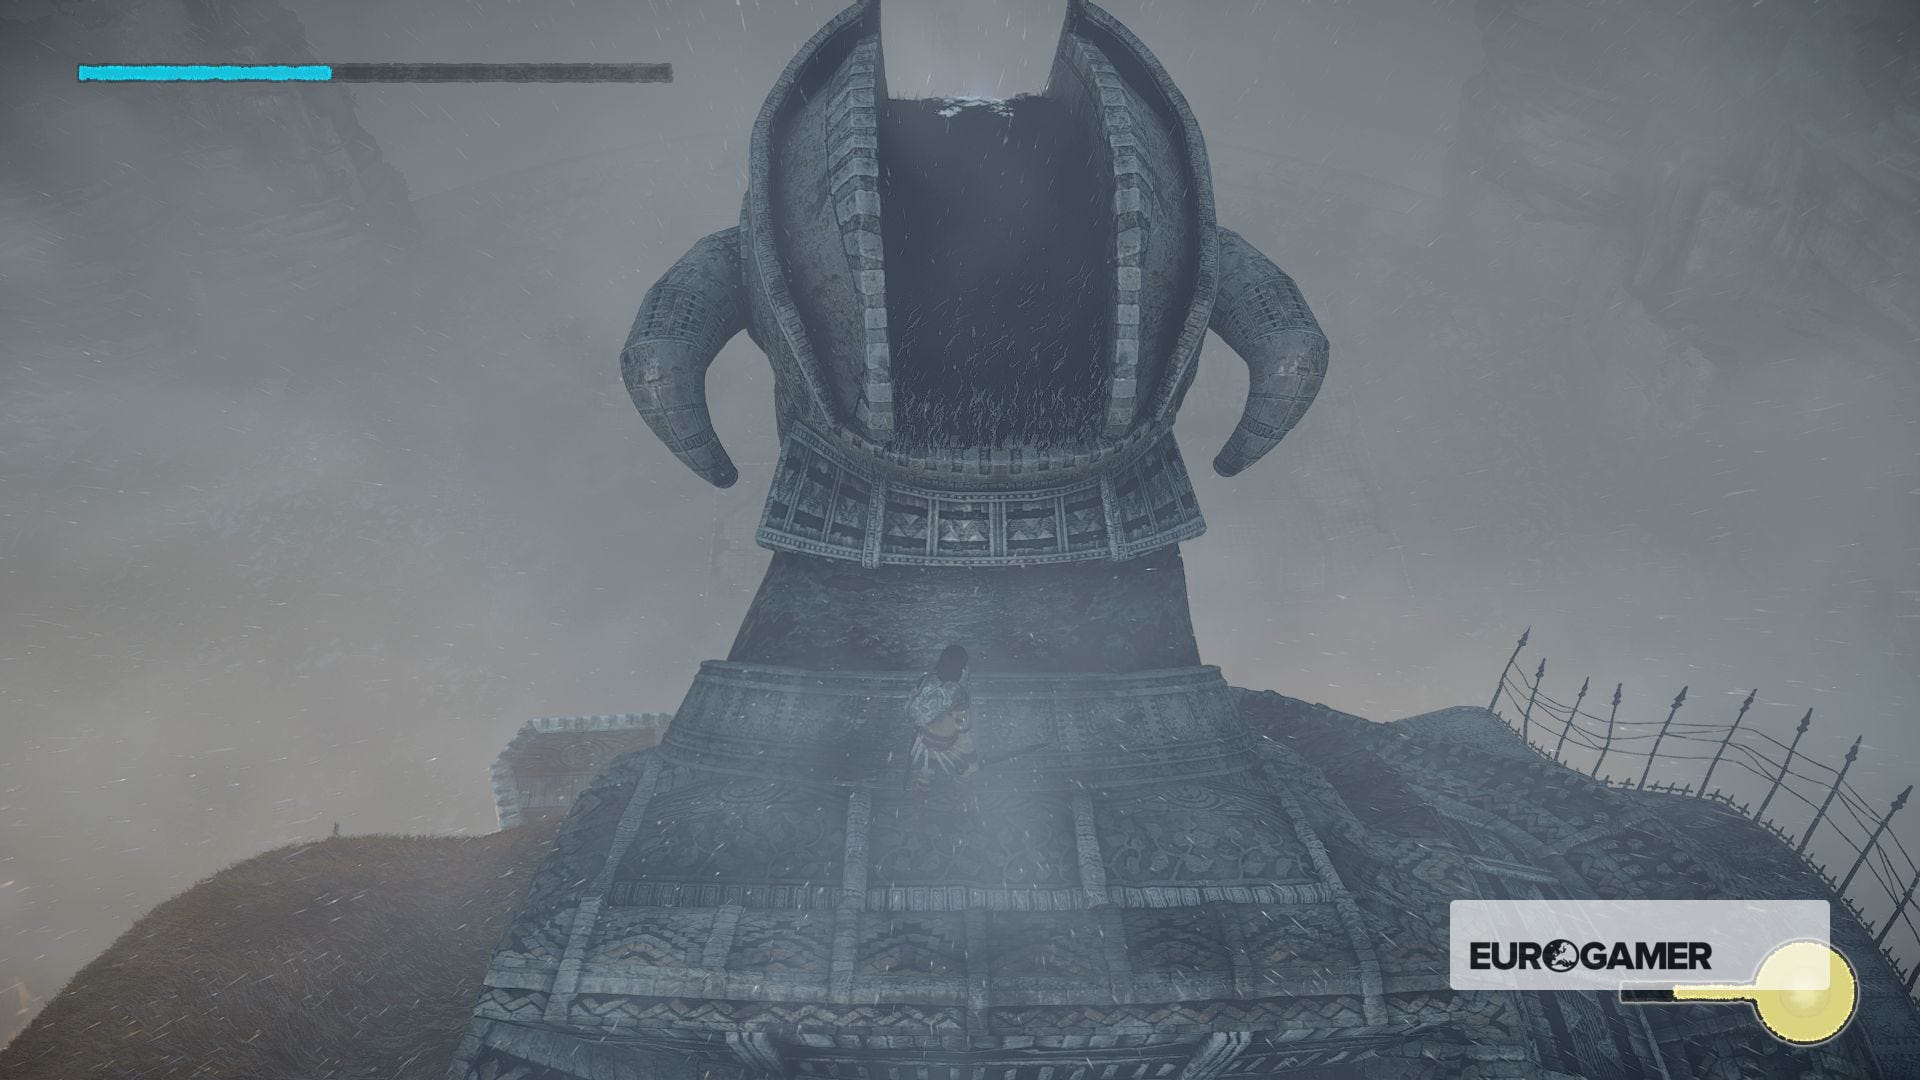
Turn to one side and hop onto one of the columns there, jumping up the ledges on it and out onto the roof of the structure. A cutscene begins, and Malus, the sixteenth and final colossus is revealed.
How to defeat the sixteenth colossus Malus, the Last Colossus
Let's hope you're up for a challenge! Malus is difficult, but also just plain tense, given everything that's riding on the battle and the amount of time it takes to get to where you are at any given moment.
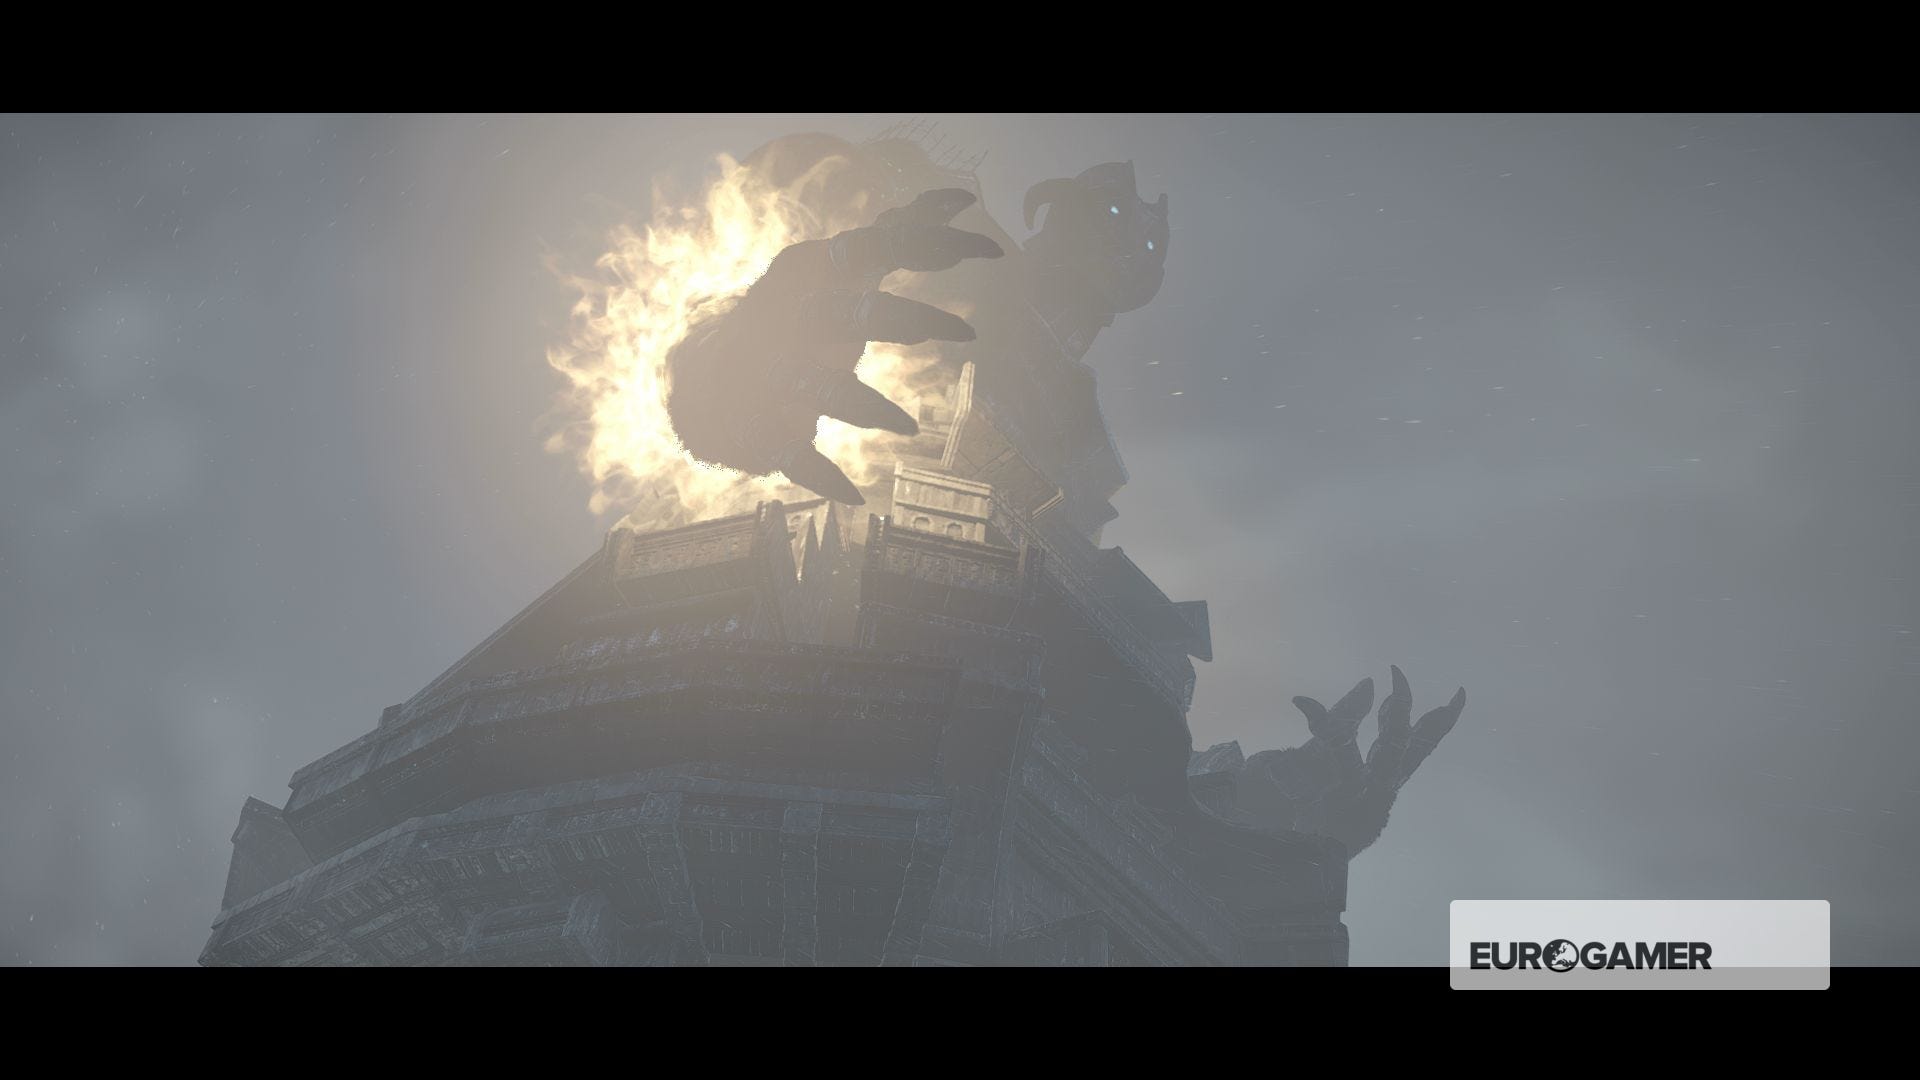
Malus shoots fast-moving, target-tracking fireballs from its hands. It's impossible to trick, knowing where you are at all times, and it fires instantly when you're in line of sight. If you get hit, try to find cover immediately and remember to crouch down to recover health faster.
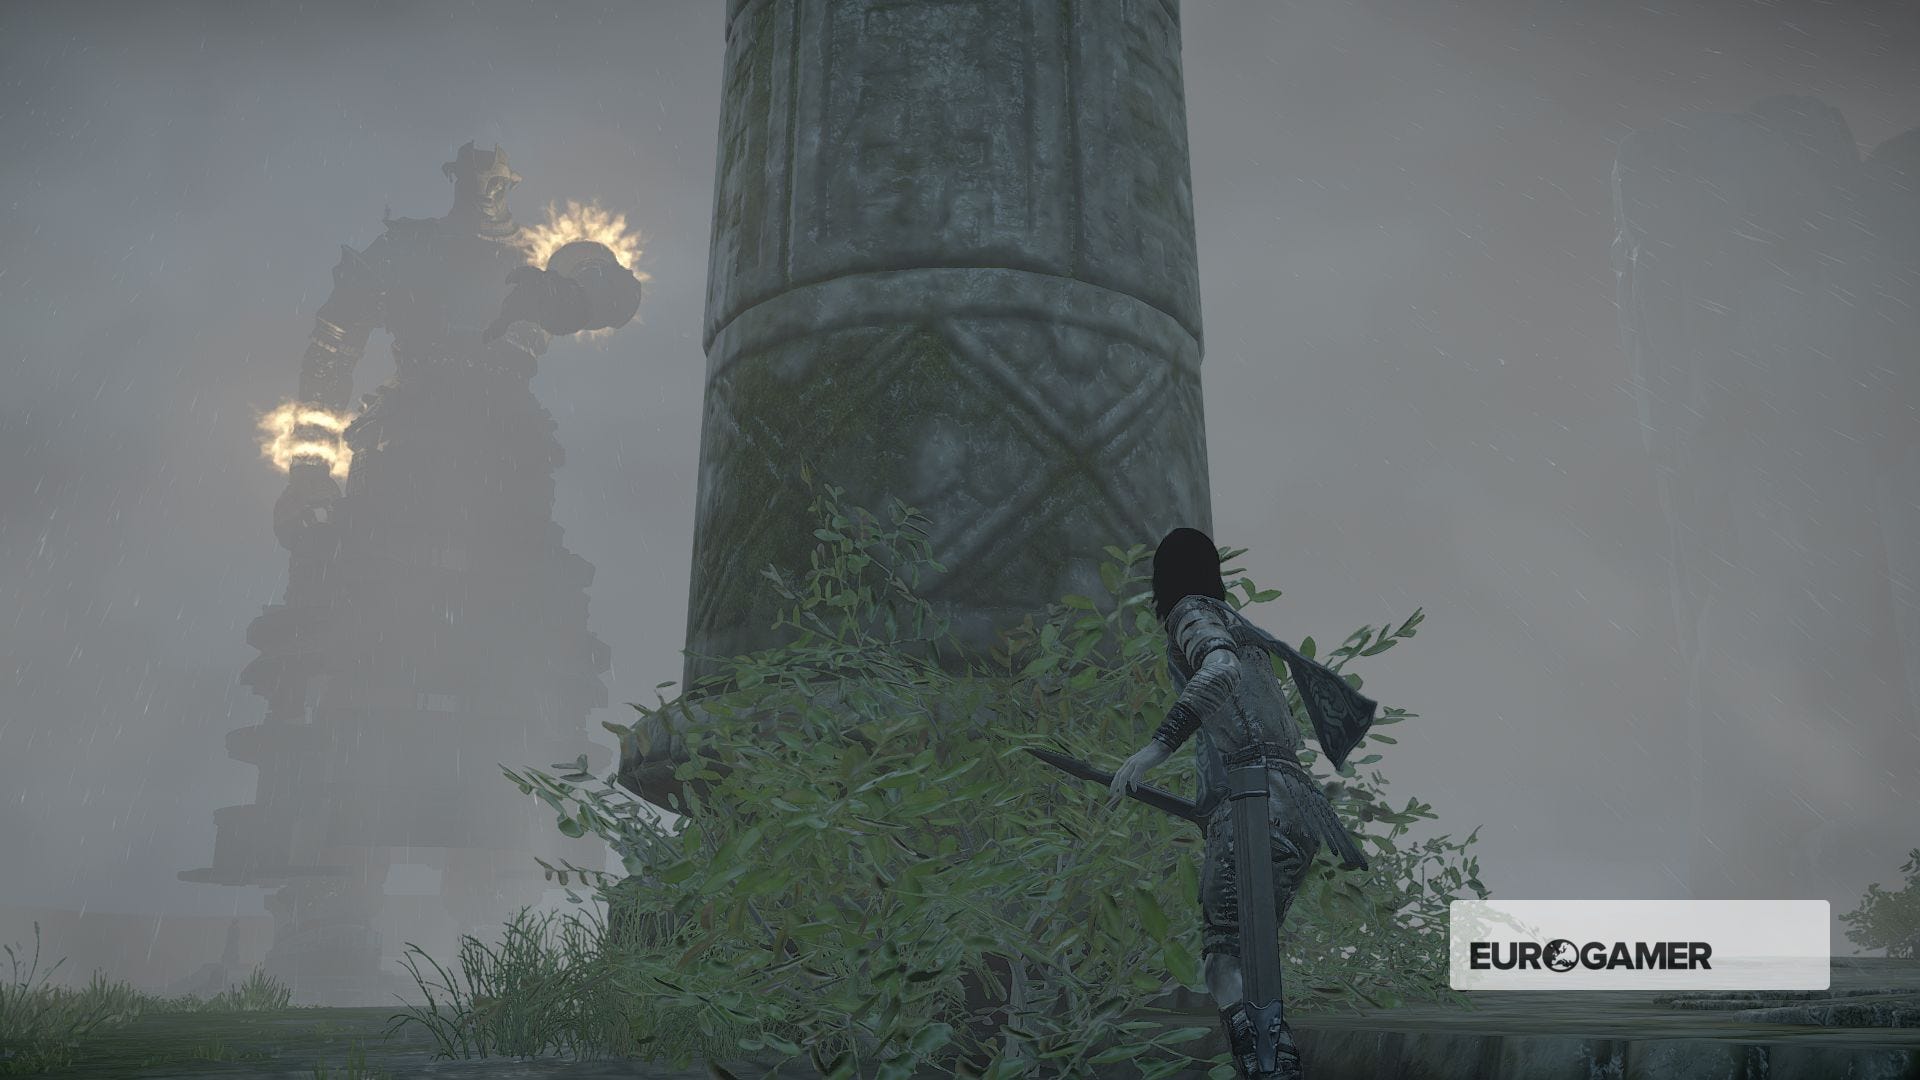
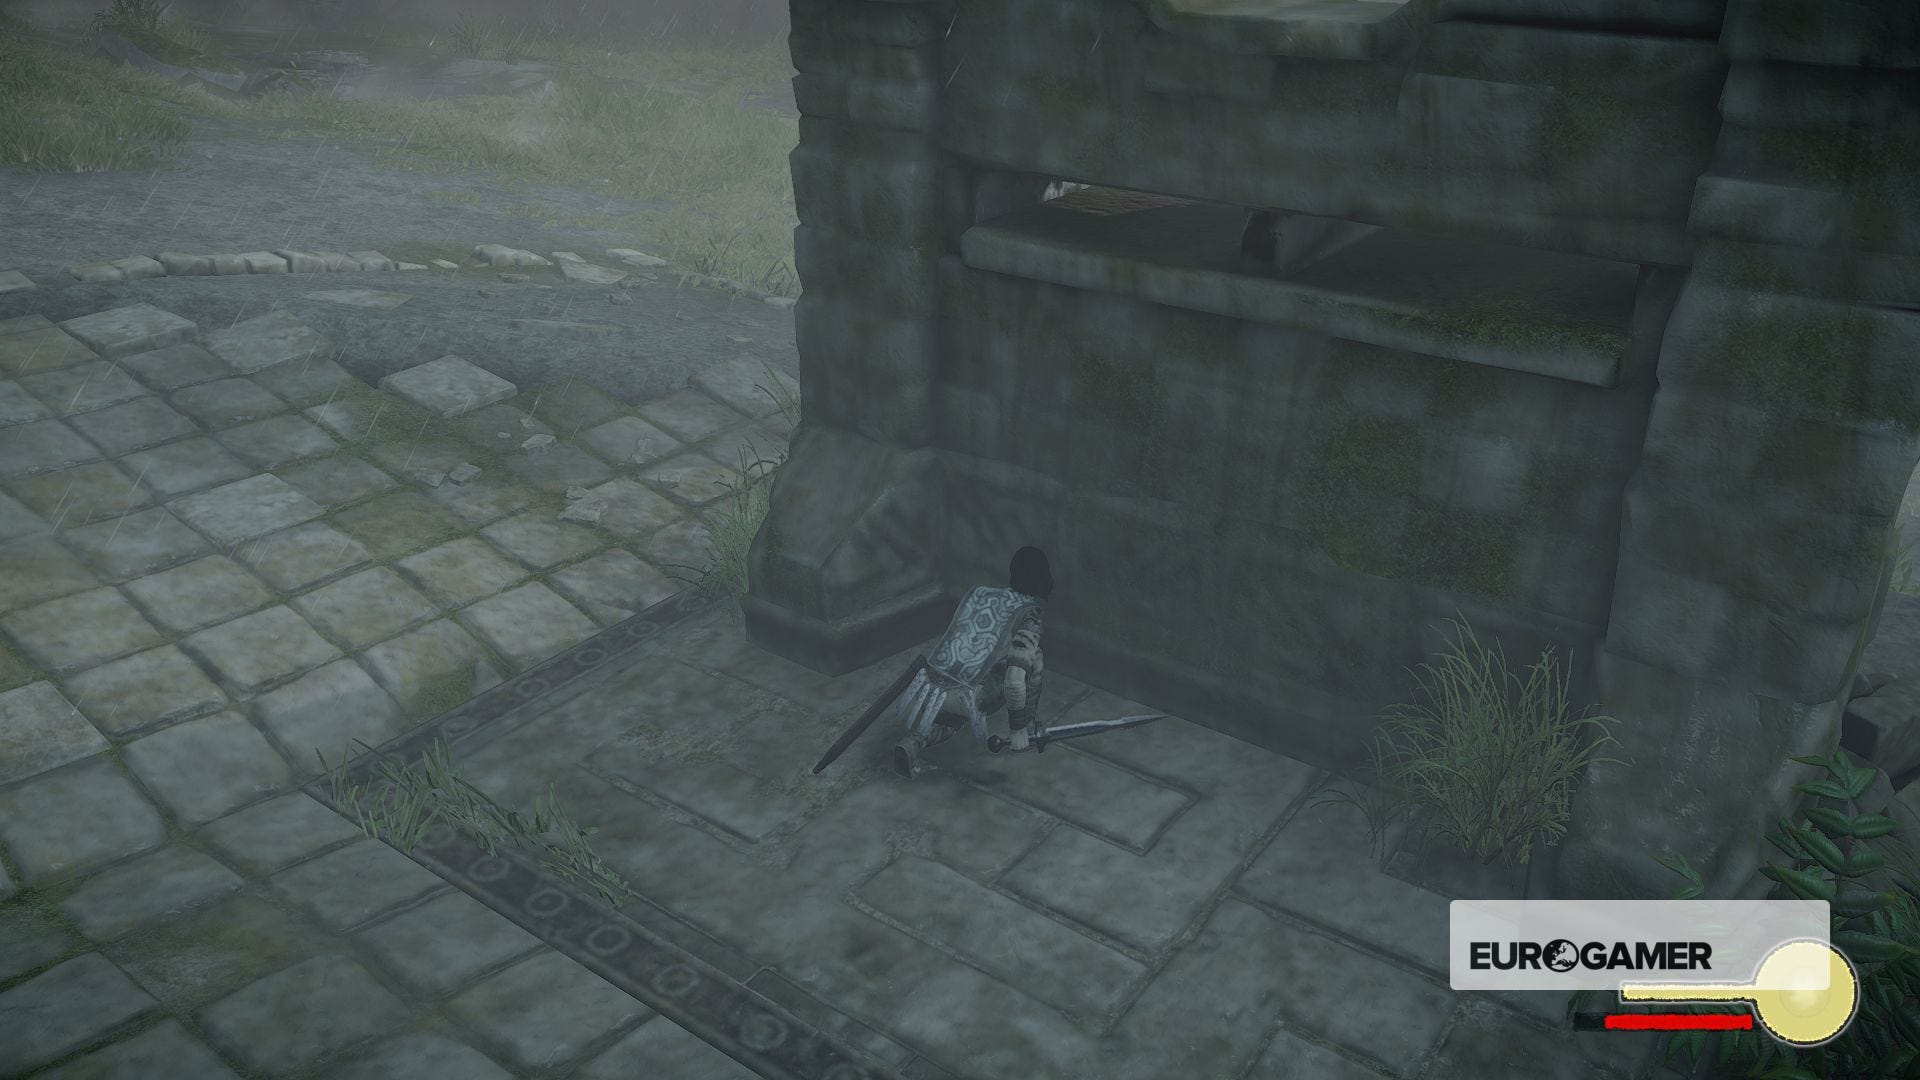
The first part of the battle is all about moving from cover to cover, so you can get close enough to it to start climbing up. First things first, move up the ramp ahead of you as quickly as possible and dive-roll to the pillar just to the left.
Roll to the next piller and the fallen one beside it to your right, and then just to the right of that is a way down into a tunnel below. Drop in and follow it.
At the other end are a couple of fallen stone blocks. Hop up onto them but don't go all the way up to the surface just yet. Make sure there aren't any fireballs incoming.
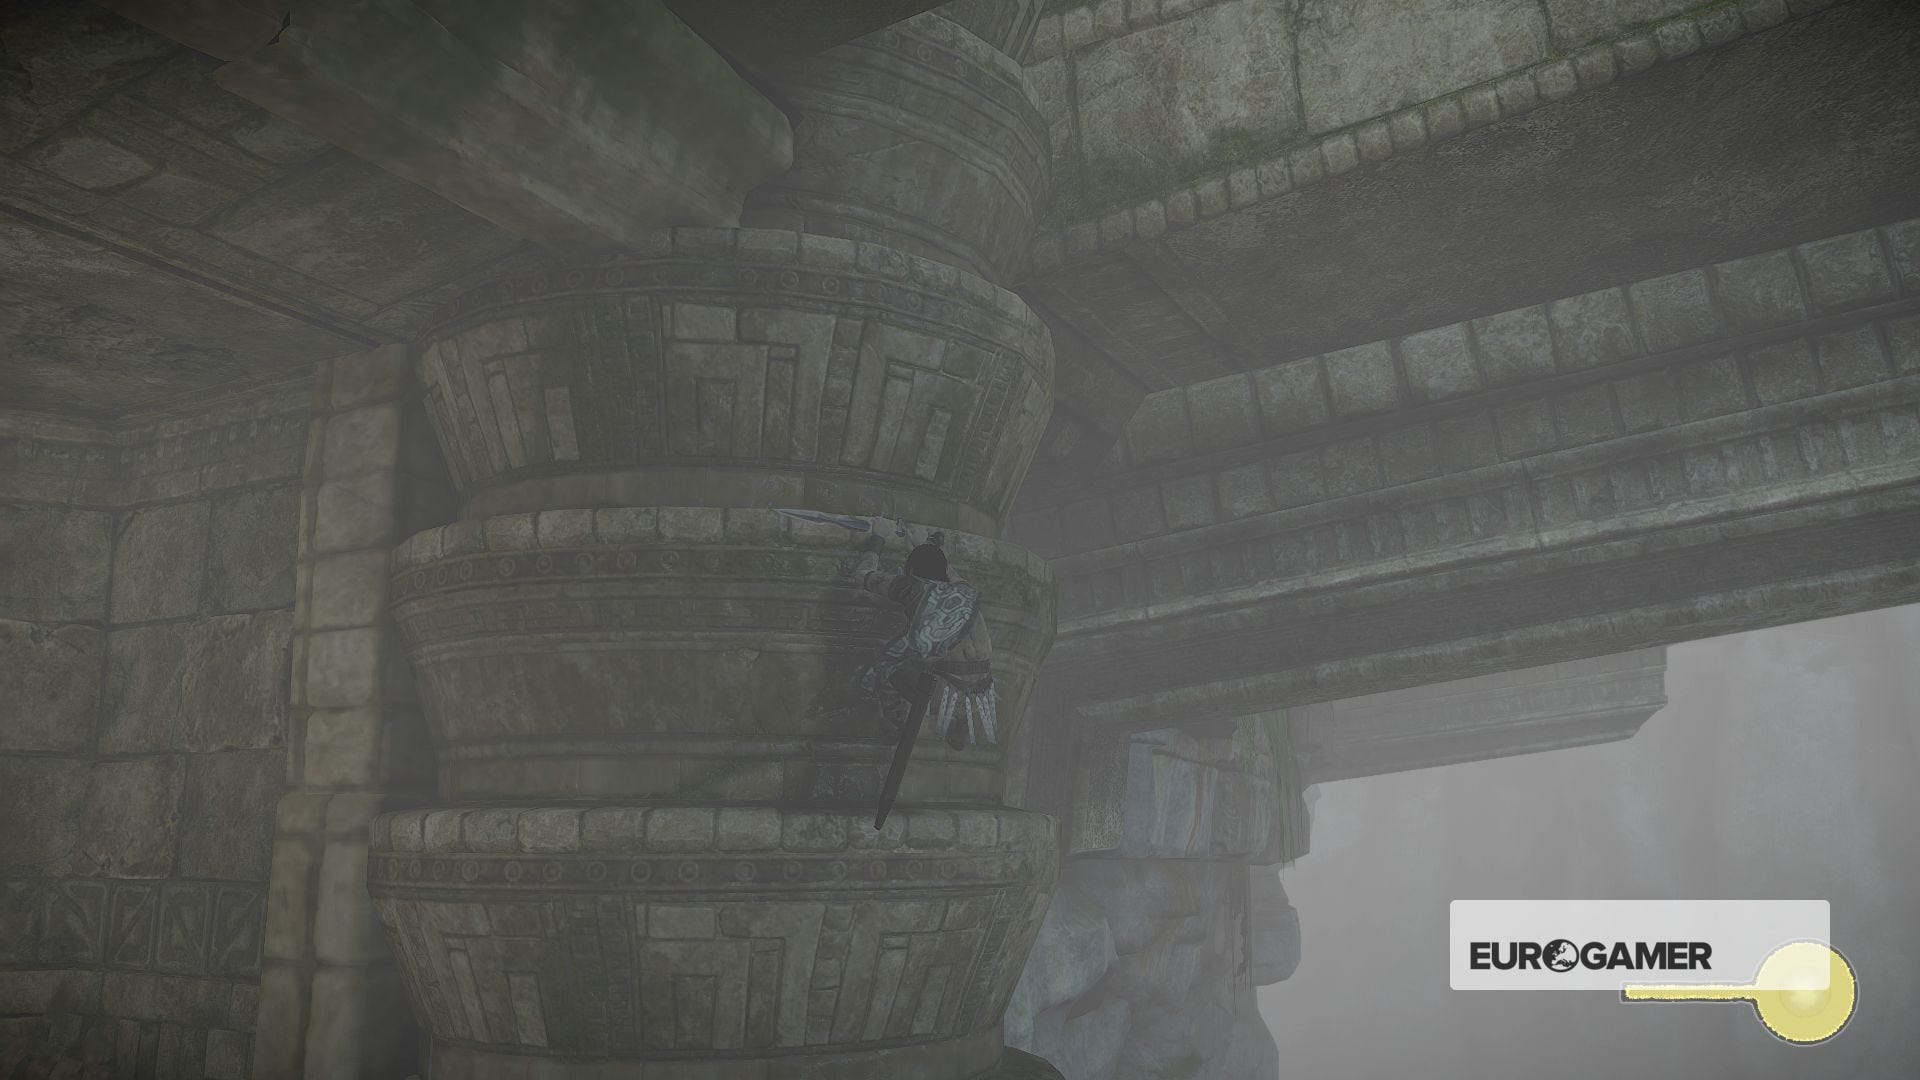
When you're ready jump up and go straight to the small barrier in front of you for cover. Now you have a choice - to your left is a very short detour that will take you to one of the game's strange Hidden Coins, to the right is your way onwards for the battle.
For the Coin, look for a slightly disguised hole in the ground to the left of the barrier. Further forward and left is a tunnel entrance - ignore that, the hole is before it and just about reachable before you're blasted away by Malus.
Get into the hole and it'll take you through a short path and circle back to the place you just climbed out of with the fallen blocks of stone. Before you drop down to that place, you'll see the Coin glowing on the ledge.
When you're back at that first barrier - or if you don't want to bother with the Coin - your next move is right, to another barrier. Take a couple of steps then dive-roll, and you'll be safe.
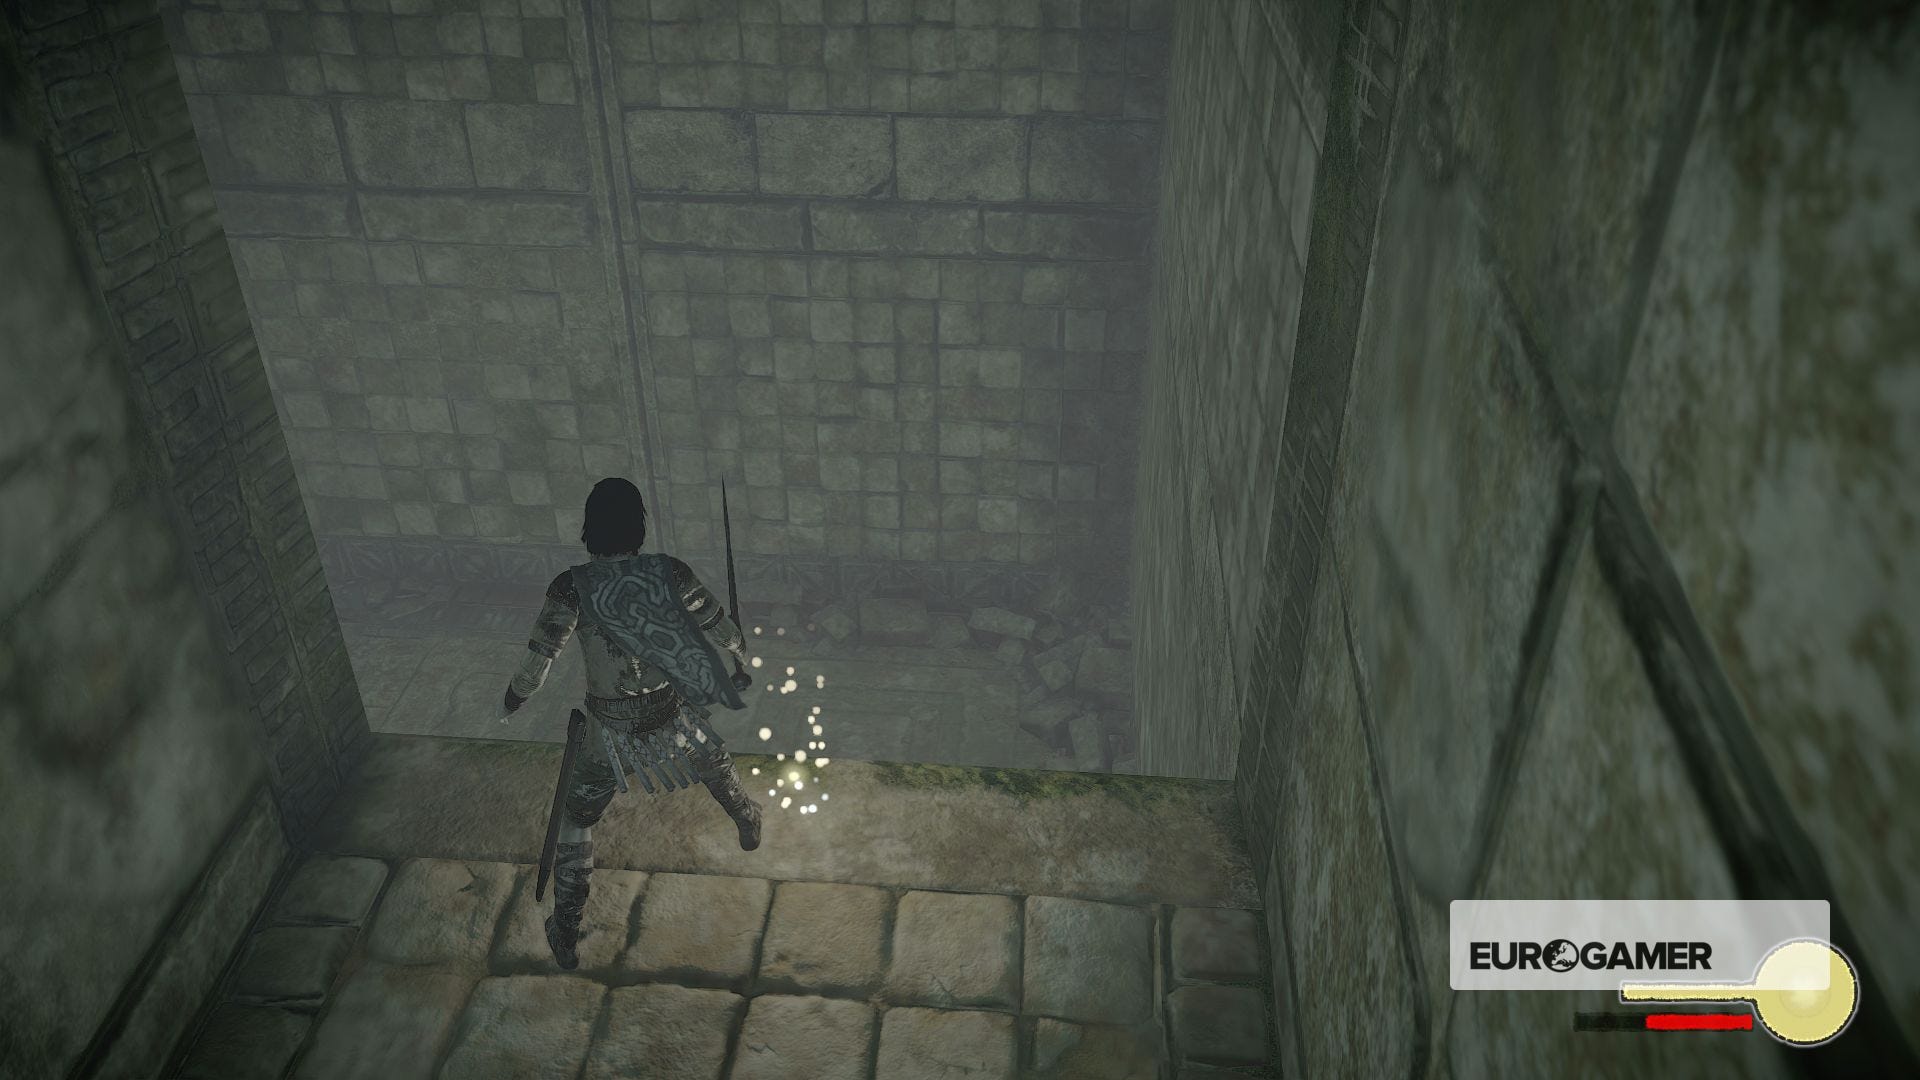
Repeat, and then by the third barrier is another way down into the next tunnel. Drop in, follow the path to the end, and you'll come out on the outside, safe from damage but not from falling, or accidentally straying into Malus' line of sight (it knows you're here by won't damage you until you come out to the surface again).
Head right, across the narrow ledge around the cylindrical column, and then hang off it on one side to make the jump across the small gap. Remember how that feels to perform, because you'll be doing it a lot, and in tougher conditions, in just a moment.
At the end of the path, hug the left-hand wall and quickly get into cover of the next tunnel entrance in front of you.
Follow the tunnel and climb the ledges at the end, to a trench with a ramping set of rubble leading up to the surface. Once you get up to that surface your at risk of the sixteenth colossus' blasts again.
When you're ready climb up and out into the cover of the first barricade you see.
Make the move to the next one, but note that it's slightly further away. The one after that is even further, and can't be reached with one dive-roll. You need to run a couple of steps then roll to make it in time. If you get hit you'll fall back into the trench and can start again, but remember to heal as two hits could be enough to kill you.
When you make it to the third barricade there's another tunnel to drop into, which leads you out to right underneath the Last Colossus' feet. Now it's time for the real challenge.
For more tips, guides and detailed, step-by-step advice, be sure to try out our main Shadow of the Colossus walkthrough and guide can help you hunt down and kill every colossus, including the tricky Colossus 3, Colossus 8, Colossus 9 and Colossus 11. We also have explainers on all Agro tricks, how to find and use lizards and fruit and Enlightenments, and where to find a The Last Guardian Easter egg and all Shrine locations.
Head to the back of it's weird skirt-robe and climb up the ledges there, working your way onto the rim on the outside. Head right, across the gap by shimmying across the ledge you can grip just above it.

Then go up the next ledge you can find, and head left. Jump across the gap to grab the next ledge, climb up those handholds onto the next level.
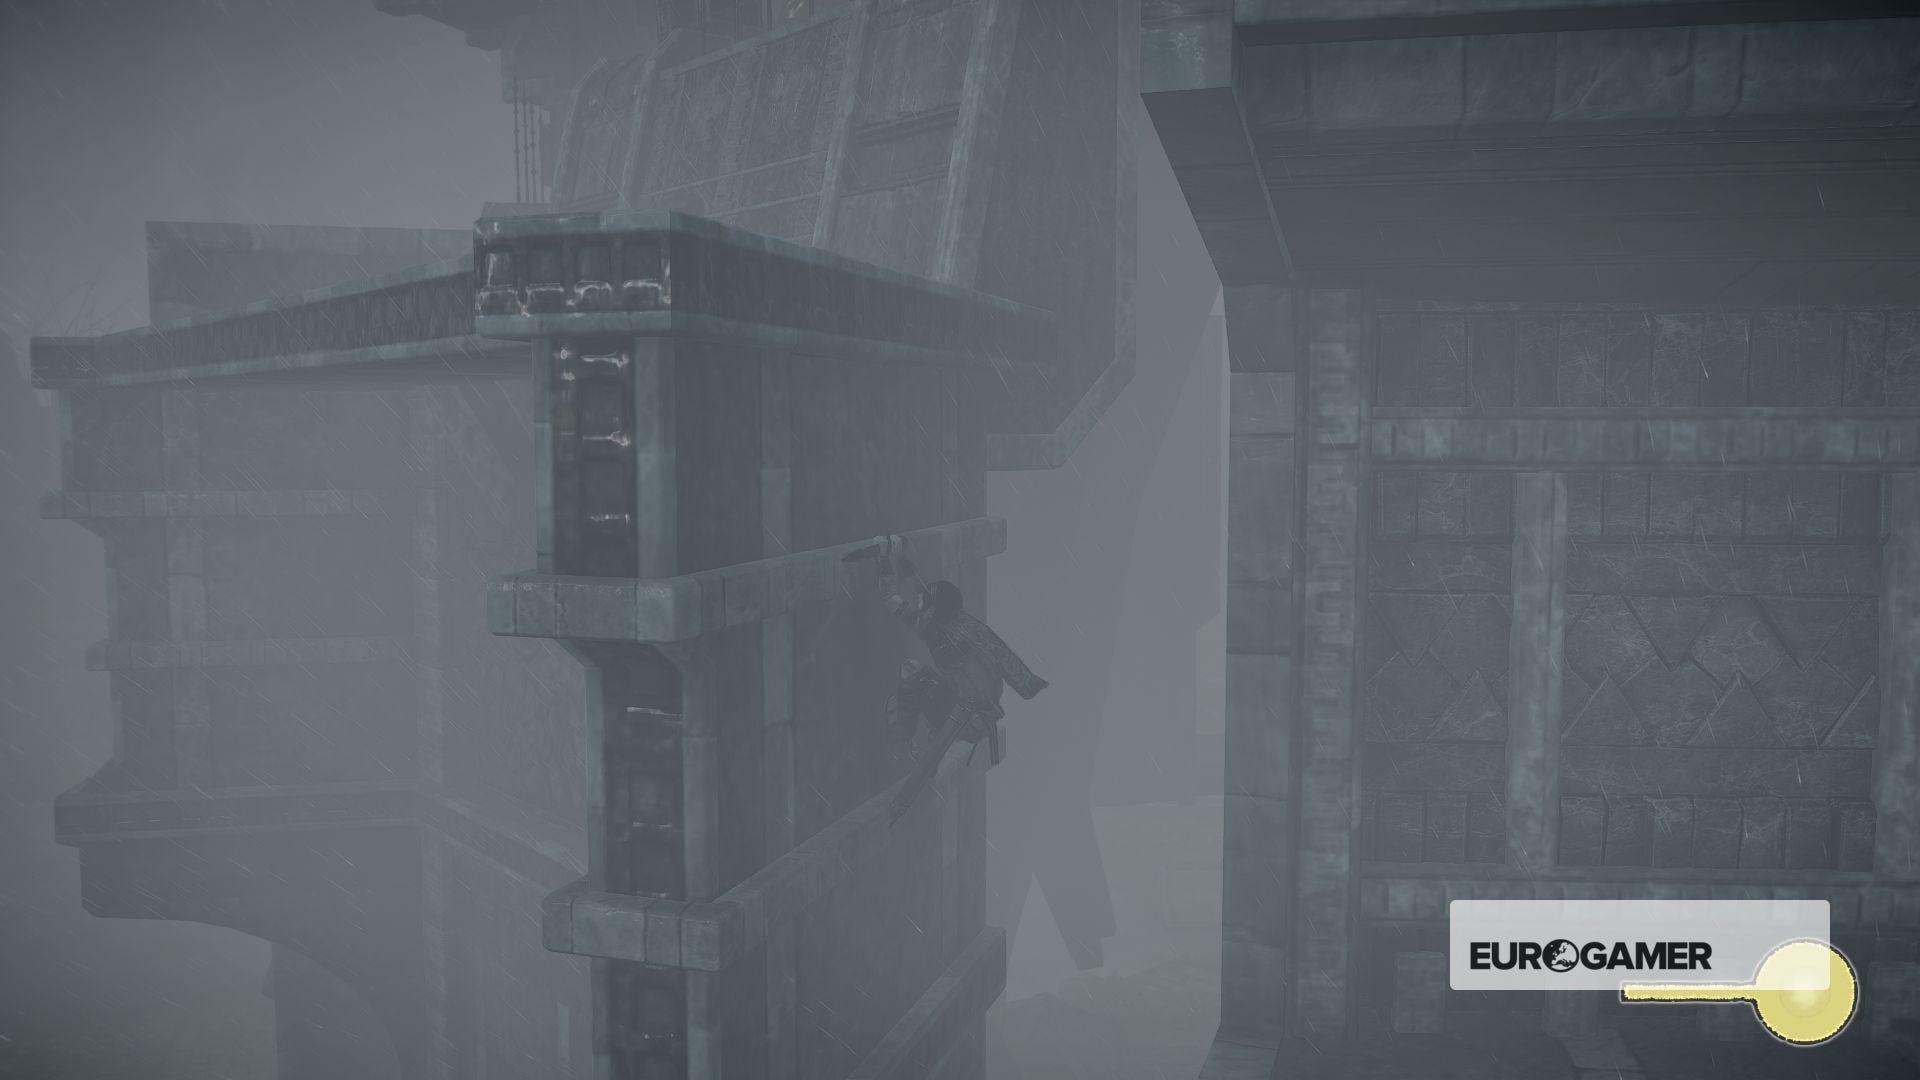
From here you'll see some spiked iron railings and no clear way to get higher. Run around to the left and you'll see a gap in the lip above you with some ledges. Jump onto those and up an left to the next rim.
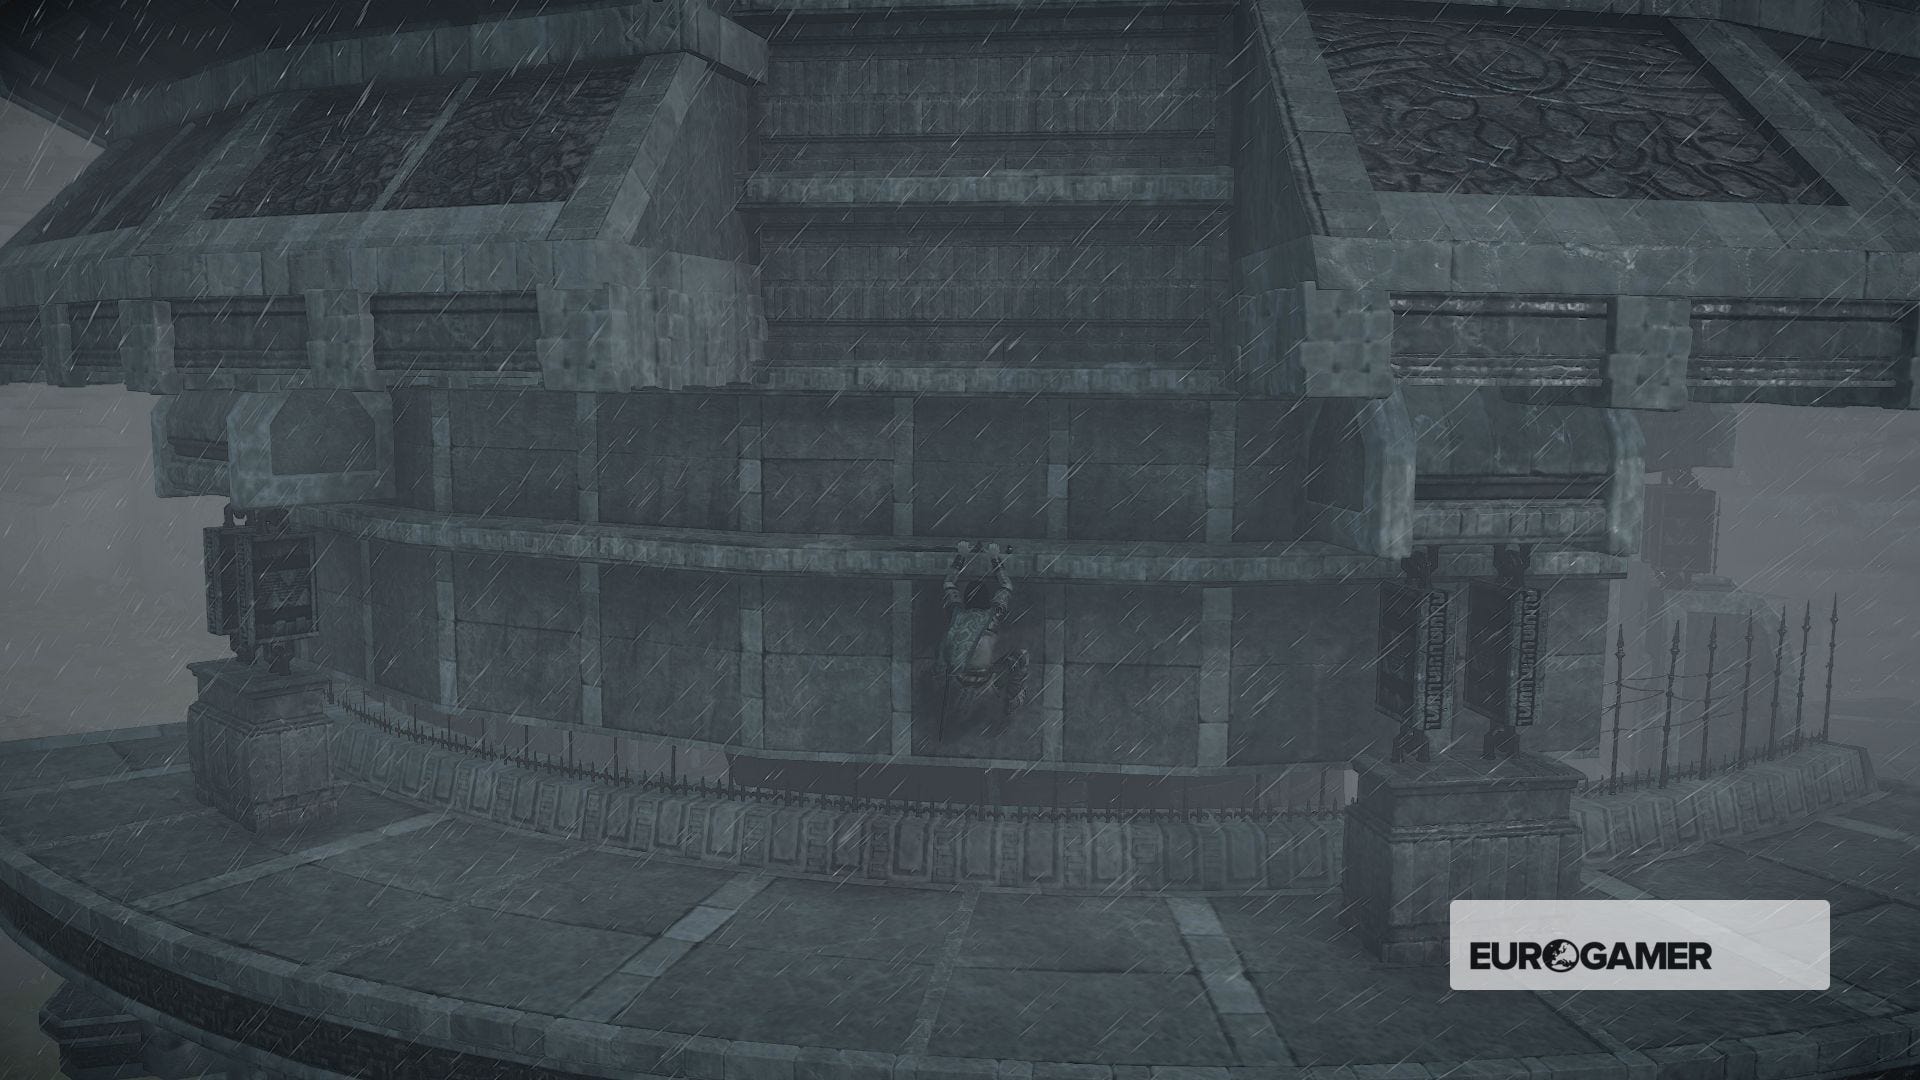
Run left, towards the front of the sixteenth colossus, jumping a gap as you go until you see more ledges above you. Go straight up onto a small platform, then right or left onto the next platforms to one side.
The camera will zoom out, and then work your way straight up the various ledges directly above you until you get to the top level of its strange stone robe, and you can see the dark, sparkling body of the Last Colossus in the gaps between.
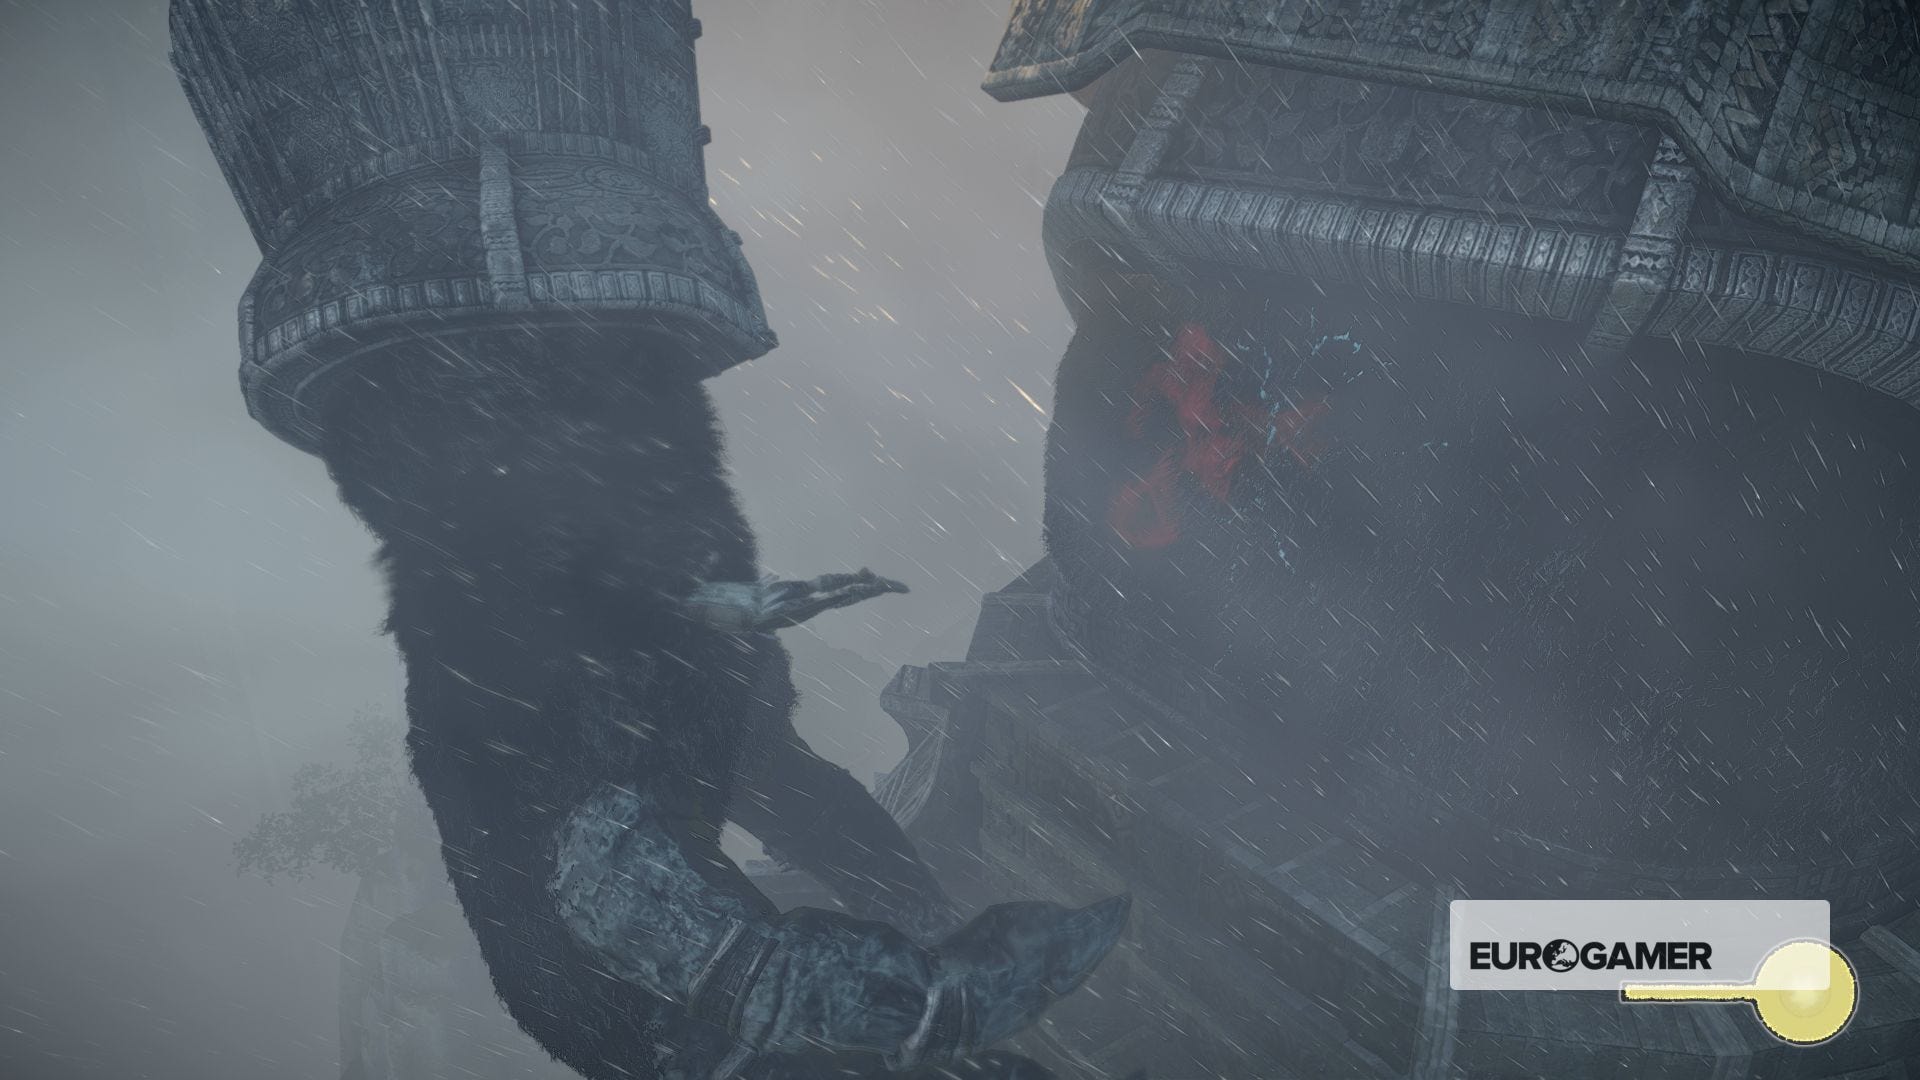
You then need to work your way to behind Malus, where you can climb up to another ledge above you and eventually a spot of vulnerability on its lower back, identifiable from the blue glowing cracks in its skin and the red mist coming from them.
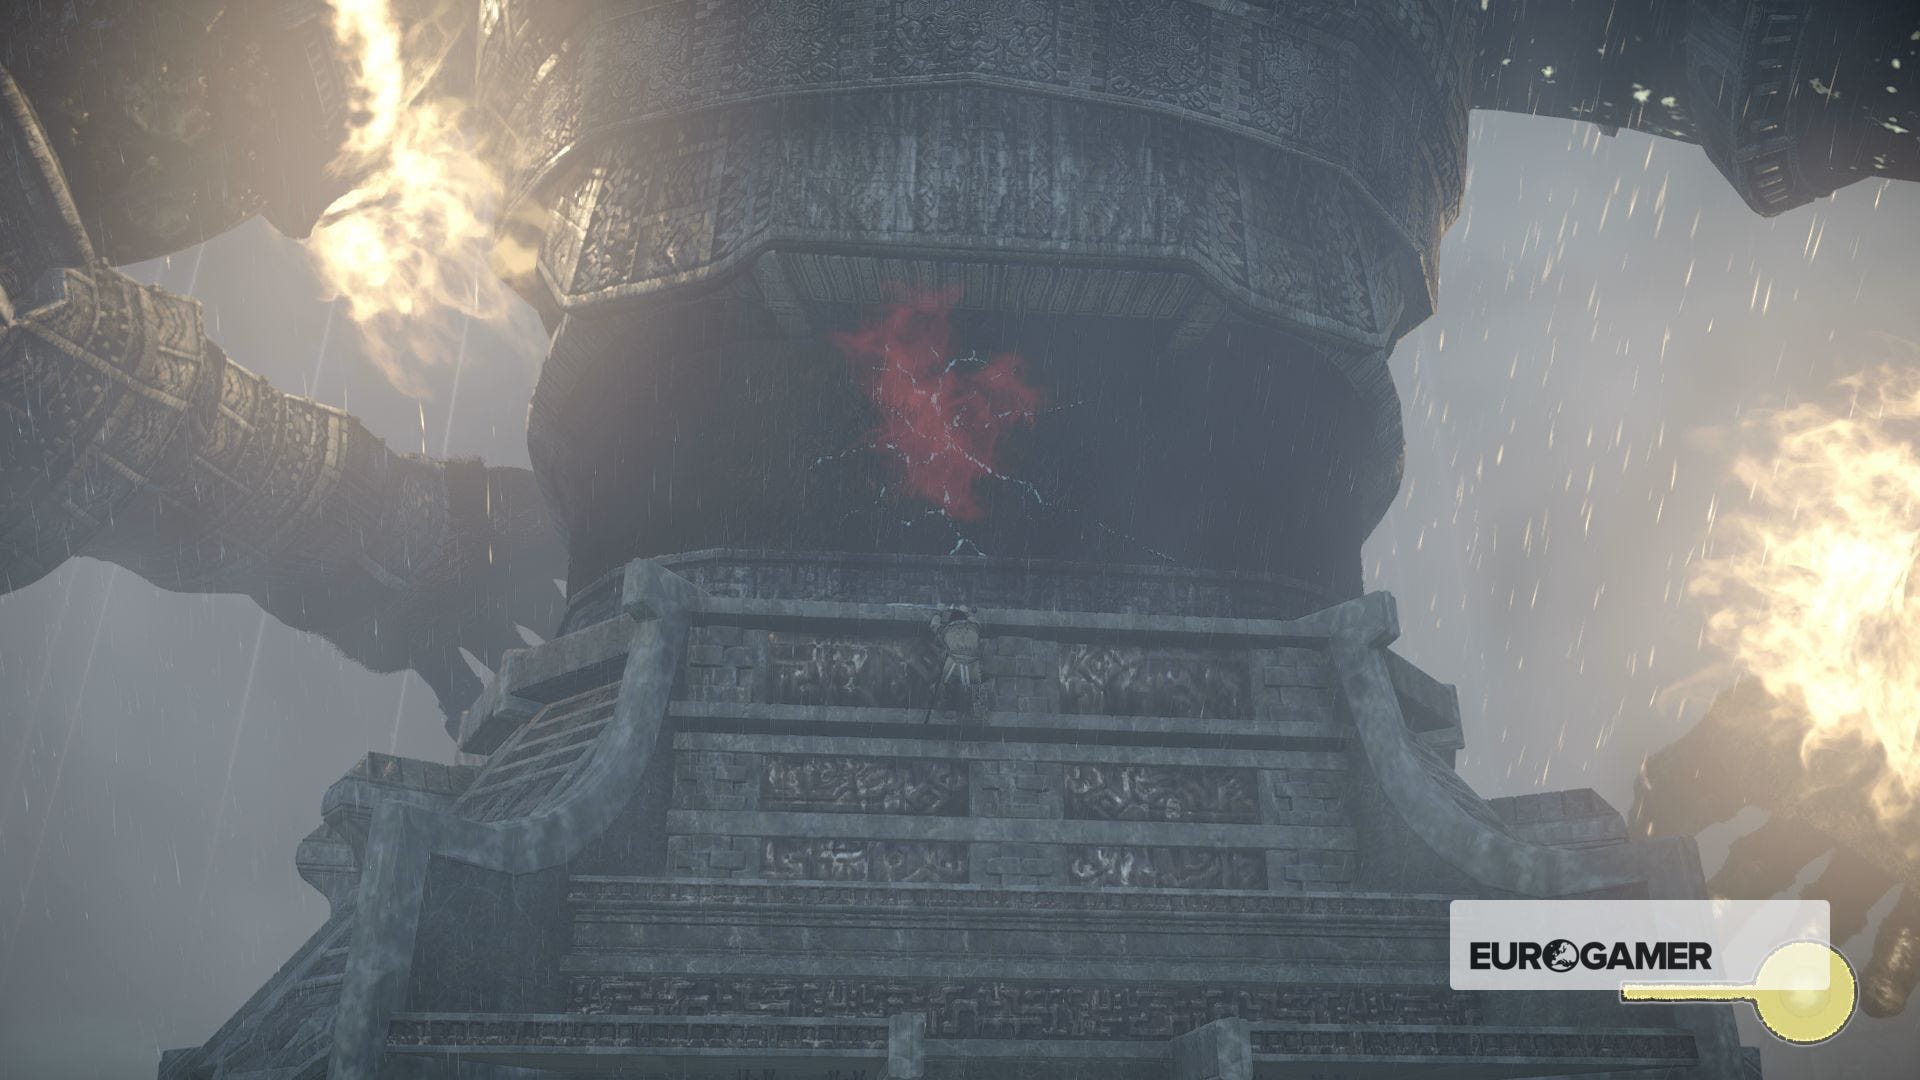
There's no way higher from here directly, so it's time to do some baiting. Stab the wound, then drop off the black fur the ledge just in front of it. Malus' huge hand will come sweeping round to try and reach you - time to jump off the ledge and onto the furry palm of the hand.
If you miss, hold that R2 button and angle yourself towards its body, and climb back up - if you land all the way on the ground you won't actually die, and can recover health back by its feet if you need to.
If you make the jump, it's time to warm up that right index finger, because you'll be doing a lot of holding on that R2 button.
You need to get to the palm side of Malus' thumb. When you're there, you'll notice Malus does two things - turn its hand to see the back of it, and turn it so the palm is upwards.
If you're on the palm side and near the thumb, you'll be able to stand up and run up its forearm when it looks at its palm. There are various ledges on its stone bracers - try to get up them as quickly as you can and make a break for the upper arm.
If possible, try to stand up for a moment when Malus holds its arm steady - learn the rhythm of its movement to know when that is - because you'll need a lot of stamina for what's next.
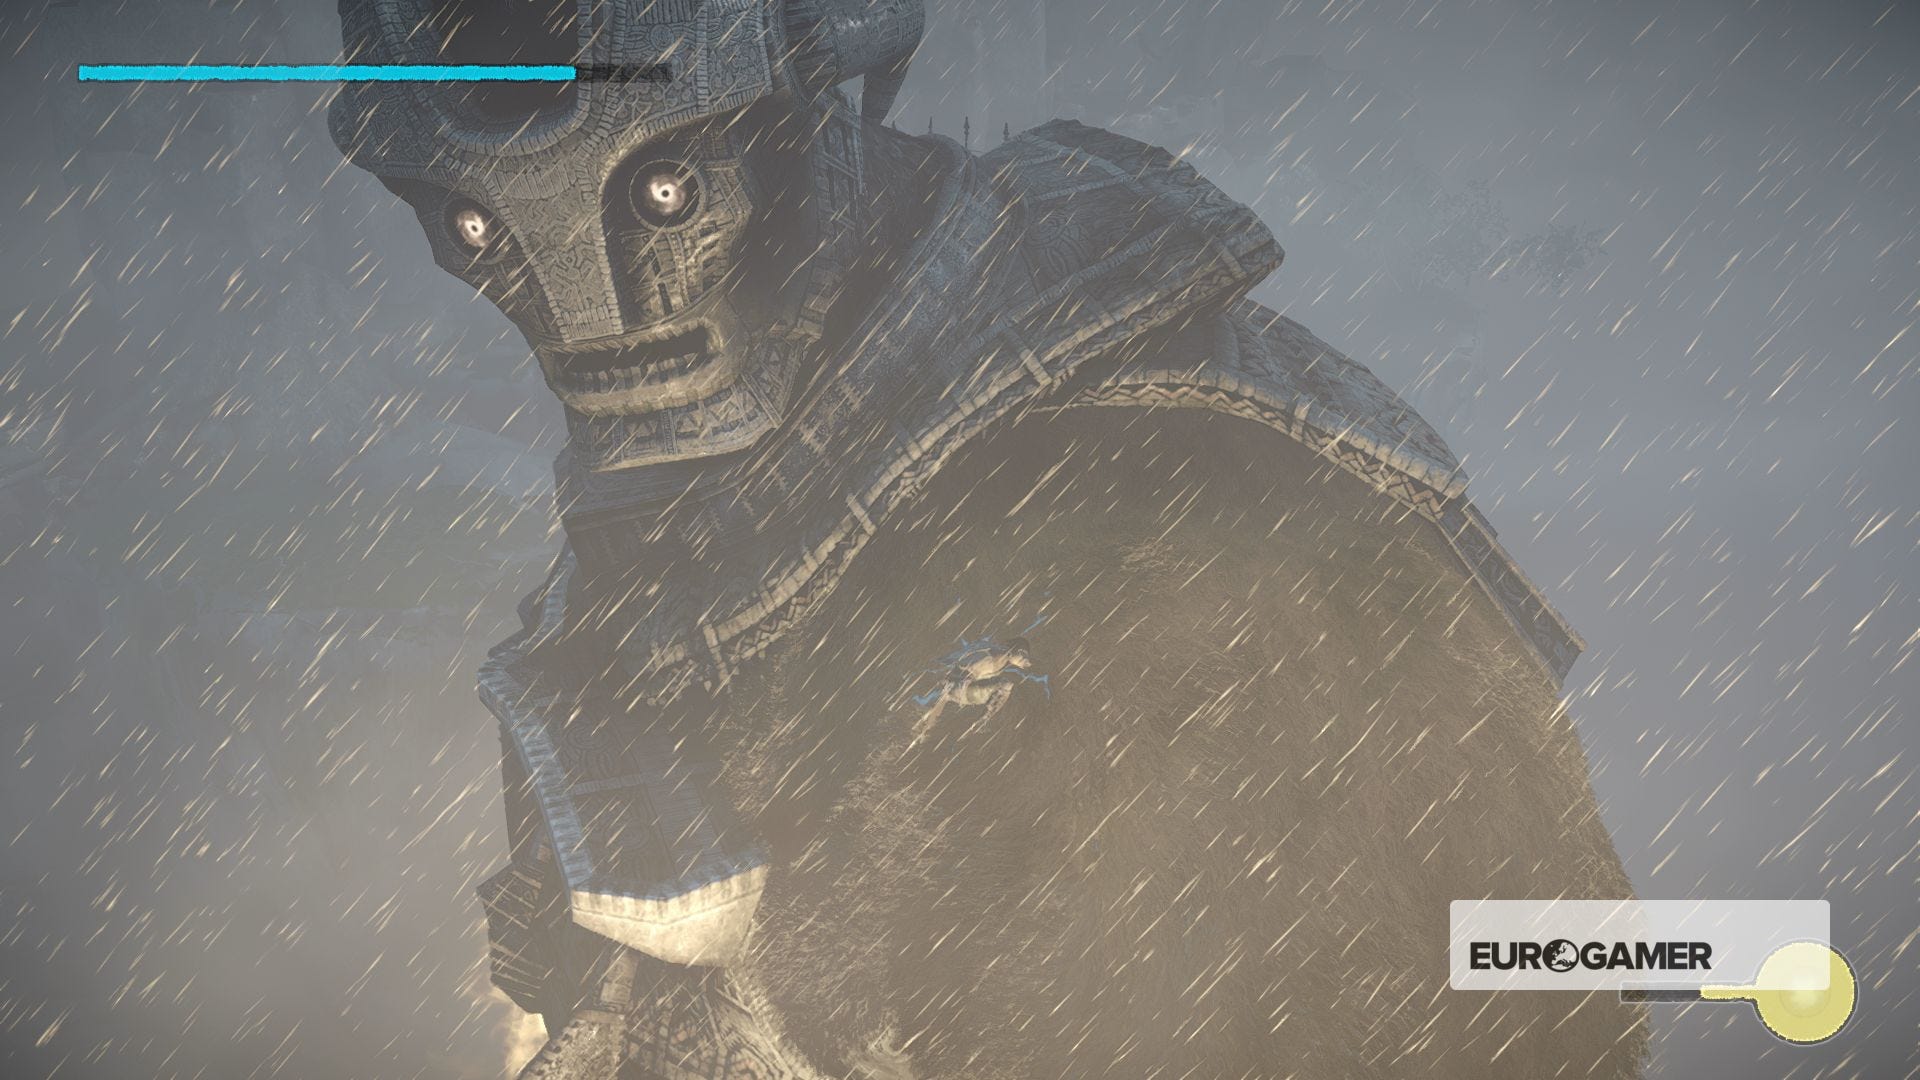
On the black fur of the upper left arm is another weak spot that you need to stab. If you do, Malus will bring its right hand around to try and cover the wound.
You need to jump from the black fur where you are onto the black fur of its right hand palm. You can actually let go for a split second and jump from a standing position on its bent left arm if that's easier - it's an awkward jump and takes a kind of knack to pull off.
When you get onto its left hand, it's time to work your way to the back of its hand - via the nearest route possible.
When you're on the back of it, stab it once. This will make Malus hold it flat.
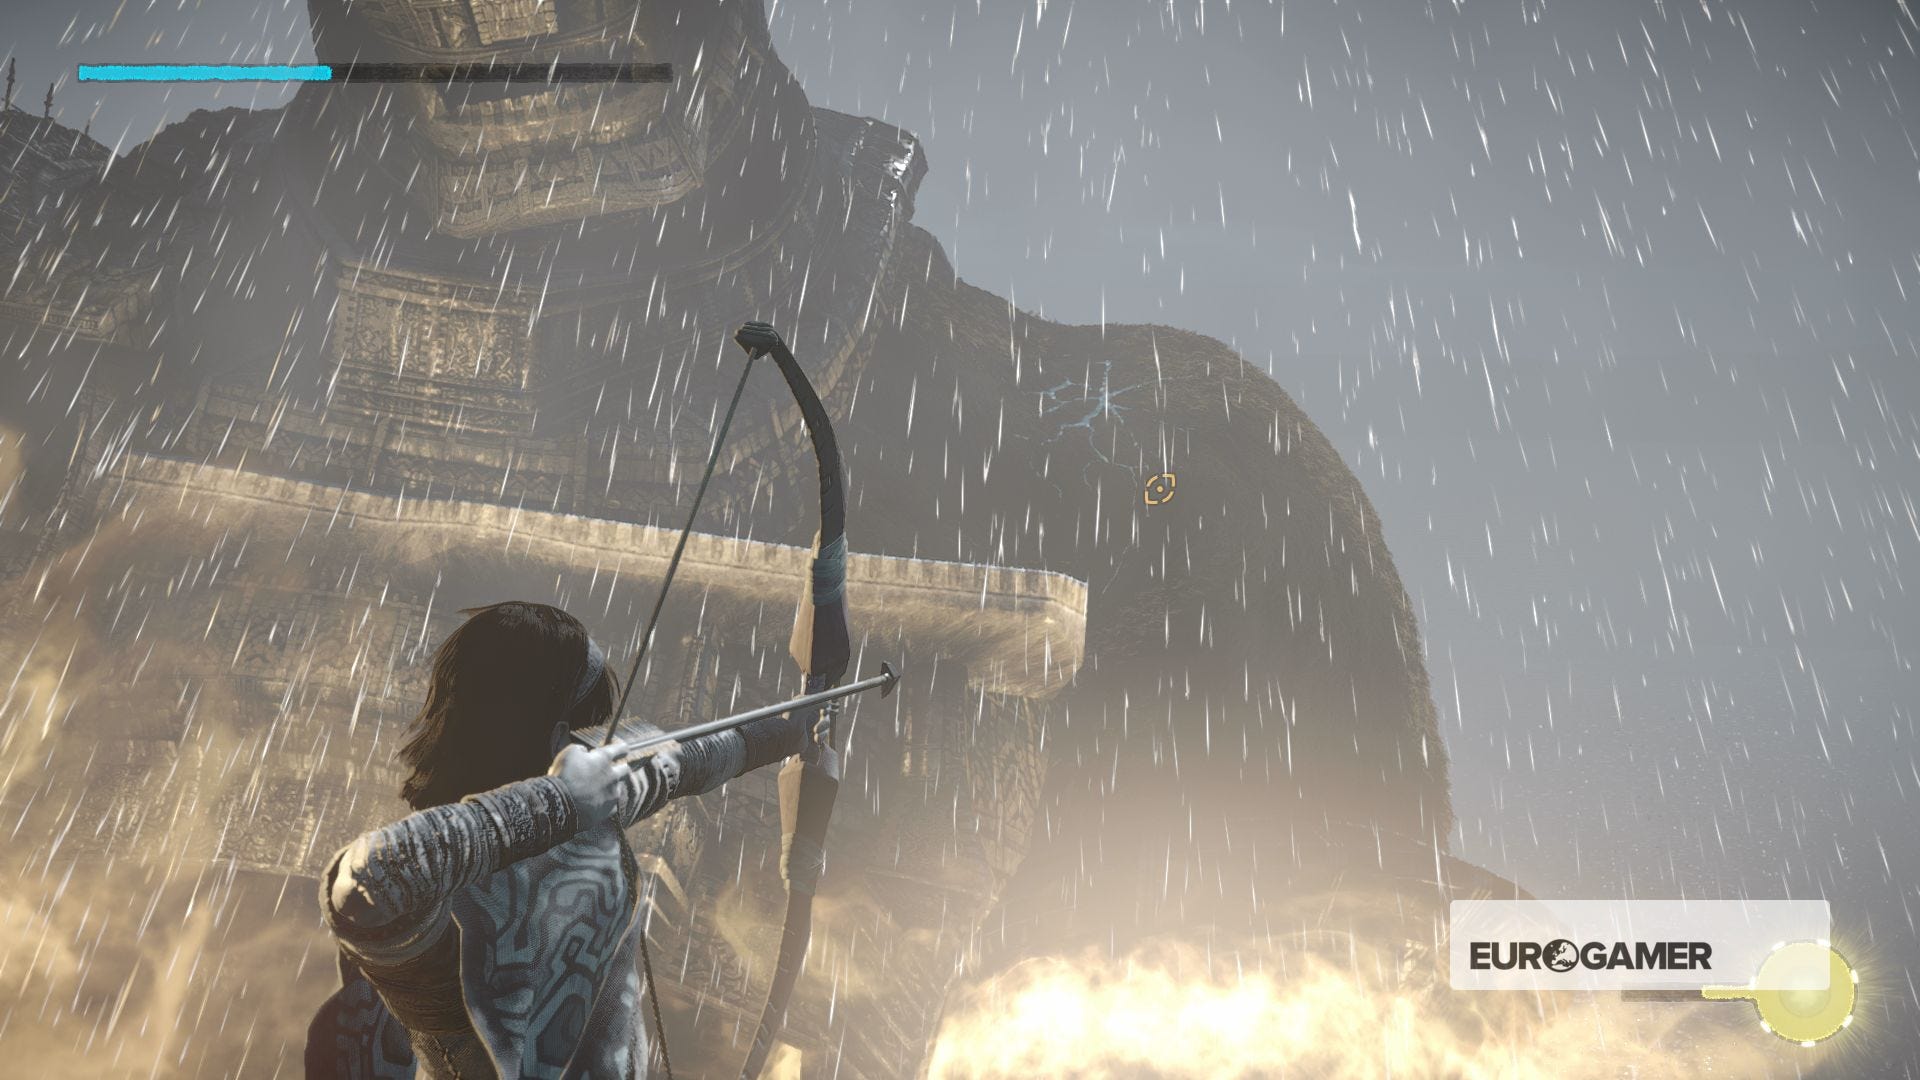
When it holds its hand flat, palm down, stand up on the back of it and draw your bow - you need to shoot a third weak spot on its front left shoulder. Hit that, and he'll draw that hand you're standing on over to the shoulder you shot.
From there, you can jump off onto the fur of its shoulder, and now you're in business. Next stop: top of the head.
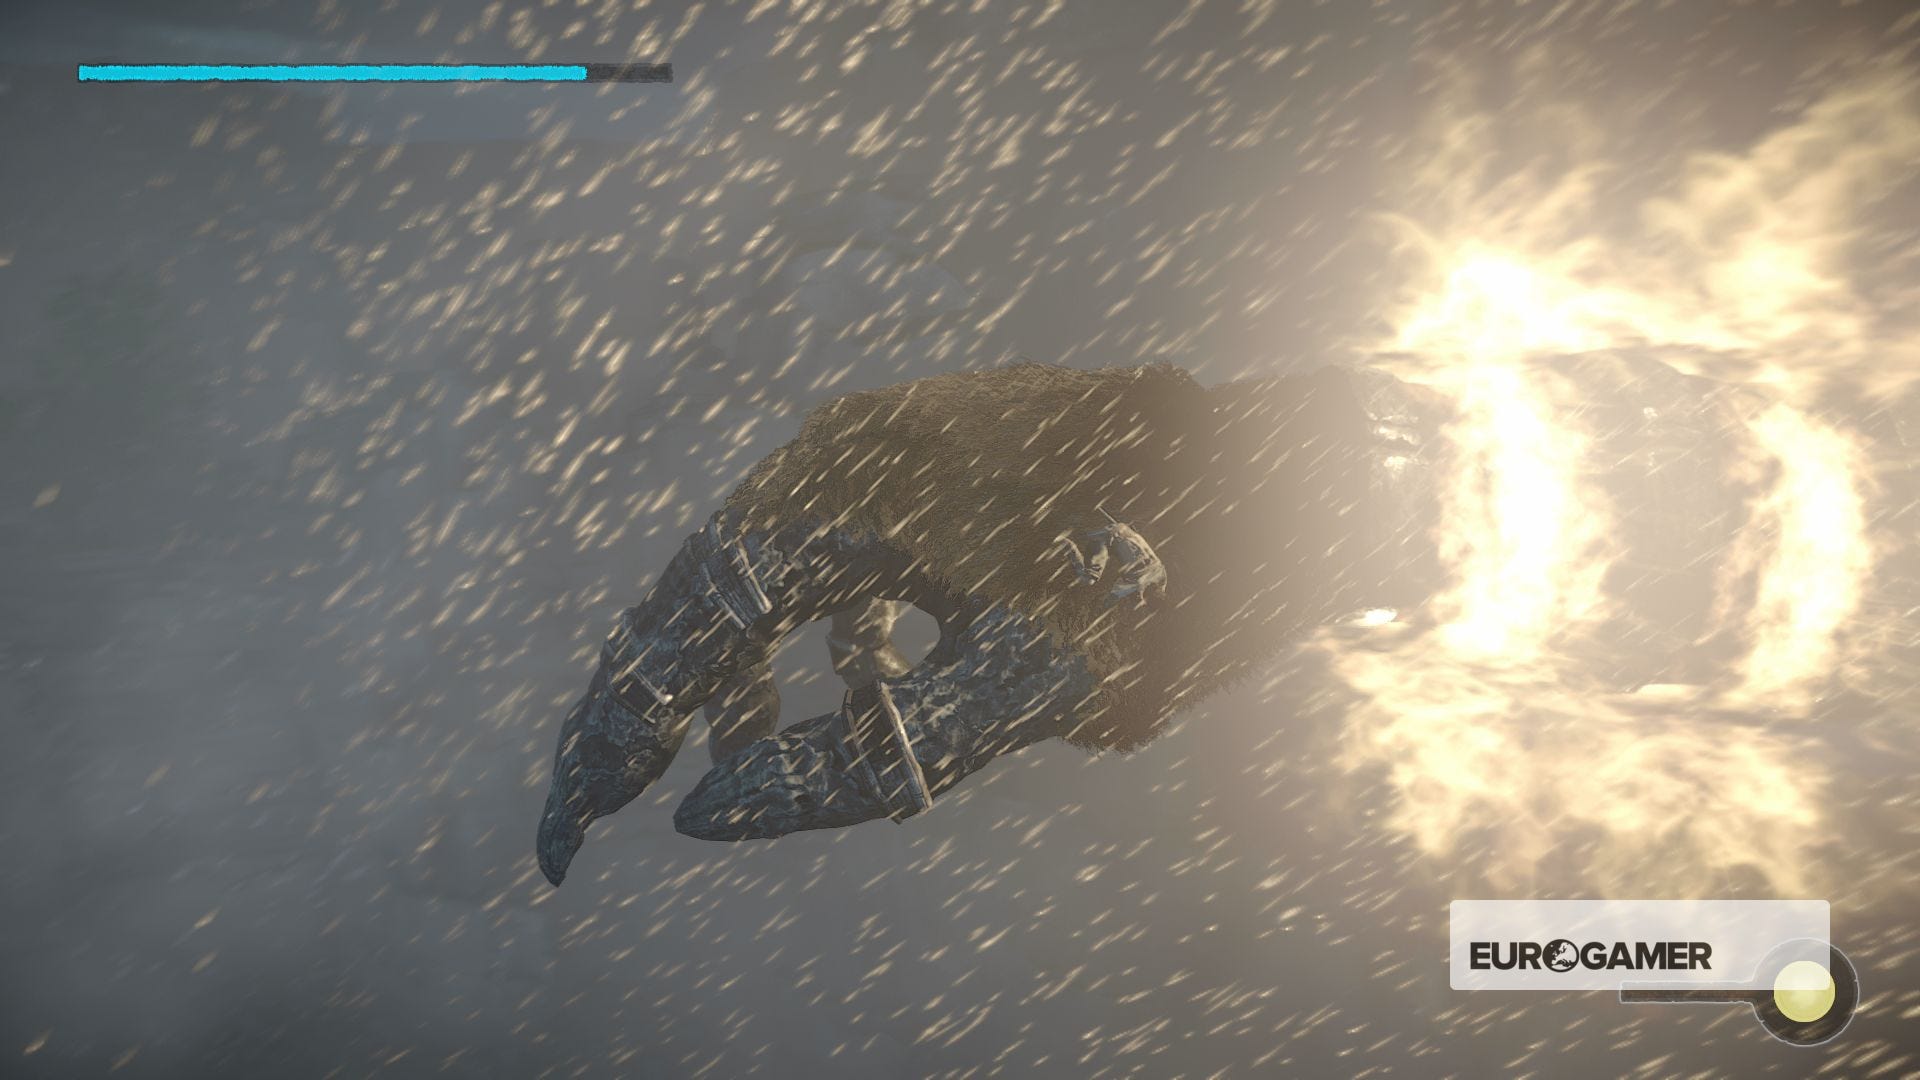
Work your way up onto the back of Malus' shoulders, where you can recover your stamina even when its shaking around (although there will be plenty of heart-in-mouth moments if you do that for too long) and see a clear route up the back of its head to a central furry patch.
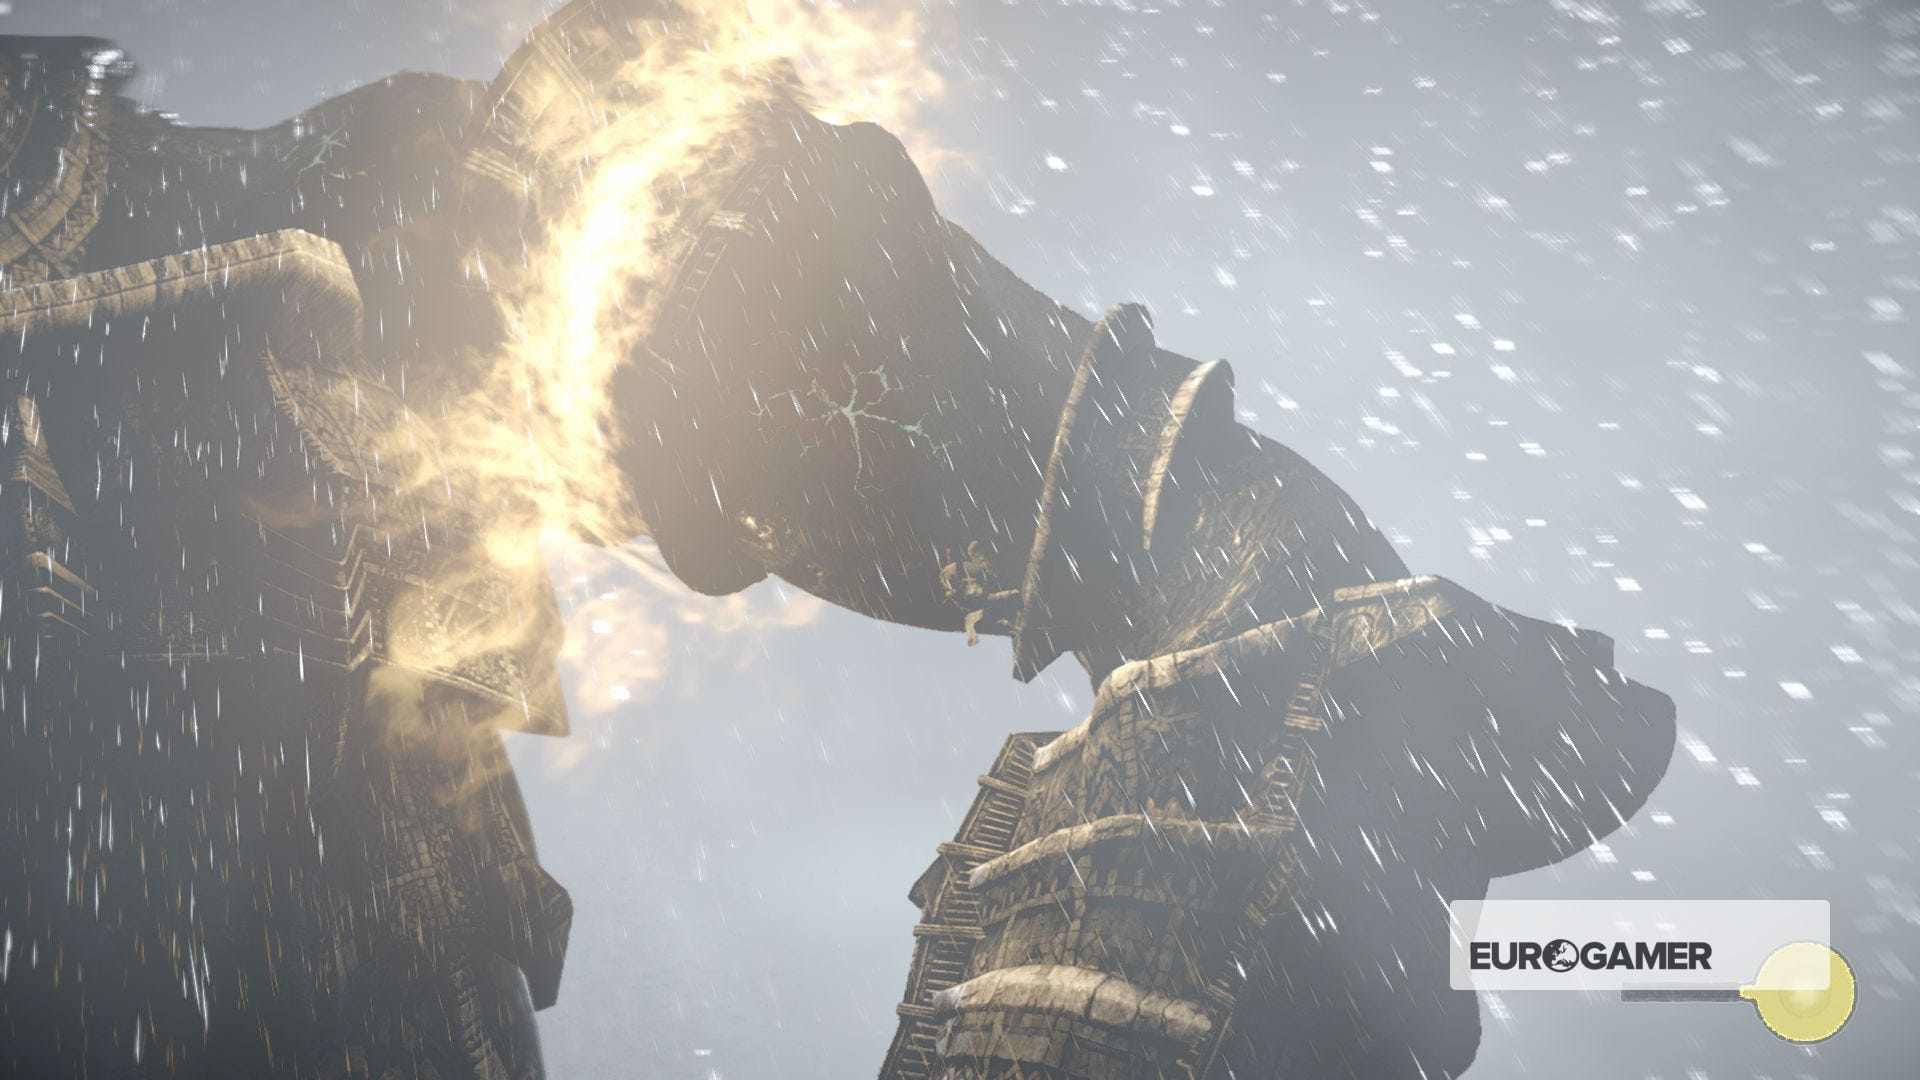
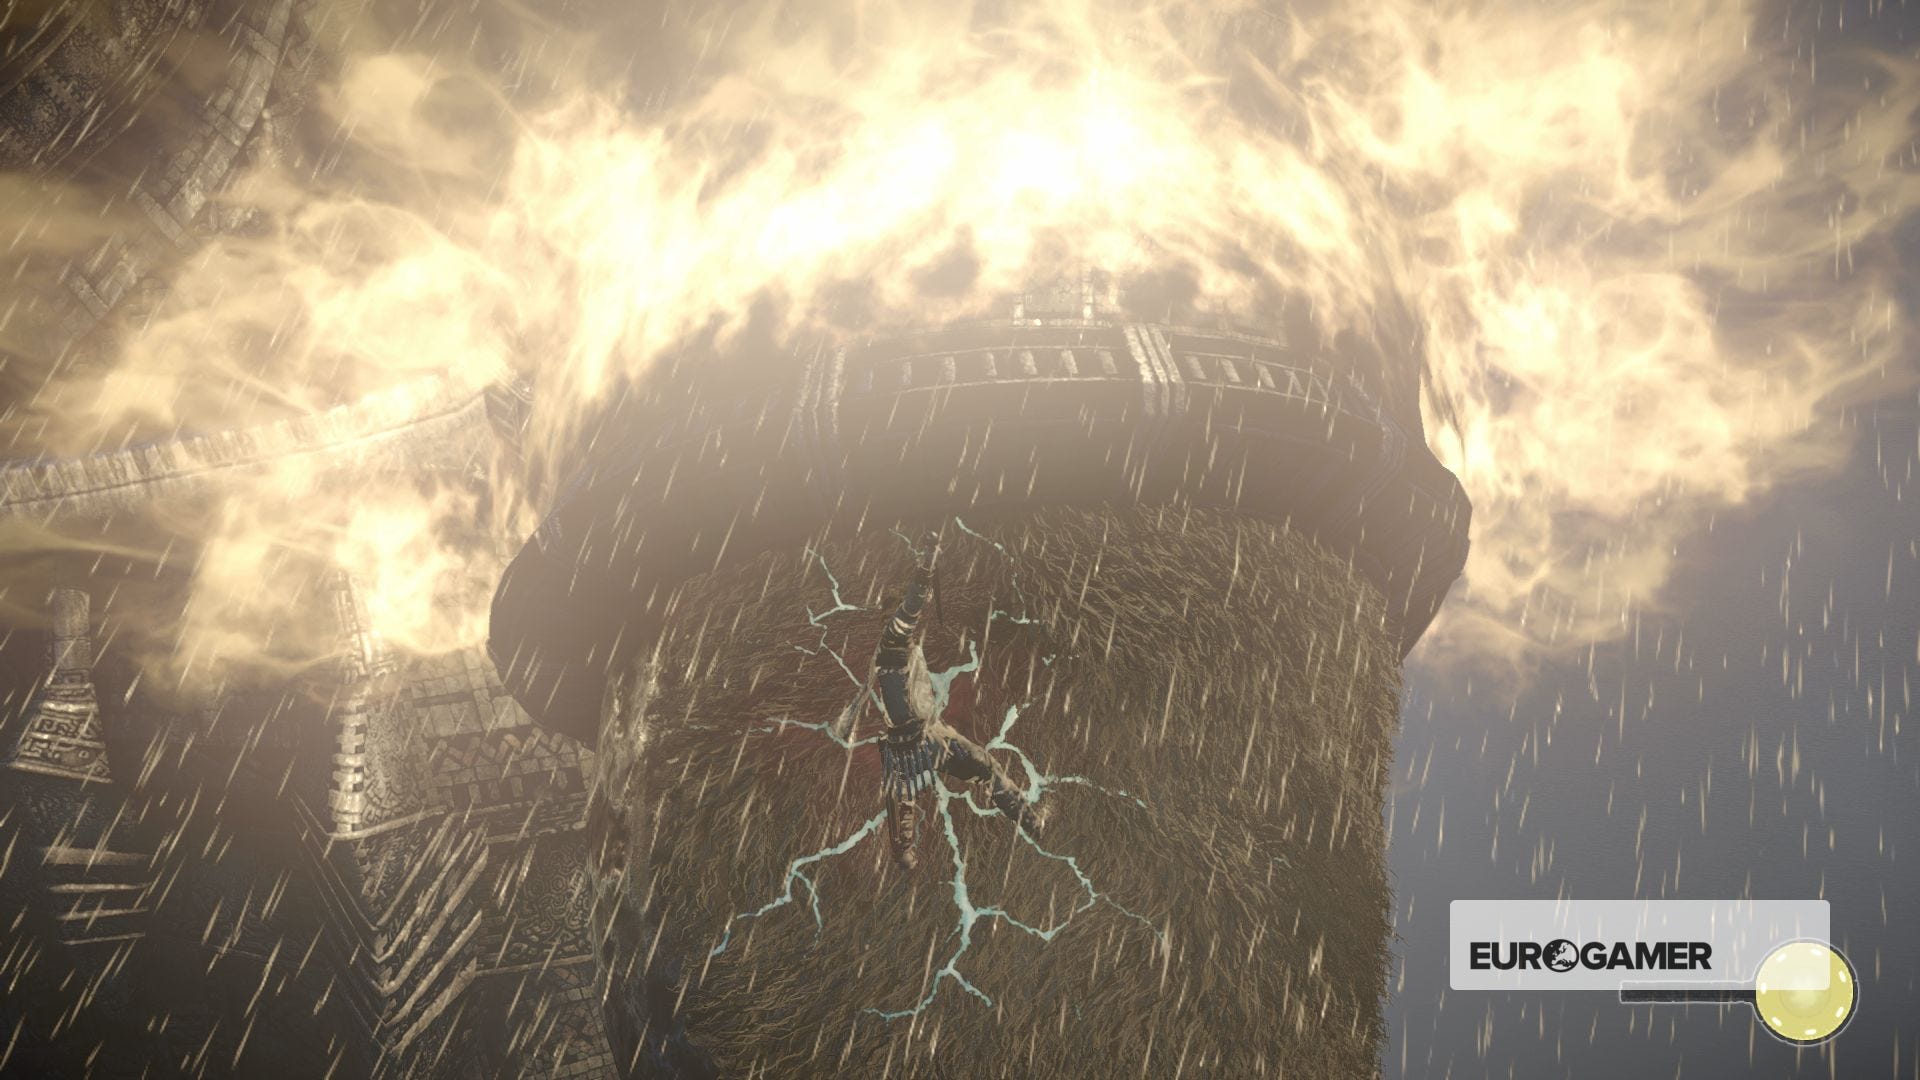
On the top of its head is the sigil. Get up there, and try to stay facing forwards, with your feet towards the back of Malus' shoulders and your head upright. It's easier said than done when it starts shaking.
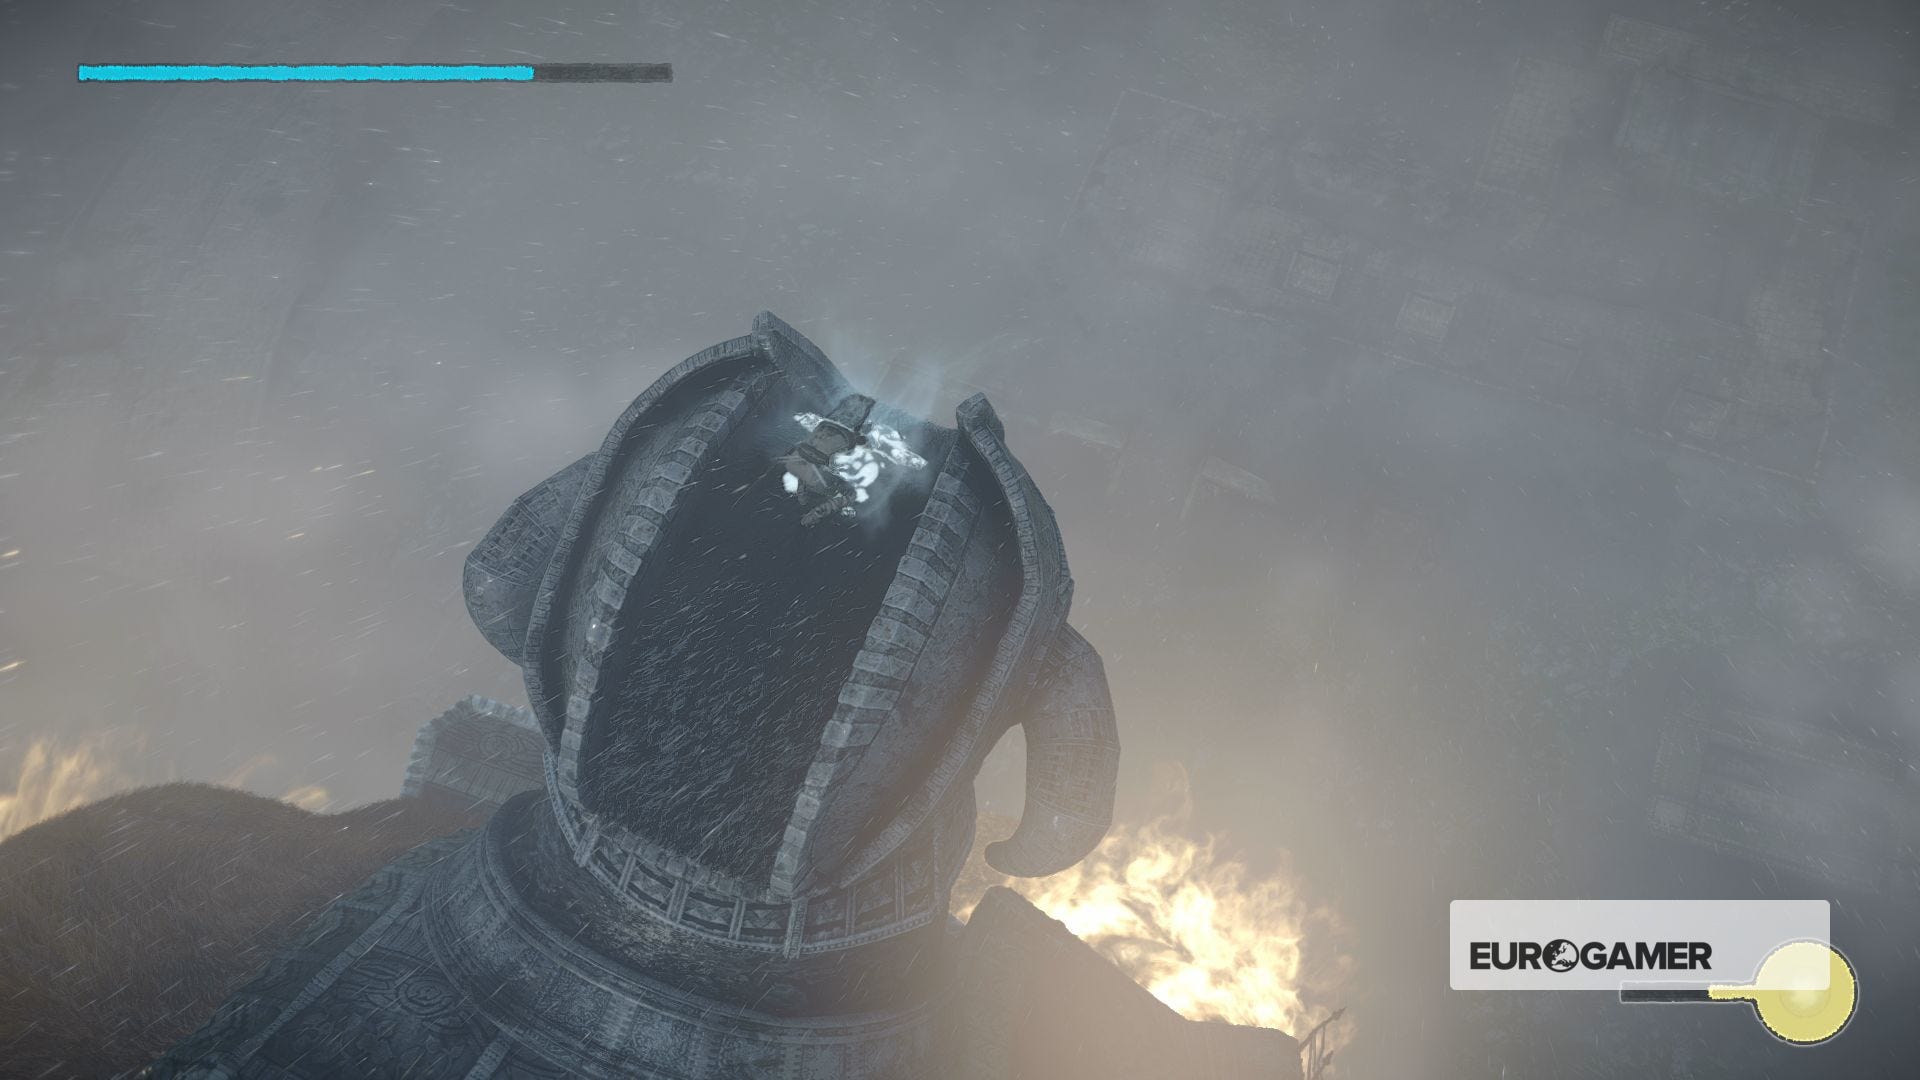
Get a nice charged stab off into the top of Malus' head, and then hold that R2 button like your life depends on it. The sixteenth and final colossus will start thrashing around like mad while you cling on.
Eventually it will stop and give you an opening - but by that point your stamina may be shot, in which case drop down onto its shoulders to recharge and then work your way back up to the head. One trick is to shoot the weak spot on its shoulder again with your bow, as Malus will stay still, stunned, for a few moments while you get off another stab.
Repeat as many times as you can, remembering to try and stay upright as you go, because if you get flipped upside down it's almost impossible to get another stab off accurately. Eventually, after an almighty battle, Malus the sixteenth and Last Colossus will fall, defeated.
Your body lays still on the ground, until it begins to levitate and move towards the Shrine of Worship. When you arrive there, the final cutscene will play.
Back to the guide hub: Shadow of the Colossus walkthrough, guide and tips
You'll have one last scene to perform, although whatever you do has minimal effect on the outcome at this point. Watch the final scenes play out, and stay for the end of the credits for one last epilogue, as Wander's journey comes to an end.