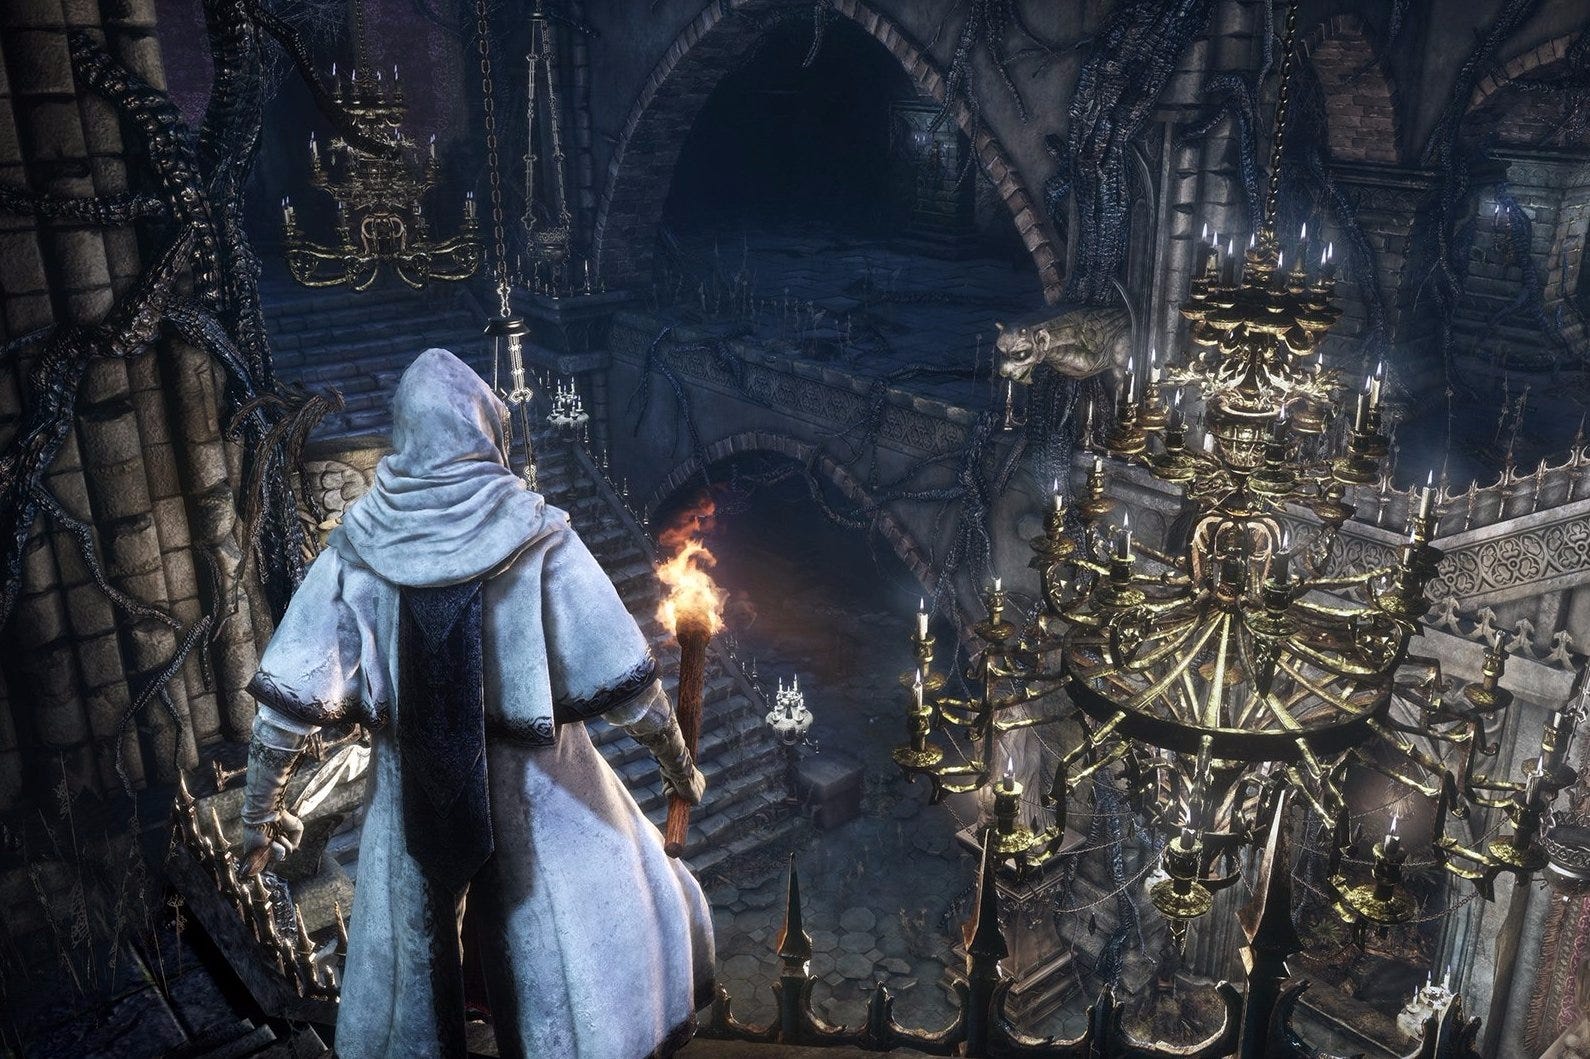
Bloodborne - Lady Maria, Astral Clocktower lamp, Celestial dial, clock face
How to survive Lady Maria in Bloodborne's DLC.

This article explains how to survive Lady Maria in Bloodborne: The New Hunters.
If you're interested in more advice, our complete Bloodborne walkthrough and for the DLC our The Old Hunters guide and walkthrough can help.
If the Living Failures boss battle was a little too easy for your tastes, don't worry: Lady Maria of the Astral Clocktower is here to ruin your day. Maria is fast, hits brutally hard with her curved-sword-meets-twin-blades weapon (the Rakuyo, which can be acquired later) and just keeps getting tougher as the fight wears on.
Lady Maria boss fight: Phase One
That said, Maria's first form is surprisingly straightforward. Although her moves are numerous, they're not especially diverse. She favours short-to-mid-range melee attacks, focused on quick jabs and slashes. As such, your best tactic is to hug her left buttock and stay close throughout the battle. Circle around her continuously and launch your heavier strikes immediately after she's deployed one of her numerous charged moves, taking advantage of her momentary vulnerability.
The real danger comes from the fact that Maria is incredibly quick on her feet. She'll continually zip around the arena, sidestepping your attacks and repositioning herself to launch a direct offensive - usually unleashing a lengthy, high-damage combo. As such, you'll need to remain vigilant and agile during the battle in order to maintain your optimum position. Note that many of Maria's heavy attacks can also be interrupted with a gun parry in a pinch.
Lady Maria boss fight: Phase Two
Things get much, much trickier in the second stage of the fight, however. Once you've drained a third of Maria's health, she'll plunge the Rakuyo into her body. When this happen, land a few quick blows (if you're feeling brave) then immediately leap backward to avoid the deadly cascade of blood that pours forth once she withdraws her blades.
From this point on, Maria's attacks are far more powerful, and her weapon has a much longer reach. What's more, the streams of blood that sometimes pour from the blades can extend that reach still further. Fortunately, as before, most of Maria's moves are focussed directly ahead - meaning that your tactic of circling and staying in close to her left-had side remains unchanged.
Maria does, however, gain two new moves that you should be particularly wary of. Firstly, she'll occasionally rise off the ground and slam down toward you in a spray of blood. This can be devastating if you suffer a direct hit, so you'll need to time your dodges and roll beneath her. Additionally, usually at mid-to-long-range, Maria will grip her blade with both hands and pull back - causing a powerful beam of blood to shoot directly at you. Dodge at the last moment to escape its impact then sprint in and pile on the blows while she recovers.
Lady Maria boss fight: Phase Three
Unfortunately, that's not quite the end of your ordeal. When Maria's health is down to a third, she'll slowly rise upward, sucking tendrils of blood from the air. Shortly after, the blood explodes outward in a dangerous shockwave. Needless to say, you should stand well back.
Once Maria touches down, you'll learn that she's even more formidable now; her attacks are longer in reach and tinged with sweeping arcs of blood-red fire. Meanwhile, her hard-hitting combos are even trickier to dodge. However, your basic strategy of keeping close, dodging like hell and landing an attack whenever possible remains the same.
During this last stage of the fight, Maria's deadliest move is arguably her upgraded beam-blast attack, now accompanied by a wide spray of deadly blood. If you're caught in its area of effect, you'll almost certainly be a goner. The good news, however, is that she's especially vulnerable after this attack - so, as soon as you see its charging animation, slip in close, dodge around and be ready to launch a string of powerful strikes. Eventually, Maria will go down.
Once she's been defeated, a new lamp will appear near the doorway at the end of the room. Light it to add the Astral Clocktower to your list of fast-travel locations. You'll also find a glowing item - the Celestial Dial - on the ground nearby. Note that, with Maria dead, it's now possible to purchase the Maria Set attire from the Insight bath in the Hunter's Dream.
Grab the Celestial Dial then approach the giant clock face on the far wall. As you near the wooden steps, a prompt will appear. Follow it to hold the Celestial Dial aloft, causing a distant bell to toll. Once the clock face has finished turning, a circular tunnel will be revealed at its base. If you're ready to continue your journey, climb the steps and head on through.
- The next part of our walkthrough explains how to survive Bloodborne's Fishing Hamlet section.
- For the rest of our Bloodborne: The Old Hunters walkthrough, head back to the index page of this article.