Zelda - Etsu Korima and Path Of Light solution in Breath of the Wild DLC 2
How to complete the DLC 2 trial.
Etsu Korima and Path Of Light are challenges as part of The Champions' Ballad, which is the main quest in Zelda: Breath of the Wild's second DLC.
This page covers the camp you'll face before tackling the Etsu Korima shrine and its Path Of Light challenge.
If you're after help for the main game itself, then consult our Zelda: Breath of the Wild walkthrough and guide.
Clearing the camp before Etsu Korima
The final enemy base in this section of the DLC is located atop Mount Hylia. Since this area has extremely low temperatures, we suggest using cold resistant armour such as Snowquill Set you acquired during the main quests of the base game.

Alternatively, you can simply pack some food that increases your frost resistance.

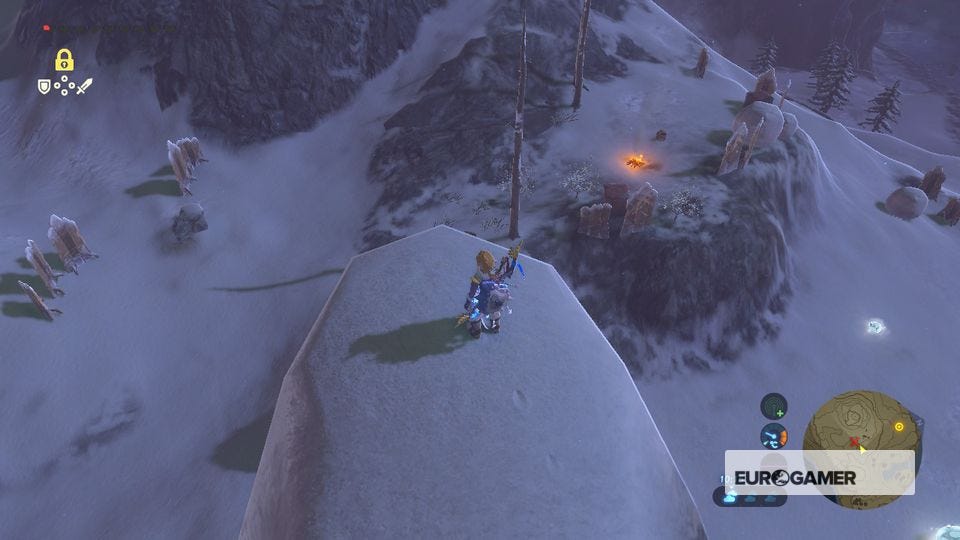
Whether you're travelling from the Owa Daim shrine or from the Ruvo Korbah Shrine, look for a small peak that overlooks the enemy camp. Here you'll see three moblins, a group of frost lizalfos and a blizzrobe.
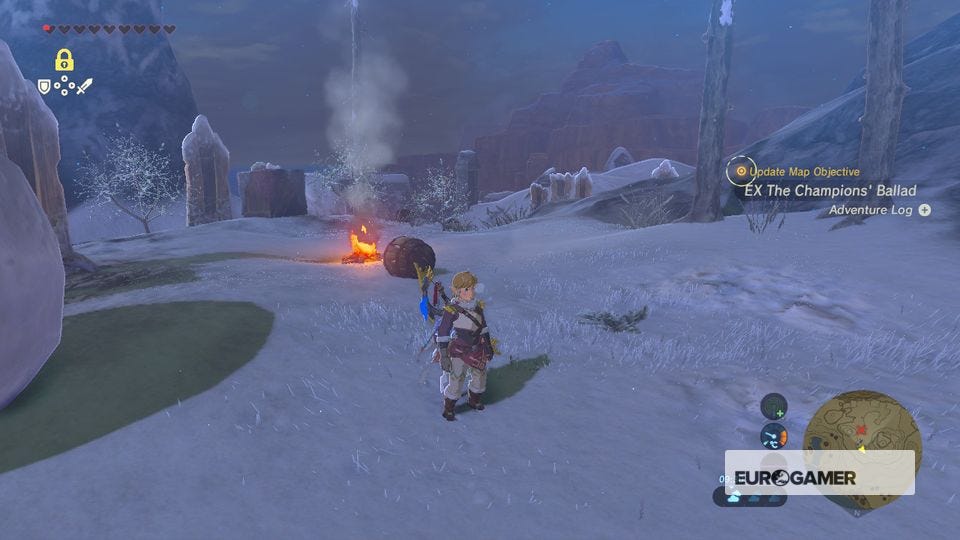
Use a Bomb Arrow on the blizzrobe to take it out in one shot, then use this position to snipe the lizalfos and the one moblin with frost arrows to reduce their ranged danger. Now jump down and take out the remaining moblins with your Obliterator. When they're all toast, the final shrine of this phase will rise out the ground in the gulley below.
Etsu Korima and Path Of Light solution
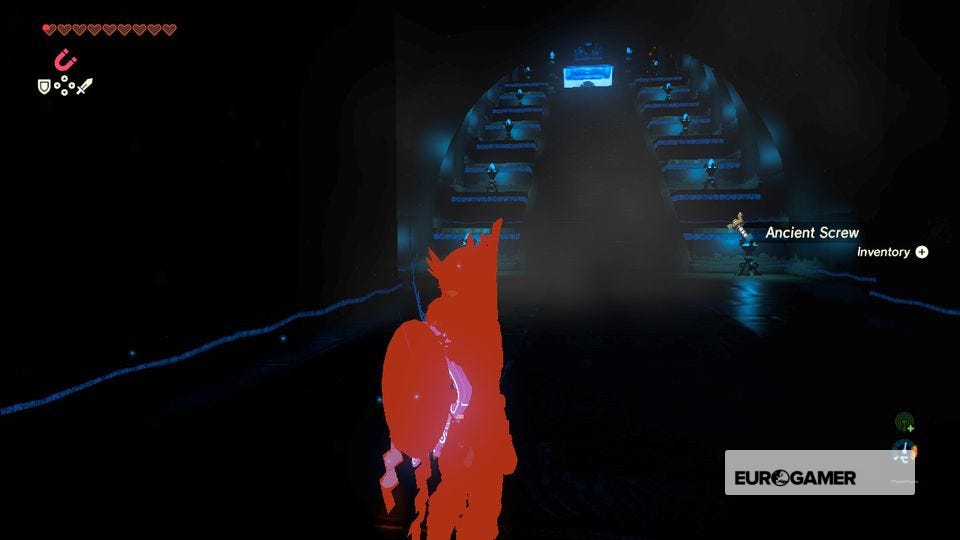
As its name suggests, this shrine is all about light - or there the lack thereof. Don't worry though, lots of items you have emit small amounts of light or remove a certain amount of darkness (such as Stasis, Magnesis or the Obliterator itself), so don't worry if you don't have any torches on you.


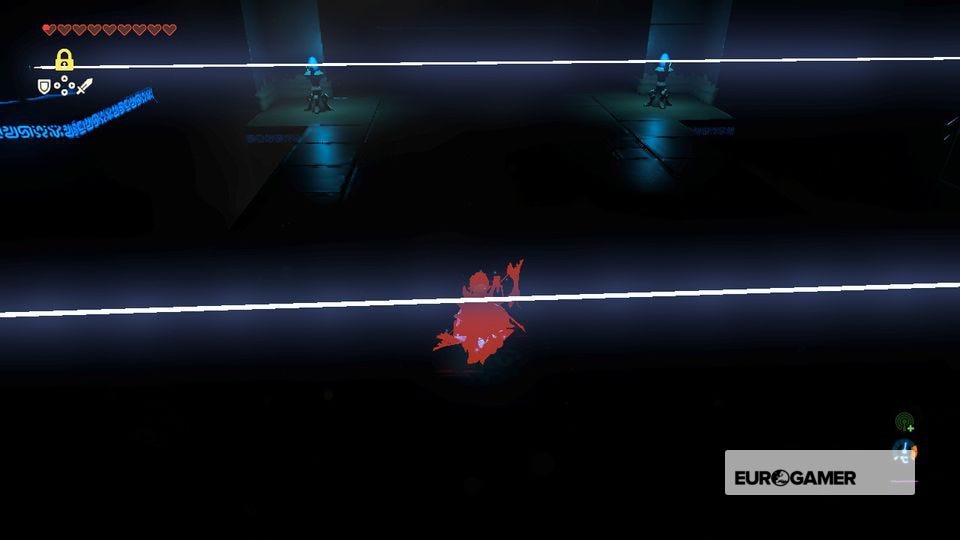
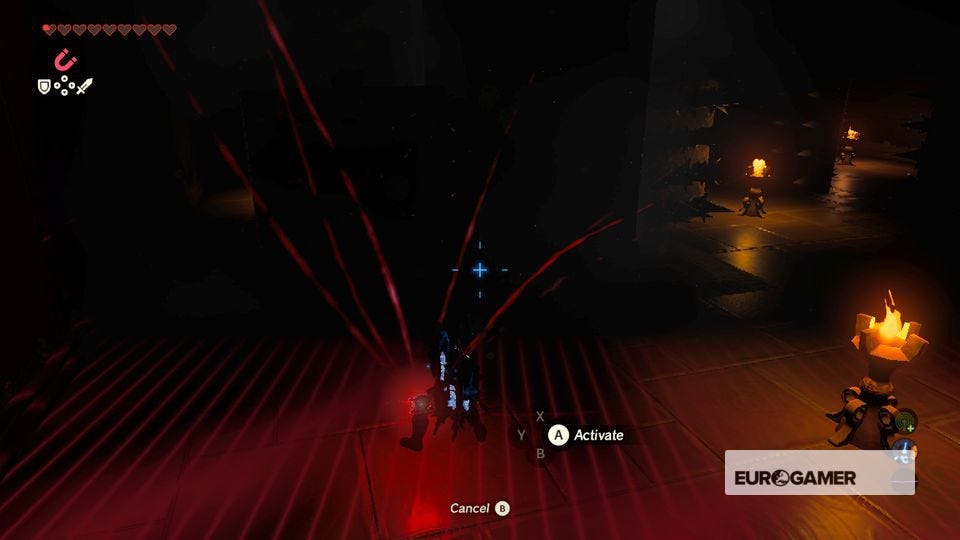
When you start the shrine you'll see three static beams of horizontal light and a fourth one in the distance that's moving up and down. Crouch and move beneath the first three, then wait for the fourth one to pass beneath the floor before running across to start the next section.
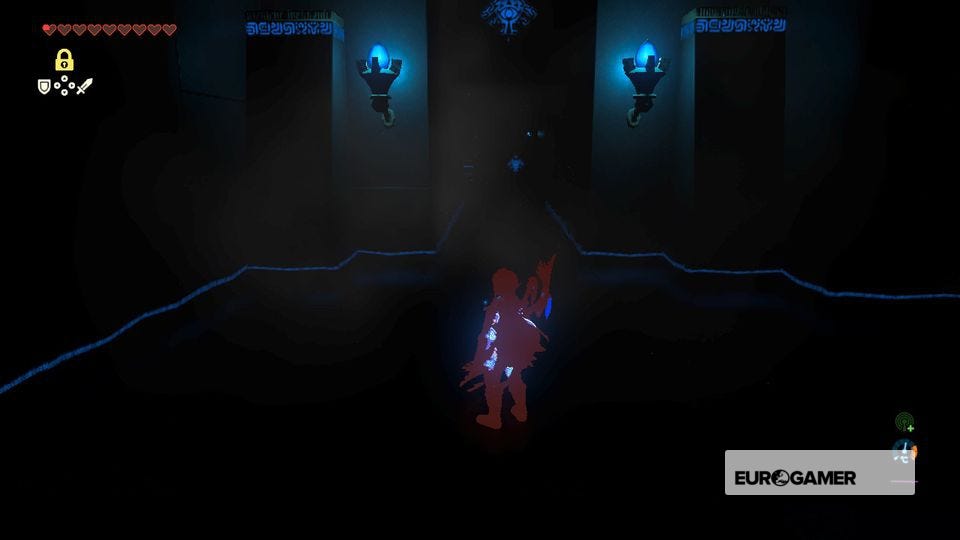
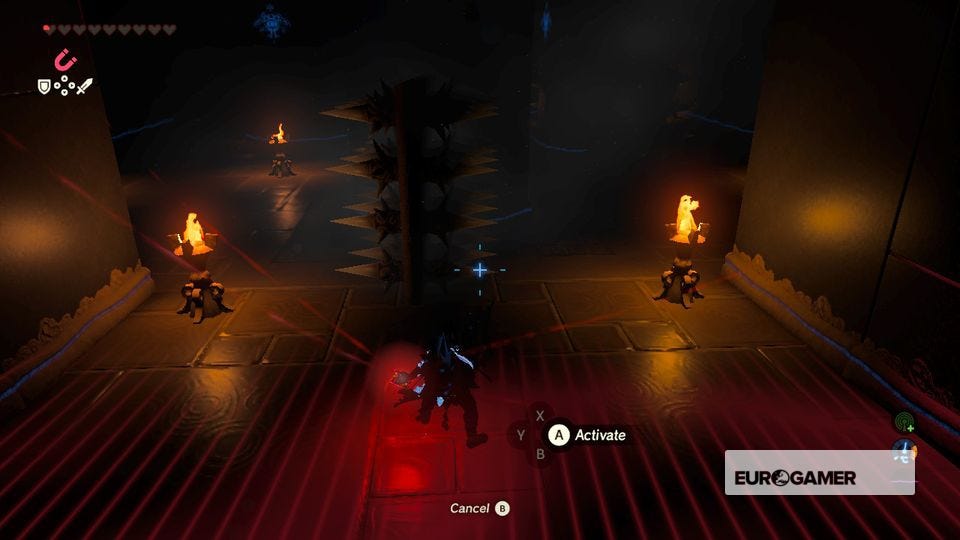
In this bit, you'll need to navigate around a series of spike walls. Thankfully, they're moving pretty slowly but they're all bathed in darkness so pull out a torch and light it on one of the braziers or use Stasis/Magnesis to follow these walls around in a clockwise motion.

Thanks to a new update, it's now possible to play Zelda Breath of the Wild in VR. Want help with the main game? Our Zelda: Breath of the Wild walkthrough can help complete Divine Beasts Vah Ruta, Vah Rudiana, Vah Medoh and Vah Naboris and more. There's also how to get the Master Sword, Hylian Shield and all Zelda Captured Memories and Great Fairy Fountain locations, while our Shrines locations and Shrine maps hub explains where to find and solve every puzzle room, including dragon locations and Labyrinth solutions. We also have a DLC 1 guide and DLC 2 guide, including all Tingle, Majora's Mask, Phantom, Midna outfit locations.

We used the ones to the left of the room, pass two of these pillars to reach the stairs on the other side of the room.
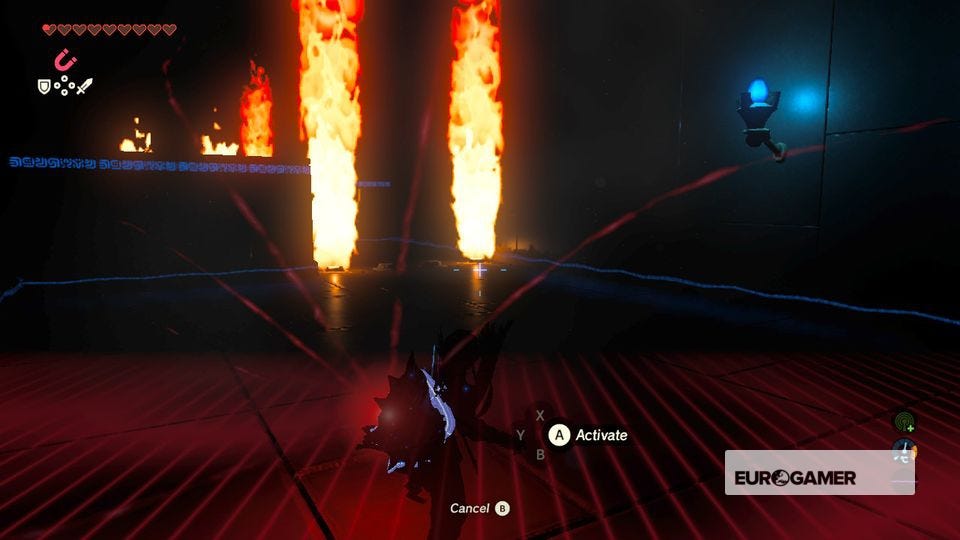
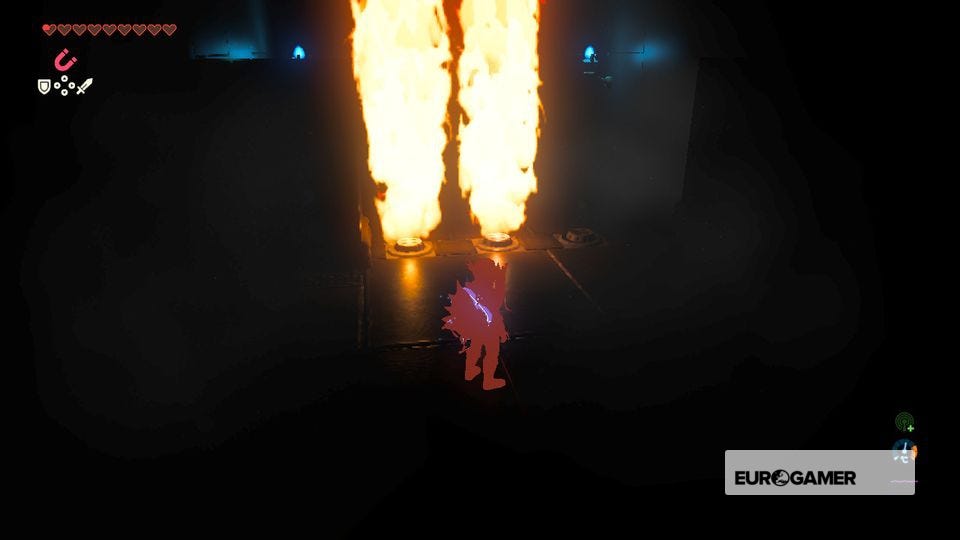
Next, there will be three gates of fire to cross. Each one has jets that fired in different patterns. None are particularly difficult to work out, so just wait in front of one jet, watch its alternating pattern then run across to each the next section of this light-based shrine.
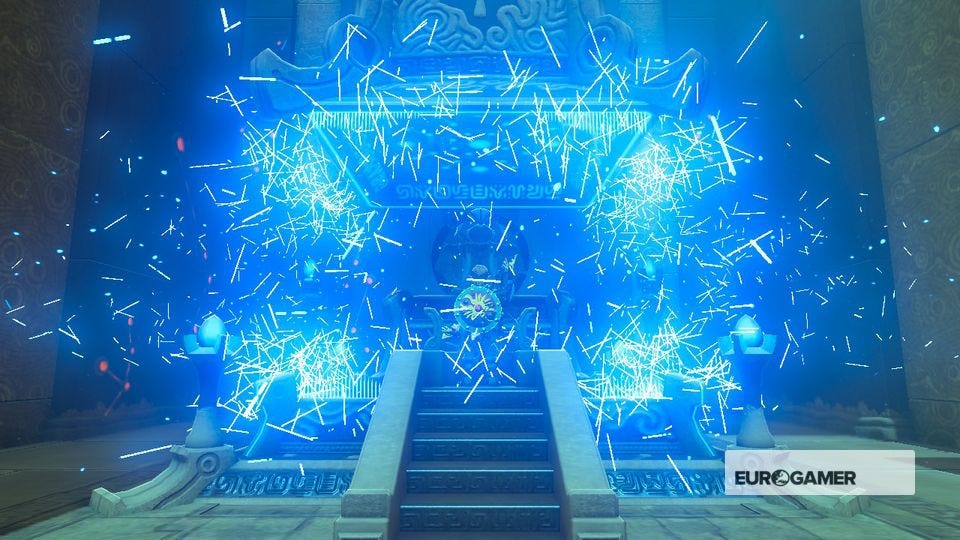
After the fire gates, you'll encounter three Guardians in next to no light. Since these foes glow they won't be hard to miss, so use your shield to block their eye blasts and use the Obliterator to beat all three. Now run up the staircase to reach the Monk and finish the shrine.
If you haven't already, time to take on the three other camps and shrines nearby.